This coffee mousse cake dessert is the perfect balance of moist cake and creamy chocolate mousse. You’ll love the extra kick of coffee and liqueur!
Looking for a chocolate and berry mousse? Try our raspberry chocolate mousse recipe!
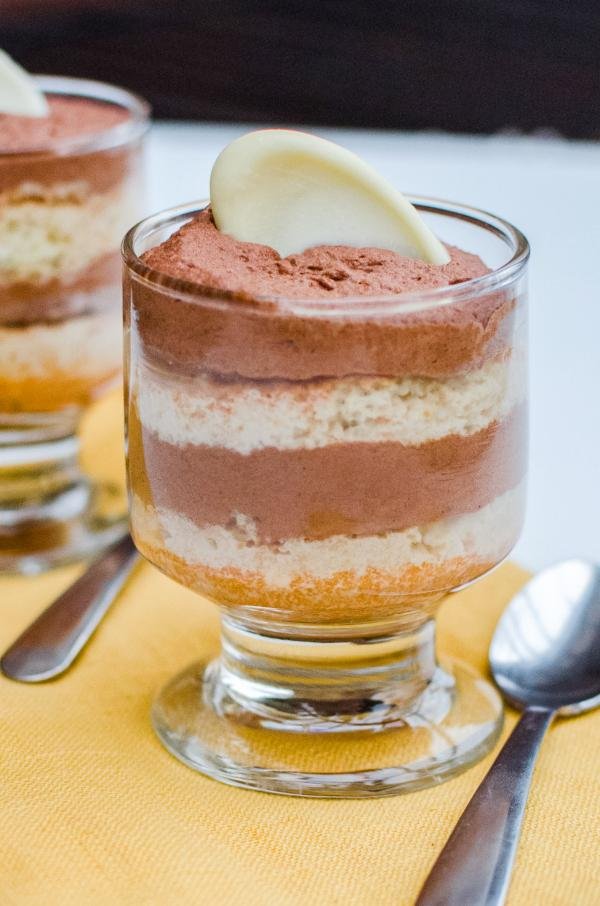
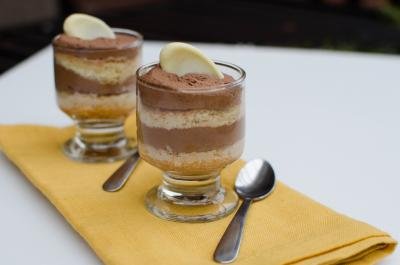
I dreamt up the idea for this chocolate coffee mousse cake dessert while at a party with a close friend. We were both noshing on some mousse when she mentioned how great it would be if there were a layer of spongecake included. I loved the idea and decided to take it back to my kitchen and start demoing. The end result? These adorable little parfaits with layers of rich coffee and liqueur-infused mousse and sweet cream-soaked sponge cake. You’re going to just love them!
Note: You’re going to need to prepare a sponge cake for this recipe. To cut down on day-of prep, make it a day in advance.
How to Prepare Coffee Mousse Cake Dessert
Preparing this coffee mousse cake dessert requires under 10 ingredients and some light assembly. Below, find a rundown of the recipe instructions before you dive in.
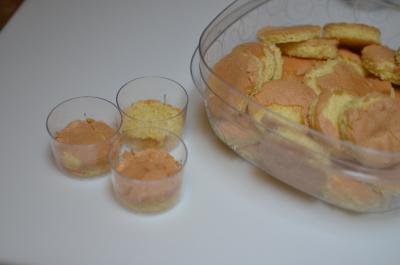
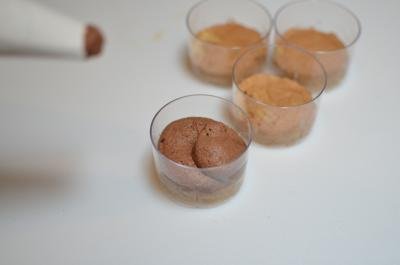
- Make a Sponge Cake: Bake a sponge cake on a sheet cake pan in the oven. After it cools, use the rim of your dessert cup to cut out even-sized circular rounds.
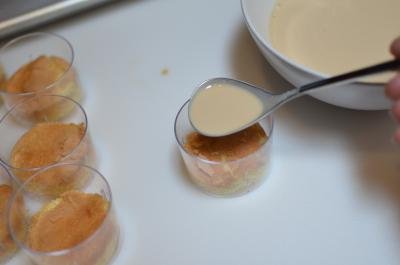
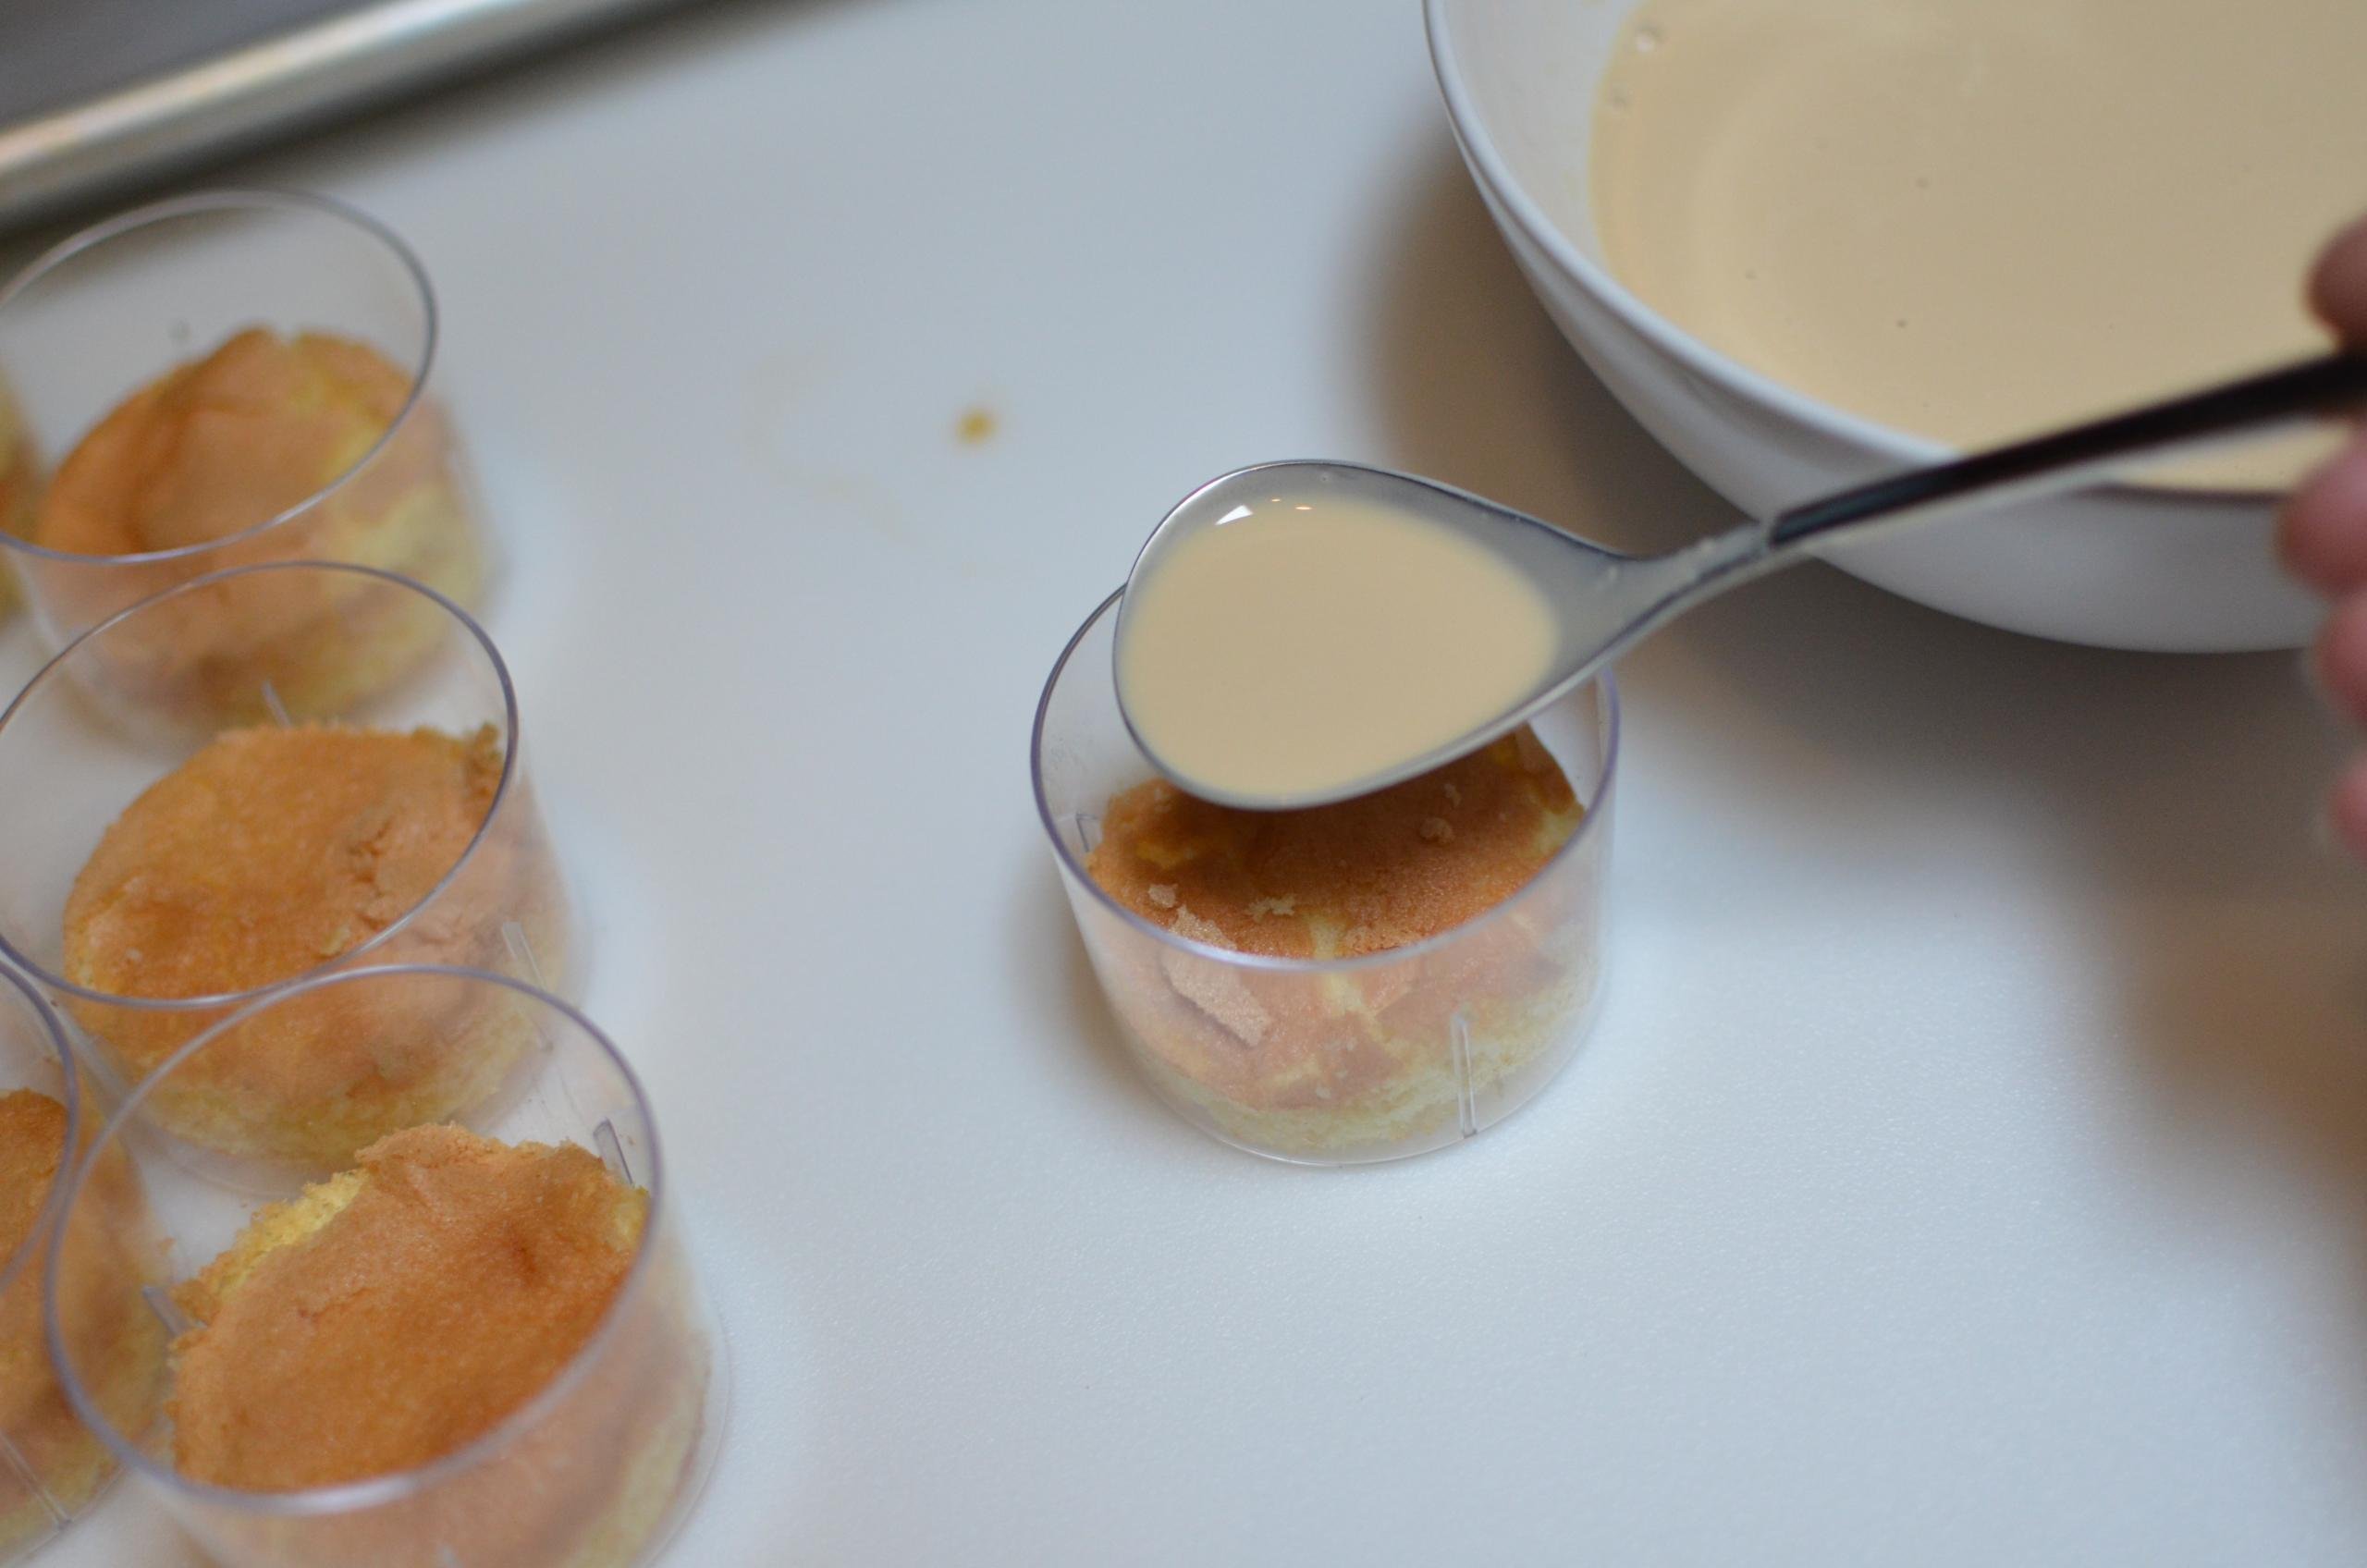
- Soak the Sponge Cake: Place a sponge cake round in the bottom of each dessert cup. In a large bowl, combine the heavy whipping cream with the Bailey’s and pour a spoonful of the sweet cream on top of each round of cake.
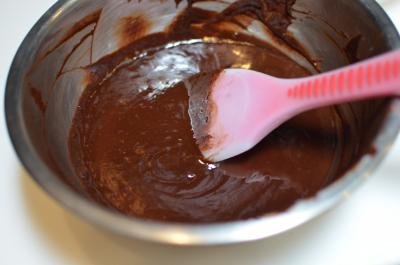
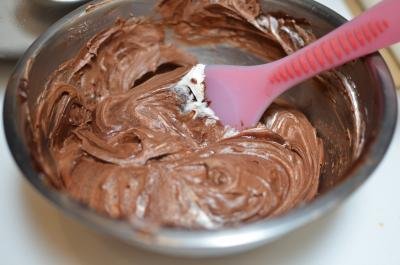
- Make the Mousse: In a large bowl, combine the chocolate chips, coffee, butter, and second portion of Bailey’s. Microwave and whisk until smooth. In a small bowl, combine a bit of heavy cream with the gelatin powder and allow it to sit for 5 minutes. Next, microwave the gelatin mixture for a couple of seconds. Add the gelatin mixture to the chocolate mixture and stir to combine. Finally, beat the remaining heavy whipping cream with an electric mixer on medium speed until you get stiff peaks. Stir half of the whipped cream into the chocolate and fold the other half in with a spatula.
- Assemble the Coffee Mousse Cake: Place the mousse in a piping bag and pipe equal amounts on top of each sponge cake round. Optionally, top it with another sponge cake layer, followed by another mousse layer. Garnish the parfaits with chocolate shavings and cocoa powder. Enjoy!
Hot Tip: Instead of brewing an entire batch of coffee for this recipe, use instant coffee or instant espresso powder to make the 3 ounces you need for this recipe.
5 Top Tips for Making Coffee Mousse Cake
Here you’ll find our top 5 tips to help you nail this coffee mousse cake dessert on the first try.
- Allow the sponge cake to soak. Allowing the sponge cake rounds to soak in the liqueur-infused cream while you prep the mousse is key. This will make the layers ultra-moist, while also adding a punch of flavor.
- Don’t overmix the whipped cream. If you overmix the whipped cream, it will turn into butter. Once you get stiff peaks, immediately stop mixing to avoid this.
- Don’t overmix the mousse. Avoid the urge to over incorporate the whipped cream into the melted chocolate mixture. If you stir it too aggressively, you’ll lose the fluffiness of the whipped cream and your mousse will fall flat.
- Use a piping bag for the best presentation. Instead of spooning the mousse into each dessert cup, pipe it with a pastry bag. This will help aerate the mousse and keep it nice and fluffy.
- Swap in your favorite liqueur. if you’re not a fan of Bailey’s or just don’t have any on hand, swap in your favorite liqueur instead. You can’t go wrong!
- Keep the coffee mousse cake refrigerated before serving. To prevent the mousse from deflating at room temperature, keep the coffee mousse cake dessert cups in the fridge until you’re ready to serve them.
Hot Tip: Swap the semi-sweet chocolate chips out for dark chocolate chips or even white chocolate chips depending on your preference.
Making Coffee Mousse Cake Ahead of Time
These coffee mouse cake desserts are perfect to make ahead of time for everything from large get-togethers to a birthday party. If you’re hosting and want to cut down on day-of prep, feel free to make these coffee mouse cake desserts up to 2-3 days in advance. That said, you’ll want to keep them covered in an airtight container to prevent them from soaking up any lingering smells in your refrigerator.
Hot Tip: Making this dessert for a large party? Opt for clear serving glasses to make all the tasty layers visible to your guests. If you need a good recommendation, check out this 3-ounce option on Amazon.
FAQ
Why is it called mousse?
The word “mousse” is a French word for “froth” or “foam”. This references the dessert’s super airy and fluffy texture.
Does this coffee mousse cake contain caffeine?
Technically, this coffee mouse cake contains just a bit of caffeine from the added coffee and Bailey’s liqueur. That said, it’s such a minuscule amount that it’s unlikely you’ll get a buzz from eating a serving.
Can you make this recipe as a standard cake instead?
If you’d prefer to do a large cake round versus individual parfaits, go for it. Make the sponge cake in a sheet pan and slice it into two evenly-sized square layers. Then, alternate the cake layers with the mousse and allow the cake to set in the refrigerator for a couple of hours before you plan to serve it.
Can you use Kahlua liqueur instead of Bailey’s?
Kahlua liqueur is a perfectly acceptable alternative to Bailey’s. While it’s not creamy like Bailey’s, it will add the same kick of coffee flavor to the mousse.
Can you omit the liqueur all together?
Yes, it’s acceptable to omit the liqueur all together. To keep the coffee flavor strong, swap in equal parts of more coffee in its place.
More Scrumptious Coffee Desserts
- Coffee Macarons Recipe – French-style coffee sandwich cookies
- Espresso Jello Shots – Coffee and condensed milk jello desserts
- Chocolate Mocha Cookies – Chocolate cookies infused with coffee
Recipe

Ingredients
Sponge Cake Layers
- 1 sponge cake
- 3 tbsp Bailey's Irish Cream Liqueur
- 1 cup heavy whipping cream
Chocolate Mousse
- 3 oz strong coffee
- 2 tbsp Bailey's Irish Cream Liqueur
- 12 oz semi-sweet chocolate chips
- 4 tbsp Unsalted Butter
- 1 tsp gelatine
- 1 3/4 cup heavy whipping cream
Instructions
Sponge Cake Layers
- Prepare a sponge cake in a 13in. x 18in. sheet cake pan. Using the rim of the dessert cups or a cookie cutter, cut out small circles from the sponge cake.
- In a large mixing bowl, combine the heavy whipping cream with the Bailey's. Place a sponge cake round in the bottom of each dessert cup and pour a spoonful of the cream over each one.

Make the Chocolate Mousse
- Into a separate large bowl, combine the chocolate chips, coffee, and second portion of Bailey's. Microwave the mixture for 1-2 minutes, stirring every 30 seconds until it's completely melted.
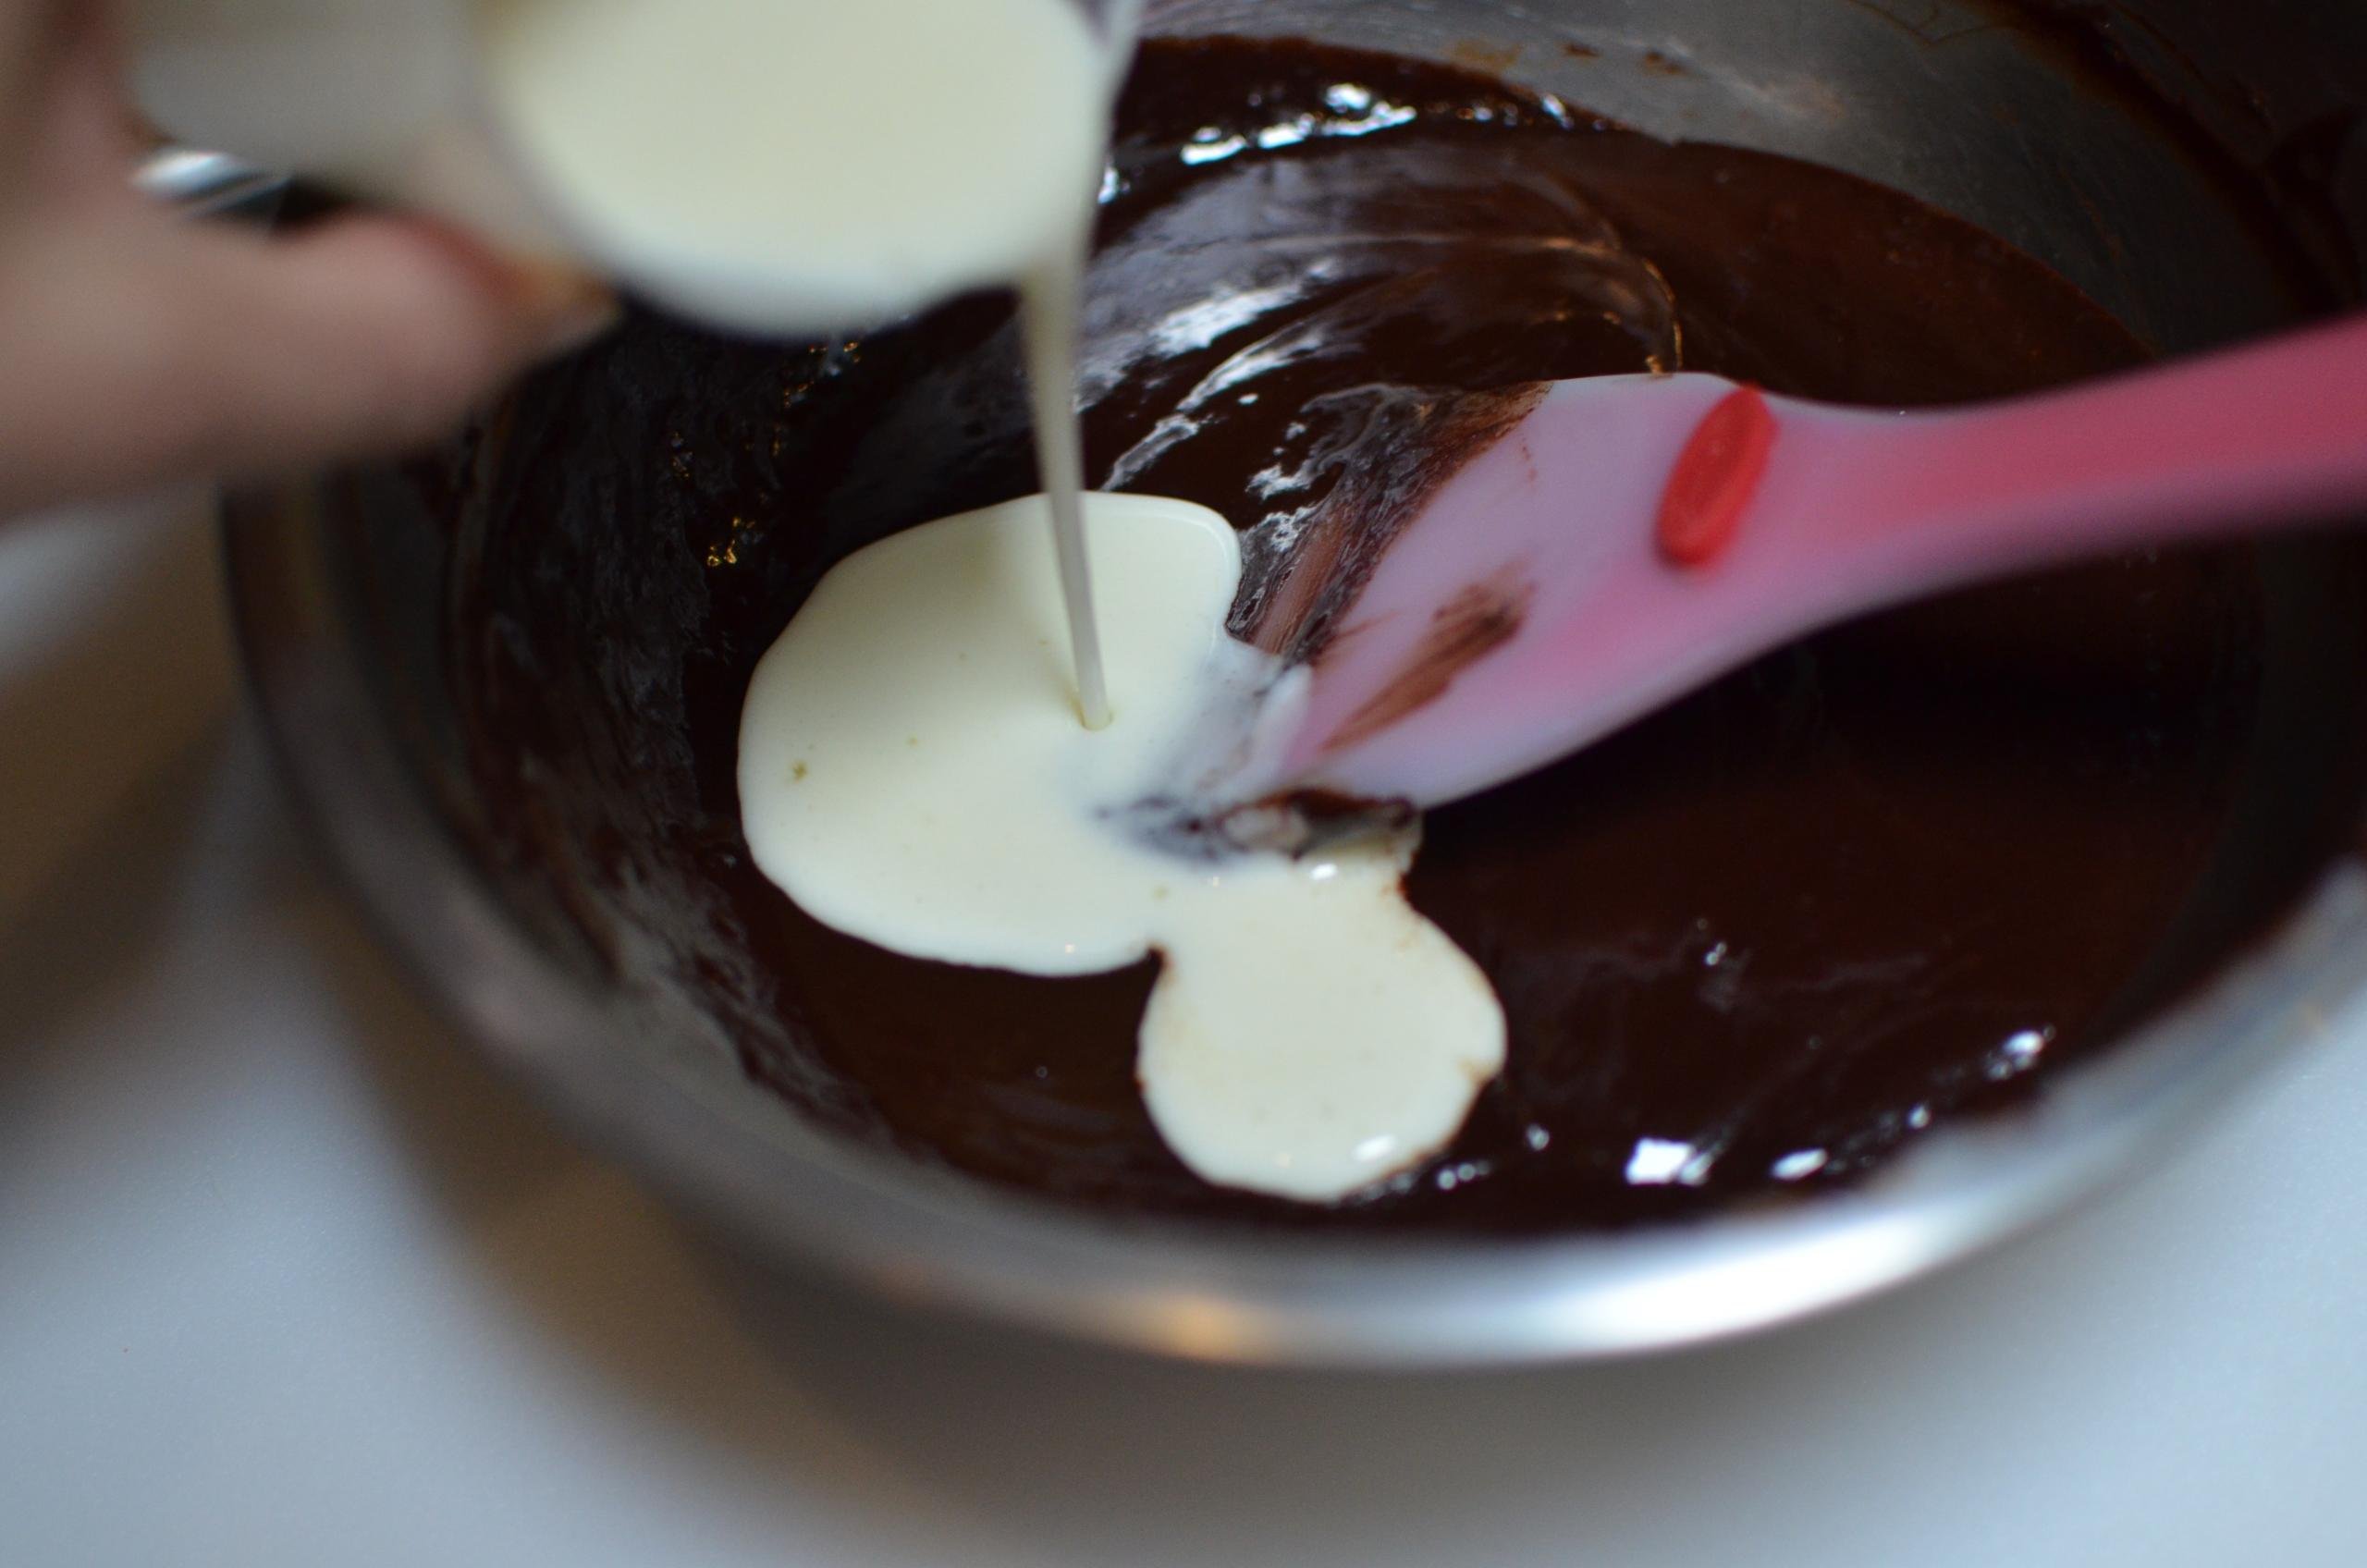
- In a separate small bowl, combine 1/4 cup of the heavy whipping cream and one teaspoon of the gelatin and allow it to soften at room temperature for 5 minutes. Then, microwave the mixture for 5 seconds and stir it until it turns runny in texture. Add the gelatin mixture into the chocolate mixture and stir to combine.

- Beat the other 1 and 1/2 cups of very cold heavy whipping cream with a hand or stand mixer until you get stiff peaks.

- Stir in half of the whipped cream into the chocolate mixture. Next, fold in the remaining whipped cream, being extra careful not to overwork the mousse.


Assemble the Dessert Cups
- Carefully stuff the chocolate mousse into a piping bag and pipe equal amounts of the mousse on top of each sponge cake layer. Optionally, top the mousse with another sponge cake round, followed by another layer of mousse if you're using taller dessert cups.
- Garnish each dessert cup with shredded chocolate or cacao powder. Keep the cups refrigerated until you plan to serve them. Enjoy!


This is such an elegant dessert! A great recipe to pull out when I want to "wow" guests at dinner!
Hi Dana- This really is a great dessert for hosting!
Truly amazing. I wish I doubled the recipe!
Glad you enjoyed this dessert, Diane!
This cake was wonderful! Easy to follow directions too. We all loved it!
Thank you, Eden!
looks yumie:) im thinking to make it as a 8" cake? what do u think? and u think can I use Kahlua liquor instead? that's what I have now!
I think it would work great as a cake. Yes, go ahead and use Kahlua, it will work jsut great.
how long can they stay refrigerated if not finished eating them all?
They will stay fresh for several days.
If you omit the bailey liquor how much coffee is needed then total?
Liquor is there for flavor, so coffee amount would stay the same. Just make sure you have enough to soak all the cakes. Hope this helps 🙂
can i ommit the bailey liquor? what can I use instead? thanks
Yes you can. I think another great option would be is strong coffee.
Love fluffy chocolate mousse! So delicious.
Yes, they are so rich! pretty amazing 🙂