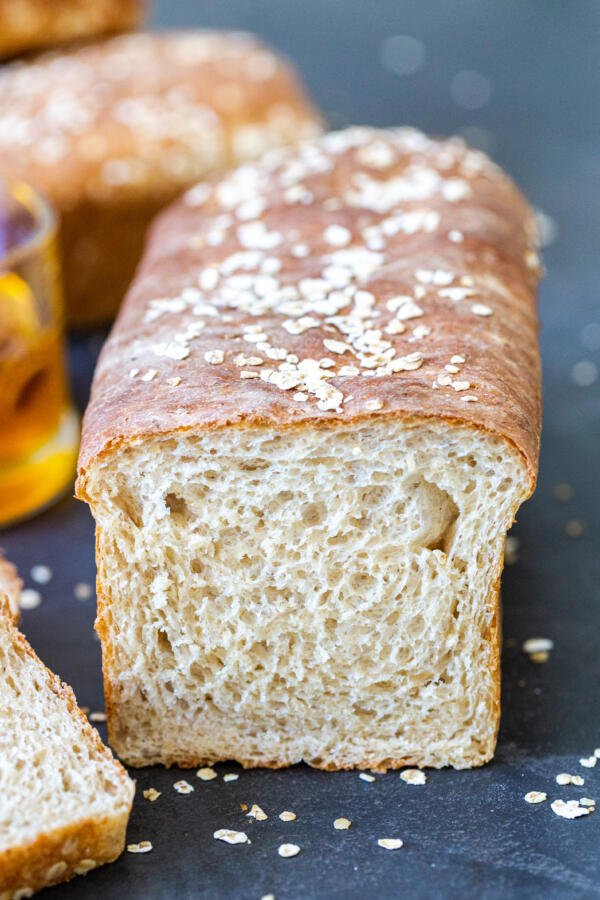
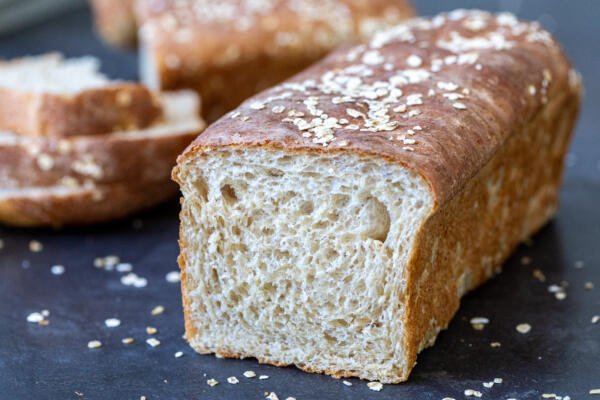
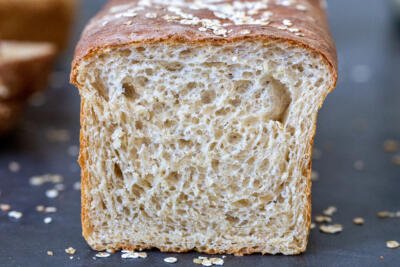
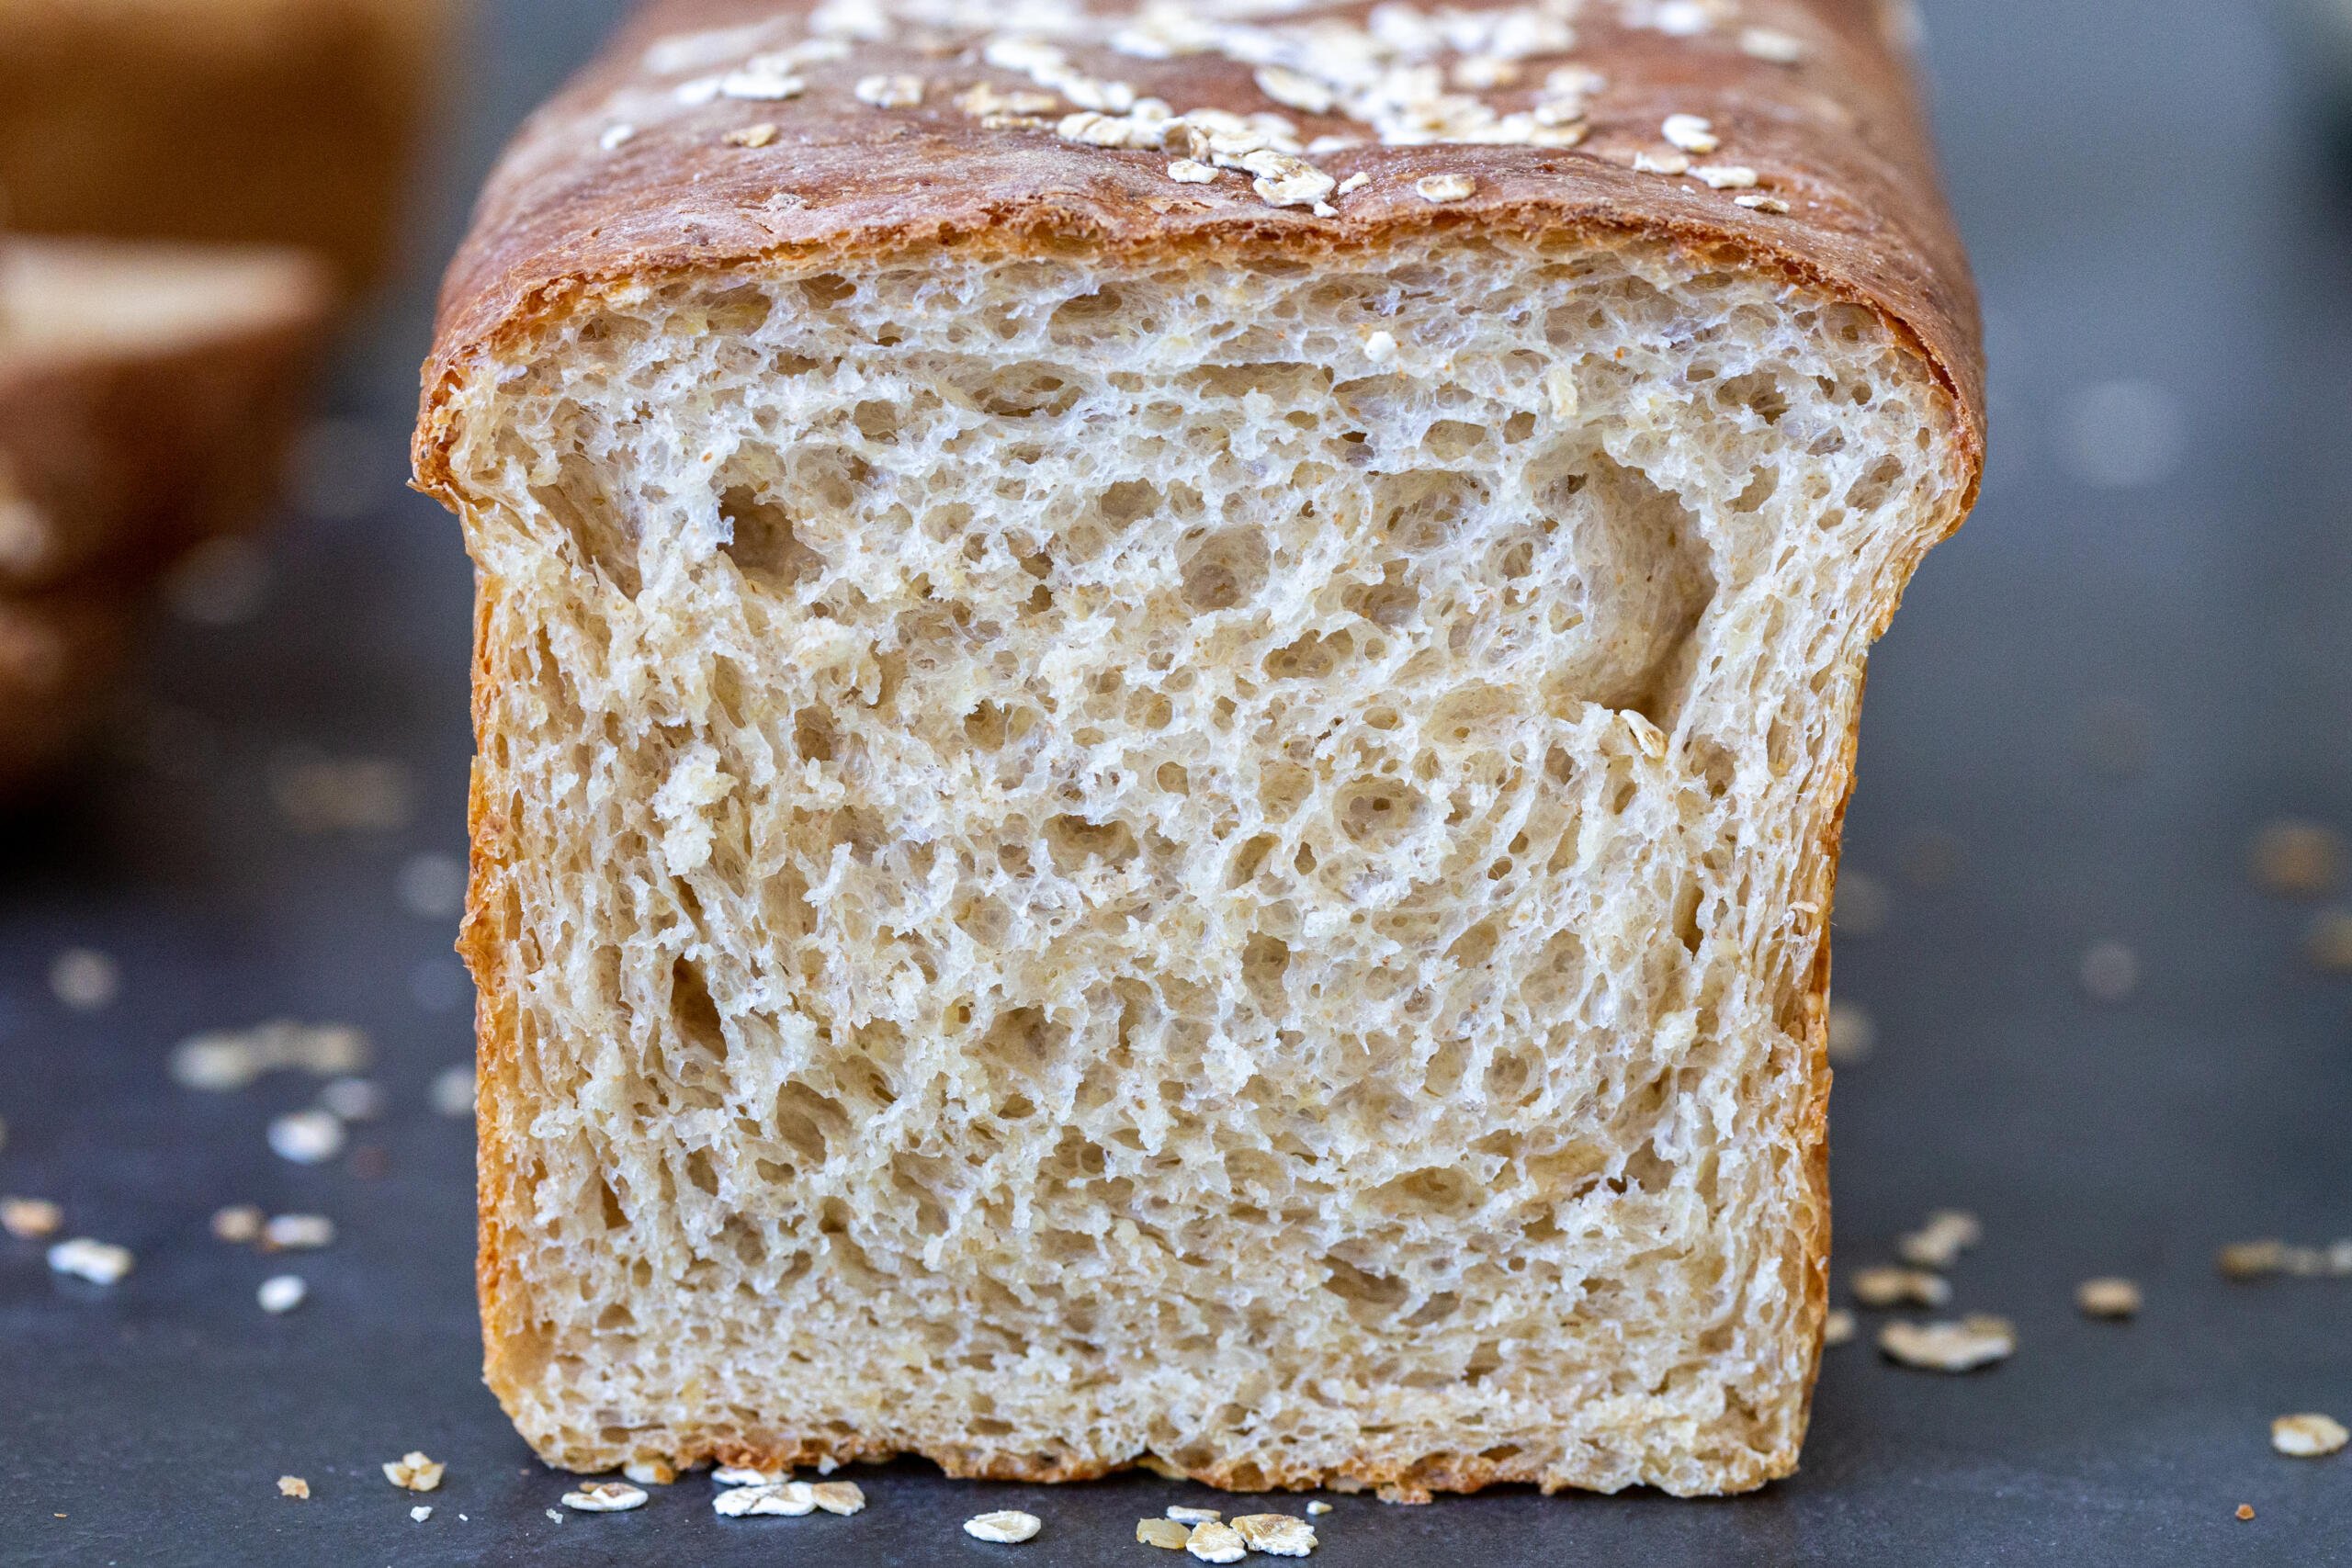
Honey wheat bread is super healthy and loaded with vital nutrients. As soft and airy as a bakery-fresh loaf, this recipe comes together so easily and is sure to impress.
If you love baking breads, you will love our Easy No Knead Bread.
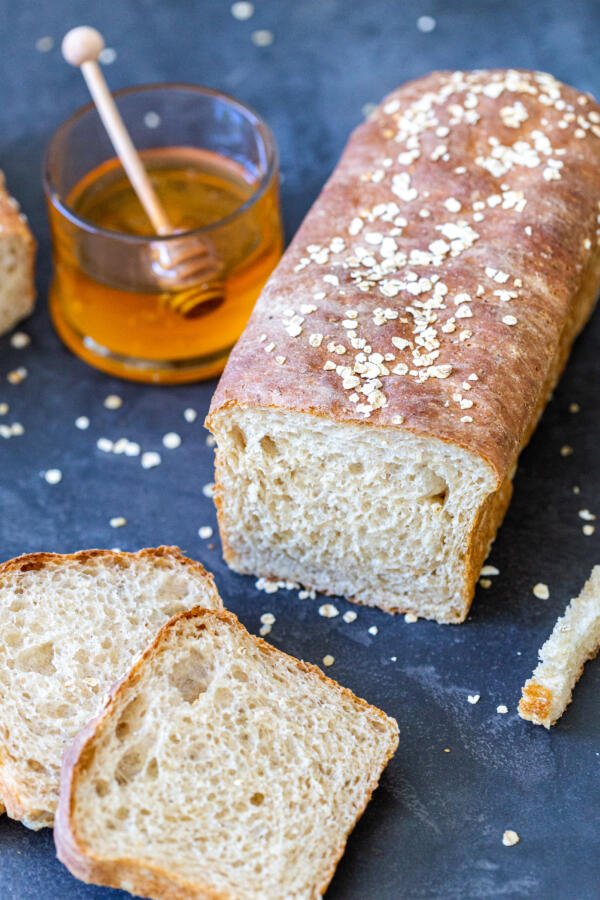
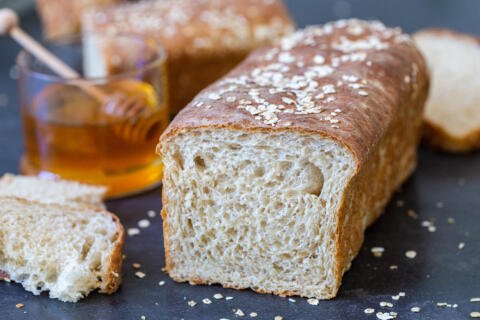
Honey wheat bread is perfect for sandwiches. Slather on some peanut butter and your favorite jelly or make a classic turkey and cheese. This hearty bread is also perfect for soups or homemade french toast.
Homemade bread is worth its weight in gold. It’s not only cheap to make, it also fills your house with a priceless aroma. Let’s get started!

How Do You Make Honey Wheat Bread From Scratch?
Baking doesn’t have to be intimidating. Follow these straightforward steps to bring the bakery directly into your kitchen:
- Soak oats in half of the water for 15 minutes.
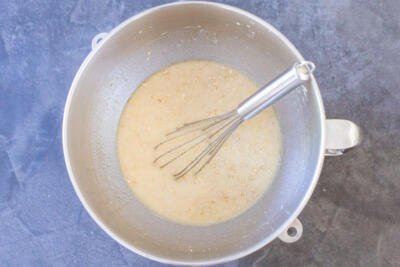
- Allow milk and yeast to sit for one minute. Mix in the other half of water, honey, oil, salt and oats. Mix the white and wheat flour together. Slowly add flour into your wet ingredients in small portions.
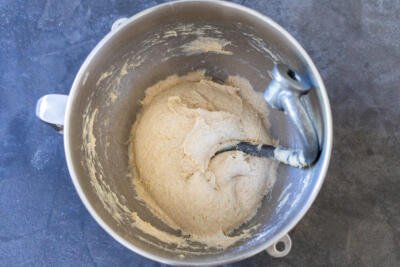
- Mix with an electric mixer and dough hook. You can also knead the dough by hand, but be prepared to work! Kneading by hand takes about 25 minutes versus around 8 minutes in an electric mixer.
- Mix on medium speed for two minutes. Allow the dough to rest. Mix on medium speed for an additional three minutes.
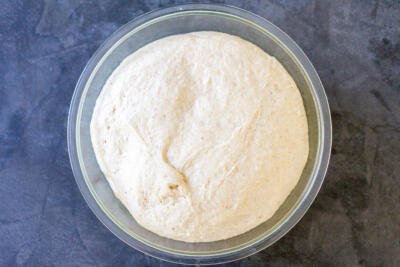
- Cover the bowl with plastic wrap. Allow the dough to rise for an hour-and-a-half.
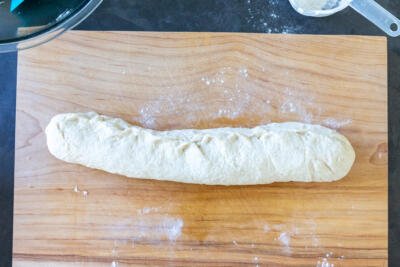
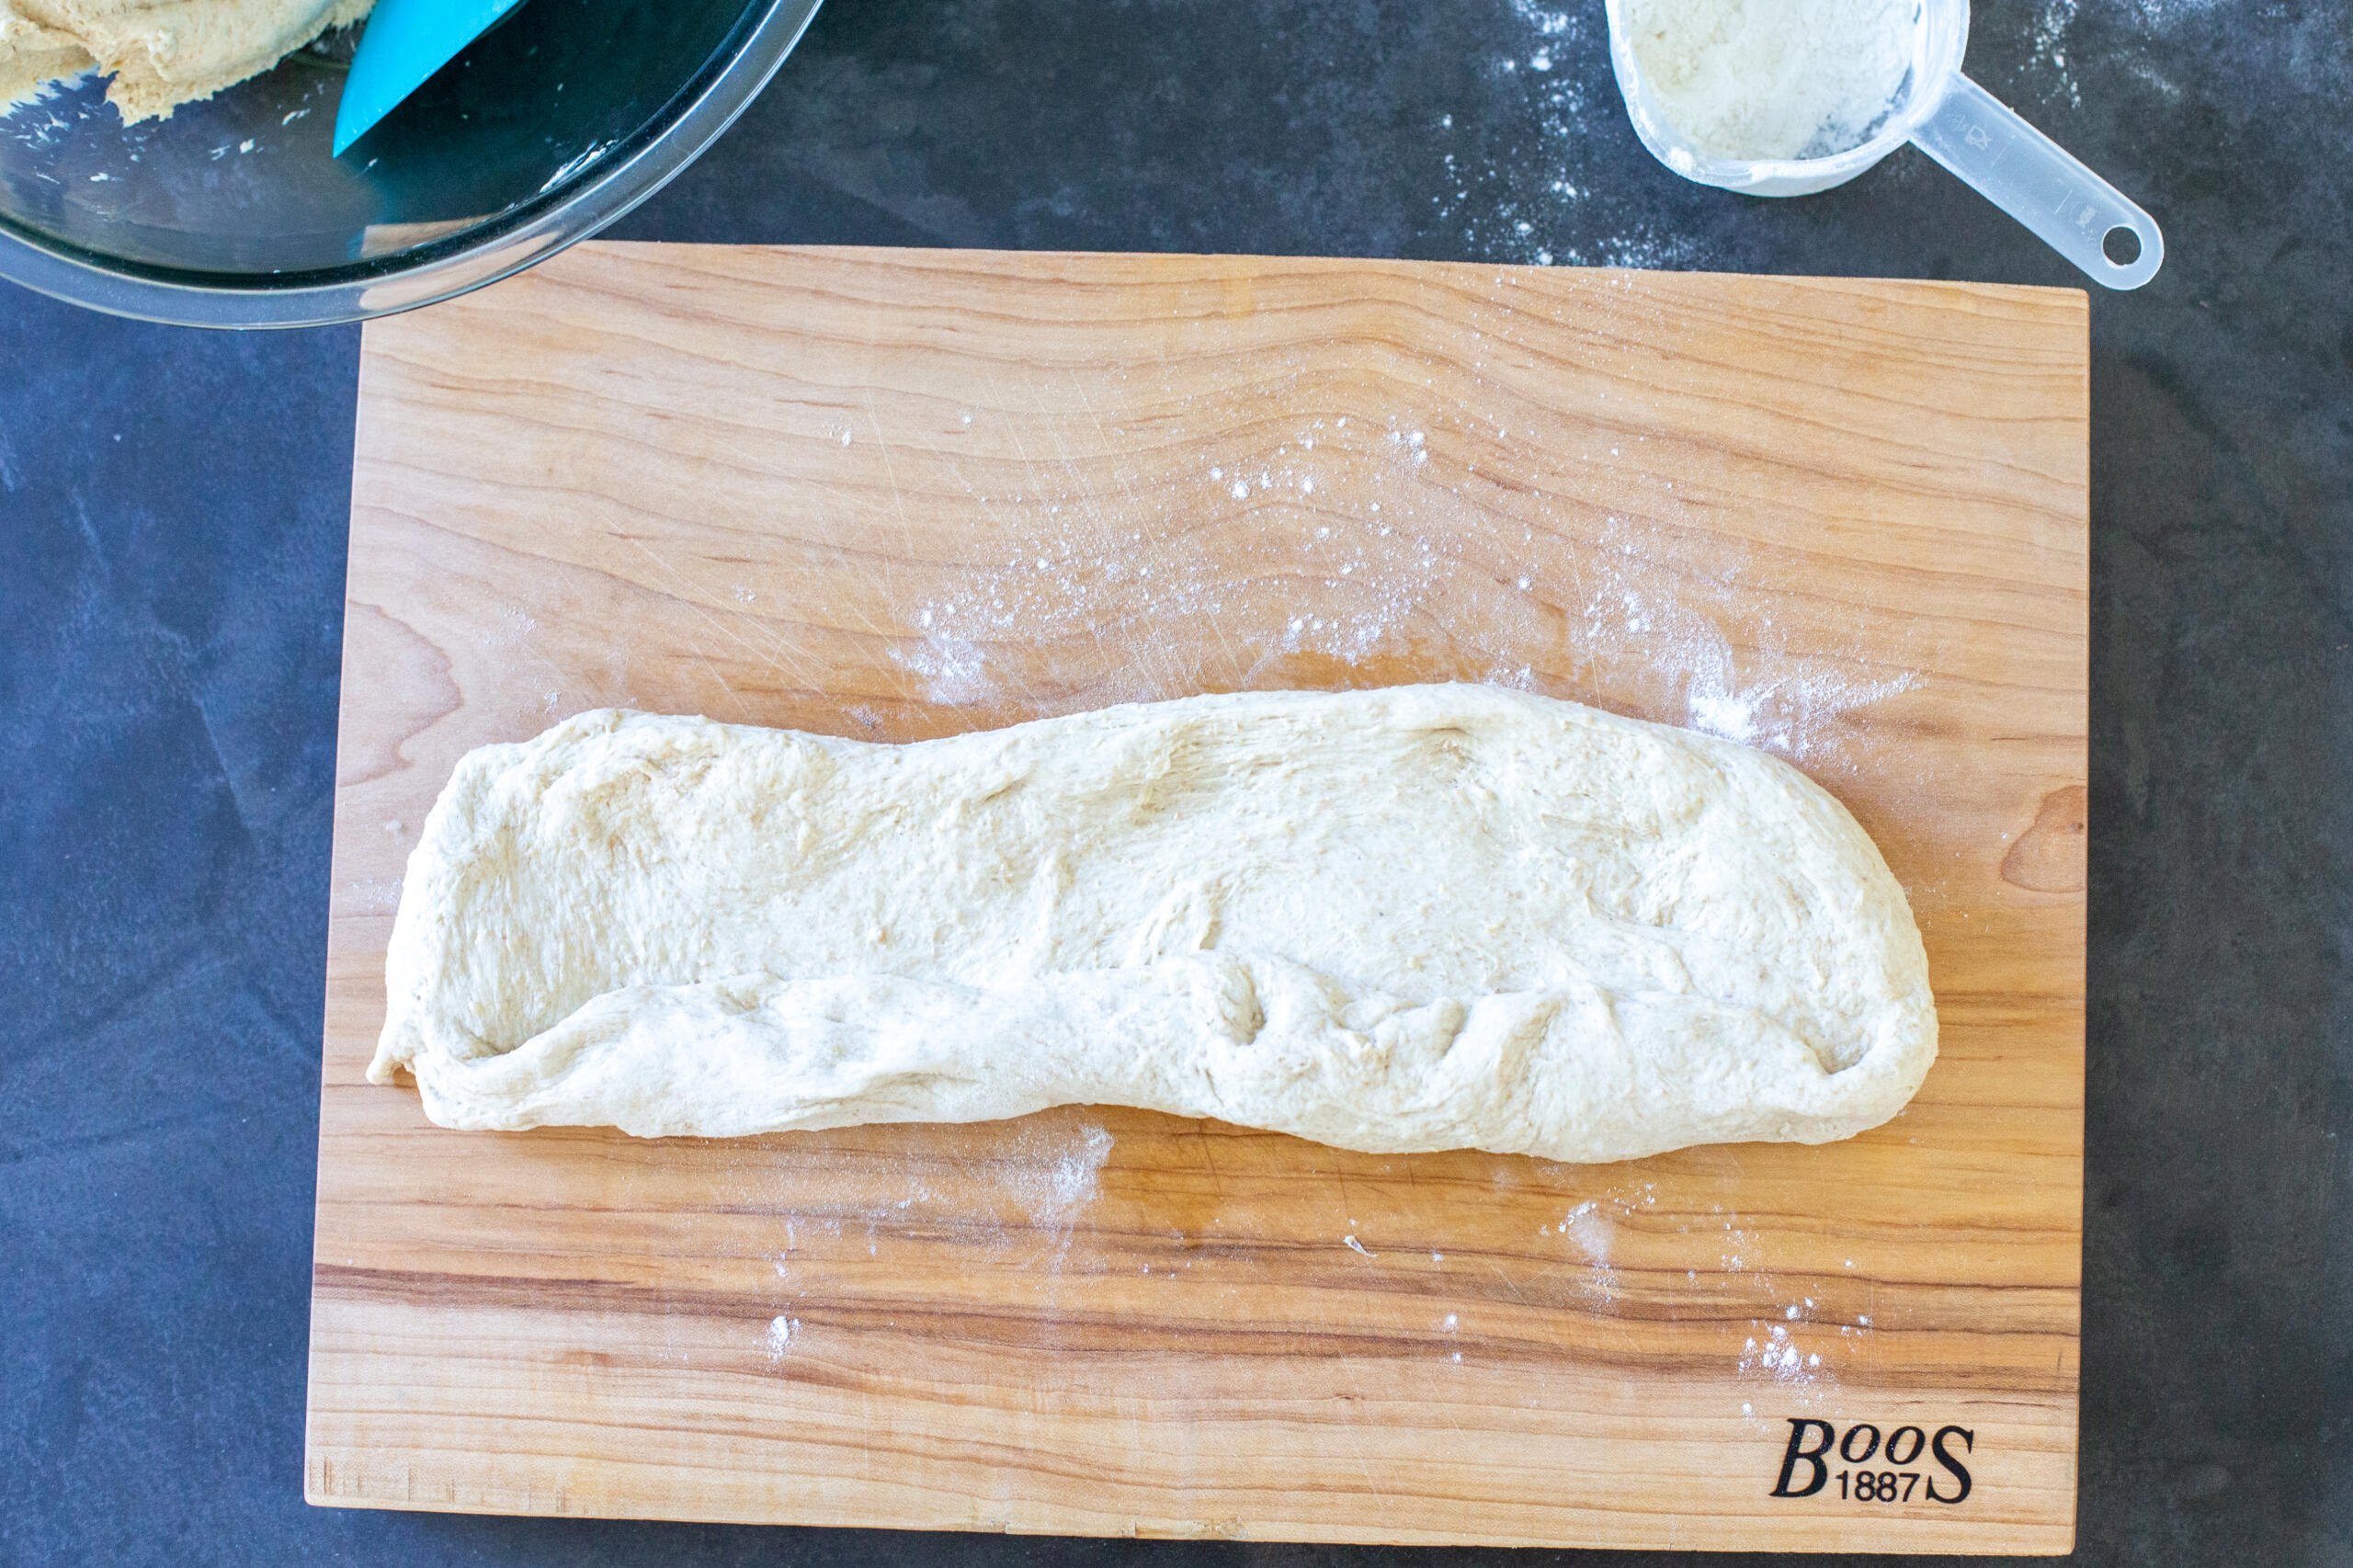
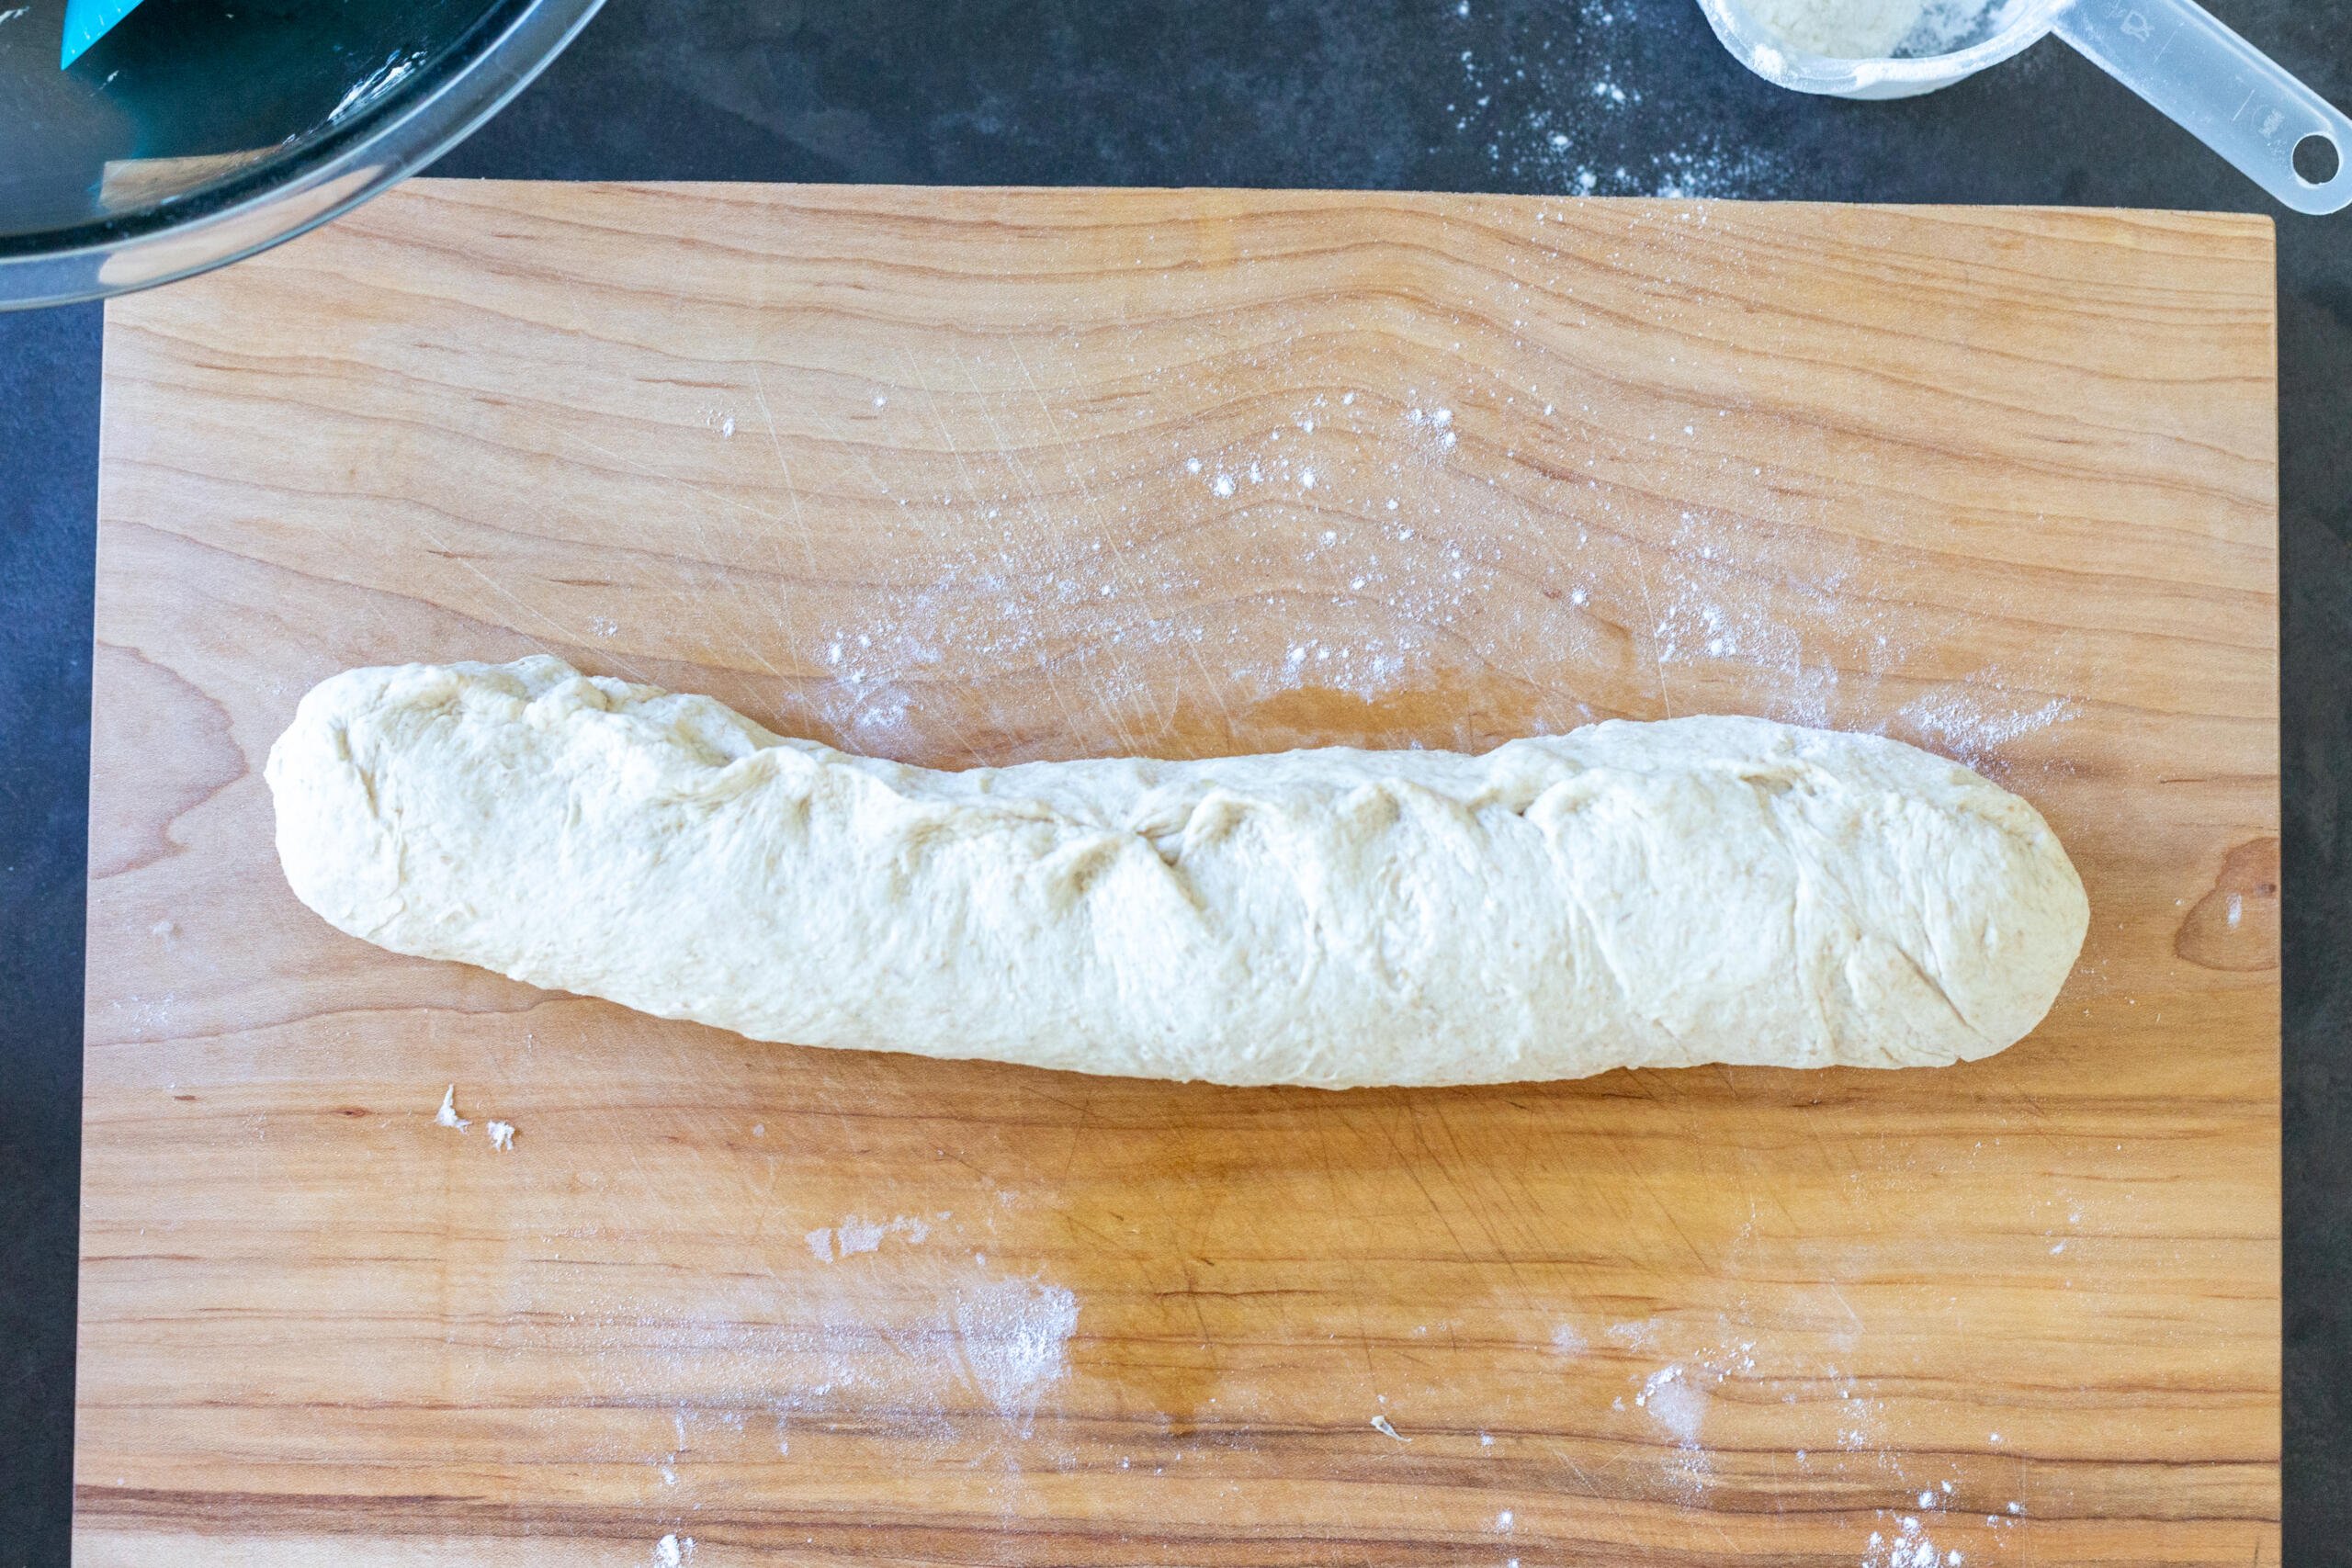
- Divide the dough in half. Roll each portion into a rectangle and fold it over like a jelly roll. Pinch seams to seal.
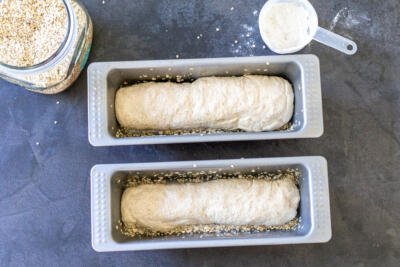
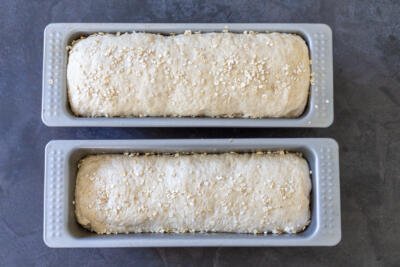
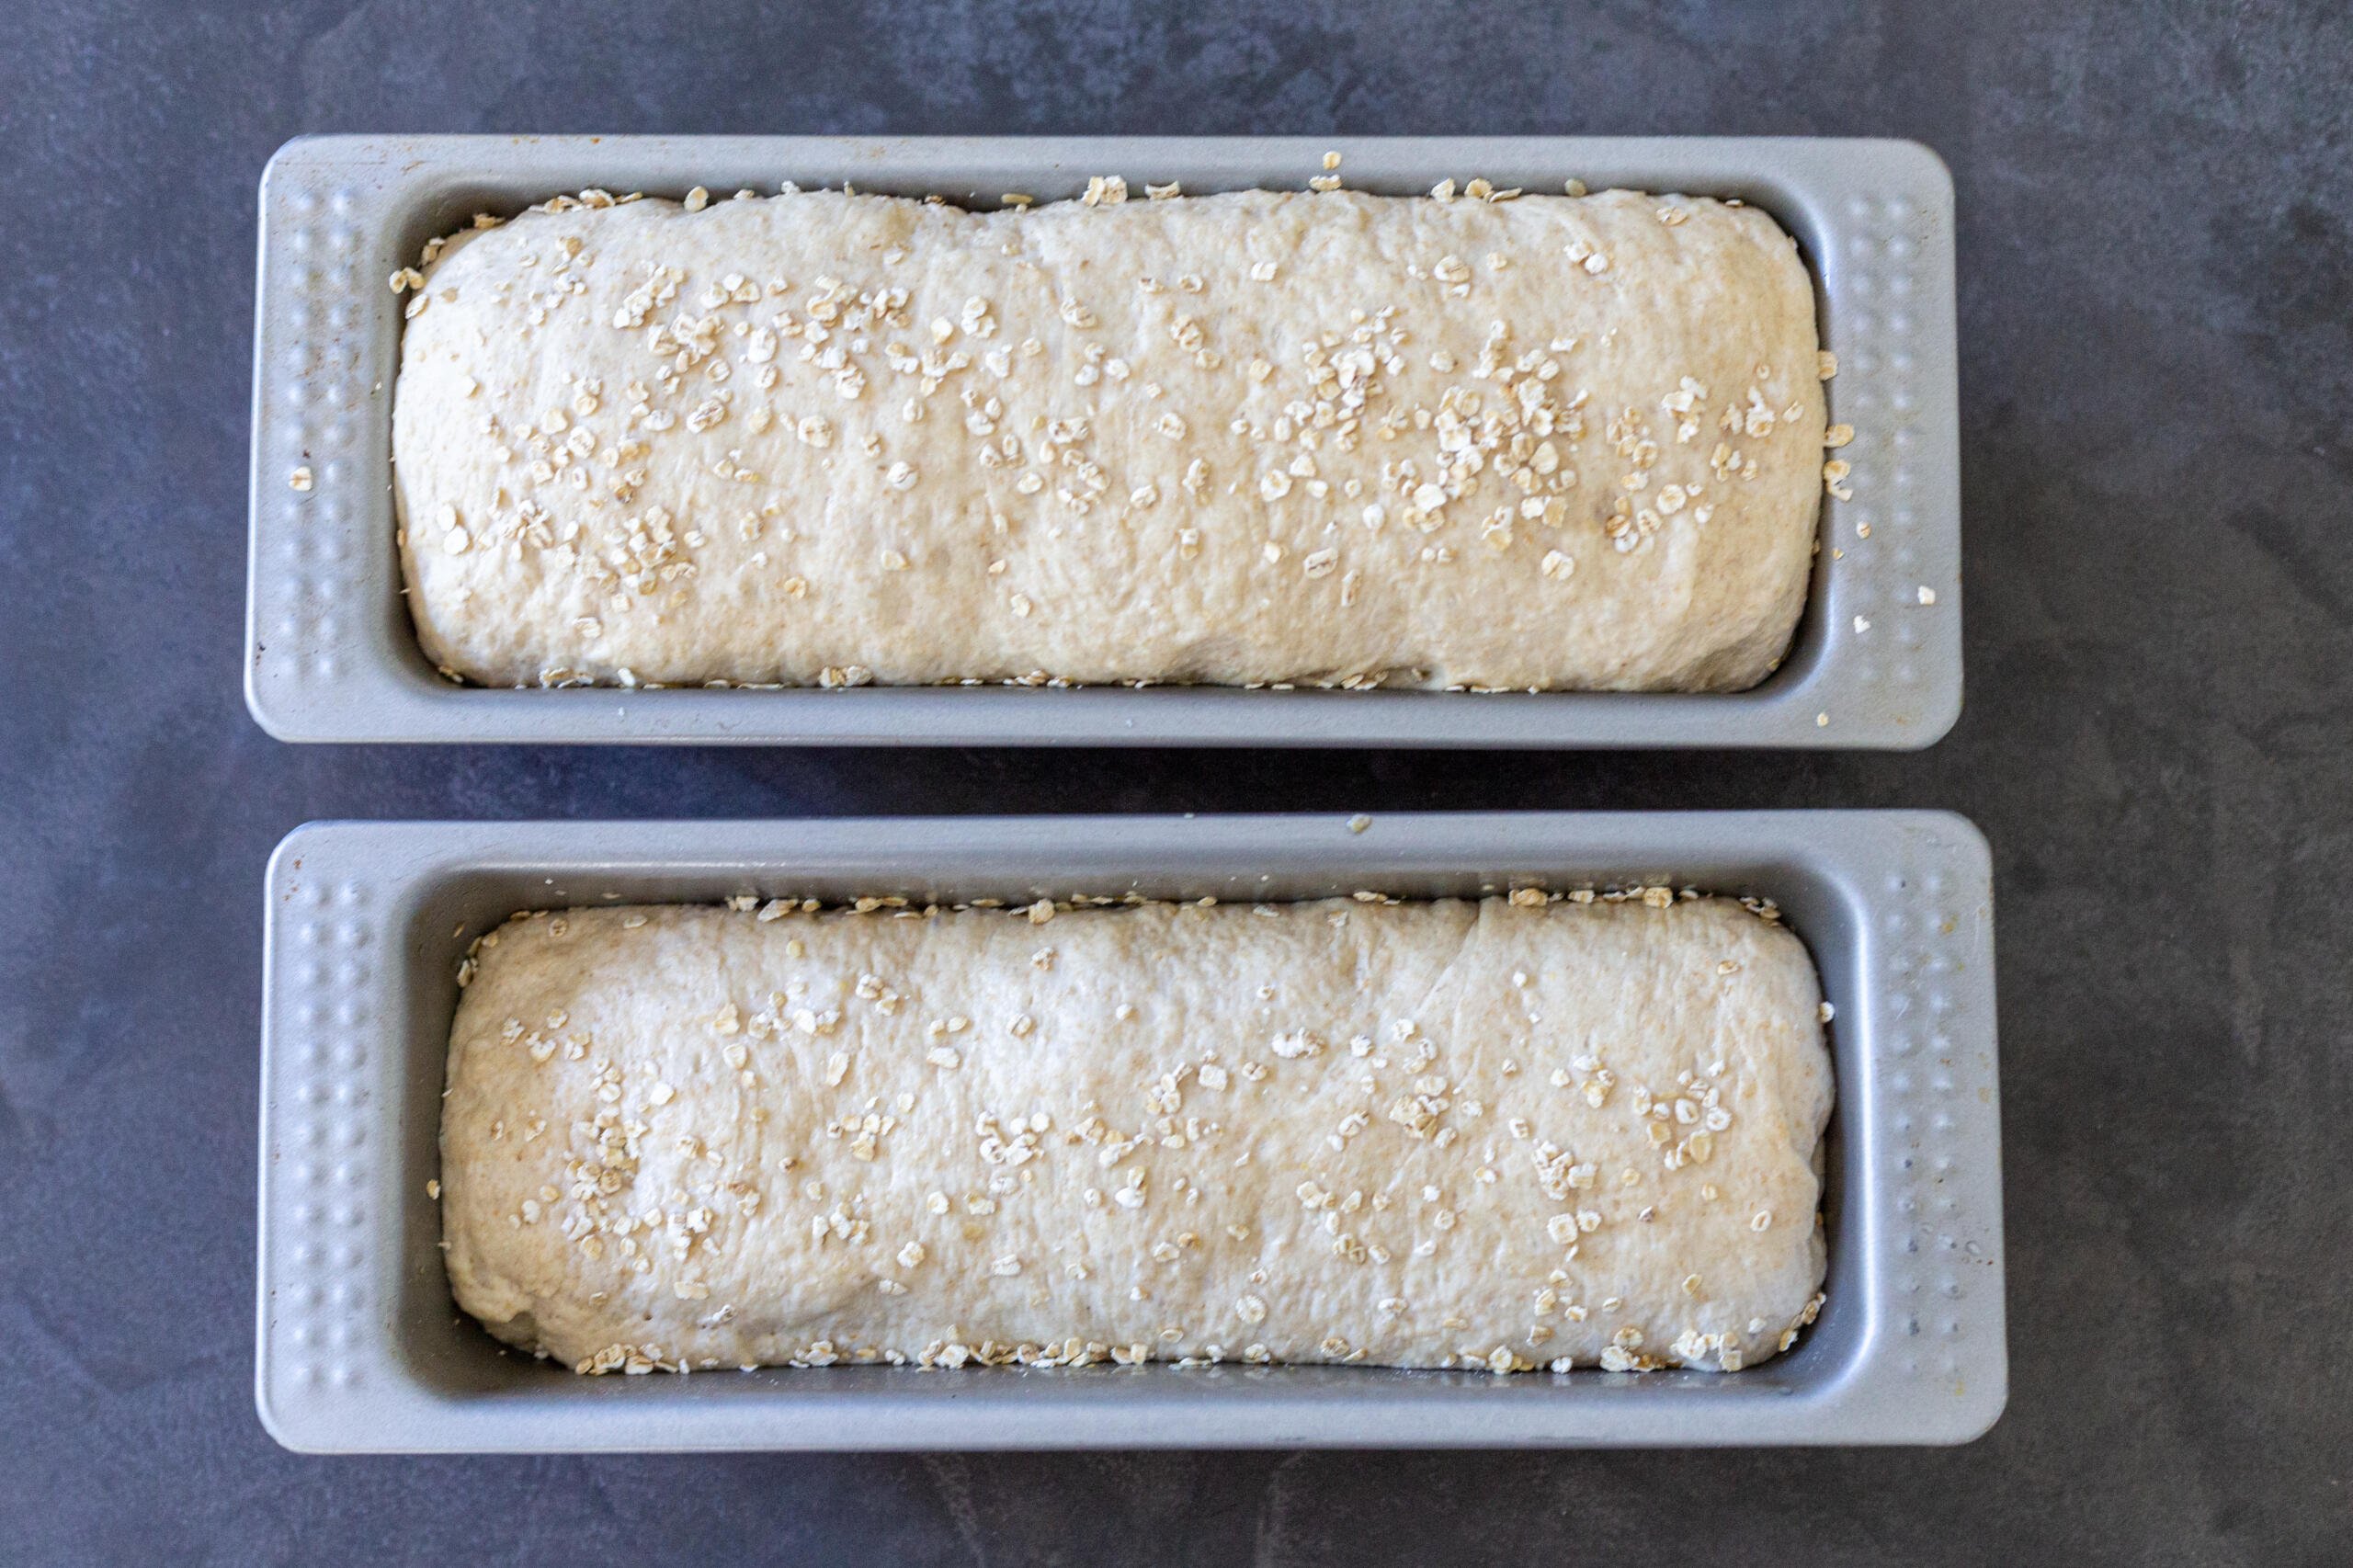
- Spray a baking pan with oil and sprinkle some oats on the inside. Place loafs on the inside and allow to rise in a warm place for 40 minutes.
- Brush the tops with water. Sprinkle the loaf with oats.
- Bake at 375 ℉ for 35-45 minutes or until golden brown.


Tips for The Best Honey Wheat Bread
- Use active dry yeast. Many baking recipes allow you to use active dry yeast or instant yeast. So, why use the active variety? Active dry yeast needs to “bloom”, or interact, with water before you add it to the rest of the ingredients. Once the active yeast begins to bubble, you know it’s still living and working to its full potential. Instant yeast could be completely inactive and you won’t know it until your bread refuses to rise and/or turns out flat! Err on the safe side and always use active.
Hot tip: Always check the expiration date of your yeast before you start baking. Store your yeast in a dark, cool place completely sealed in an airtight container to keep it active longer.
- Dissolve active yeast in 110℉ milk. Once again, yeast is a living and breathing organism. When mixing it with liquid, you must do so at the right temperature. If you mix the dough in too hot of liquid, you risk over activating (or killing!) the yeast and causing the bread to rise inconsistently. If you mix it in too cool of liquid, your yeast will not activate fully and your bread will turn out sad and flat.
- Choose high quality flour. Bob’s Red Mill is the best flour for baking that requires yeast. It has a high protein content which makes for a “stronger”, chewy texture.
- Allow your bread to proof in a warm place. Proofing refers to the final resting time for your dough. Right before your bread goes into the oven, cover it and allow it to rest in your oven (make sure it isn’t on!). In around 30-40 minutes, it will have doubled in size.
- Make it pretty. Brush the tops of your loaves with water and sprinkle oats on top for a bakery-worthy touch. That’s right — professional baker-style. 🙂
Storing Honey Wheat Bread
If you plan to eat your bread within a few days, store it on the counter in an airtight container. If it lasts any longer than that, follow the instructions below:
- Refrigerating Bread: Refrigerate your bread for up to a week. Wrap it tightly in plastic wrap or store it in an airtight container to prevent it from hardening. Reheat it in the microwave for 15-20 seconds or crisp it up in the toaster oven for a few minutes.
- Freezing Bread: After you bake your loaves, you can freeze them for a later date. Allow them to completely cool, then wrap them tightly in plastic wrap and freeze. When you are ready, place frozen loaves in the fridge to thaw overnight. Reheat them in the oven until warmed through and enjoy!
Other Bread Recipes
- Easy Dutch Oven No Knead Bread: This no-knead loaf is beautiful! Made in your dutch oven, it comes out moist on the inside and crispy on the outside.
- Easy Brioche Bread: Did someone say brioche french toast? This recipe is no-fail.
- Easy Flatbread Recipe: Quick flatbread is perfect for your next soup and salad night.
Recipe
Ingredients
- 1 cup instant oatmeal
- 2 cup all purpose flour
- 3/4 cup whole wheat flour
- 1 1/2 cup lukewarm water
- 1/4 cup milk
- 1/4 cup honey
- 1/4 cup oil
- 1 tbsp salt
- 2 tbsp dry yeast
Instructions
- Soak oats with half of the water (see ingredients), for 15 minutes.
- Combine milk with yeast, let it sit for a minute or so. Mix in the remaining water, honey, oil, salt and oats. In a separate bowl combine wheat and white flour. In small portions – mix in flour.
- If you are using a mixer, use a dough hook. Mix on a low speed until the dough is fully mixed, then mix on a medium speed for 2 minutes. The dough should clear the sides, but stick to the bottom. Let the dough rest for 5 minutes. Turn the mixer on again and mix for 3 minutes.
- Cover the bowl with plastic wrap. Let it rise for 1½ hours.
- Divide in half. Roll each portion into a rectangle. Roll it up into a jelly-roll style, beginning with a long side.

- Pinch seams to seal.
- Spray the bread pan with oil and sprinkle some oats on the inside. Place each loaf in the inside and cover it with a towel. Let it rise in a warm place until doubled, about 40 minutes.
- Brush the tops with water and sprinkle the loaf with oats.
- Bake at 375 °F for 35-45 minutes or until golden brown.


Do you mean 2 tsp of yeast? And 1 tsp salt? I'm going to assume that's what you mean, because a tbsp is A LOT of yeast and salt. I guess if I'm wrong, I'll try again.
Hi Scott, The tablespoon of salt and two of yeast is correct. Let me know how it works out if you try it! 🙂
Natalya I want to thank you for th recipes that you have of Breads. I love breads and also to bake it. I am 87 years old and I do make my breads. But I like the recipeis of your bread. I am going to tryit and i will let you know how irt came out. Thank you so much I love you Idalina Barajas.
Hi Idalina, You are so kind, you have made my day much brighter today! Thank you for the sweet comment! I would love to know how the bread turns out, when you make it!!
air on the safe side? do you mean err?
Hi Laura- Yes, that is what we meant. Thanks for catching that, we updated it 😀
Can I incorporate ground flaxseed in this recipe?
Hi Megan- that's a great question. I haven't added flaxseed before so I don't know how it would affect the recipe or end results of the bread. If you still decide to add some, please let us know of the results!
I only bake in metric because it is more precise. Your metric conversion is way, way off. I’m guessing it’s because it’s based on flour and is just a calculator rather than actual cooking metrics. For example, 236 g of oats measured 2 ¾ c of oats. I’m glad I knew about what a cup of oats should appear to be. You may want to just remove the conversion.
Hi Kathleen, Thanks for letting me know. It looks like a bug in the system that’s trying to convert a Cup (Volume-based system) into Grams (Weight-based system). It should be converting Cups into Liters. We’ve notified the developer to try to get it fixed asap.
This looks delicious - could I use my sourdough starter instead of commercial yeast?
Hi Gaby, I haven't worked with starters so I can't give you feedback. If you do try this recipe with a starter, please come back and give me feedback.
The article says to put the yeast in 115 degree water, but your recipe says to use millk...do you heat the milk, also, to 115 degrees?
Hi Teresa, good point. I mean for all liquids to be at the right temperature.
Thanks!!
What size pans are you using? I generally use the 9" x 5" but yours look longer and skinnier. Thanks!
Hey Sue, mine are from Ikea. They are the same size in volume just skinnier and longer.
Can you share link to the pan you're using?
Hey Mila- these pans are from Ikea but they are very old, I don't have a link to them. Sorry!
We prefer this bread over any other. I love how this bread is so light & fluffy!
Kristyn, thank you so much for sharing! So glad you like it!
Gave this a try and it turned out perfectly light and fluffy; much easier than I thought too! Loved it!
Sara, thank you for sharing. I am so happy to hear this!
I love making this EASY oatmeal white bread recipe! It is so easy to make and makes the softest bread!
OH, this makes me so happy! Thank you for sharing!
Hi can i substitute the Canadian flour for all whole wheat? Thanks.
They wouldn't tune out the same because wheat flour is more dense.
is it still soft and fresh on day two, or is it best eaten all on the same day?
It will stay fresh for a few days. Later you can refrigerate it and it will be good for up to a week.
can you substitute all purpose flour for the Canadian flour??
Yes, you may need little more or less of flour. Add flour in small portions, that way you get to control consistency.
Wow what an amazing recipe! Healthy and delicious, I love it!
Thank you Yuliya! Yes, we like this bread also 🙂
I had a question about oil. is it only used for the knife or do I add it to the doe?
Just the knife so you can slice the dough easily 🙂
thank you so much for this recipe. everyone loved this bread. making more as we speak 🙂
I just got your tag 🙂 wow, so beautiful
Can I make this bread in a bread machine?? Would it taste good
I don't own a bread machine but I think you can. After the dough will rise, just wrap it into a jelly roll.
Thank you, yeah this is a wonderful bread... all the hard work paid off 🙂
Natasha this looks so good...I almost can smell it... nothing is better than homemade bread 🙂