
Tangy, crunchy, and full of probiotics, fermented vegetables are one of my favorite condiments. This simple recipe delivers a flavor that no store-bought version compares to.
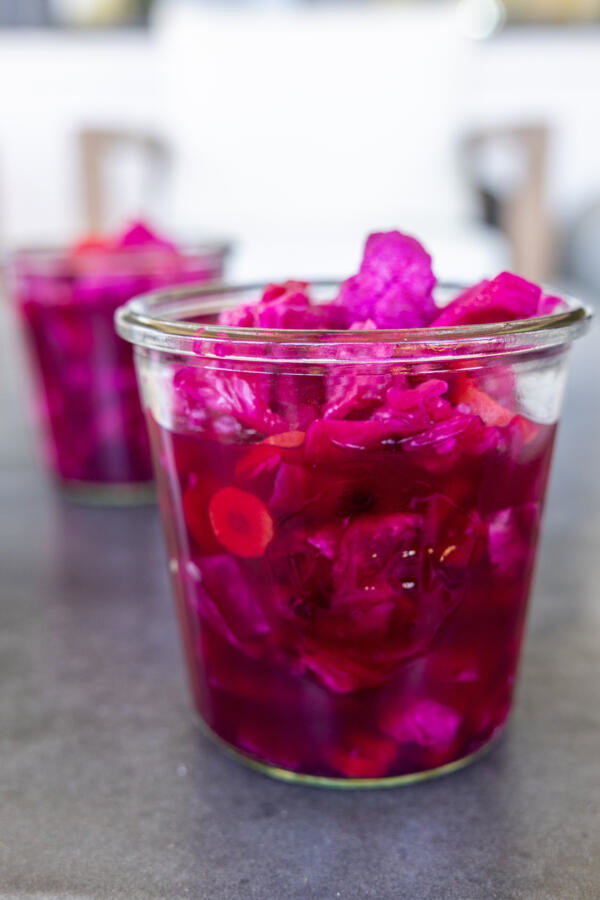
One of my favorite things about my childhood was my mom cooking with whatever vegetables and fruits were in season. I love carrying that into my own lifestyle so many years later. I was amazed at how she knew how to ferment cabbage, carrots, and almost anything else we had from our large garden, and as a result, we could eat fresh vegetables (technically) all winter long!
This recipe brings back so many of those memories from growing up in Ukraine. Today, I love having fermented veggies on hand for a quick snack or if I feel like I need to up my veggie intake for the day. I especially love them after traveling (and you know we like to travel a lot!). On the day-to-day, they’re a great nutritious addition to any meal. Plus, fermenting vegetables are known for their good benefits on gut health (due to the live probiotics) and digestion. If you love kimchi, you’ll love these fermented vegetables.
Fermentation (Lacto-Fermentation) vs Pickling
Fermentation is often confused with pickling. Here’s the difference: fermentation uses natural, beneficial microbes to create lactic acid, which preserves the veggies and gives them a tangy flavor. Pickling, on the other hand, uses an acidic liquid like vinegar to give that tangy flavor – no acid involved.
Quick pickling is super quick, whereas fermentation often takes at least a couple of days. But the result is always worth it — crunchy, sour, probiotic-rich veggies that keep sharing health benefits for months!
Serving ideas: Eat the veggies straight from the jar as a snack, pile them onto grain bowls, tuck into sandwiches, or chop straight into fried rice. Delicious! You can also drain a portion and toss it with sunflower oil and chopped green onions. It’s so good!
Ferment Vegetables Video
How to Ferment Vegetables
Most fermentation recipes follow the same basic structure. My recipe might have slight differences, but that’s just because I like to follow my mom’s lead from so many years ago!
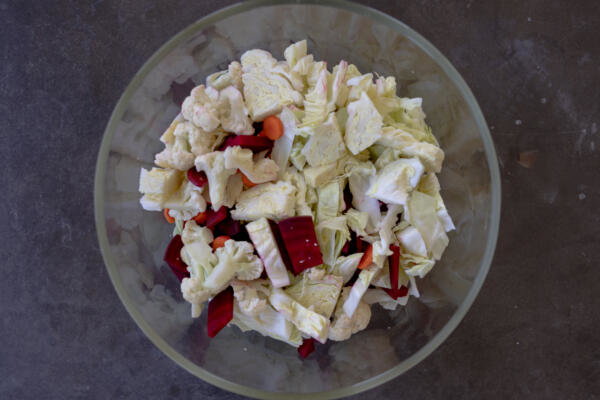
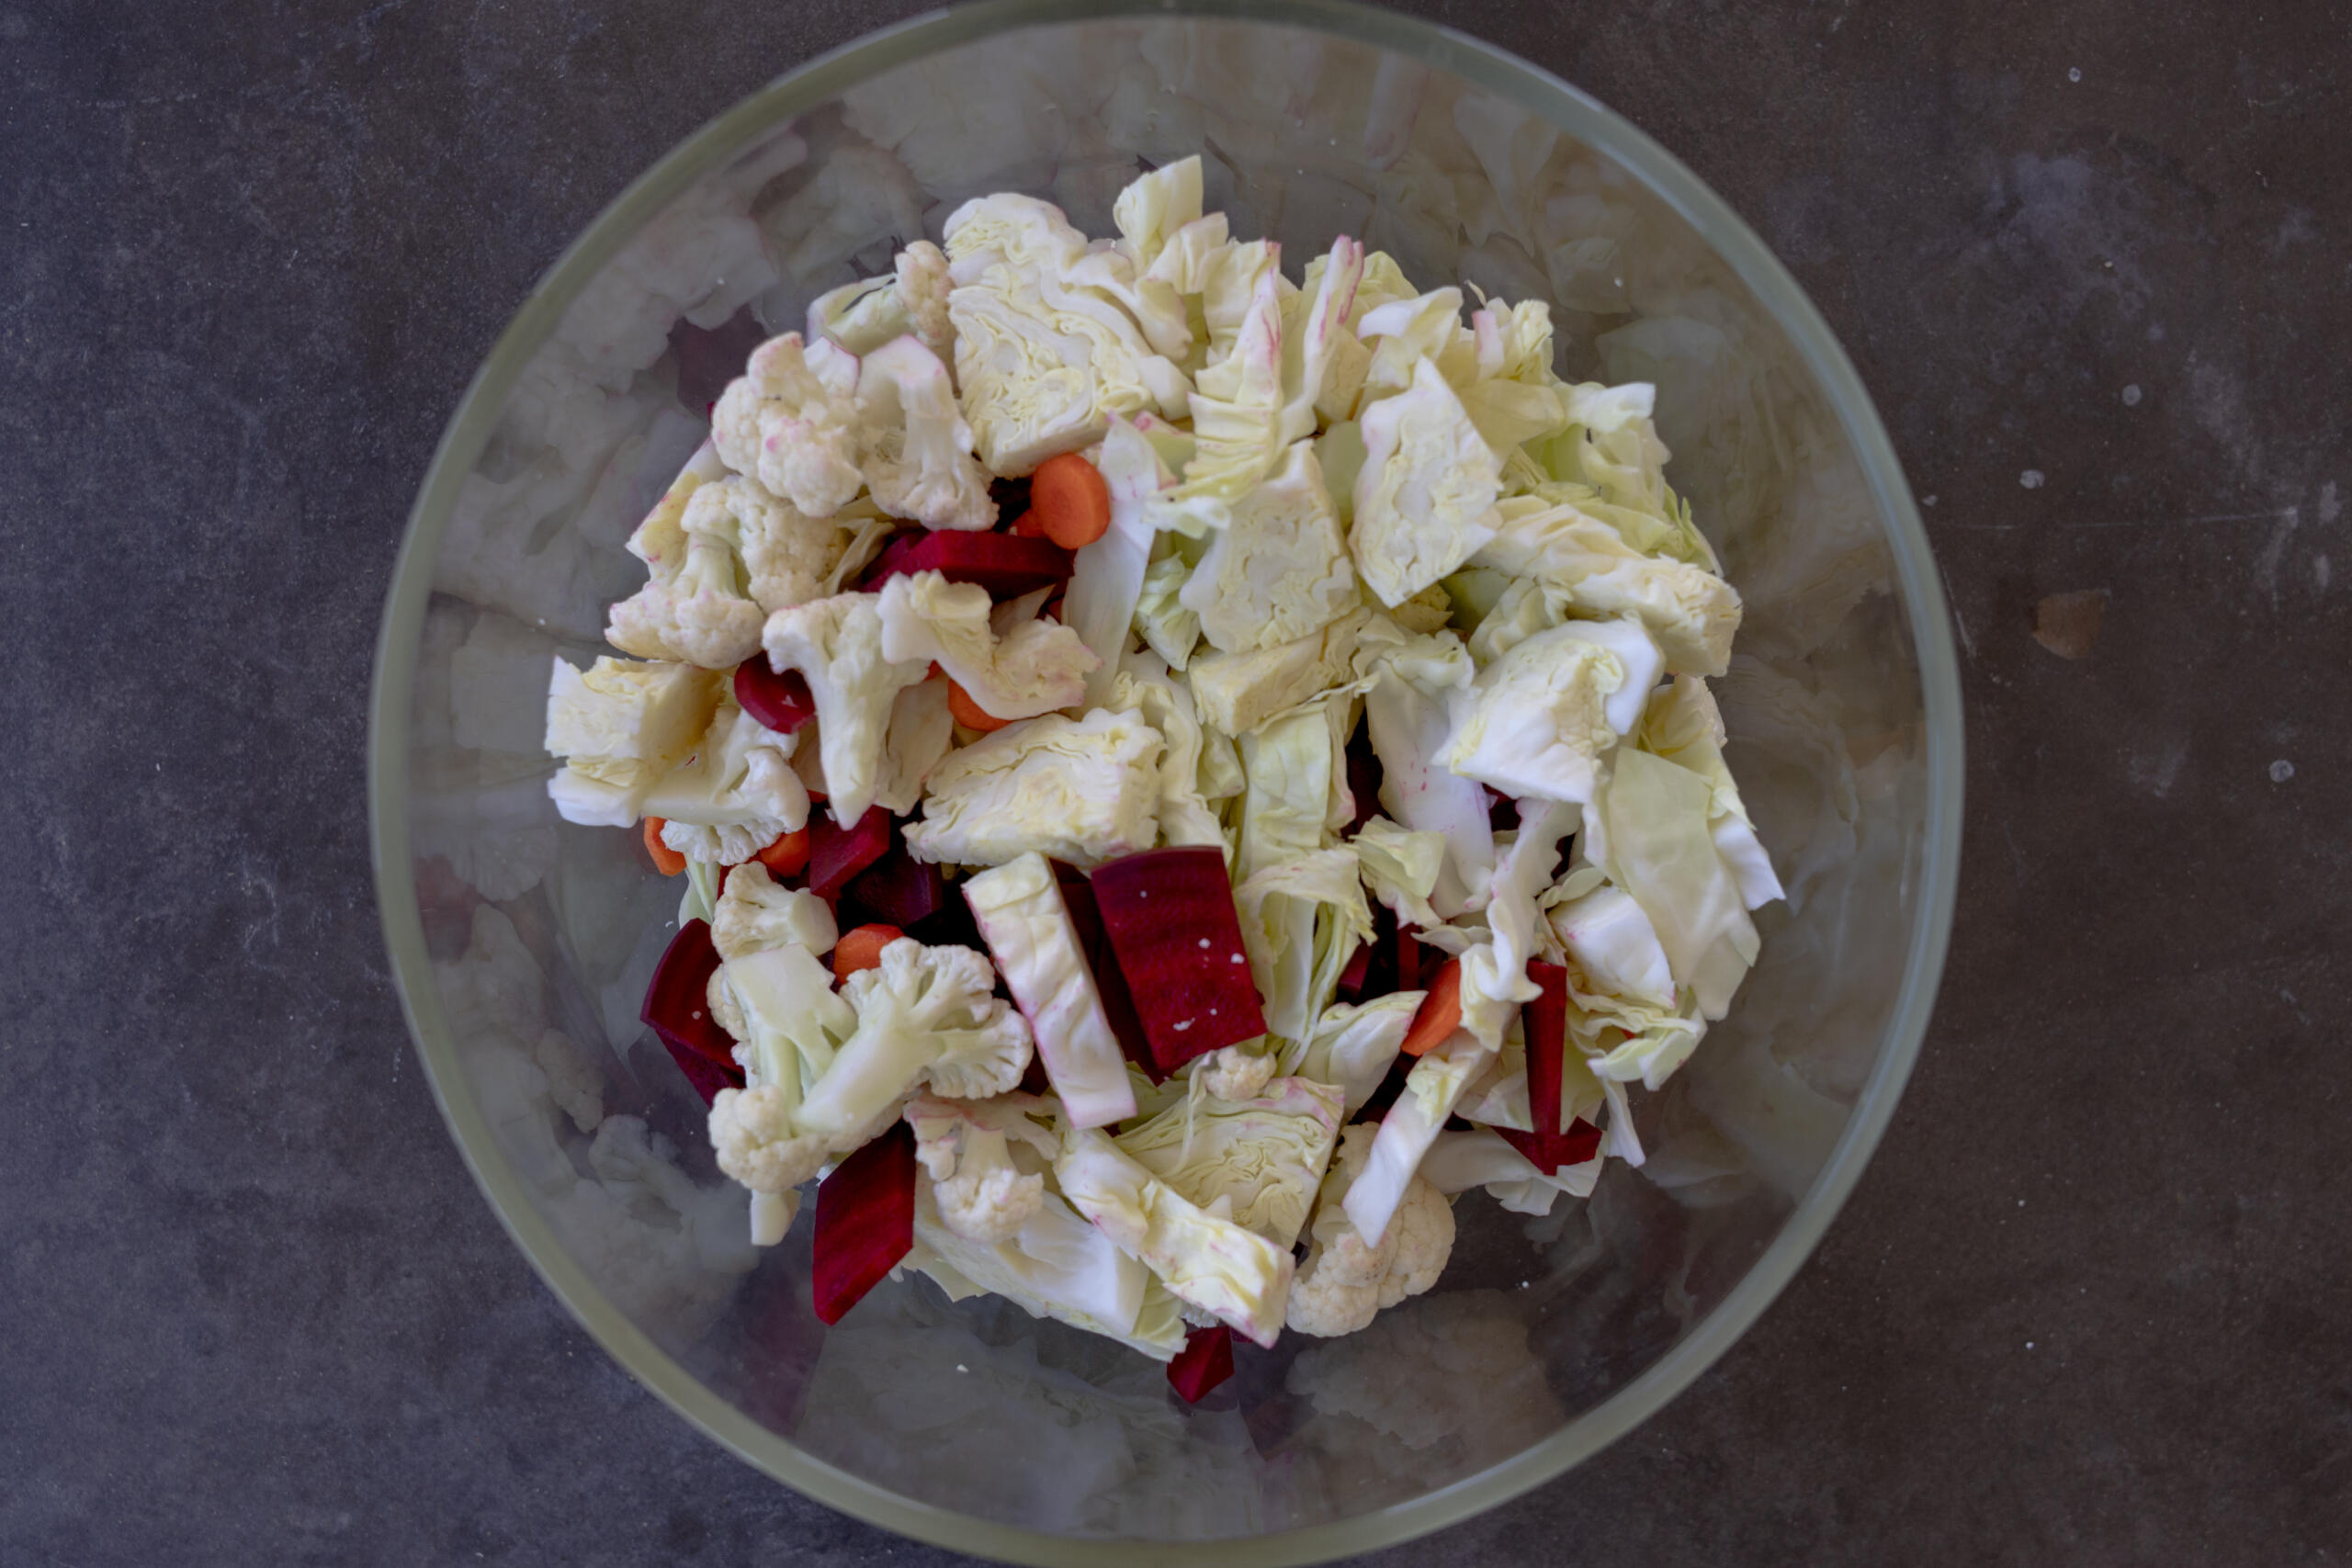
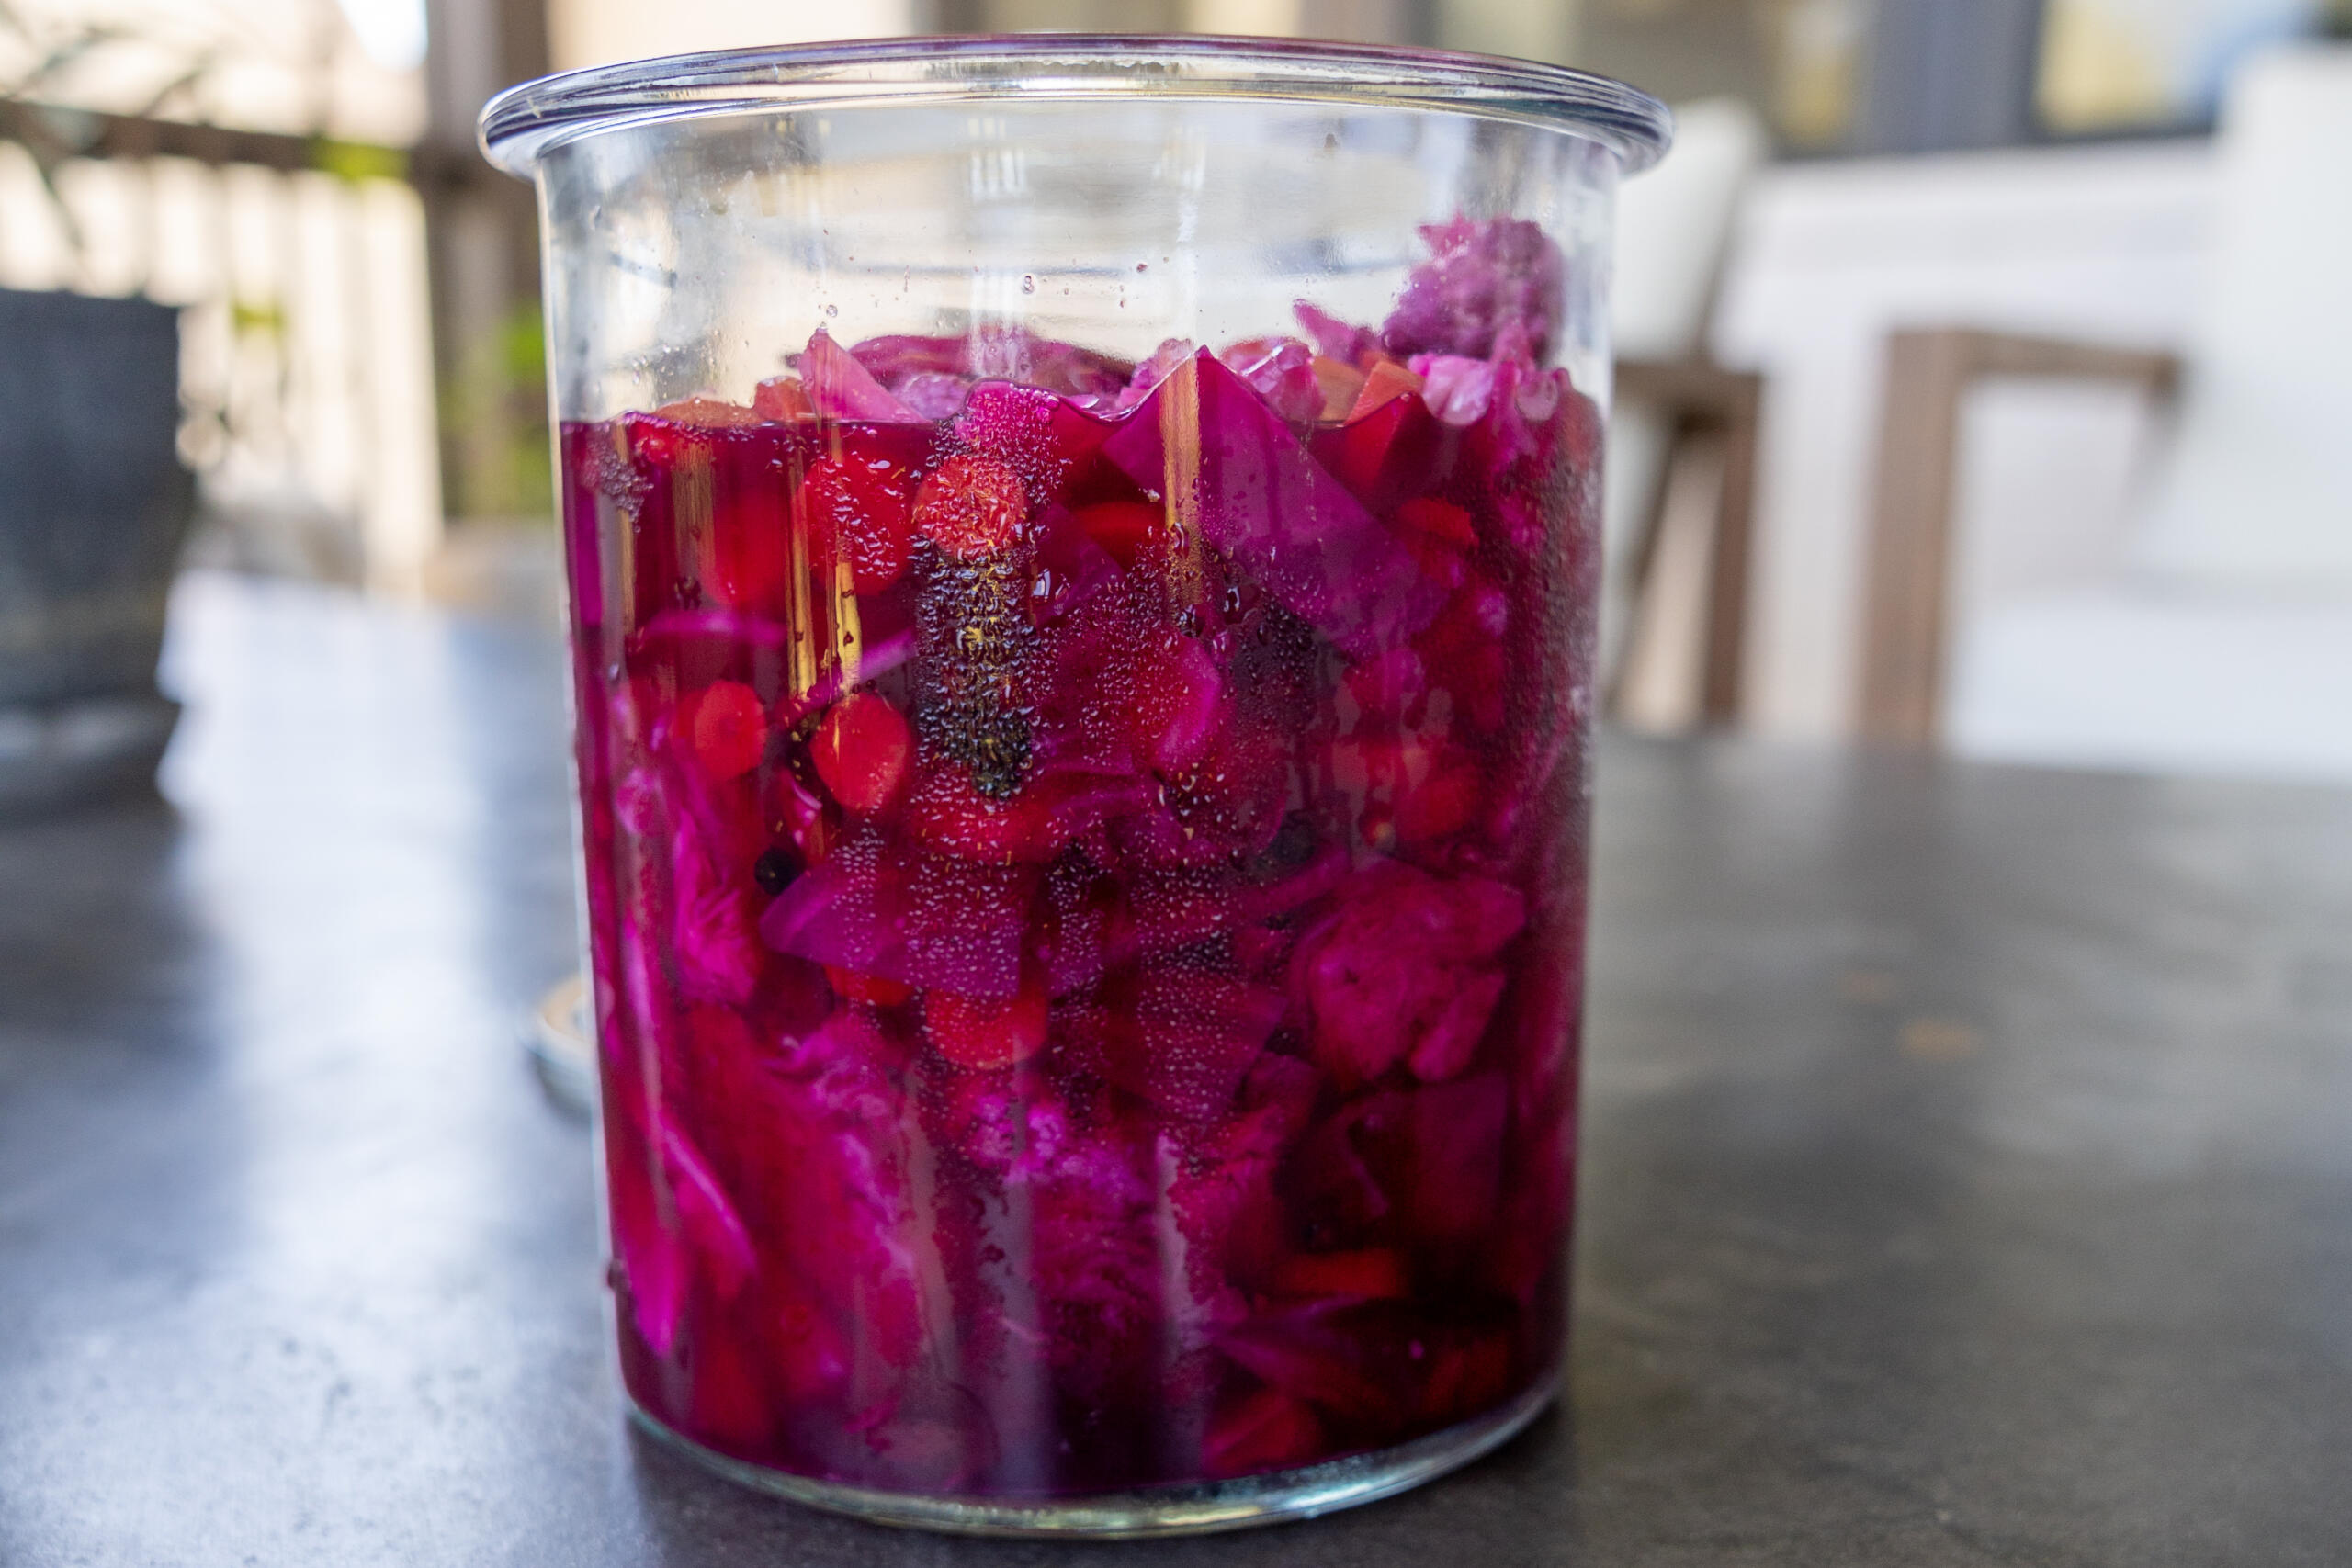
- Clean and cut: Wash and trim the cabbage, cauliflower, beets, carrots. Cut them into even pieces so they ferment at the same rate. Layer them in a large, clean, heat-safe jar.
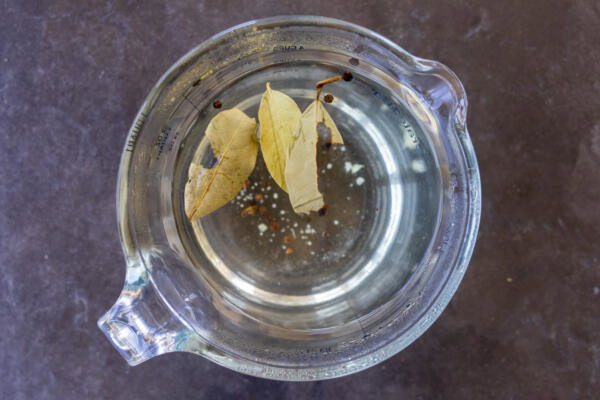
- Make the brining solution: Combine the hot water, sugar, salt, peppercorns, and bay leaves. Stir until the sugar and salt completely dissolve. Pour it over the veggies until they’re fully covered.
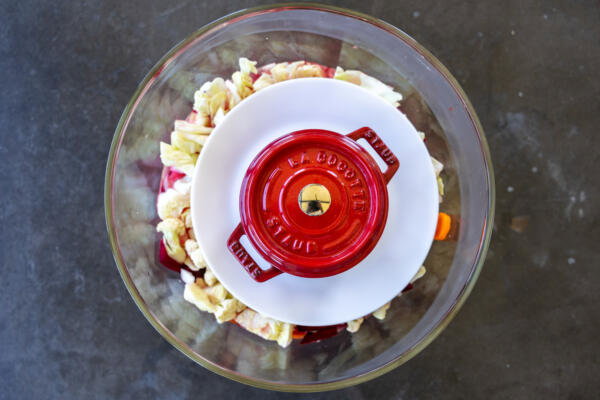
- Press down on the veggies: Press the veggies down to release any trapped air. Add more brine until there is about one or two inches of space at the top (this allows for the brine to bubble without spilling over). Use a fermentation weight to keep the veggies covered.
- Let the veggies ferment: Close the jar, then set it on a plate to catch any overflow. Leave it at a cool room temperature (68°F – 72°F) to begin the fermentation process.
- Check the veggies on day three: Check the fermentation on day three. The veggies may be ready, or may need an extra day depending on the temperature in the kitchen. If ready, transfer the veggies to an airtight mason jar and store in the fridge.
Interested in some variations? It’s totally ok to leave out or swap some veggies out with other hard, crunchy veggies. In general, cabbage, carrots, beets, cauliflower, radish, and onions are good veggies to ferment. Avoid cucumbers and zucchinis in this recipe – they’re more suitable for pickles! Then, add flavorings like garlic, dill seeds, chili, ginger, mustard seeds or celery for extra flavor.
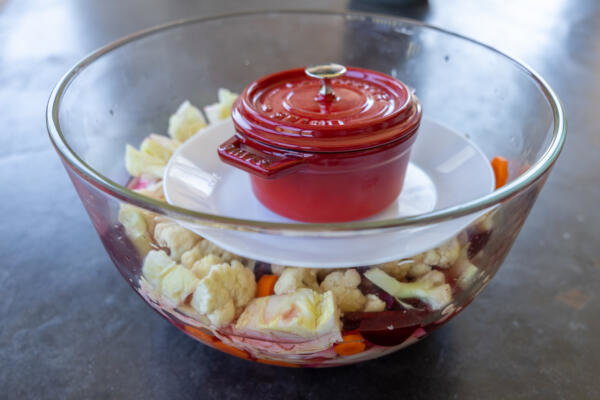
Fermenting “Equipment”
You can really get by with fermenting using whatever supplies you already have. However, if you don’t have any or really want to elevate your game, here are the four things I do recommend.
- Jar: A quart or half-gallon jar is perfect for fermentation. If you’re going to be fermenting often, I highly recommend getting this. I prefer glass jars or high-grade stainless steel jars instead of plastic.
- Weights: Air exposure invites mold, so use a weight (glass, ceramic, or a water-filled bag) to help keep the vegetables submerged at all times.
- Lids: A loose lid, airlock lid, or cloth-and-rubber-band cover allows gas to escape. If you use a regular airtight lid, make sure to burp the jar 1-2x daily.
- Handy extras: A kitchen scale is super useful to get precise measurements, a tamper or pounder makes packing veggies easy and fast, and a plate under the jar makes cleanup super easy if any juices seep out.
Tips for Fermented Veggie Success
This recipe has been in my family for decades now. Along the way, we’ve definitely picked up some tips we make sure to share with everyone, including you.
- Avoid direct sunlight: It is best to keep the jar in a cool area away from direct light. Too much direct light can make the jar too warm, resulting in some weird flavors you may not want.
- Let the gas escape: Make sure to cover the jar loosely, use an airlock lid, or burp the jar daily to release CO₂. I don’t want anything exploding on you! I like to slide a clean chopstick around the inside of the jar to release air pockets, then repack the veggies so they remain submerged.
- Keep the veggies submerged: Air is the enemy to good fermentation. Tamp the vegetables down and use a weight so they stay below the brine level at all times.
- Use clean utensils: Be careful not to accidentally introduce other ingredients or bacteria into the fermenting veggies. Wash and use clean utensils each time, but there’s no need to sterilize here (reserve that for canning).
- Mind the salt: This recipe calls for fine table salt, but make sure it’s uniodized. Iodized salt can muddy flavors and slow fermentation. I would also be careful against limiting the salt too much (such as if you’re on a low-sodium diet), as the salt is the “safety barrier” that prevents mold and bacteria from growing.
- Filter your water: Chlorinated tap water may inhibit good bacteria. If you’re worried about this, it’s best to use filtered water.
- Taste early, taste often: Start sampling the veggies on day 3. The warmer your kitchen, the faster fermentation progresses. Move the whole jar to the fridge when the sourness is just right.
- Cut the veggies uniformly: Slice the carrots about ⅛ inch thick and cauliflower into bite-sized florets so everything ferments at the same pace. Also, remove tough cabbage cores as they don’t ferment very well.
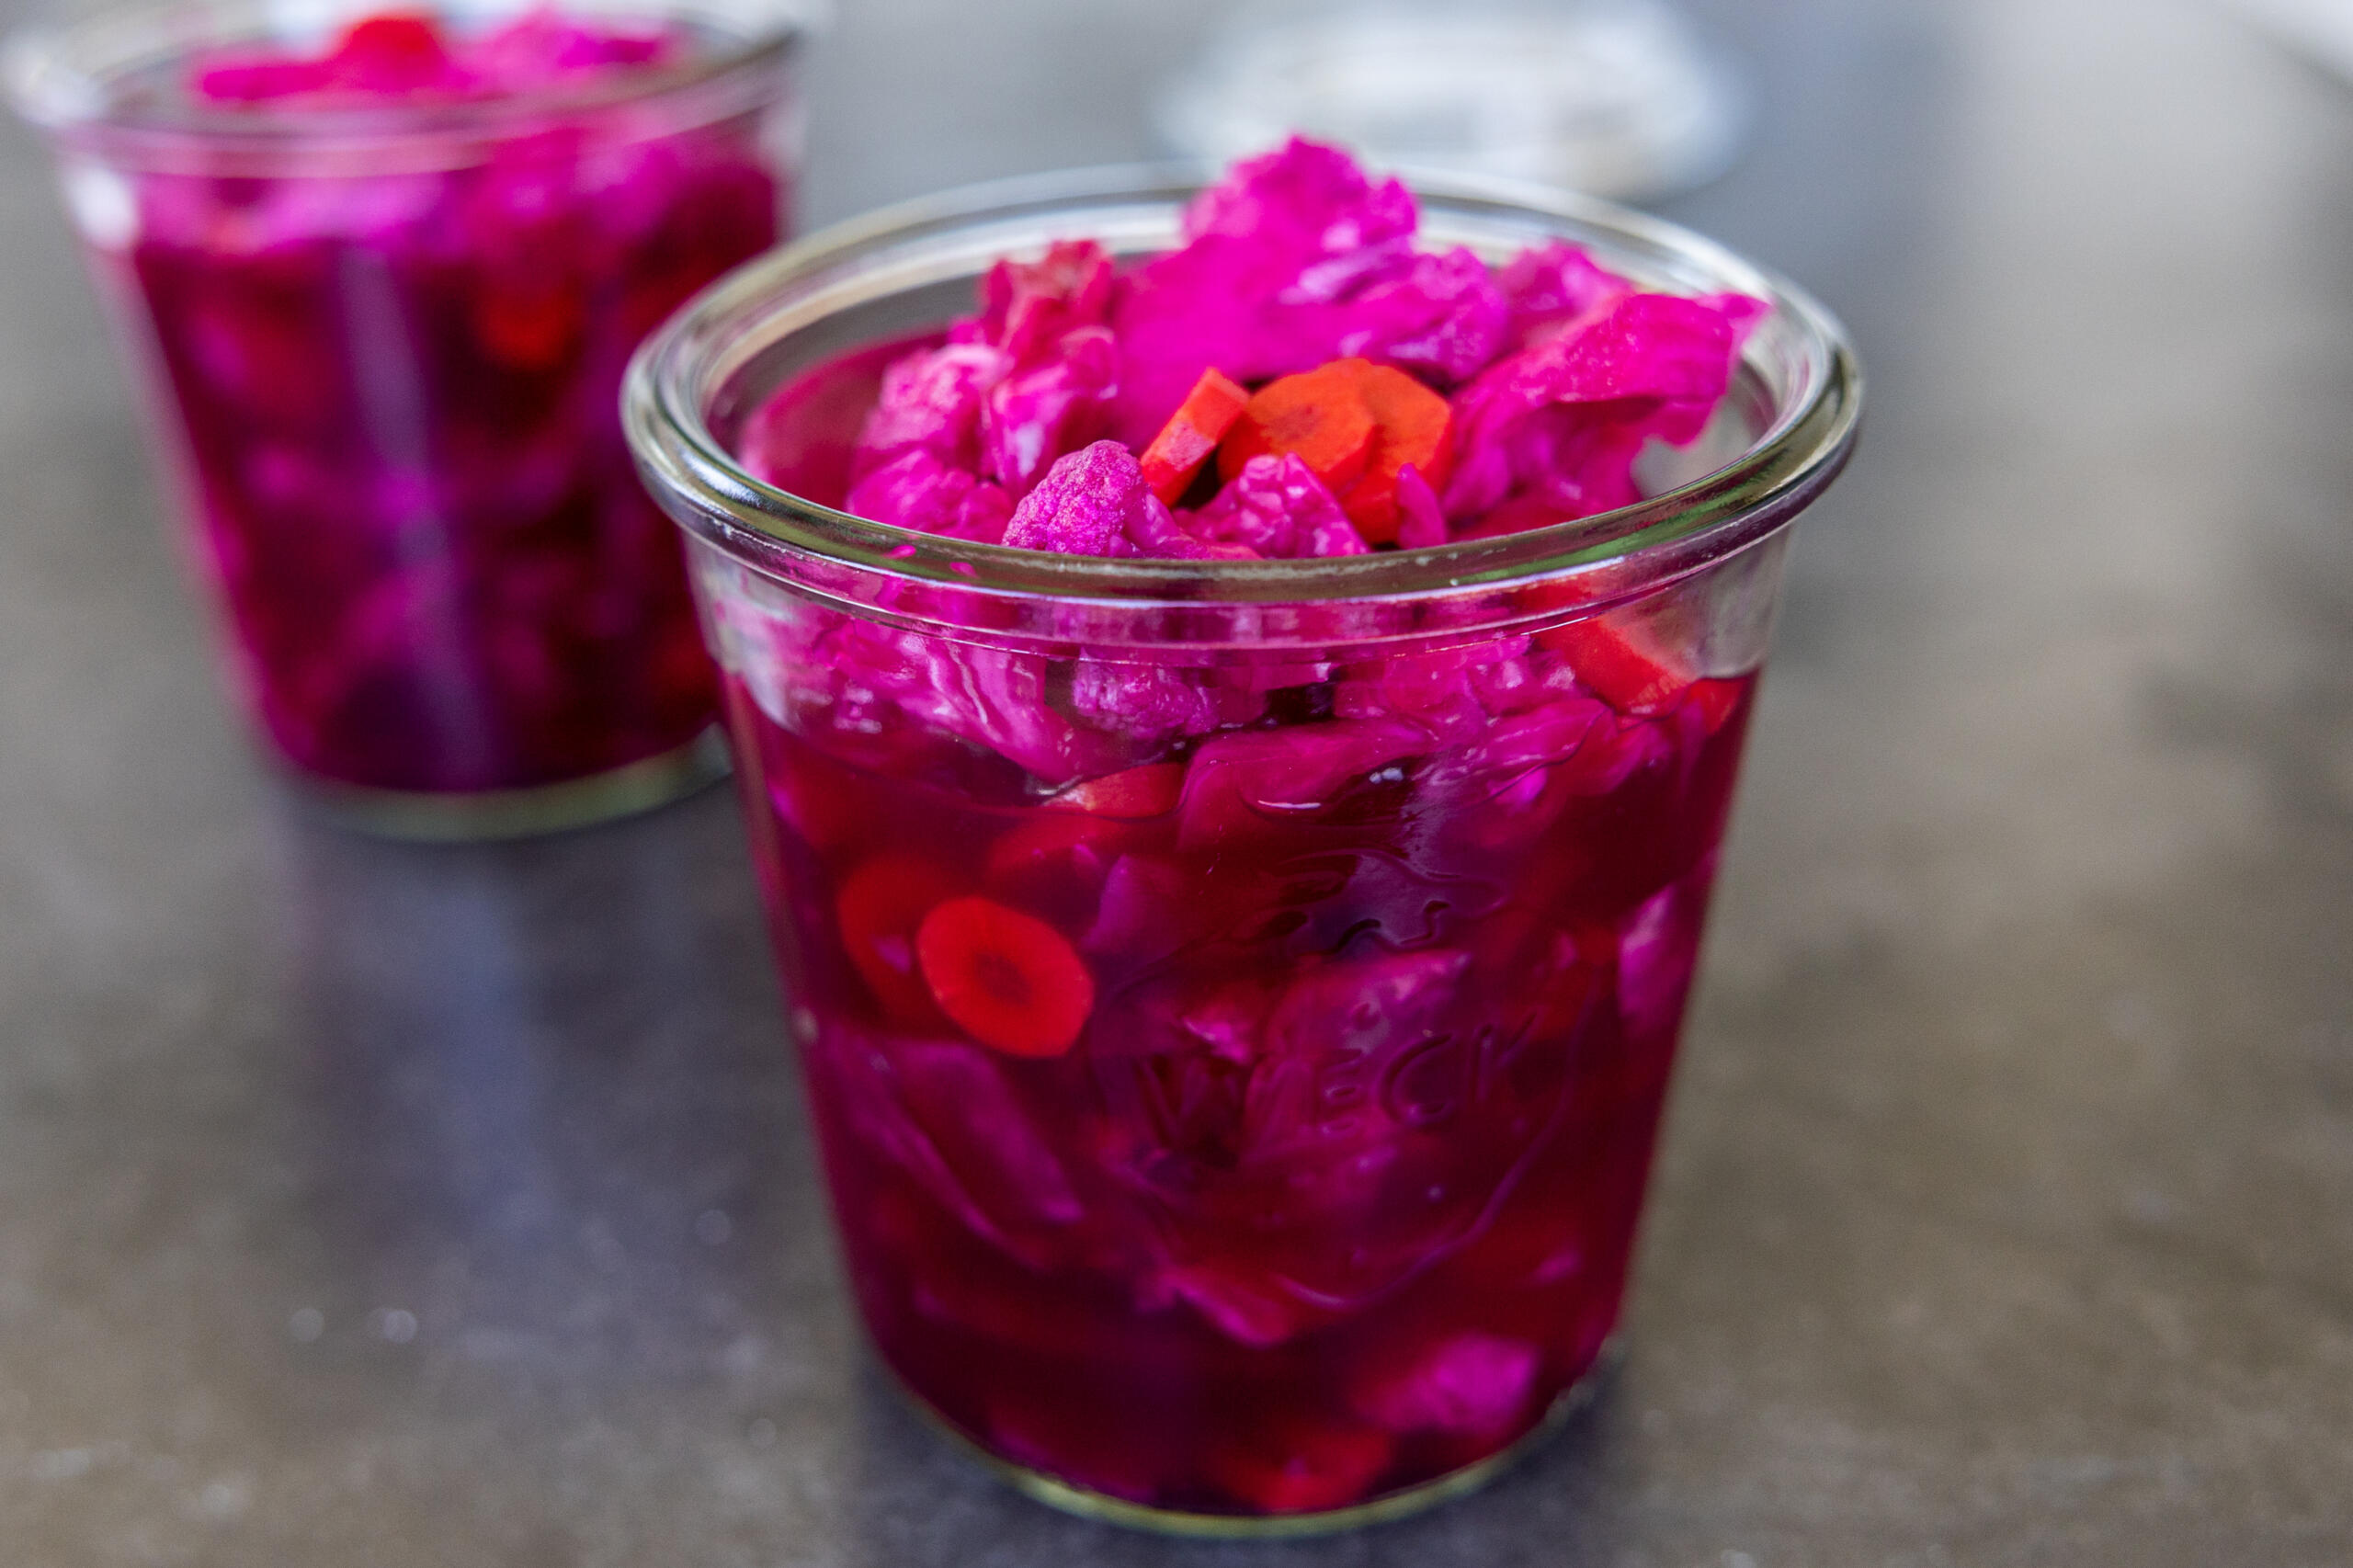
- Visually inspect the veggies and brine: What does a healthy fermented veggie jar look like? A cloudy brine is totally fine, as it means the lactic acid is working. A thin flat white film is also harmless kahm yeast that can be skimmed off. But, if you see fuzzy or colored mold, the veggies are unsafe and should be thrown out.
Did your veggies turn out limp or mushy? The culprit could be that they were over fermented, the veggies were not fresh or submerged entirely during fermentation, there was too little salt, or it fermented in too hot of a room.
Storing Fermented Veggies
It can be a little confusing knowing how to store fermented veggies when they’ve been fermenting on the counter already for a few days.Once the flavor is where you want it, transfer the veggies to an airtight jar in the fridge. Keep the lid on and the vegetables fully submerged in the brine. In the fridge, the veggies stay fresh for 3–6 months. The tang may deepen, but if it smells rotten or develops mold, throw it away.
Hot tip: I avoid freezing fermented veggies. Although you can theoretically do it, I find it changes the texture and flavor too much.
More Tangy Veggie Recipes
- How to Make Homemade Sauerkraut (Just 4 Ingredients) — A simple sauerkraut with only 20 minutes of prep
- Quick Overnight Sauerkraut — Quickly pickled cabbage, carrots, and bell pepper
- Pickled Cabbage Recipe (Crazy Easy) — Tangy and colorful cabbage, carrots, onion, and peppers
- Pickled Vegetables (AKA Giardiniera) — Italian-style mixed pickled vegetables
Recipe
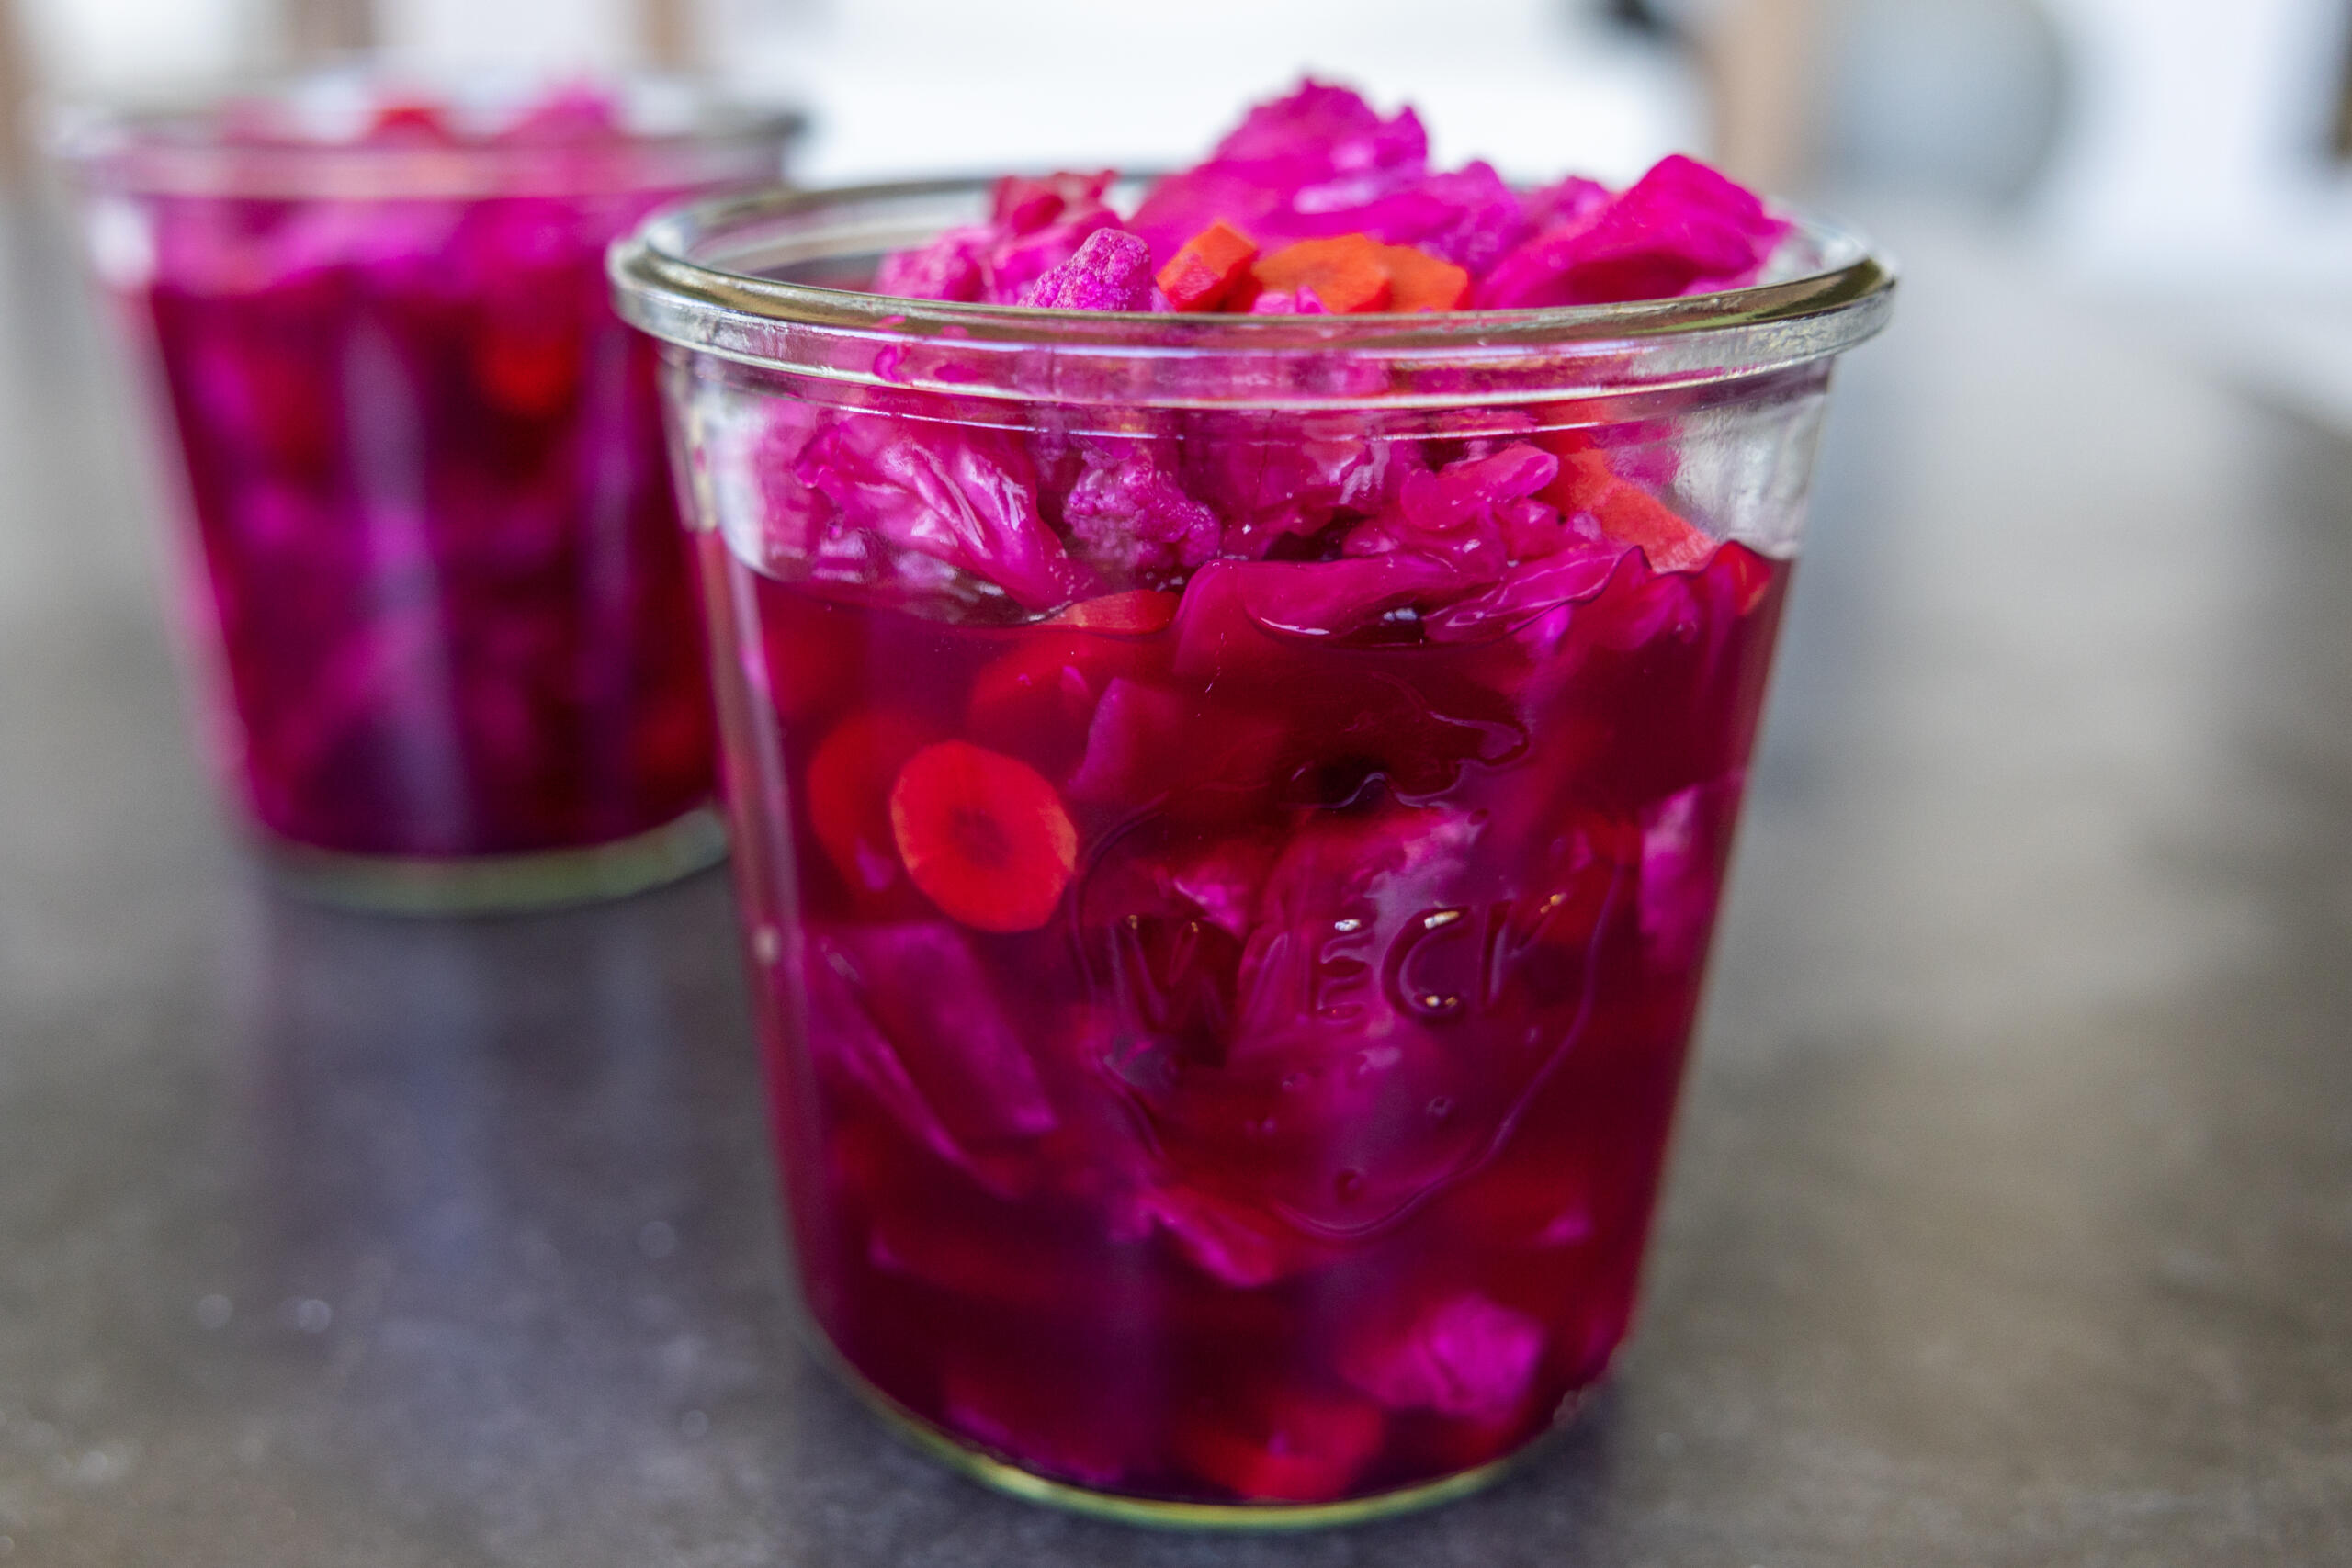
Ingredients
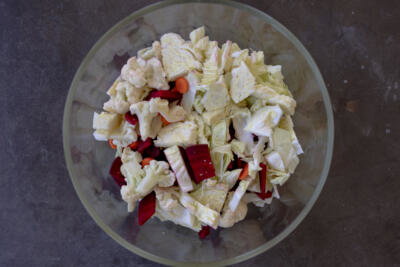
- 5 cups green cabbage roughly chopped
- 2½ cups small cauliflower florets
- 1 cup beets thinly sliced
- 1 cup carrots sliced
Brine
- 4 cups hot boiling water
- 3/4 tbsp sugar
- 1¾ tbsp fine table salt
- 1/2 tsp whole peppercorns
- 2 bay leaves
Instructions
- Wash and cut all your veggies. Layer the cabbage, cauliflower, beets, carrots in a large, clean, heat-safe jar.
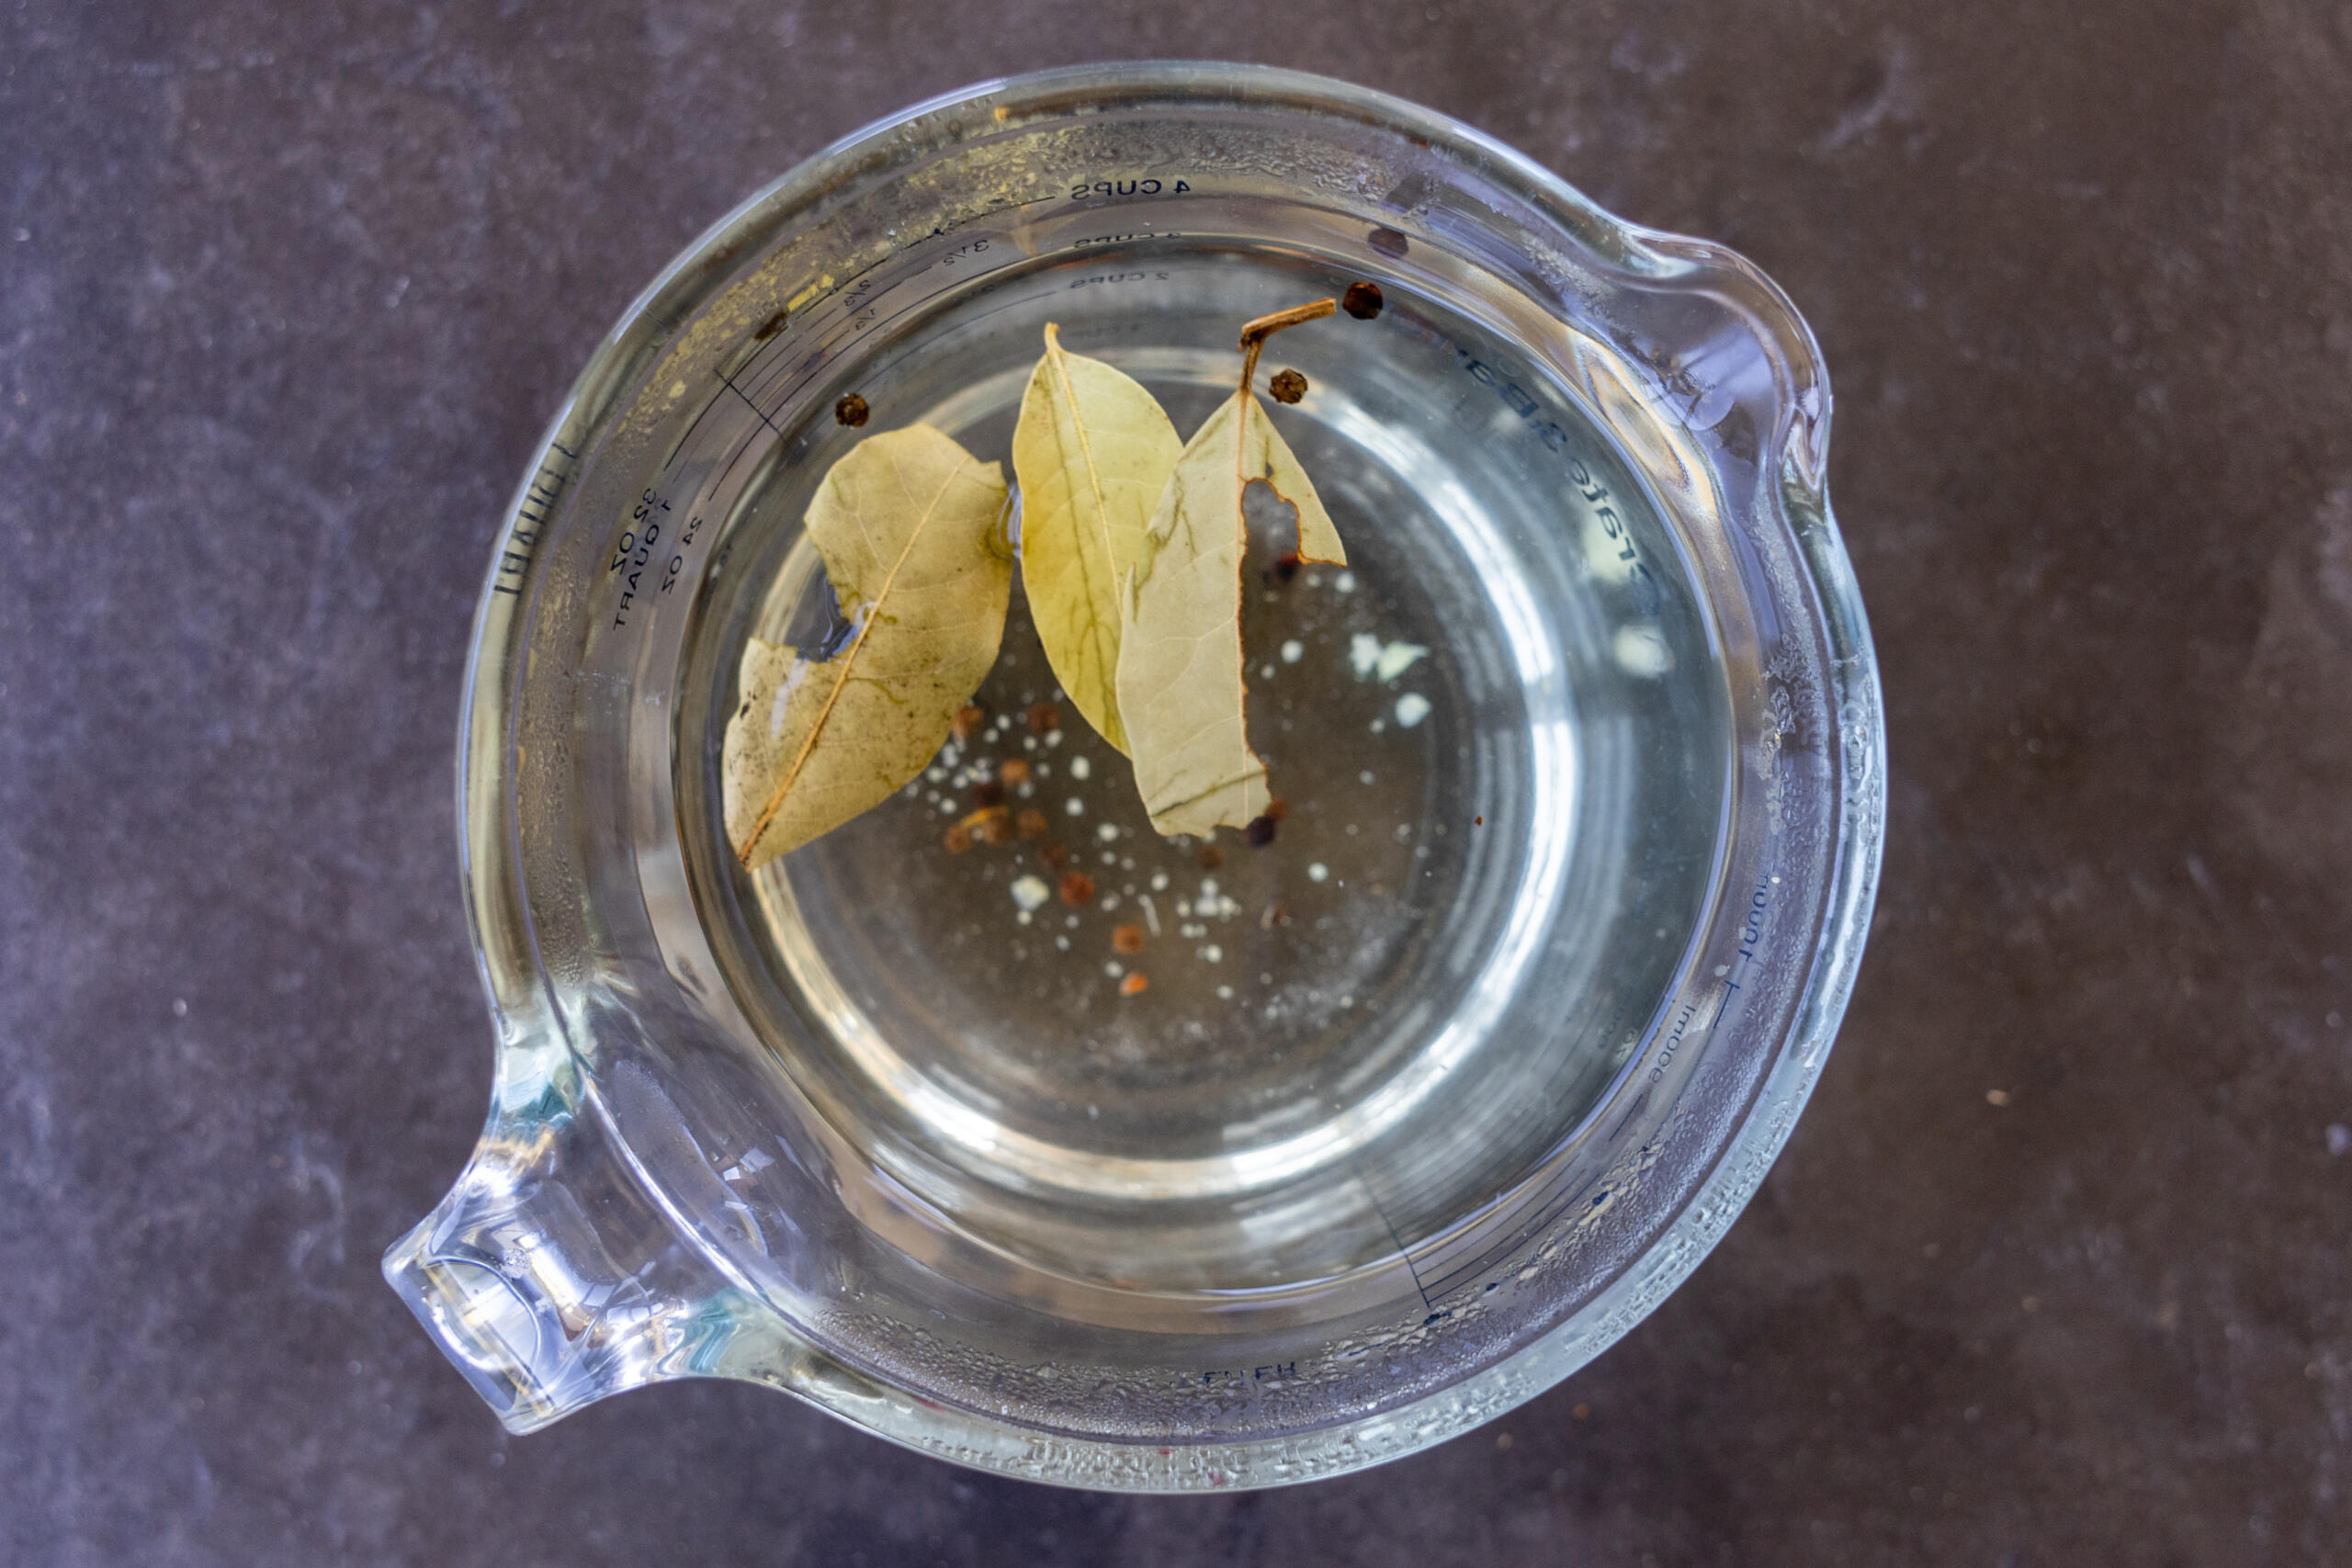
- Combine the hot water, sugar, salt, peppercorns, and bay leaves. Stir until the sugar and salt completely dissolve.
- Pour it over the veggies until they’re completely covered. Gently press the veggies down with a clean utensil to release any trapped air. Add more brine as needed, leaving 2 inches of space at the top. Use a fermentation weight to keep everything under the brine.
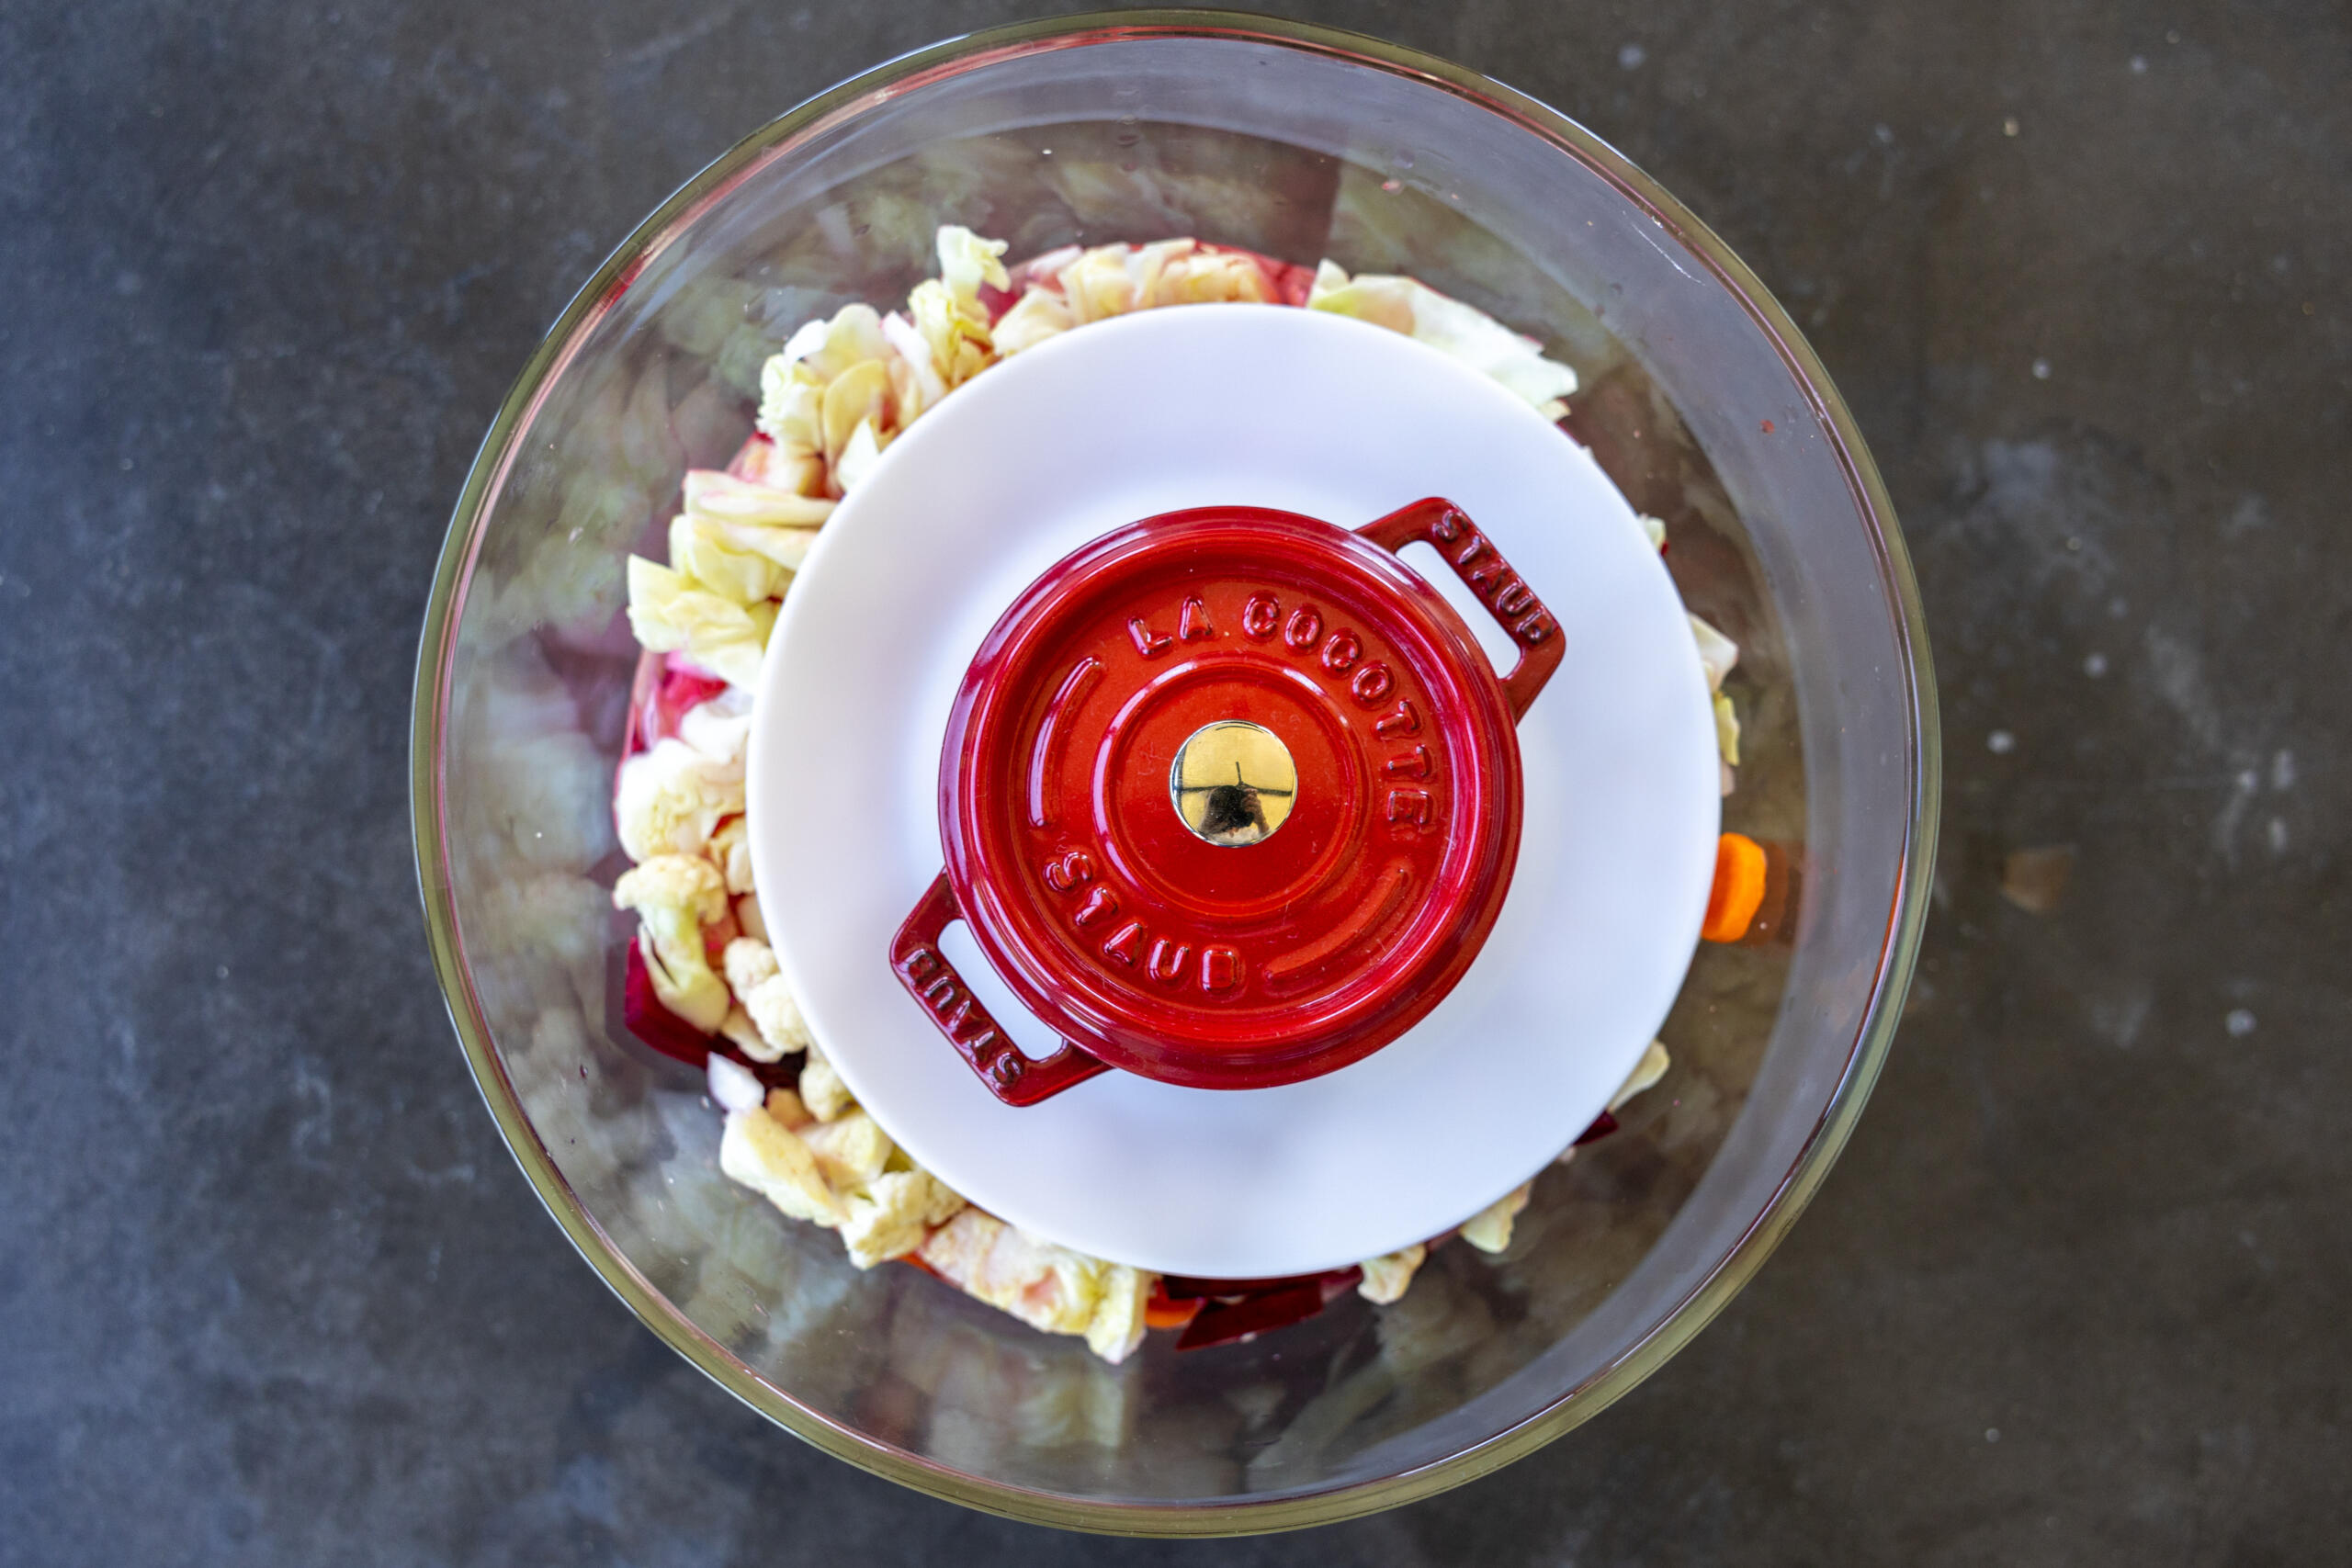
- Add a fermentation lid or airlock that allows gas to escape. Set the jar on a plate to catch any overflow and leave it at a cool room temperature, ideally 68–72°F.
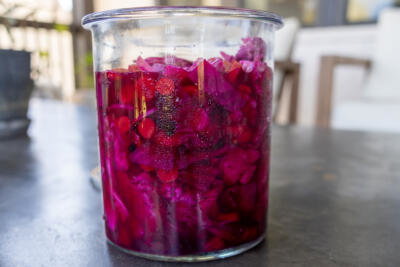
- Start checking the fermentation around day 3 or 4. The timing will depend on how warm your kitchen is, so use this as a guide rather than a guaranteed finish time. Once fermented, move the jar to the fridge.



No Comments