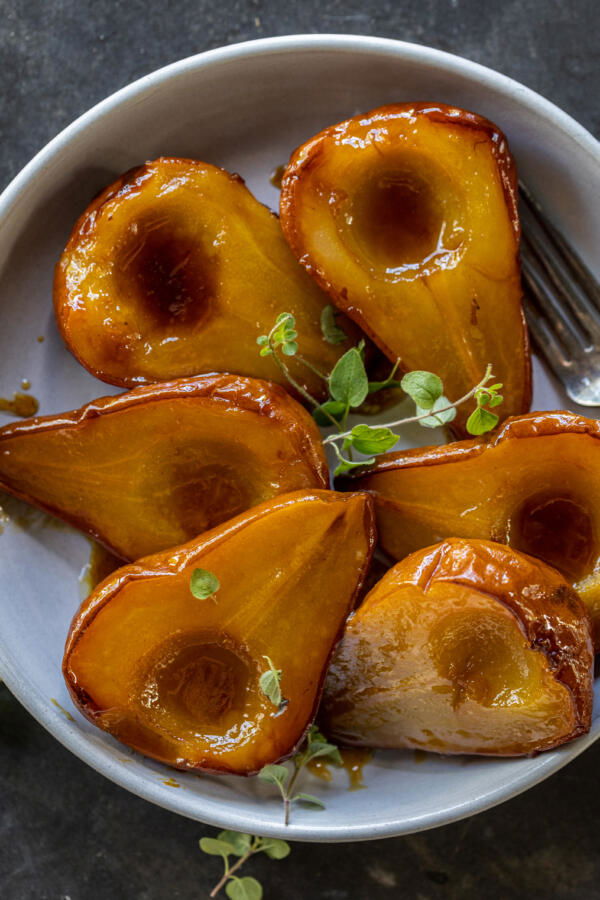
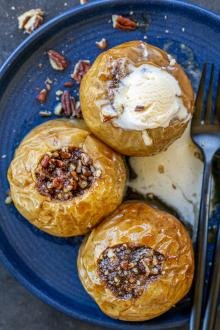
Transform fresh pears into an elegant dessert with this simple baked pears recipe. They come out so tender, juicy, and caramelized — perfect for a weeknight treat or dinner party!
Whenever pears are in season, my mind wanders back to the baked pears that my grandma would make in Ukraine. The scent of sweet, caramelized fruit would fill her kitchen, and I wouldn’t be able to resist digging in as soon as the pears left the oven. It’s one of those simple, rustic desserts I can never get enough of, and it brings back the sweetest memories.
Looking for something more decadent? These baked pears are stuffed with ricotta and sweetened condensed milk and topped with shaved chocolate and raspberries. YUM.
Baked Pears Video
How To Make Baked Pears
I love how these baked pears are nearly effortless to make and come together in one hour. Here’s a quick overview of the steps:
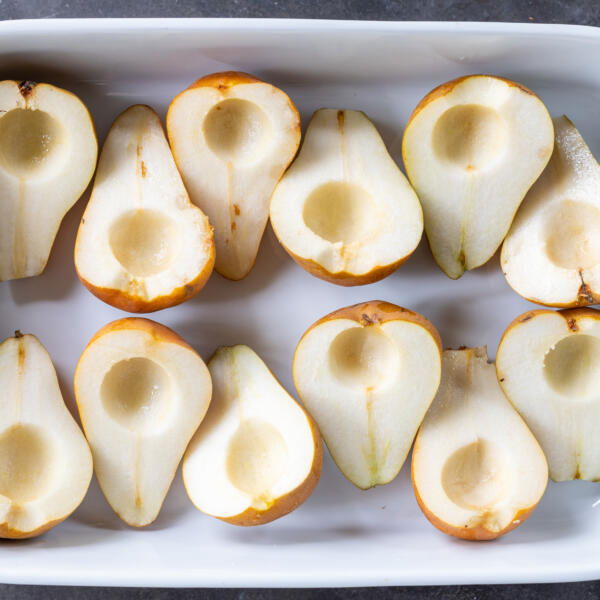
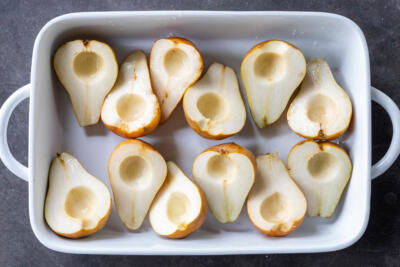
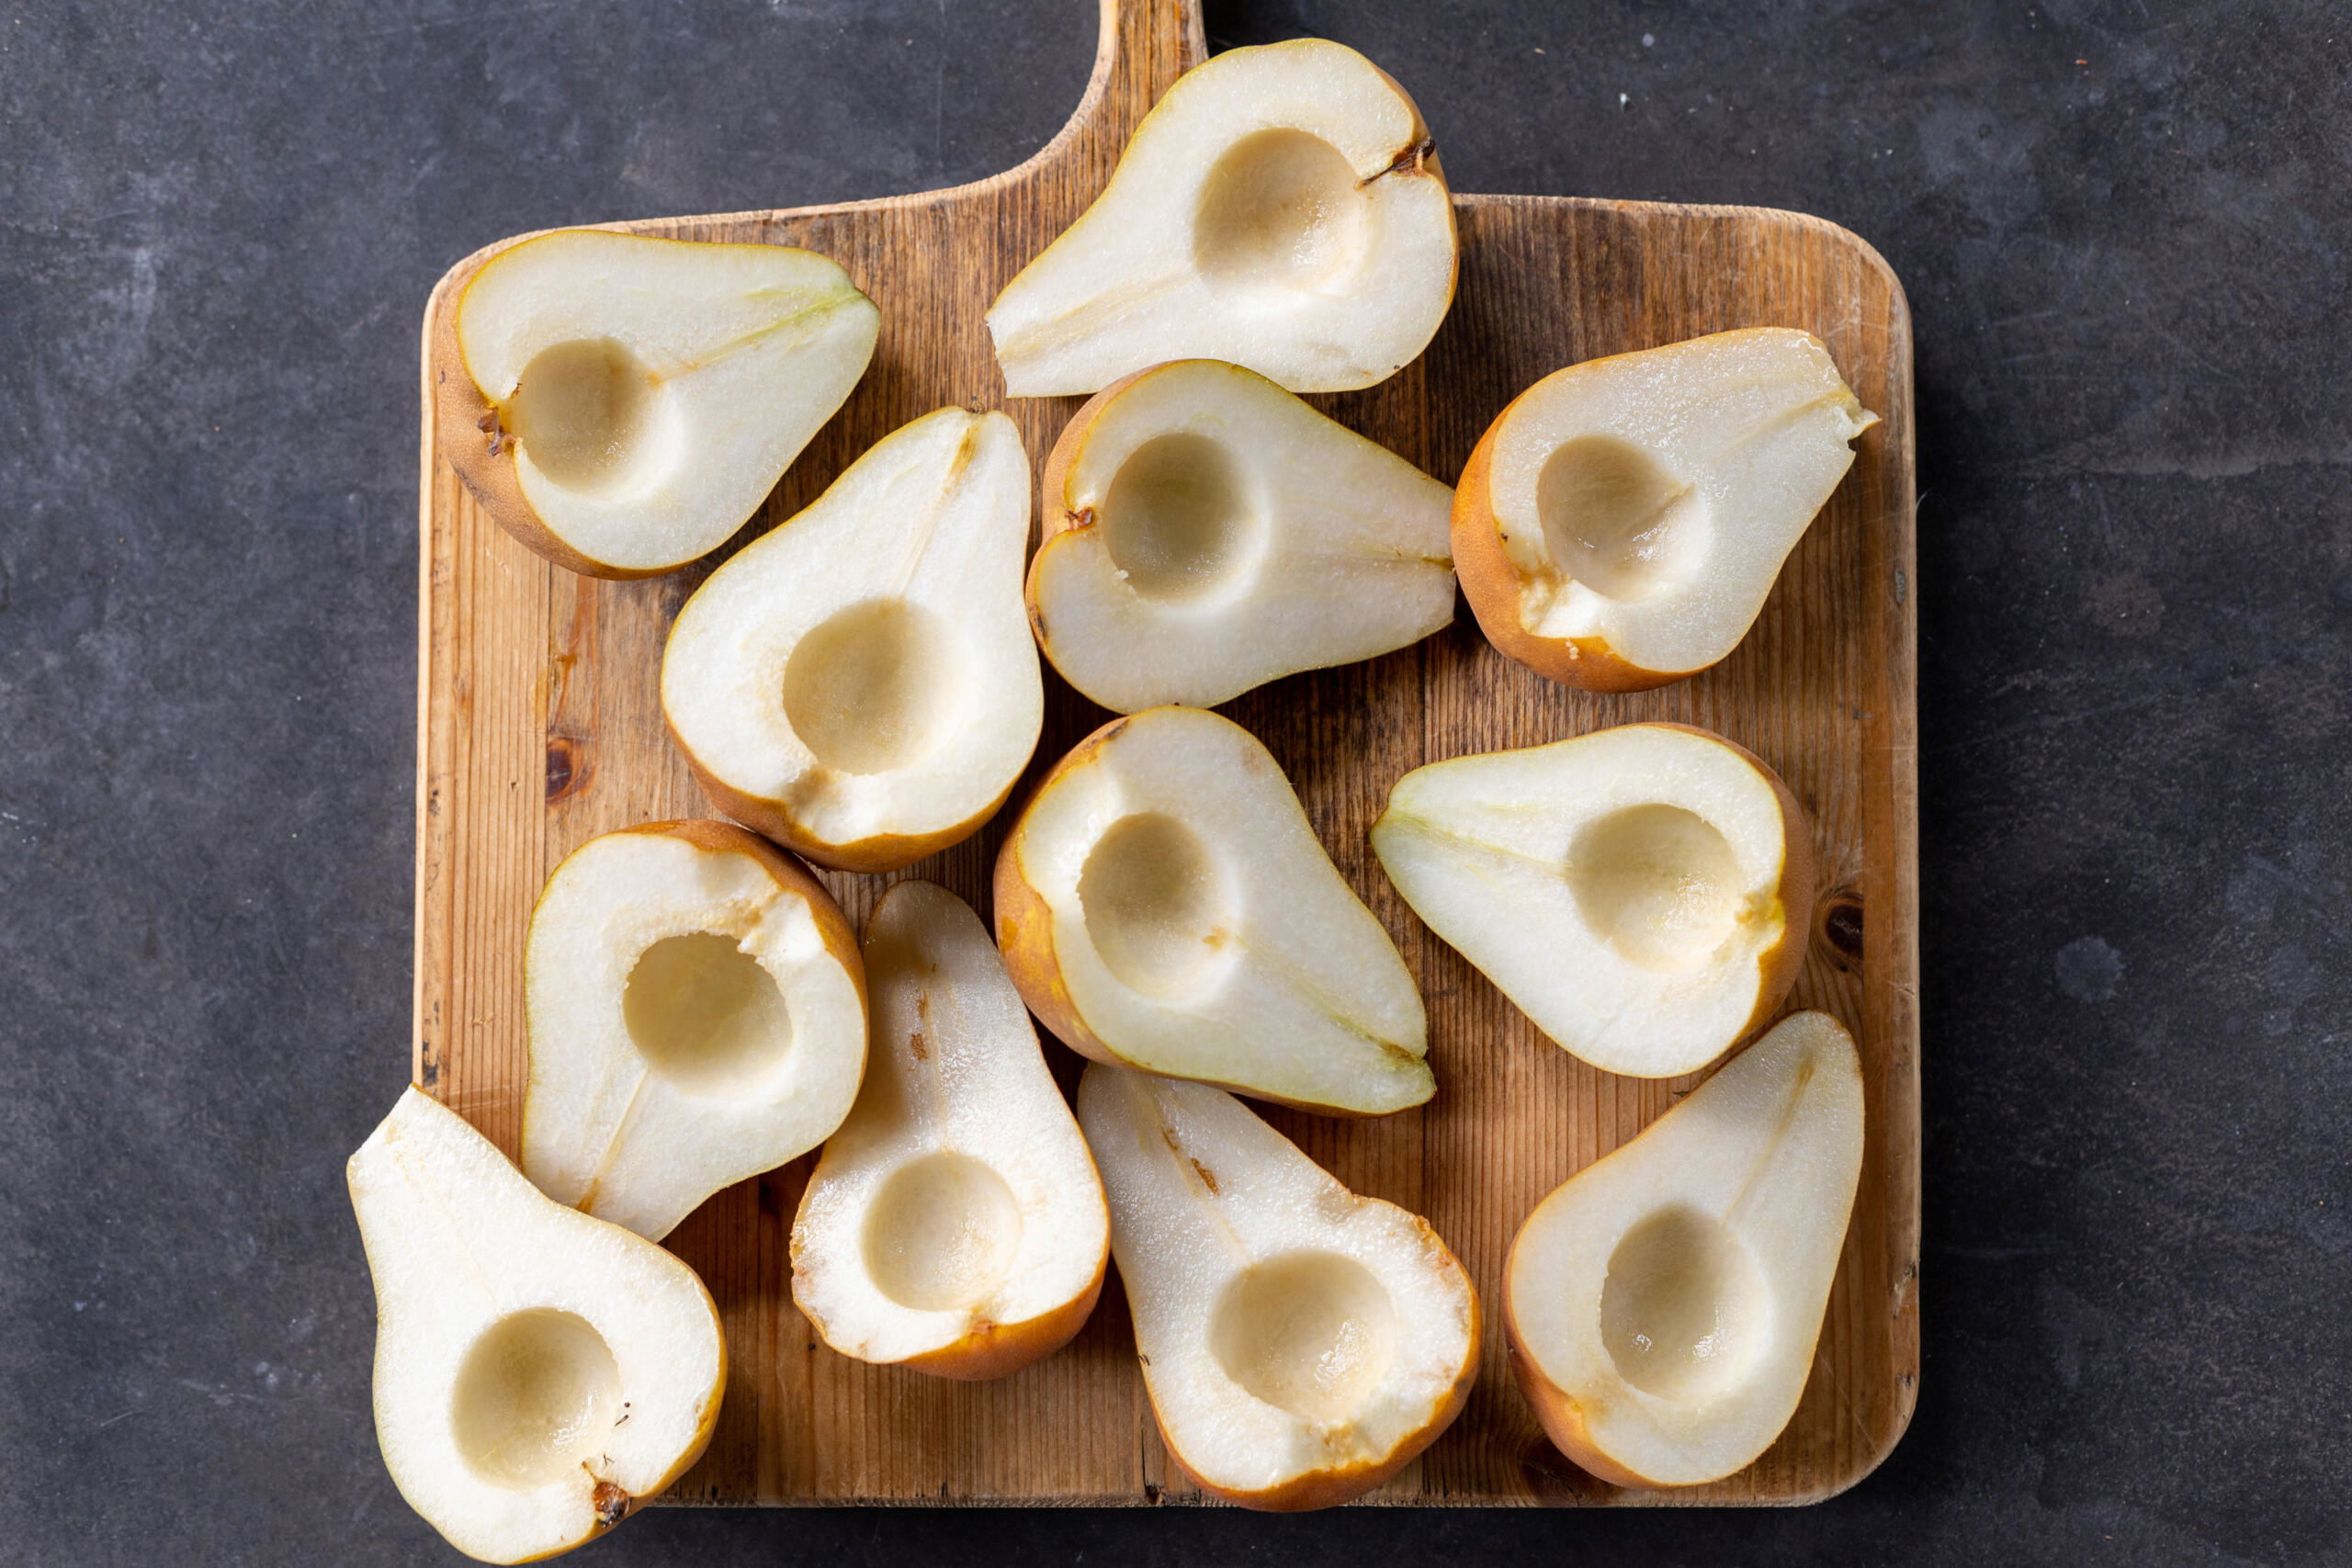
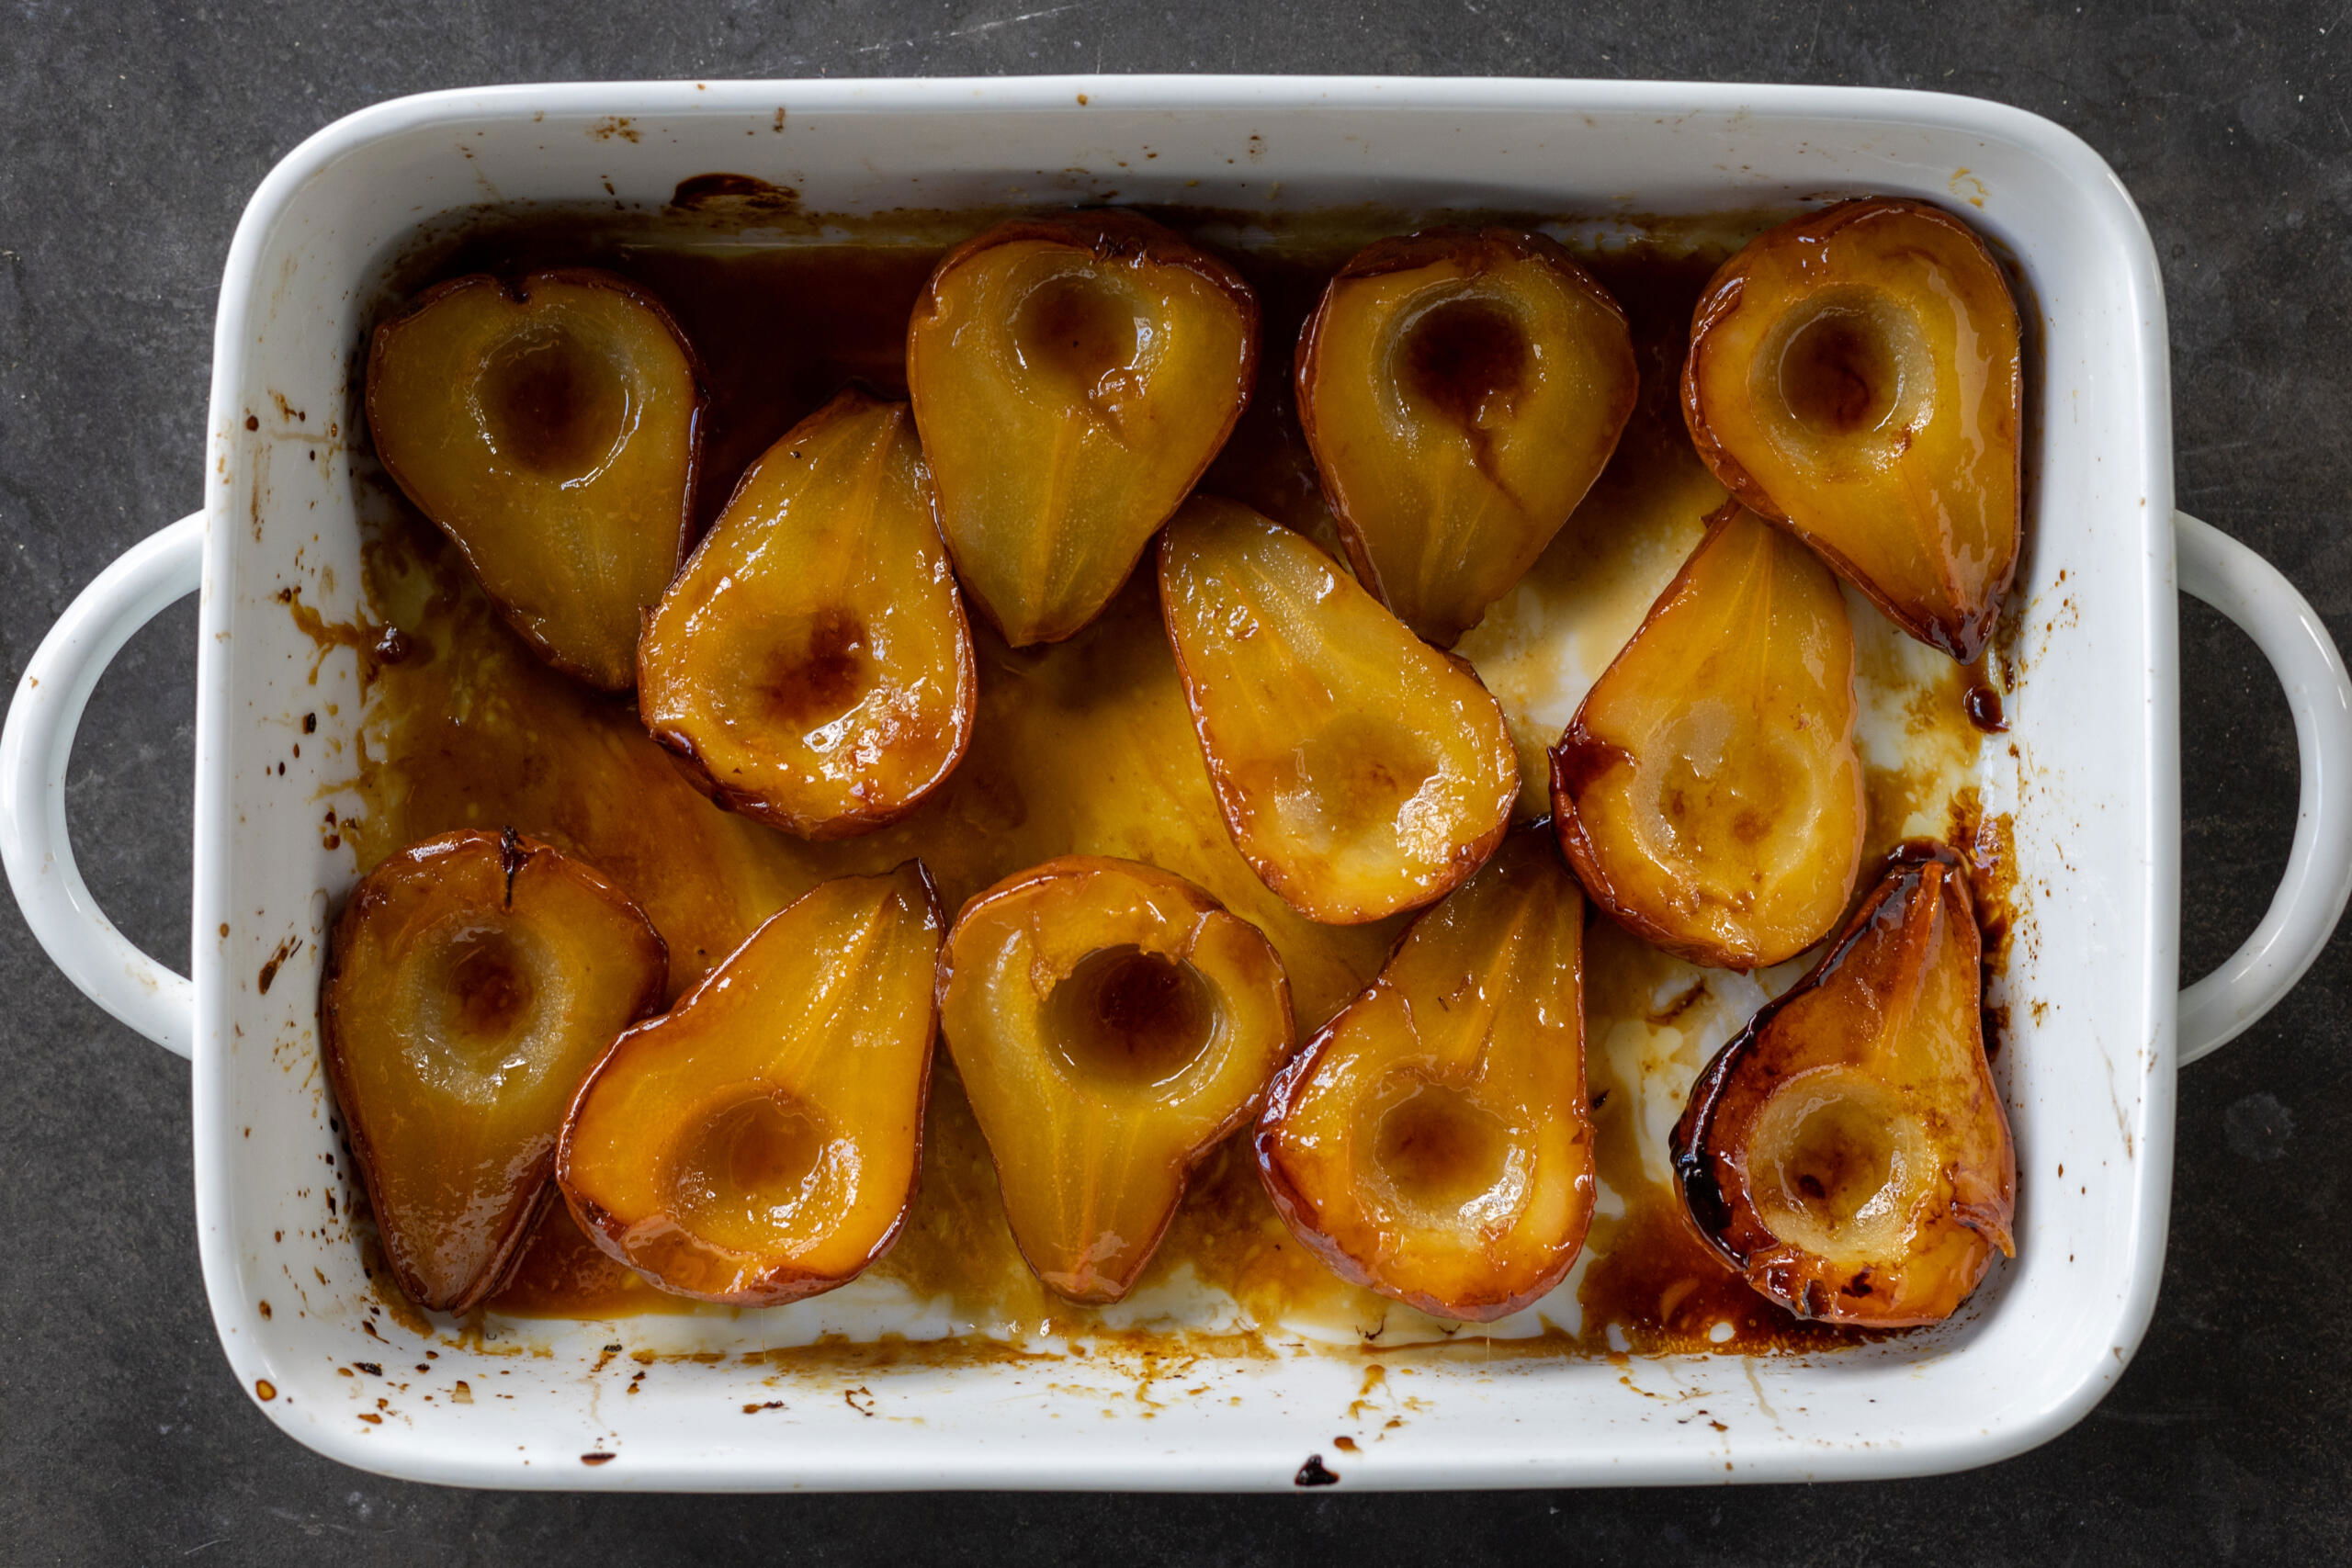
- Prep the pears: Preheat the oven to 400°F. Peel and core the pears (a melon baller comes in handy here), then place them cut-side up in a 9×13 inch baking dish with a drizzle of lemon juice.
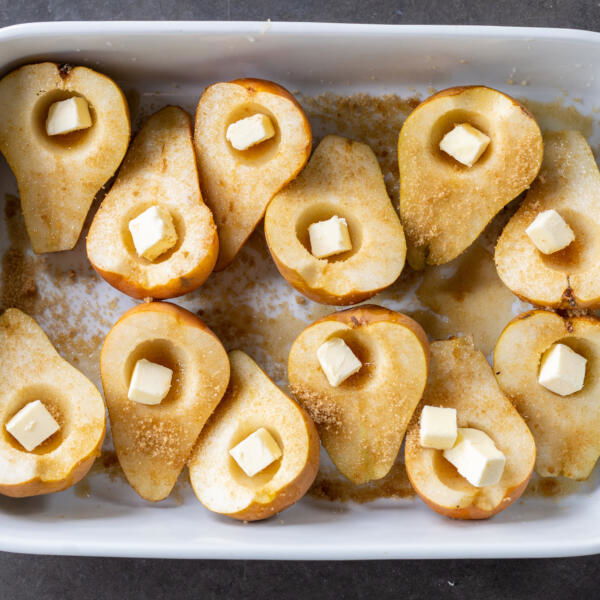
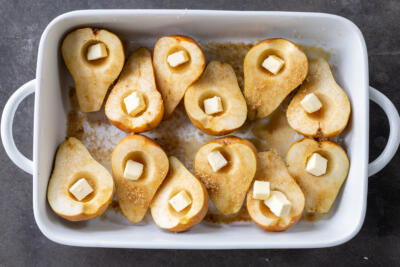
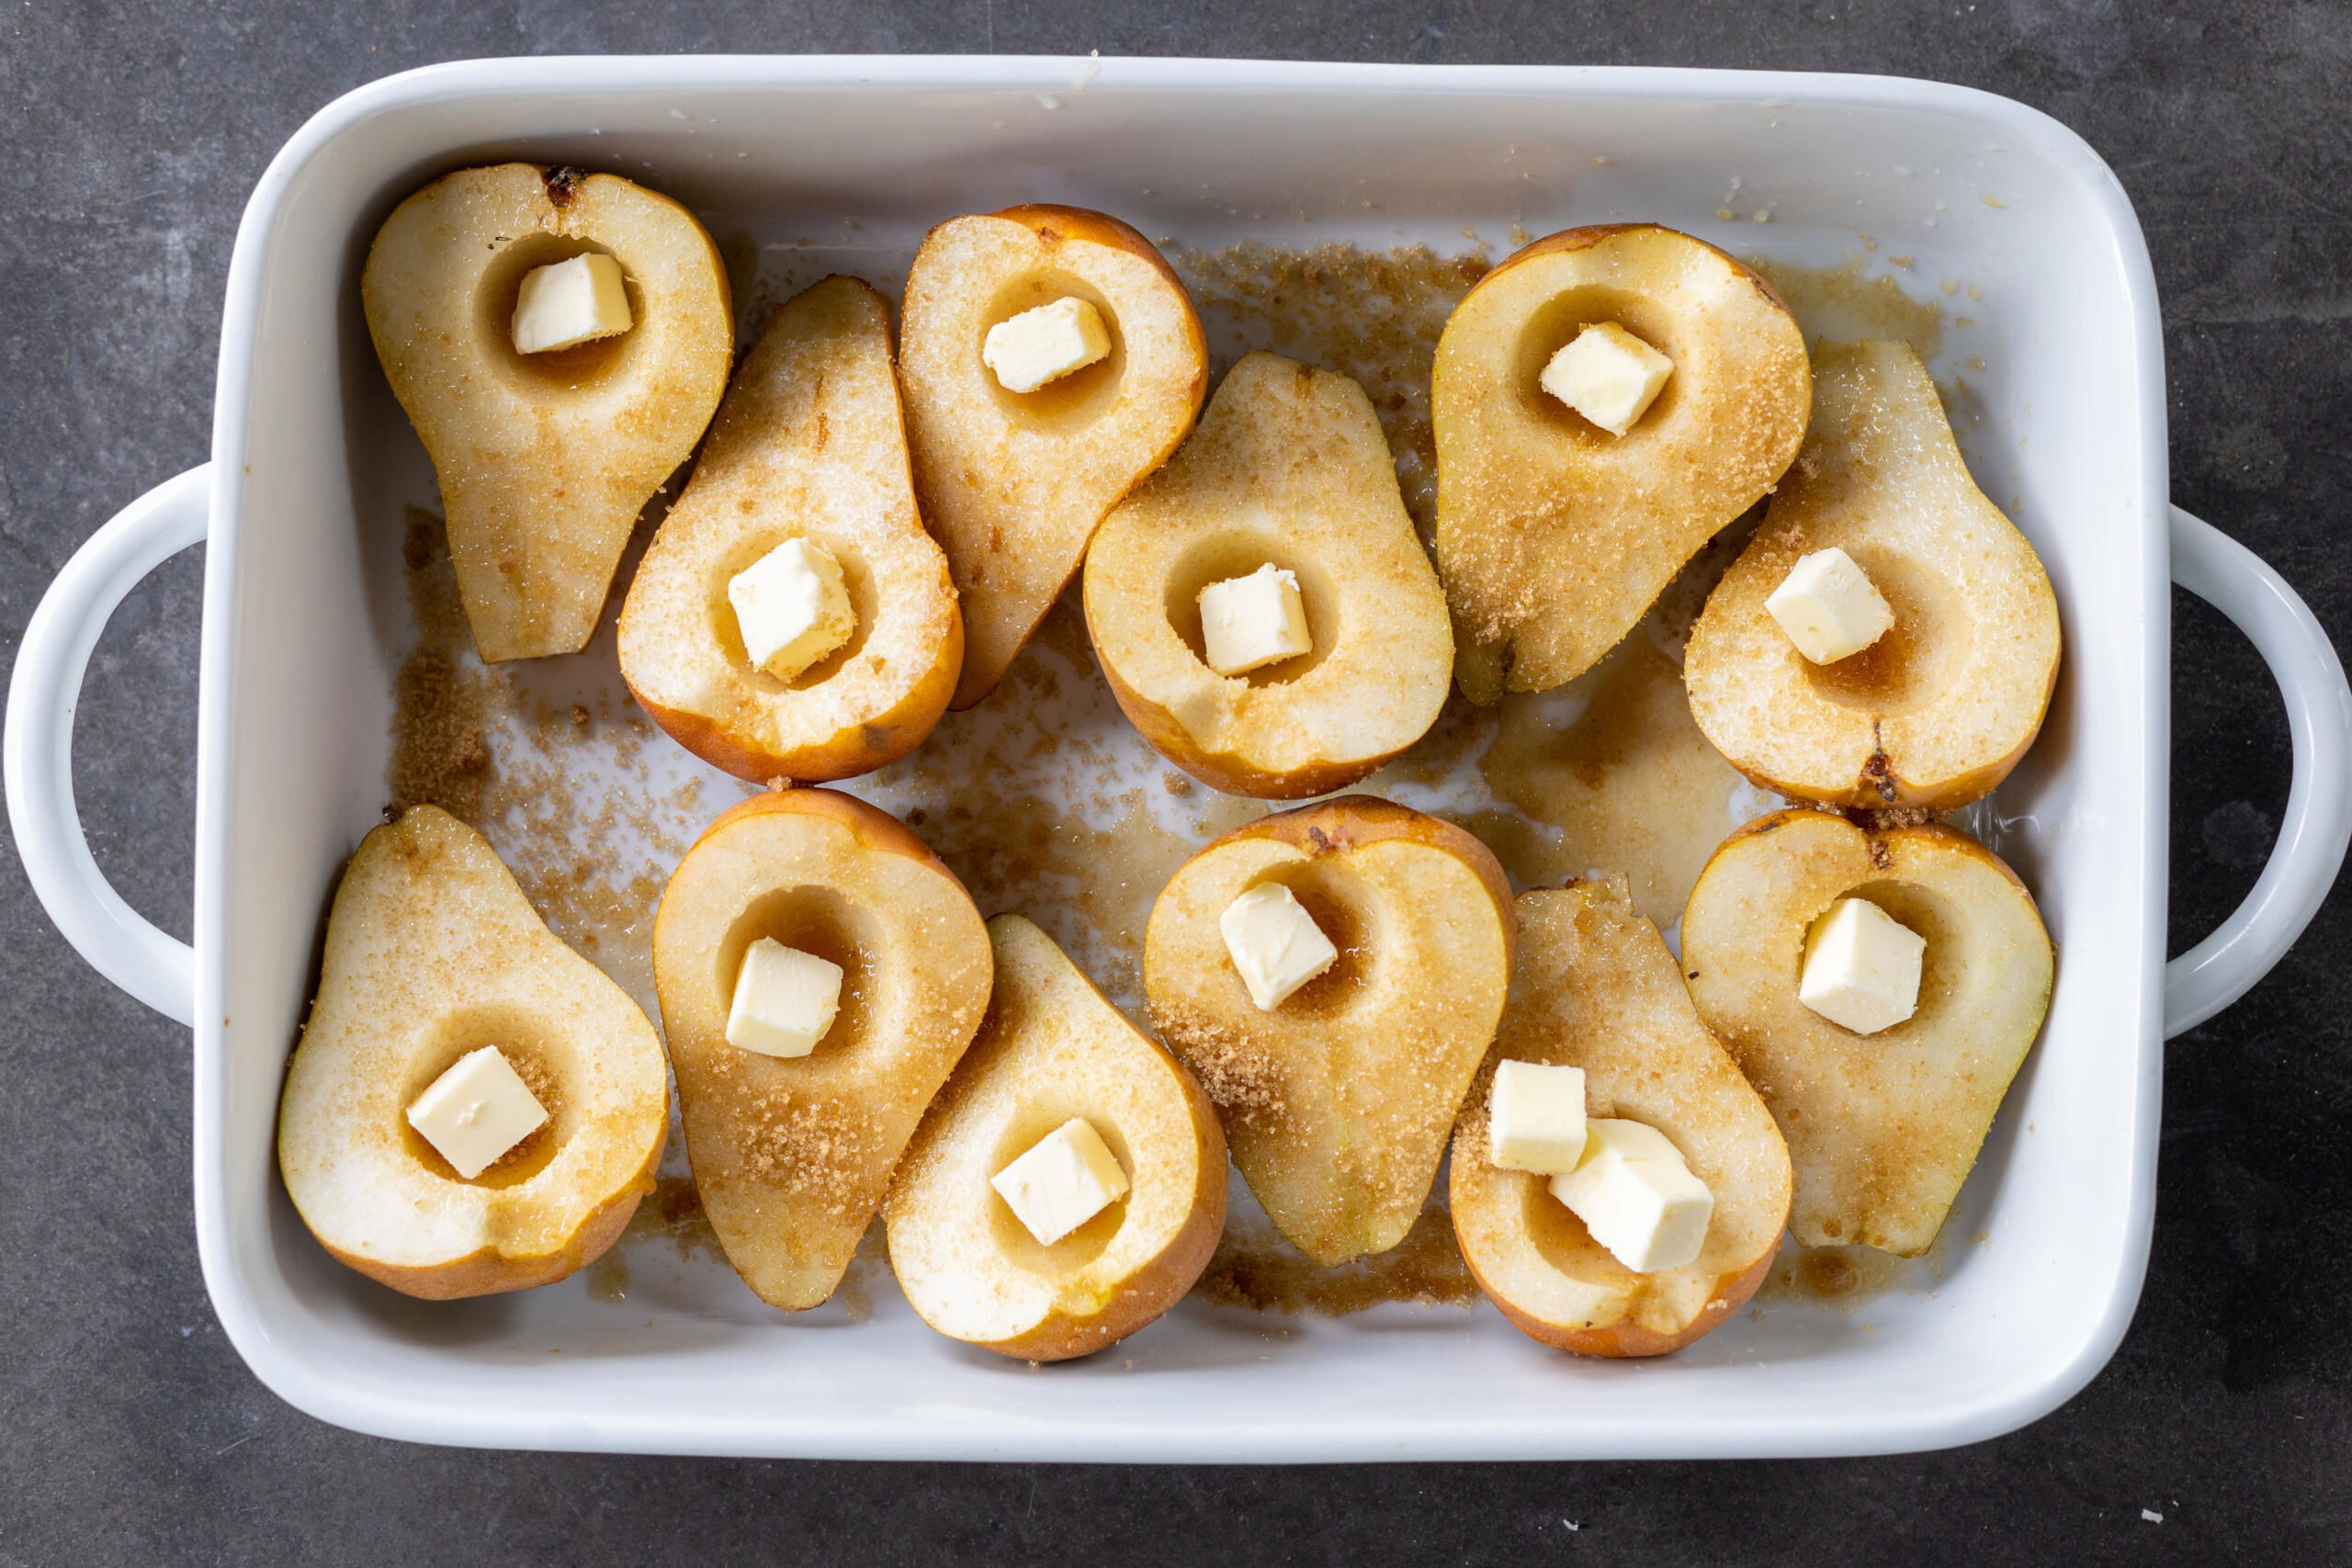
- Add the toppings: Sprinkle the brown sugar, cinnamon, and butter cubes on top.
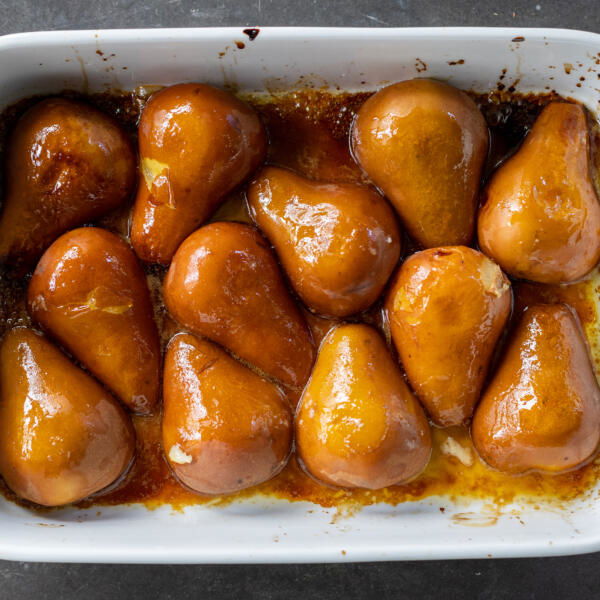
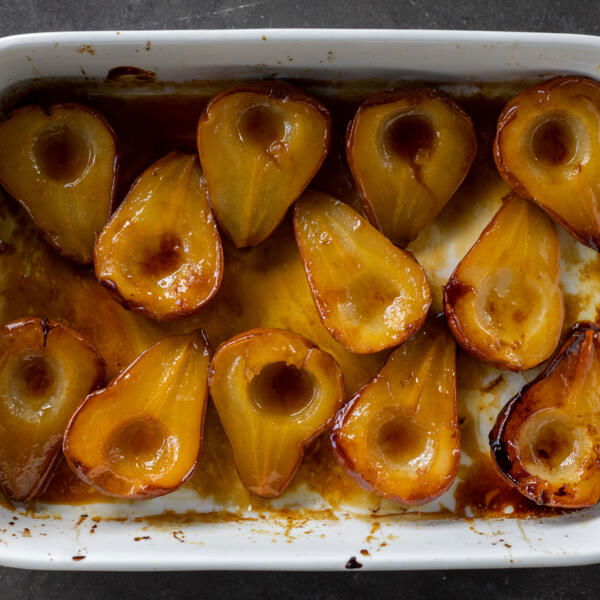
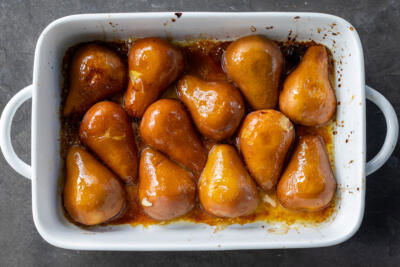
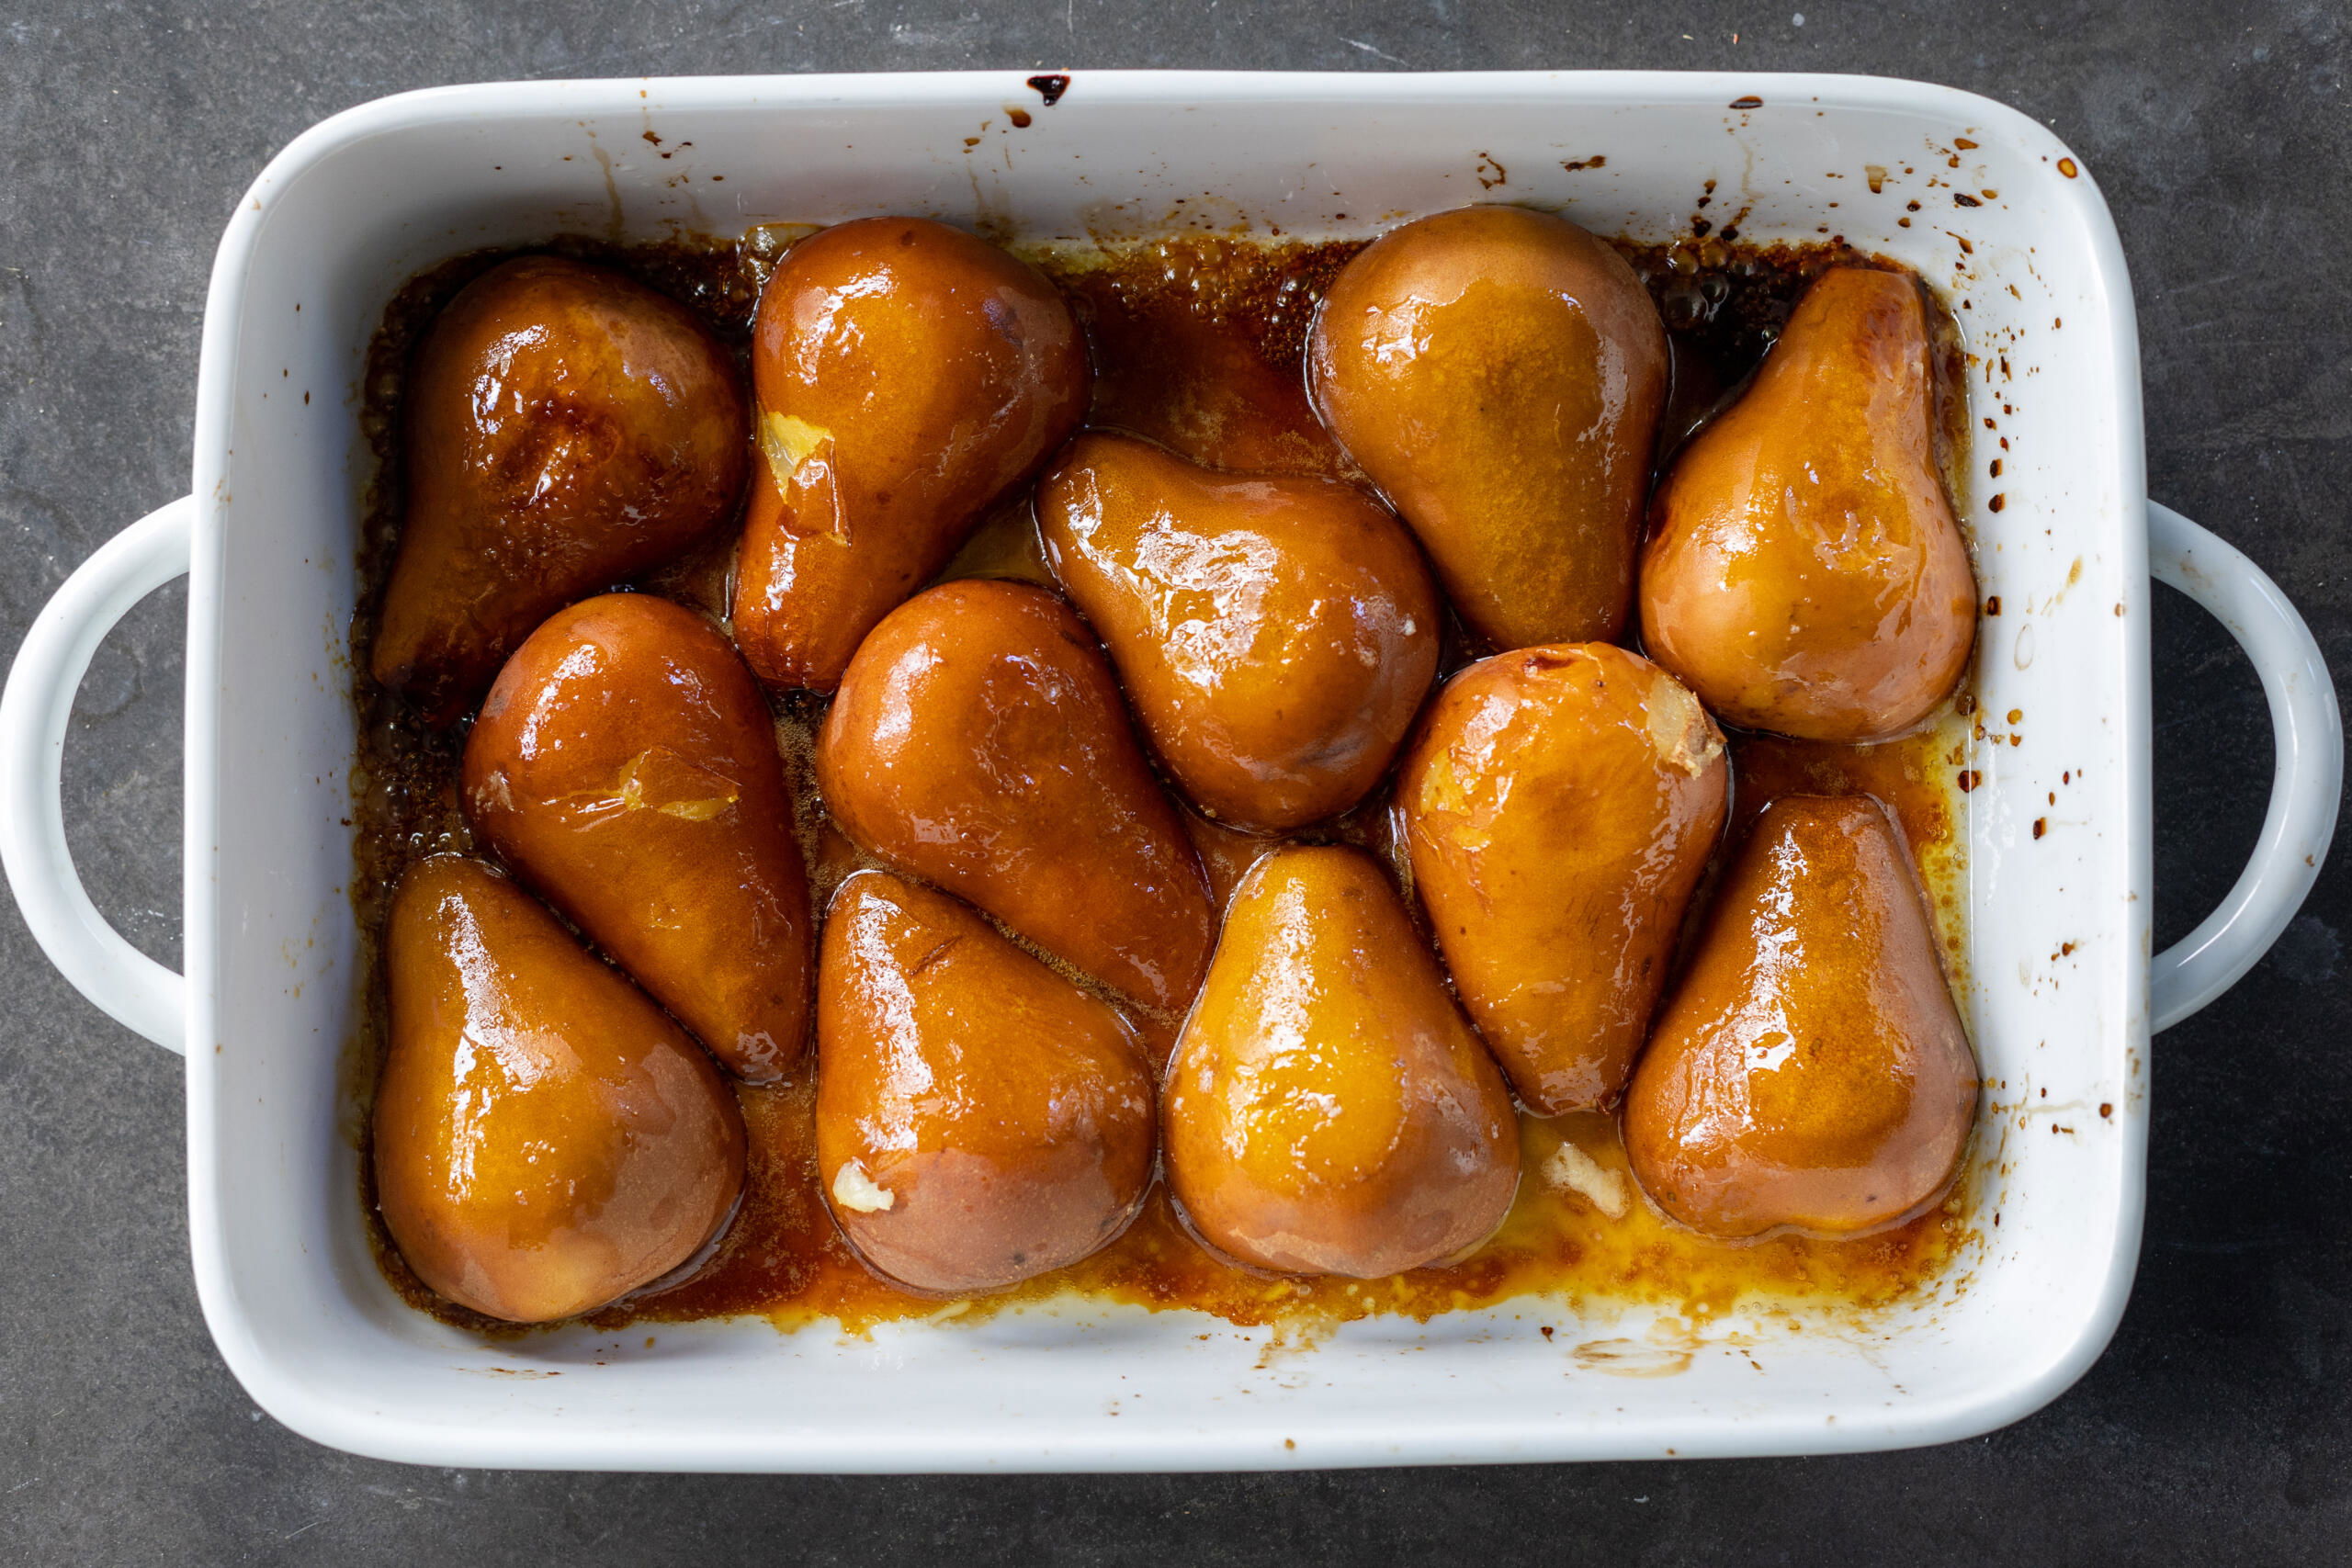
- Bake the pears: Bake the pears for 30 minutes, then flip them, spoon the juices on top, and continue baking for another 20-40 minutes.
Hot tip: To keep the pears intact, leave the skin on if you’re using a softer variety. However, if you don’t like the texture, this tool is the best for gently removing the skin.
Tips For the Best Baked Pears
These baked pears are incredibly versatile and forgiving, regardless of your baking experience level. With these six tips, I promise you’ll get flawless results every time!
- Choose the right pears. To avoid a mushy outcome, look for pears that are ripe but still firm to the touch. Bosc or Anjou pears are my go-to varieties.
- Add a drizzle of lemon juice. Not only does the lemon juice add flavor, it prevents the pears from browning.
- Switch up the spices or sweetener (optional). Add a pinch of nutmeg, cardamom, or ground ginger along with the cinnamon for a more complex flavor. Or, try honey or maple syrup instead of the brown sugar.
- Flip and baste the pears halfway. The juices at the bottom of the pan are liquid gold! Give the pears a flip and spoon those delicious juices on top halfway through baking for a beautiful, glossy finish.
- Extend the baking time (optional). I usually pull the pears out after 50 total minutes of baking, but feel free to keep them in for another 10-20 minutes for a thicker, richer sauce.
- Serve the pears warm. My mouth is already watering thinking about the hot pears, a scoop of vanilla ice cream, and some homemade granola. To balance the sweetness, serve the pears with yogurt/sour cream and almonds/walnuts.
Storage & Reheating
If you happen to have leftovers of these baked pears (that’s a big “if“), get ready to enjoy them again later with this guide.
- Storage: Place the cooled pears and any remaining syrup in an airtight container and refrigerate for up to four days.
- Reheating: I love eating leftover baked pears cold, but if you prefer them warm, reheat them gently in the microwave or in the oven at 350°F.
More Recipes With Pears
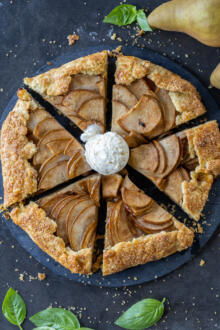
- Pear Galette — Flaky pastry and cinnamon-spiced pears
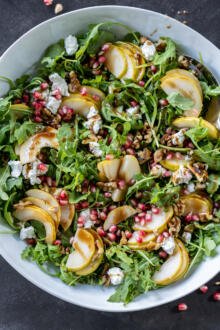
- Pear and Walnut Salad — Sweet, crunchy, tangy, and ready in 15 minutes
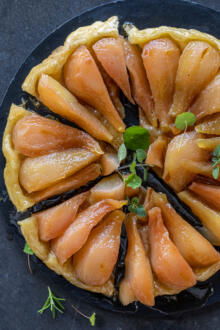
- Pear Tarte Tatin — Tender, caramelized pears nestled in a flaky puff pastry crust
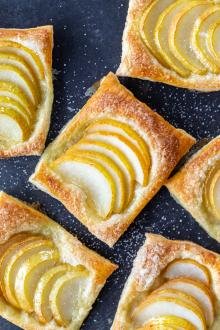
- Puff Pastry Pear Tartlets — Four-ingredient simplicity with five-star flavor
- Brioche Bread Pudding — Studded with chocolate chips and sliced pears
Recipe
Ingredients
- 6 medium or large pears Bosc, Anjou, or any firm variety
- 4 tbsp light brown sugar
- ⅓ tsp cinnamon optional
- 3 tbsp lemon juice freshly squeezed
- 3 tbsp unsalted butter cut into small cubes
Instructions
- Preheat the oven to 400°F. Prepare a 9×13" baking dish. Peel and core the pears (leave the skin on if you're using a softer variety like Anjou).

- Arrange the pears cut-side up in the baking dish and drizzle the lemon juice on top.
- Top the pears with the brown sugar, cinnamon (if using), and butter cubes. Bake the pears cut-side up for 30 minutes.
- Flip the pears over so the cut-side is facing down, then spoon the juices that have collected in the pan over the top. Continue baking the pears for 20–40 minutes, or until they are soft and golden.
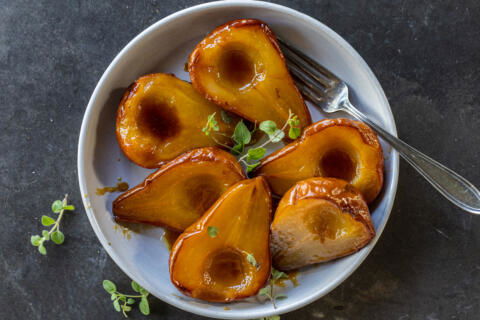
- Serve the baked pears warm with yogurt, ice cream, or sour cream. Spoon the caramelized juices on top once again before serving. Enjoy!


No Comments