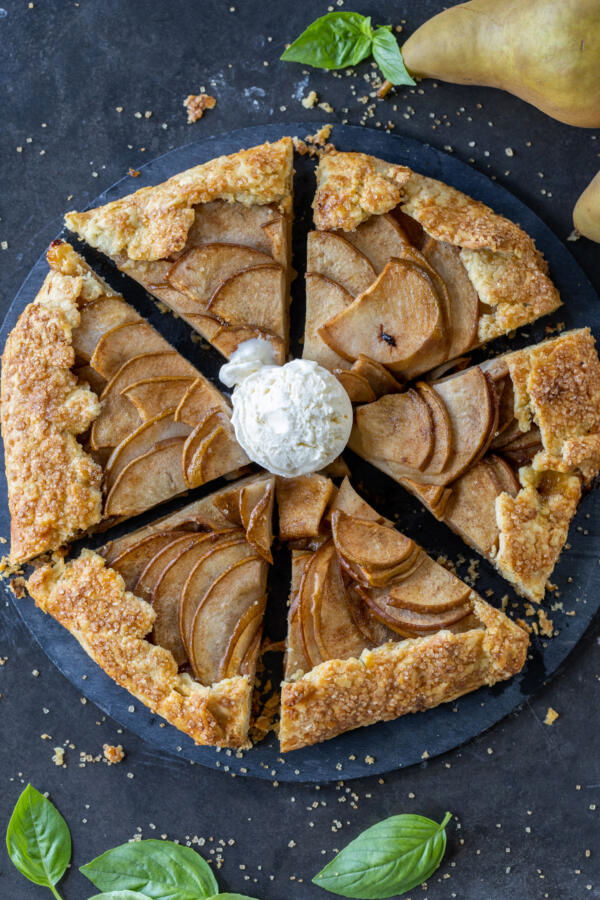
Bring out this stunning pear galette the next time you’re hosting, and watch everyone’s jaws drop. It’s the perfect combination of flaky pastry and sweet fruit!
Anyone who knows me knows I have an obsession with galettes. They’re so much easier to assemble than pies, and they’re irresistibly delicious every time — no matter what you fill them with. I’ve already shared quite a few galette recipes with you, but today, I’m bringing you something new!
This pear galette is an ode to autumn and all the sentiments that come with it. Fall is usually a time of rushing back to the reality of school and busy-ness, so I wanted to give you all a simple, cozy, and satisfying dessert that’ll easily fit into a complicated schedule. You can absolutely make this galette year-round, though — because who doesn’t need a little more sweetness in their life?
Can’t get enough of galettes? That basically means we’re besties! Try my peach galette, cherry galette, strawberry galette, or apple galette.
How To Make a Pear Galette
I don’t take the words “crazy easy” lightly — this pear galette recipe definitely earns that title. Even as a busy mom, I’m able to get the prep done in 15 minutes and enjoy the delicious results.
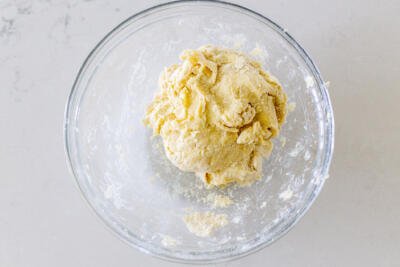
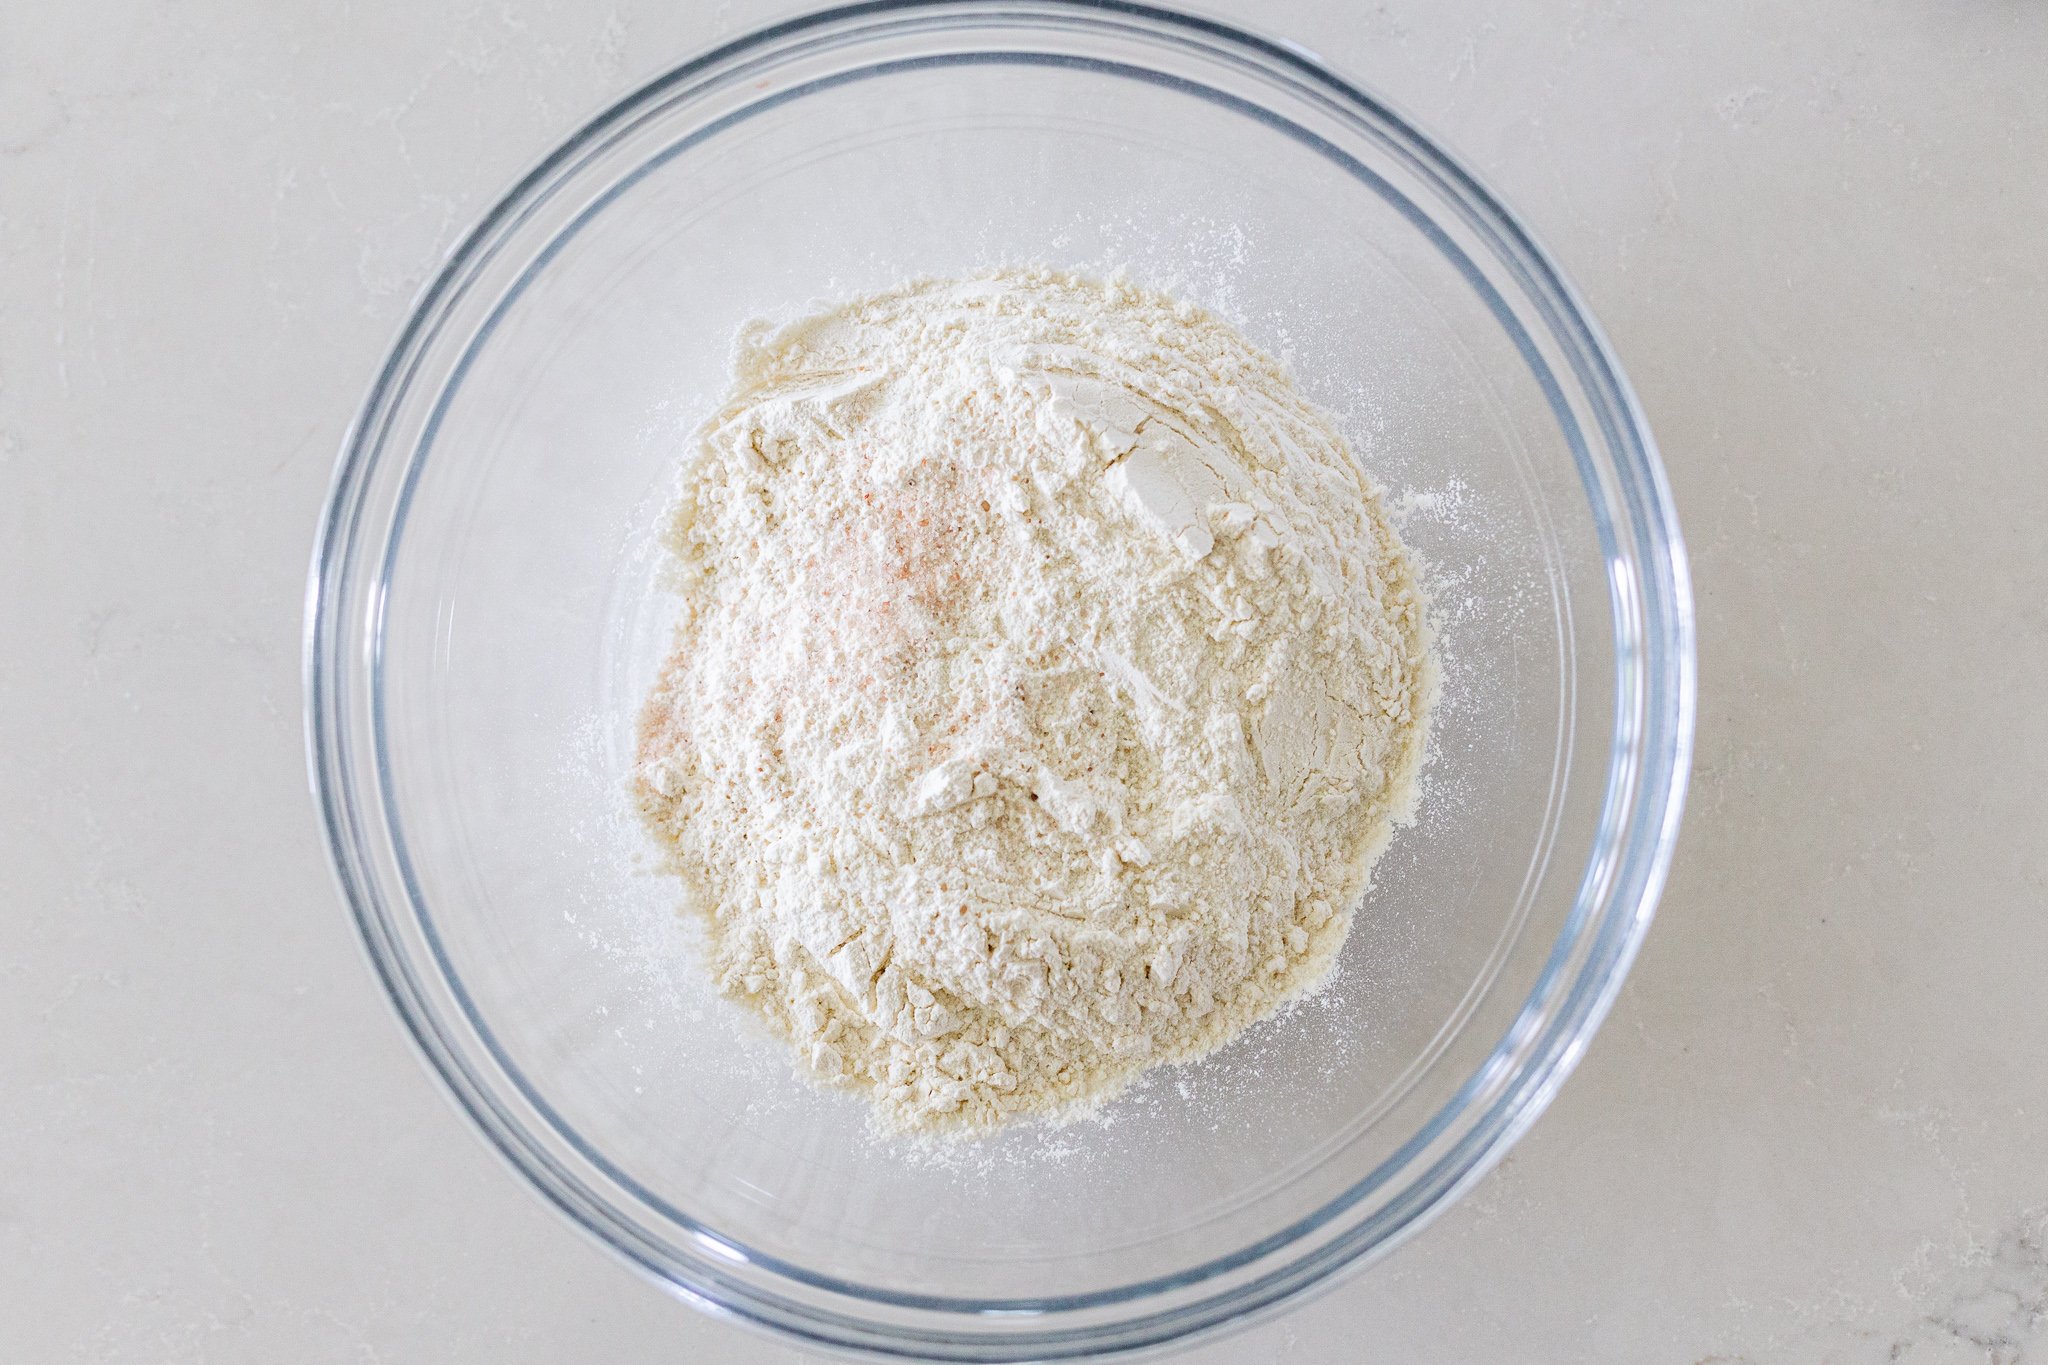
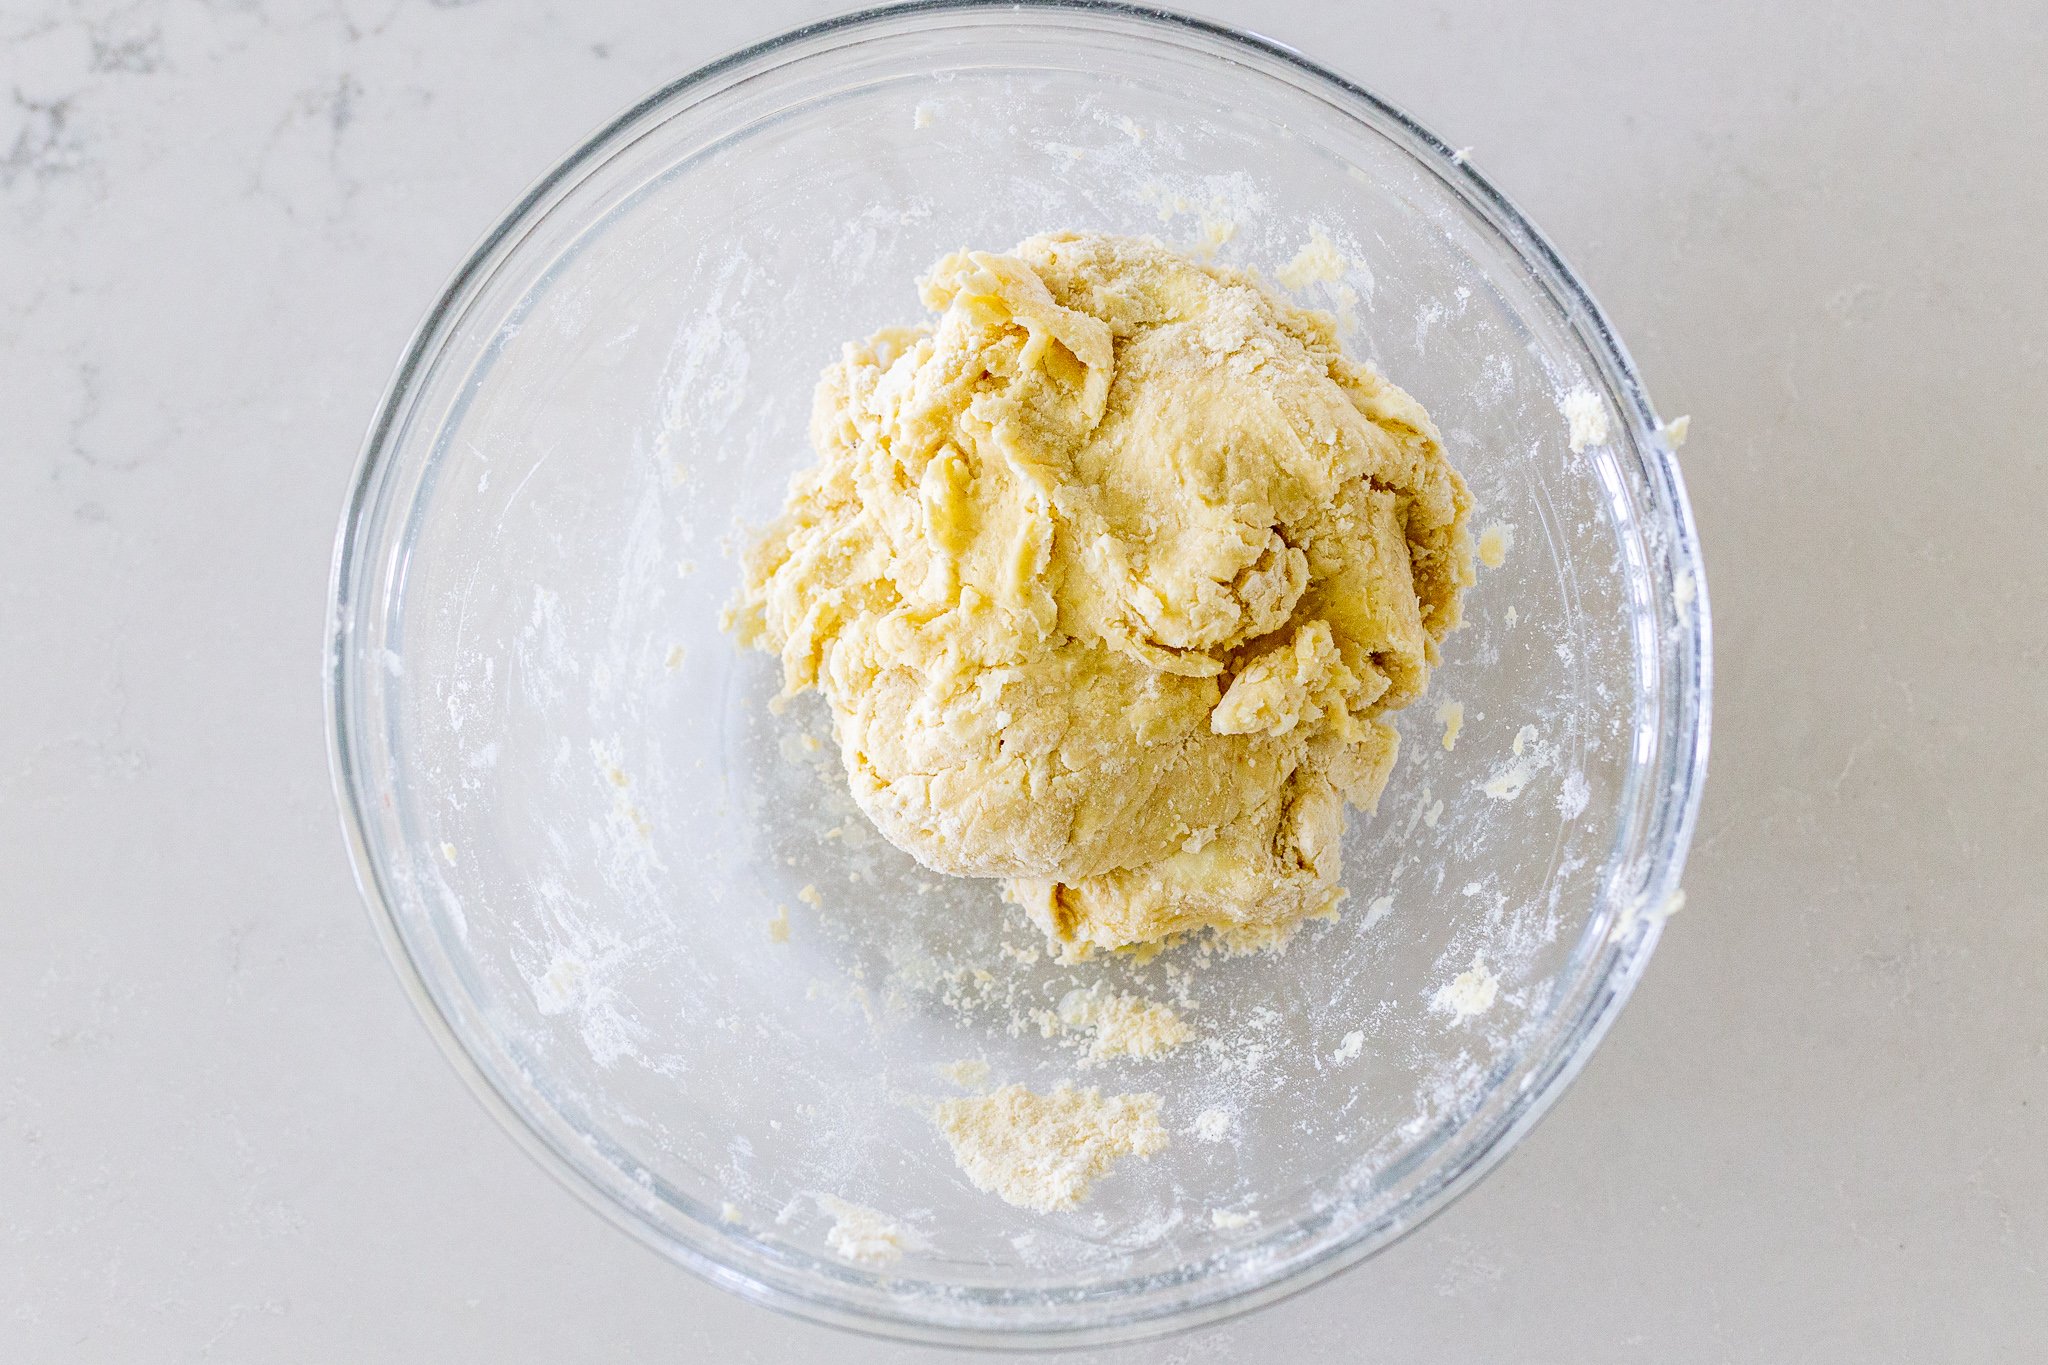
- Make and chill the pie crust: In a medium bowl, combine the flour and salt. Grate the butter in with a box grater, then toss it with the flour. Add in the liquid ingredients and mix until the dough forms a disk, then wrap it in plastic wrap and refrigerate it for at least 30 minutes.
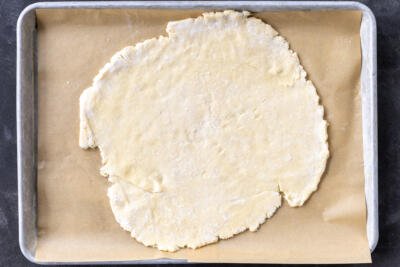
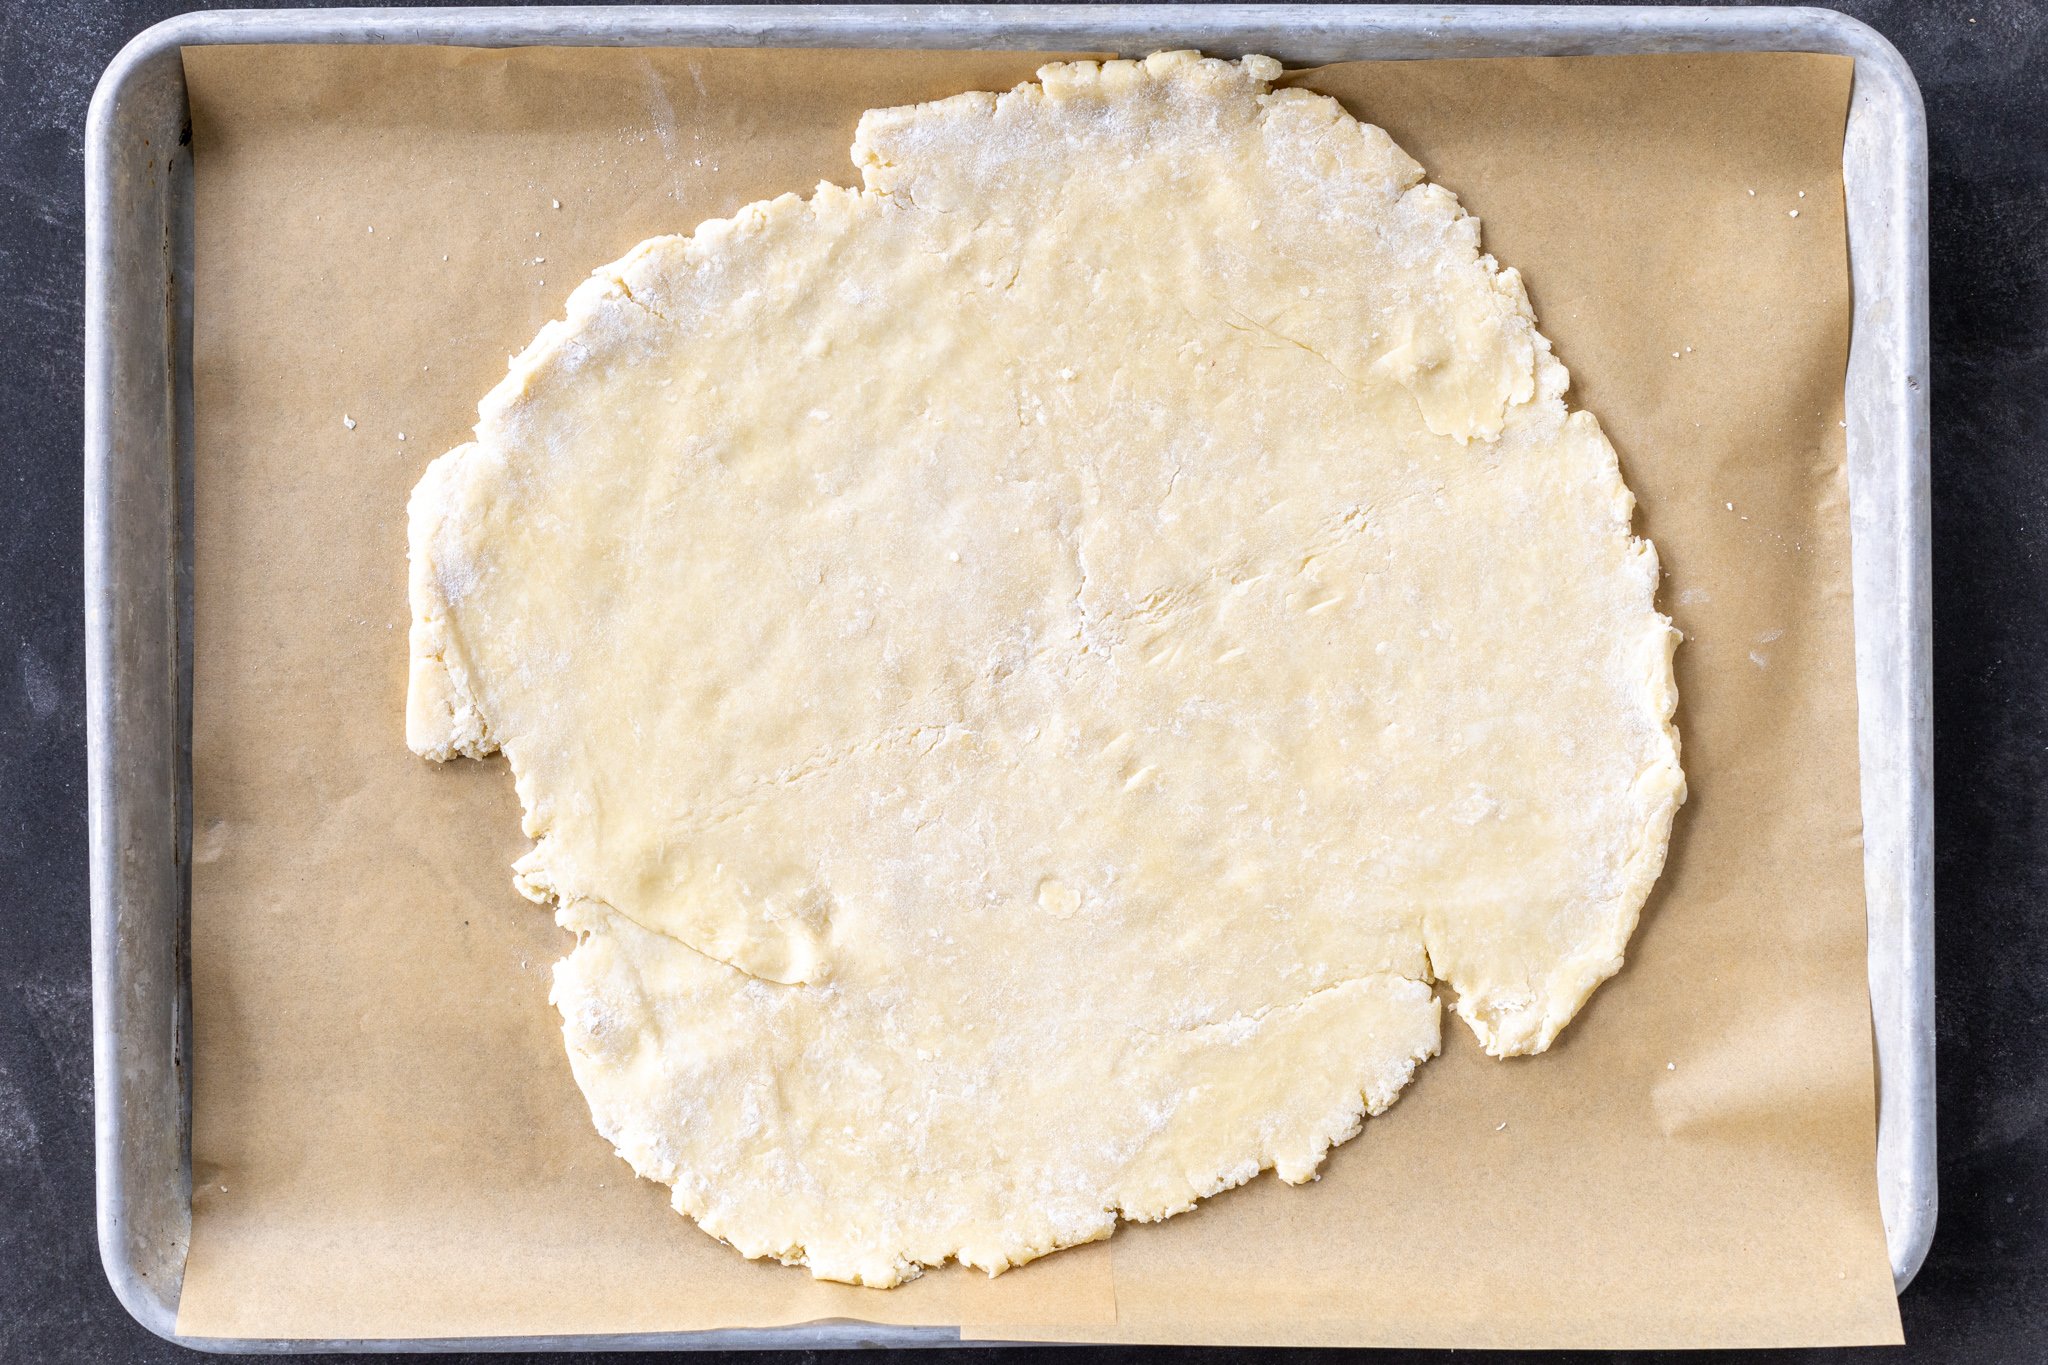
- Roll out the crust: Preheat the oven to 400°F. Place the chilled dough on a sheet of parchment paper and roll it out into a 12-inch circle. Slide the parchment onto a baking sheet.
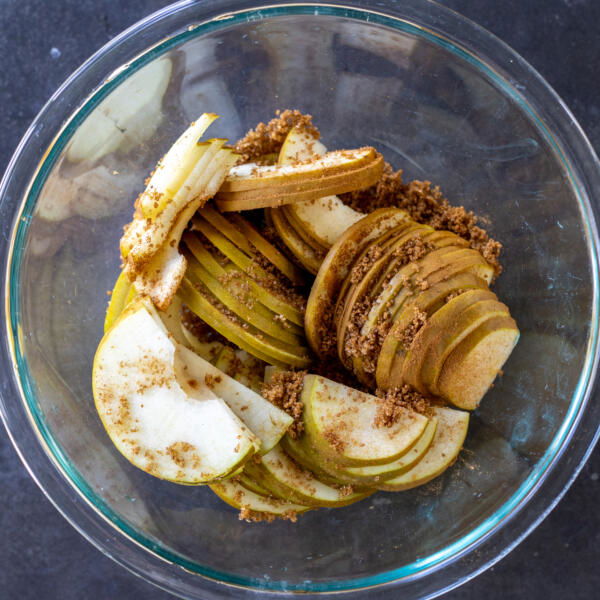
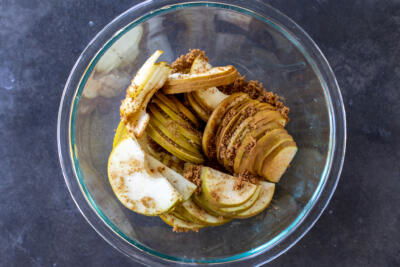
- Make the filling: Mix together the sliced pears, brown sugar, and cinnamon in a medium bowl.
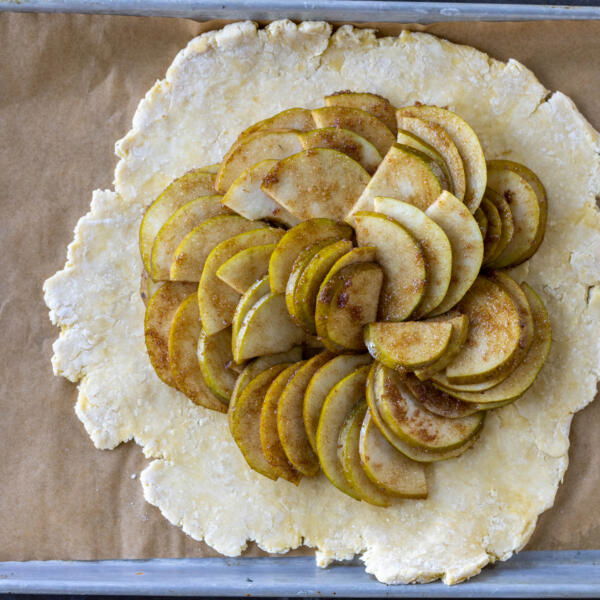
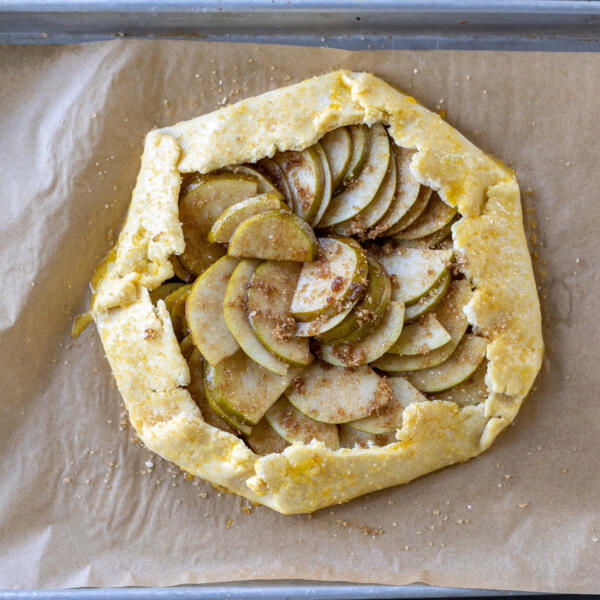
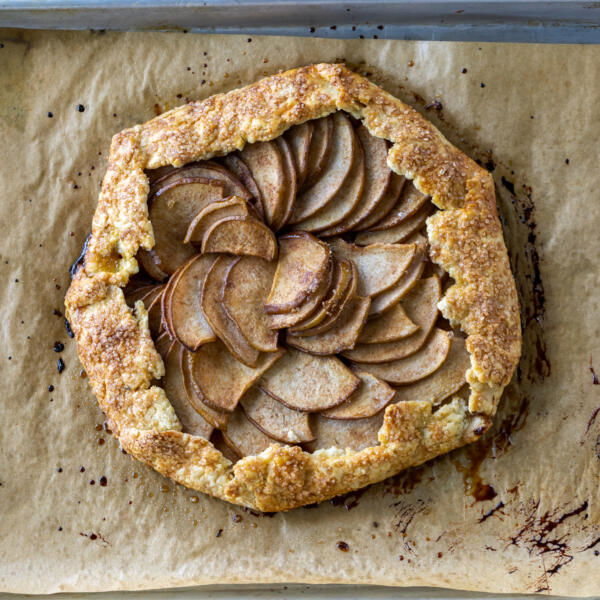
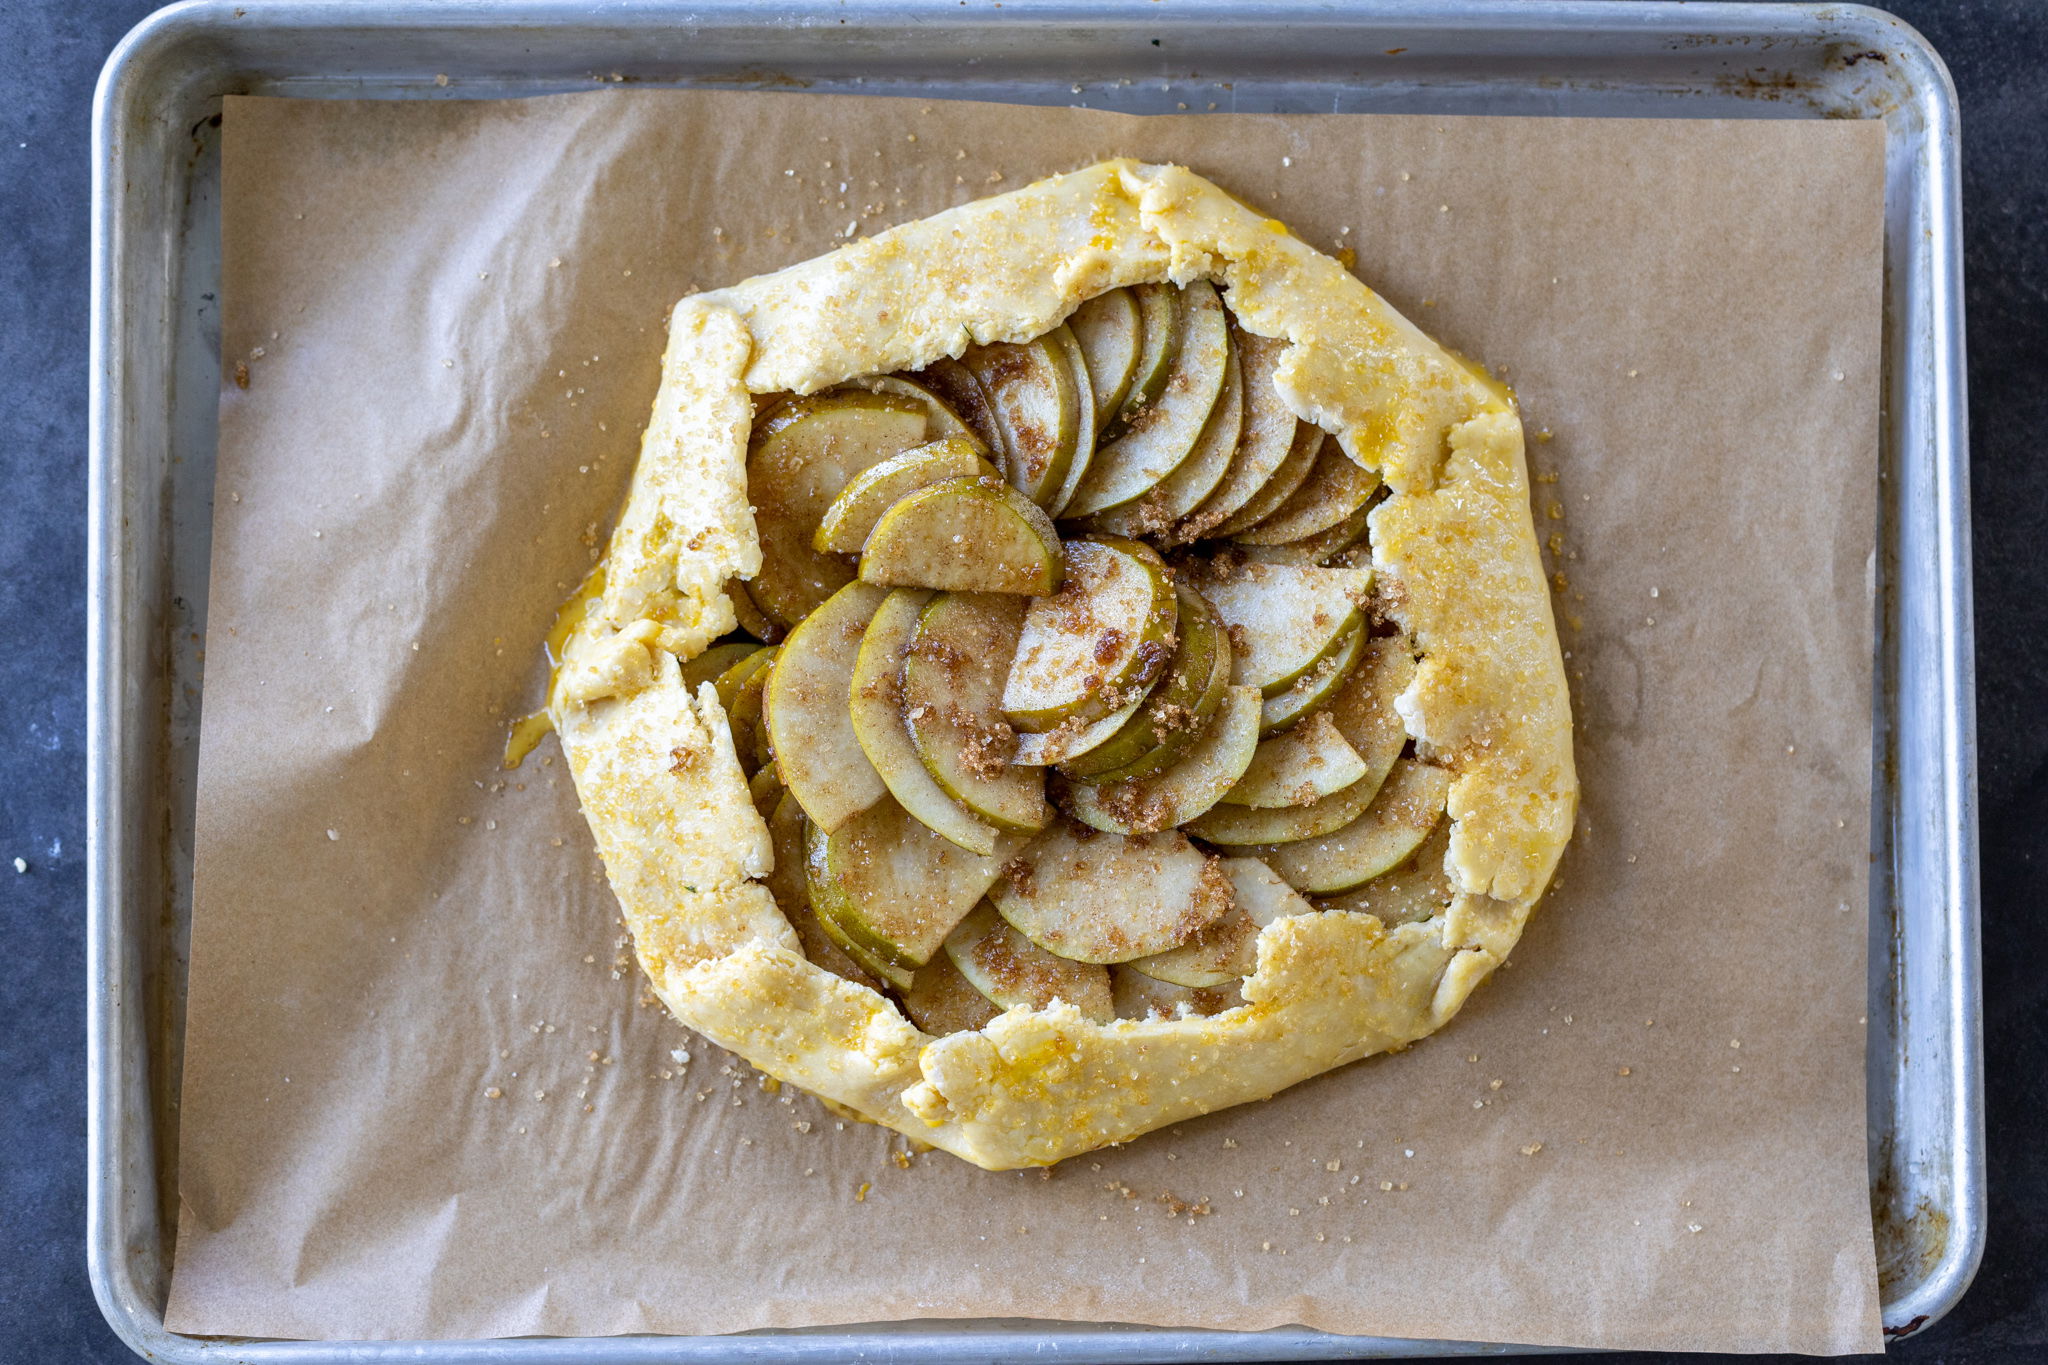
- Assemble the galette: Spoon the filling into the center of the crust, leaving a 2-inch border. Fold the border of dough over the fruit, brush the edges with the egg wash, and sprinkle on the sugar.
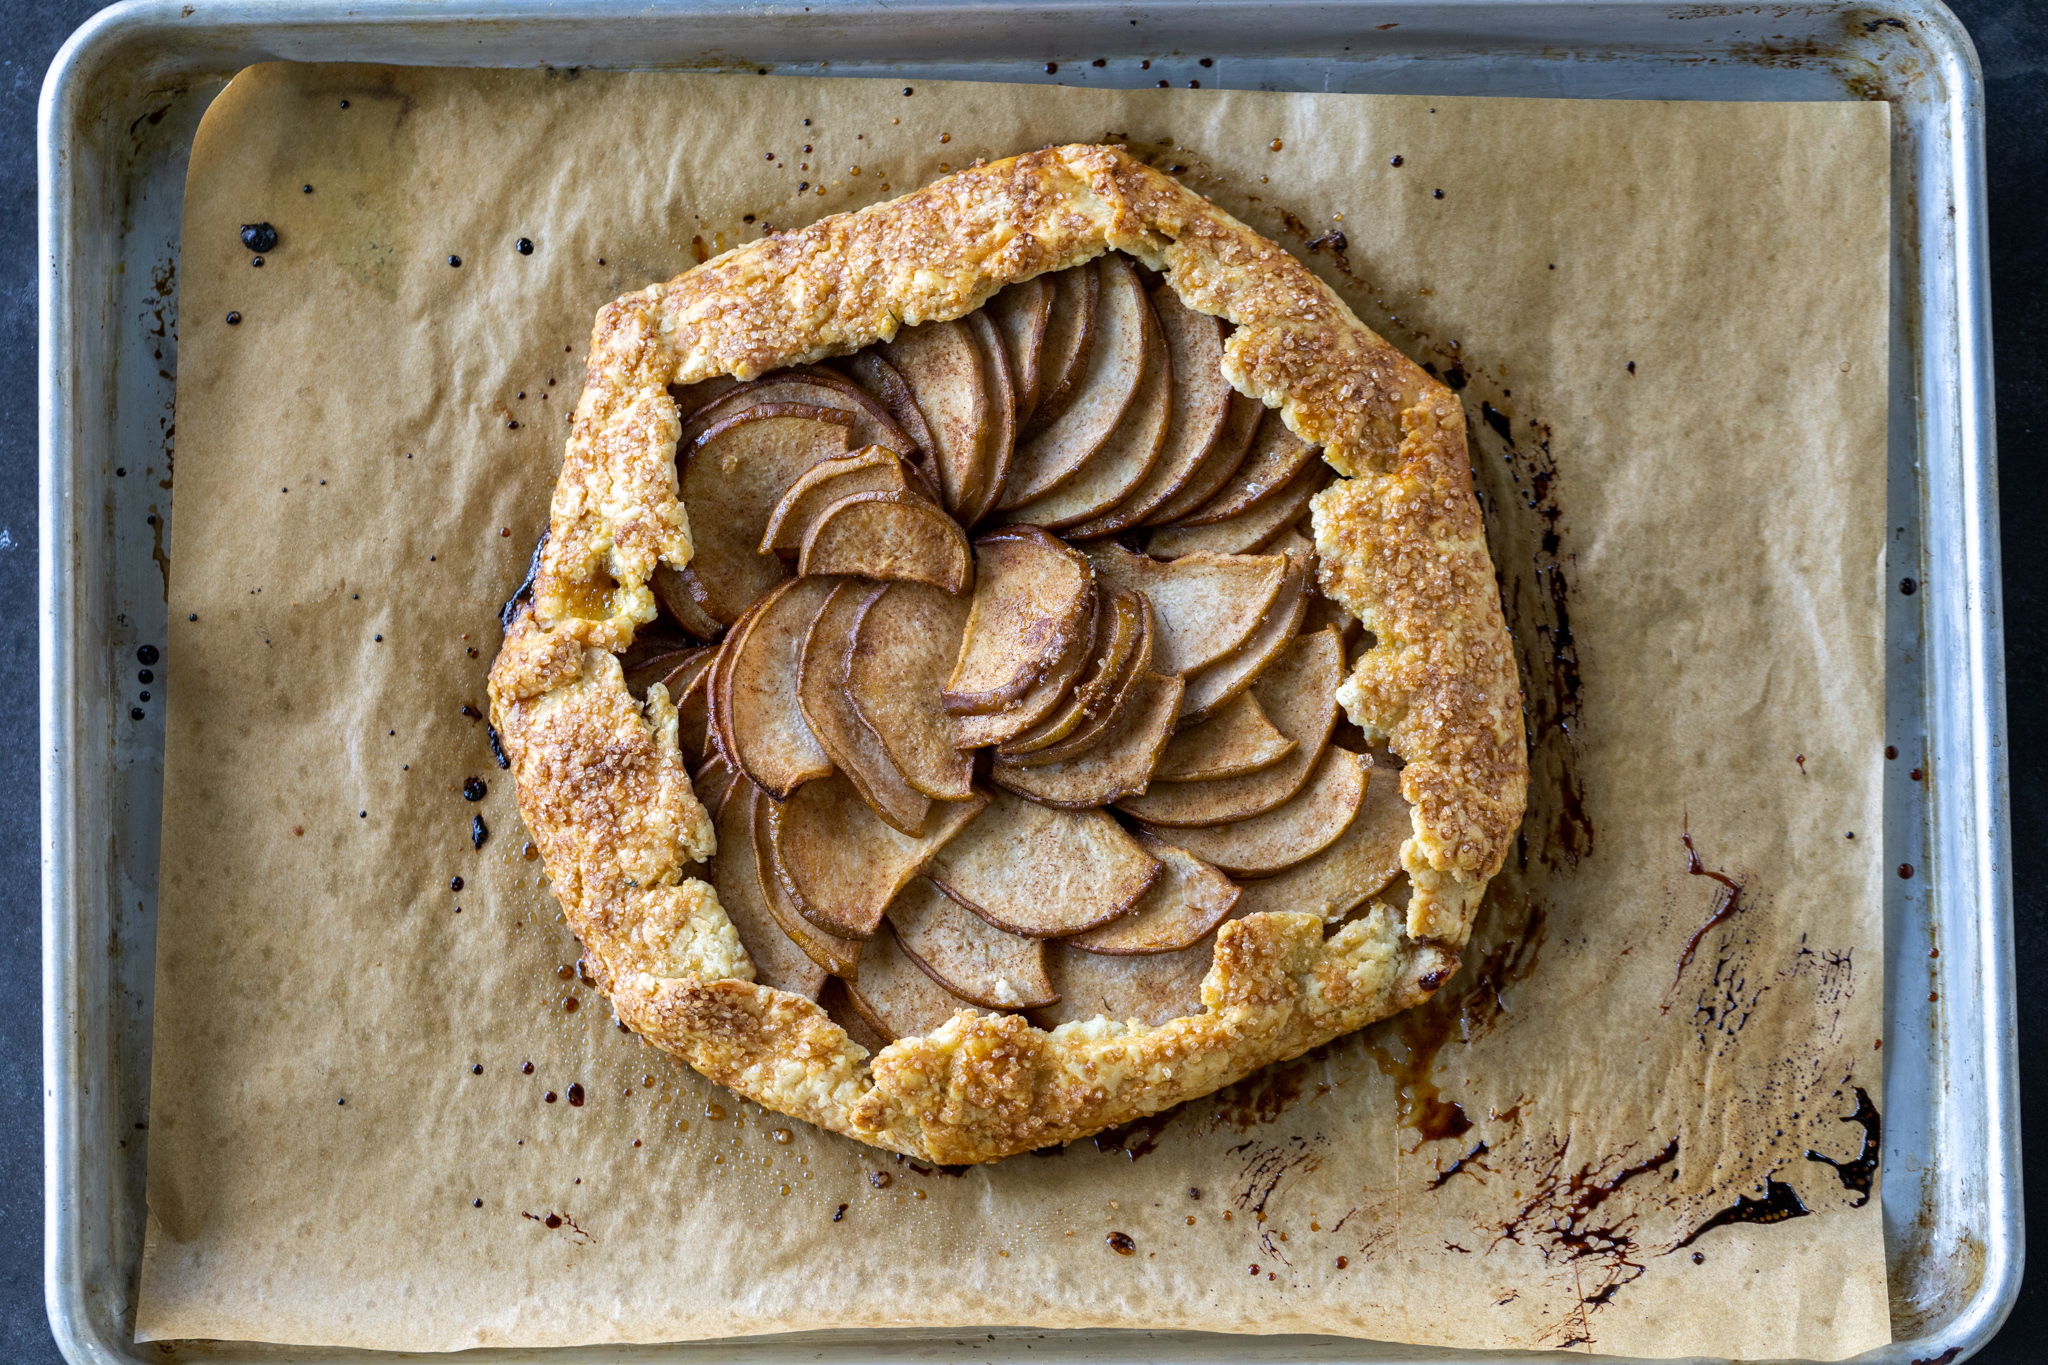
- Bake the galette: Bake the galette for 35-40 minutes, or until the crust is golden.
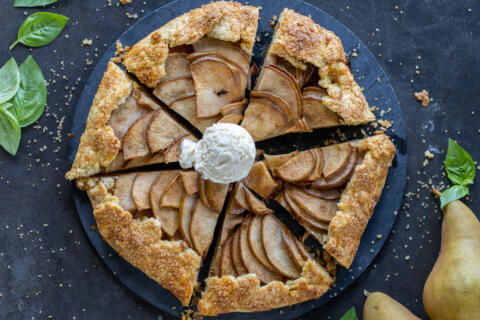
Hot tip: Top your galette with a scoop of vanilla ice cream or whipped cream for a luxurious treat.
Ingredient Variations
Because this recipe is so simple, it can easily be customized! Here are a few of my recommendations to tailor this pear galette to your liking.
- Pears: I use Bosc pears because they’re firm enough to hold their shape in the oven, but feel free to use Bartlett or Anjou pears if you prefer.
- Sugar: I love the notes of molasses that brown sugar adds to the filling. For a simpler taste, use white sugar.
- Spices: Amp up the flavor with cardamom, cloves, nutmeg, allspice, or ginger. Add freshly grated ginger for a kick!
- Frangipane: If you’ve never heard of this almond cream, now would be the perfect time to test it out. Spread a base layer on the crust, then add the pear filling. YUM.
- Flavors: Vanilla and brandy complement pears wonderfully — you can’t go wrong with adding a splash. If you’re sticking with the almond route, add a tiny bit of almond extract. For a pop of citrus, toss the pears with lemon juice and zest.
Tips for the Best Pear Galette
I love galettes so much, and I’ve learned quite a few tricks over the years of making them. Listen up to these four tips to be perfectly pre”pear”ed for your own endeavor.
- Use firm pears. As much as I love soft pears, they tend to become mushy when cooked. Look for pears that slightly yield when you give them a gentle squeeze.
- Keep the crust cold. Cold butter is the key to an ultra-flaky pie crust. Minimally handle the dough and refrigerate it for at least 30 minutes to preserve the chunks of butter.
- Adjust the sweetness. Whether you use brown or white sugar, the amount of the sugar will depend on how ripe and sweet the pears are. Take a bite of a pear before mixing up the filling, then add sugar accordingly.
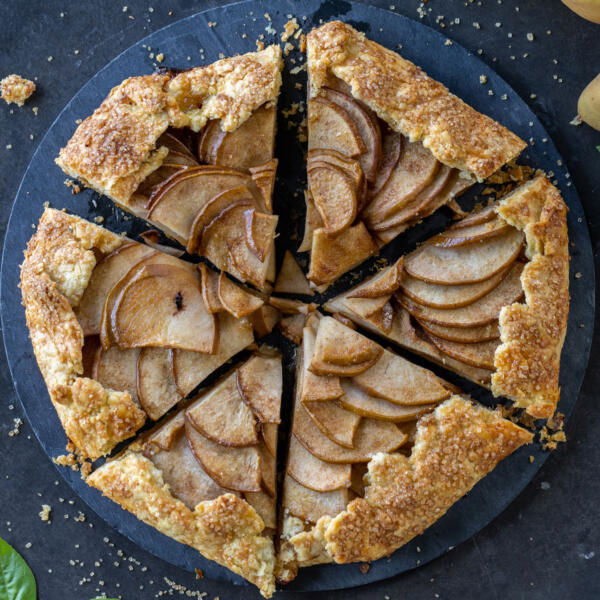
- Allow the galette to cool before slicing in. The filling will set as it rests, so wait about 10 minutes before serving the galette to prevent a runny mess.

Storage & Reheating
Wondering what to do with the leftover galette? Follow these instructions, and I promise you’ll be feasting for days!
- Room temperature: To store for up to two days, place the leftover galette in an airtight container and keep it at room temperature.
- Refrigerator: To store for 3-4 days, transfer the leftover galette to the fridge.
- Reheating: Reheat pear galette in the oven at 350°F for 5-10 minutes, or until it’s sizzling. Use the microwave for a quicker reheating option.
More Recipes with Pears
- Baked Pears with Ricotta — Tender pears stuffed with a sweet ricotta filling
- Pear Tarte Tatin — Tender, caramelized pears nestled in a flaky puff pastry crust
- Easy Baked Pears — Juicy, caramelized pears
- Puff Pastry Pear Tartlets — Only four ingredients!
- Pear and Walnut Salad — A sweet and crunchy medley paired with balsamic dressing
- Brioche Bread Pudding — Custardy brioche topped with pears and chocolate chips
Recipe
Ingredients
Galette Crust:
- 1 1/2 cups all purpose flour
- 1/4 tsp salt
- 8 tbsp unsalted butter very cold
- 1 large egg
- 1 tbsp water ice cold
- 1 tsp white vinegar
Pear Filling:
- 4 Bosc Pears pealed & sliced into 1/4 inch thick pieces
- 1/2 cup brown sugar
- 1 tsp cinnamon
Egg wash:
- 1 egg whisked
- 3 tbsp raw sugar
Instructions
- To make the crust, combine the flour and salt in a medium bowl. Grate the butter into the flour, then toss to combine.

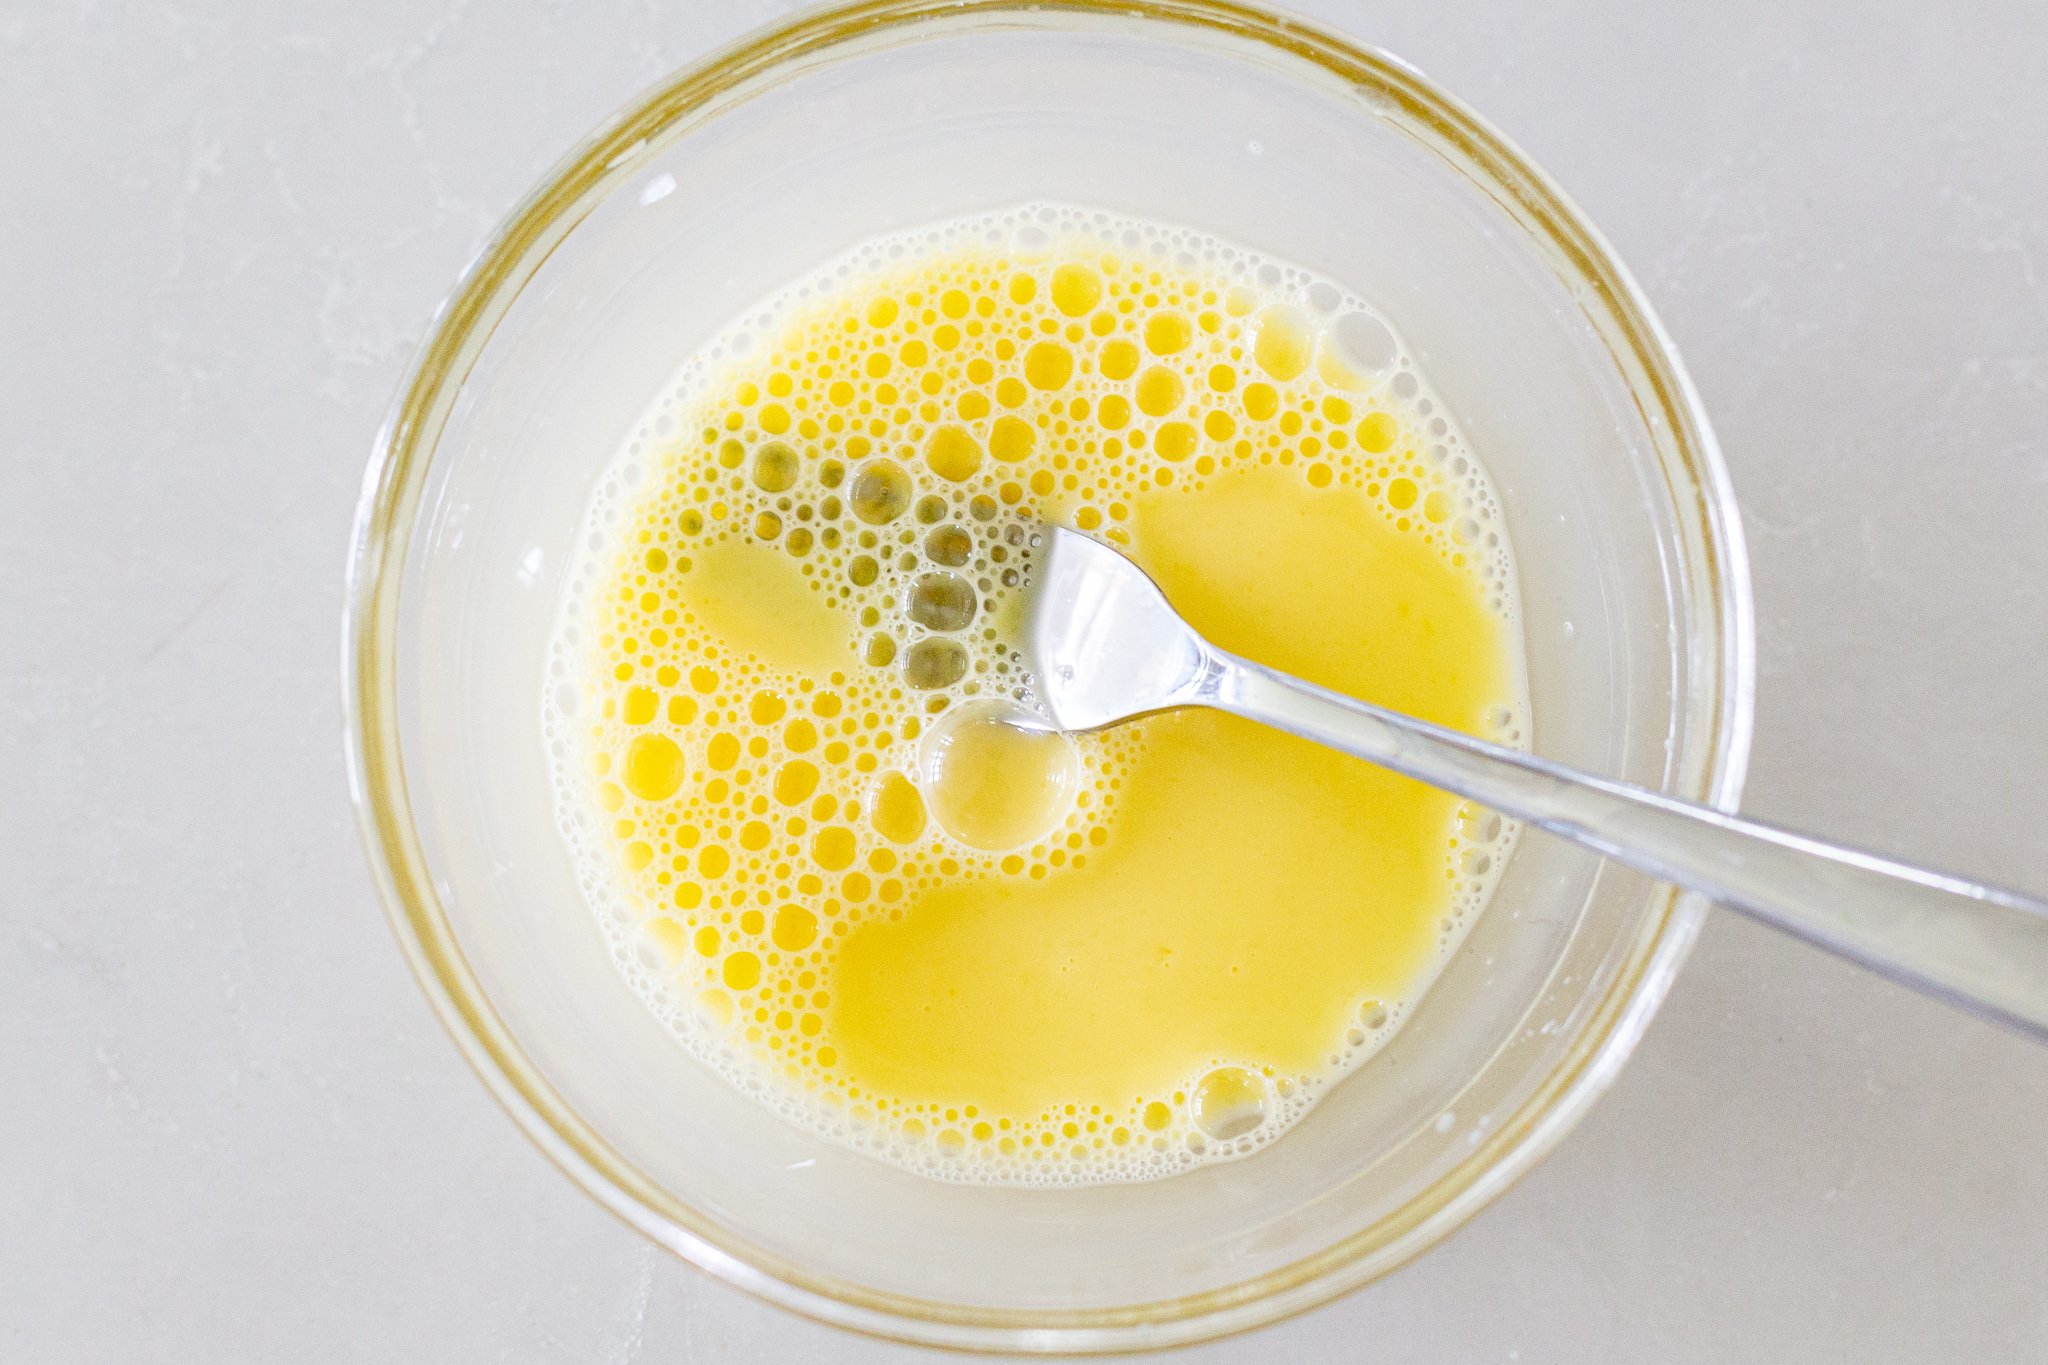
- In a separate bowl, whisk together the egg, water, and vinegar.

- Add the liquid ingredients to the flour mixture and stir to combine. If the dough is too dry, add a little water just until it sticks. Form the dough into a disk, wrap it in plastic wrap, and refrigerate it for at least 30 minutes.
- Preheat the oven to 400°F. Place the dough on a sheet of parchment paper and roll it out into a 12-inch circle. Transfer the parchment paper with the dough on it to a baking sheet.
- In a medium bowl, gently toss together the sliced pears, brown sugar and cinnamon.
- Place the filling in the center of the dough round, leaving a 2-inch border around the outside. Fold the border of dough over the filling.

- Brush the edges with the beaten egg and sprinkle with the coarse sugar.

- Bake the galette for 35-40 minutes, or until the filling is bubbly and the crust is golden brown. Allow the galette to slightly cool before slicing in. Serve and enjoy!


No Comments