
From my grandma to you — tender baked apples roasted with brown sugar, cinnamon, and walnuts. It’s a comforting, healthy old-fashioned baked apple dessert!
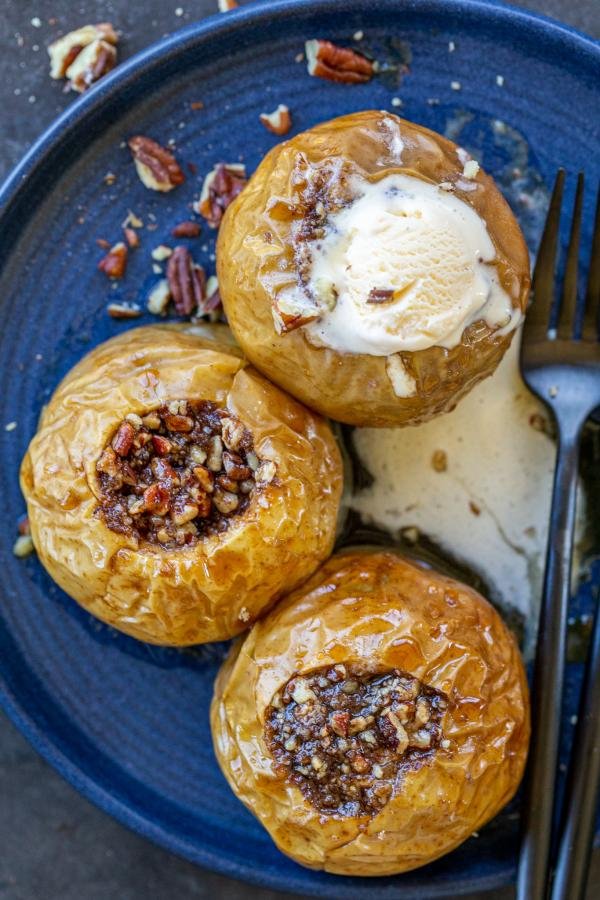
Back in the day, my grandma baked apples with sugar and butter for dessert. I can put myself right in her kitchen even to this day and watch her making this baked apple recipe. Ohh – such memories! I can still smell it, too! She used her wood burning oven and the smell of these old-fashioned baked apples mixing with that wood is just amazing!
As an adult, I’ve dressed up her recipe with a satisfying crunch from chopped walnuts. I’ve always loved nuts, so this was such an obvious addition for my family. So now, let this weeknight fall dessert be part of your family. It’ll come together fast and it will feel virtually guilt-free even if you do decide to have more than one!
The Best Apples for Old-Fashioned Baked Apples
Firm, crisp apples are the secret to simple baked apples that stay spoonable without becoming overly mushy. Here’s a list of some good ones and their flavor profile. Choose any of them or a mix for variety – but, avoid Red Delicious and McIntosh apples, as they tend to turn to mush upon baking.
- Granny Smith – Tart and holds shape beautifully
- Honeycrisp – Sweet, crisp, and juicy
- Ambrosia – Sweet, low-acid, and holds shape well
- Braeburn – Sweet-tart with firm flesh
- Jonagold – Honey sweetness with a crisp bite
- Pink Lady – Sweet-tart with firm flesh
- Fuji – Mild and sweet, great texture
- Rome Beauty – Traditional for whole baked apples
- Golden Delicious – Mild and holds up well
Kitchen tool recommendations: I love using this pan or this one from Staub to make baked apples. It’s sturdy and deep enough to hold the apples up. Sharp knives are vital for even slicing and a vegetable peeler makes peeling (which is optional) a breeze!
Bake Apples Video
How to Bake Apples
It’s a simple baked apples recipe! Core ‘em, stuff ‘em, and bake ‘em until tender. Super easy old-fashioned baked apples comin’ your way!
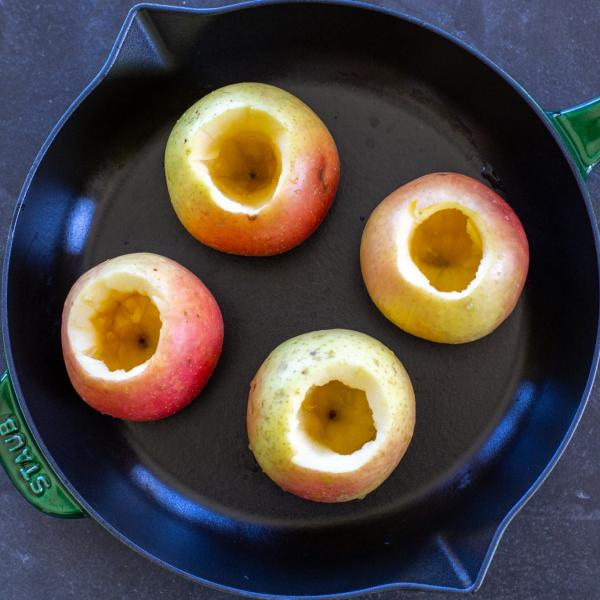
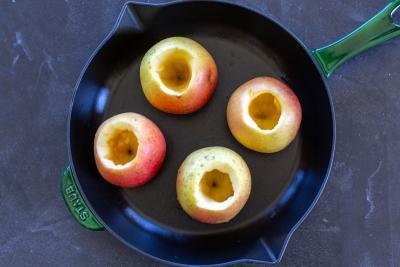
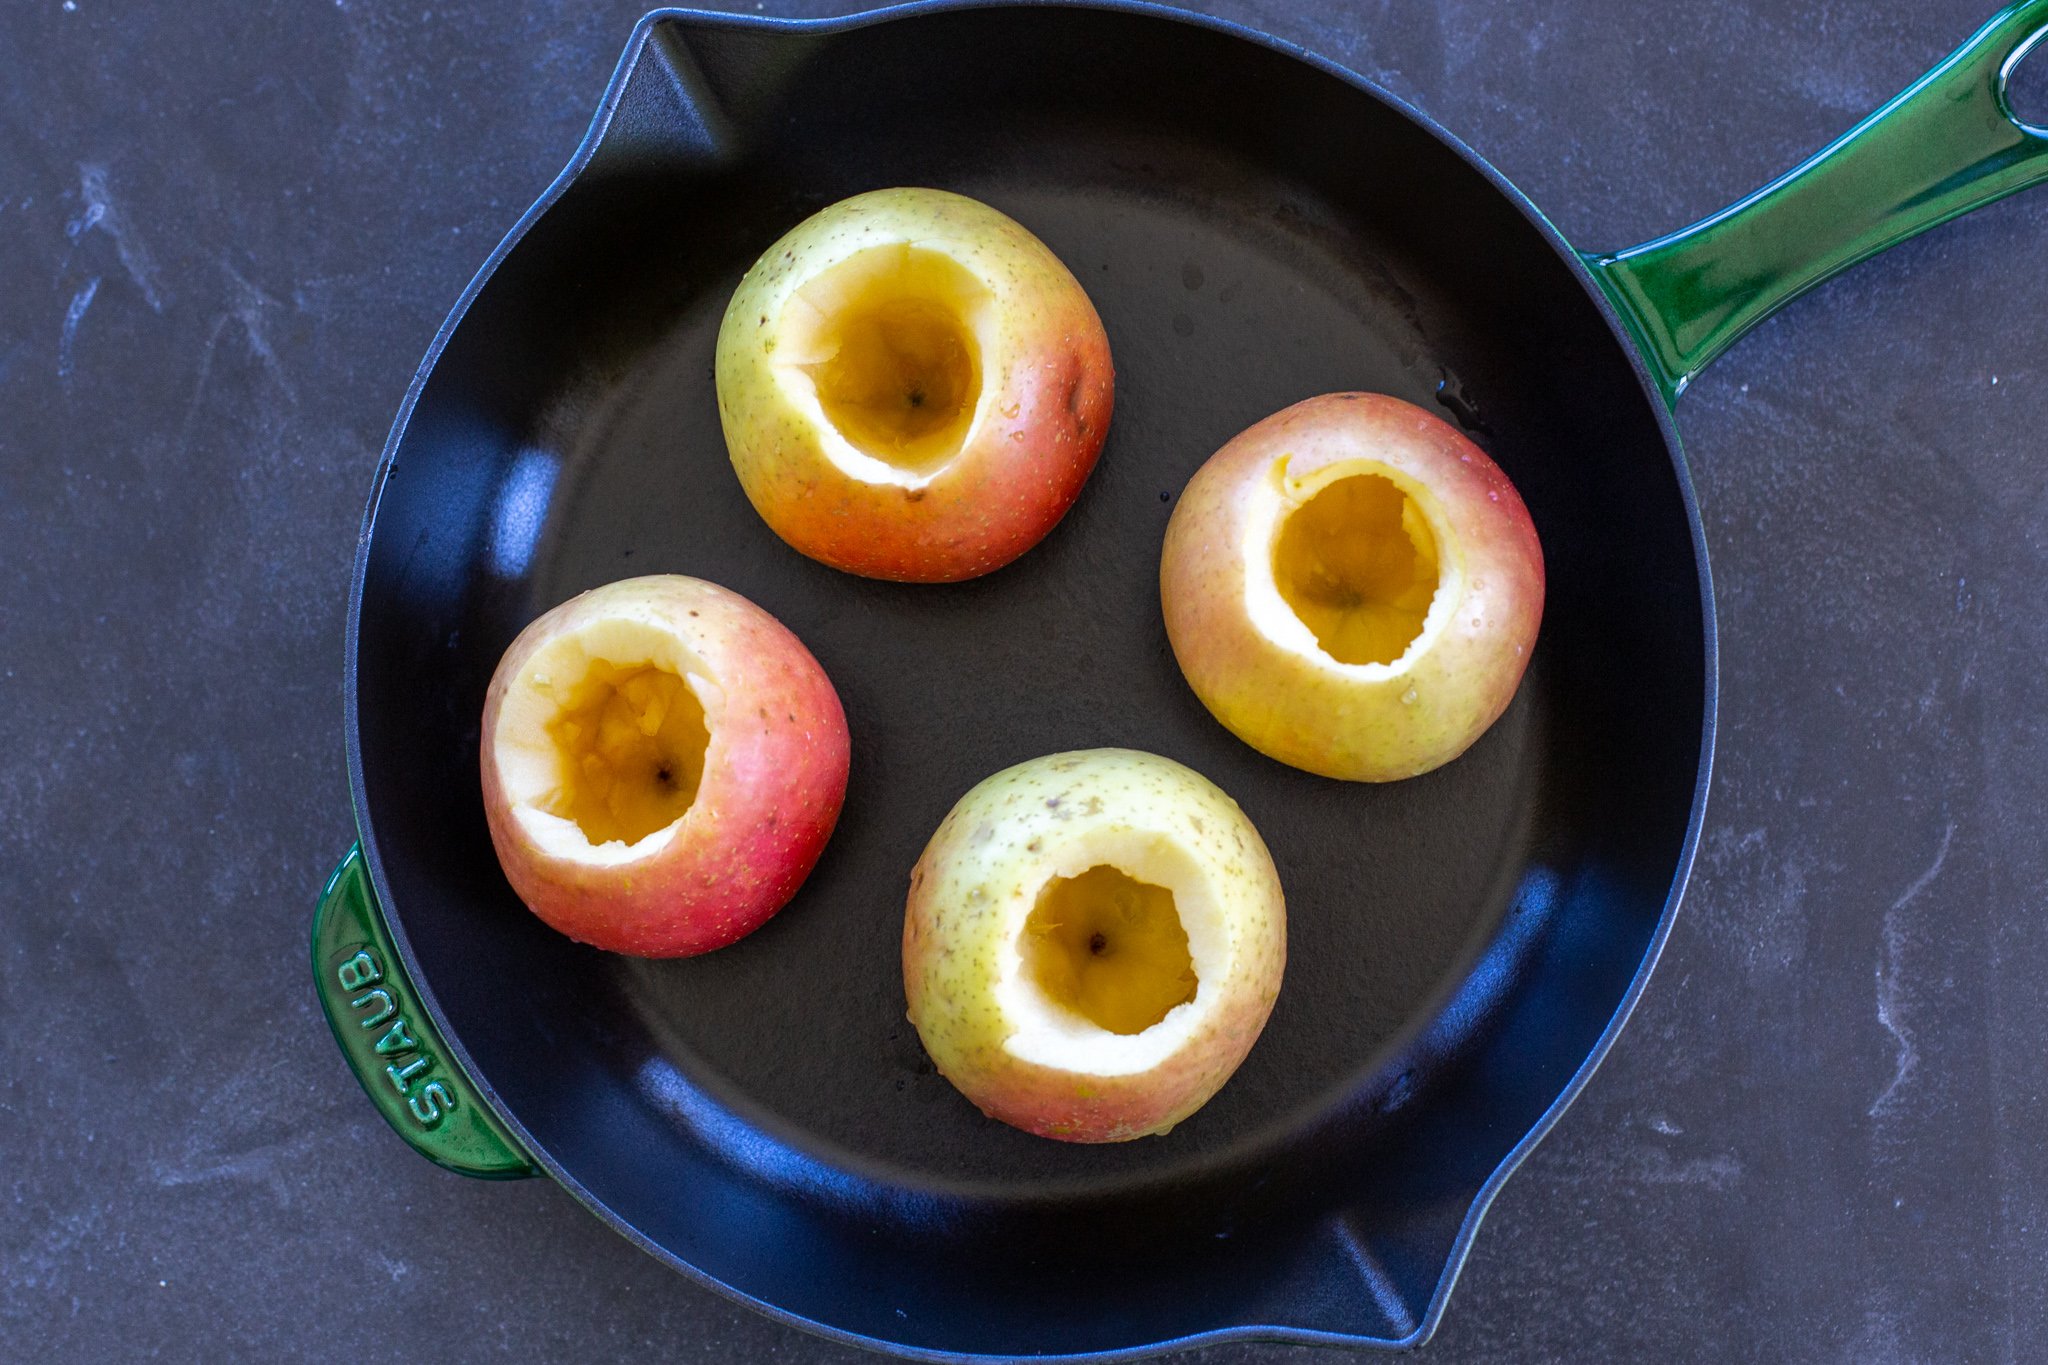
- Prepare the apples: Use an apple corer or sharp knife to remove the stem and seeds, leaving the bottom of the apple intact. This prevents the filling from leaking out underneath.
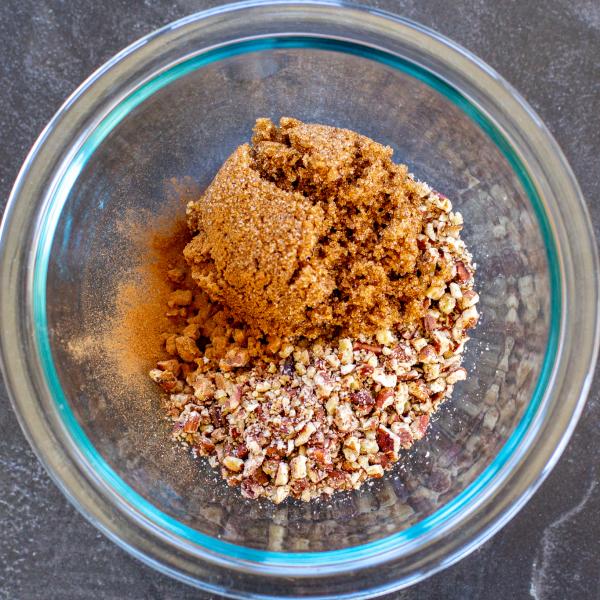
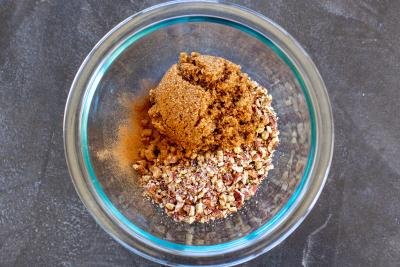
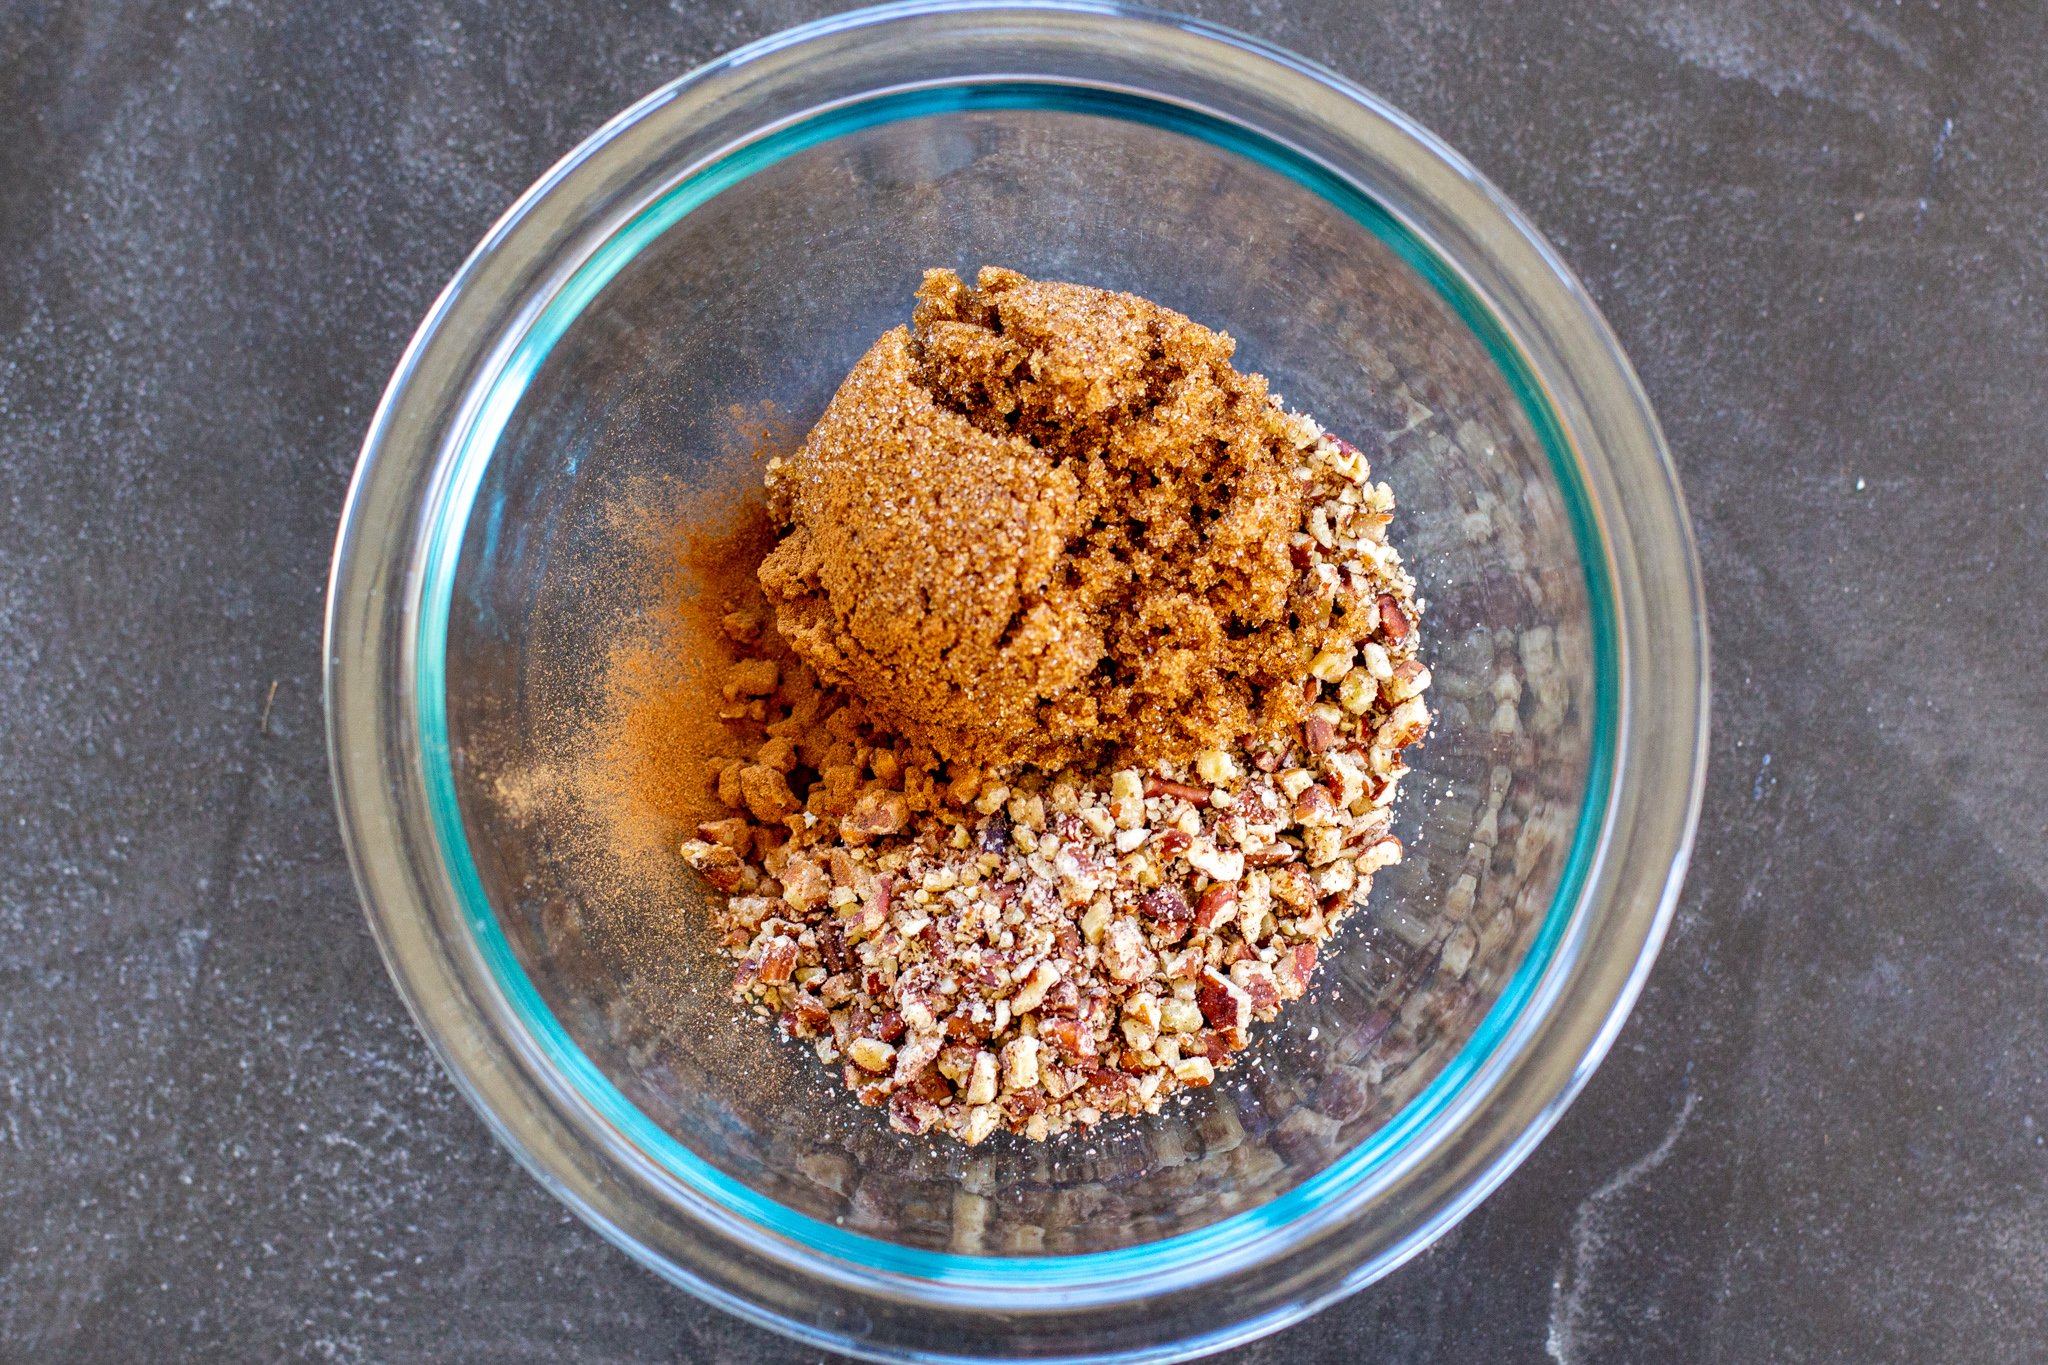
- Mix the filling: Combine the brown sugar, cinnamon, and finely chopped walnuts or pecans.
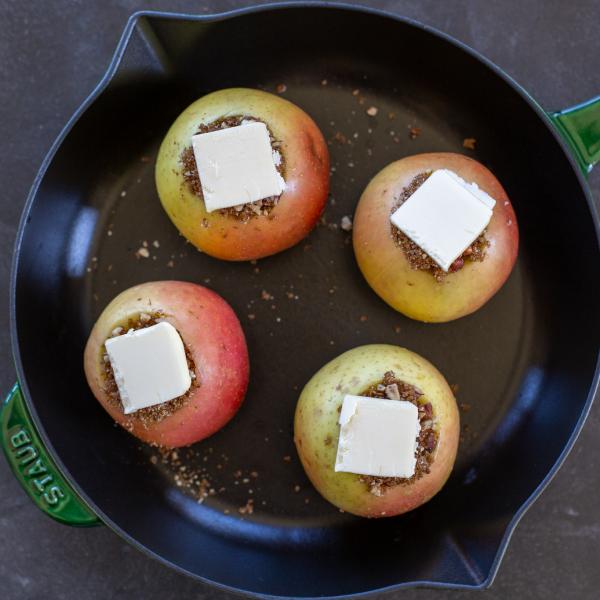
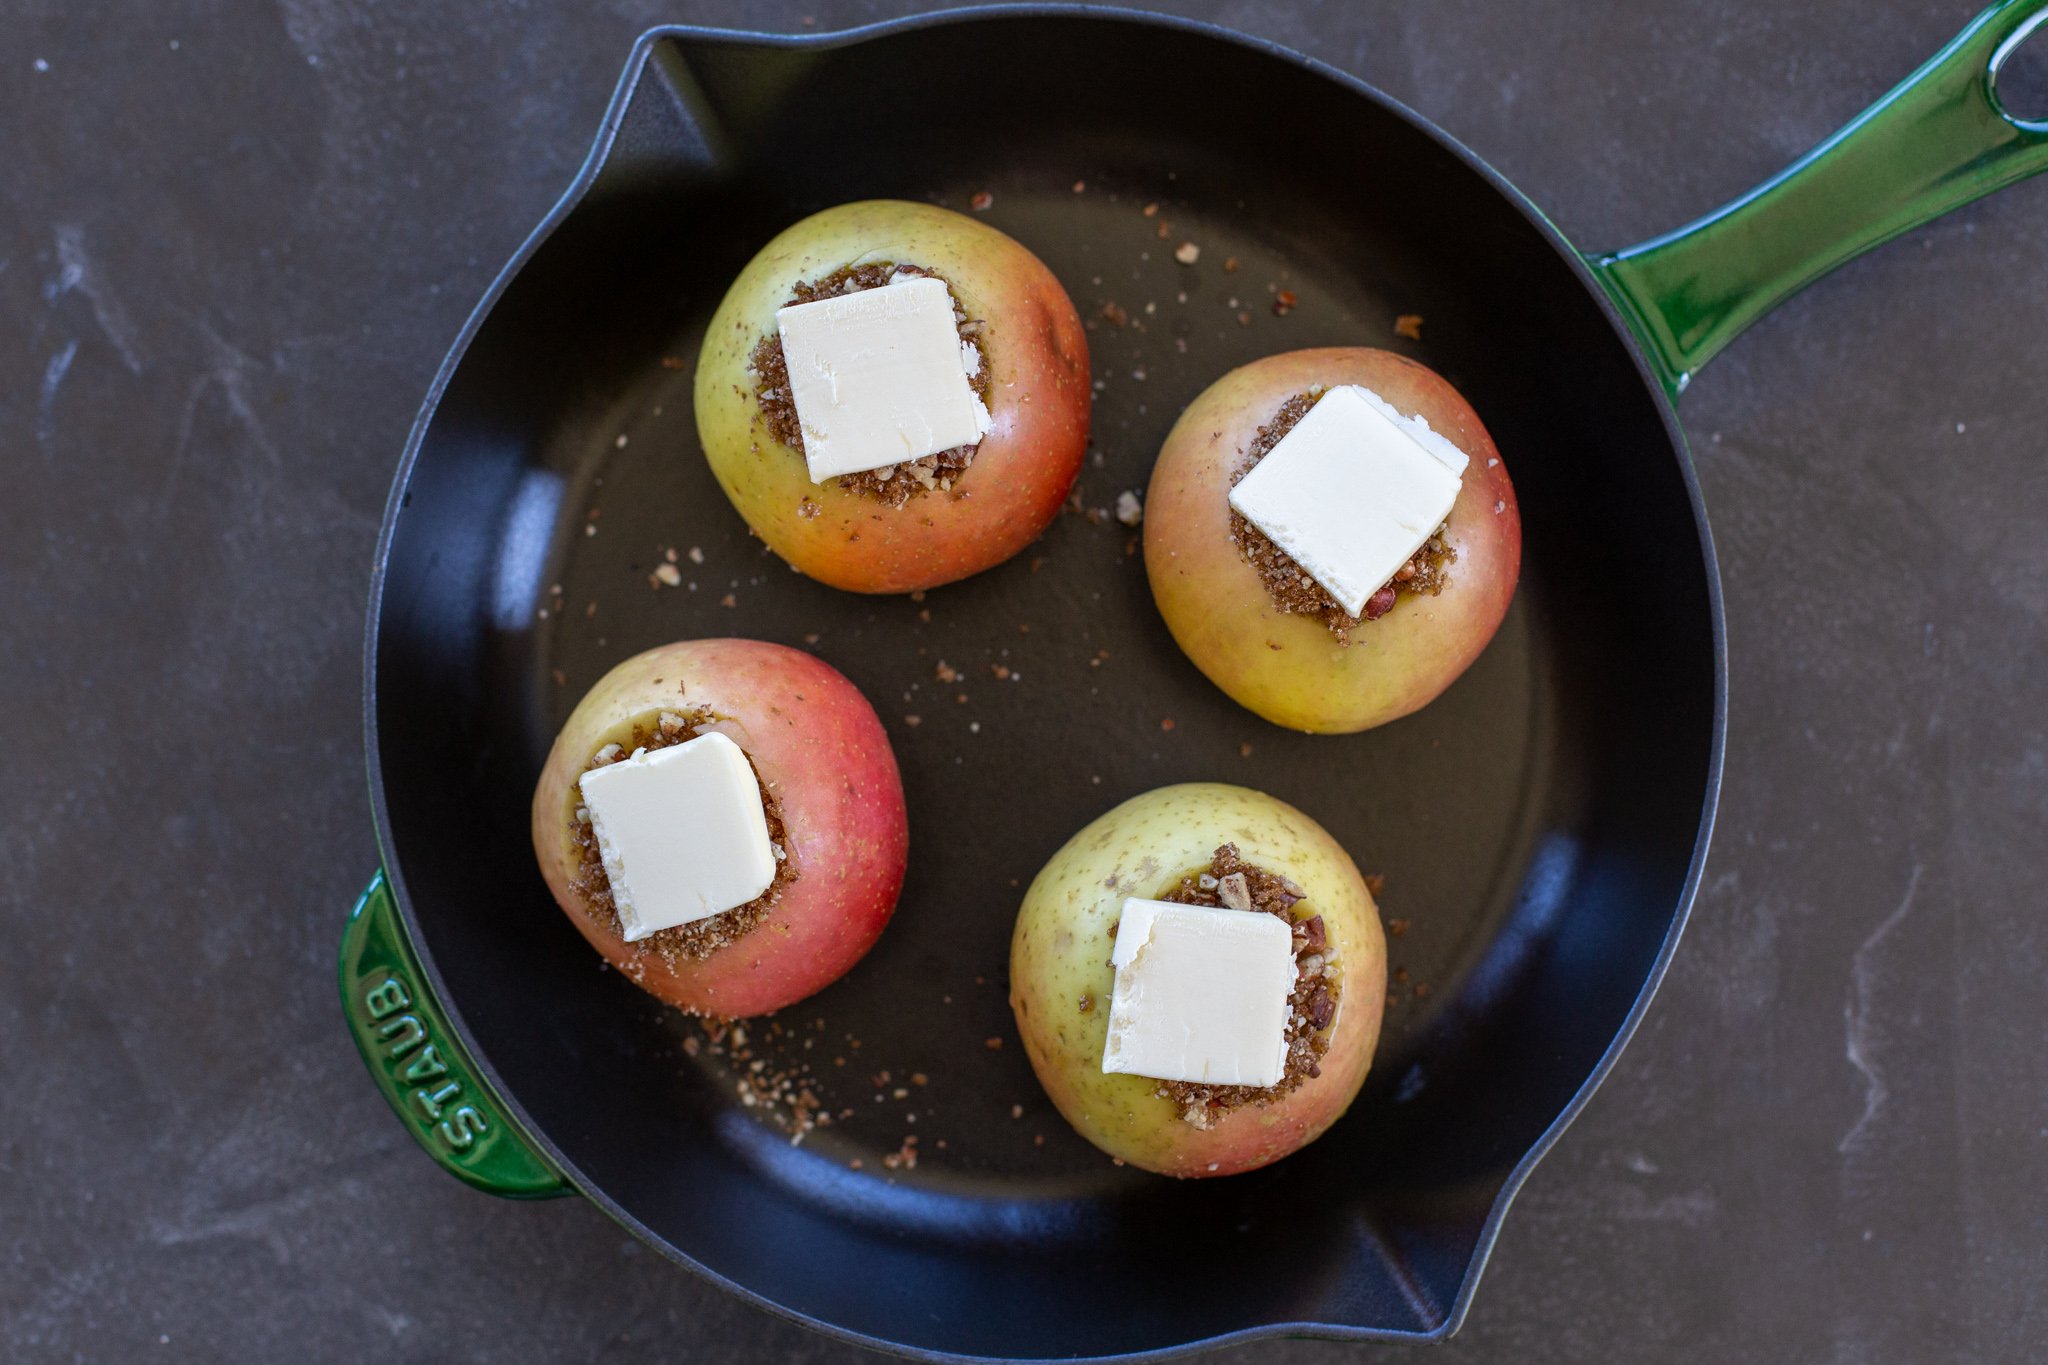
- Stuff and top the apple: Pack each apple with the mixture and dot with butter on top.
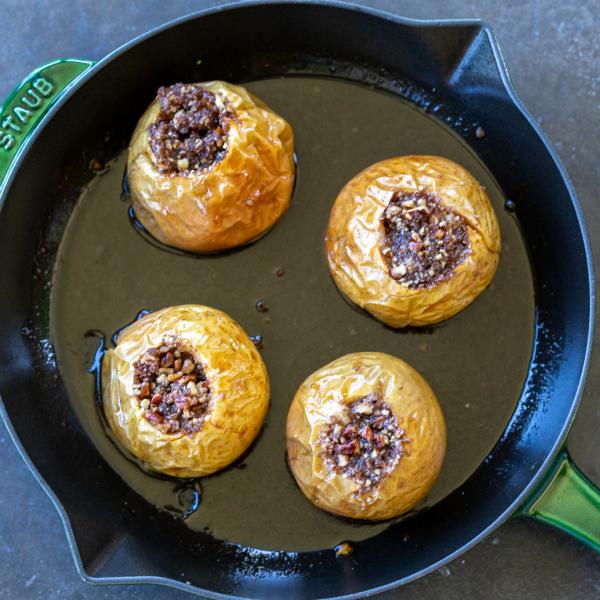
- Add moisture to the pan: Place the apples in a deep baking dish and pour ½ cup water into the pan. The water will create a steam that keeps the fruit tender.
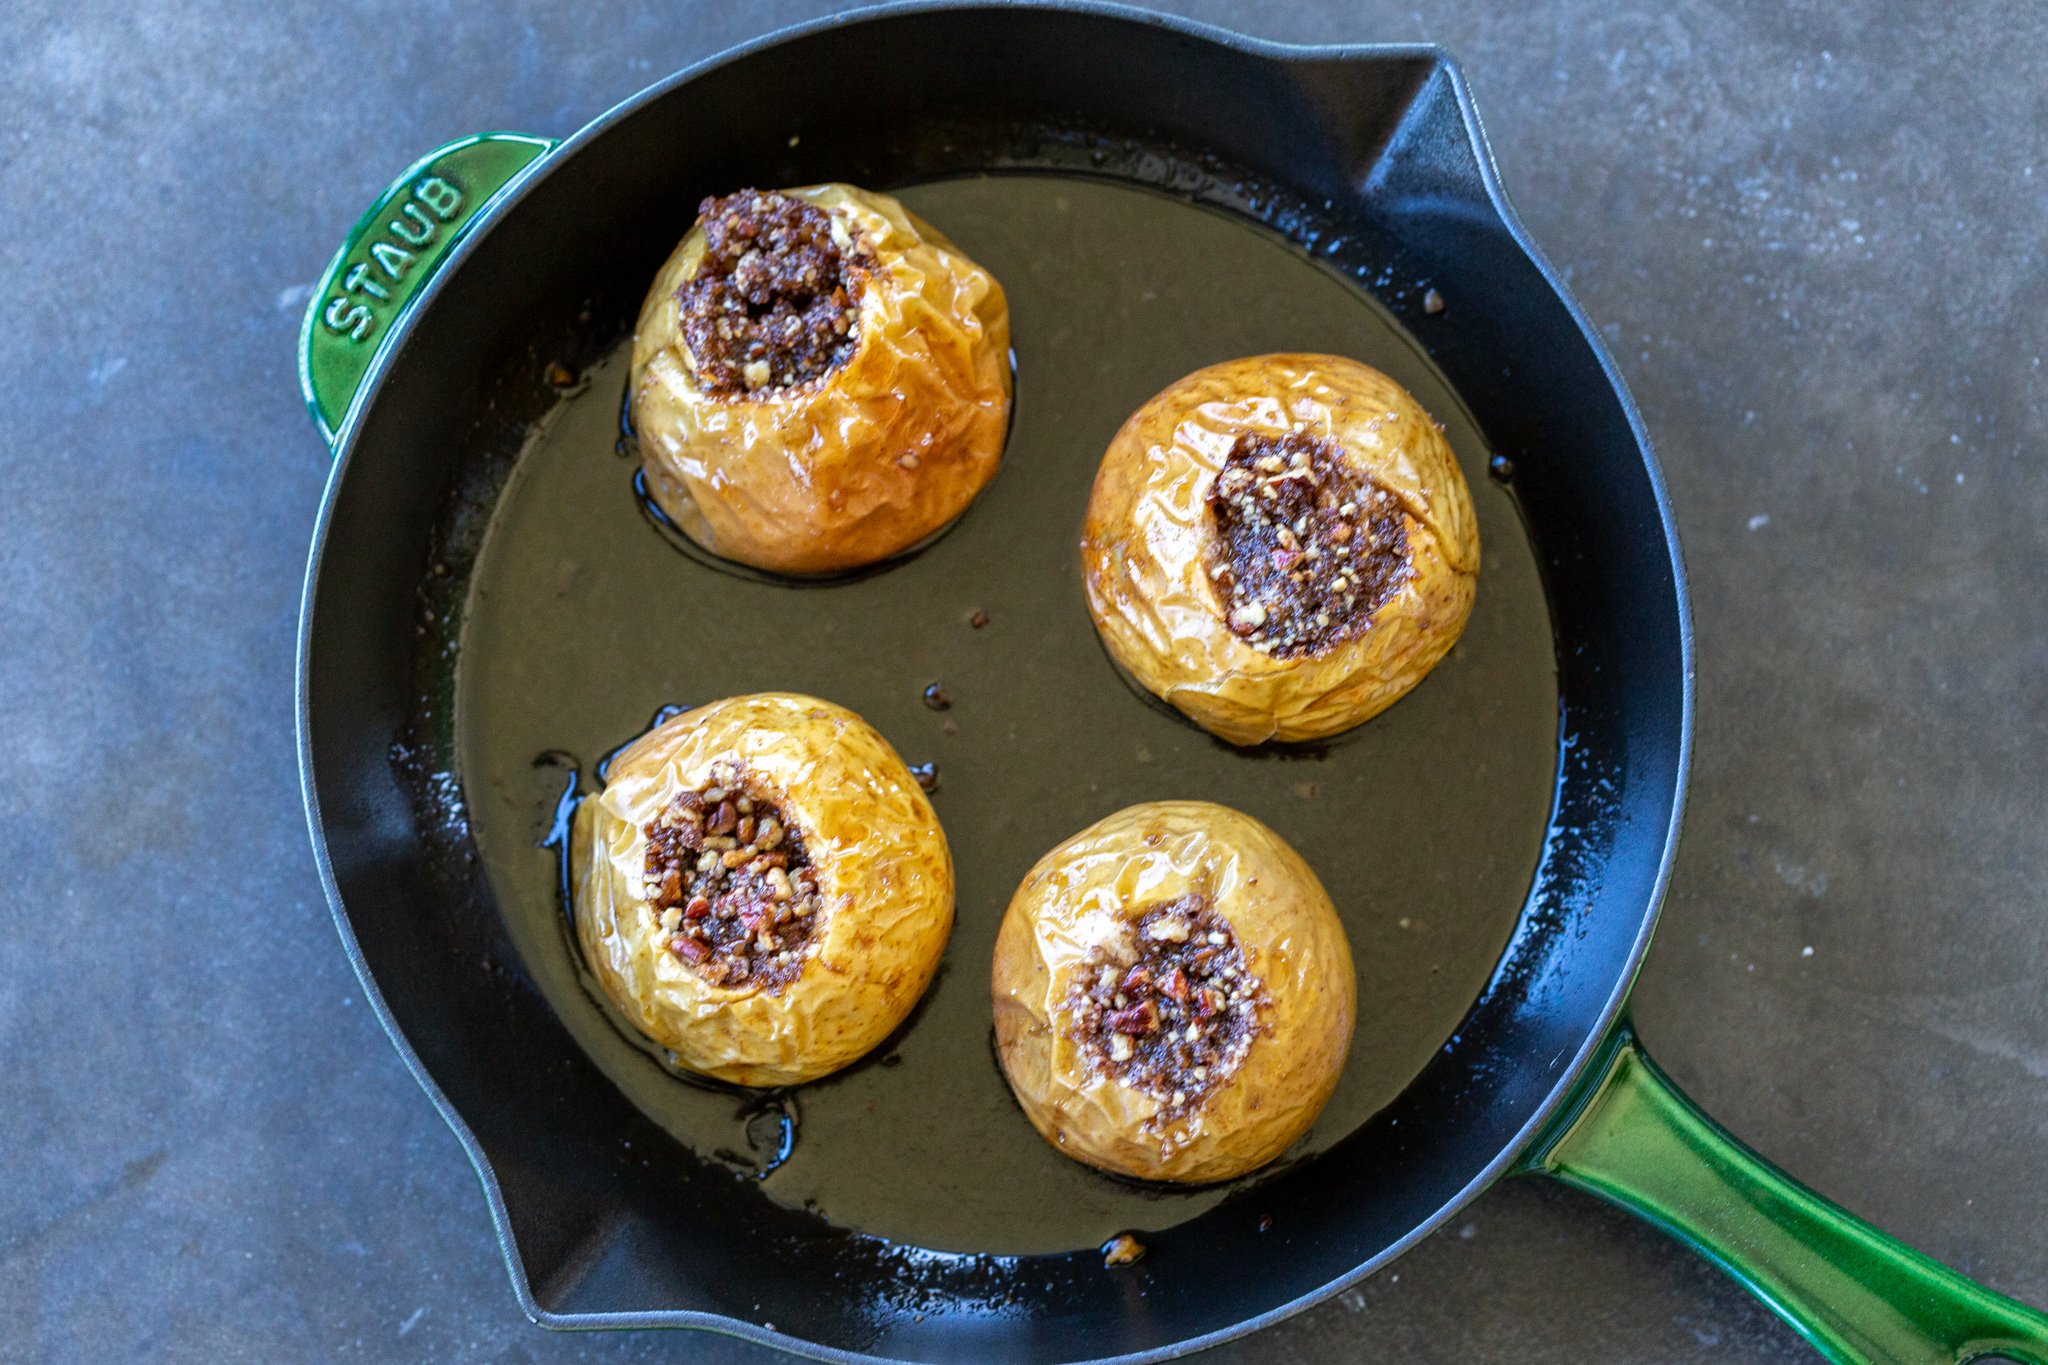
- Bake: Bake the apples at 350°F for about 40 minutes, or until a fork slides in easily.
Hot tip: Be extra careful when you take the apples out of the oven. Juices will have formed at the bottom of the pan and can spill over the sides of the lip on your pan isn’t high enough.
Recipe Variations
Want to change it up to suit your style? No problem! I recommend you do it!
- Dairy-free: For a dairy free option, swap the unsalted butter with coconut oil.
- Nut-free: If you don’t like nuts, leave them out or replace them with pumpkin seeds or sunflower seeds.
- Gluten-free: For a gluten-free version, use gluten-free flour or oat flour in any crumble toppings and certified GF oats.
- Different nuts: Substitute the walnuts for chopped pecans or slivered almonds.
- Apple cider flavor boost: Substitute apple cider or apple juice for water to add even more apple flavor.
- Spice boost: I love my spices — especially nutmeg, cloves, allspice, ground ginger, or pumpkin pie spice in the fall!
- Dried fruit: If you like more fruit in your desserts, stir in raisins, cranberries, or chopped dates. Then, squeeze lemon juice all over the top of the apples for a bit of freshness.
- Sweetener swap: Use maple syrup or honey in place of brown sugar if you need to!
Want a crispy topping? You can totally add a crumble or crisp topping on your baked apples. Mix 1/4 cup flour, two tbsp brown sugar, and two tbsp cold butter until crumbly, then sprinkle over the stuffed apples before baking. For a crunch, add oats and bake uncovered for the last 10 minutes
Baked Apple Tips & Tricks
Here’s a handful of pointers to help you make the most perfectly tender, melt-in-your-mouth baked fruit. Some of these are passed down from my grandmother, while a few of them are my own personal additions over the years.
- Use an apple corer to speed up the process: To make removing the stem and seeds super simple, invest in an apple corer. This wonder tool is a must-have when apple cooking!
- Try to pick similar-sized apples: When you’re picking up your apple haul, try and pick similar-sized apples so they bake evenly.
- Score the apple to prevent bursting: It’s best to lightly cut a horizontal slit around the apple’s equator so it doesn’t burst while baking.
- Adjust the sugar: Some people find their baked apples too sweet. Adjust the sugar based on the sweetness of your apples. Use less if you have a sweet apple variety, or increase if you love it super sweet.
- Don’t overstuff the inside: Make sure to leave a little room for expansion, so don’t stuff the apple too much.
- Baste halfway through cooking: For more flavor, spoon the pan juices over the apples about halfway through baking to create a caramelized glaze. It’s sooo good!
- Test doneness with a fork: Baked apples are ready when they are easily pierced with a fork but still hold their shape.
- Cover loosely with foil (if needed): If you notice the tops browning before the apples are baked through, cover the tops with foil.
- Let the apples rest upon baking: Let the baked apples cool for at least 5-15 minutes before serving to allow them to set and avoid burns.
Should you peel the apple? It’s not necessary to peel the apples. Leaving the skin on retains nutrients and saves time making this recipe.
Serving Baked Apples
Serve these warm apples countless ways — sweet, savory, or as part of a breakfast spread.
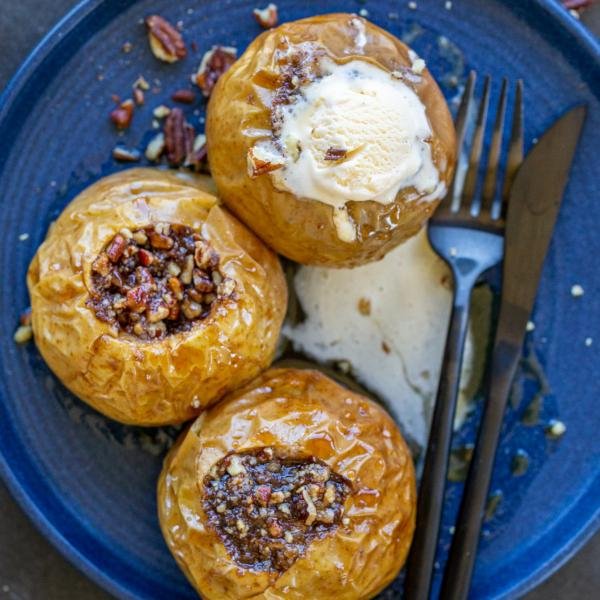
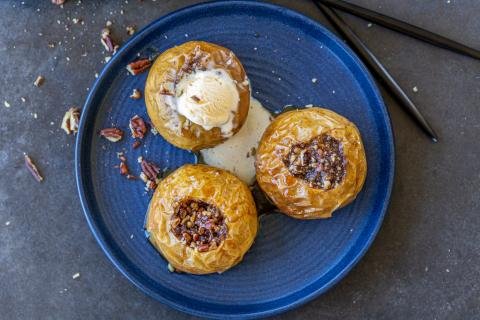
- Classic dessert: Place an apple in a bowl with vanilla ice cream, whipped cream, and a drizzle of caramel.
- Breakfast boost: Chop and spoon over oatmeal pudding, pancakes, waffles, or yogurt.
- Savory pairing: Serve alongside air fryer pork chops. Nothing compares to the sweet and salty flavor!
- Pie filling: Chop them up into fine pieces and bake them into a flaky pie crust.
Storage Best Practices
Follow these tips to keep leftover baked apples fresh and tasty.
- Refrigerator: Store cooled, baked apple leftovers in an airtight container for up to five days in the fridge.
- Freezer: Cool the apples completely, place in plastic bags, and freeze for up to two months. Thaw in the fridge overnight or on the counter for a couple of hours.
- Reheat: Warm the apples in a baking dish covered with foil at 350°F for about 15 minutes, or microwave in 30-second bursts. The texture softens slightly but stays delicious.
Make-Ahead Tips
You can get a jump on dessert — prep the apples and filling ahead, or bake fully and reheat.
- To prep ahead: Core the apples and toss with lemon juice to prevent browning. Mix the cinnamon-sugar-walnut filling and store separately. Assemble just before baking.
- To bake ahead: Cook the apples as directed and let cool. Refrigerate up to two days, then reheat gently (350°F, 15 minutes) before serving. The flavor deepens overnight.
More Apple Recipes
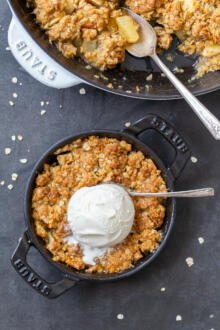
- Easy Apple Crisp (THE BEST) – A classic one-pan dessert made with delicious apples and a few pantry staples.
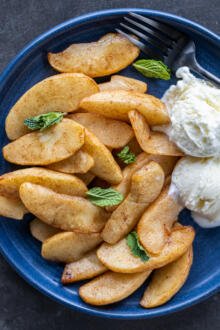
- Air Fryer Baked Apples (Stuffed) – Caramelized, tender, and full of cinnamon-nut filling — all the flavor of apple crisp with none of the fuss.
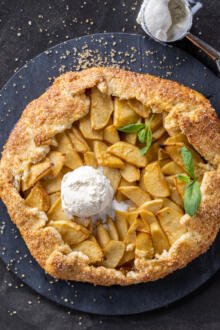
- Apple Galette Recipe – A flaky, buttery crust with juicy cinnamon apples; it’s like a fancy apple pie without the top crust.
- Banana Walnut Apple Bread Recipe – A 20-minute bread packed with fruits and nuts — you’ll keep coming back for more.
Recipe
Ingredients
- 4 apples
- 1/4 cup brown sugar
- 1 tsp cinnamon
- 1/4 cup walnuts or pecans finely chopped
- 2 tbsp butter
- 1/2 cup water
Instructions
- Using a sharp, narrow knife, remove the stem and seeds from the apples.
- In a separate bowl, combine the brown sugar, cinnamon, and walnuts/pecans.
- Fill each apple with the brown sugar mixture. Top it off with 1/2 tbsp of butter.
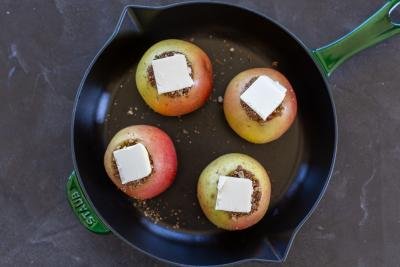
- Place the apples in a baking dish. Pour the water into the bottom of the pan. Bake at 350°F for about 40 minutes or until the apples are tender. Enjoy!
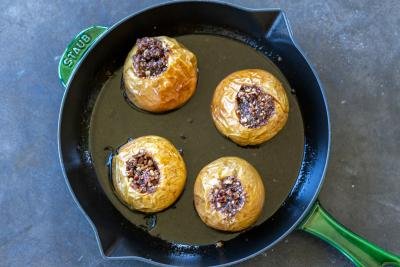

Totally simple and works for a healthy snack or most elegant dessert or side! My apples were large so needed about 15 min longer and added another 1/4 c water. Makes yummy syrup to spoon over each apple. Lovelovelove
I'm happy you love these baked apples as much as I do!
grew up on these! mom would peal apples almost half way down and wrap in tin foil before baking. helps to keep them moist and not dry out. This way she never used water, foil kept all the moisture to bake in foil into apples.
Hi Toni, Thats such a great idea! Thank you for sharing that. I love that this recipe brings back happy memories for you. I hope you get a chance to make them sometime soon.
Add some grated marzipan with raisins!!! The taste will be amazing:)
Hey Raji, I love that tip, thanks for sharing!!! Need to try it asap!
These baked apples are the perfect fall dessert! My family loved them.
Andie,so good to hear! I cant get over how good they are. Glad you feel the same way.
These baked apples look wonderful with the best autumn flavors. Can't wait to try them!
Hi Diana, I hope you love them as much as we do! Let me know how they turn out. Enjoy!
Such a simple and yummy dessert. It is like apple pie without the crust! Can't go wrong with this recipe. Love it!
Hi Matt, I agree! Thanks for the feedback. Enjoy!