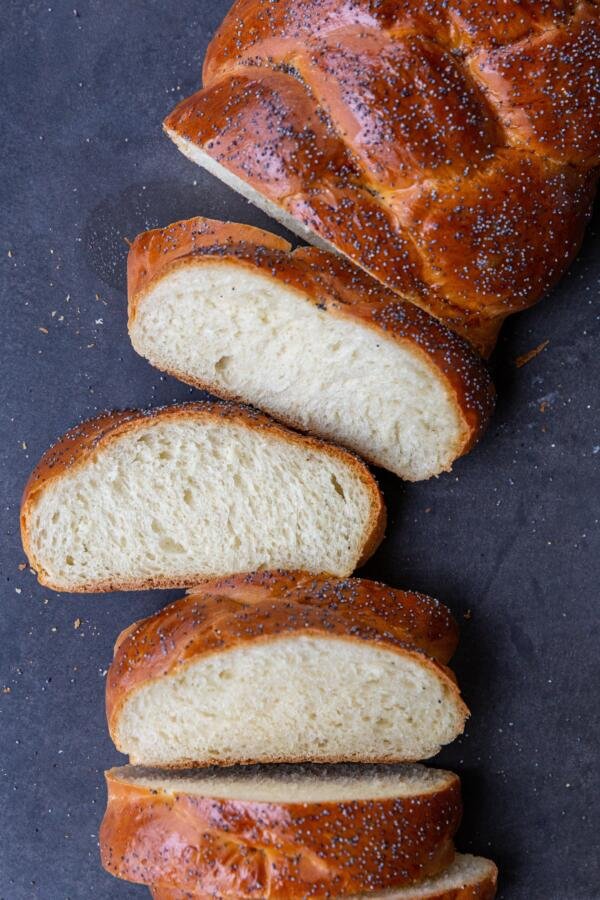
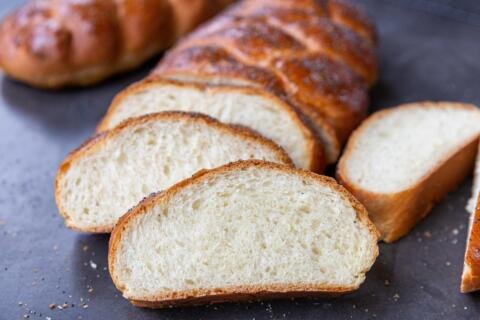
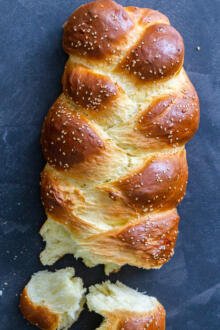
Challah bread is sweet, fluffy, and one of the best breads. The flavor makes it perfect both everyday and holidays, for breakfast, in sandwiches – any way you want it!
Challah (or hallah) is one of my favorite breads. Whenever we go to NYC (usually 1-2 times a year, especially at Christmas), I make sure we stop by a bakery to get a fresh challah loaf at least once during the trip. On the flight home, I’ll have it with me as my in-flight snack. If you are there, you’ll see me slowly break away pieces during the flight, enjoying every single bite. (Don’t judge me if you ever see me on a flight doing this!)
So, like many of my recipes, I set out to create an easy challah bread recipe from home for the times when I just can’t get it in NYC. I love it because I get the same fluffy bread from the comfort of my own home. It’s rich, slightly sweet, soft, and spongy. Crazy easy, crazy good!
Did You Know? Challah Trivia
If you didn’t know, challah bread is a white, braided yeast bread. It is traditionally Jewish and baked to celebrate the Sabbath and other occasions. Here’s a few more fun facts for you to bring to your next trivia night.
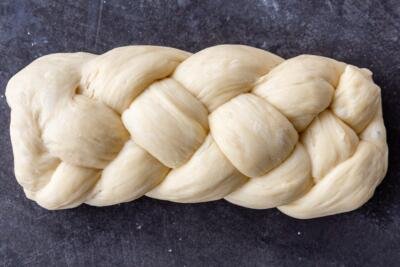
- The braiding is vital: The beautiful braiding is one of the most special parts of Challah bread. Although it looks complicated, even a simple 3-4 strand braid makes beautiful results.
- Challah has deep religious and cultural roots: The term “challah” derives from a reference in the Torah where Moses is instructed to use a portion of each loaf as an offering. Observant home bakers today still follow this practice by incinerating a piece of dough in the oven first before baking.
- The shape can change: The shape of challah bread can vary depending on the occasion. For example, on Rosh Hashanah (the Jewish New Year) challah loaves are braided in a circular shape to represent continuity.
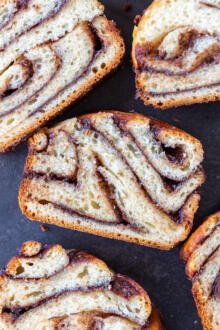
- It is dairy-free: Challah is dairy free, which makes it kosher. This is different from a similar kind of bread, brioche, which is made with butter.
How to Make the Best Challah Bread Dough
Challah dough takes just under 30 minutes to actively make. It’s easiest to think about the process in three small steps: Preparing the dough, shaping the dough, and finally, baking!
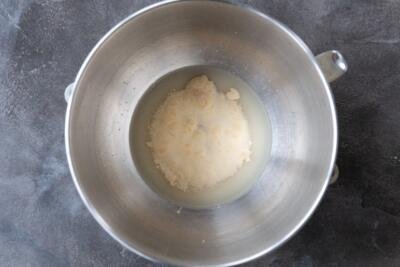
Preparing the Dough
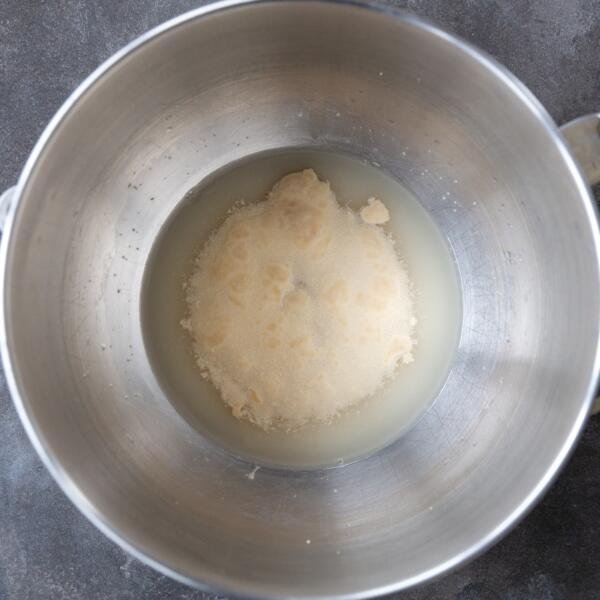
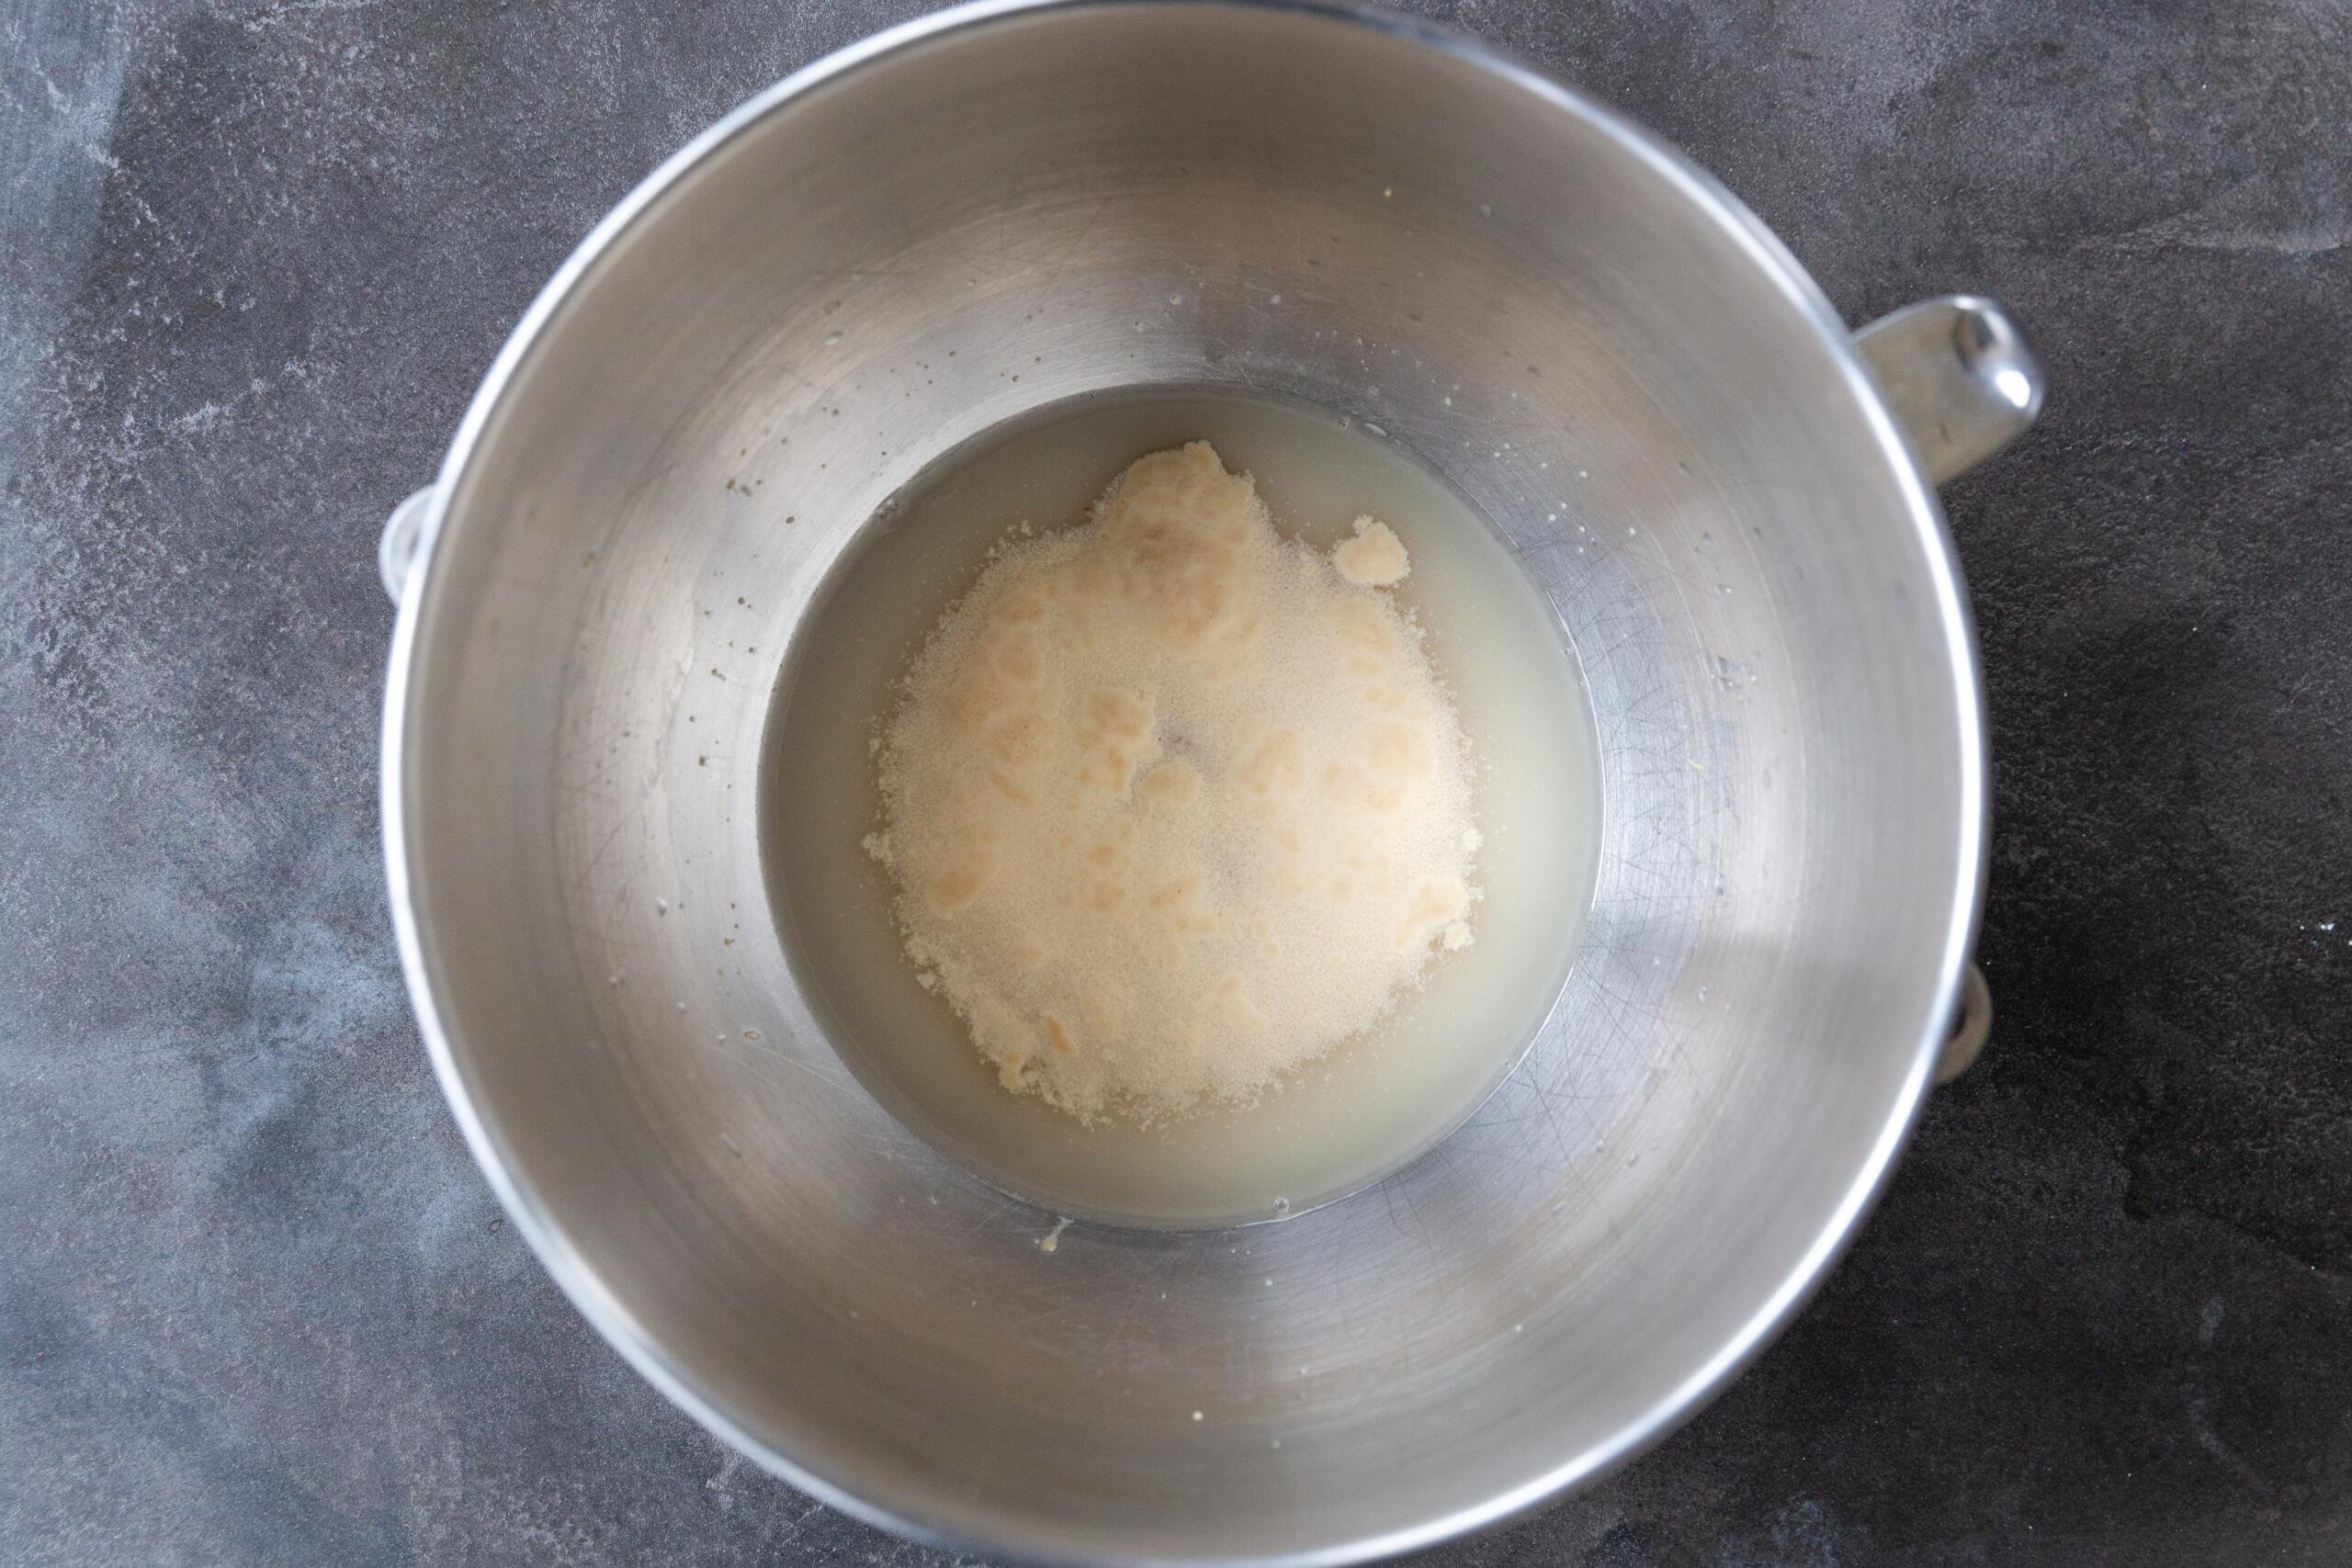
- Activate the yeast: In the bowl of the stand mixer, combine the lukewarm water, a tablespoon of sugar, and the active dry yeast. Let this mixture sit until the yeast bubbles.
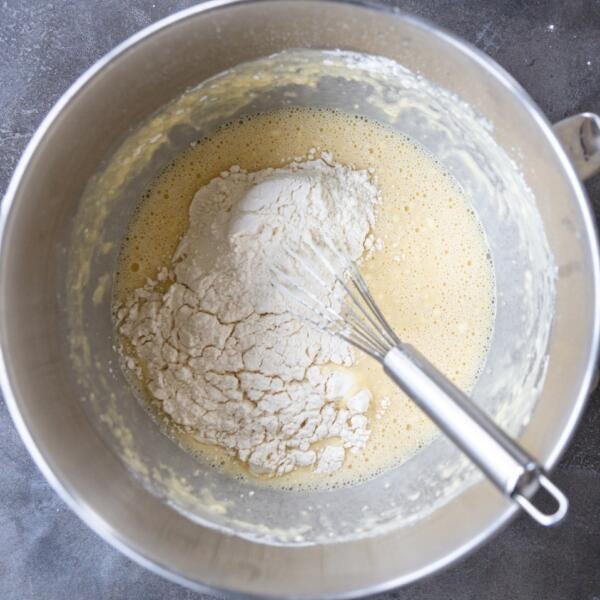
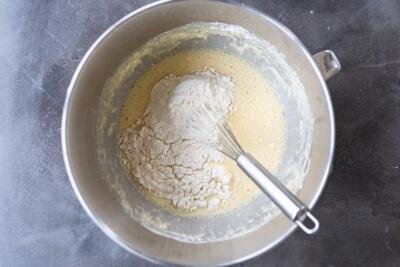
- Add in the flour: Whisk in the eggs and oil, then slowly stir in the flour one cup at a time.
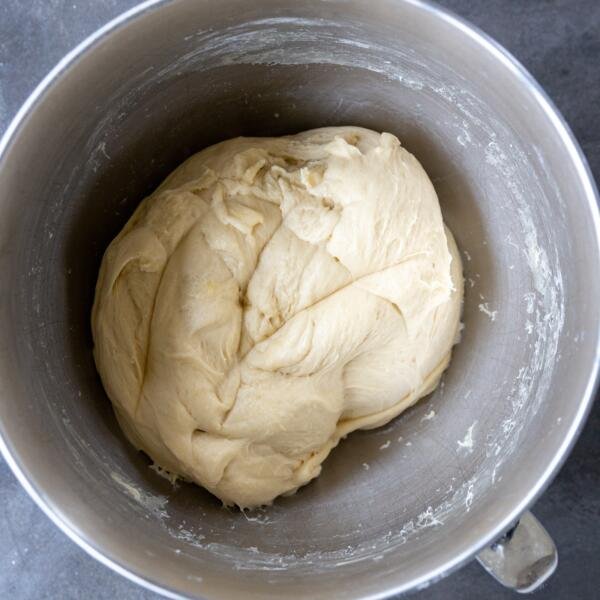
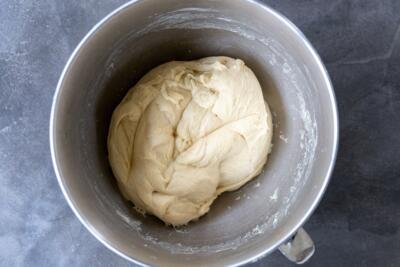
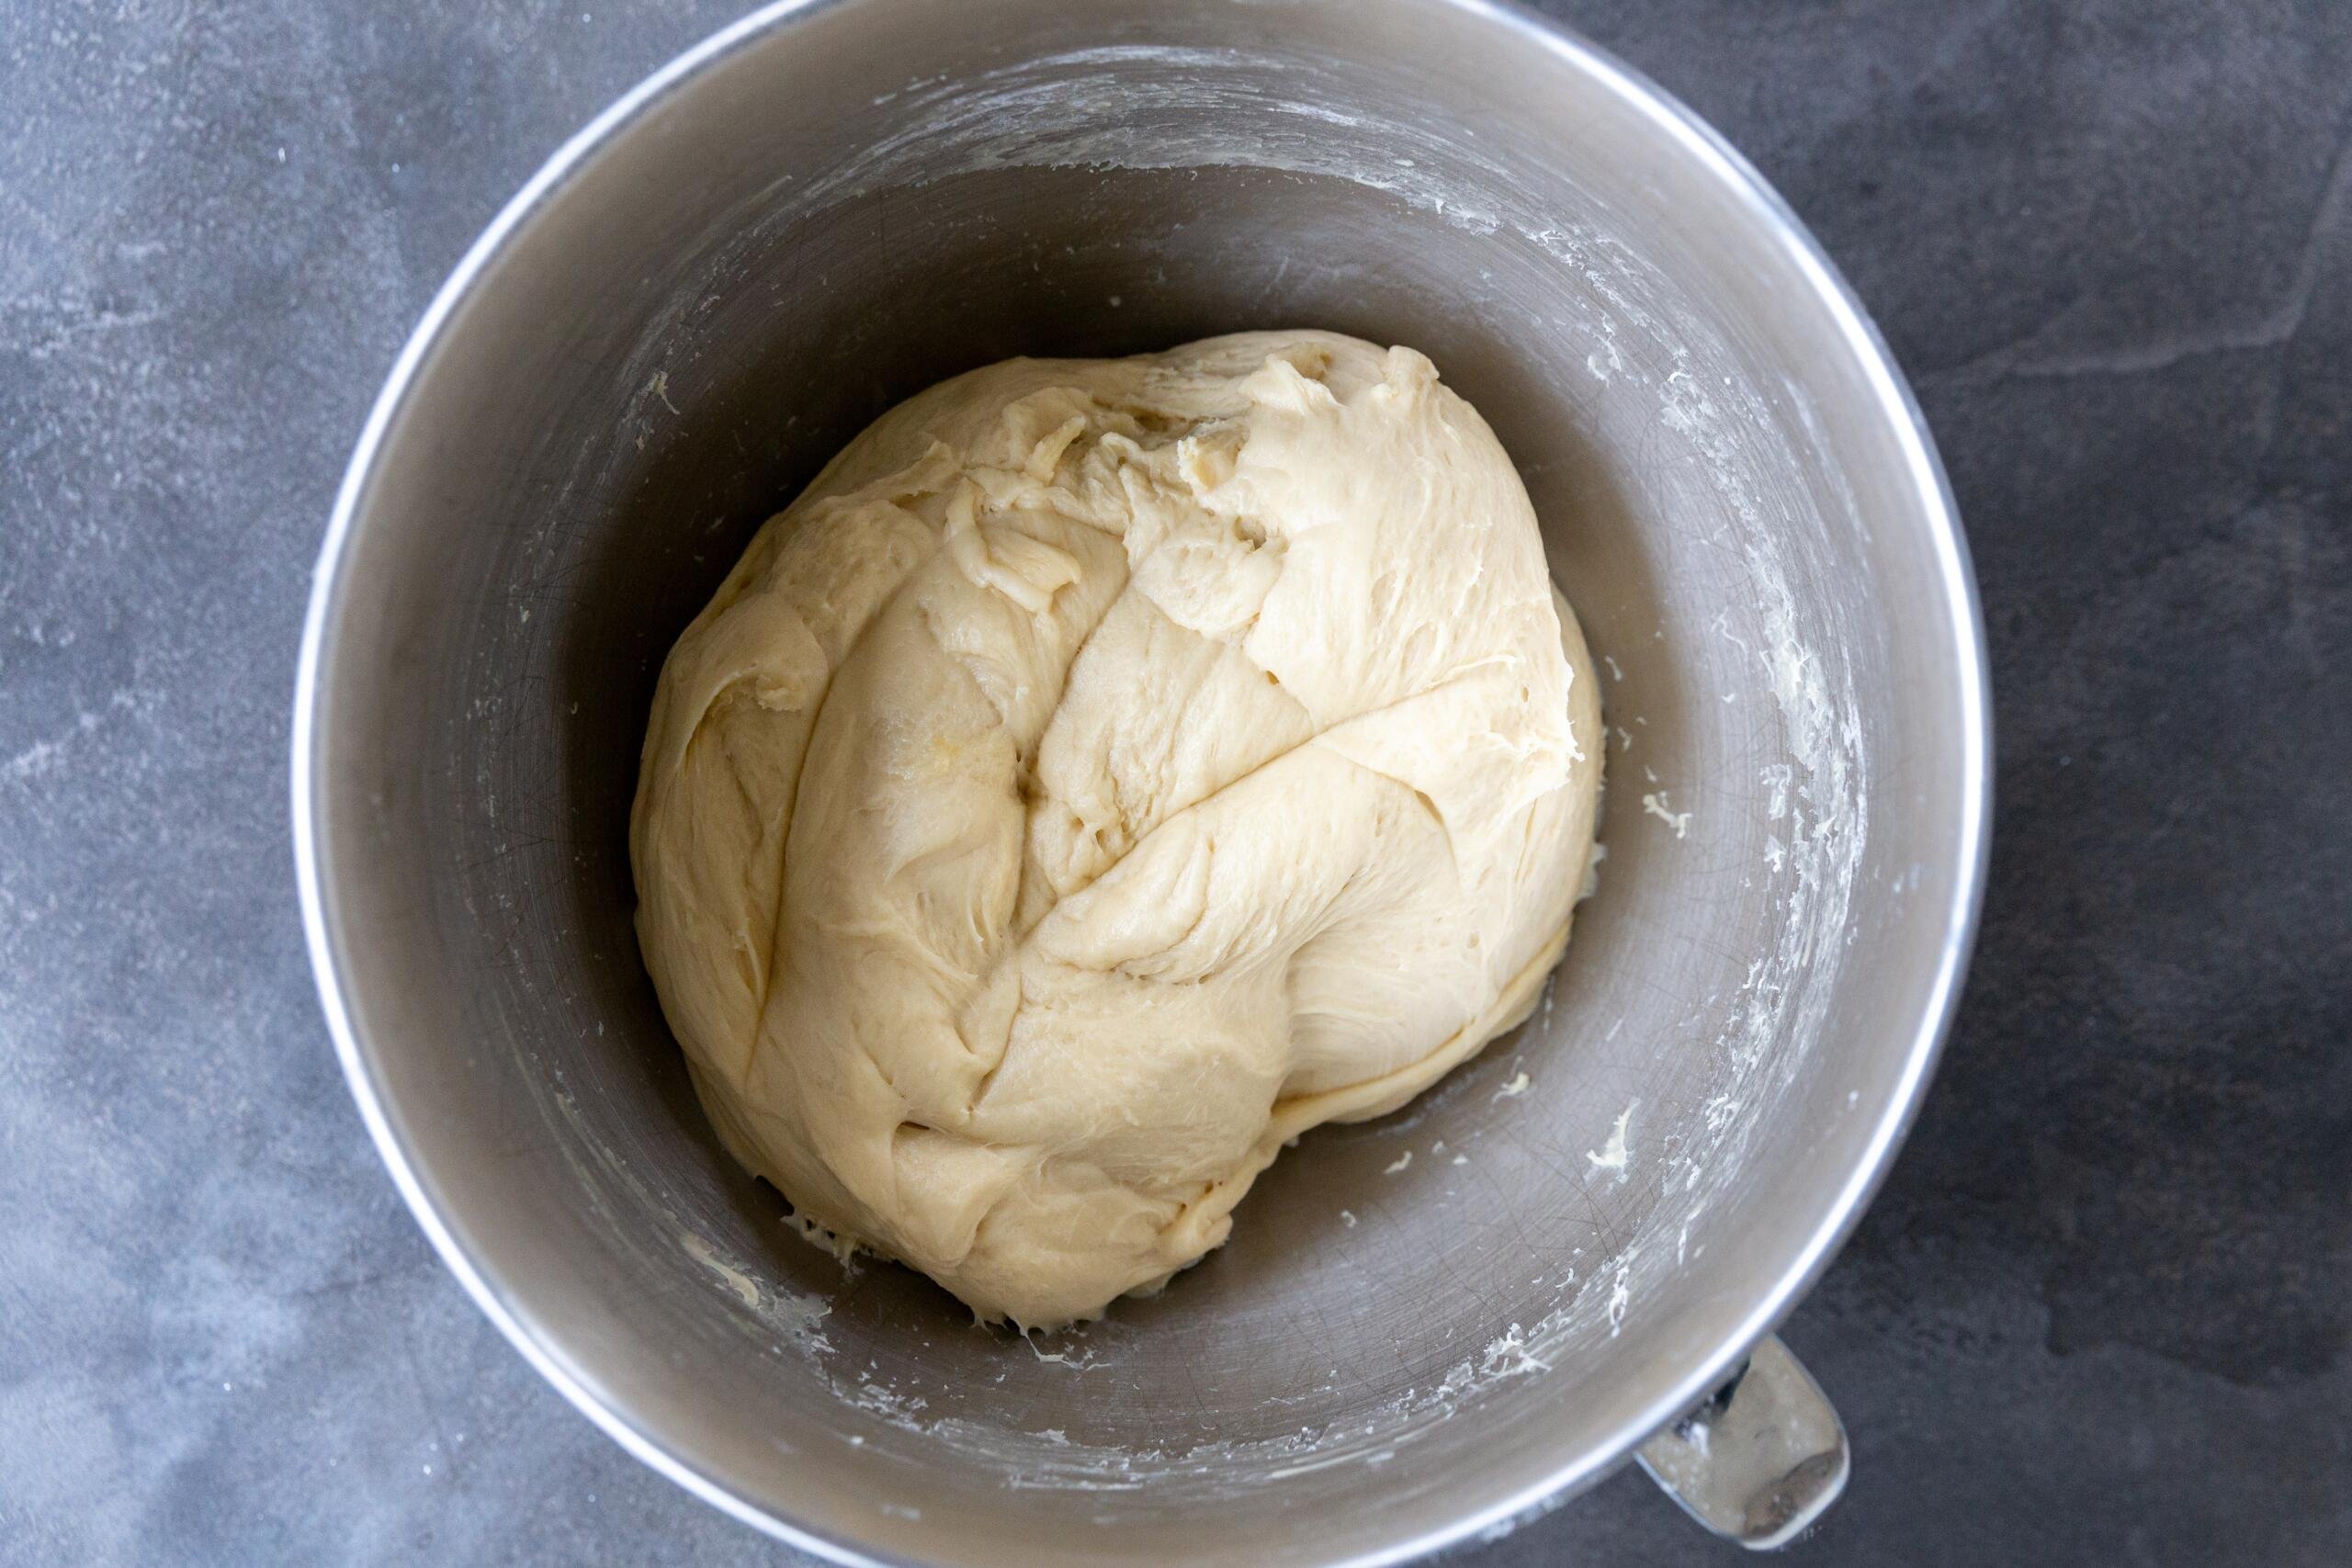
- Knead the dough: Knead the dough using the dough hook from a stand mixer. (Or, knead by hand if needed). Continue kneading the dough until it is elastic and smooth. If it is sticky and wet, add additional flour.
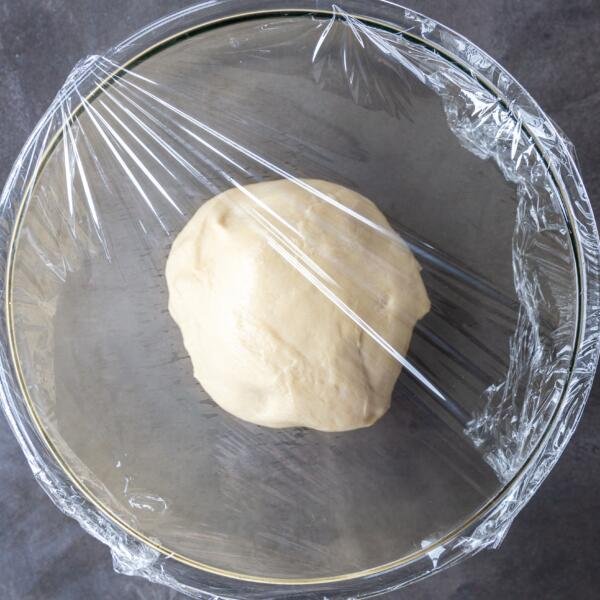
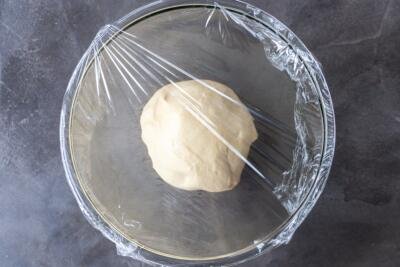
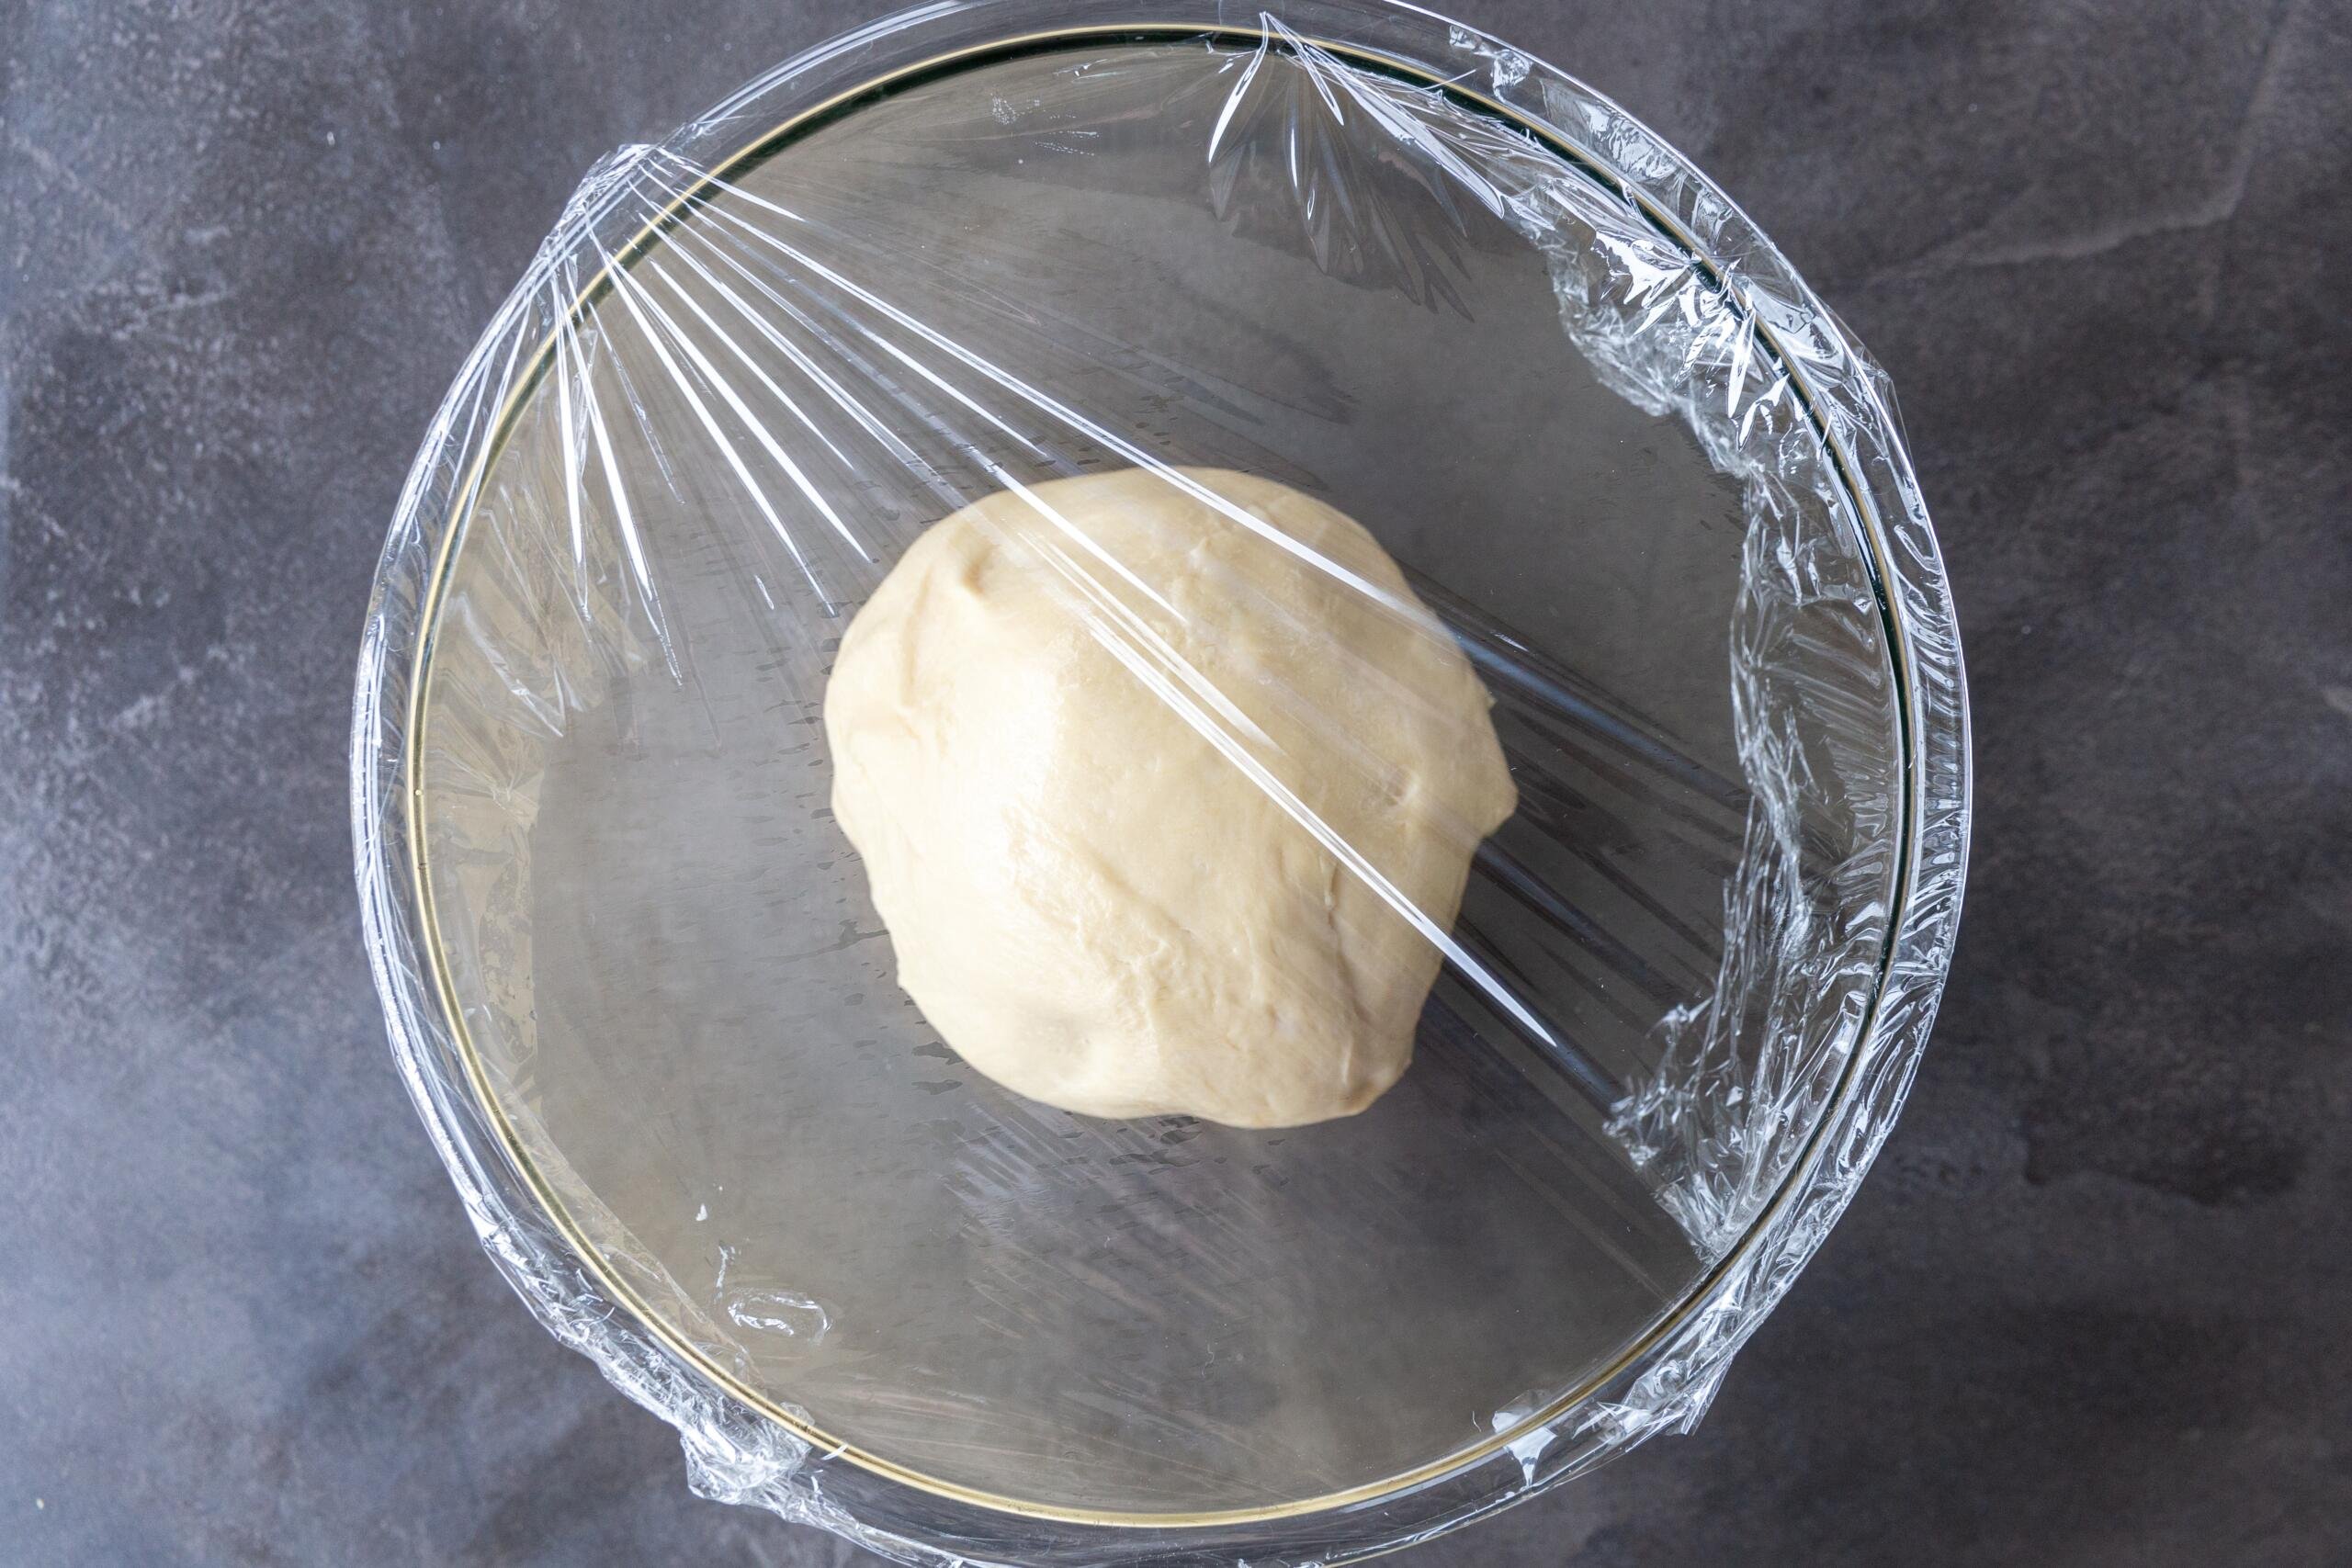
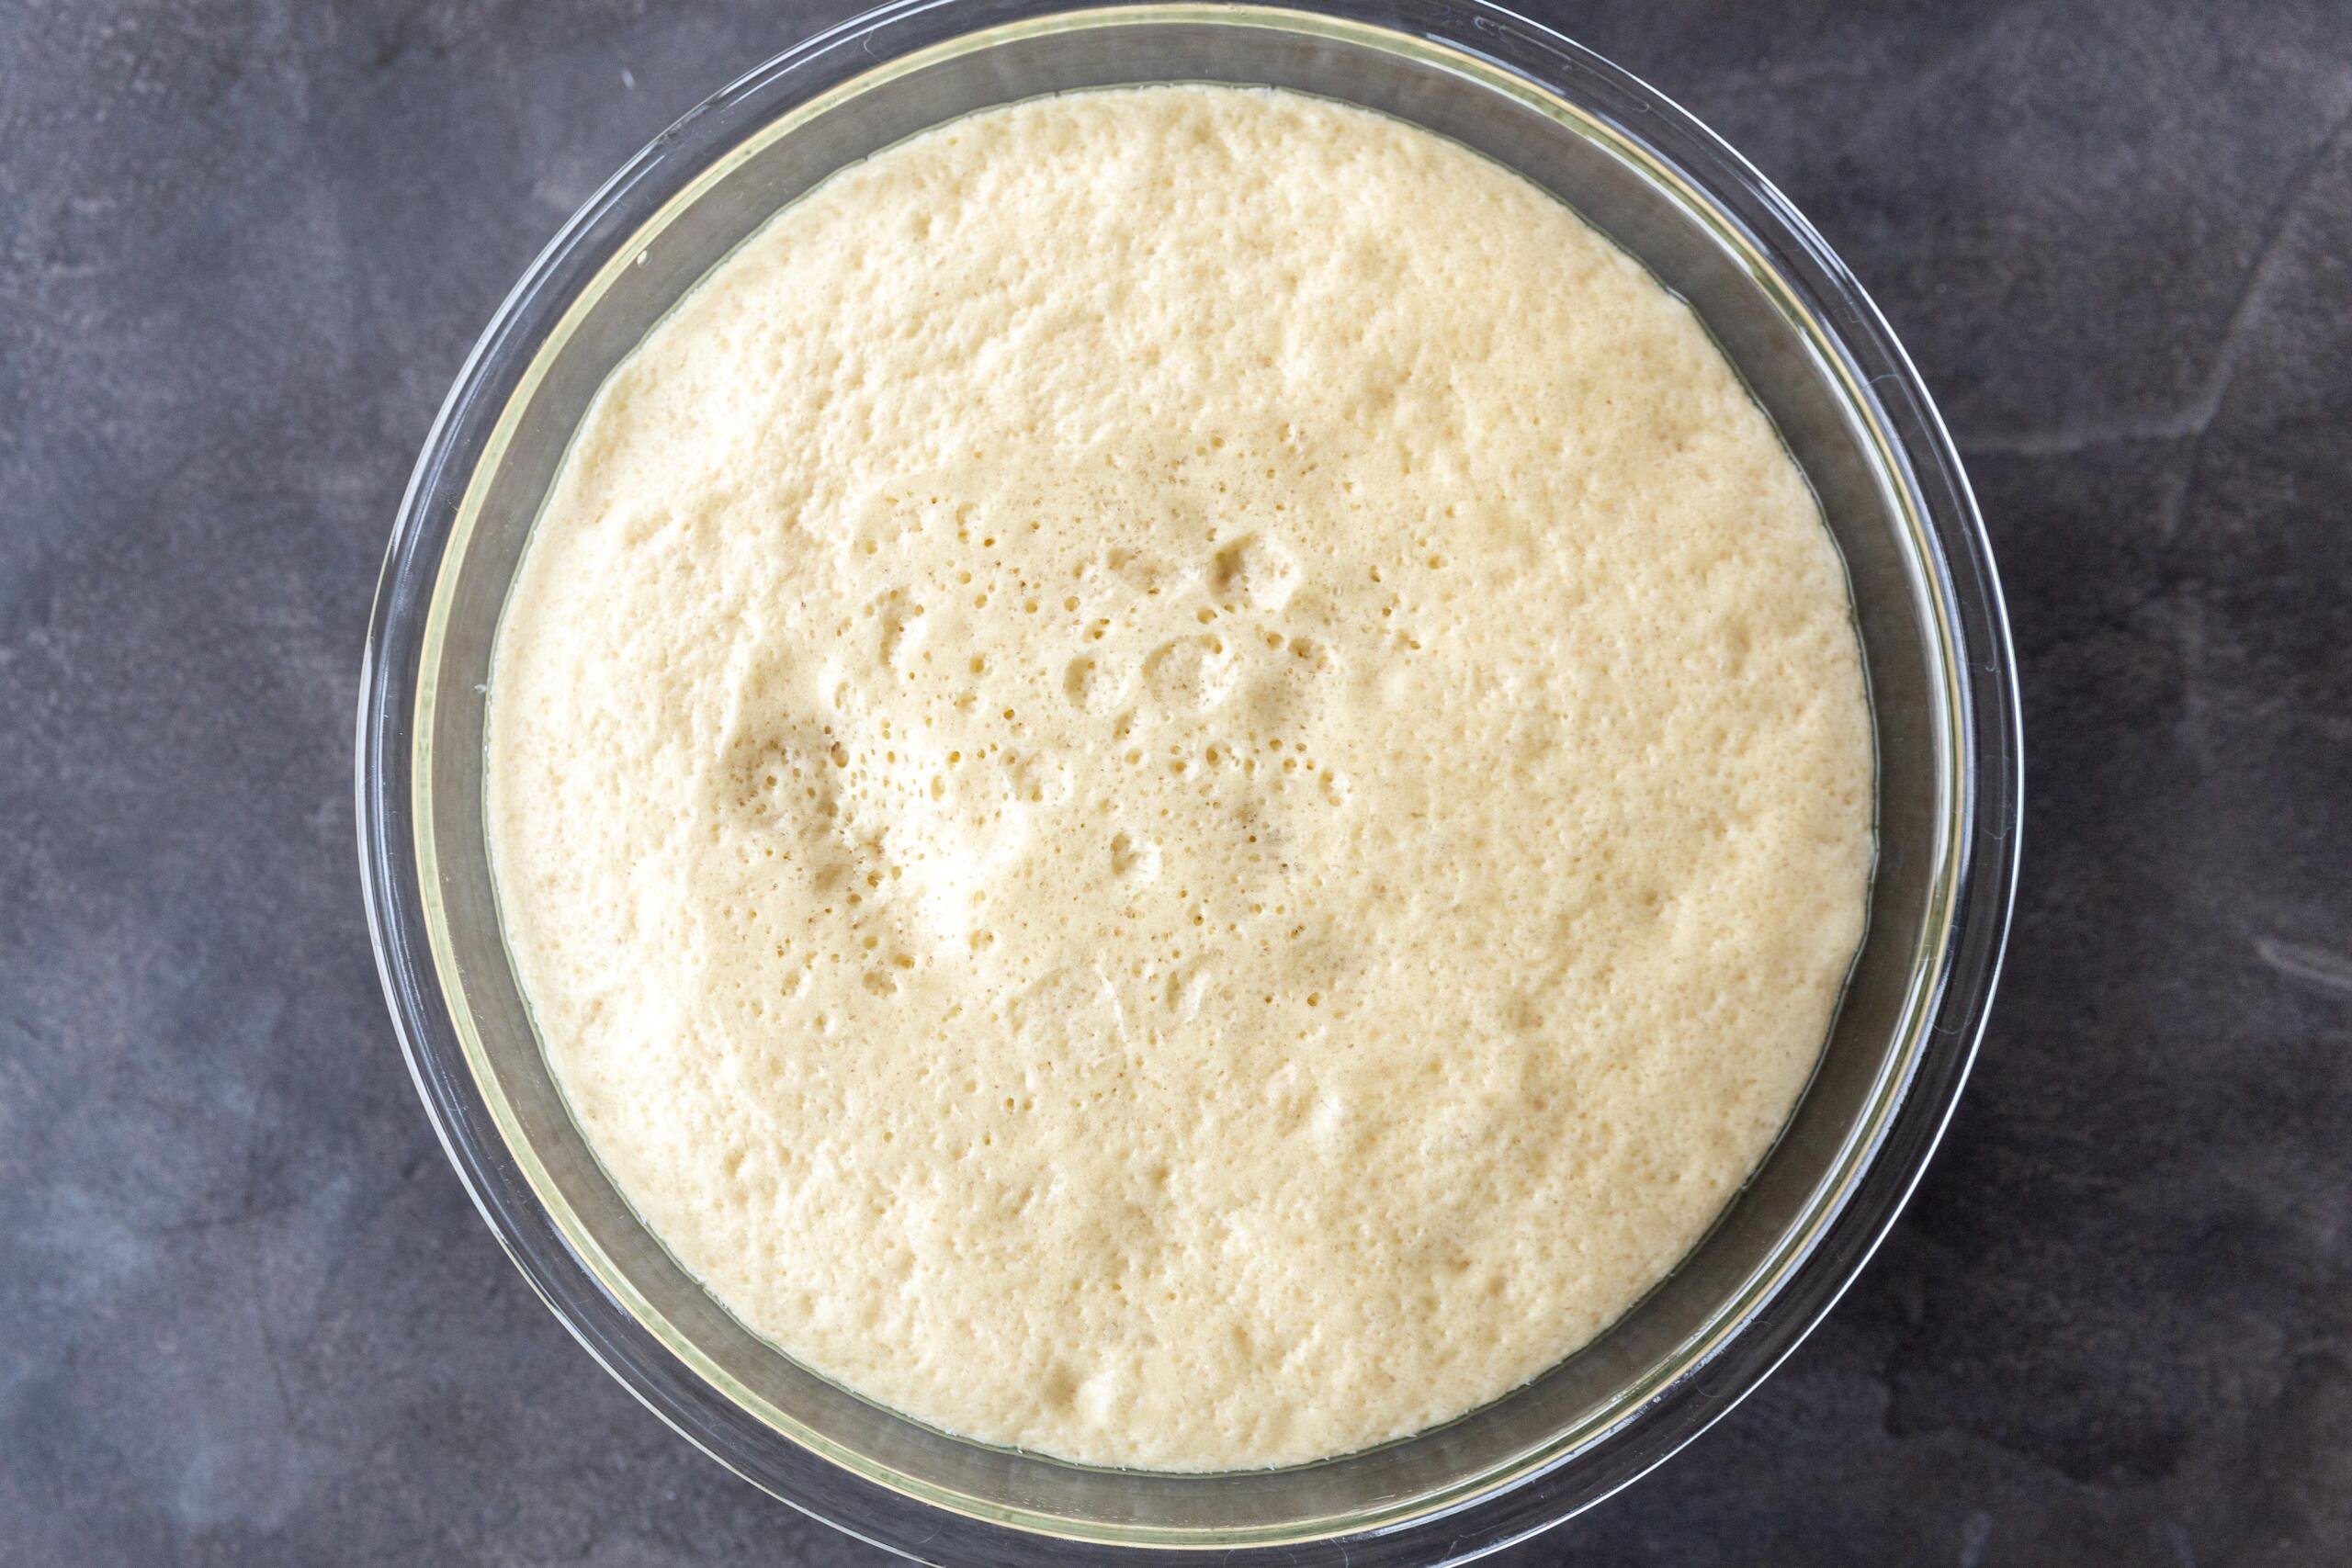
- Rise the dough twice: Allow the dough to rise in an oiled large bowl covered with a towel. A warm place is always best. After an hour, punch down the dough and let it rise again for an additional 30 minutes.
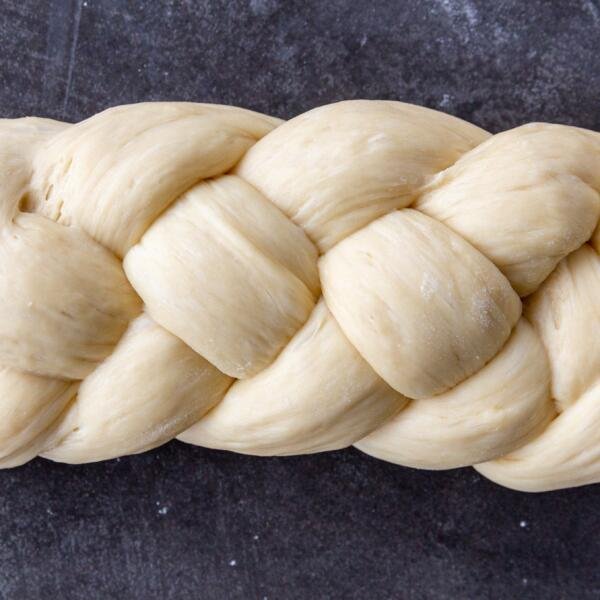
Shaping Challah Bread
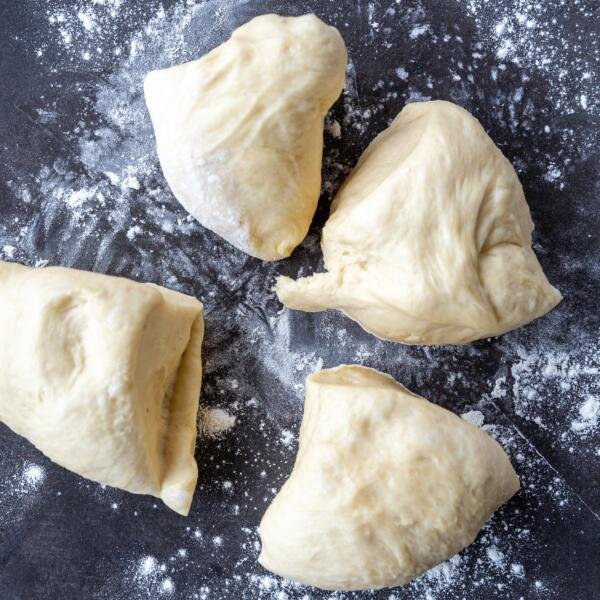
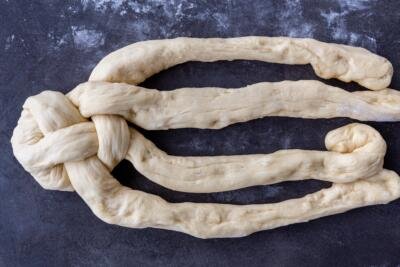
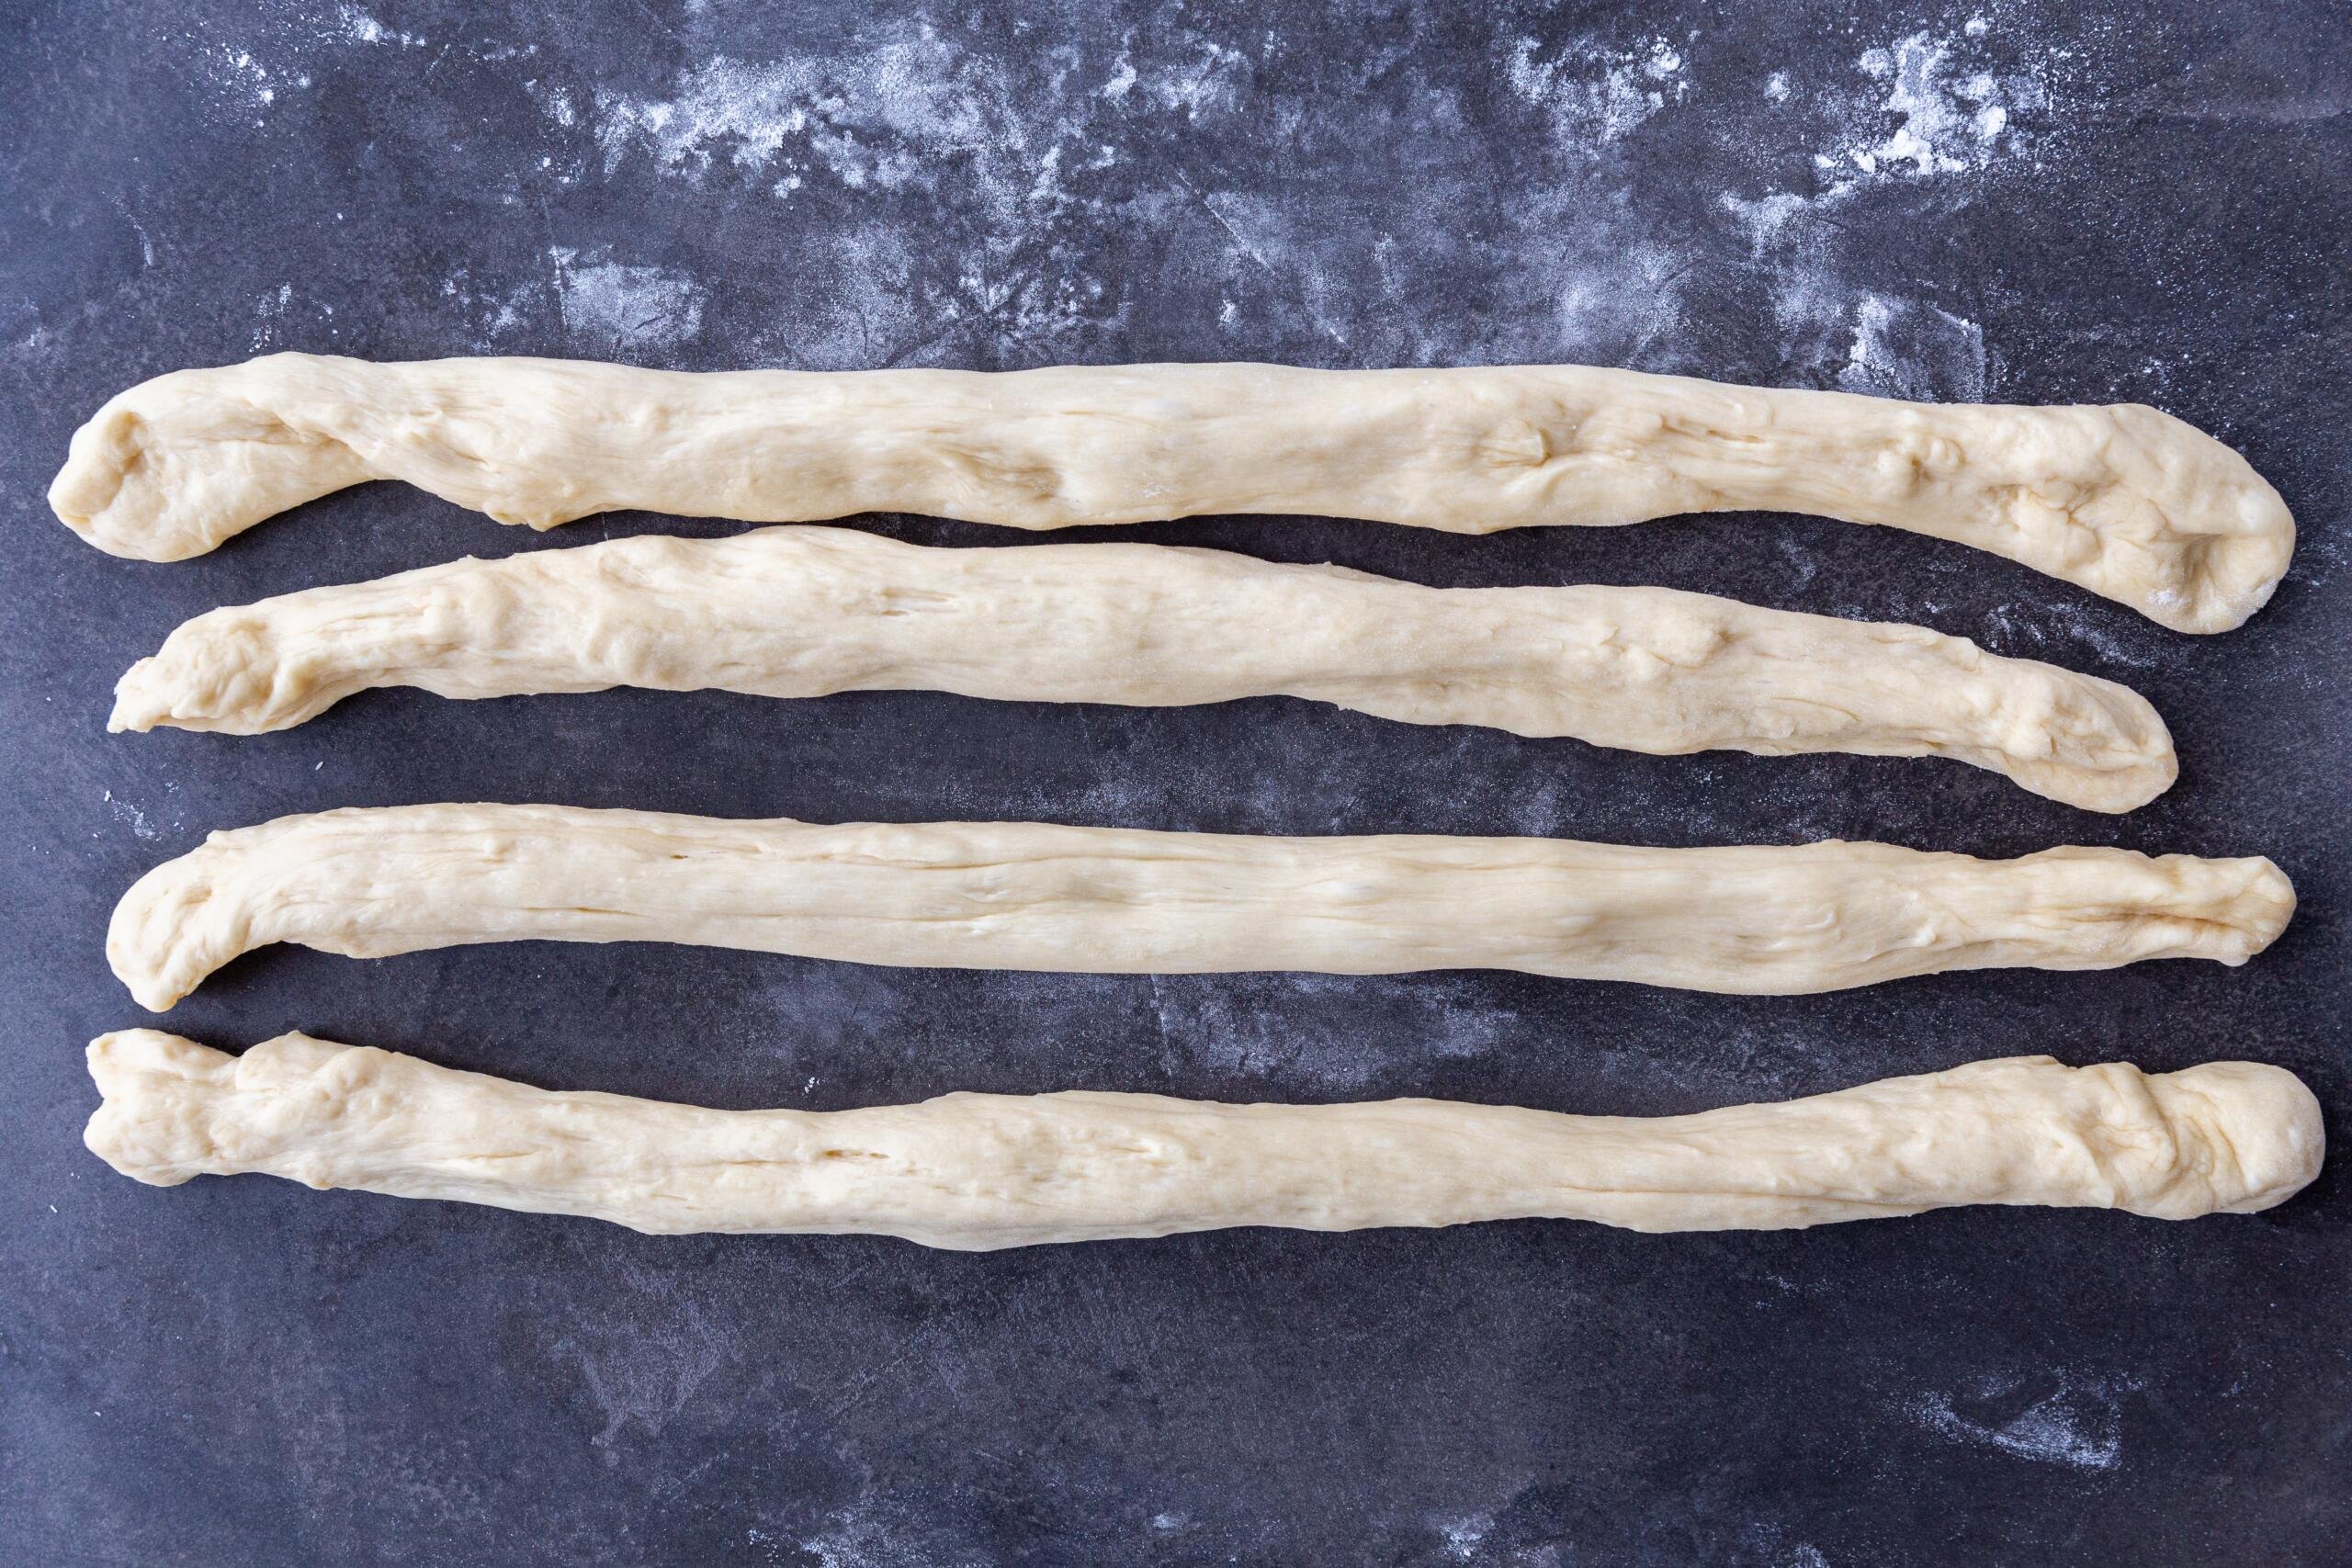
- Divide dough: For two loaves, divide the dough into 8 pieces. Roll each piece into a long rope.
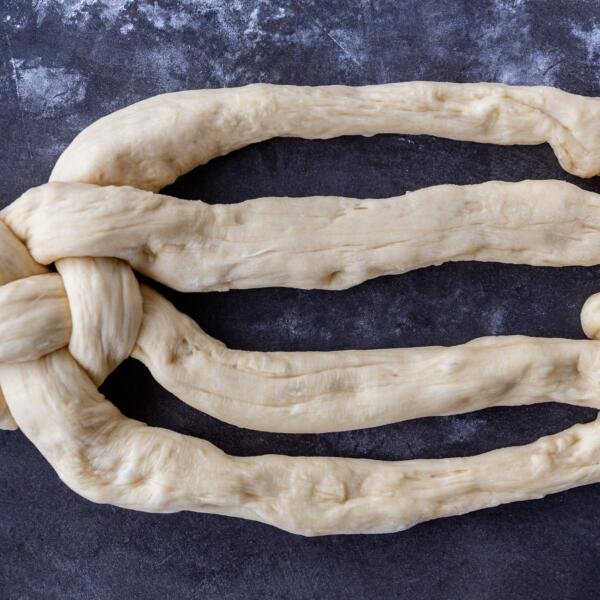
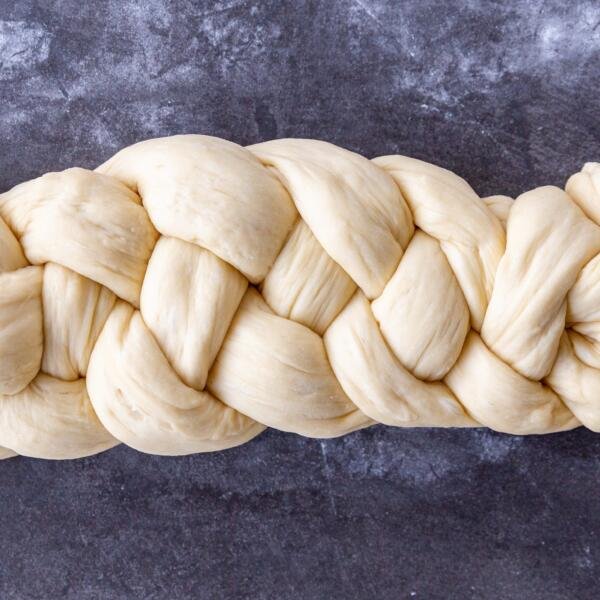
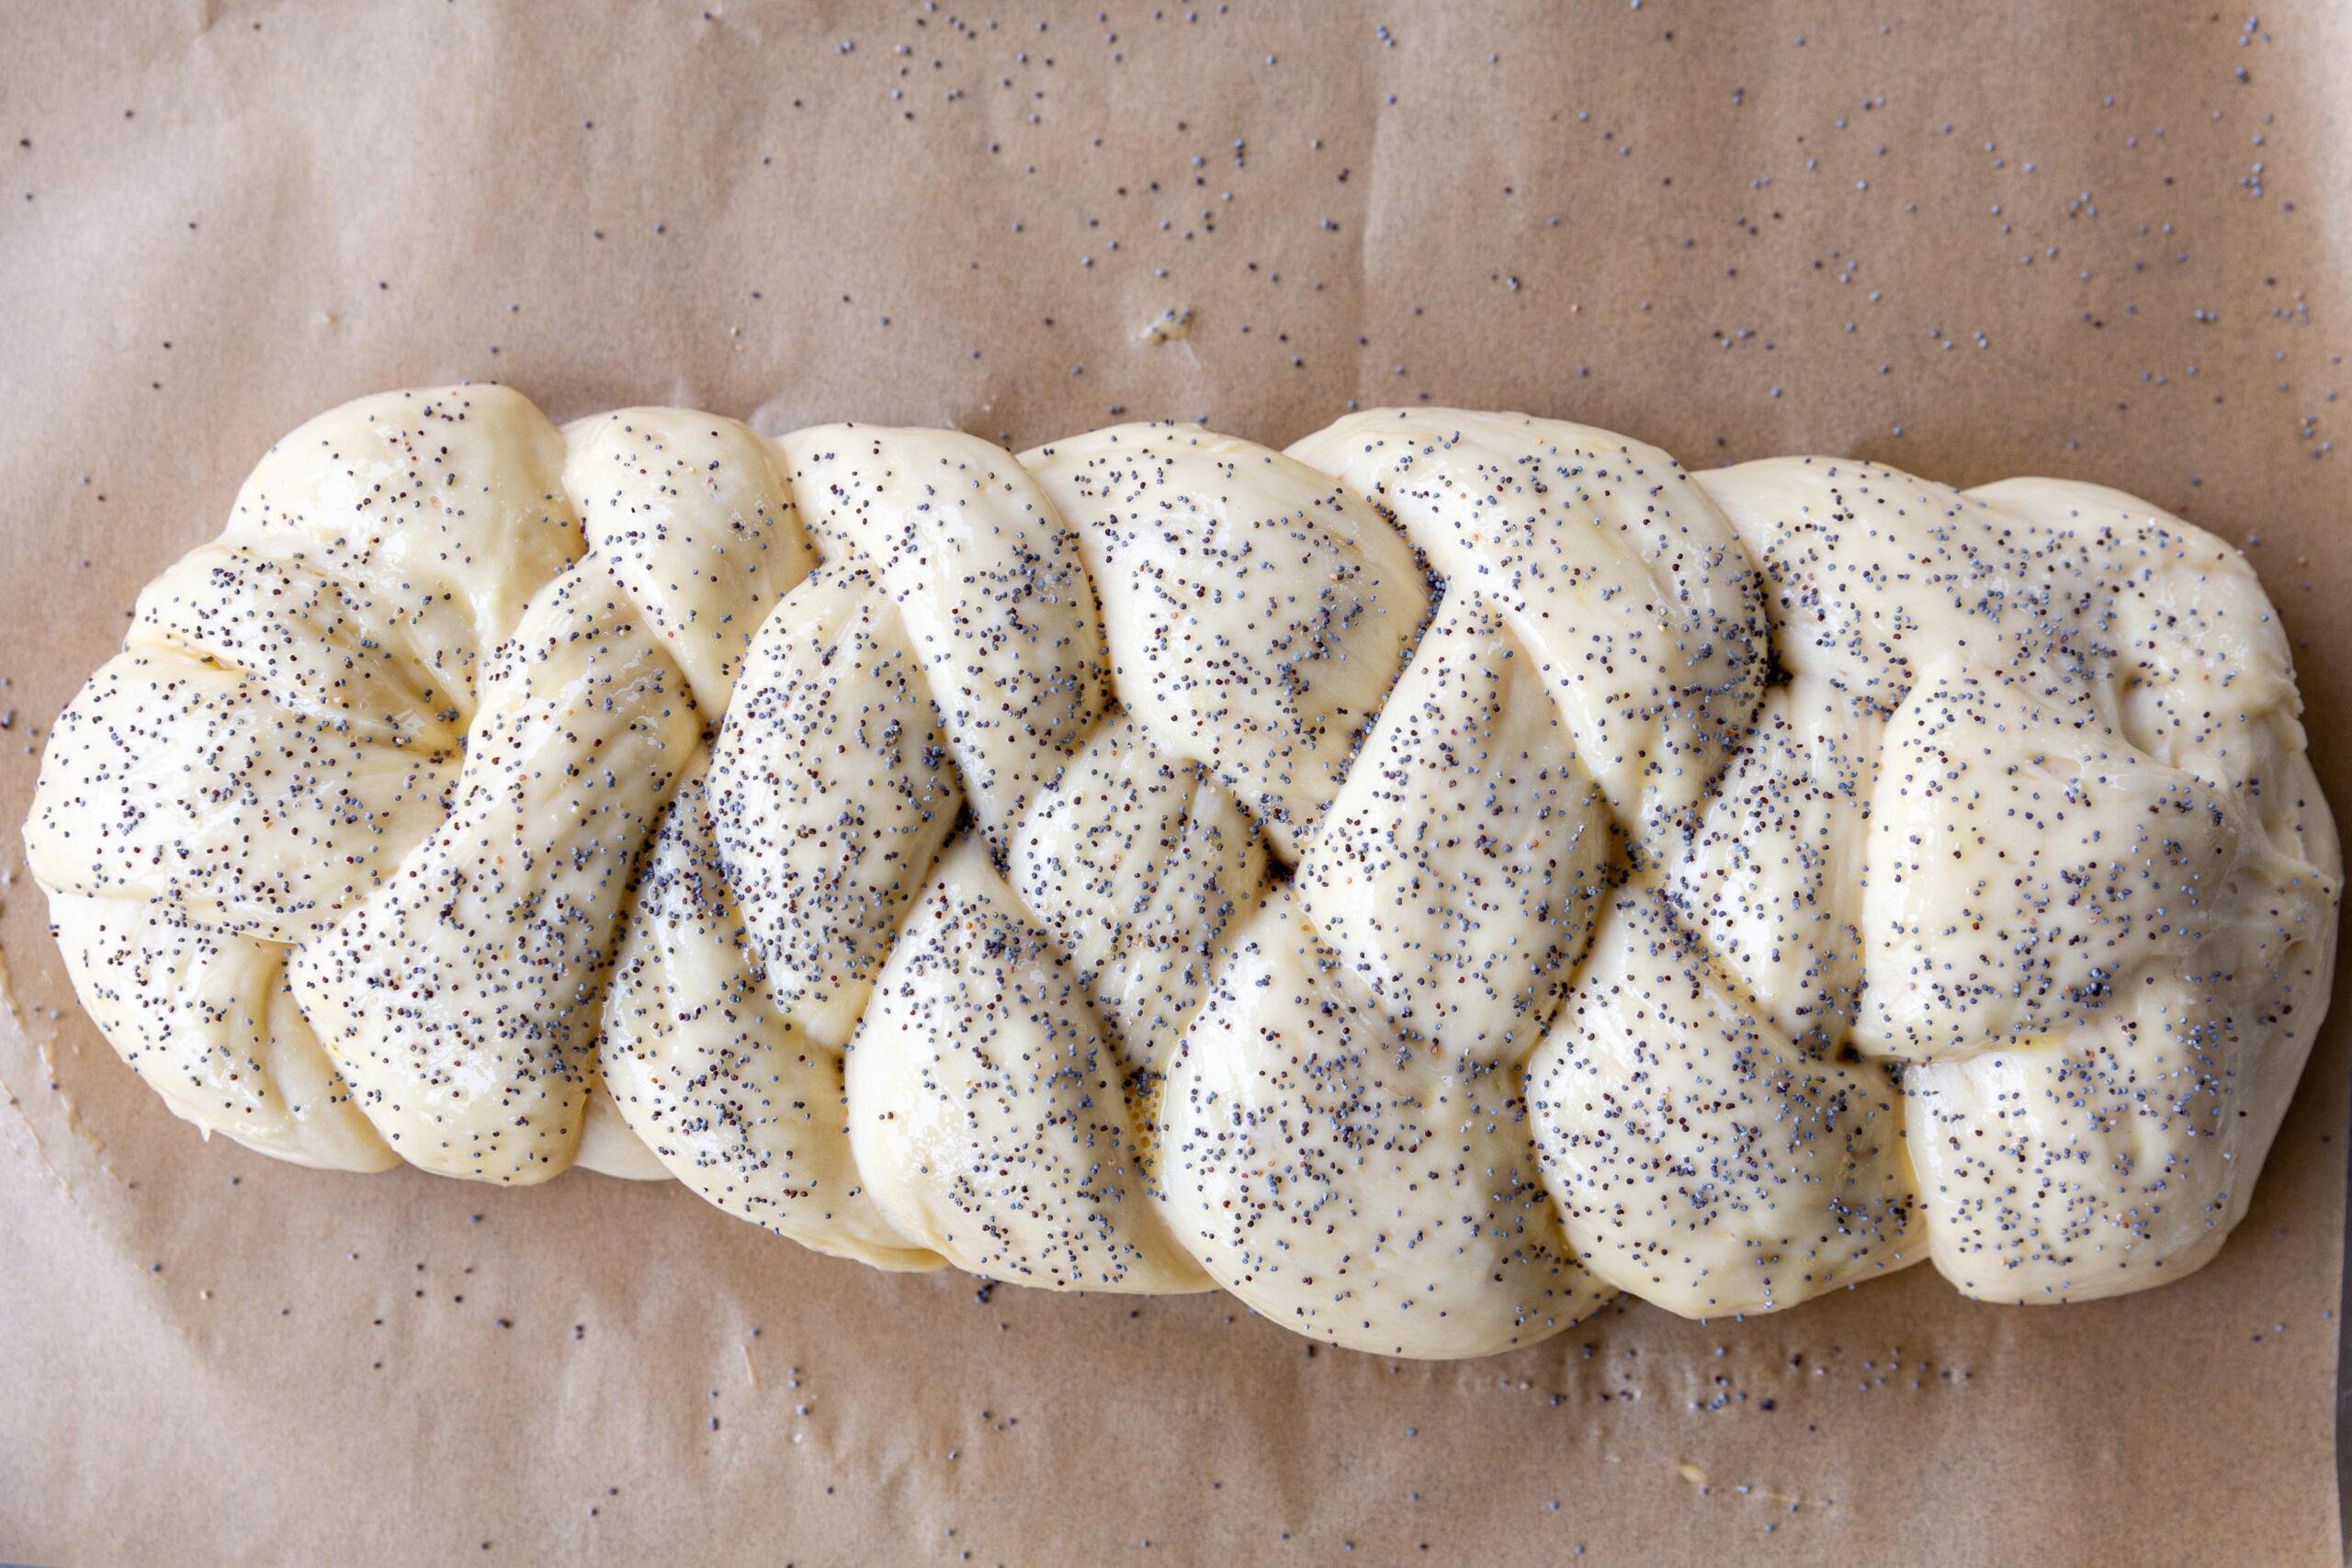
- Braid the ropes: On a well floured surface, line up the four pieces and pinch the top ends together. Braid the pieces, then pinch the bottom ends together and tuck under the loaf. Repeat with the second loaf.
Hot tip: This recipe makes two medium loaves. You can combine it to make one large loaf, but then you’ll need to adjust the baking time as well.
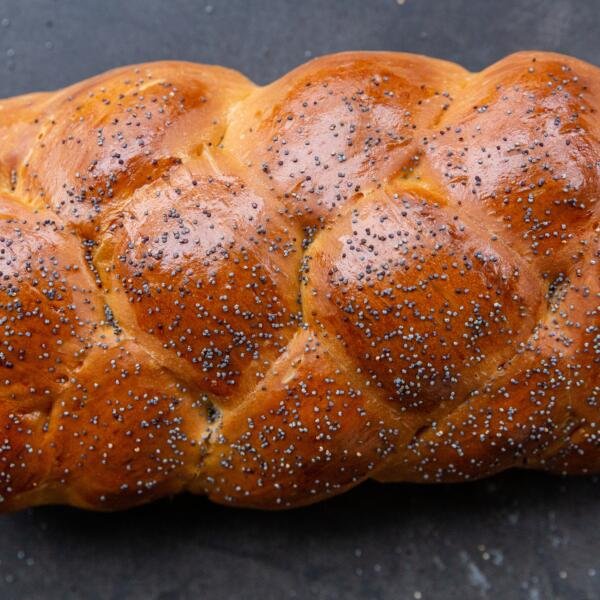
Baking Challah Bread
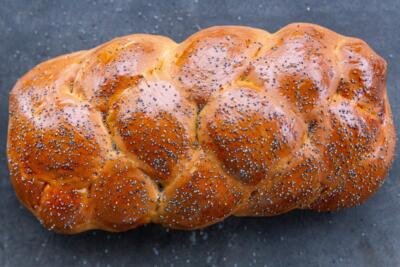
- Apply the egg wash: Preheat the oven and place the shaped challah loaves on a baking sheet to rise for 30 minutes. Brush the loaves with whisked egg and add a sprinkling of poppy seeds. The egg wash gives it a shiny, golden coat.
- Bake: Bake the challah in the preheated oven for 30-40 minutes. The baked challah is done when the outside is golden brown.

Challah Tips
I don’t have a ton of tips for when you make challah bread, but I know these few short ones will really help you out.
- Use a good flour: I recommend using a good all-purpose flour or bread flour. My favorite brands are King Arthur Flour or Bob’s Red Mill.
- Be patient with the rising: The key to a fluffy challah bread is to not rush the rising time. It’s important to be patient and let the yeast do its magic.
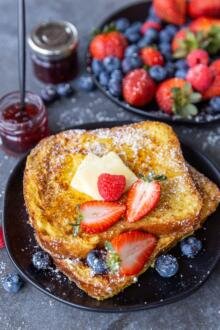
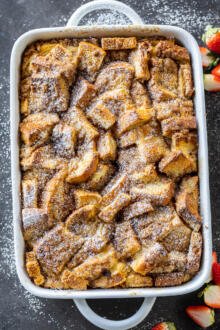
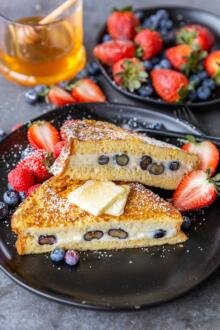
- Make french toast with leftovers: Challah bread leftovers make the BEST french toast. Slice the challah into slices and dunk it into the egg mixture.
- Cool on a wire rack: It may seem like an obvious point, but I always place anything I bake on a wire rack to cool. It helps keep the baked item from overcooking.
Make Ahead and Storage Tips
It’s nice to have bread already on the “done” list and not the “to do”, right? In that case, make the bread ahead of mealtime and move it over to the “done” pile. Keep it ready to go by following these tips.
- Make ahead: Braid the loaves and freeze them without baking. Place the unbaked braided challah on a baking sheet and freeze. Once frozen, transfer to an airtight container or storage bag. Challah will stay fresh in the freezer for up to 3 months. Allow the bread to thaw for at least four hours before baking.
- Storing: For best flavor and texture, keep the challah bread in an airtight bag at room temperature for up to three days.
More Sweet Breads
- Brioche Bread – It’s airy, flaky, and melts in your mouth!
- Brioche Buns – These brioche buns are light, fluffy, and perfect for sliders
- Poppy Seed Buns – These Eastern European buns have a classic poppy seed filling
- Vatrushka Recipe – A Russian/Ukrainian dessert with an outer filling
Recipe
Ingredients
- 1 3/4 cups water lukewarm at 110°F
- 1/2 cup sugar divided
- 3 1/2 tsp active dry yeast
- 1/2 cup vegetable oil
- 4 large eggs
- 1 tsp salt
- 7 cups all purpose flour depending on the brand, amount may vary
- 1 large egg for egg wash
- 1 tsp poppy seeds for topping
Instructions
- In a mixing bowl, combine the lukewarm water with a tablespoon of sugar and yeast. Let it sit until the yeast bubbles.
- Add oil and whisk in 4 eggs. Add in the remainder of the sugar and salt. Slowly stir in flour one cup at a time.
- Add the dough hook to your mixer and knead until the dough forms into a ball and is elastic. You can also do this by hand if needed. The dough should not be sticky. If the dough is still sticky and wet, add more flour until it holds its shape.
- Place the kneaded dough into a large oiled bowl. Cover it with a towel and let it rise for an hour.
- Punch down the dough and let it rise again for 30 more minutes.

- To form a four-piece braided challah, divide the dough into eight pieces. This will give you two loaves of bread. Roll each piece of dough into a long rope.

- Place four pieces lined up next to each other and seal the ends together. Start forming it into a braid but working with four pieces. Seal the end and tuck it under so it holds the shape. Repeat with the other four strings of dough to make a second loaf.
- Place the challah loaves on a baking sheet and let them rise for 30 minutes. Meanwhile, preheat the oven to 375°F.
- Whisk the egg and brush the top of the challah, then sprinkle with poppyseeds.

- Bake at 375°F for 30 to 40 minutes, depending on the size of challah. Fully baked challah will be golden on the outside.


Hi Natalya,
Can I substitute bread flour?
Thanks 🙂
Hey Marie, I recommend all-purpose flour or bread flour. My favorite brands to use are King Arthur Flour or Bob’s Red Mill.
Hello, I am a believer in God and was for a while but only recently learned and now trying to live out with our family the Biblical feasts of God. Teaching ourselves and kids about God and Yeshua even through food and especially the feasts. And that includes making Challah on Shabbat and on some of the feasts. Thank you for sharing this recipe and the history. Are you Jewish? Do you celebrate God’s feasts with your family?
Thank you for sharing, Inessa! I'm so glad you found this recipe as you celebrate with your family. Enjoy!
Seriously the best!
Just made it.
Thank you for the recipe!
(I needed only six cups of flour)
Awww! Thank you, Olya. I'm glad you enjoyed it! What kind of flour did you use?
All purpose flour from Aldi
An awesome recipe! We loved it!
I'm so glad you enjoyed the recipe, thank you for your feedback!
So excited to try this!! Thank you for posting so many different and amazing recipes !!! Thank you for posting recipes that are respectful of different faiths and traditions!! Congratulations on your move!!!!
Thank you, Anna! I'm so glad you are enjoying the variety, thank you for taking the time to leave such a sweet comment 🥰
Can you make a kitchen tour on YouTube please
Sara, on to-do list. 🙂
This recipe is so good! Mine turned out not as gorgeous as yours but so delish!! Thanks for the recipe!
Toni, I'm so glad you enjoyed the recipe, braiding takes a bit of practice 🙂
This looks perfect and so tasty! My family is going to love this! Can't wait to give this a try!
I hope you love the recipe, Beth!
Natalya, you did really well ! Thanks
Thank you Yury!