
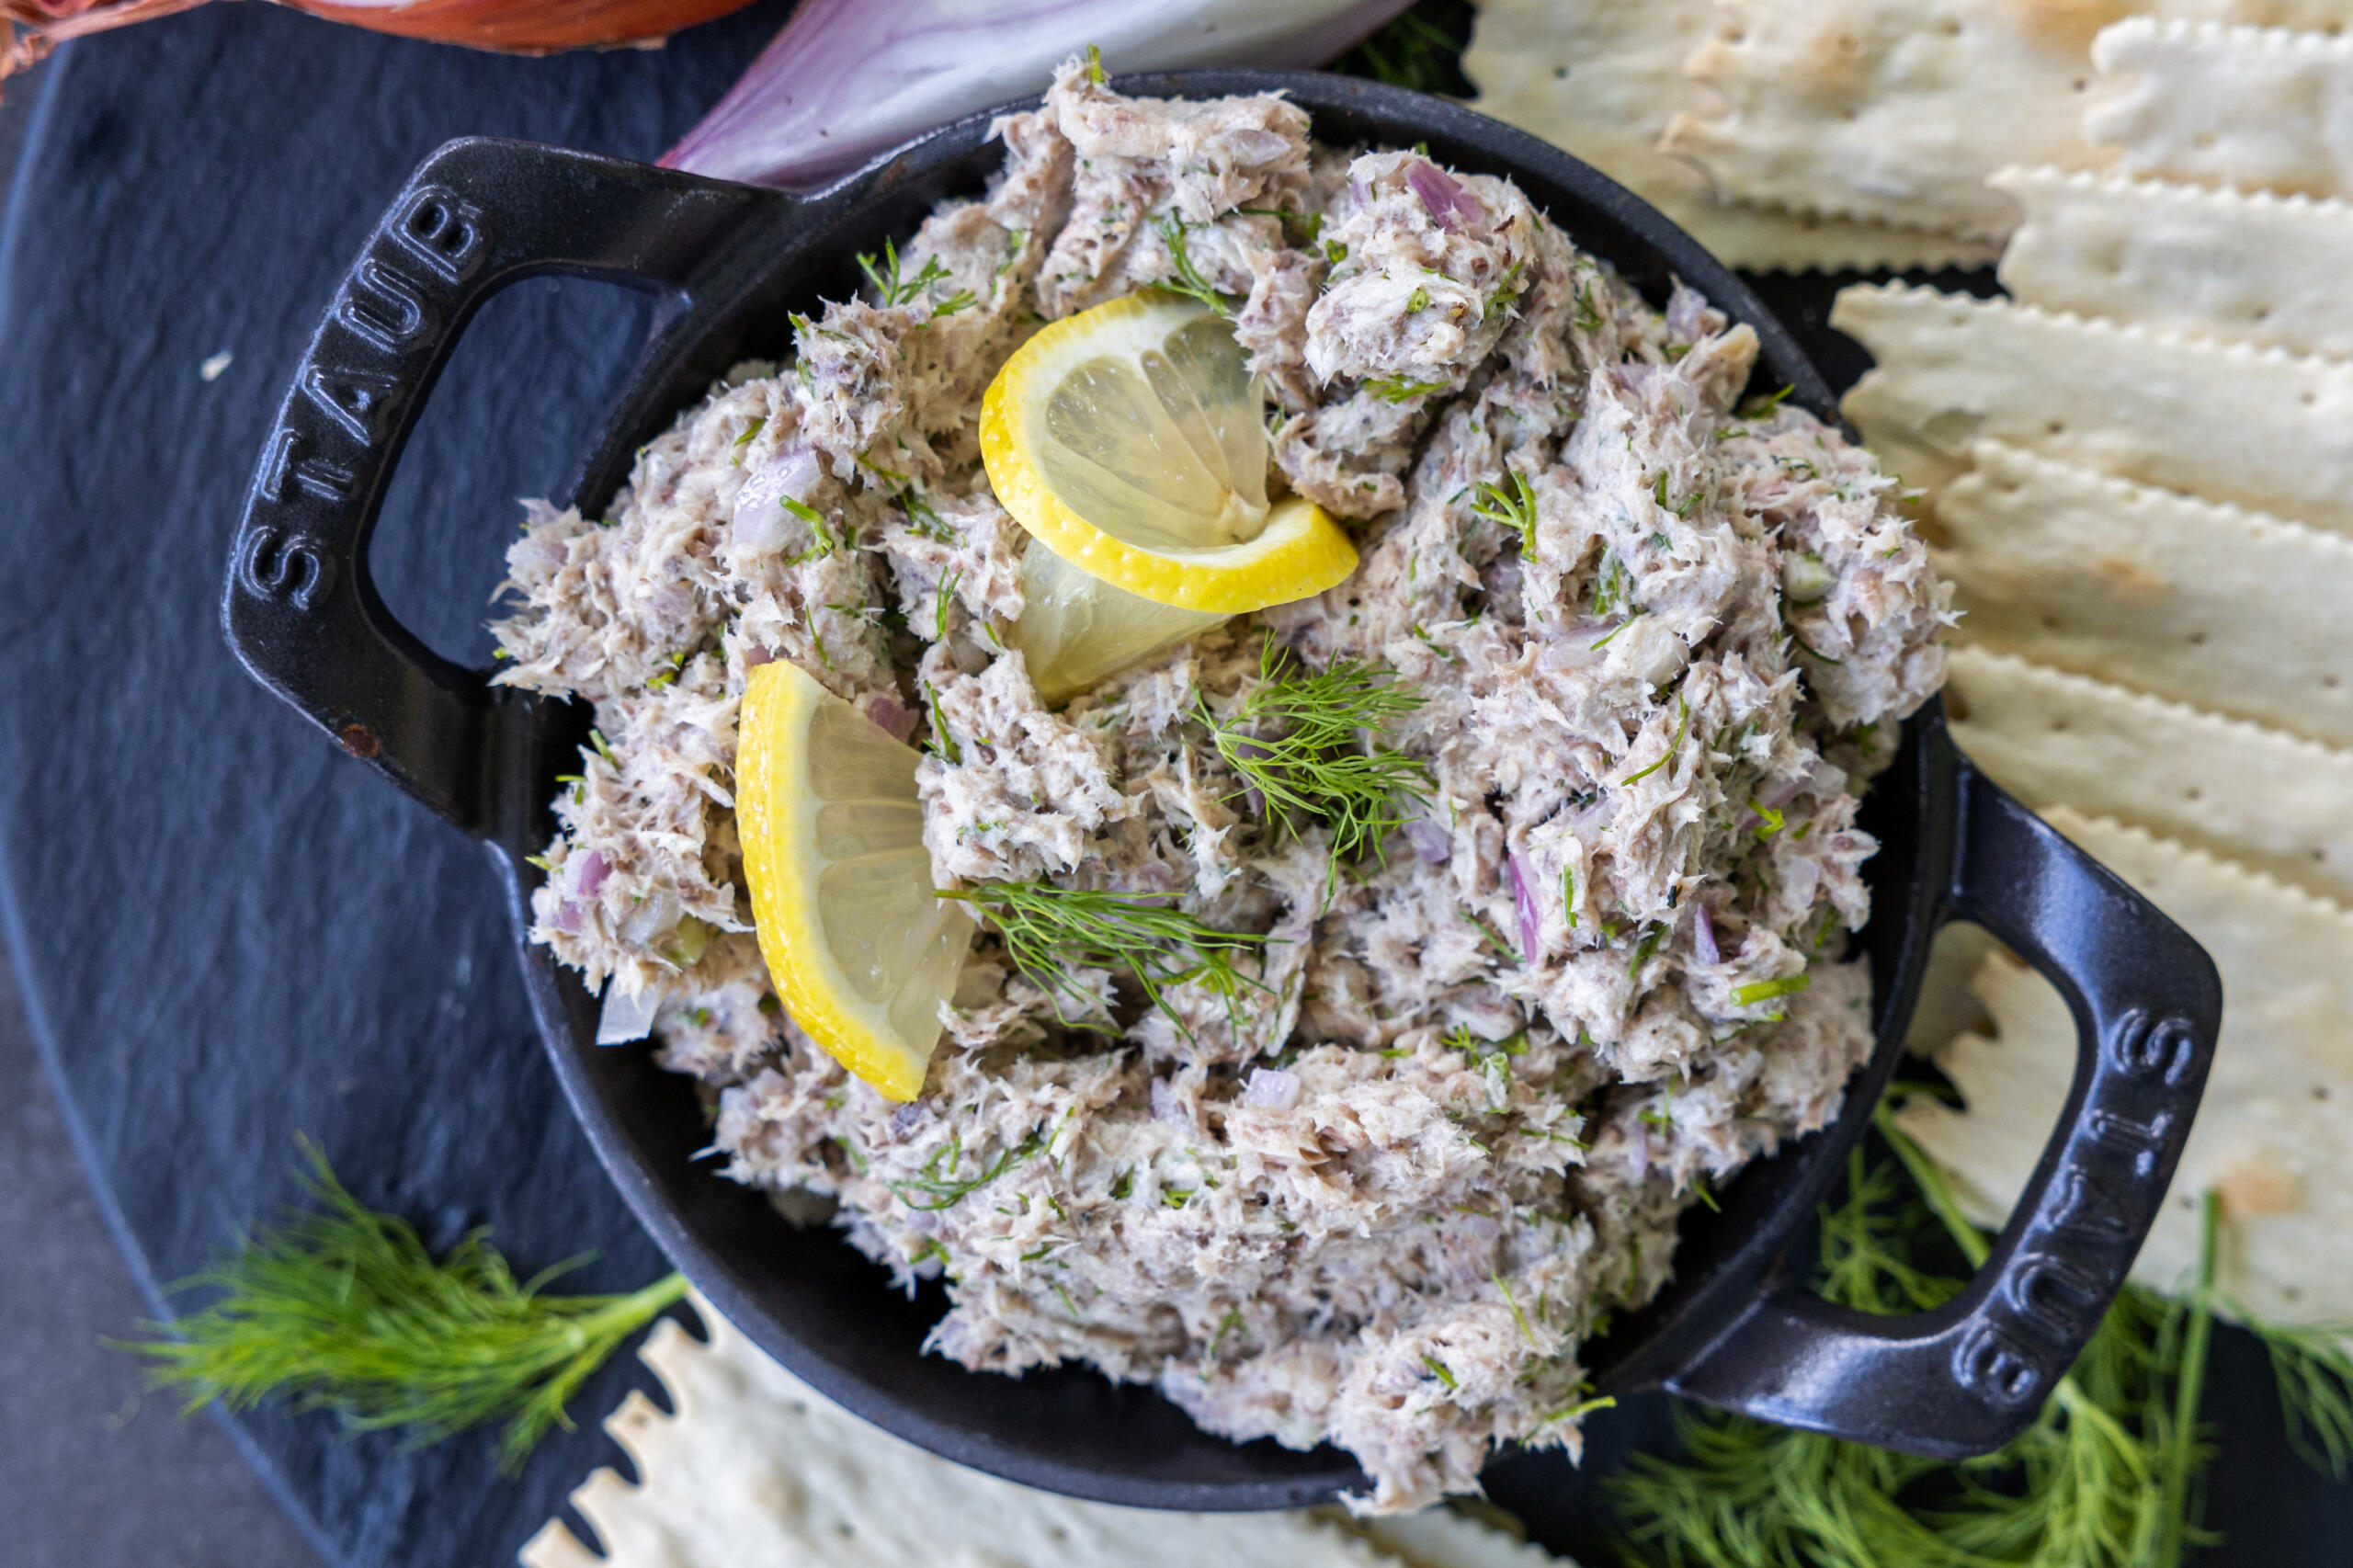
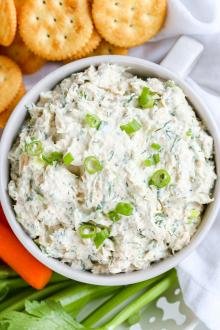
This sardine rillettes turns simple canned sardines into a creamy and flavor-packed spread with just 10 minutes of prep. It’s a perfect nutrient-dense snack or last-minute appetizer!
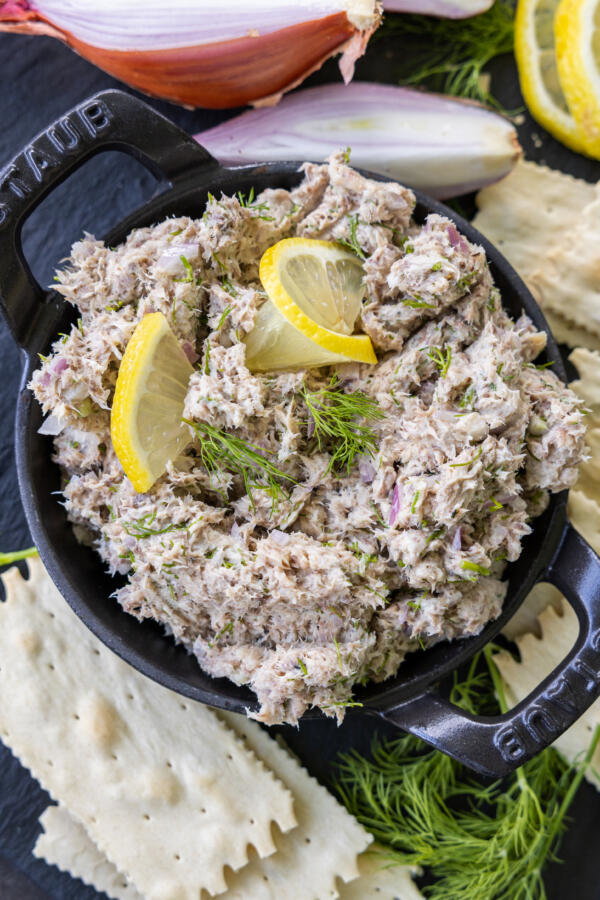
If you’ve never heard of sardine rillettes, prepare to be blown away. I consider sardines a true superfood and always keep a few cans tucked away in my pantry, so when I first tried this classic dip while traveling through France, I was hooked immediately. It seemed to appear on every “apéro” menu along the coast, and I couldn’t believe that it had taken me so long to discover it. The bright, zesty flavors come together so quickly, making it one of my go-to recipes when guests stop by unexpectedly.
Fun story… when I worked on the 35th floor of an office building in downtown Seattle, I always kept a few cans of sardines in my desk in case of an emergency. A friend told me that you can survive for a day on a can of them, and I was sold. I have no idea what I thought would happen lol, but it doesn’t hurt to be prepared, right??
Did you know? Sardines are loaded with omega-3s, high-quality protein, and tons of vitamins and minerals.
How To Make Sardine Rillettes
Have you ever made tuna salad? This sardine rillettes is just a bit more sophisticated and even easier to whip up — mash up the sardines and mix everything together in 10 minutes!
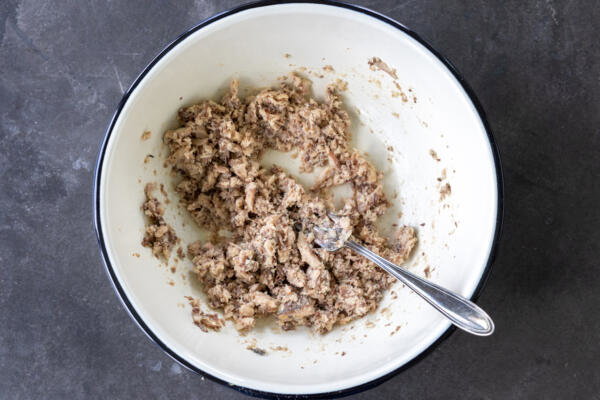
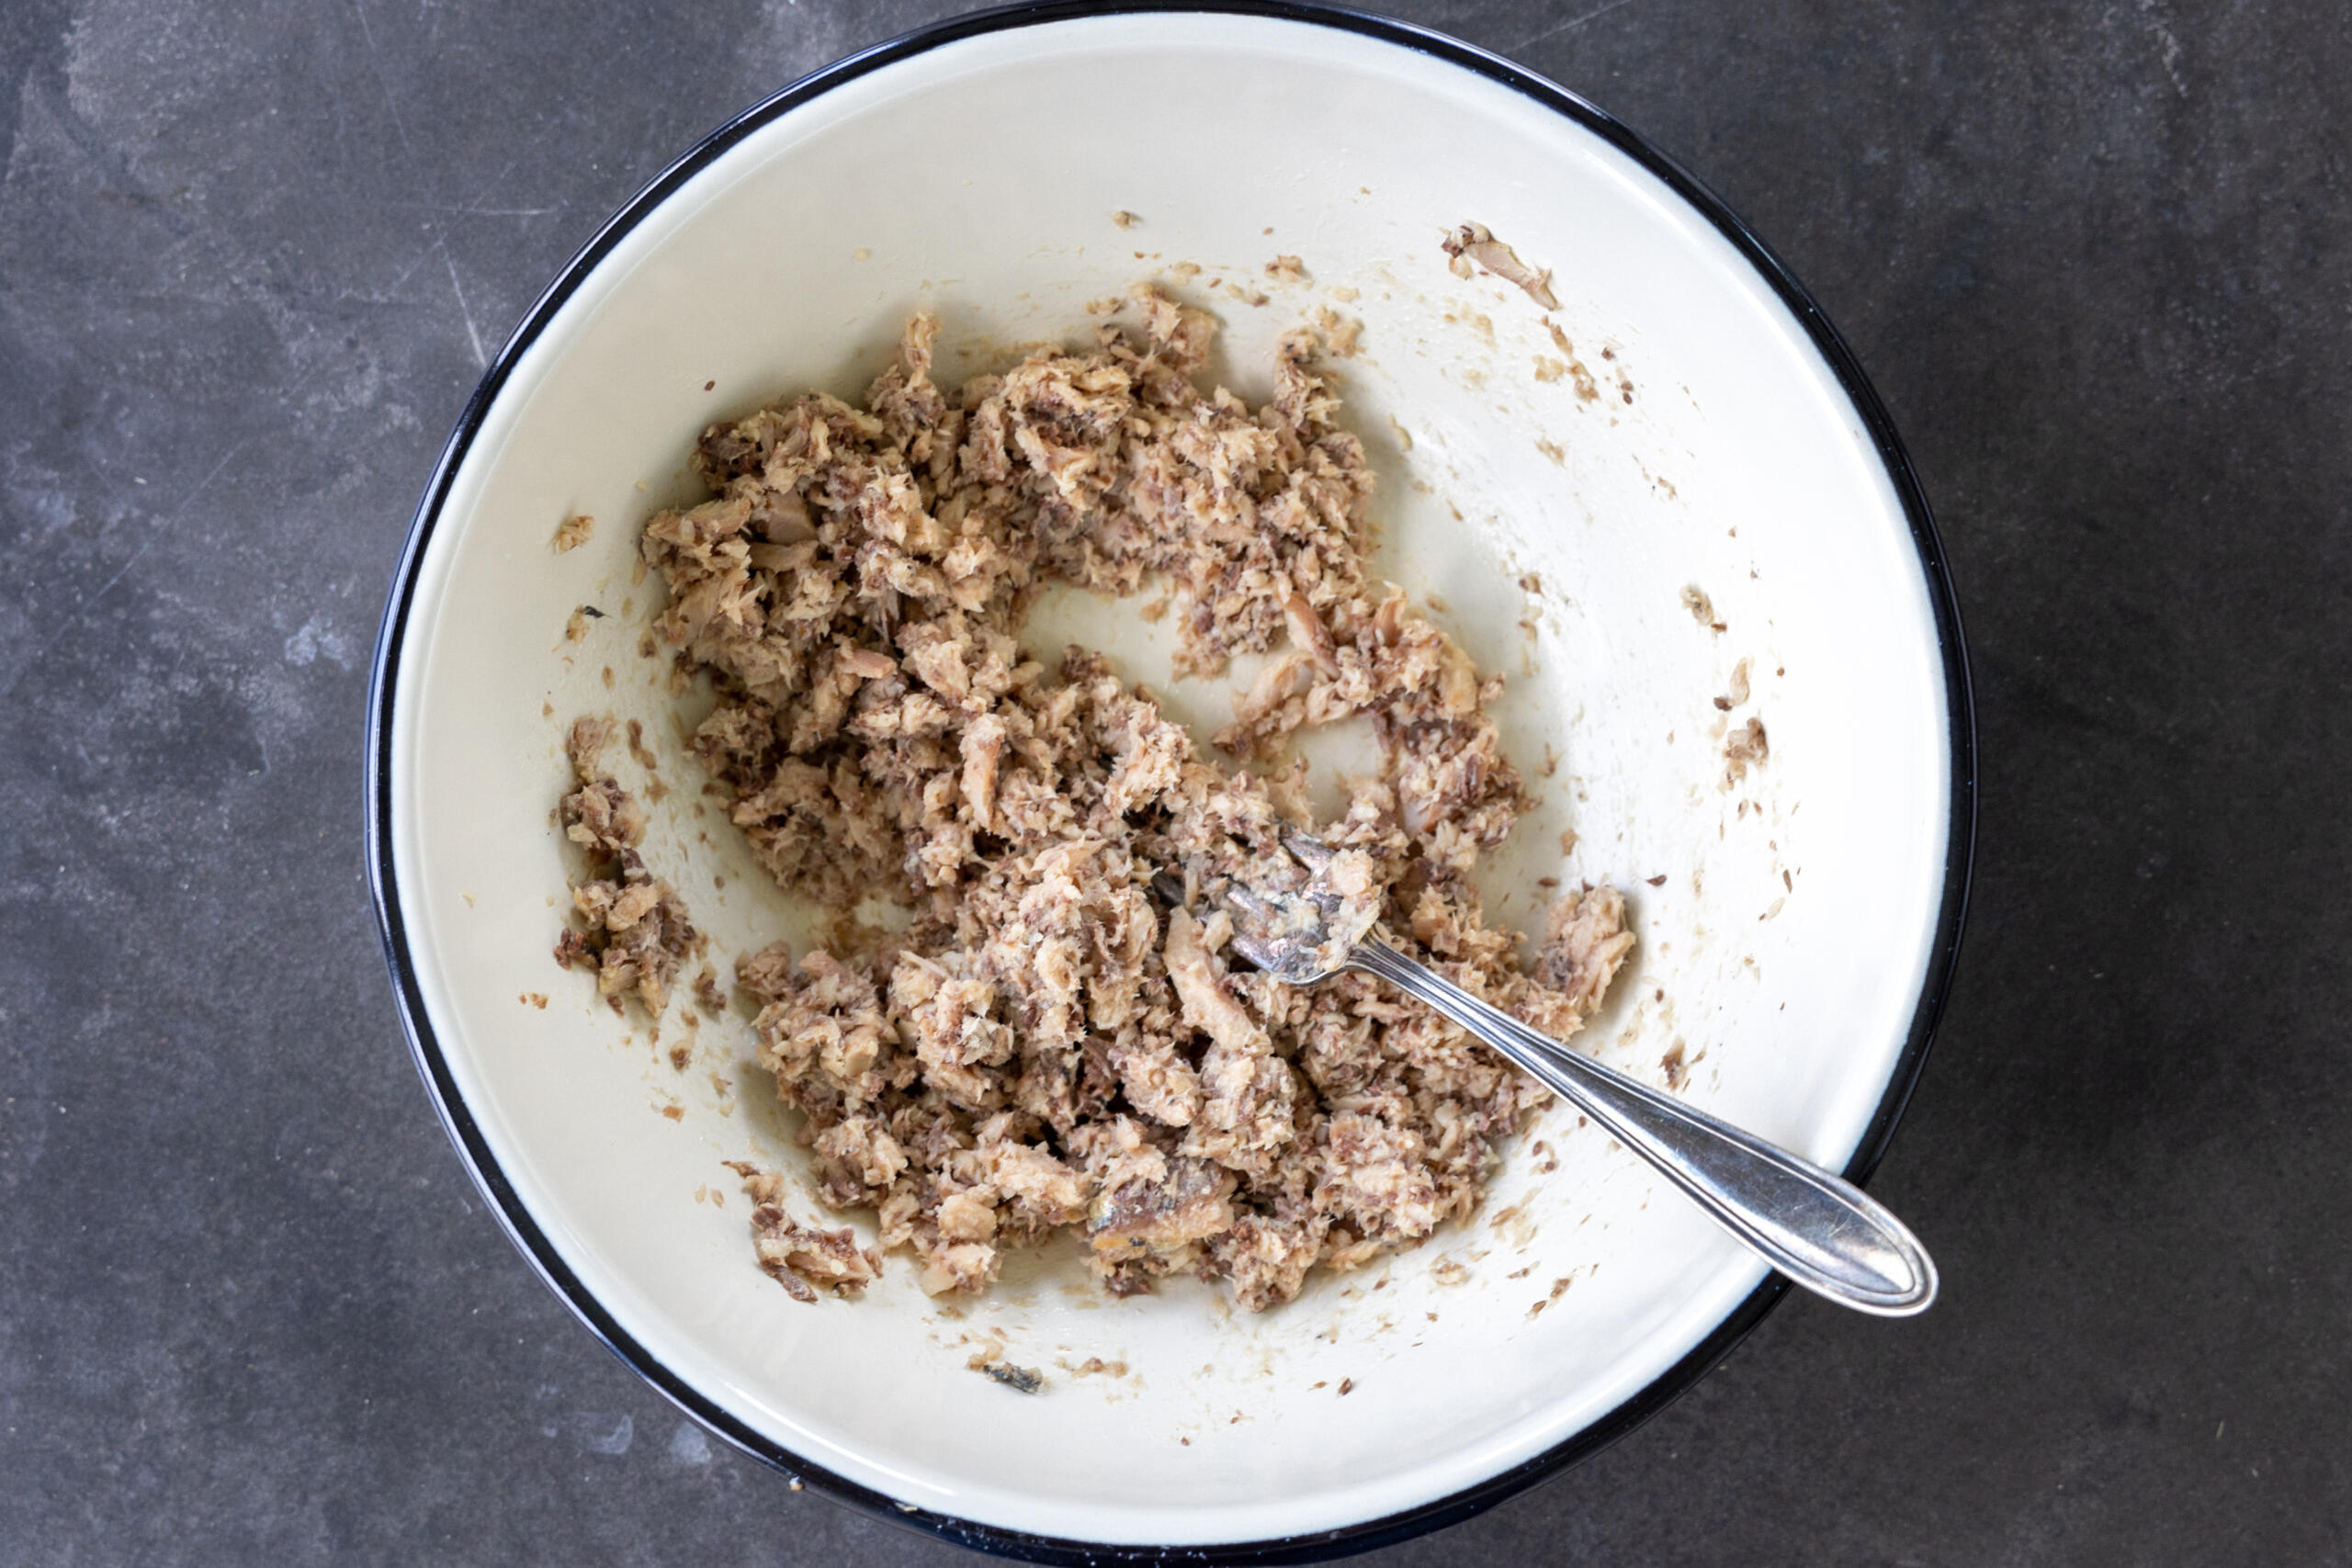
- Mash the sardines: Break up the sardines in a medium bowl with a fork.
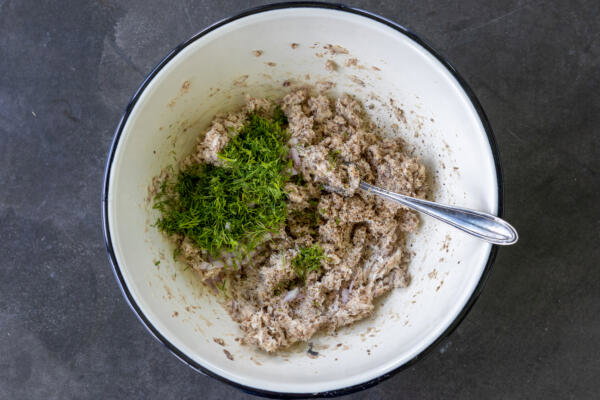
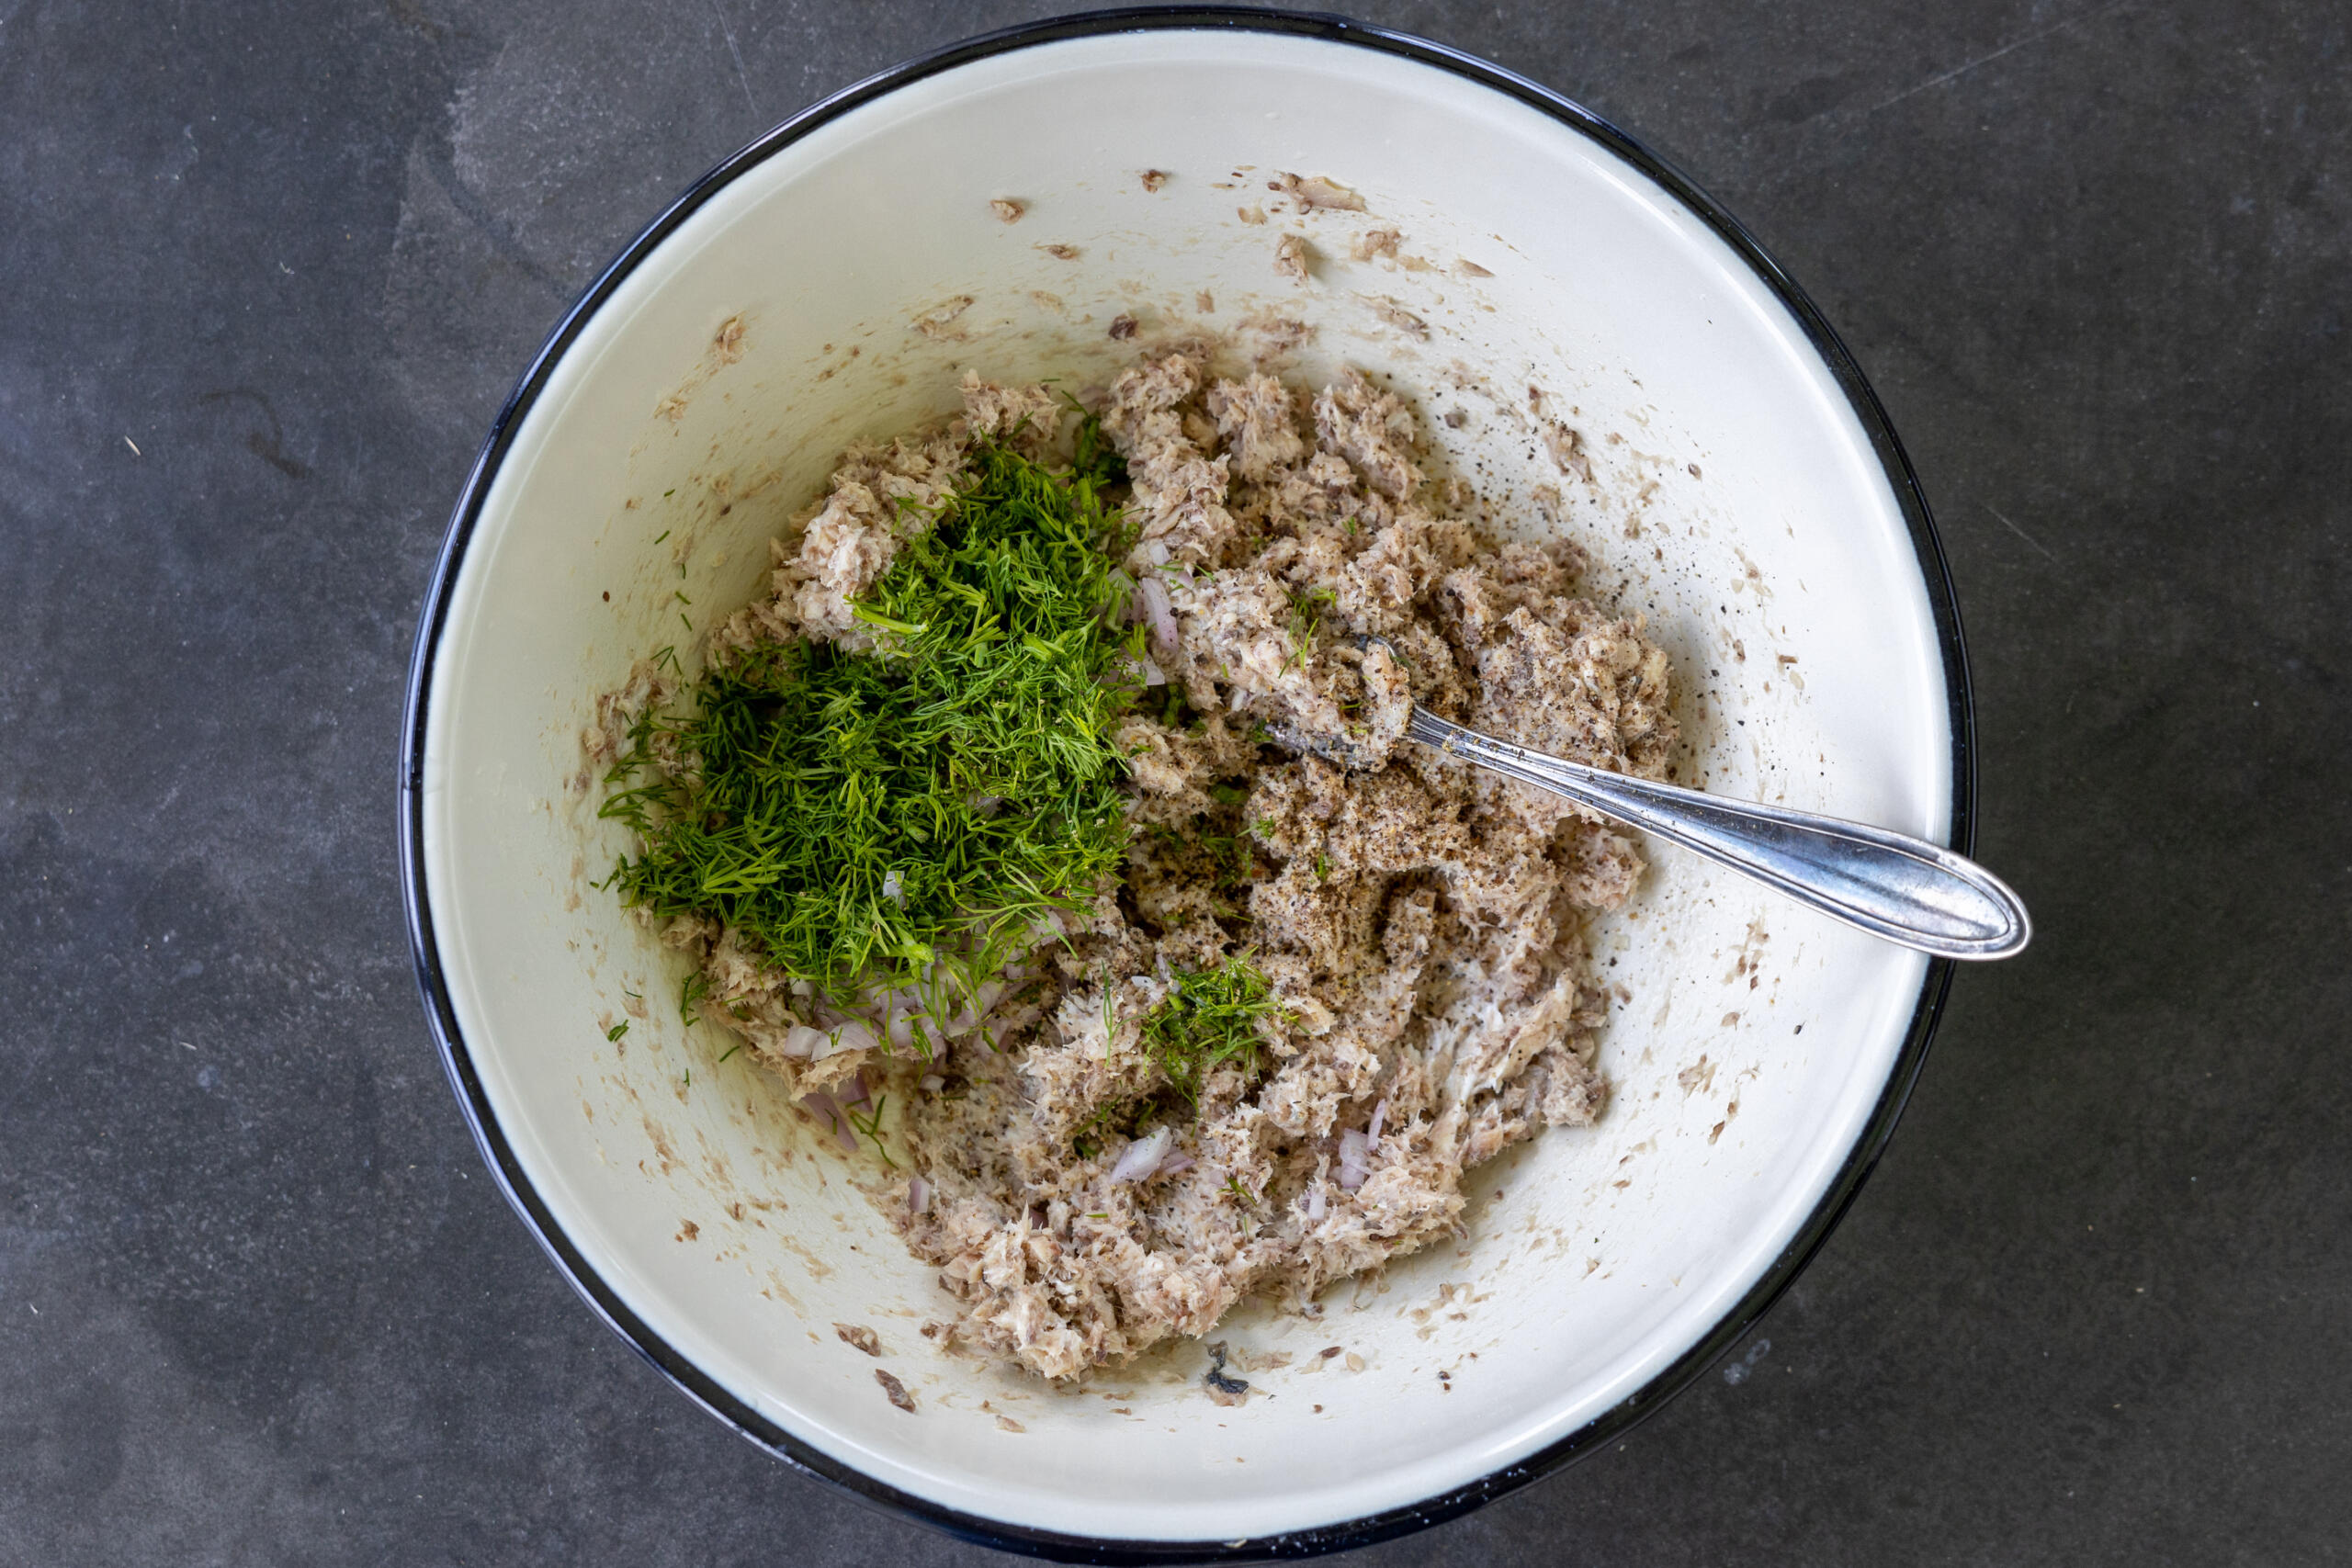
- Mix in the other ingredients: Combine the sardines with the cream cheese and olive oil, then mix in the lemon juice, shallot, dill, and pepper.
- Chill the mixture: Cover the bowl and refrigerate the rillettes for 20-30 minutes.
Tips For the Best Sardine Rillettes
I spent quite a bit of time tweaking this rillettes recipe until it was as close to the version I had in France as possible. Here are my top tips for the perfect consistency and balanced flavors every time.
- Opt for sardines packed in oil. These offer a much richer flavor and smoother texture than those packed in water.
- Lightly drain the sardines. Emphasis on “lightly” here! Leaving a bit of oil from the can (only a tablespoon or so) helps to keep the spread creamy.
- Finely mince the shallot. This ensures that it blends smoothly into the dip and prevents it from overpowering the other flavors. A sharp knife comes in clutch here.
- Adjust the consistency to your liking. I prefer mashing the sardines with a fork and leaving some chunks for a rustic texture, but feel free to pulse the sardines in a food processor if you prefer a smoother pâté version.
- Season to taste. You may need to add a pinch of salt depending on the brand of sardines you use. Taste the dip first, then adjust the seasoning accordingly.
- Chill the dip before serving. If you’re in a rush, you can serve the rillettes right away, but I always try to chill it for at least 30 minutes. This allows the flavors to meld together and firms up the cream cheese so it spreads more easily on warm toast.
Storage
Store any leftover sardine rillettes for up to three days in an airtight container (I love all the different sizes in this set) in the fridge.
More Delicious Dips
- Smoked Salmon Dip — Flaked salmon, cream cheese, and plenty of lemon and dill
- 5 Minute Crack Dip — An irresistible melty mix of bacon, ranch, and cheese
- Spinach Artichoke Dip — Tangy, garlicky, and perfect for game night
- Eggplant Pepper Dip — Sweet roasted veggies blended with fresh herbs
Recipe

Ingredients
- 8 oz sardines in olive oil drained
- 3 tbsp cream cheese or crème fraîche
- 1 tbsp oil use from the can of sardines if desired
- 1 tbsp lemon juice
- 1 small shallot very finely minced
- 2 tbsp fresh dill finely chopped
- 1/2 tsp freshly ground black pepper or to taste
Instructions
- Add the sardines to a bowl and mash them with a fork until they are mostly smooth with some texture remaining.
- Stir in the cream cheese (or crème fraîche) and olive oil until the mixture is creamy and spreadable. Mix in the lemon juice, shallot, dill, and black pepper. Taste and adjust the seasoning as needed.
- Cover the bowl and refrigerate the mixture for 20–30 minutes before serving, if time allows. Enjoy!





No Comments