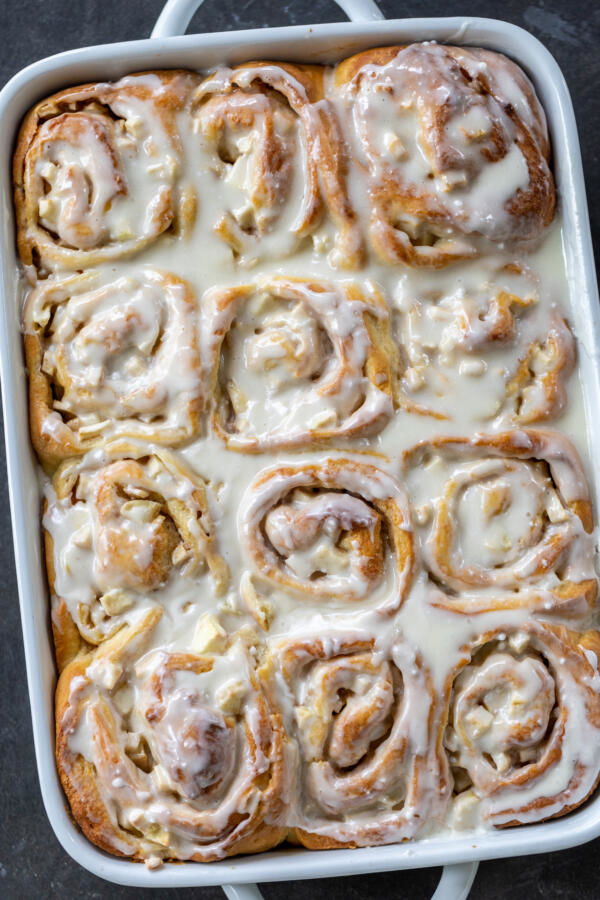
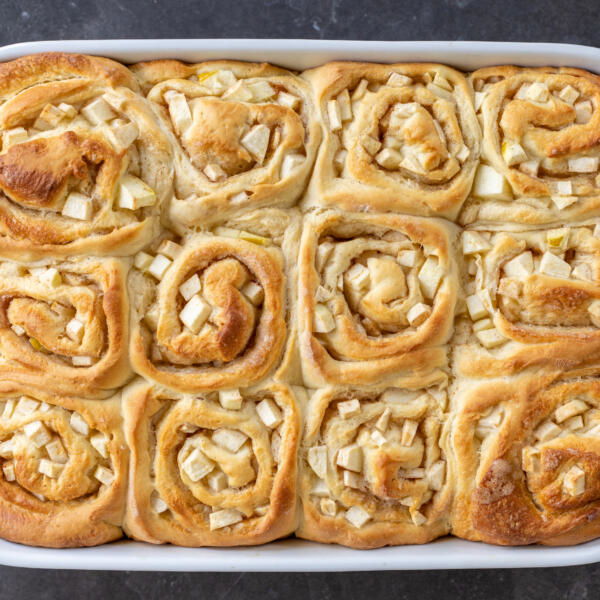
Warm, gooey dough, cinnamon apples, and a sweet vanilla glaze are married in these apple cinnamon rolls. We can’t get enough of them!
I spent so much of my life in Seattle, surrounded by multiple varieties of apples everywhere I turned. In the fall, an abundance of apple desserts could be found at every farm and farmer’s market, creating some of my best memories. I’ll honestly never get tired of apples. And brioche? Don’t even get me started… it’s my absolute favorite pastry. I especially love brioche cinnamon rolls because they’re so soft and light, so I knew I had to make this apple version. It’s truly the best of both worlds!
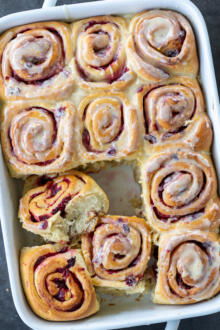
Hot tip: If you want more cinnamon rolls with a twist- don’t sleep on these cranberry rolls with an orange glaze or check out my full list of cinnamon roll recipes here!
How To Make Apple Cinnamon Rolls
Making apple cinnamon rolls from scratch can seem intimidating, but I promise that the process is quite simple when you break it down. Here’s a quick overview of the recipe steps:
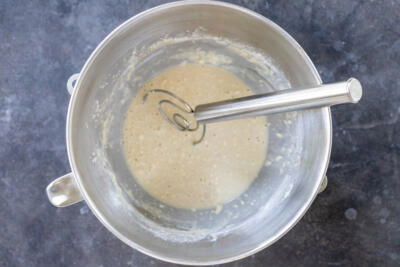
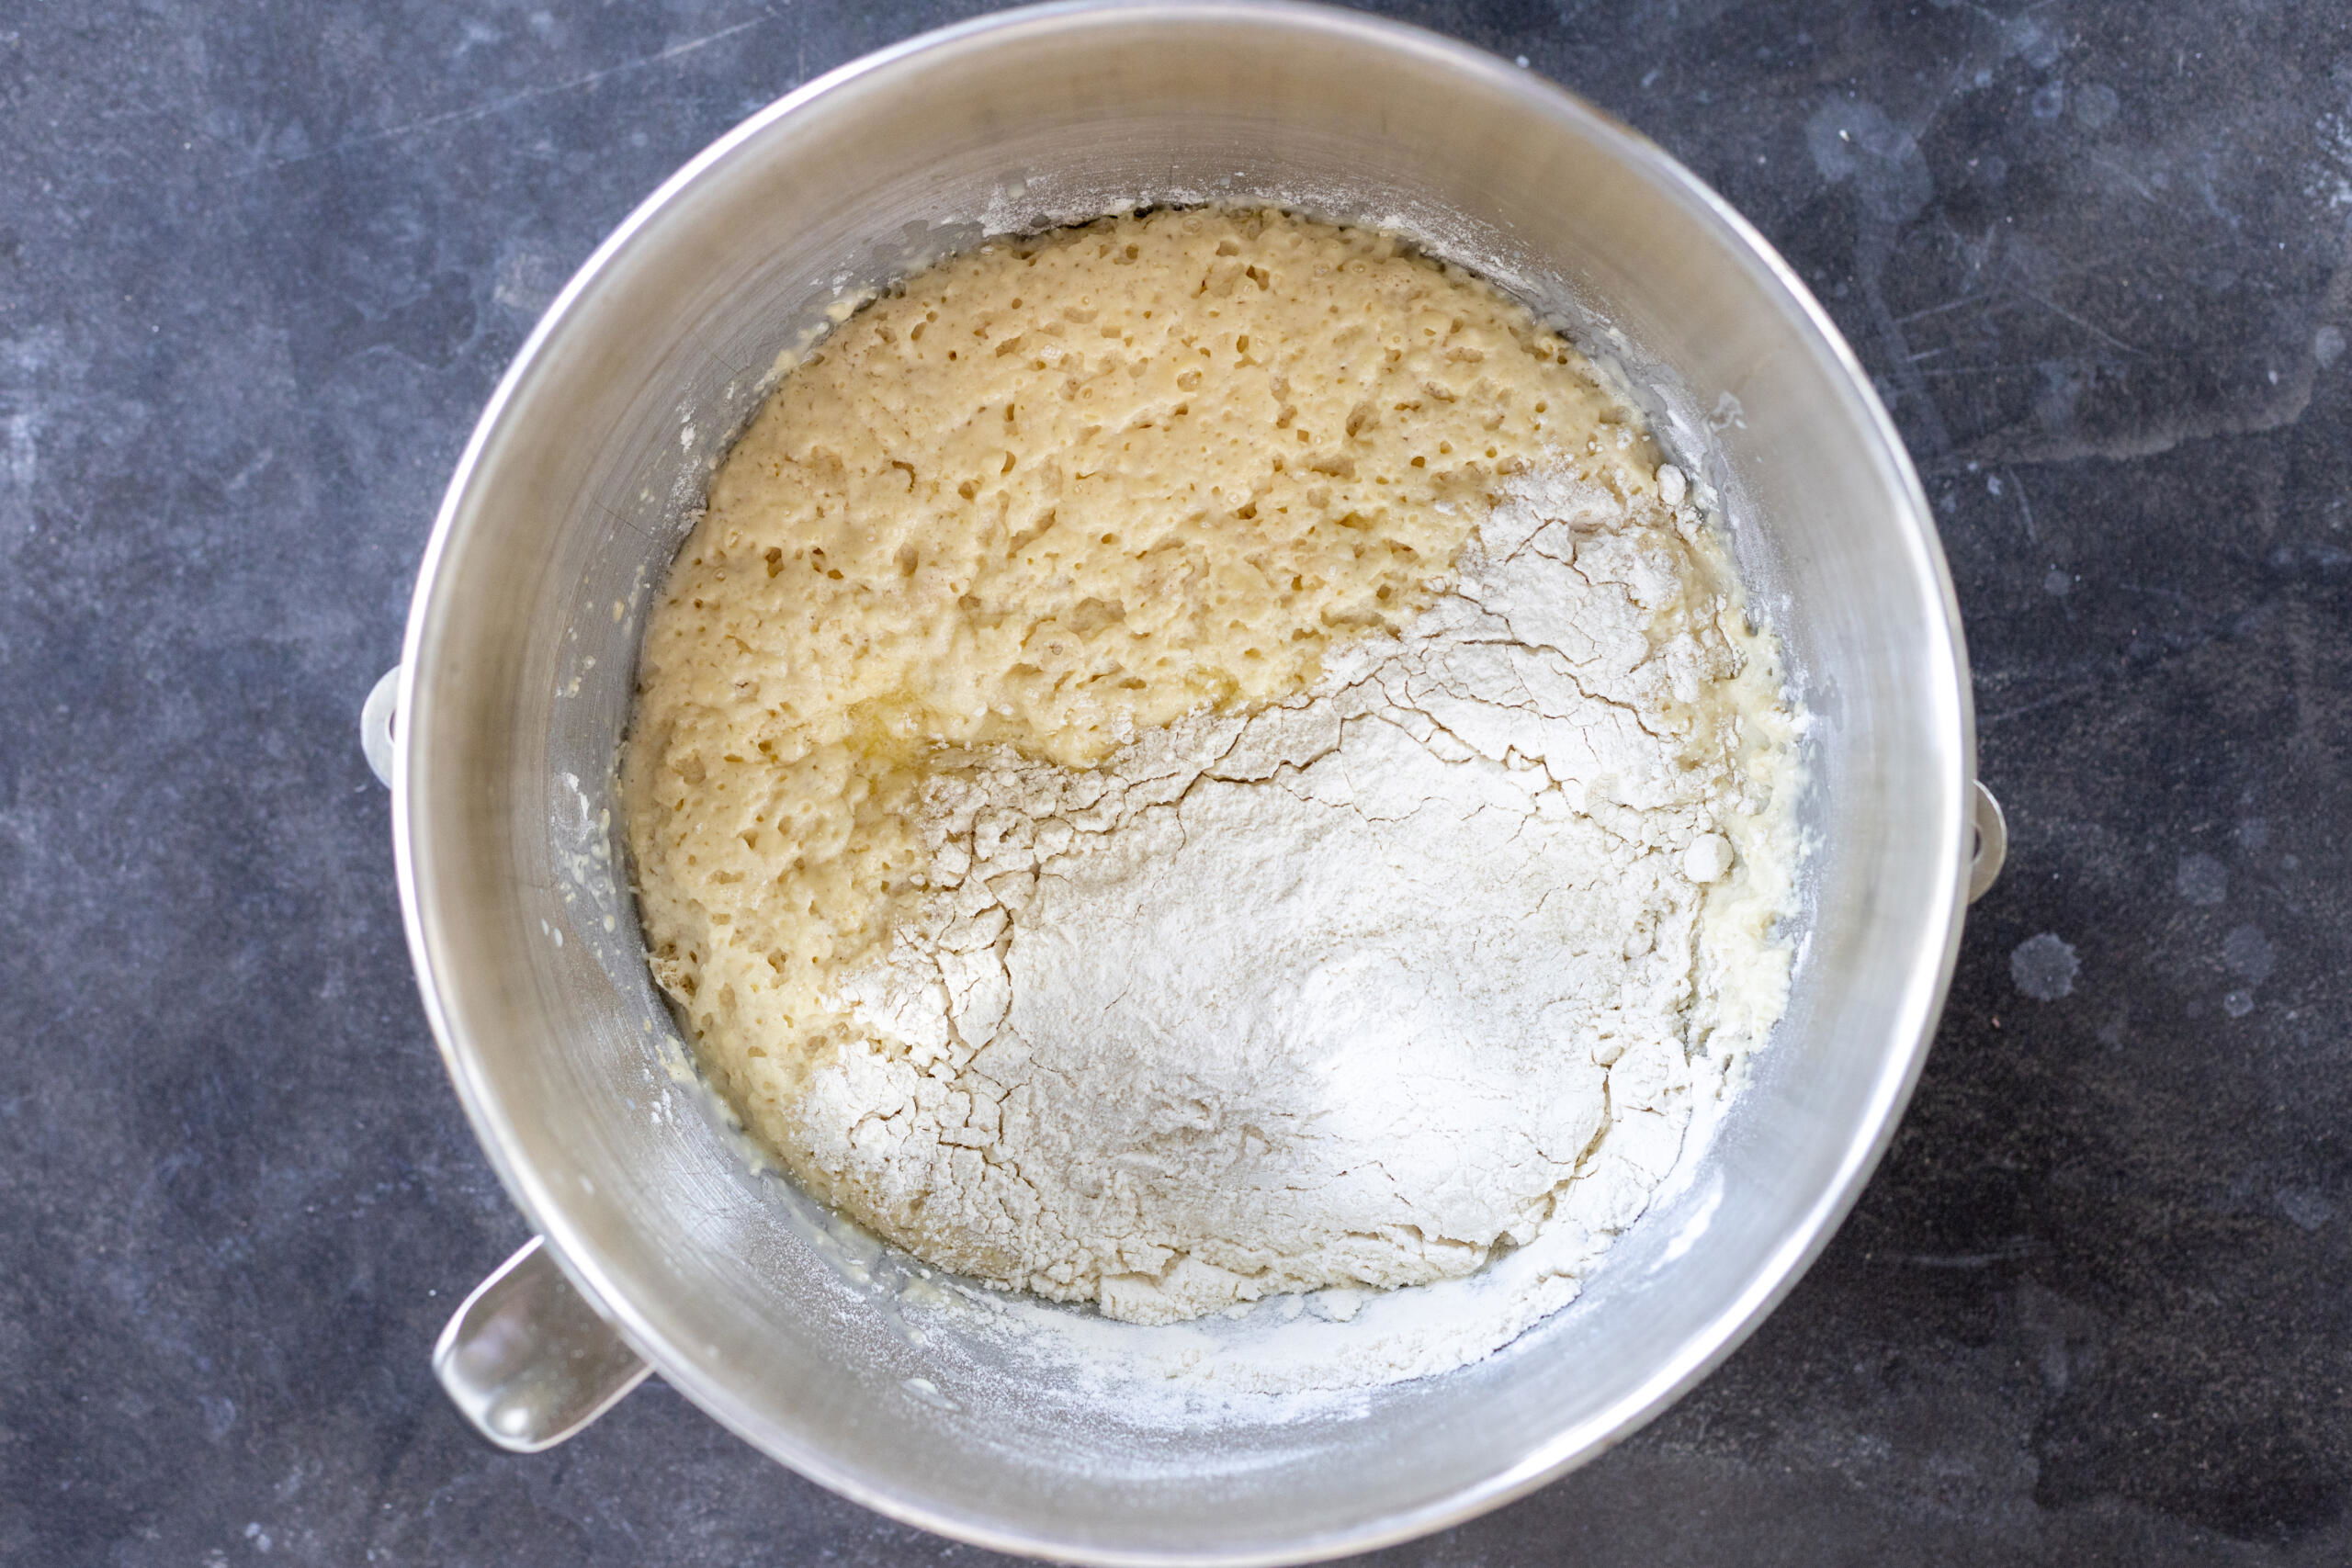
- Activate the yeast: In the bowl of a stand mixer, whisk together the warm milk, yeast, sugar, and one cup of the flour. Cover the bowl and let it sit in a warm place for 30 minutes.
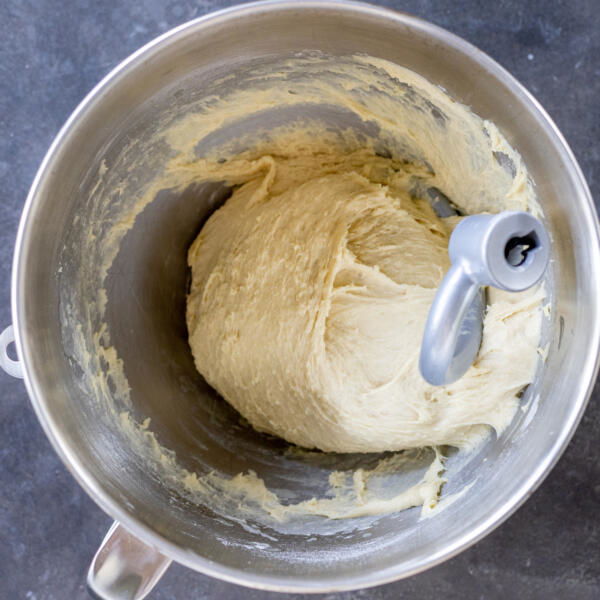
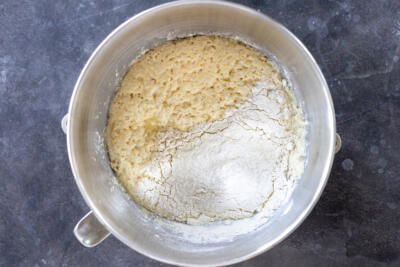
- Mix and knead the dough: Whisk in the eggs, salt, and melted butter. Gradually add the remaining flour, then knead the dough on medium speed for about 10–15 minutes.
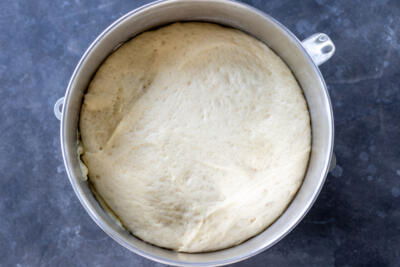
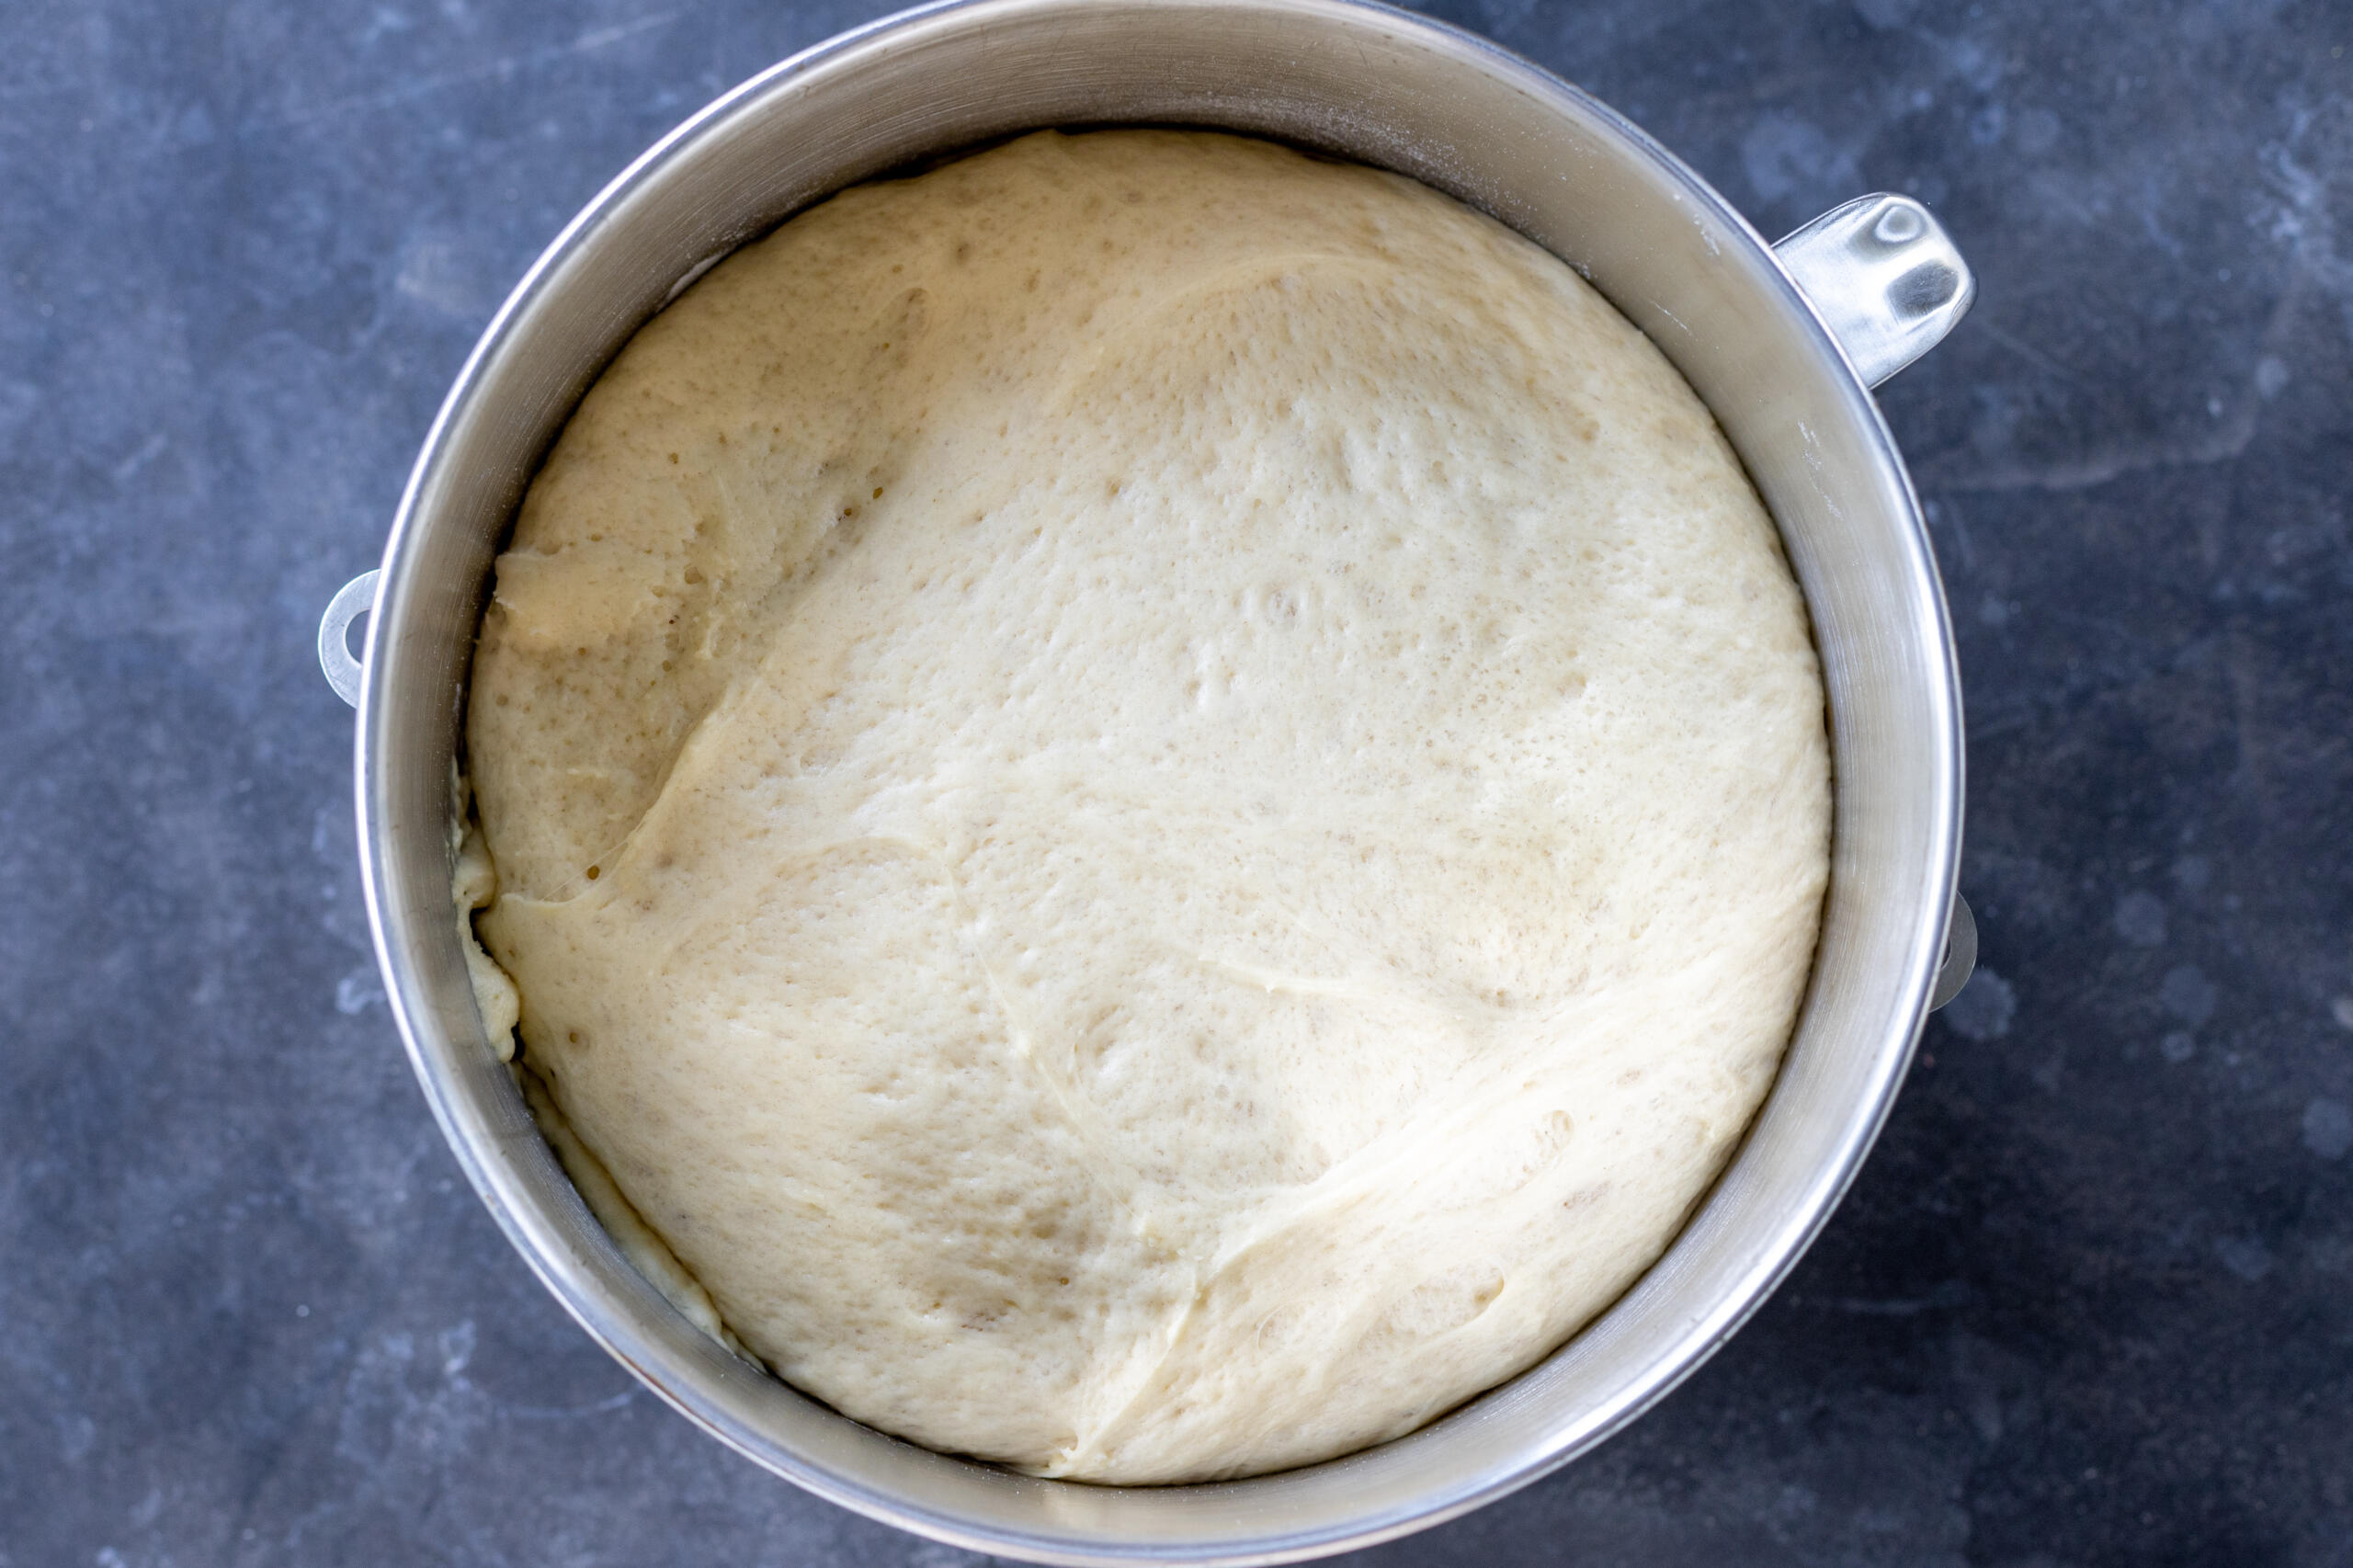
- Allow the dough to rise: Cover the bowl and let the dough rise in a warm place until it has doubled in size.
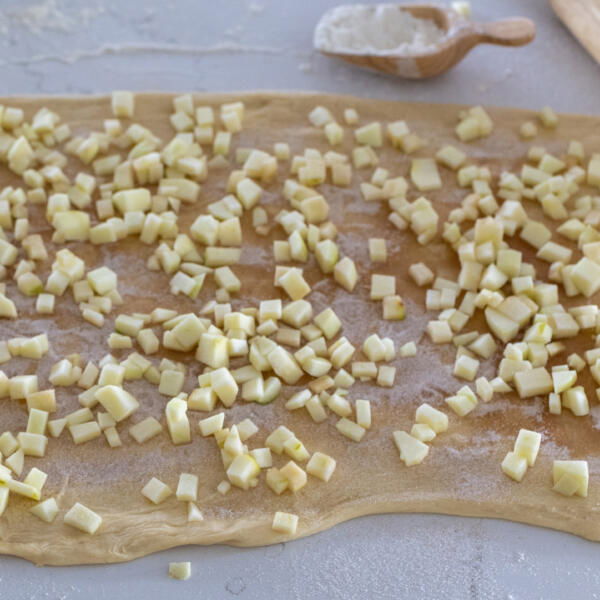
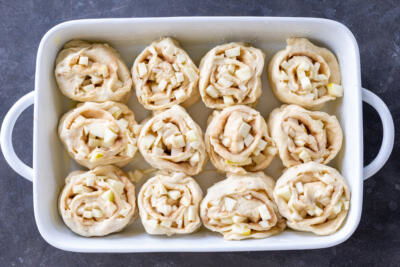
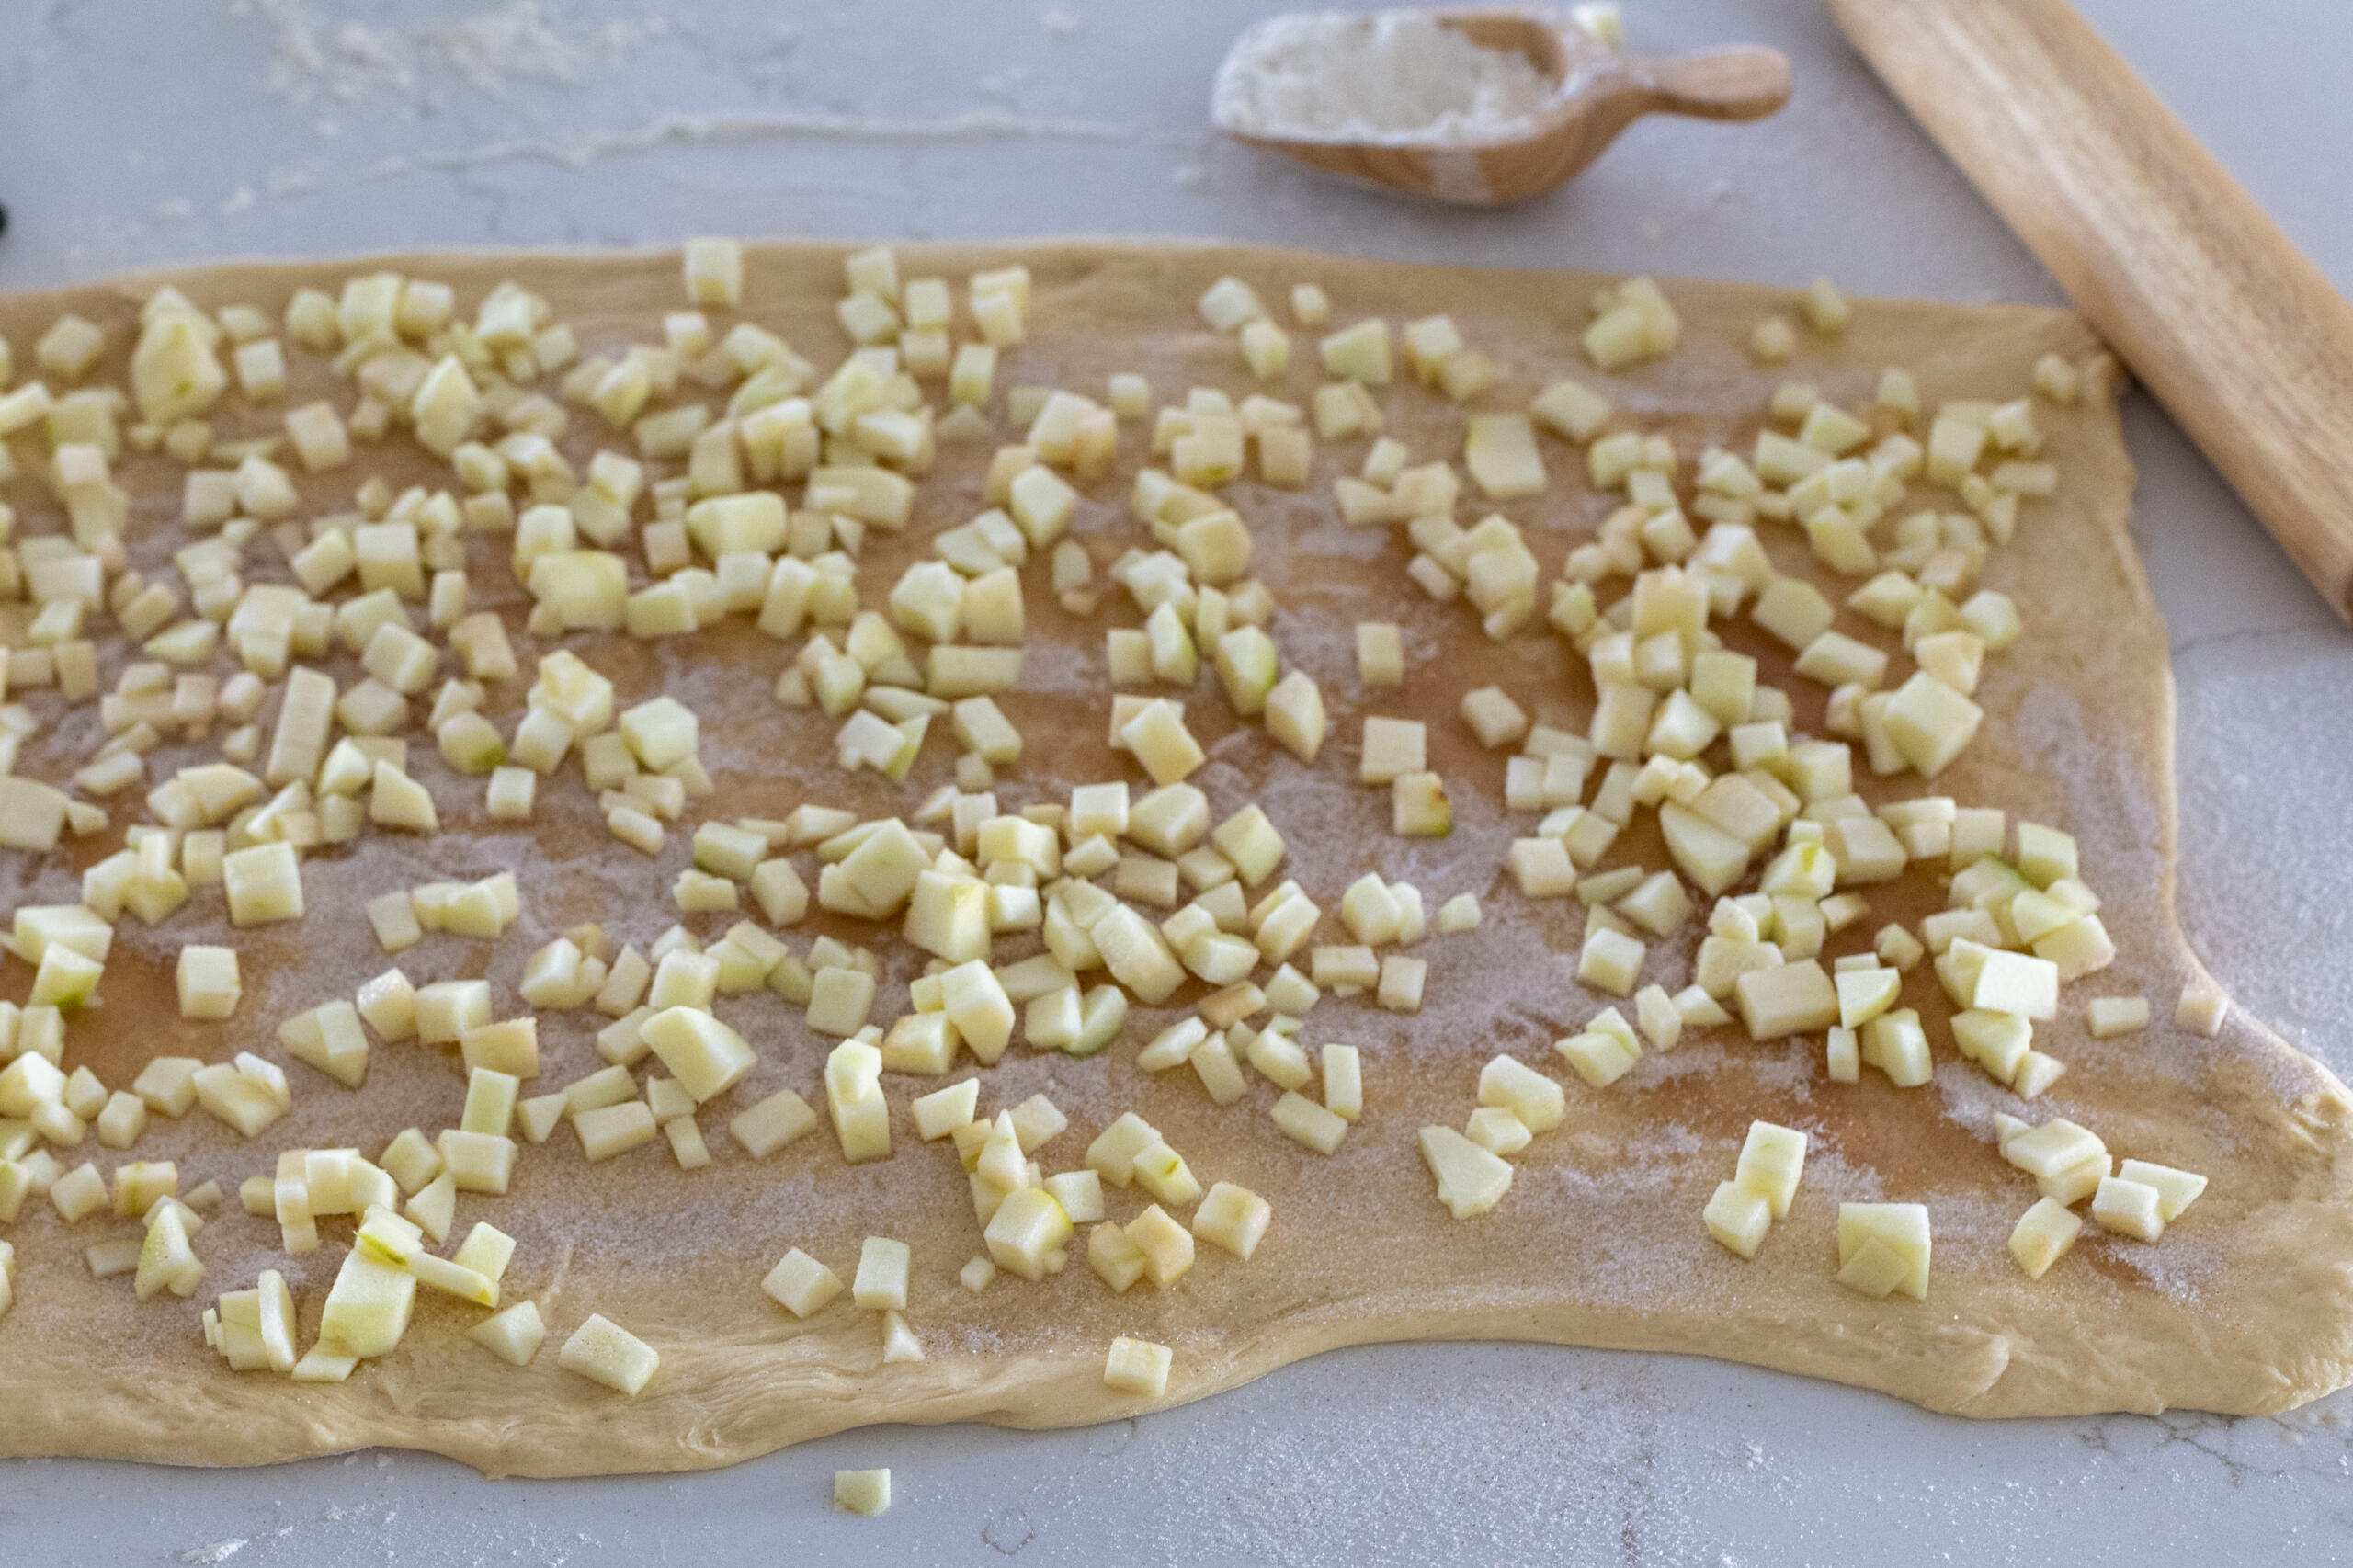
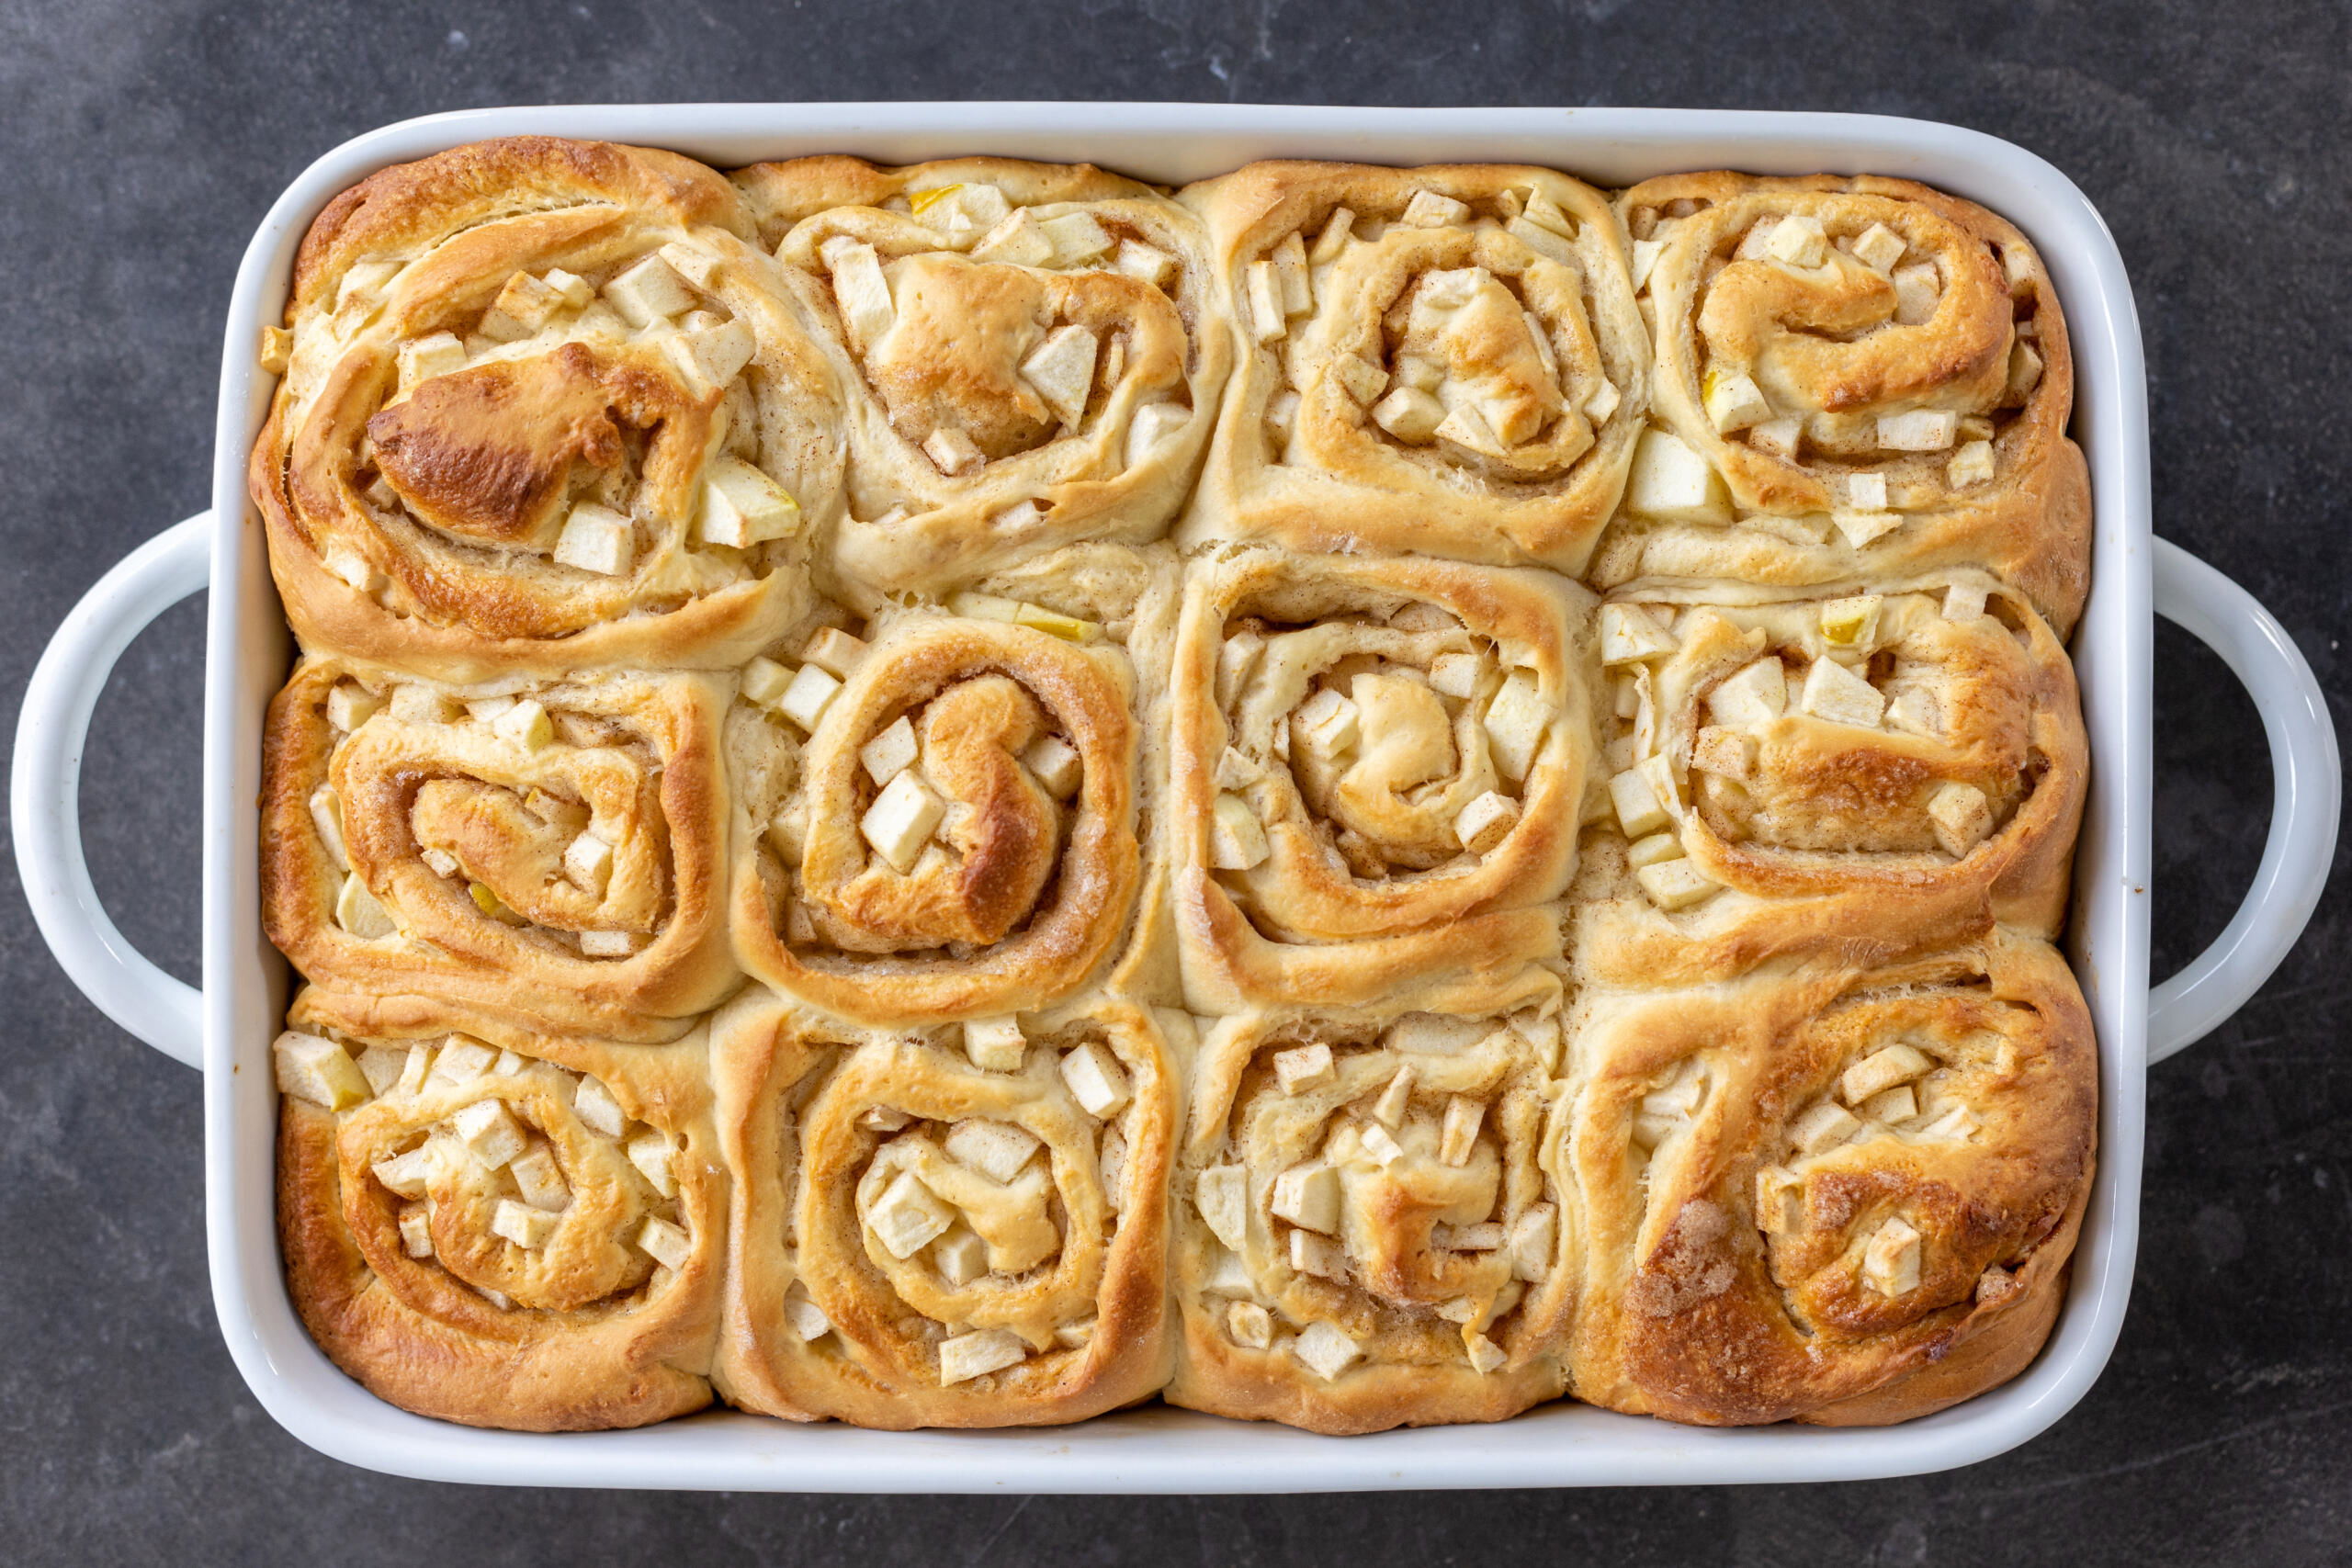
- Assemble the rolls: On a floured work surface,roll out the dough into a large rectangle. Add the melted butter, cinnamon sugar, and diced apples. Roll the dough tightly into a log, then cut it into 12 even pieces.
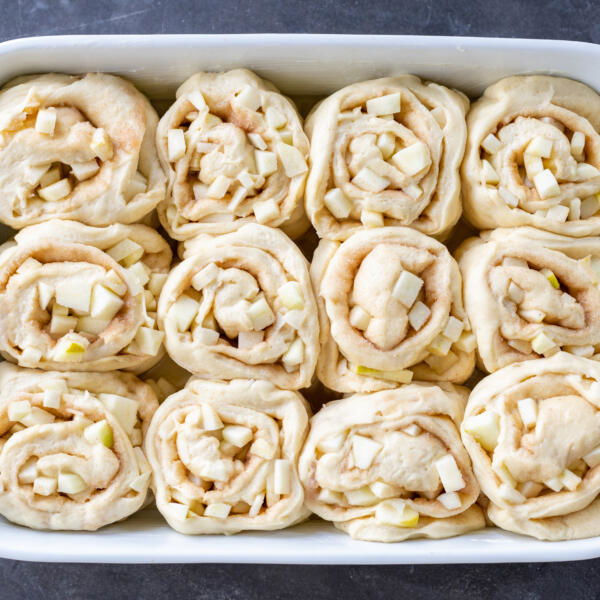
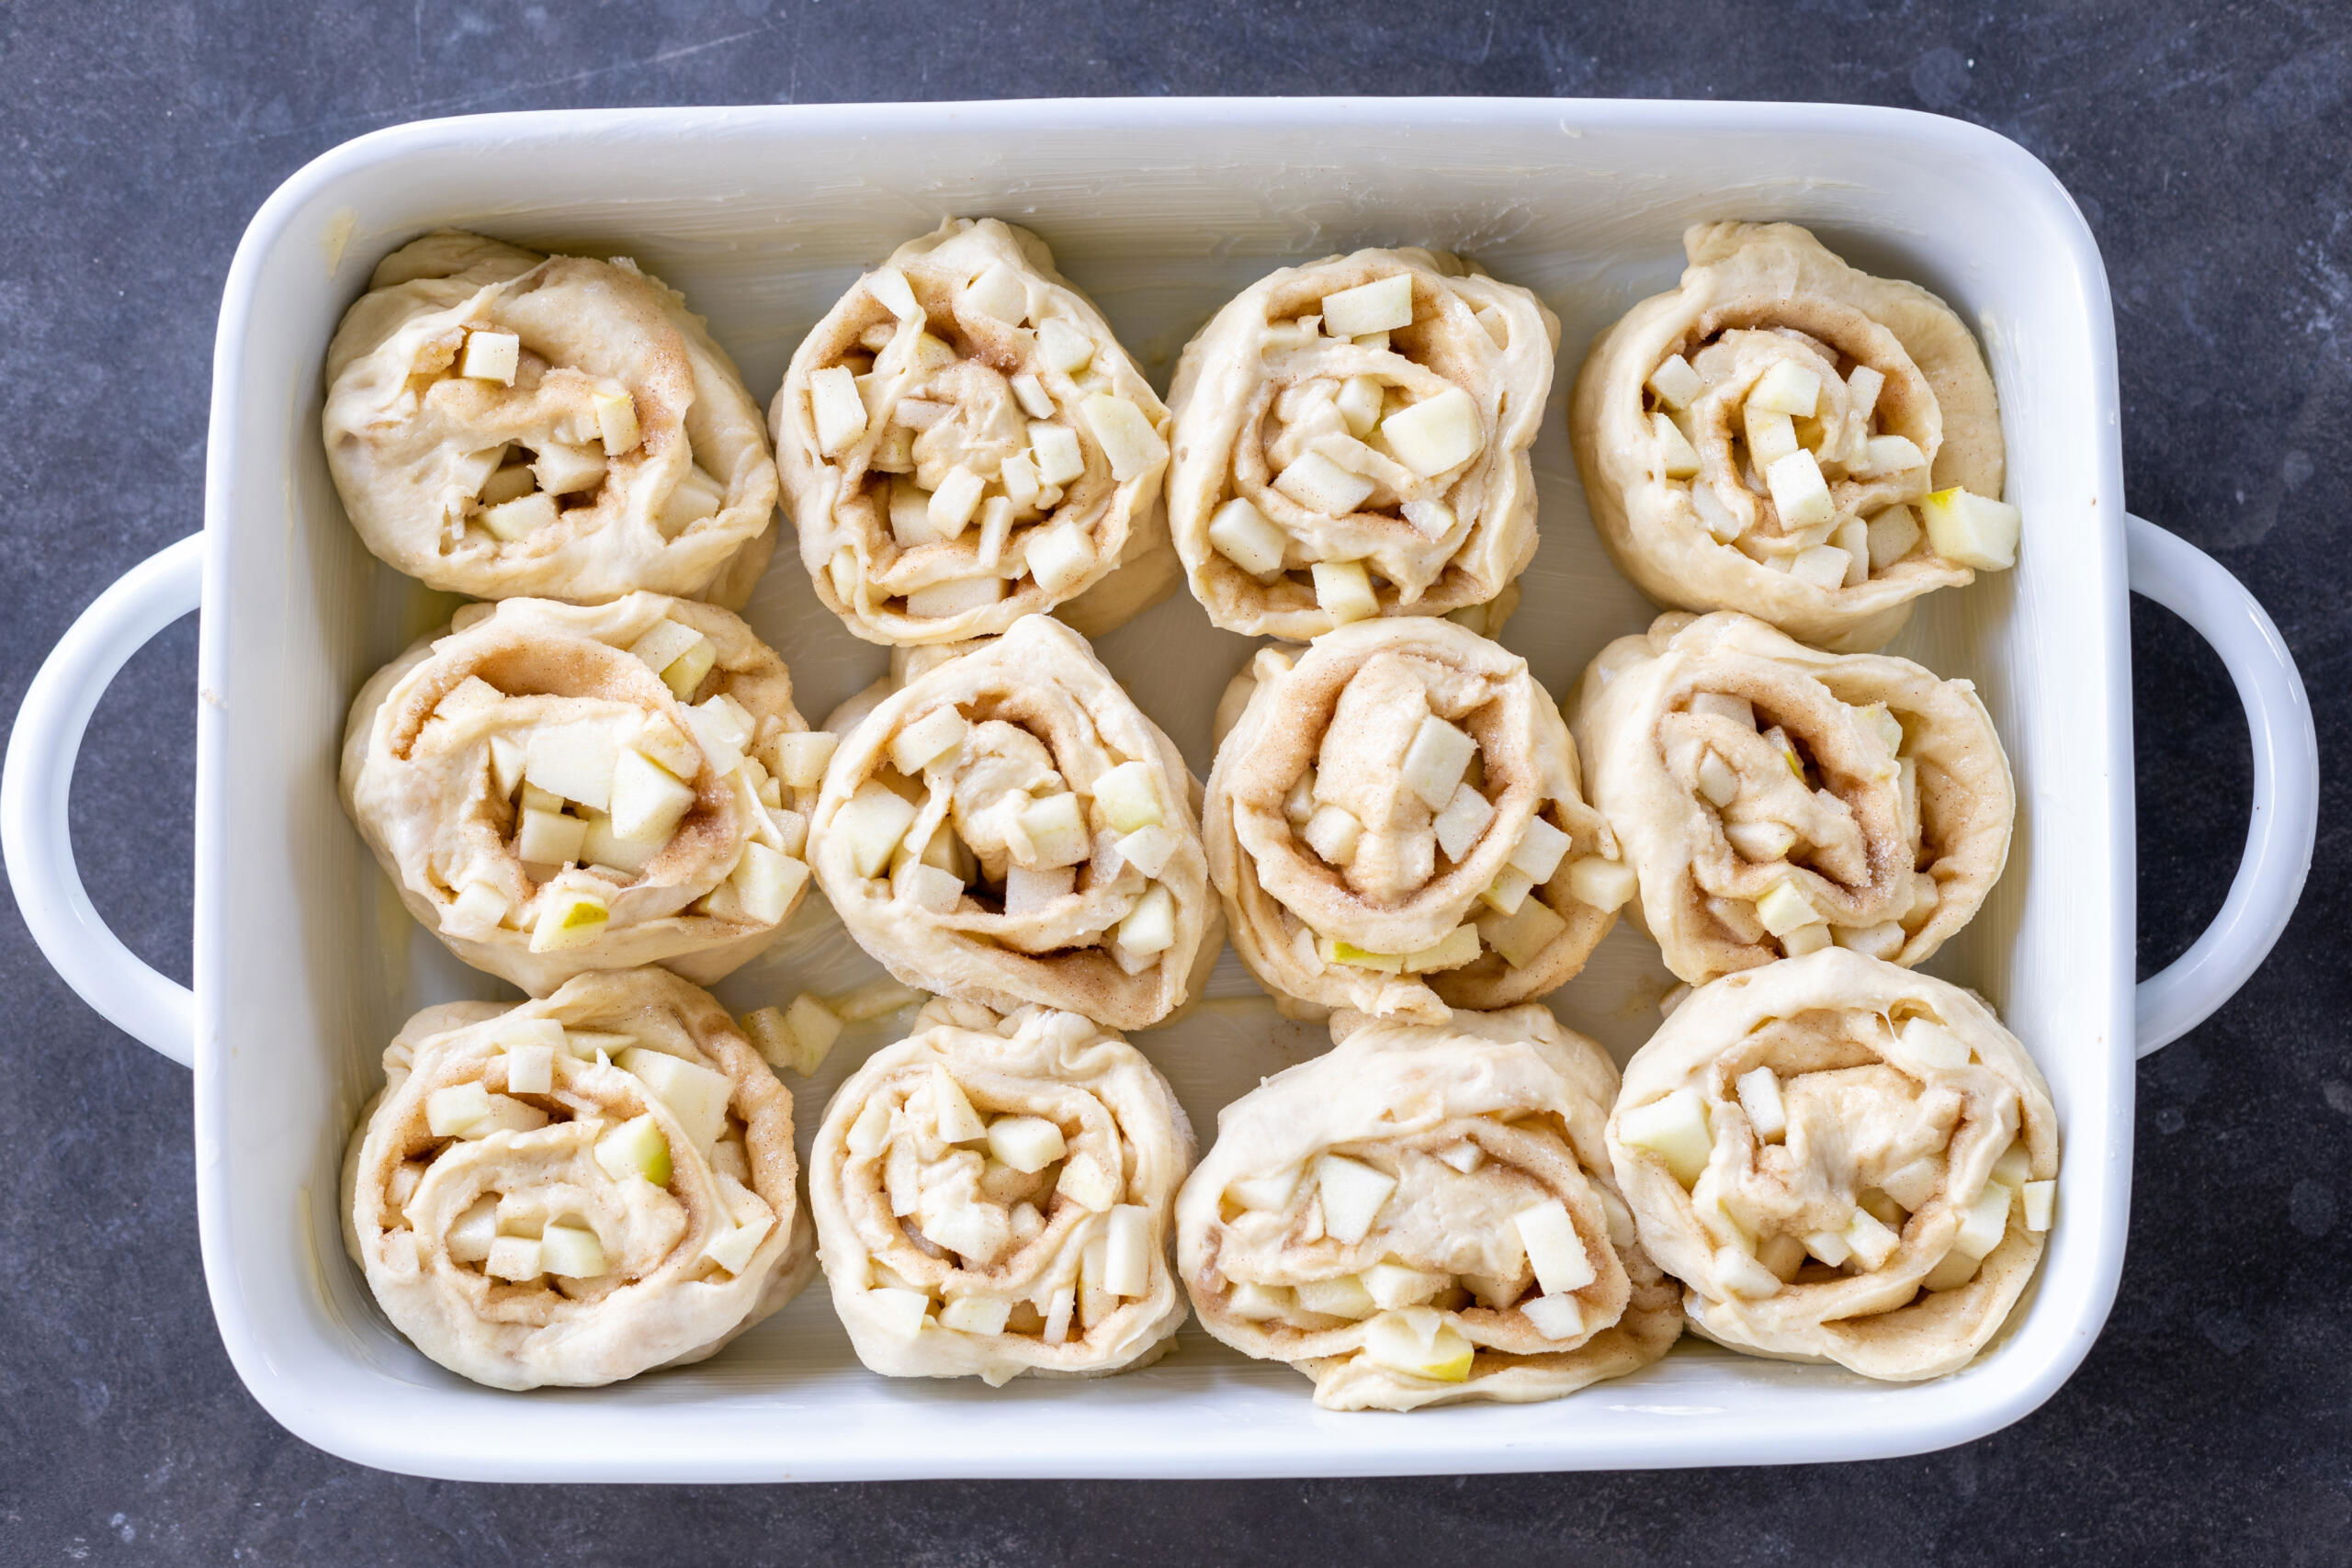
- Allow the rolls to rise again: Place the rolls in a buttered 8×10 baking pan. Cover the pan and let the rolls rise for one hour.
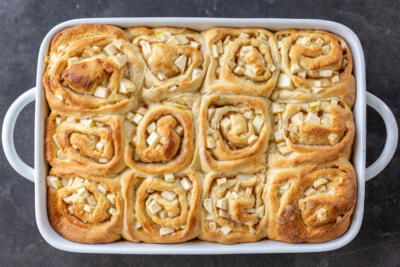
- Bake and glaze the rolls: Bake the rolls at 350°F for 35-40 minutes, then glaze and serve them.
Tips For the Best Apple Cinnamon Rolls
The secret to unbelievably soft cinnamon rolls is all in the dough. These simple techniques have changed my roll game and always guarantee the most mouthwatering results.
- Pick the right apples. I personally prefer Granny Smith apples because they’re not too sweet and they’re firm enough to hold their shape. Honeycrisp and Braeburn apples are also good options.
- Use warm milk. Make sure that the milk is around 110°F with a thermometer. If it’s too hot, it’ll kill the yeast; if it’s too cold, it won’t activate the yeast properly.
- Knead the dough sufficiently. It may seem like a long time, but I try to knead this dough for 10-15 minutes on medium speed in the stand mixer. This develops the gluten, which is essential for a strong structure and fluffy rolls.
- Be patient with the rising times. The amount of time that the dough takes to rise will completely depend on the temperature of your house. Rather than staying glued to a timer, wait until the dough doubles in size and looks super puffy.
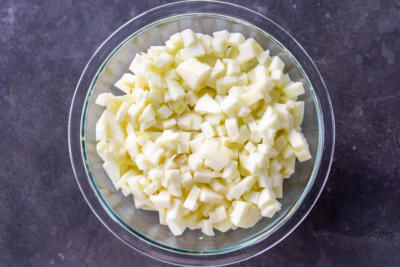
- Finely dice the apples. Cut your apples into small, uniform pieces to ensure that they cook evenly inside of the rolls. Also, you’ll get more apples in each bite!
- Cut the rolls carefully. Whatever you do, avoid squishing the dough log. I usually opt for a floured serrated knife, but many people swear by unflavored dental floss for clean cuts. Slide it under the log, cross the ends over the top, and pull.
- Cover the rolls if they brown too quickly. If you notice the tops of the rolls getting too brown before they’re done cooking, tent the pan with foil.
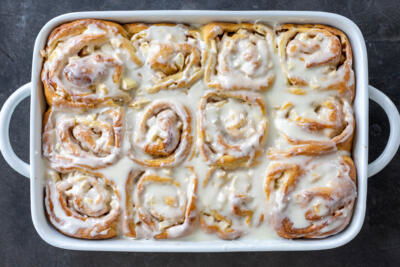
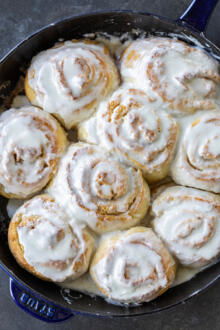
- Glaze the rolls while they’re warm. I love seeing the glaze melt and drip into every nook and cranny of the warm rolls… my mouth is watering already.

Make Ahead
To prepare these apple cinnamon rolls in advance, follow the instructions through step 6, then cover the rolls tightly with plastic wrap and refrigerate them overnight. In the morning, take them out of the fridge and let them rise for about 45–60 minutes before baking.
Storage & Reheating
You’ll be lucky if you have leftovers! Store any extra baked rolls for up to two days in an airtight container at room temperature. To reheat, pop a roll in the microwave for 20–30 seconds, or until it is warm and soft.
More Apple Desserts
- Apple Turnovers — Super simple and ready in 25 minutes
- Apple Strudel — Cinnamon spiced apples rolled in flaky phyllo dough
- Apple Cake — Moist, light, and packed with grated apples
- Air Fryer Baked Apples — Stuffed with cinnamon sugar and nuts
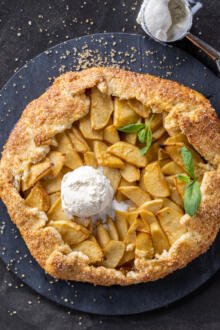
- Apple Galette — Gorgeous flaky pastry + tender sliced apples
Recipe

Ingredients
Dough
- 1 cup whole milk warmed to 110°F
- 1 tbsp active dry yeast
- ¼ cup granulated sugar
- 4 1/4 cups all-purpose flour you may need more or less depending on the brand
- 3 large eggs
- ⅛ tsp salt
- 7 tbsp unsalted butter melted
Filling
- 3/4 cup granulated sugar
- 1 tbsp ground cinnamon adjust to preference
- 4 tbsp unsalted butter melted
- 4 medium apples peeled and finely diced
Glaze
- 1 1/2 cup powdered sugar
- 4 tbsp heavy cream
- 1 tsp vanilla extract
Instructions
- In the bowl of a stand mixer, whisk together the warm milk, yeast, sugar, and 1 cup of the flour. Cover the bowl and let it sit in a warm place for 30 minutes.
- After 30 minutes, whisk in the eggs, salt, and melted butter. Gradually add the remaining flour until the dough is soft but not runny (adjust as needed). Using the dough hook, knead the dough on medium speed until it is smooth and elastic, about 10–15 minutes.
- Cover the bowl and let the dough rise in a warm place until it has doubled in size, about 1 hour.
- For the filling, combine the sugar and cinnamon in a small bowl. Keep the melted butter separate. Prepare the apples by peeling and finely dicing them.
- Dust a clean work surface with flour and roll out the dough into a large rectangle. Brush the melted butter onto the dough, then sprinkle the cinnamon-sugar mixture on evenly. Scatter the diced apples on top.

- Starting from the long side, roll the dough tightly into a log. Use a floured serrated knife to cut the log into 12 even pieces. Place the rolls in a buttered 10×8 baking pan. Cover the pan and let the rolls rise for 1 hour.
- Preheat the oven to 350°F. Once the rolls have doubled, bake them for 35–40 minutes until they are golden brown.
- For the glaze, whisk together the powdered sugar, heavy cream, and vanilla until smooth. Apply the glaze over the warm rolls and enjoy!


Amazing! The best cinnamon rolls I've ever had and made myself! The only thing I changed was not using the rolling pin to roll it out, but spread the dough with my hands to keep it fluffy.
That way totally works too, Tatyana! Thanks for sharing 🙂