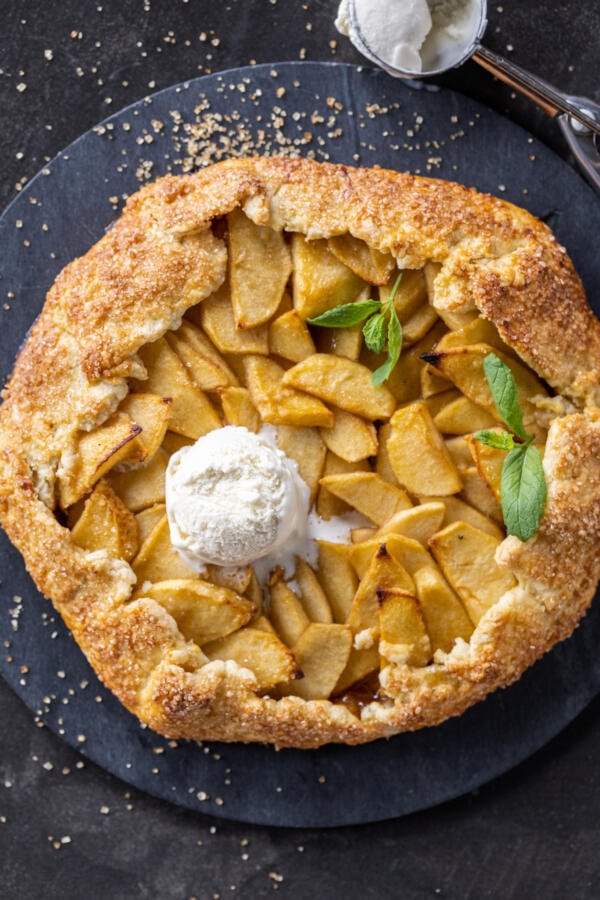
This apple galette is a mouthwatering marriage of juicy cinnamon apples and a flaky, buttery crust. It’s like a fancy apple pie, but without the fuss of a top crust!
What Is an Apple Galette?
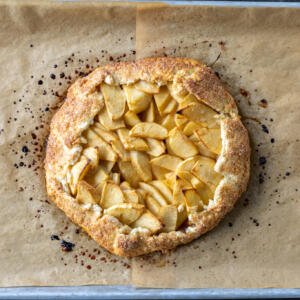
An apple galette is a French free-form pie comprised of pastry crust and an apple filling. Unlike a traditional apple pie, a galette only uses one crust that is folded over the edges of the filling. A galette is also baked on a sheet pan instead of in a pie dish, giving the dessert a rustic appearance. The crust is rich and buttery, and the apples are sweet with brown sugar and cinnamon flavors.
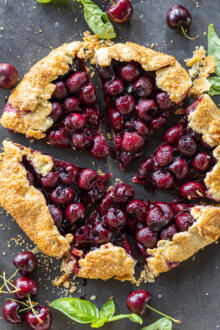
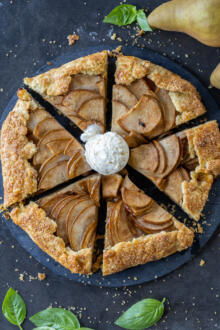
I like to change the filling of galettes depending on the season. In the summer time I love a peach or strawberry galette! In the fall time, pear galettes are lovely, too.
How To Make an Apple Galette
This apple galette comes together in one hour with a few simple steps. Roll up your sleeves and let’s get baking!
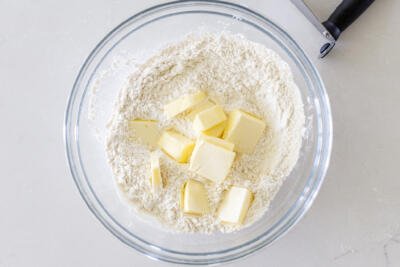
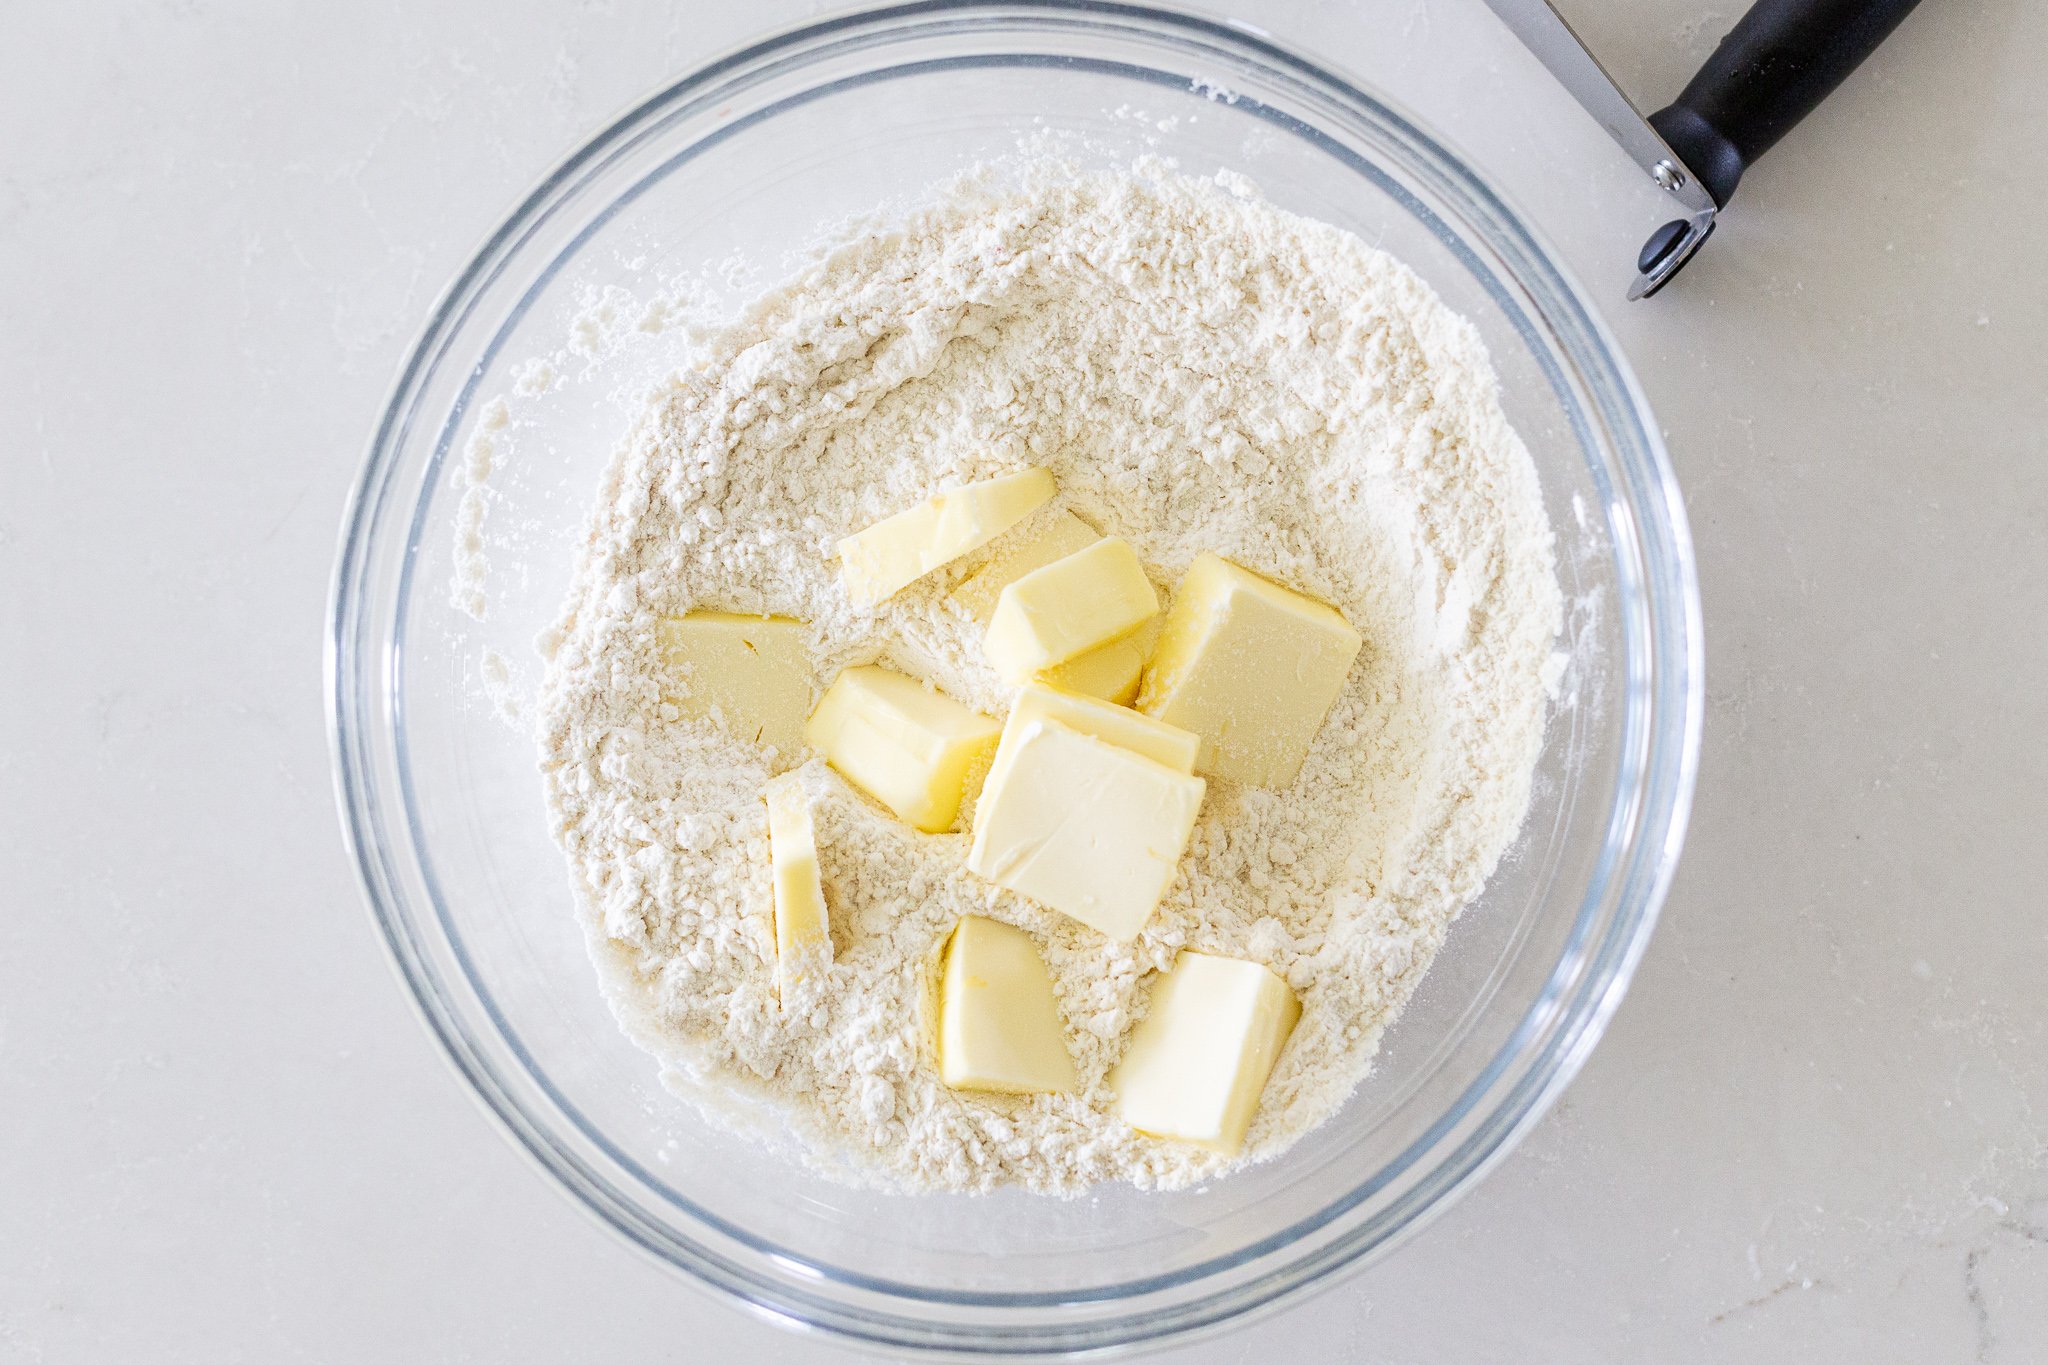
- Make the pastry crust: Combine the flour and salt, then cut in the cold butter using a pastry cutter, fork, or grater. In a separate bowl, whisk together the egg, water, and vinegar. Mix the wet ingredients and flour together, adding a bit more water if needed just until the dough begins to clump together.
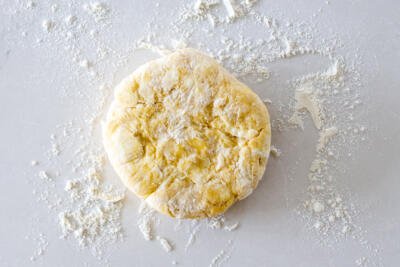
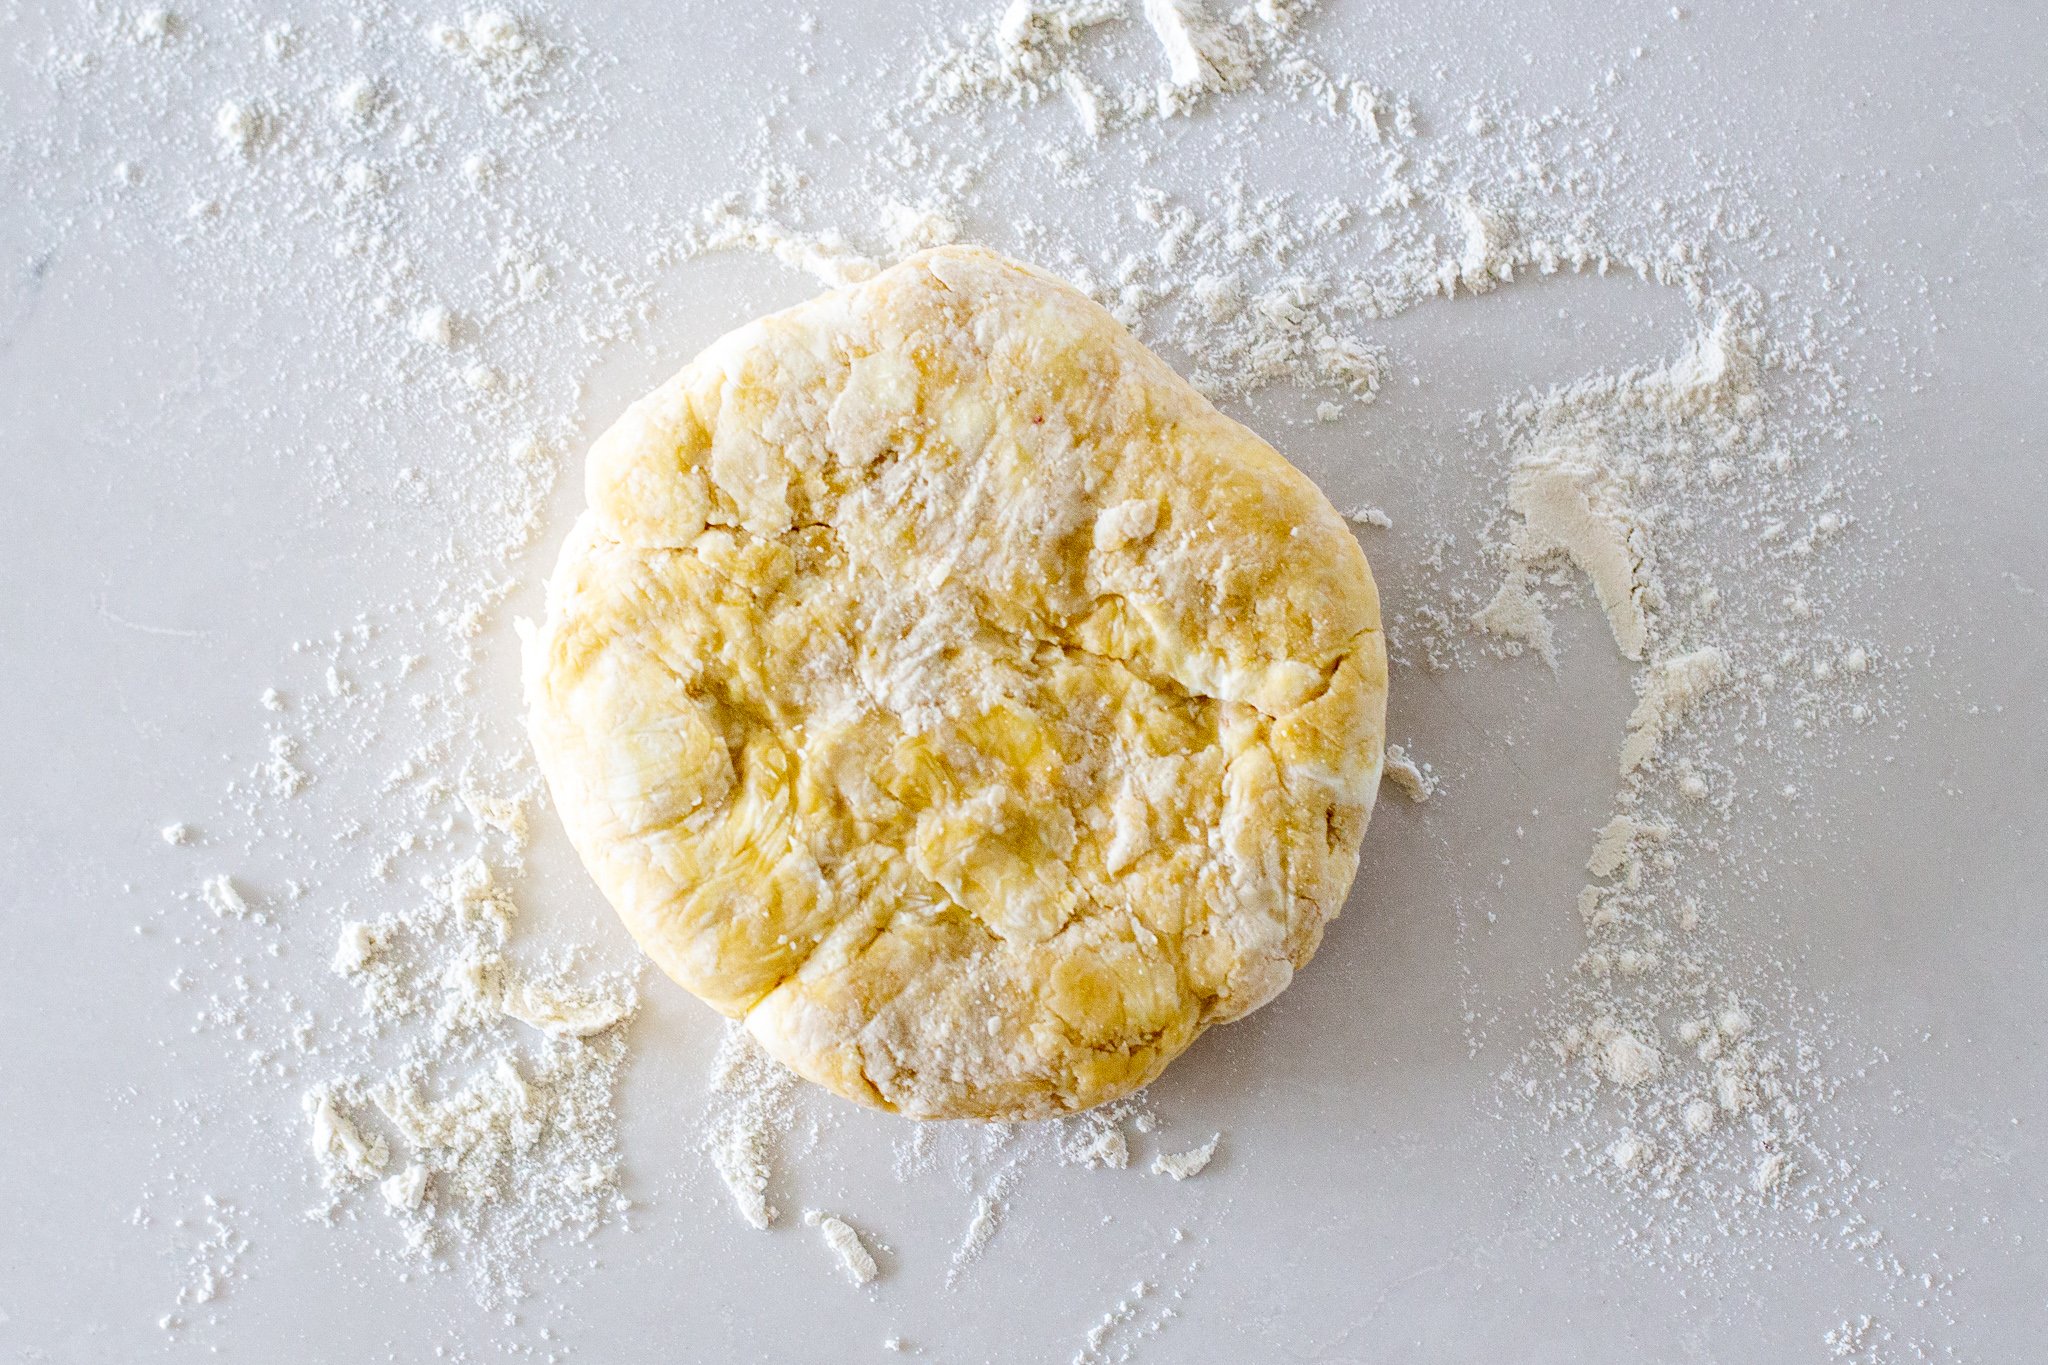
- Chill the crust: Wrap the dough in plastic wrap and refrigerate it for at least 30 minutes.
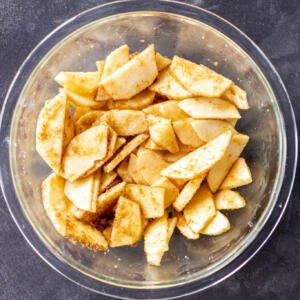
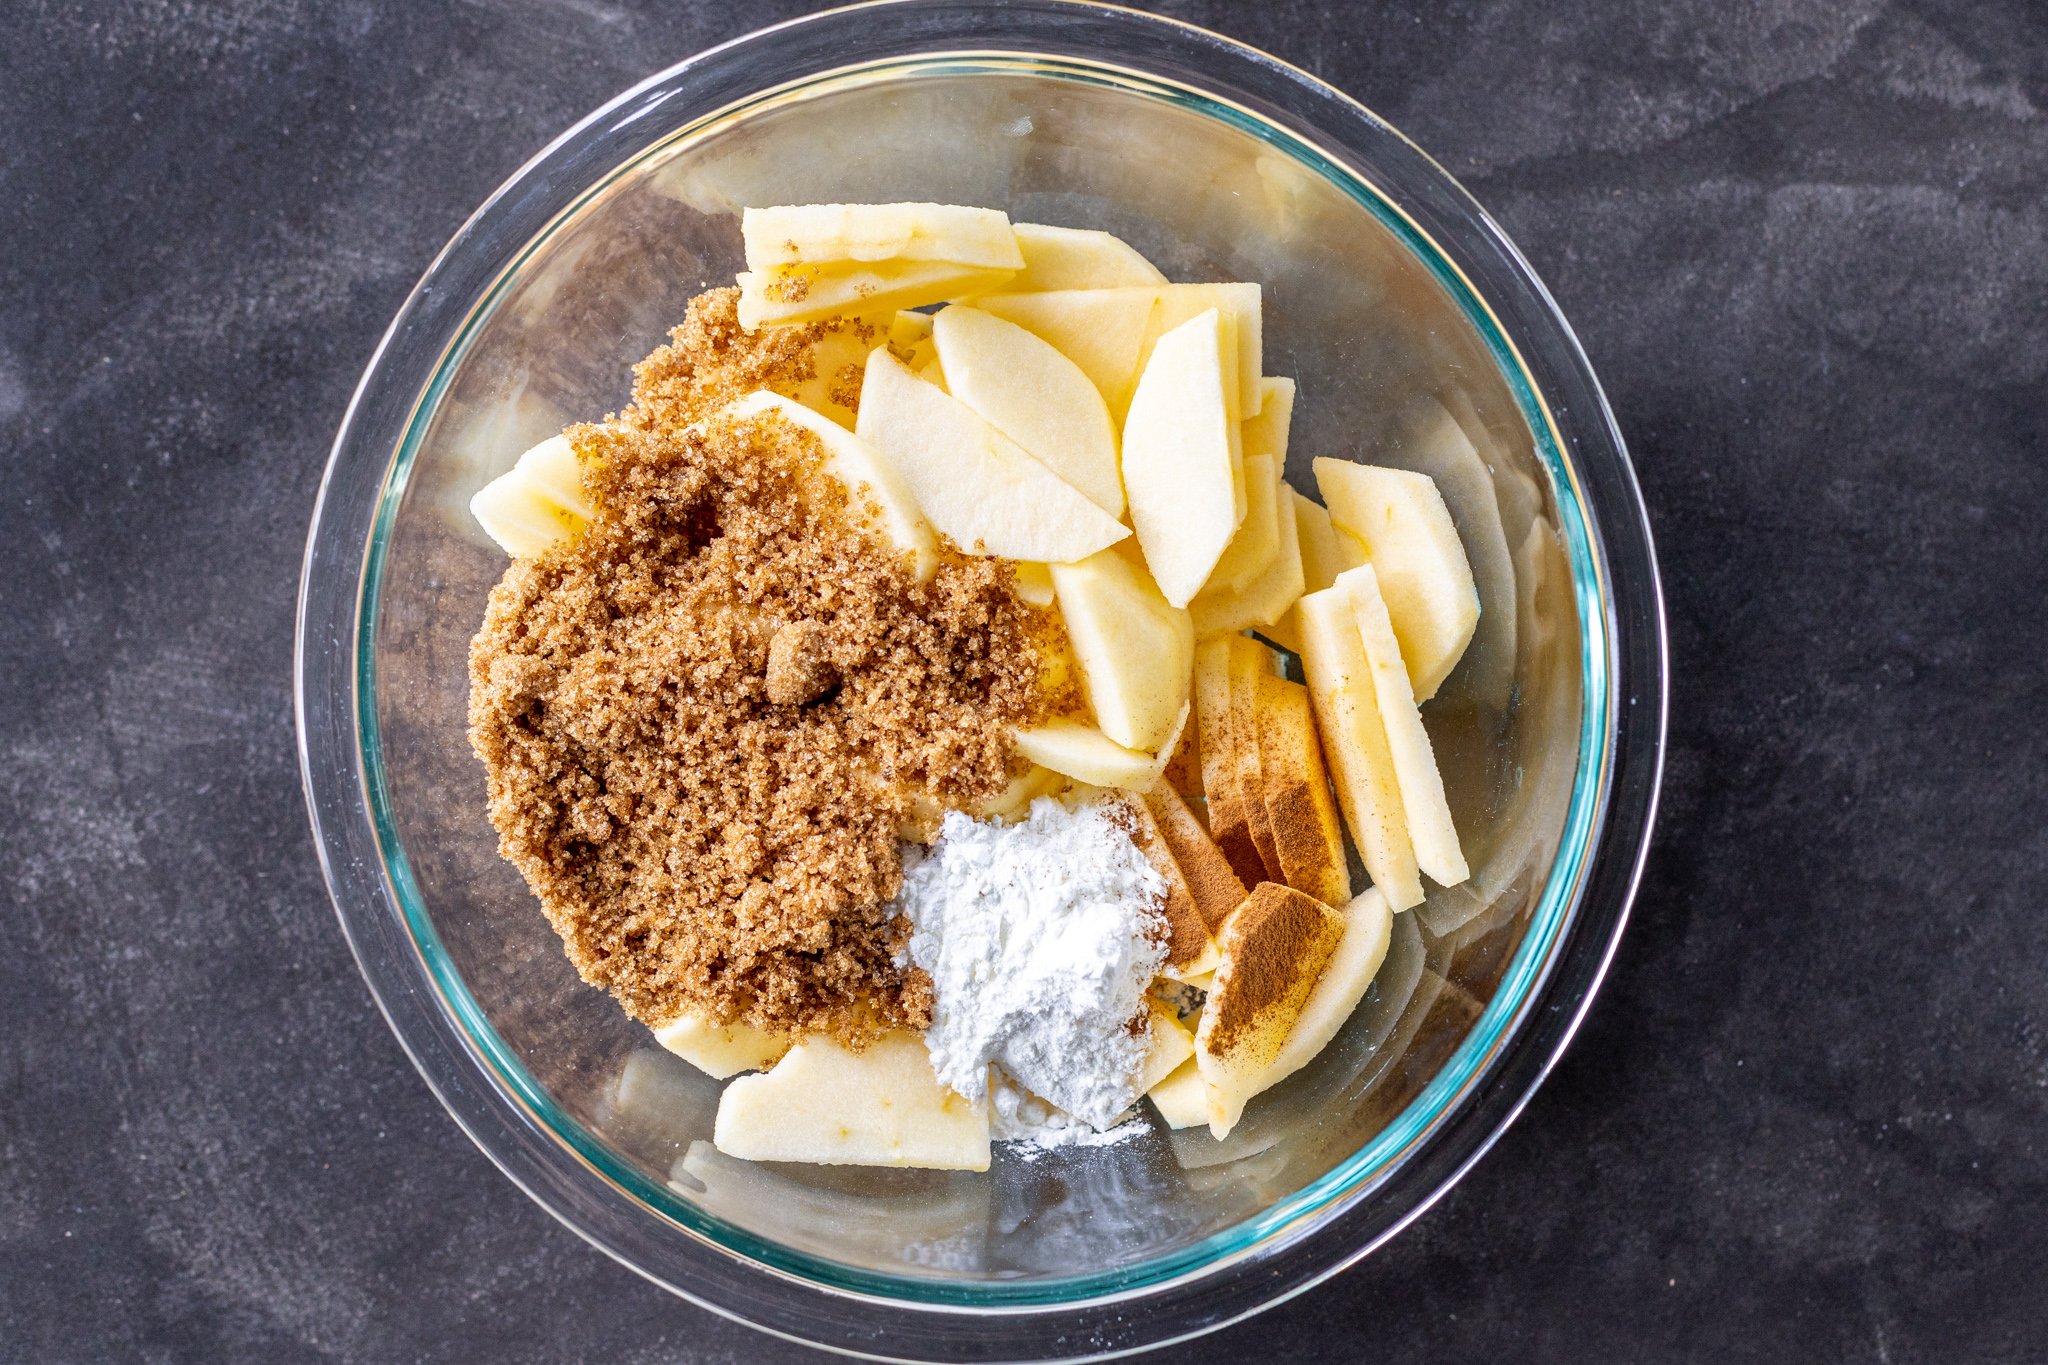
- Prepare the apple filling: Peel and cut the apples into thin slices. Place them into a bowl and toss them with the brown sugar, corn starch, and cinnamon until well coated.
- Preheat the oven: Preheat the oven to 400°F.
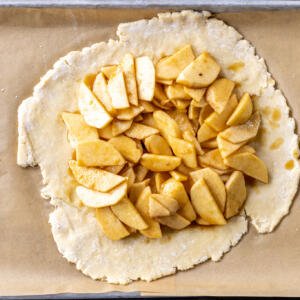
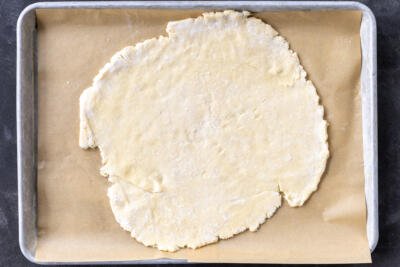
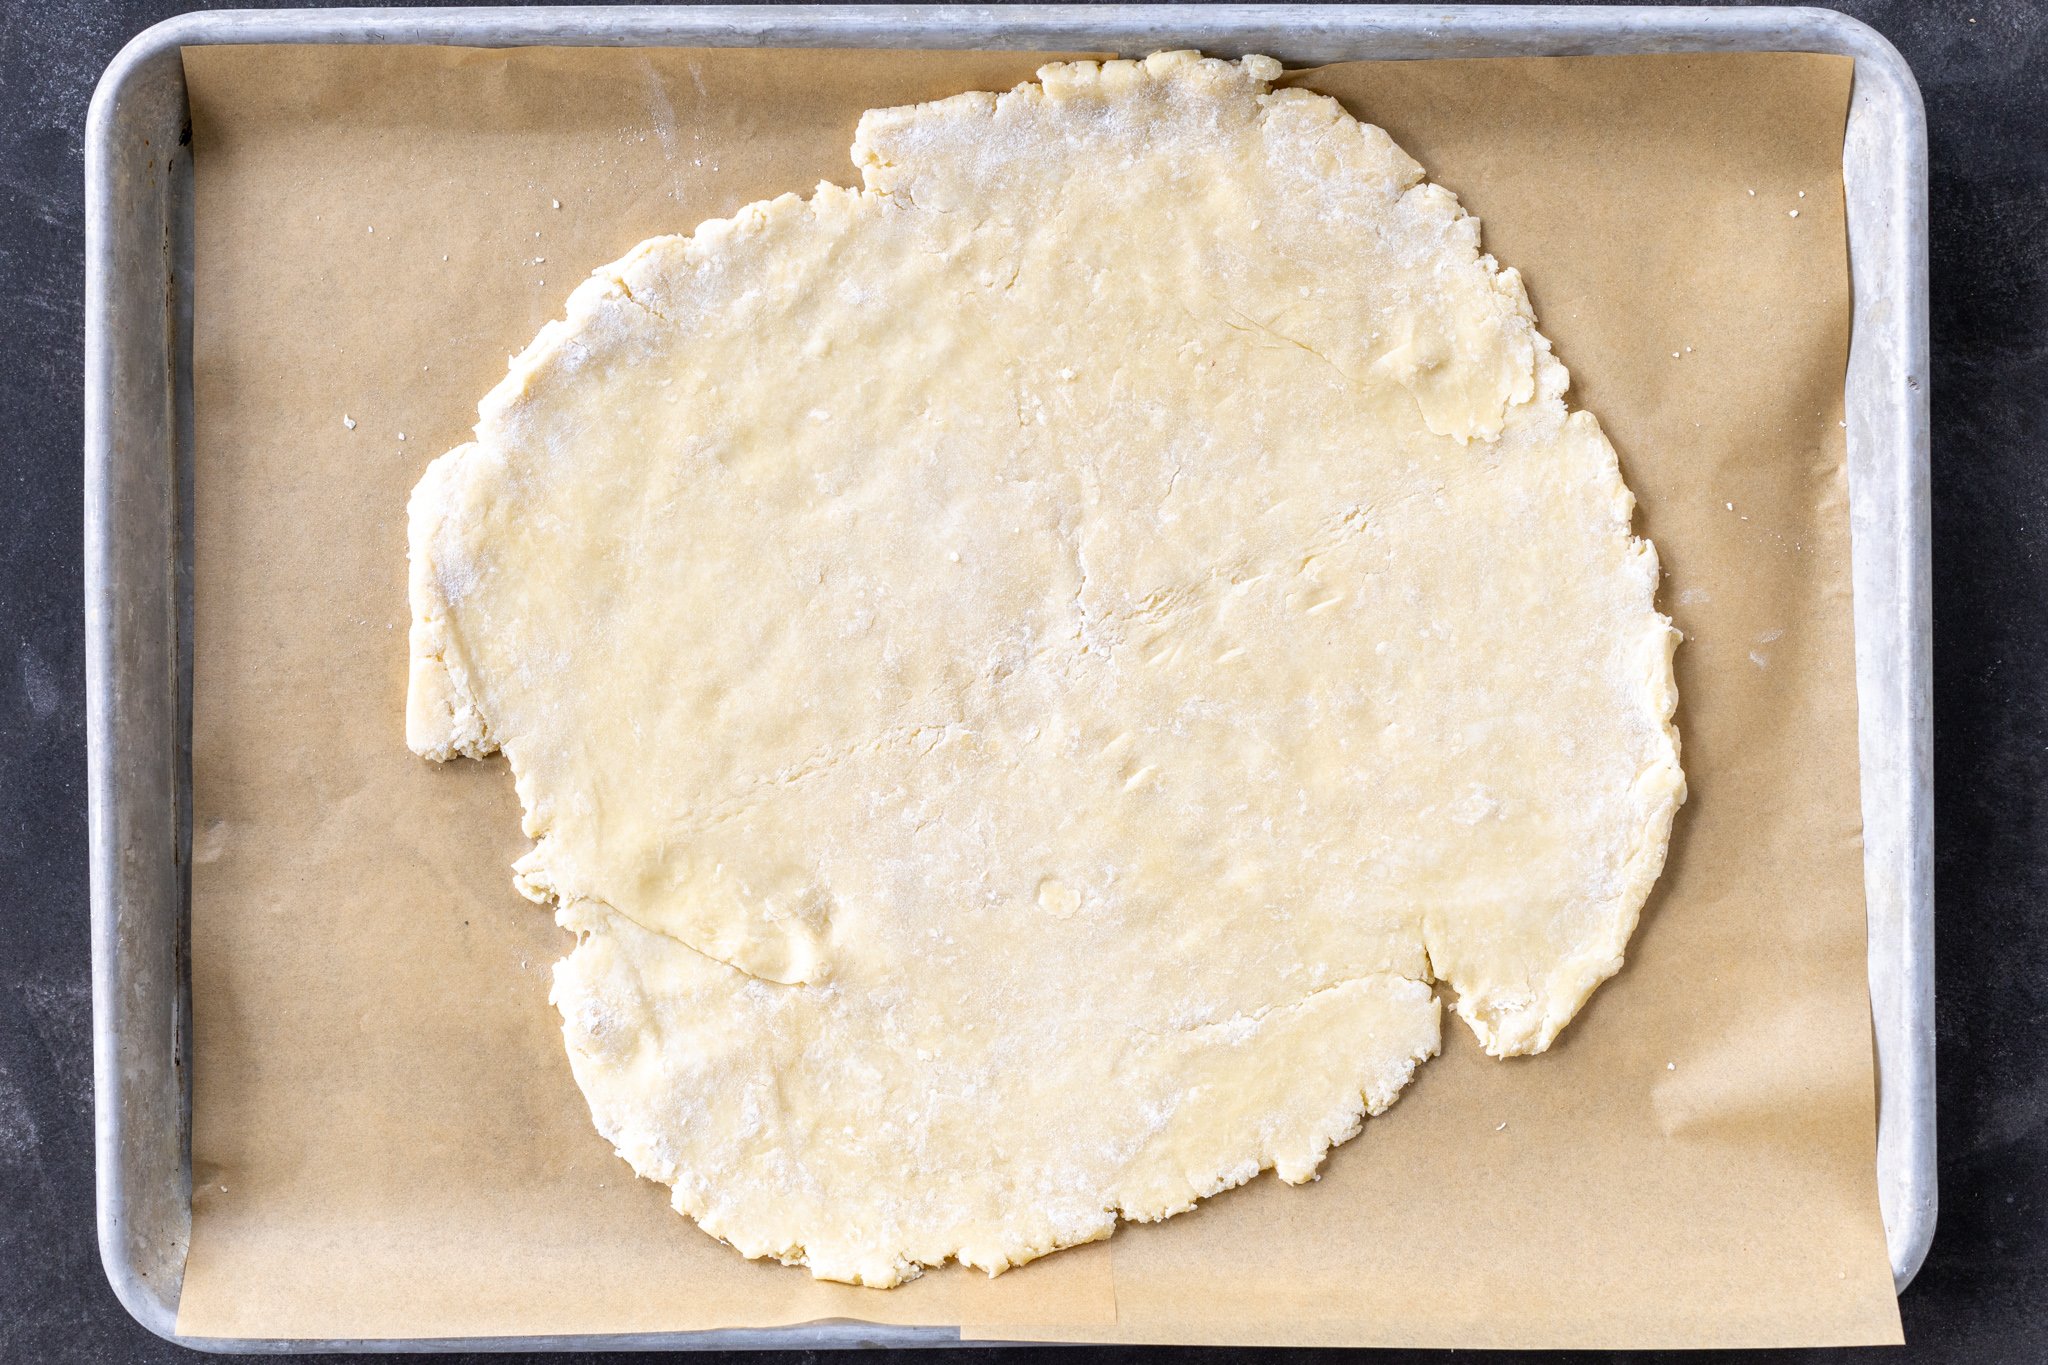
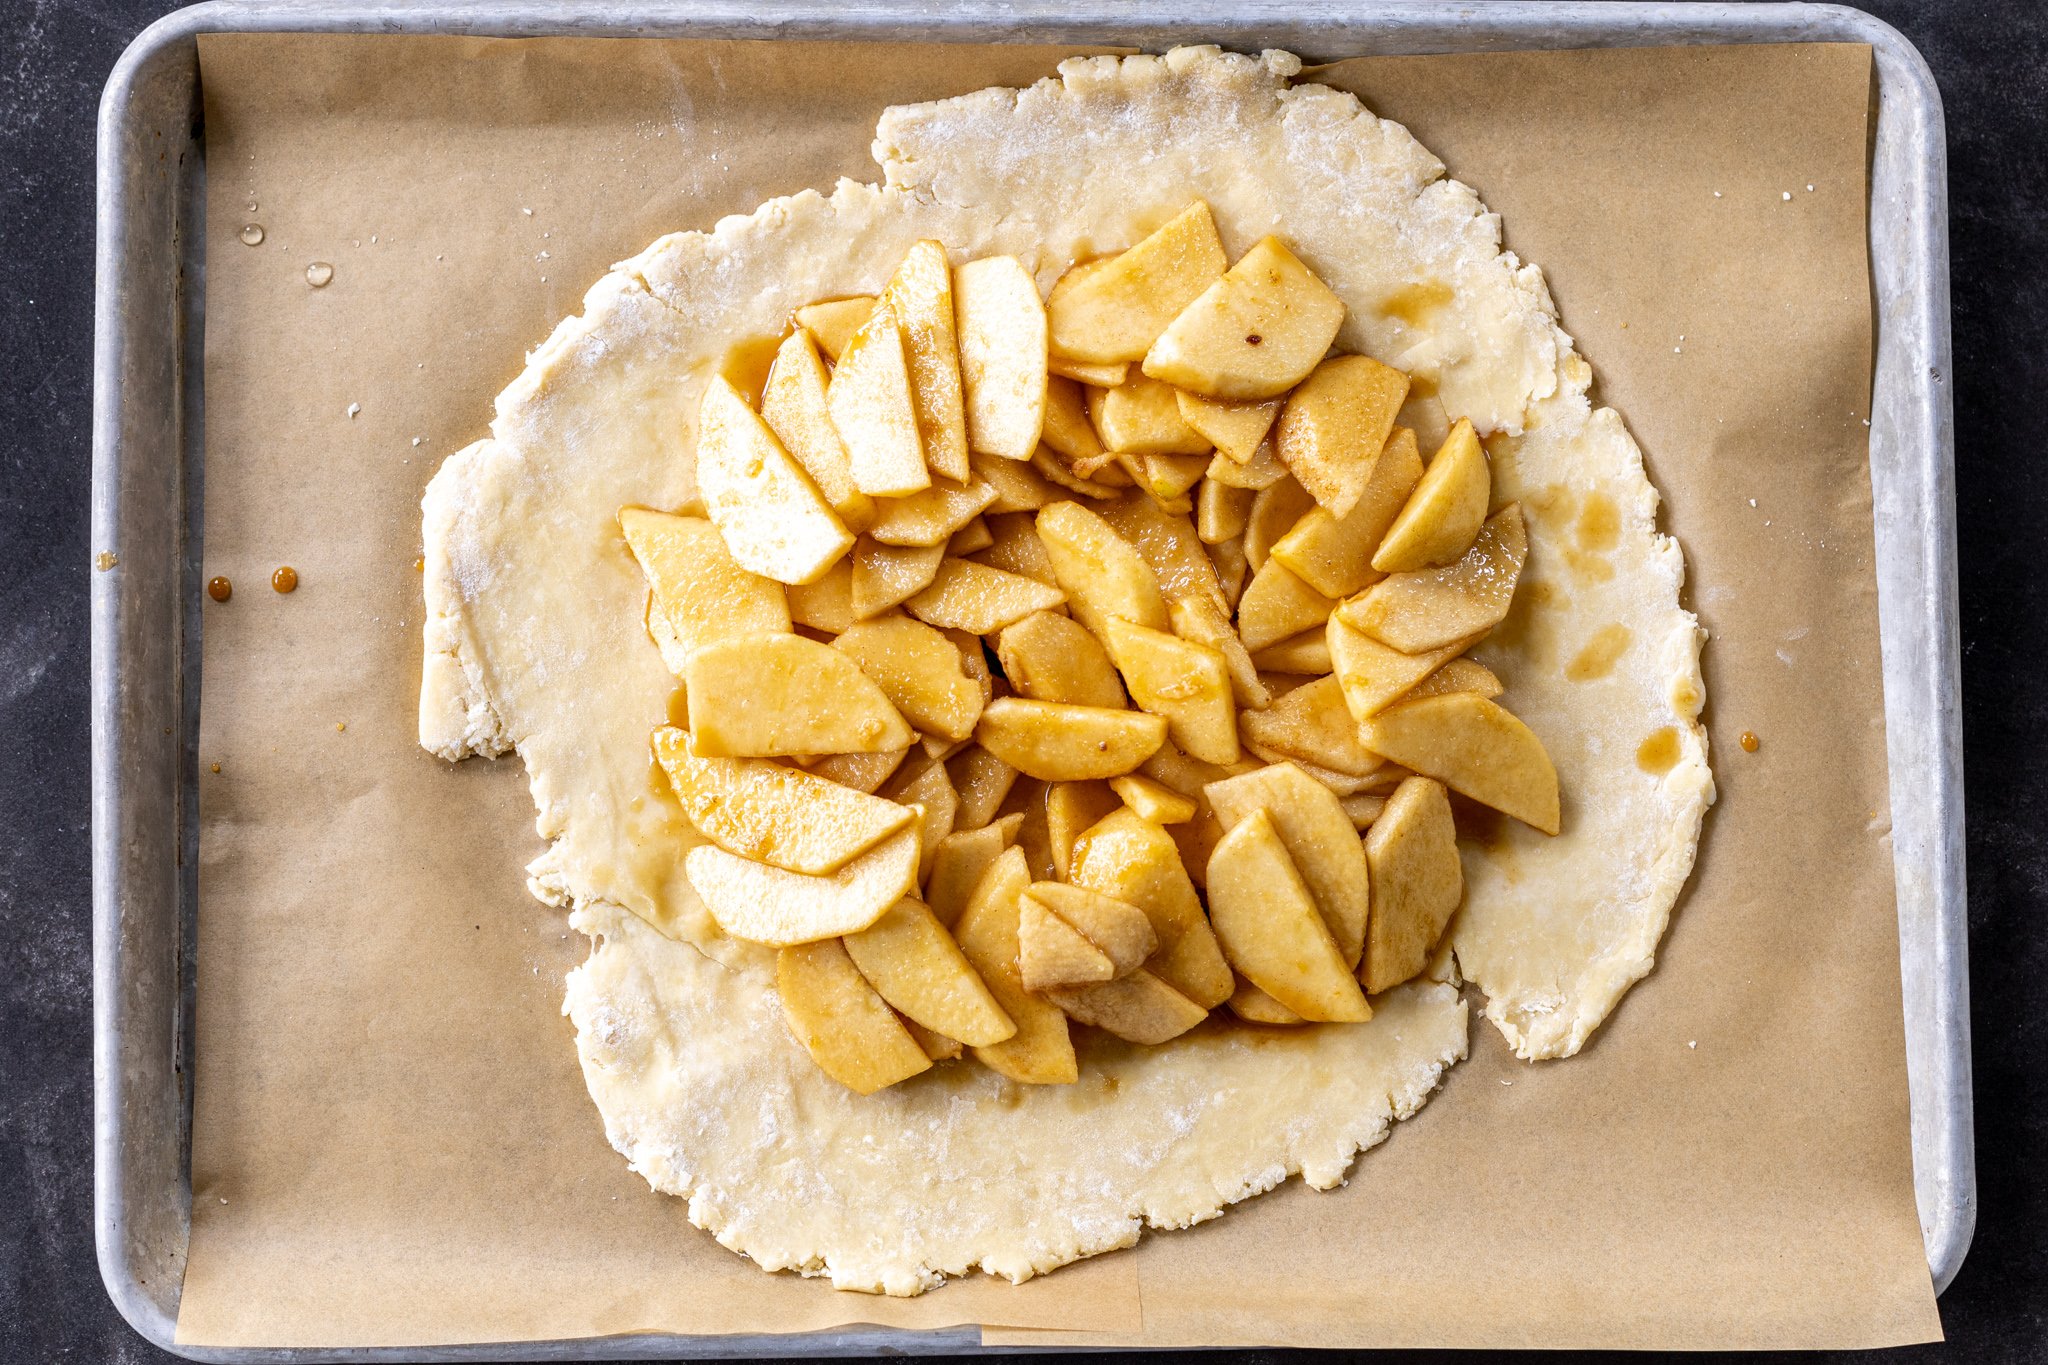
- Roll out the dough: Roll out the dough on a well-floured surface into a circular shape. Transfer the round to a baking sheet lined with parchment paper.
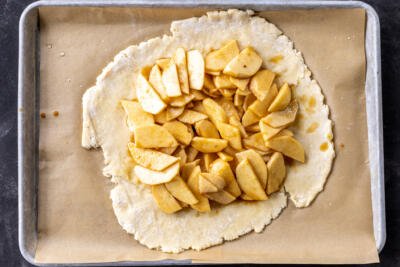
- Arrange the apples: Place the apple slices in a spiral, starting from the middle of the dough. Leave enough space on the outer edges so you can fold them over to form a crust.
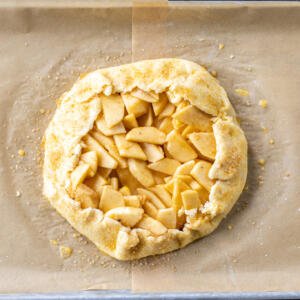
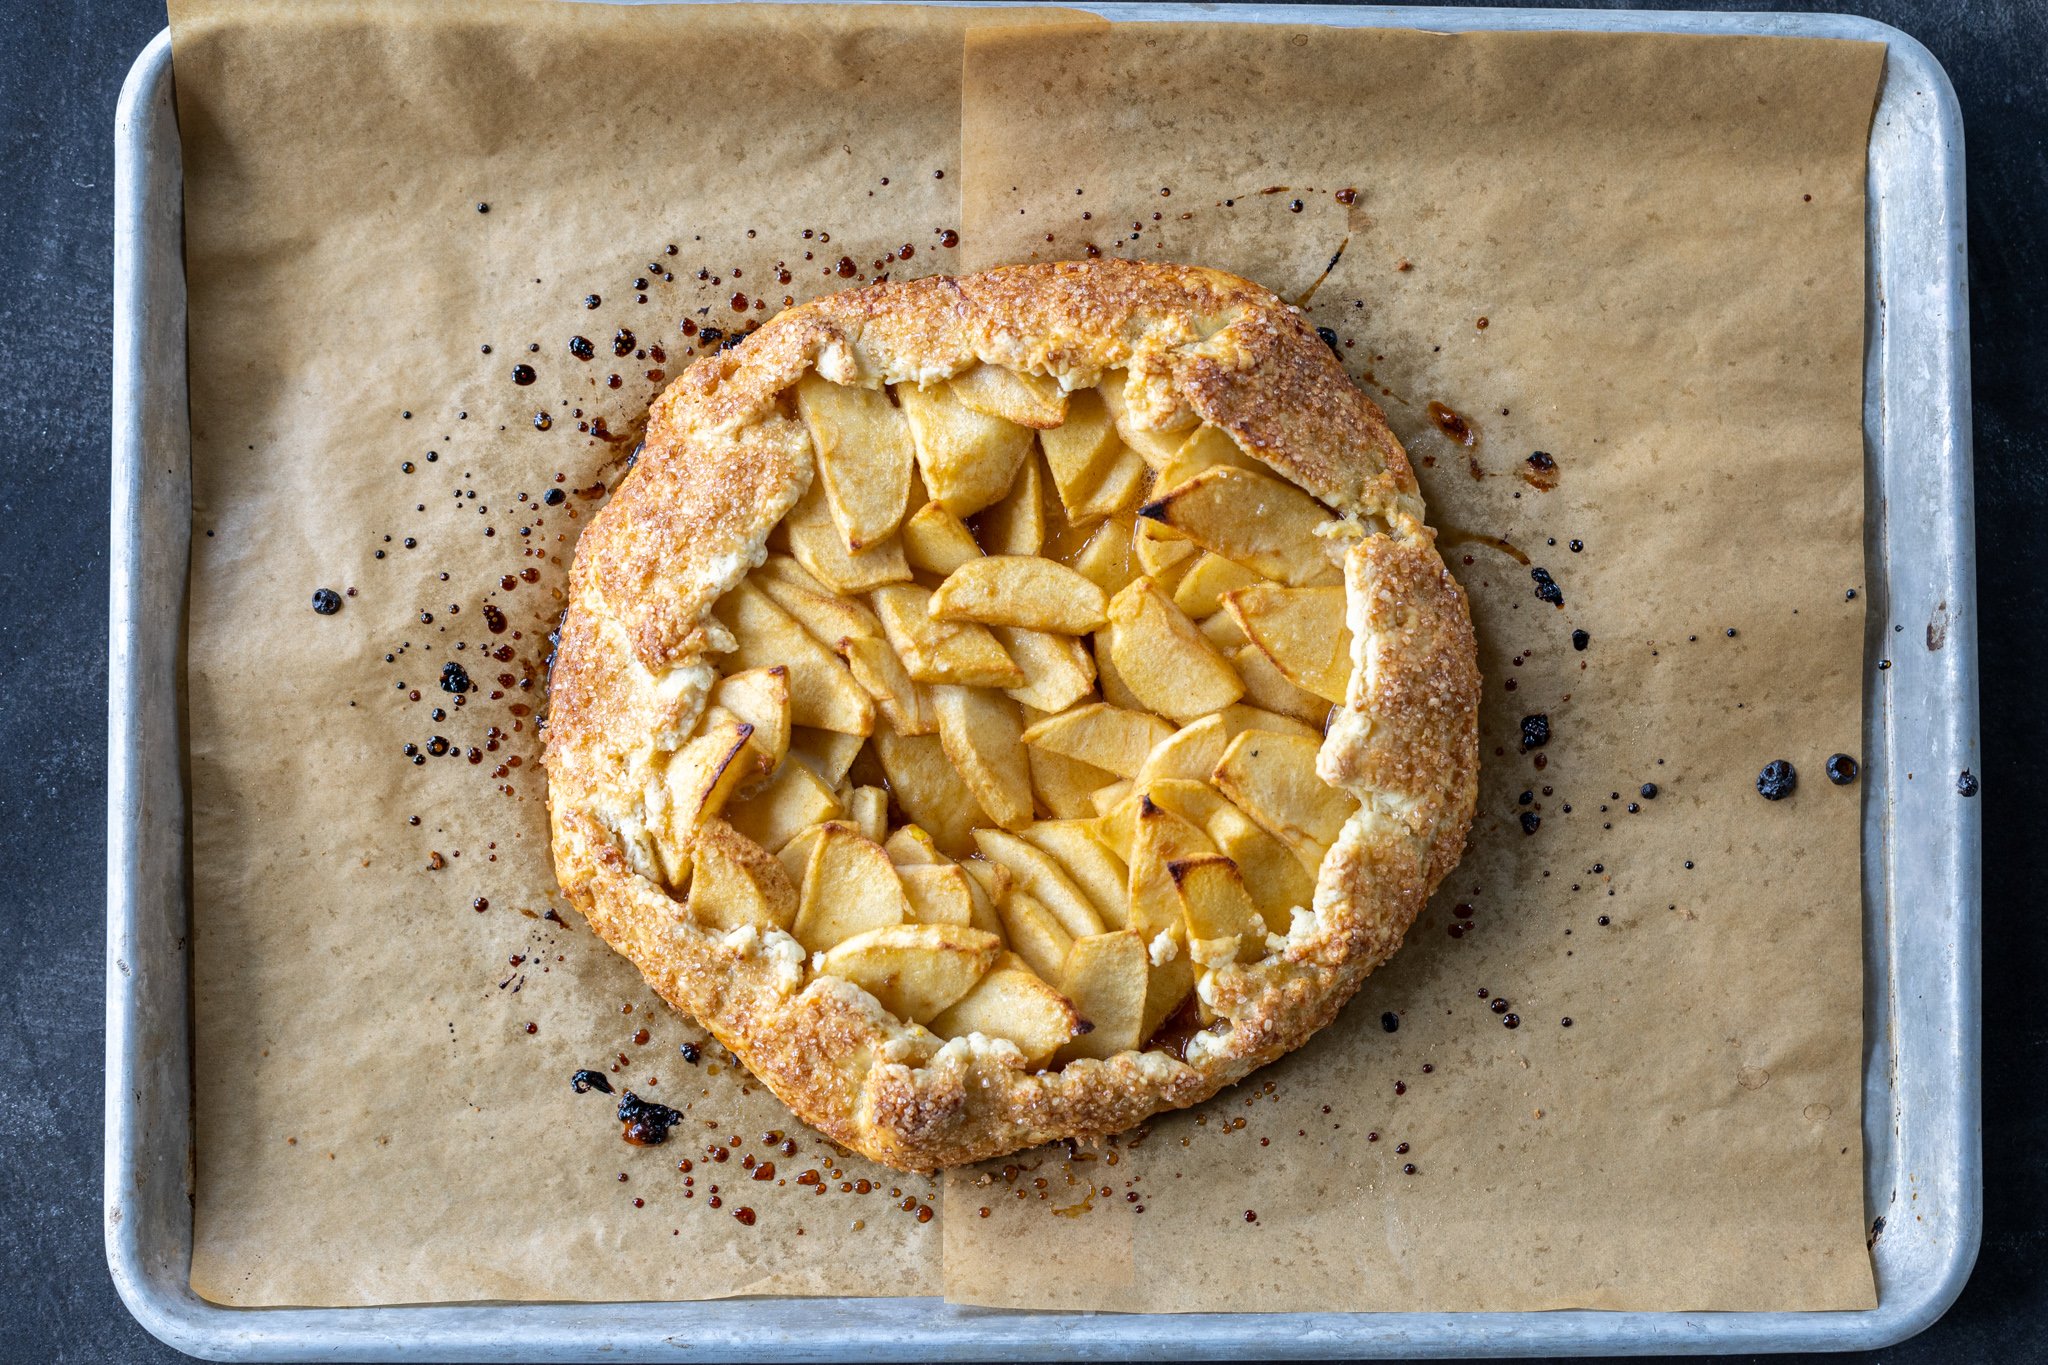
- Bake the galette: Brush the crust with the beaten egg and sprinkle coarse sugar over it. Bake the galette at 400°F for 30 minutes, or until golden brown. Enjoy!
Hot tip: Use a store-bought frozen pie crust to speed up the process. Thaw it in the fridge overnight, and you’re good to go!
Choosing the Right Apples
The key characteristics of good baking apples are a firm texture, crisp snap, and slightly tart flavor. Let’s look at a few of the best baking varieties to help you choose the best apples for your galette.
- Granny Smith: Granny Smiths are the most popular baking apples for good reason — they have an acidic tang that balances the sweetness of desserts. They’re also firm enough to withstand the heat of the oven without falling apart.
- Honeycrisp: Honeycrisp apples are incredibly crisp with a bursting juiciness, amazing aromatic flavor, and balanced sweet-tartness.
- Braeburn: Braeburns are a less common variety, but they are exceptional for baking due to their mildly tart flavor and firm texture.
Tips For the Best Apple Galette
It’s astonishingly easy to make a galette — but do you want to know how to make an unforgettable apple galette? Tune into these tips to take your pastry work above and beyond.
- Cut the apples into thin slices. The slices should be about 1/4 inch thick to become tender and cooked through in the oven without developing a mushy texture.
- Keep the dough cold. Use cold butter and ice water to achieve a flaky crust texture. Work quickly and refrigerate the dough if it gets too warm and the butter starts to melt.
- Roll out the dough on a well-floured surface. Sprinkle flour generously over your work surface and rolling pin to prevent the dough from sticking.
- Ensure the crust is sealed. Seal any holes that form when rolling out the dough or folding it over the apples. Even if the hole is small, it may allow the filling to leak out while baking.
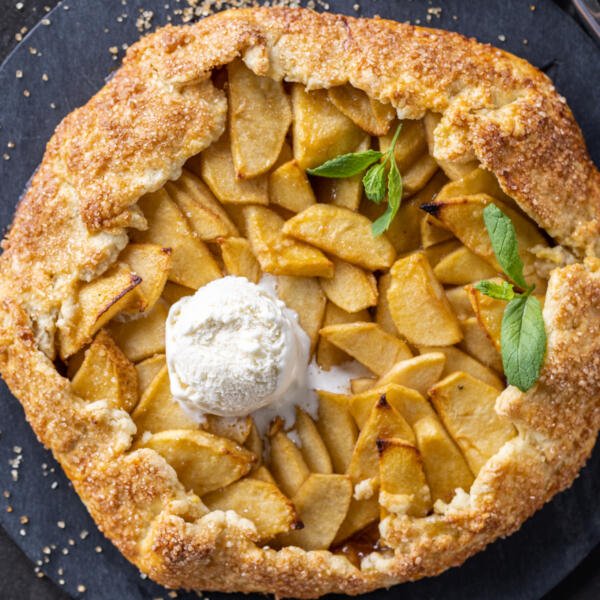
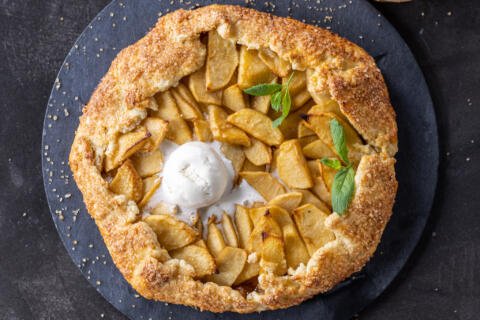
- Serve the galette hot with ice cream. Enjoy the galette right out of the oven with a generous scoop of cold vanilla ice cream that melts into the warm juicy apples … mmm.
Make Ahead
Prepare this apple galette up to three days in advance by making the dough and the filing and storing them separately in the fridge. To save even more time, fully assemble the galette and keep it in the fridge for up to 24 hours. When you’re ready for a fresh treat, pull the galette out and bake it as directed!
Storing & Reheating
You’re unlikely to have leftovers of this delicious apple galette. In the rare chance you do, follow these storage and reheating tips to savor your leftovers for days (or months!) to come.
- Room temperature: To store for up to 24 hours, allow the leftover galette to cool completely, then place in an airtight container and leave at room temperature.
- Refrigerator: To store for up to four days, transfer the leftover galette to an airtight container and refrigerate.
- Freezer: To store for up to three months, wrap the leftover galette in plastic wrap and place in a freezer-safe bag or container in the freezer. Allow the galette to thaw overnight in the fridge before reheating.
- Reheating: For the crispiest crust, place the leftover galette on a baking sheet and reheat in a 350°F oven for about 10 minutes. In a pinch for time? Pop the galette in the microwave until it’s heated through.
FAQ
How do you keep the crust of a galette from getting soggy?
To keep a galette crust from getting soggy, brush the crust with egg white before baking, par-bake the crust, and ensure the filling isn’t too liquidy.
Is galette crust the same as pie crust?
Galette crust is folded over a portion of the filling, while pie crust is laminated together to completely enclose the filling.
What is the difference between apple pie and apple galette?
The main differences between apple pie and apple galette are the presentation and baking vessel. Apple pie has two crusts and is baked in a pie dish, while apple galette is open-faced with only one crust and is baked on a sheet pan.
More Apple Recipes
- Old-Fashioned Baked Apples — Apples stuffed with a sweet nutty filling and baked until tender
- Apple Cobbler — Spiced apples topped with flaky buttermilk biscuits
- Apple Strudel — Cinnamon spiced apples rolled in flaky phyllo dough
- Apple Cinnamon Rolls — Autumn’s favorite cinnamon roll, filled with tender diced apples
- Air Fryer Stuffed Apples — With a sweet, nutty filling
- Apple Tarts — Puff pastry squares with an apple and condensed milk filling
- Sharlotka Apple Cake — A simple but delicious sponge cake loaded with apple chunks
Recipe
Ingredients
Pastry Crust
- 1 1/2 cups all purpose flour
- 8 tbsp unsalted butter very cold
- 1/4 tsp salt
- 1 large egg
- 1 tsp white vinegar
- 1 tbsp water very cold
Filling
- 3 large apples sliced 1/4 inch thick
- 1/2 cup brown sugar
- 2 tsp cinnamon
- 1 tbsp corn starch
Egg Wash
- 3 tbsp coarse sugar
- 1 large egg whisked
Instructions
Pastry Crust
- Combine the flour and salt. Slice the butter into small cubes and combine it with the flour using a pastry cutter or fork until it appears crumbly.
- In a separate bowl, whisk together the egg, water, and vinegar.

- Mix the wet ingredients and flour together until just combined. If the dough is too dry, add a little water just until it begins to clump together. Wrap the dough in plastic wrap and refrigerate it for at least 30 minutes.

Apple Filling
- Peel and cut the apples into thin slices that are 1/4 inch thick. Place the slices into a bowl and toss them with the brown sugar, corn starch, and cinnamon until well coated.

Assemble Galette
- Roll out the dough on a well-floured surface into a circular shape (it doesn't need to look perfect, just make sure there are no holes). Transfer the round to a lined baking sheet.
- Arrange the apple slices in a spiral, starting from the middle of the dough. Leave enough space on the outer edges so you can fold them over to form the crust.
- Brush the crust with the beaten egg and sprinkle the coarse sugar over it.
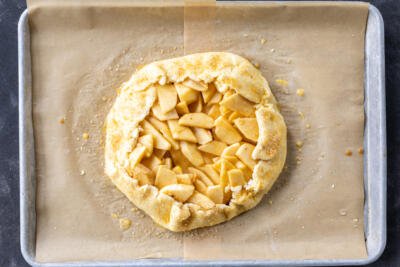
- Bake the galette at 400°F for 30 minutes, or until golden brown. Enjoy!


No Comments