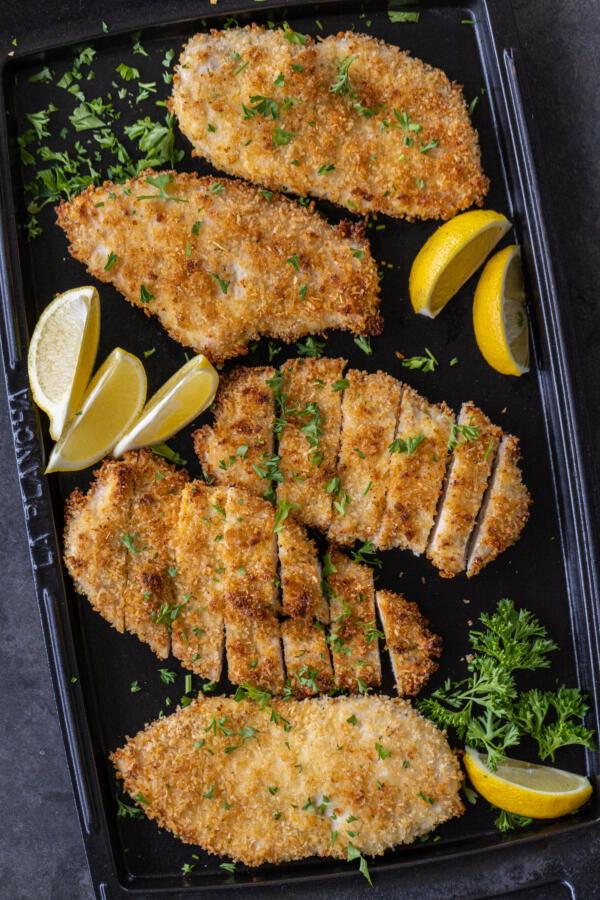
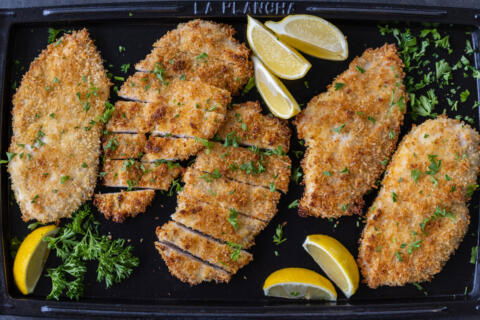
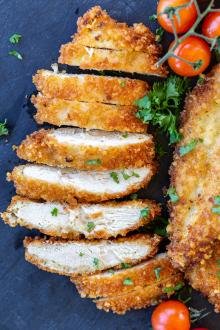
These baked chicken cutlets are the weeknight dinner superhero you need. They bake up golden and crunchy while staying super juicy on the inside — no frying needed!
When life gets busy, these baked chicken cutlets are my little secret weapon. I’m always looking for ways to have protein prepped and ready to go — whether it’s something I can grab for lunch, toss onto a salad, or tuck into a quick sandwich for the boys. These cutlets are truly the perfect solution. The whole family loves them, and they’re crazy easy to make!
Craving a fried version? Try these pan-fried chicken cutlets instead.
Baked Chicken Cutlets Video
How To Make Baked Chicken Cutlets
Four simple steps are all it takes to make these oven-baked chicken cutlets. With only 10 minutes of prep, you’ll have plenty of time to relax for the rest of the evening.
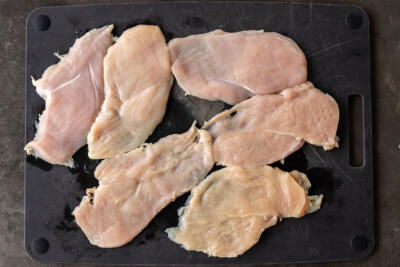
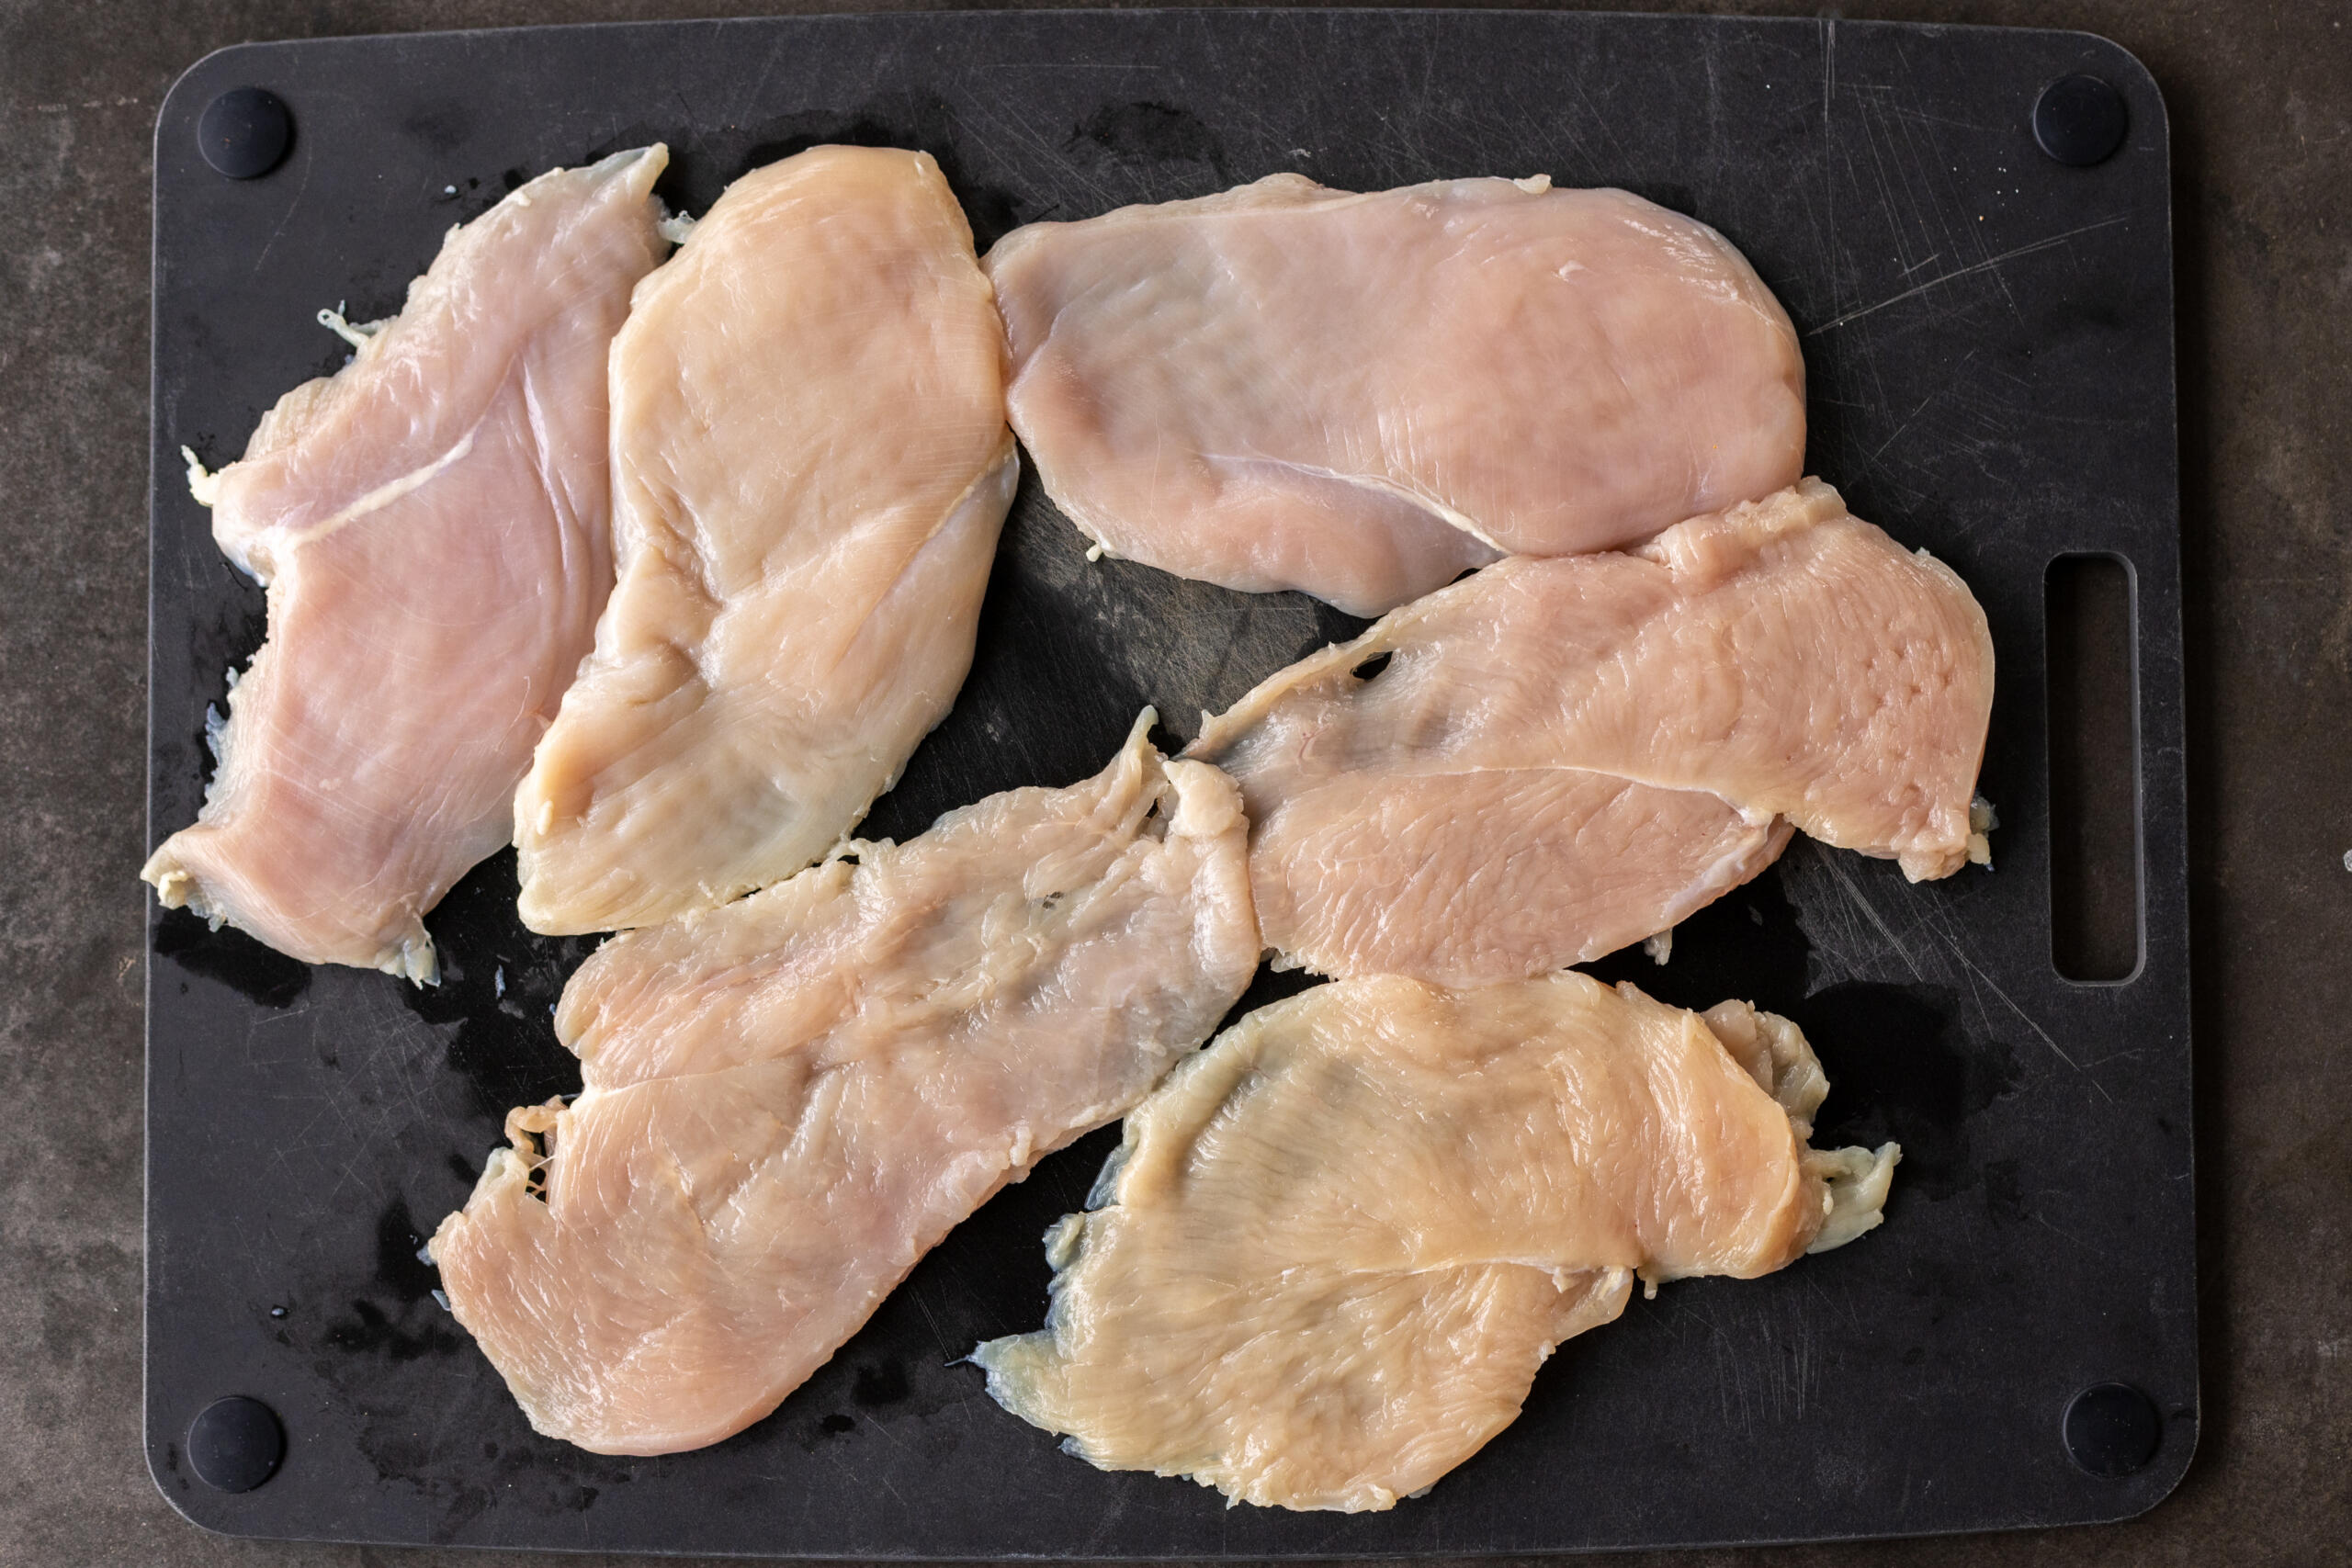
- Pound the chicken: Cut the chicken breasts in half lengthwise and pound them to 1/3-inch thickness.
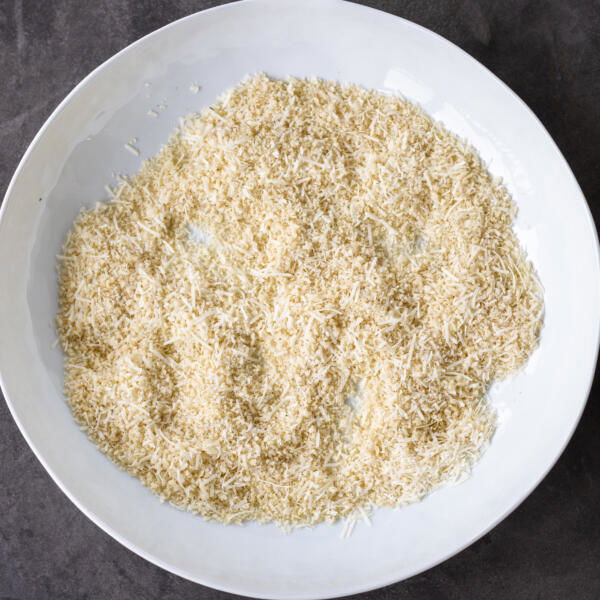
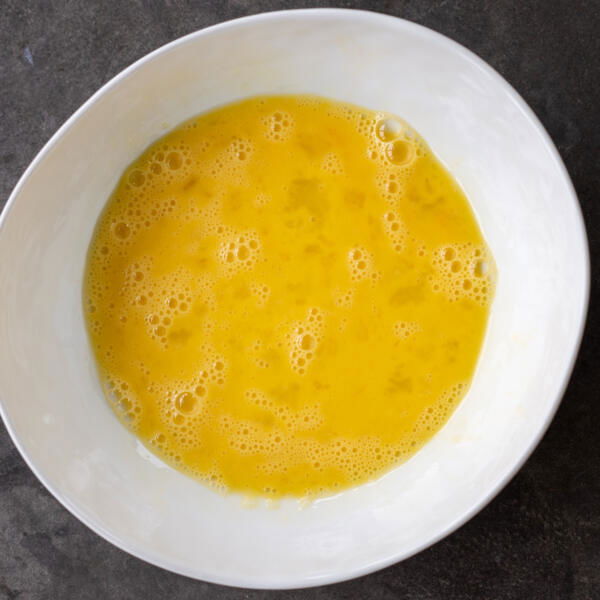
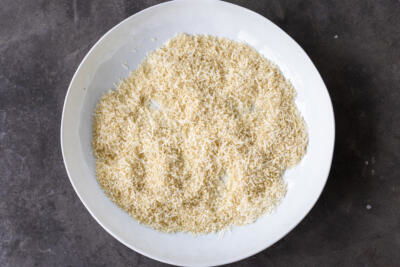
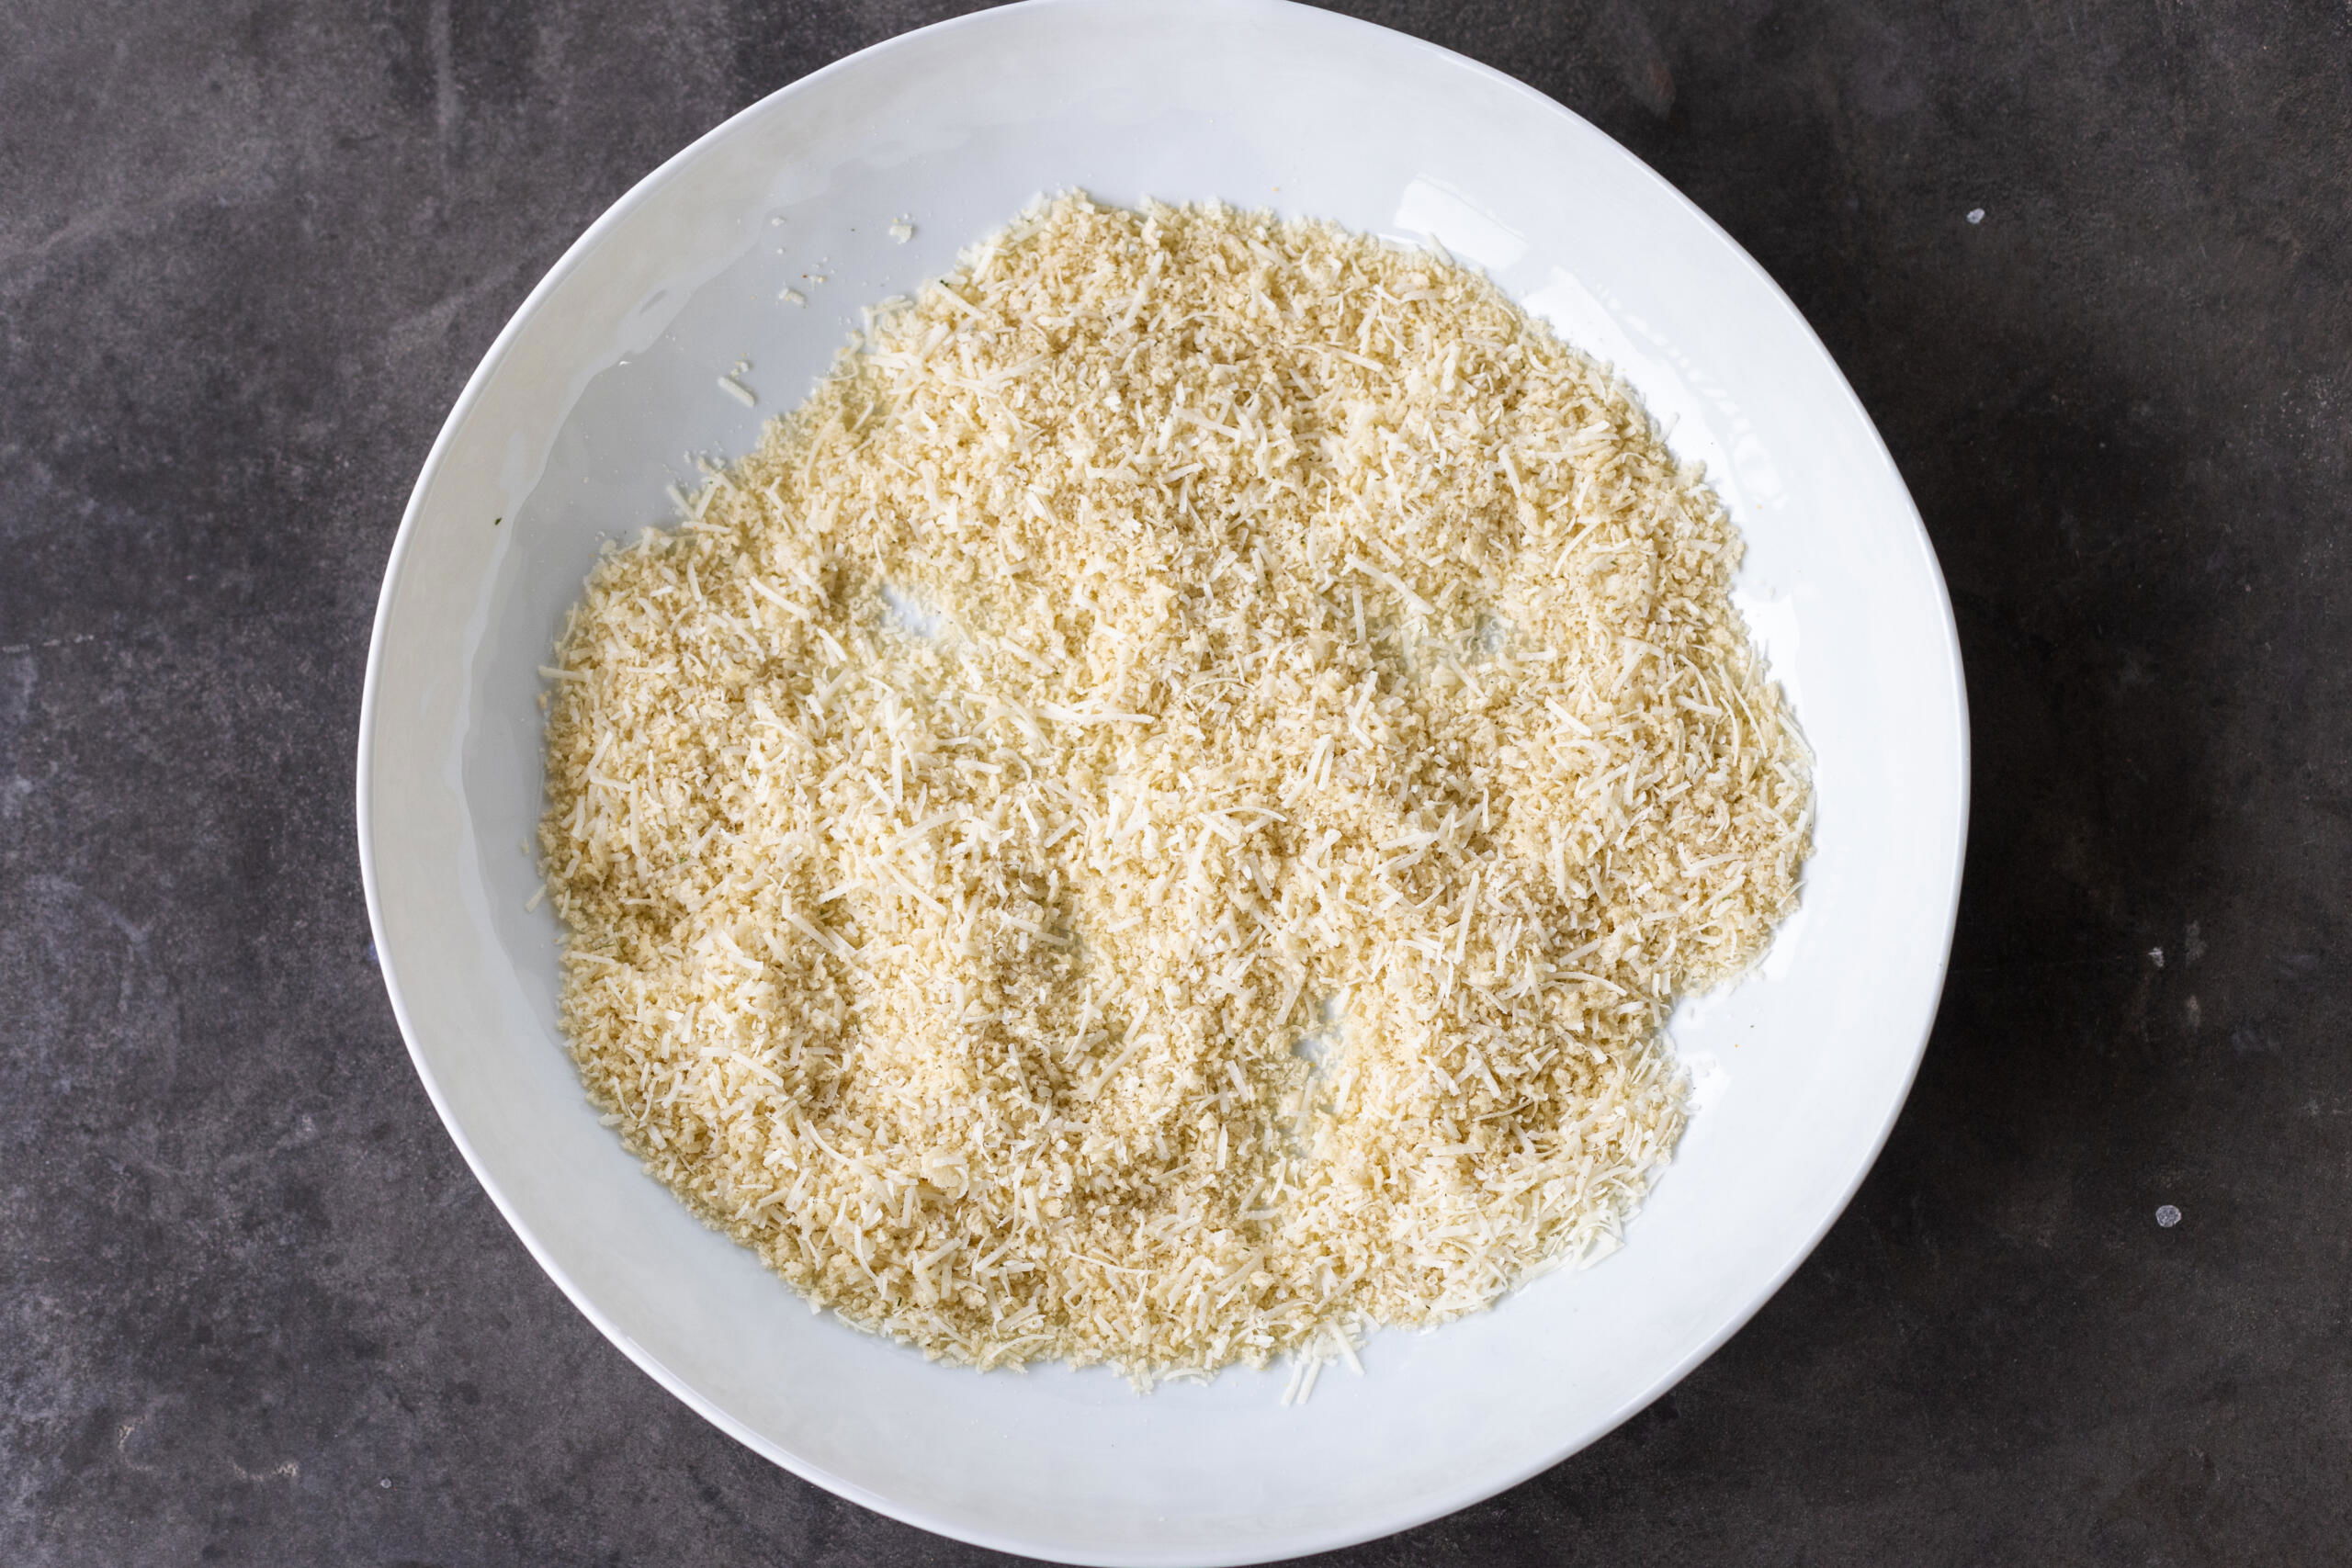
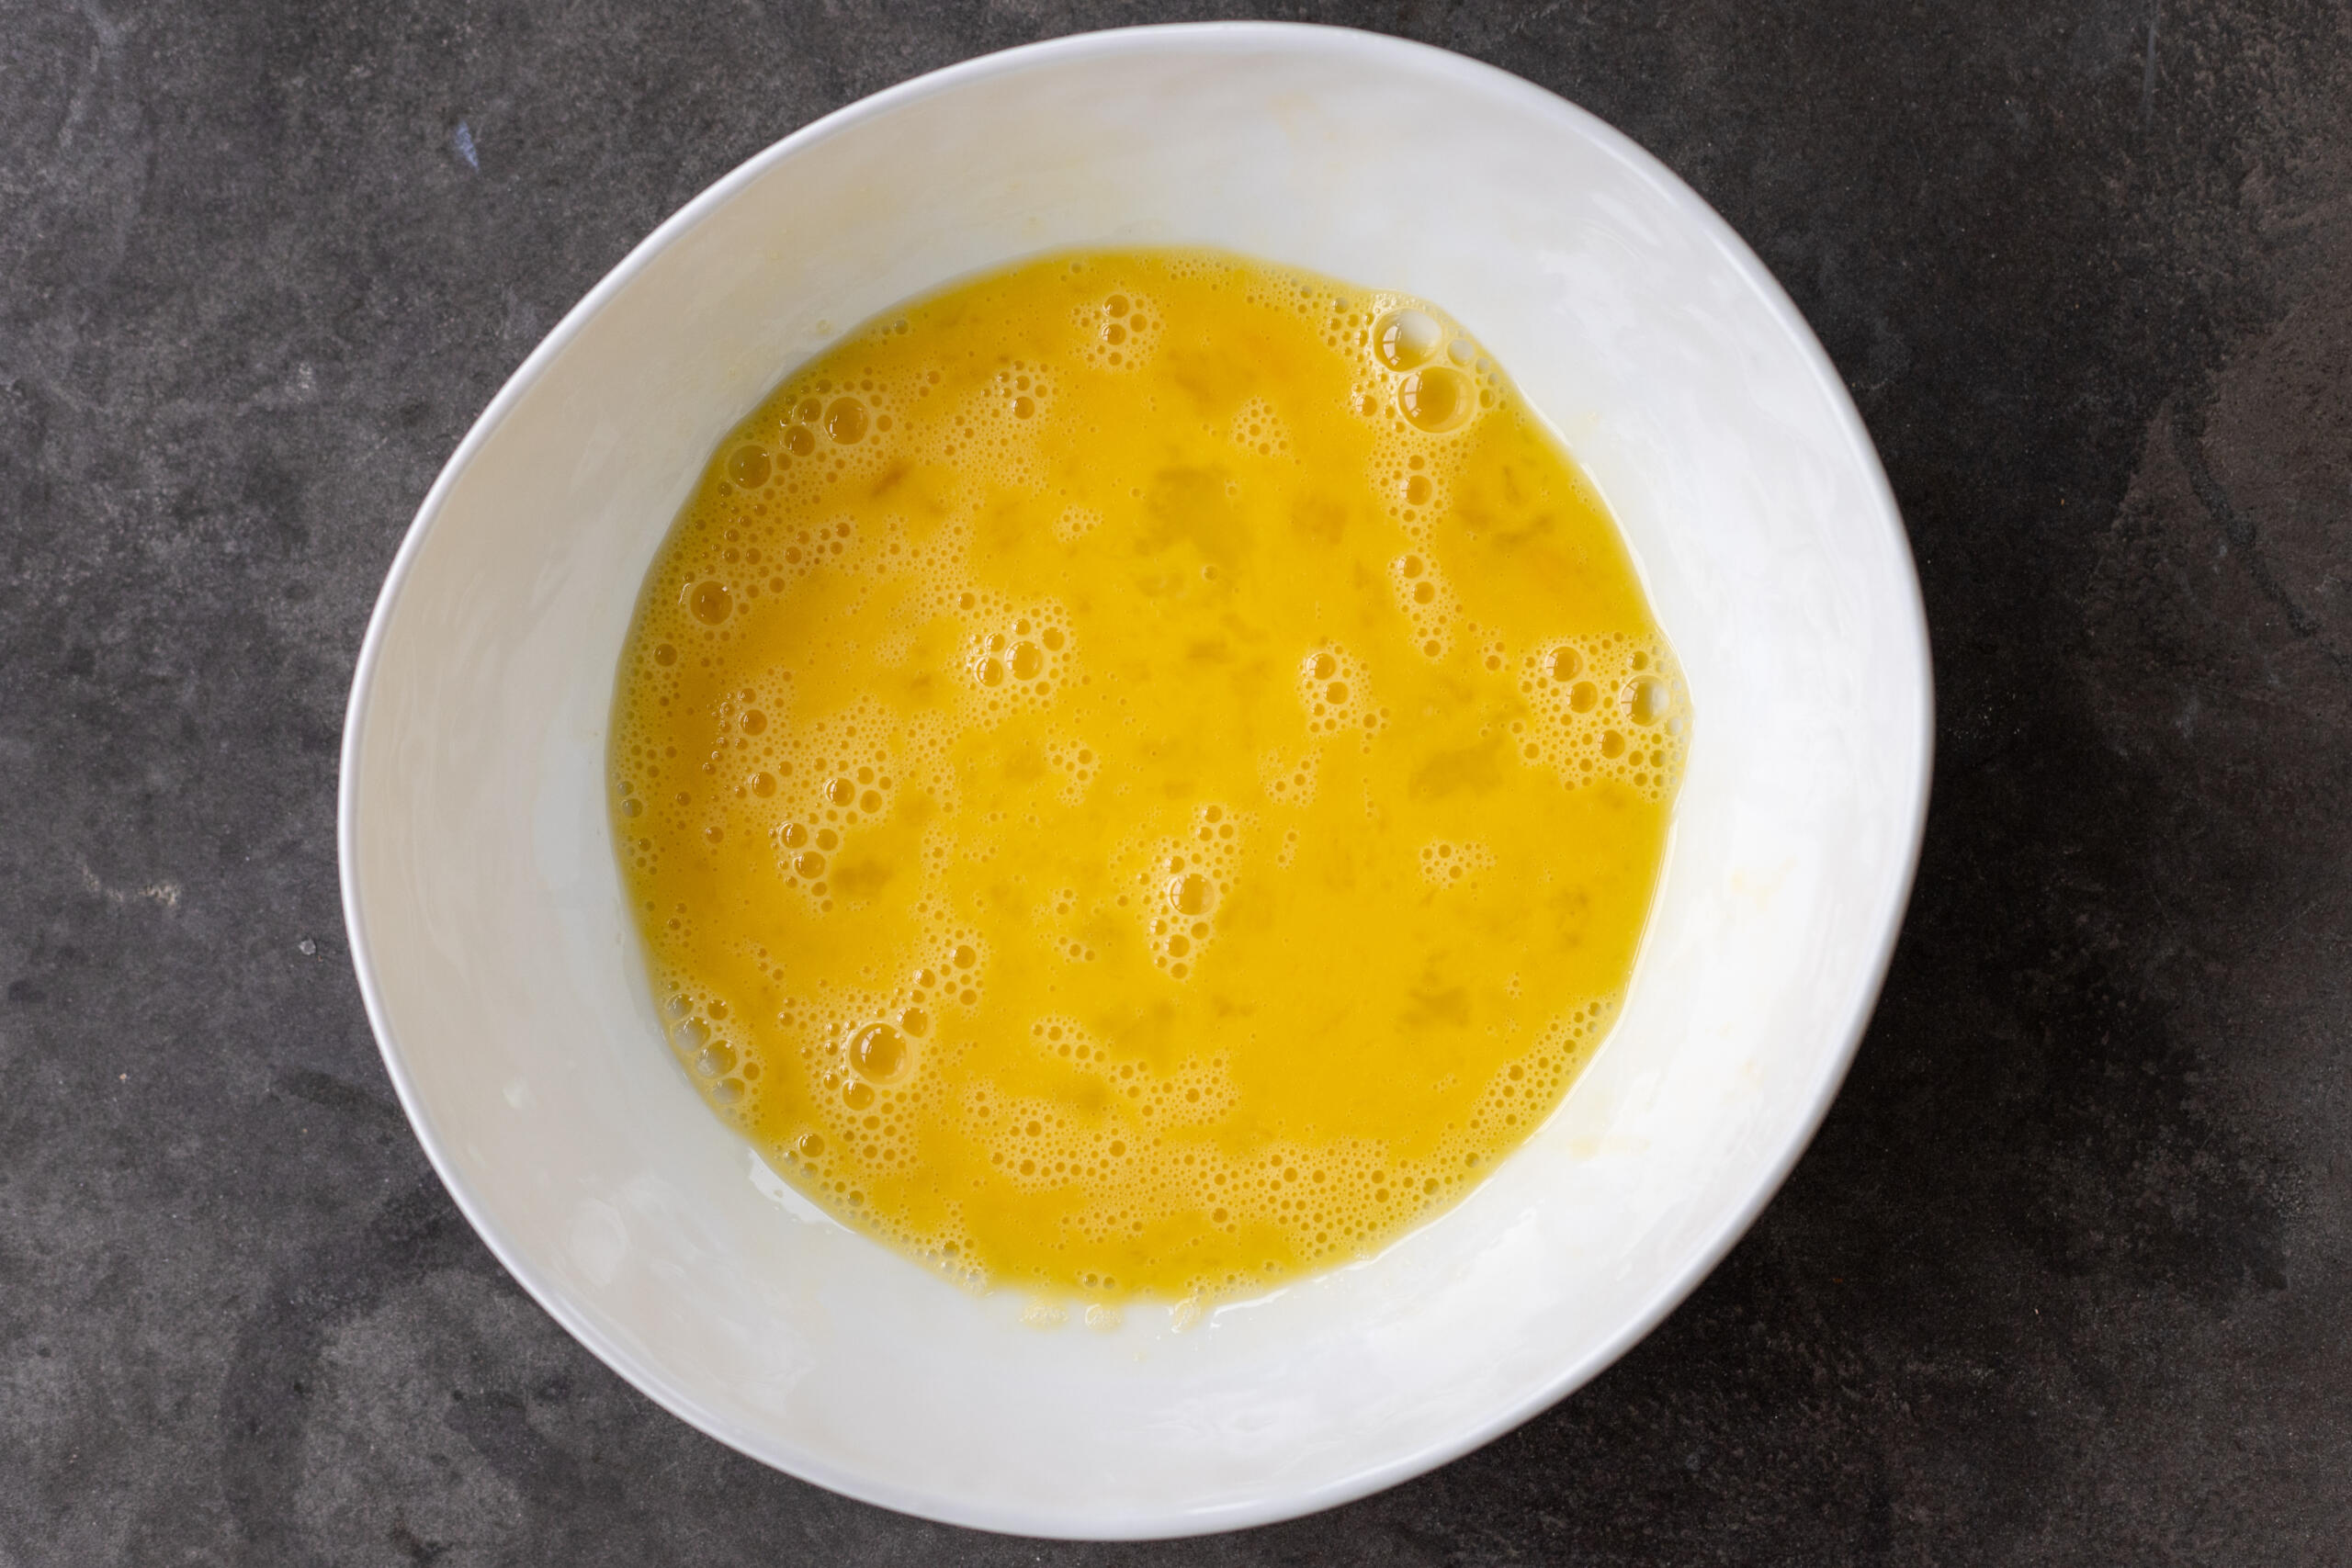
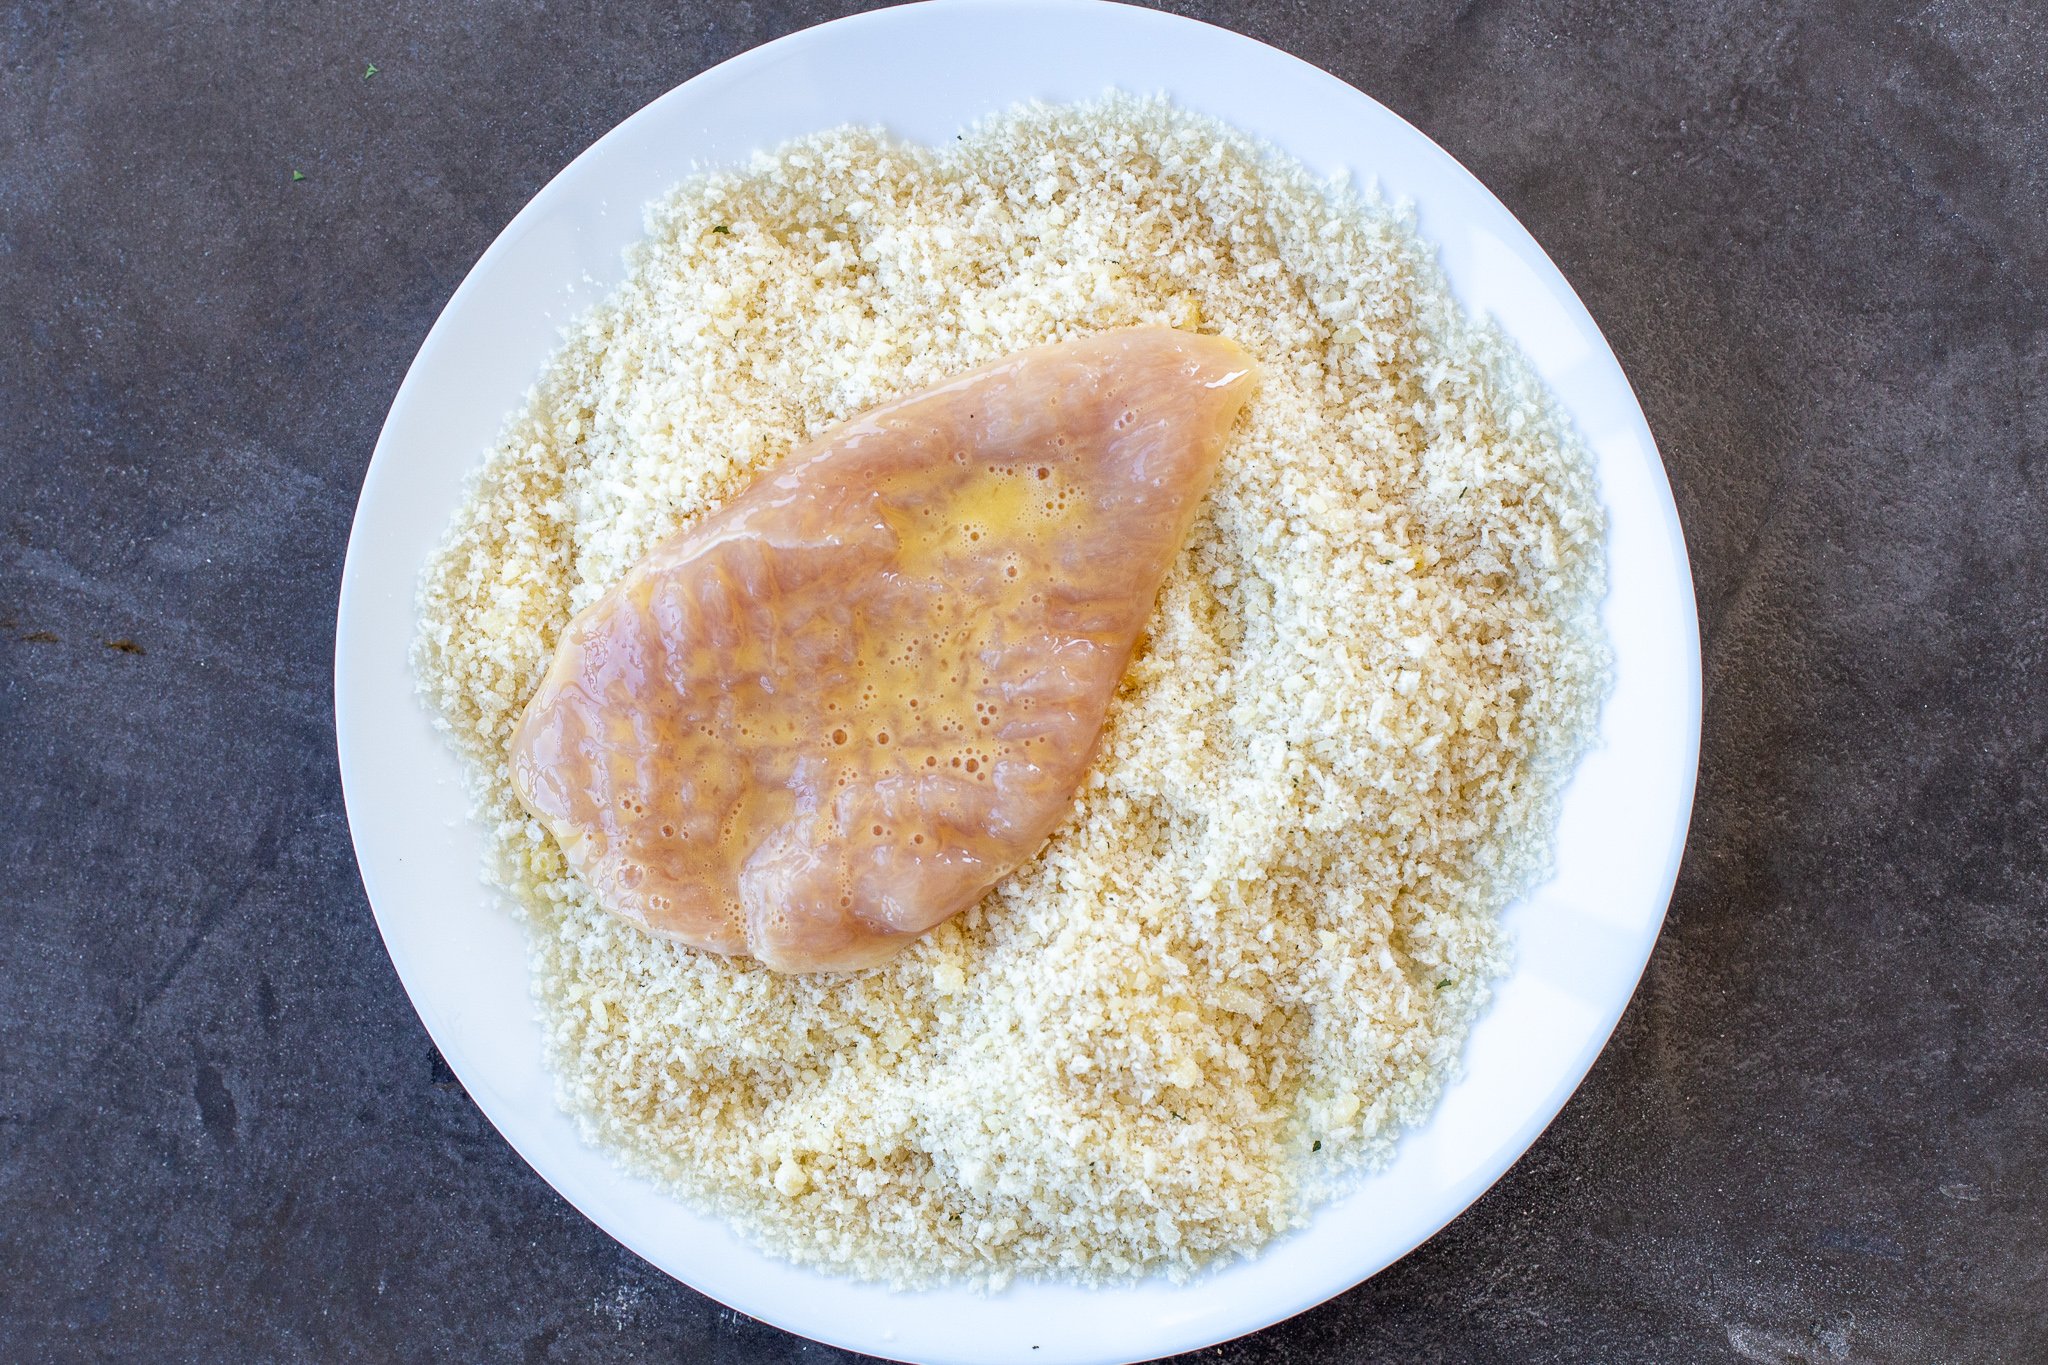
- Prepare the breading stations: Combine the cheese, panko, and garlic parsley salt in a shallow dish. Whisk the eggs in a separate bowl.
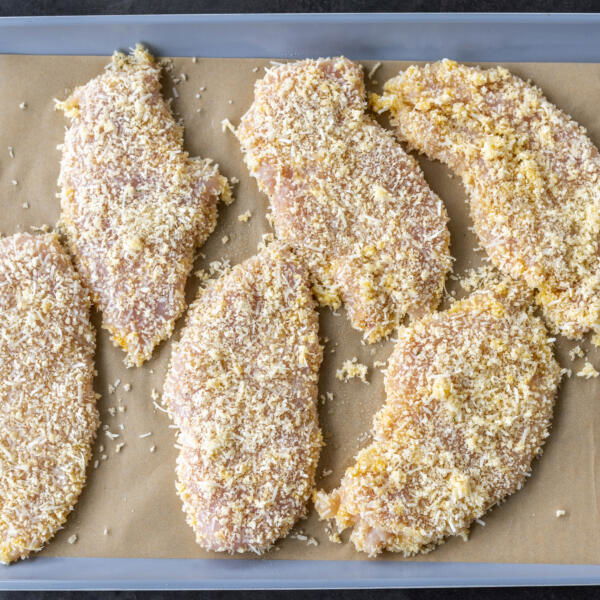
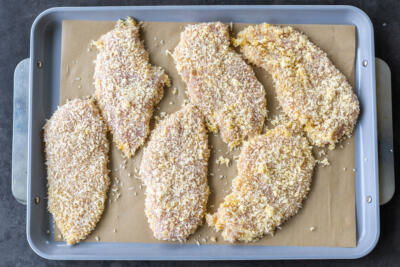
- Bread the cutlets: Dip the cutlets into the eggs first, then coat them in the breadcrumb mixture.
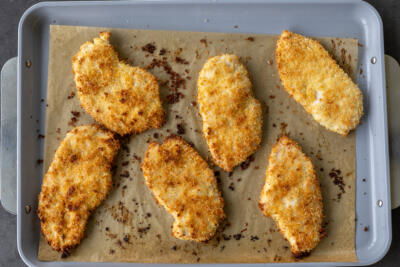
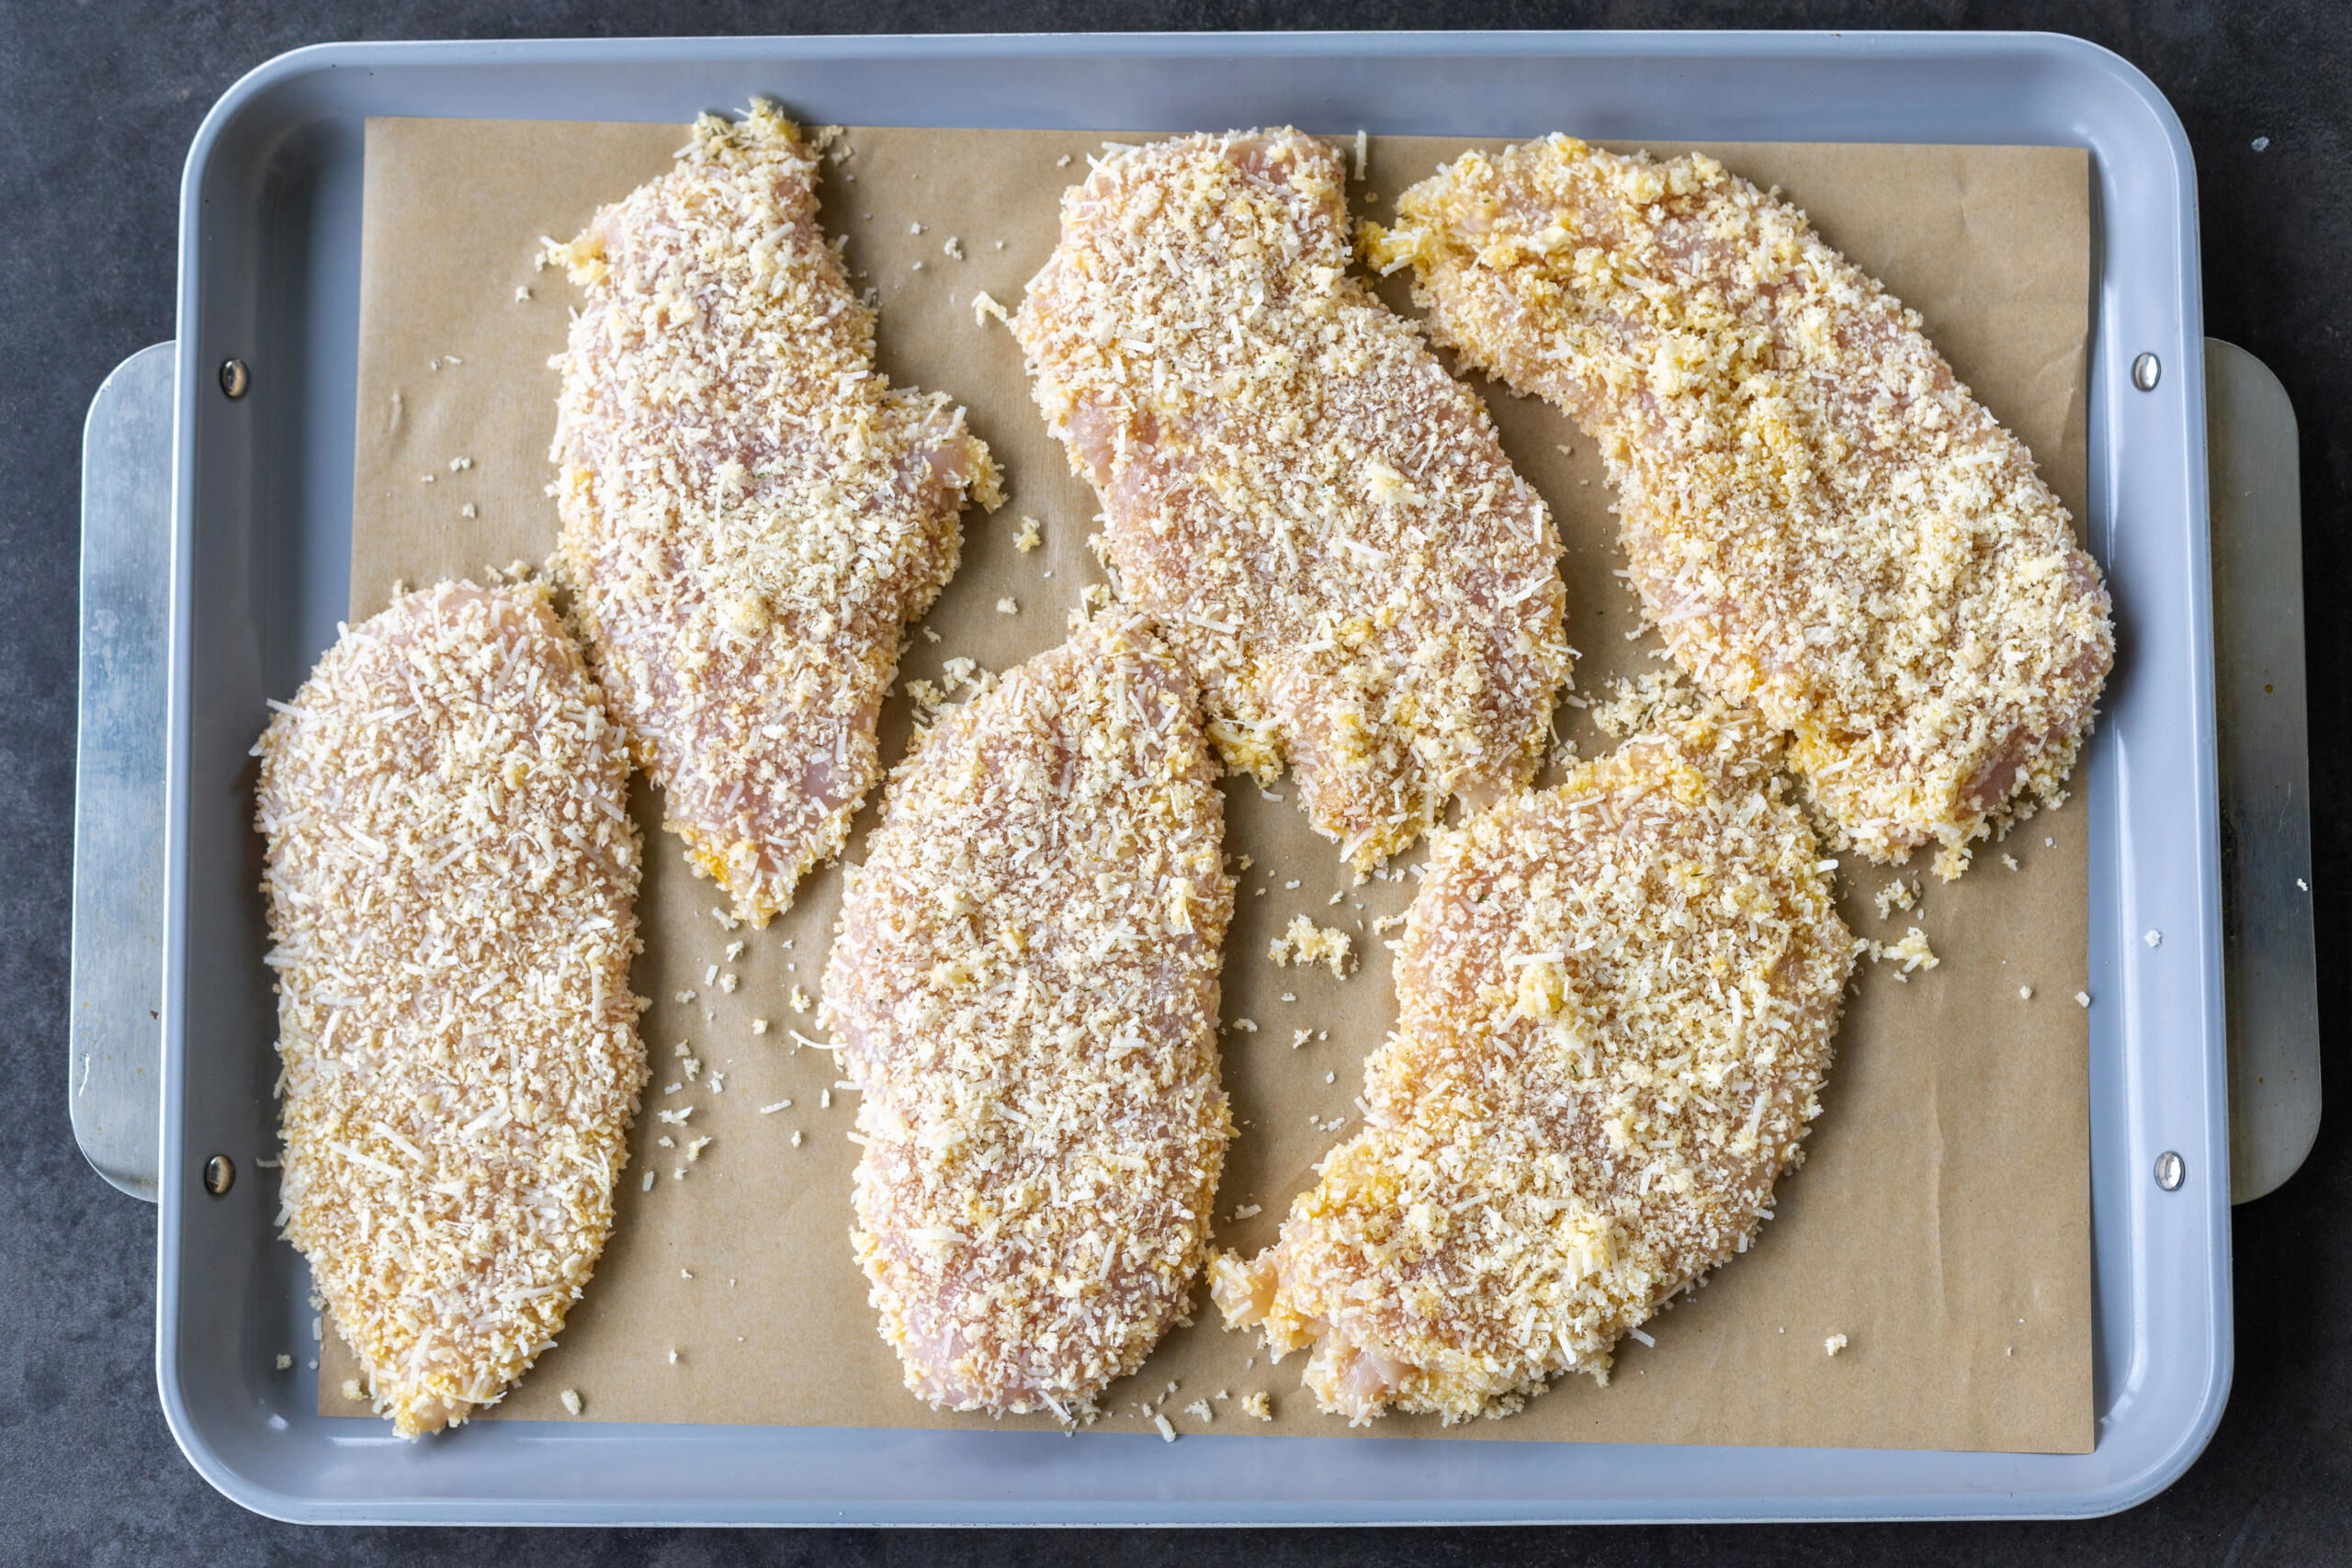
- Bake the cutlets: Place the breaded cutlets on a baking sheet lined with parchment paper. Spray them with oil, then bake them at 425°F for 18-22 minutes, flipping halfway.
Tip: For extra crispiness, switch the oven to broil for the last 2–3 minutes. Keep a close eye on the chicken cutlets—they can go from perfectly golden to over-browned very quickly.

Tips From the Kitchen
If you want to achieve the maximum crunch from your baked chicken cutlets, follow these seven essential tips!
- Pound the chicken breasts evenly. Thin, even cutlets bake faster and stay juicier. Pound the cutlets between two sheets of plastic wrap with the smooth side of a meat tenderizer.
- Use panko, not regular breadcrumbs. Panko breadcrumbs are a total game changer (I love these ones). Unlike regular breadcrumbs, they’re made from crustless white bread that is ground into flaky shards, resulting in extra-crispy cutlets.
- Give the breading time to adhere. After breading all the cutlets, let them rest for about five minutes before baking. This allows the egg to partially set the coating, which helps prevent the breading from falling off during cooking.
- Don’t skip the oil spray! A light mist of oil is what helps the panko turn golden in the oven.
- Bake the cutlets on a wire rack (optional). Place the cutlets on a wire rack set inside your baking sheet. This allows air to circulate entirely around the chicken, which helps the bottom crust get as crispy as the top. Make sure to grease the rack to prevent sticking!
- Flip the cutlets halfway. Just like the previous tip, this ensures that both sides get crispy and evenly golden.
- Check the internal temperature. To prevent the chicken from drying out, remove it from the oven as soon as it reaches 165°F. An instant-read thermometer is a must here!

Storage & Reheating
If there’s one piece of advice I could give you regarding these baked cutlets, it would be to make extra! They reheat incredibly well and are great for meal prep, salads, sandwiches, or pasta.
- Storage: Allow the baked cutlets to cool completely, then transfer them to an airtight container and store for up to four days in the fridge.
- Reheating: Reheat leftover cutlets in the air fryer (my favorite method!) or oven at 400°F for about five minutes, or until they are sizzling.
Hot tip: Top the leftover cutlets with marinara sauce and fresh mozzarella for an easy chicken Parm, or layer them on crusty bread with arugula, tomato, and balsamic glaze for an irresistible sandwich.
More Delicious Chicken Recipes
- Sheet Pan Chicken Shawarma — Marinated in a super flavorful spice mixture and roasted
- Garlic Parmesan Chicken Skewers — A fresh and zesty marinade that will have you craving these skewers on repeat!
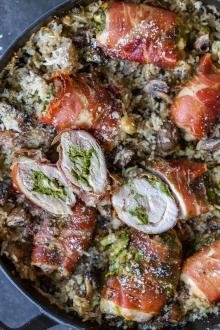
- Chicken Roulade — Chicken thighs and ground meat wrapped around hard boiled eggs
- Crispy Baked Chicken Thighs — Dreaming about that crispy chicken skin…
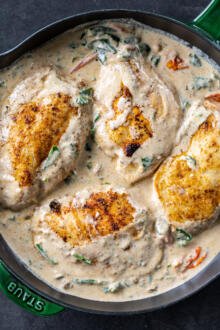
- Spinach Stuffed Chicken Breasts — The creamy and garlicky filling is divine!
Recipe
Ingredients
- 3 large chicken breasts (boneless, skinless) about 1.5 lbs
- 1/2 cup grated parmesan cheese
- 1 1/2 cups panko breadcrumbs
- 1 tbsp garlic-parsley salt adjust to taste
- 2 eggs
Instructions
- Cut each chicken breast in half lengthwise and pound them to 1/3-inch thickness.
- Combine the Parmesan cheese, panko, and garlic parsley salt in a large shallow bowl.
- Whisk the eggs in a separate bowl.

- Dip each cutlet into the eggs, then coat it in the breadcrumb mixture.

- Preheat the oven to 425°F. Line a baking sheet with parchment paper and place the breaded chicken cutlets on it. Spray or drizzle the top of the cutlets with oil.
- Bake the cutlets for 18–22 minutes, flipping them halfway through, until the internal temperature reaches 165°F and the coating is golden brown. Optionally, broil for a few minutes until you achieve a golden crust. Enjoy!


No Comments