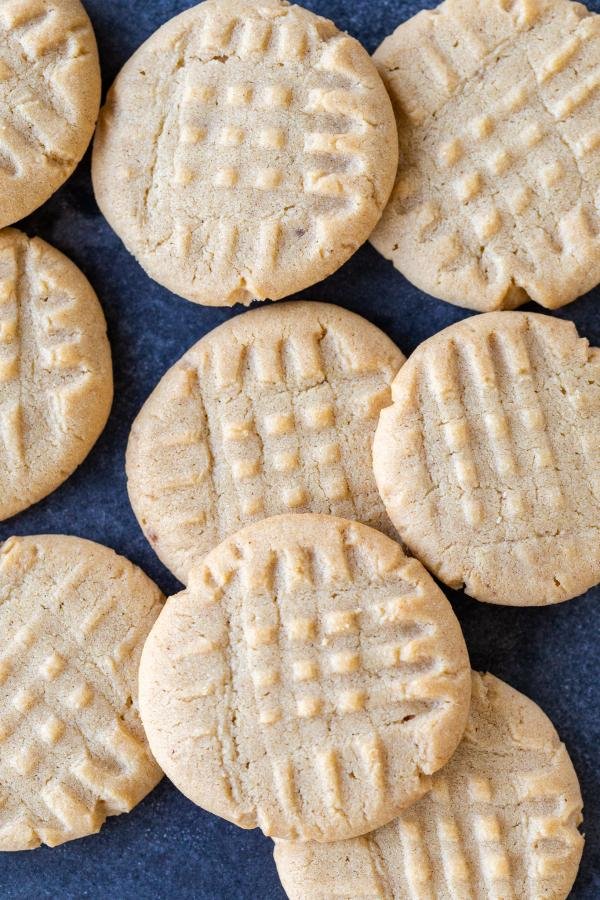
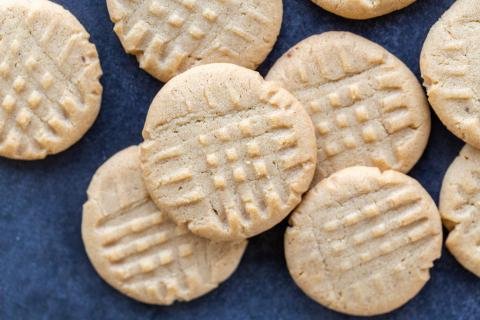
These peanut butter cookies are moist, chewy, and packed with irresistible peanut butter flavor. Perfectly paired with a tall glass of milk or a latte!
I’ve always loved peanut butter cookies, but boy have I had some real flops in my years of baking. From overly dry cookies that fall apart at first bite to ones with absolutely no crisp, this simple cookie can be really easy to flub. In this foolproof peanut butter cookie recipe, I’ll show you everything you need to know to nail this classic cookie once and for all.
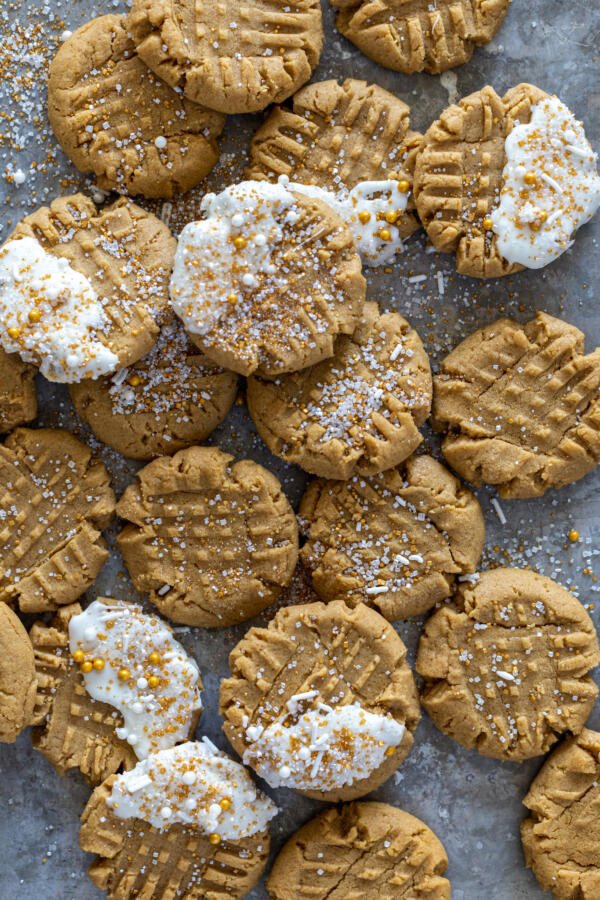
Whether you’re looking to create a holiday cookie tray or just craving that classic peanut butter flavor, this simple recipe only requires a handful of ingredients and couple of quick steps. The kicker? You likely already have all the ingredients hanging out in your kitchen or pantry.
Gluten Free? If you’re avoiding gluten, try these 3 ingredient peanut butter cookies instead!
Why Do You Put Fork Marks on Peanut Butter Cookies?
The pretty fork marks on top of most peanut butter cookies aren’t just for looks. In fact, the fork cross-hatching is used to flatten out the dough and help it cook more evenly. Since peanut butter cookie dough tends to be denser than most other cookie doughs, this is a crucial step you shouldn’t skip. Consider the mystery solved!
Peanut Butter Cookies Video
How to Make the Best Peanut Butter Cookies
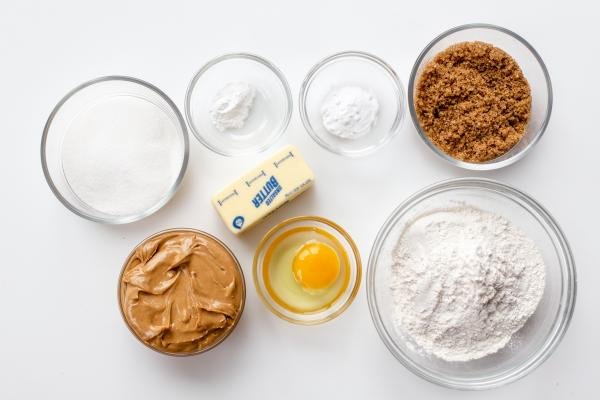
Making the best peanut butter cookies only requires a handful of ingredients and a few simple steps. Below, find a quick rundown of the recipe before you get to baking.
- Mix the Dry Ingredients: In a medium mixing bowl, mix or sift together the flour, baking soda, and baking powder.
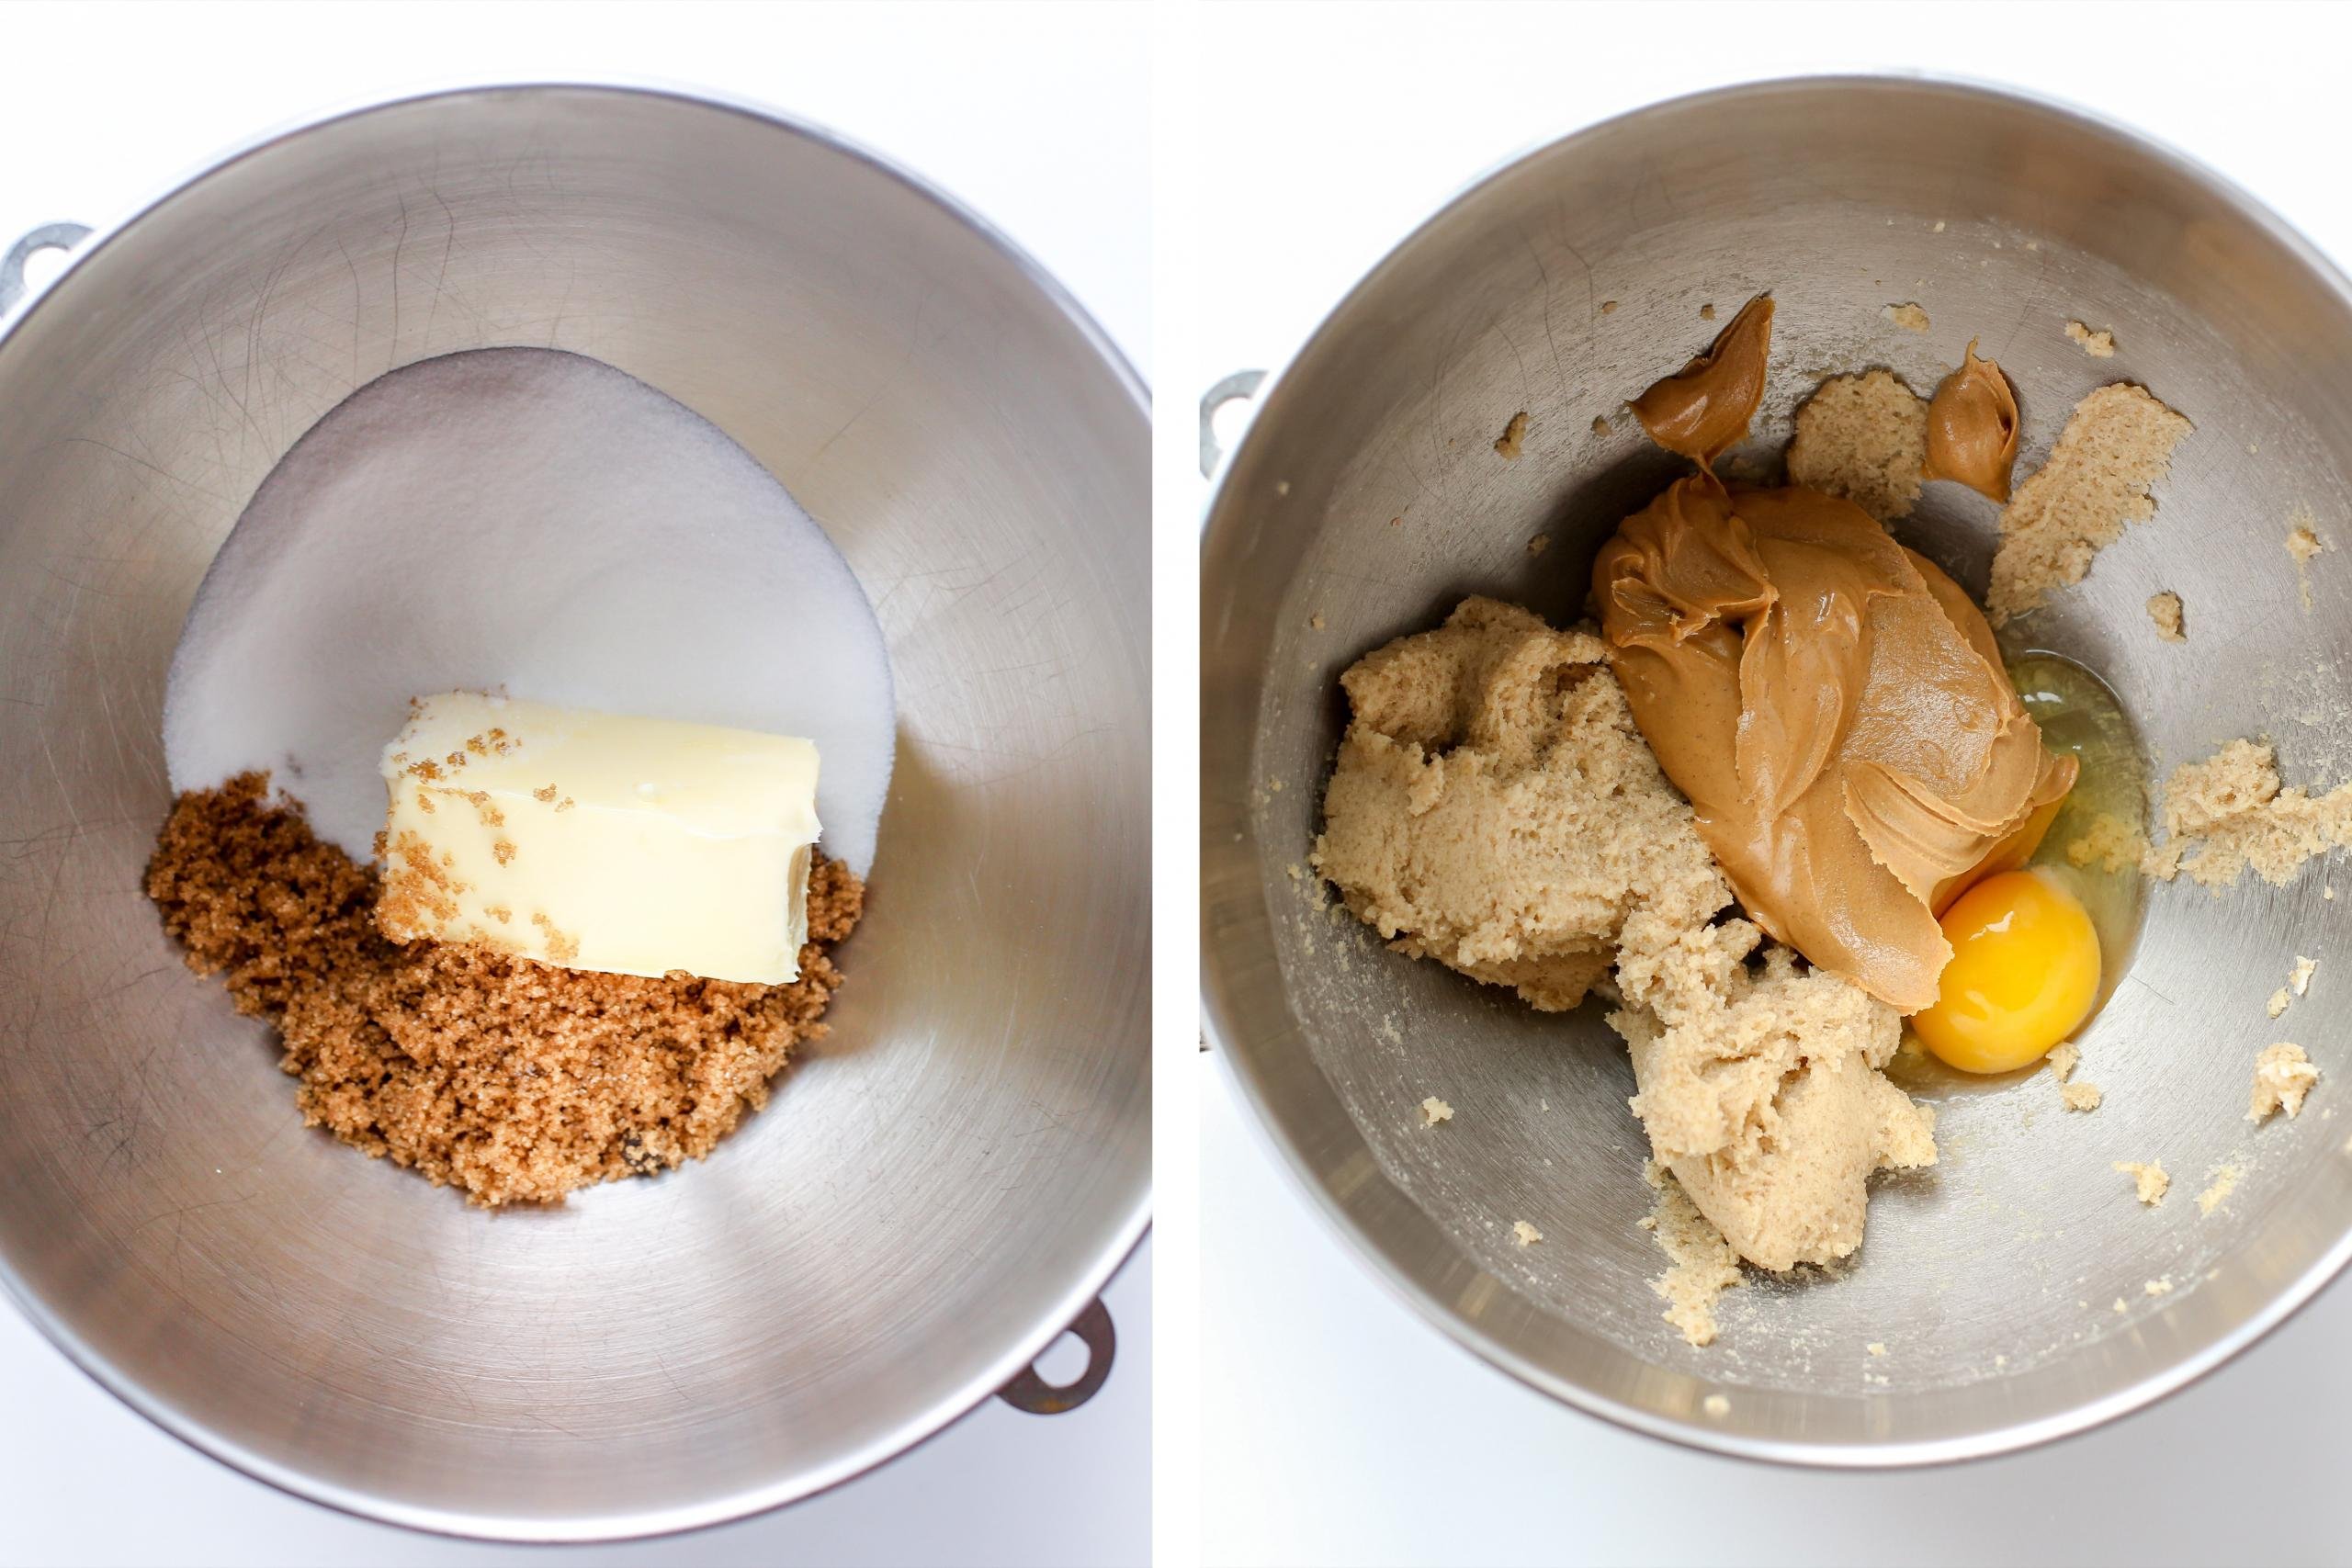
- Mix the Wet Ingredients: Using a stand mixer or hand mixer, beat together the butter, brown sugar, granulated sugar, peanut butter, and egg until creamy.
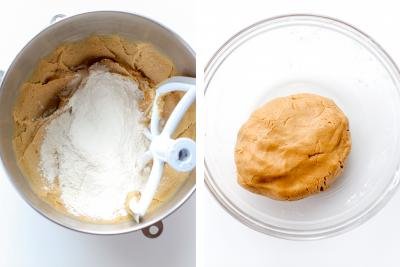
- Combine the Dry & Wet Ingredients: On the slowest speed, beat in the dry ingredients into the wet until well combined.
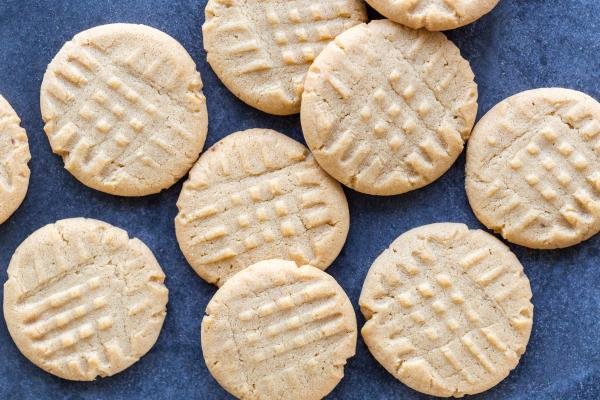
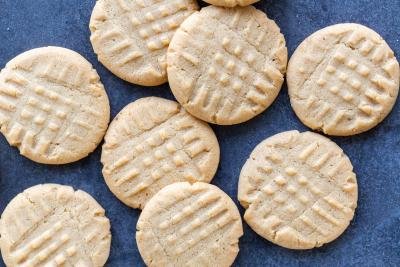
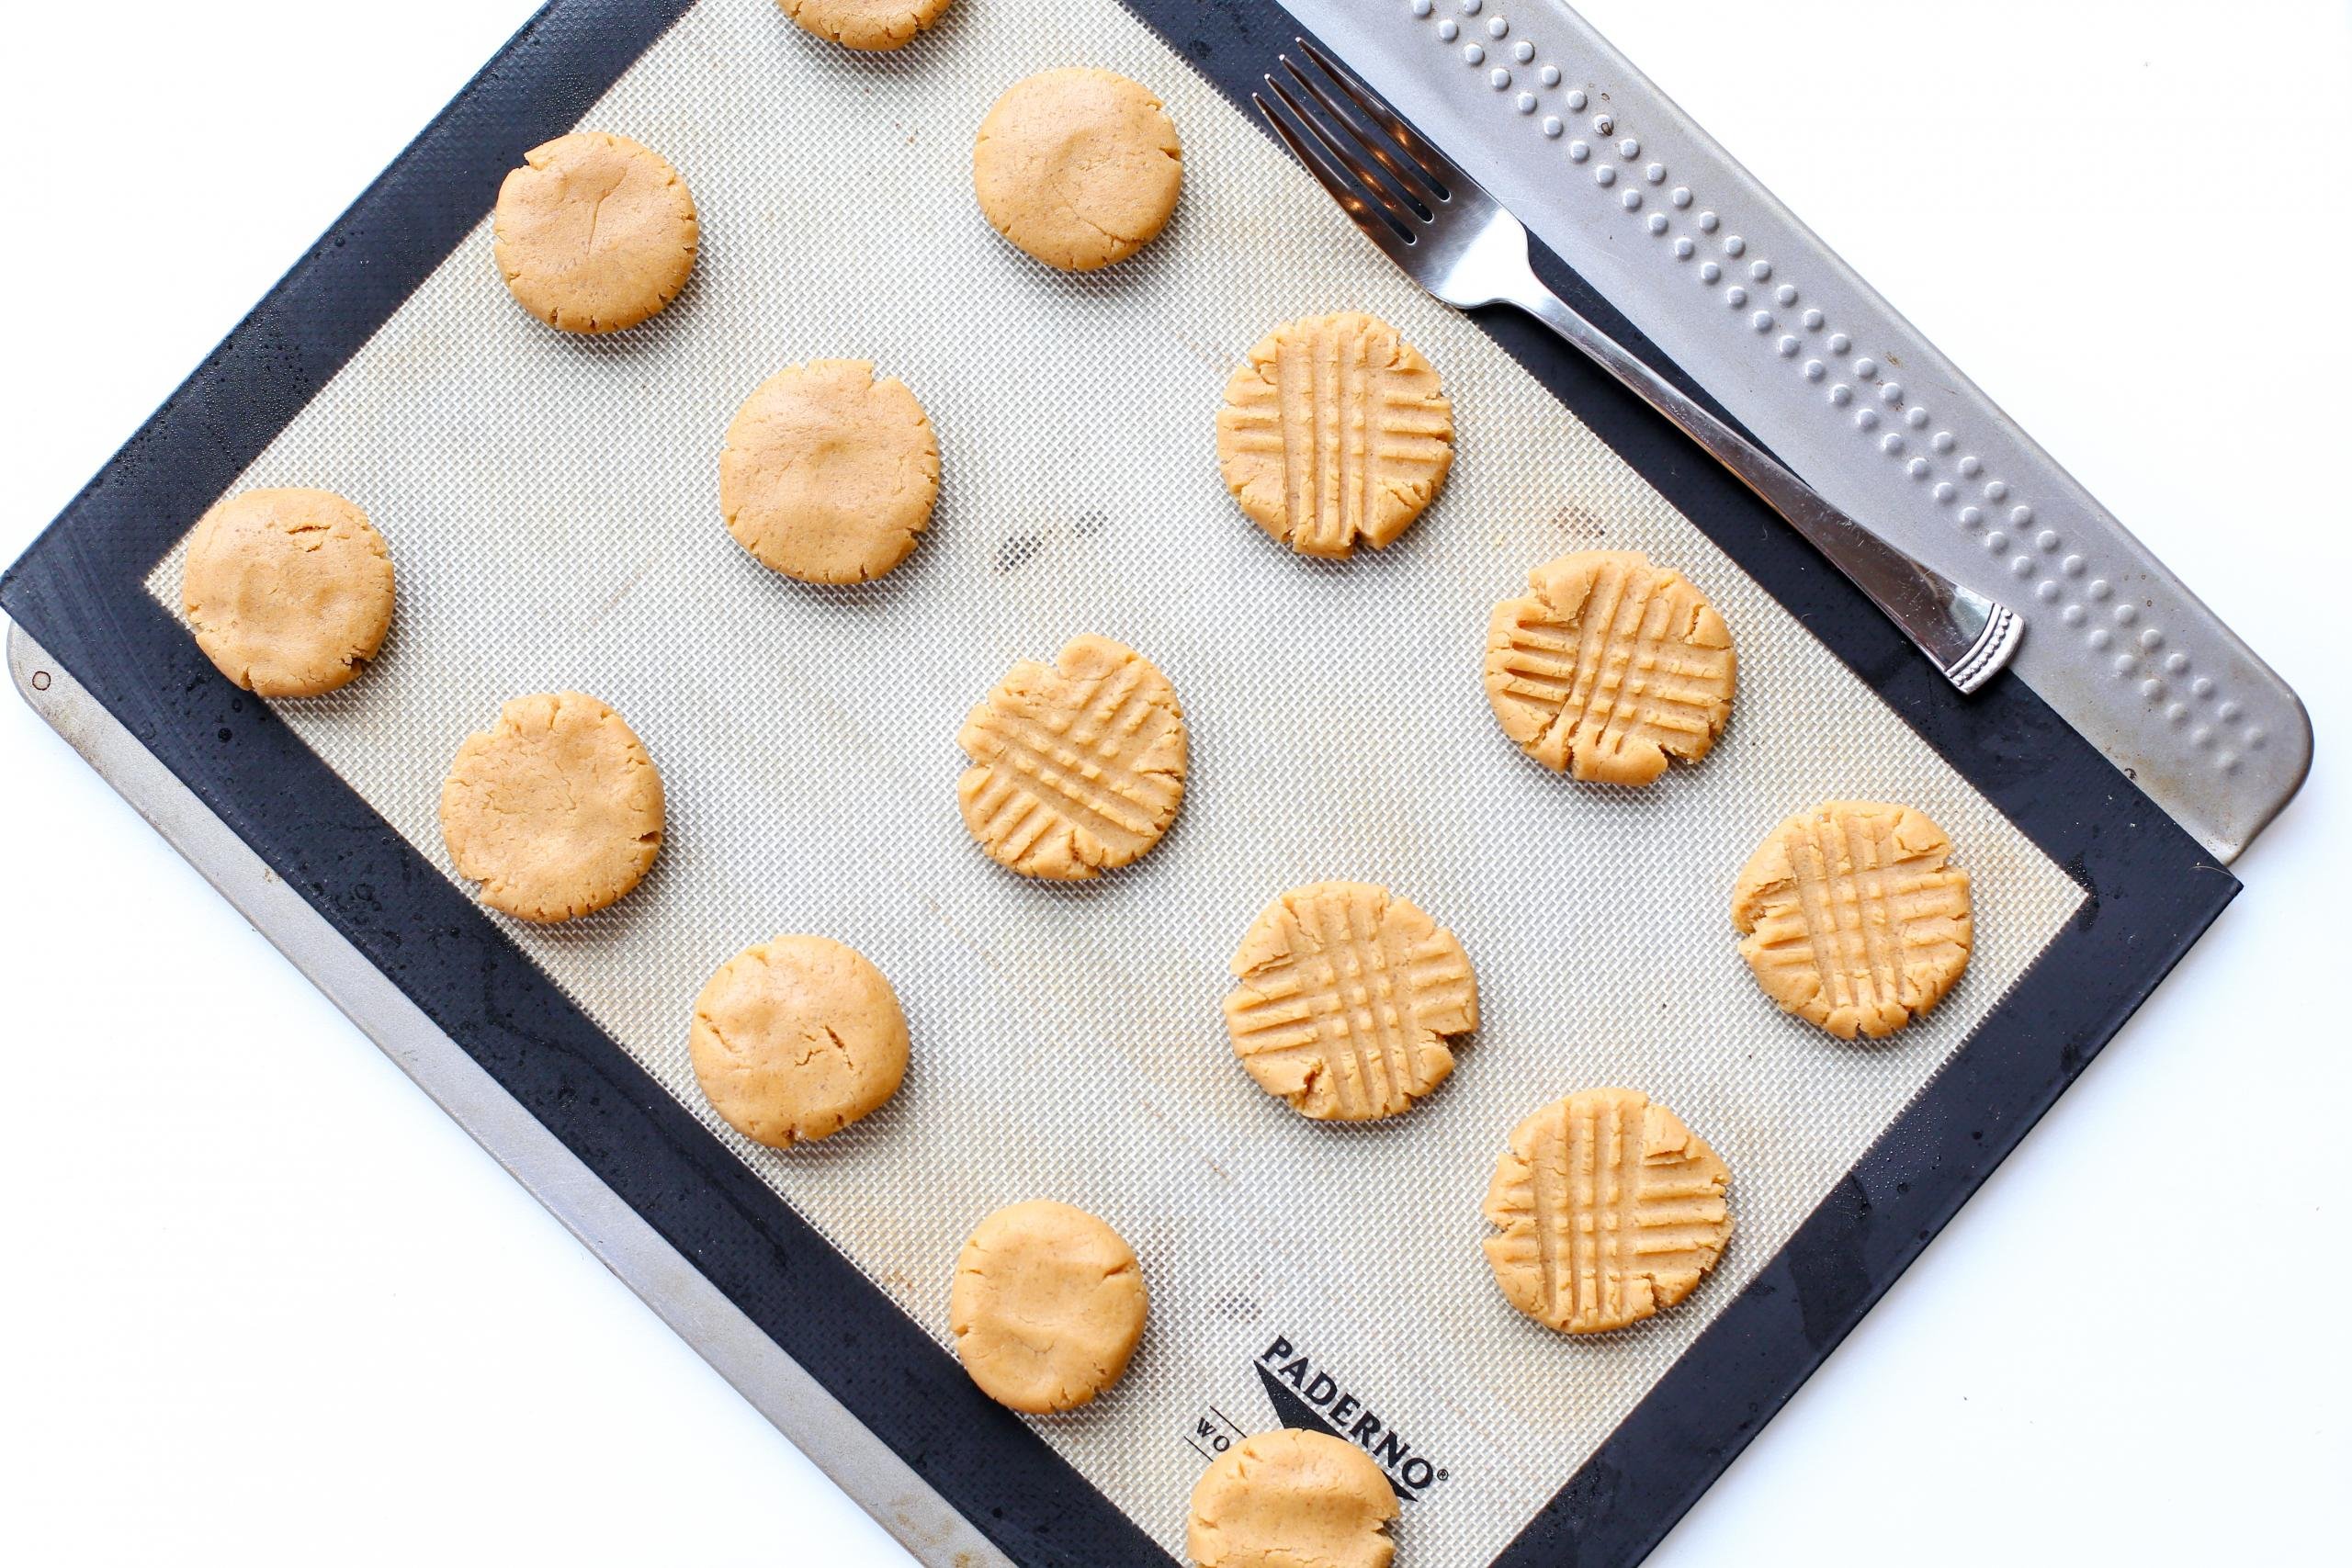
- Shape the Cookies: Line a baking sheet with parchment paper. Next, shape the dough into 1 1/2-inch balls. Then, flatten each dough ball slightly in your palm and place them on the baking sheet. With the backside of a fork, create a criss-cross pattern on the top of each cookie.
- Bake the Cookies: Bake the cookies at 350°F for 10 minutes. Remove the cookies from the oven and allow them to rest for at least 5 minutes before transferring them to a wire rack to cool completely. Enjoy!
Hot Tip: If you’re doubling up the recipe, swap the baking sheets from the middle and high rack halfway through cooking to ensure they get equal attention from the heat.


Tips & Tricks
Below, find a couple of pro tips and tricks to help you bake the best peanut butter cookies.
- Sift the dry ingredients together. To remove any lumps from the flour, baking soda, and baking powder, use a flour sifter or mesh sieve to sift them together. This will prevent any dry pockets from baking into your cookies.
- Soften your butter at room temperature. Before you start making the dough, allow the butter to soften at room temperature for about 30 minutes. This will make it so much easier to incorporate into the dough!
- Top the cookies with a criss-cross pattern. The criss-cross pattern on top of peanut butter cookies isn’t just for show. Since peanut butter cookie dough tends to be denser, using a fork to create a criss-cross pattern flattens the cookies and helps them bake more evenly.
- Underbake the cookies. Unlike other cookies, peanut butter cookies should be pulled out of the oven when they are slightly underbaked. This will allow them to harden at room temperature while remaining soft on the inside.
Storing Peanut Butter Cookies
- Room Temperature: Store leftover cookies in an airtight container or freezer-safe bag at room temperature. They should keep fresh for up to 3 days.
- Refrigerator (Baked Cookies): To increase the shelf life of peanut butter cookies, you can also store them in the fridge. They will keep for up to a week.
- Refrigerator (Cookie Dough): You can make peanut butter cookie dough 2 days in advance before baking it. To do so, roll it into a log, wrap it tightly in plastic wrap, and store it in the fridge.
- Freezer (Baked Cookies): To freeze baked cookies, allow them to first cool completely. Next, assemble them in a single layer on a baking sheet lined with parchment paper and pop it into the freezer. Once completely frozen, transfer the cookies to a freezer-safe bag and store them for up to 3 months. To thaw, place the cookies on the counter for 30 minutes.
- Freezer (Cookie Dough): To freeze peanut butter cookie dough for later use, roll it into a tight log. Next, wrap the dough log in plastic wrap and freeze for up to 3 months. To thaw, place the dough log in the fridge overnight.
FAQ
Should I refrigerate peanut butter cookie dough before baking it?
There’s no need to refrigerate peanut butter cookie dough before baking it. However, if you don’t plan to bake the cookies right after mixing the dough, do refrigerate it until you’re ready to bake.
How can I tell when my peanut butter cookies are done?
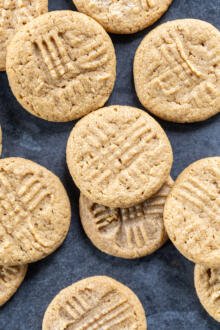
Peanut butter cookies are done when they have turned a light shade of golden brown and have spread out to about 3-inches in diameter. They will look a little underbaked, but that’s okay! They will slightly harden as they cool at room temperature.
How do I keep my fork from sticking to the peanut butter cookie dough?
To prevent the fork from sticking to the dough when creating the cross-hatched pattern on top, dip it in some granulated sugar in between cookies.
How do I get my peanut butter cookies soft?
The key to getting soft peanut butter cookies is under baking them a bit. As they harden at room temperature, they will firm up but still remain super moist and soft.
Can I use a different nut butter for this recipe?
Yes, you can use different kinds of nut butters for this recipe. Feel free to use crunchy peanut, sunflower, cashew, or almond butter. If you’re feeling really wild, you could even use a combination of a few!
Other Cookies Recipes
- Easy Chocolate Chip Cookies – Classic chocolate chip cookie recipe with video!
- Fall Leaves Sugar Cookies – Chewy maple leaf-shaped cookies
- Dulce De Leche Sandwich Cookies – Chocolate-dipped sandwich cookies
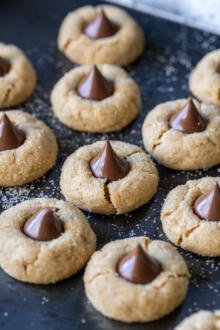
- Buckeye – Fudgy peanut butter truffles
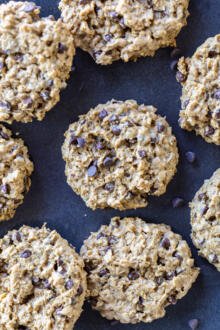
- Peanut Butter Oatmeal Cookies – Chewy peanut butter cookies with the delicious addition of oatmeal
- Easy Nutella Cookies – Chocolate and hazelnut cookies
Recipe
Ingredients
- 1 1/3 cups flour
- 1 tsp baking soda
- 1/2 tsp baking powder
- 1/2 cup unsalted butter softened
- 1/2 cup granulated sugar
- 1/2 cup brown sugar
- 3/4 cup creamy peanut butter
- 1 egg
Instructions
- Gather your ingredients. In a medium mixing bowl, combine the flour, baking soda, and baking powder.

- Using a stand mixer or hand mixer, beat together the butter, brown sugar, and granulated sugar. Beat the mixture until smooth. Next, add in the peanut butter and egg and beat to combine.

- With the mixer set to the slowest speed, slowly add in the flour mixture and continue beating until it's well combined.
- Line a baking sheet with parchment paper. Shape the cookies into a ball and flatten each ball slightly with your palms. Using a fork, create a criss-cross pattern on top of the cookies.

- Bake the cookies at 350°F for 10 minutes. Remove the cookies from the oven and allow them to cool for at least 5 minutes. They may look a little underbaked, but don't worry – they will harden as they cool. Enjoy!


I love my cookies 'crispy' . . . how would I make your Peanut Butter cookies crispy instead of chewy?
Hi Robbie, I would leave them in the oven for a little longer to make them crispy. I recommend you watch them carefully so that they dont burn. Wishing you the best of luck!
Superb recipe. I would say the recipe is very easy. I also added 1/2 vanilla after reading the comments and it was quite delicious.
Hye dear, I am so happy to hear that you loved the recipe. Thanks for sharing!
Great recipe, very easy to make and super delicious! I added 1/2 tsp of vanilla too
Hey Darcy, thank you so much for leaving a comment. I love hearing from readers. Glad you liked the recipe and vanilla tip is going to help others. Have a wonderful day!
I added vanilla to my second batch and they were way better:)
Sarah, thank you for this tip. For the vanilla lovers this will be really useful.