Perfected over 14 years, this easy rice krispie treat recipe takes just 20 minutes and 4 ingredients. Enjoy plenty of browned butter and marshmallows!
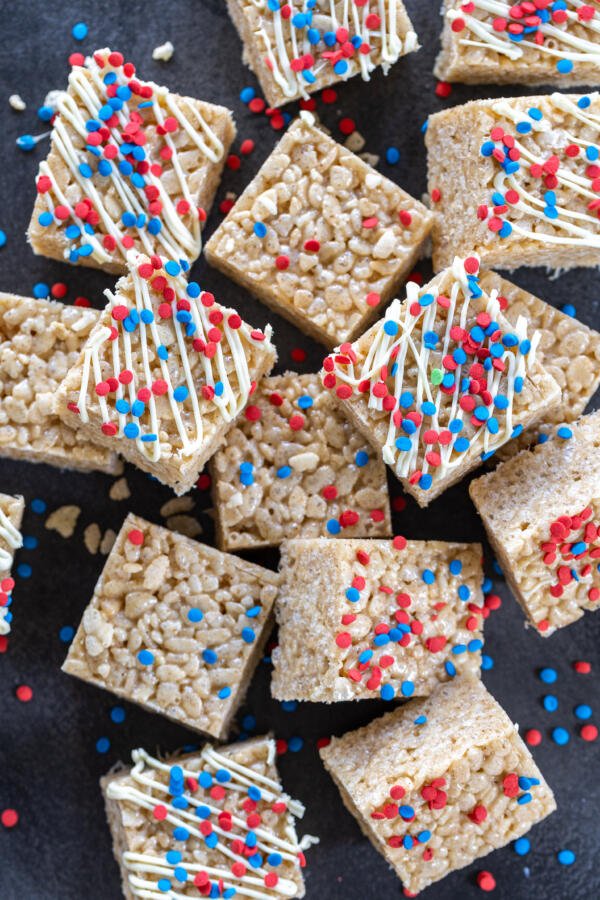
Did you know you can make delicious easy rice krispie treats at home with just four simple ingredients? That’s exactly why I love this recipe— it’s incredibly minimal. These are a staple in our house and a huge favorite for Tim and the boys, so I find myself making them constantly. They’re also always a hit during the holidays and a personal favorite of mine because they require so little effort on my end.
Rice krispie cereal, butter, marshmallows, and vanilla extract is all you need for this easy rice krispie treat recipe. Butter is such a simple yet key ingredient. When you brown it, it gives the rice krispies a rich, incredible flavor to go along with their sweetness. And the marshmallows – well, who can say no to those?!
Rice Krispie Treats Video Tutorial
How To Make Rice Krispies
Do you ever feel like there’s not enough time in the day? No matter why you’re busy, this easy rice crispy recipe is a quick and easy solution to your sweet cravings.
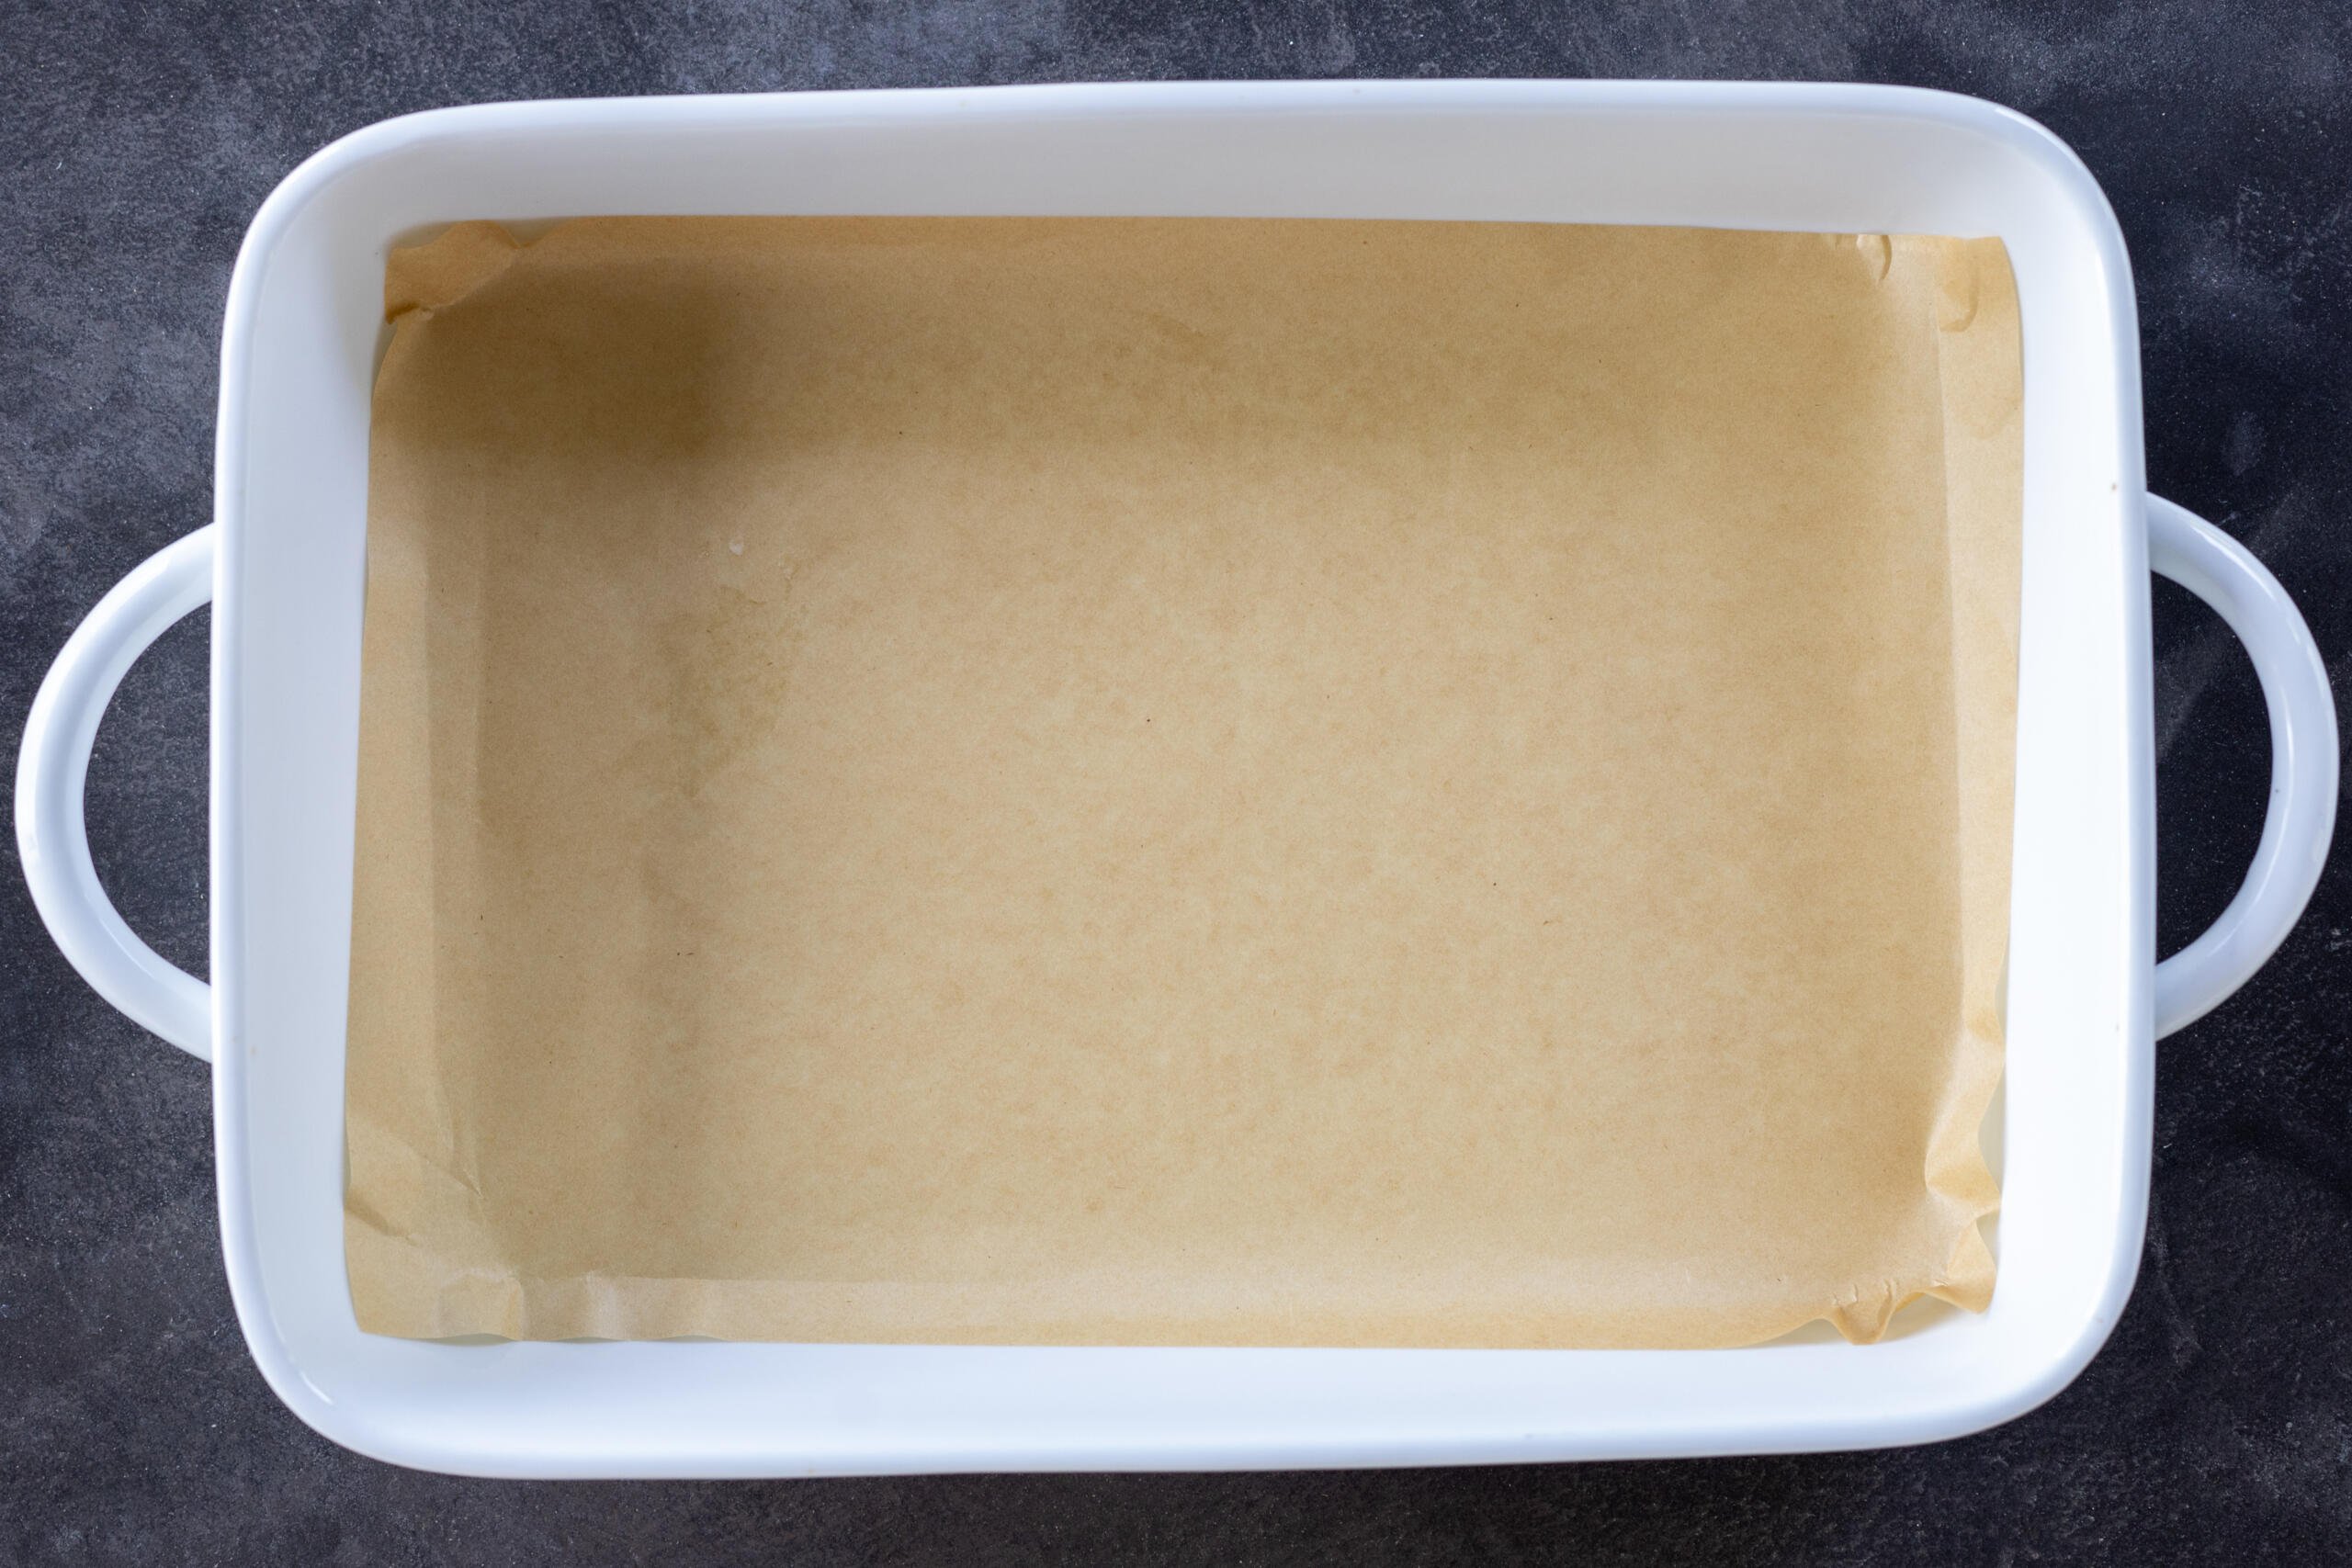
- Prepare the baking dish: Line a 9×13 inch baking dish with parchment paper that overhangs on the sides.
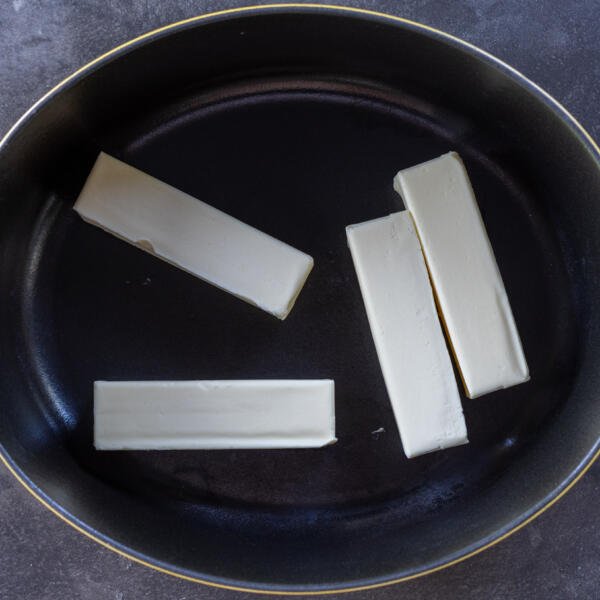
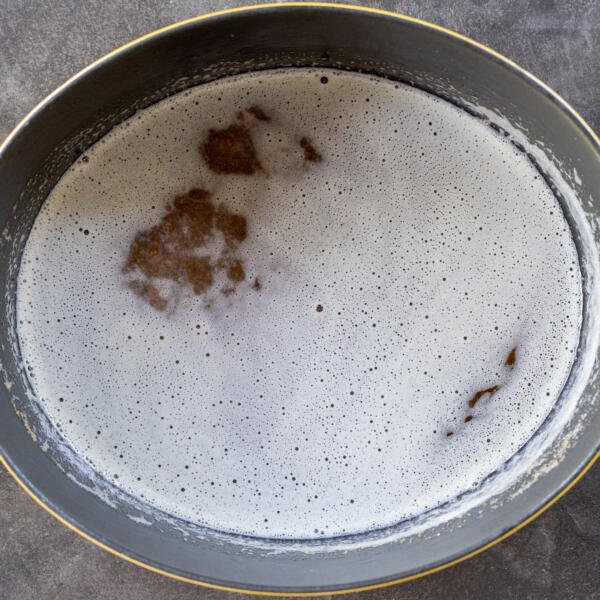
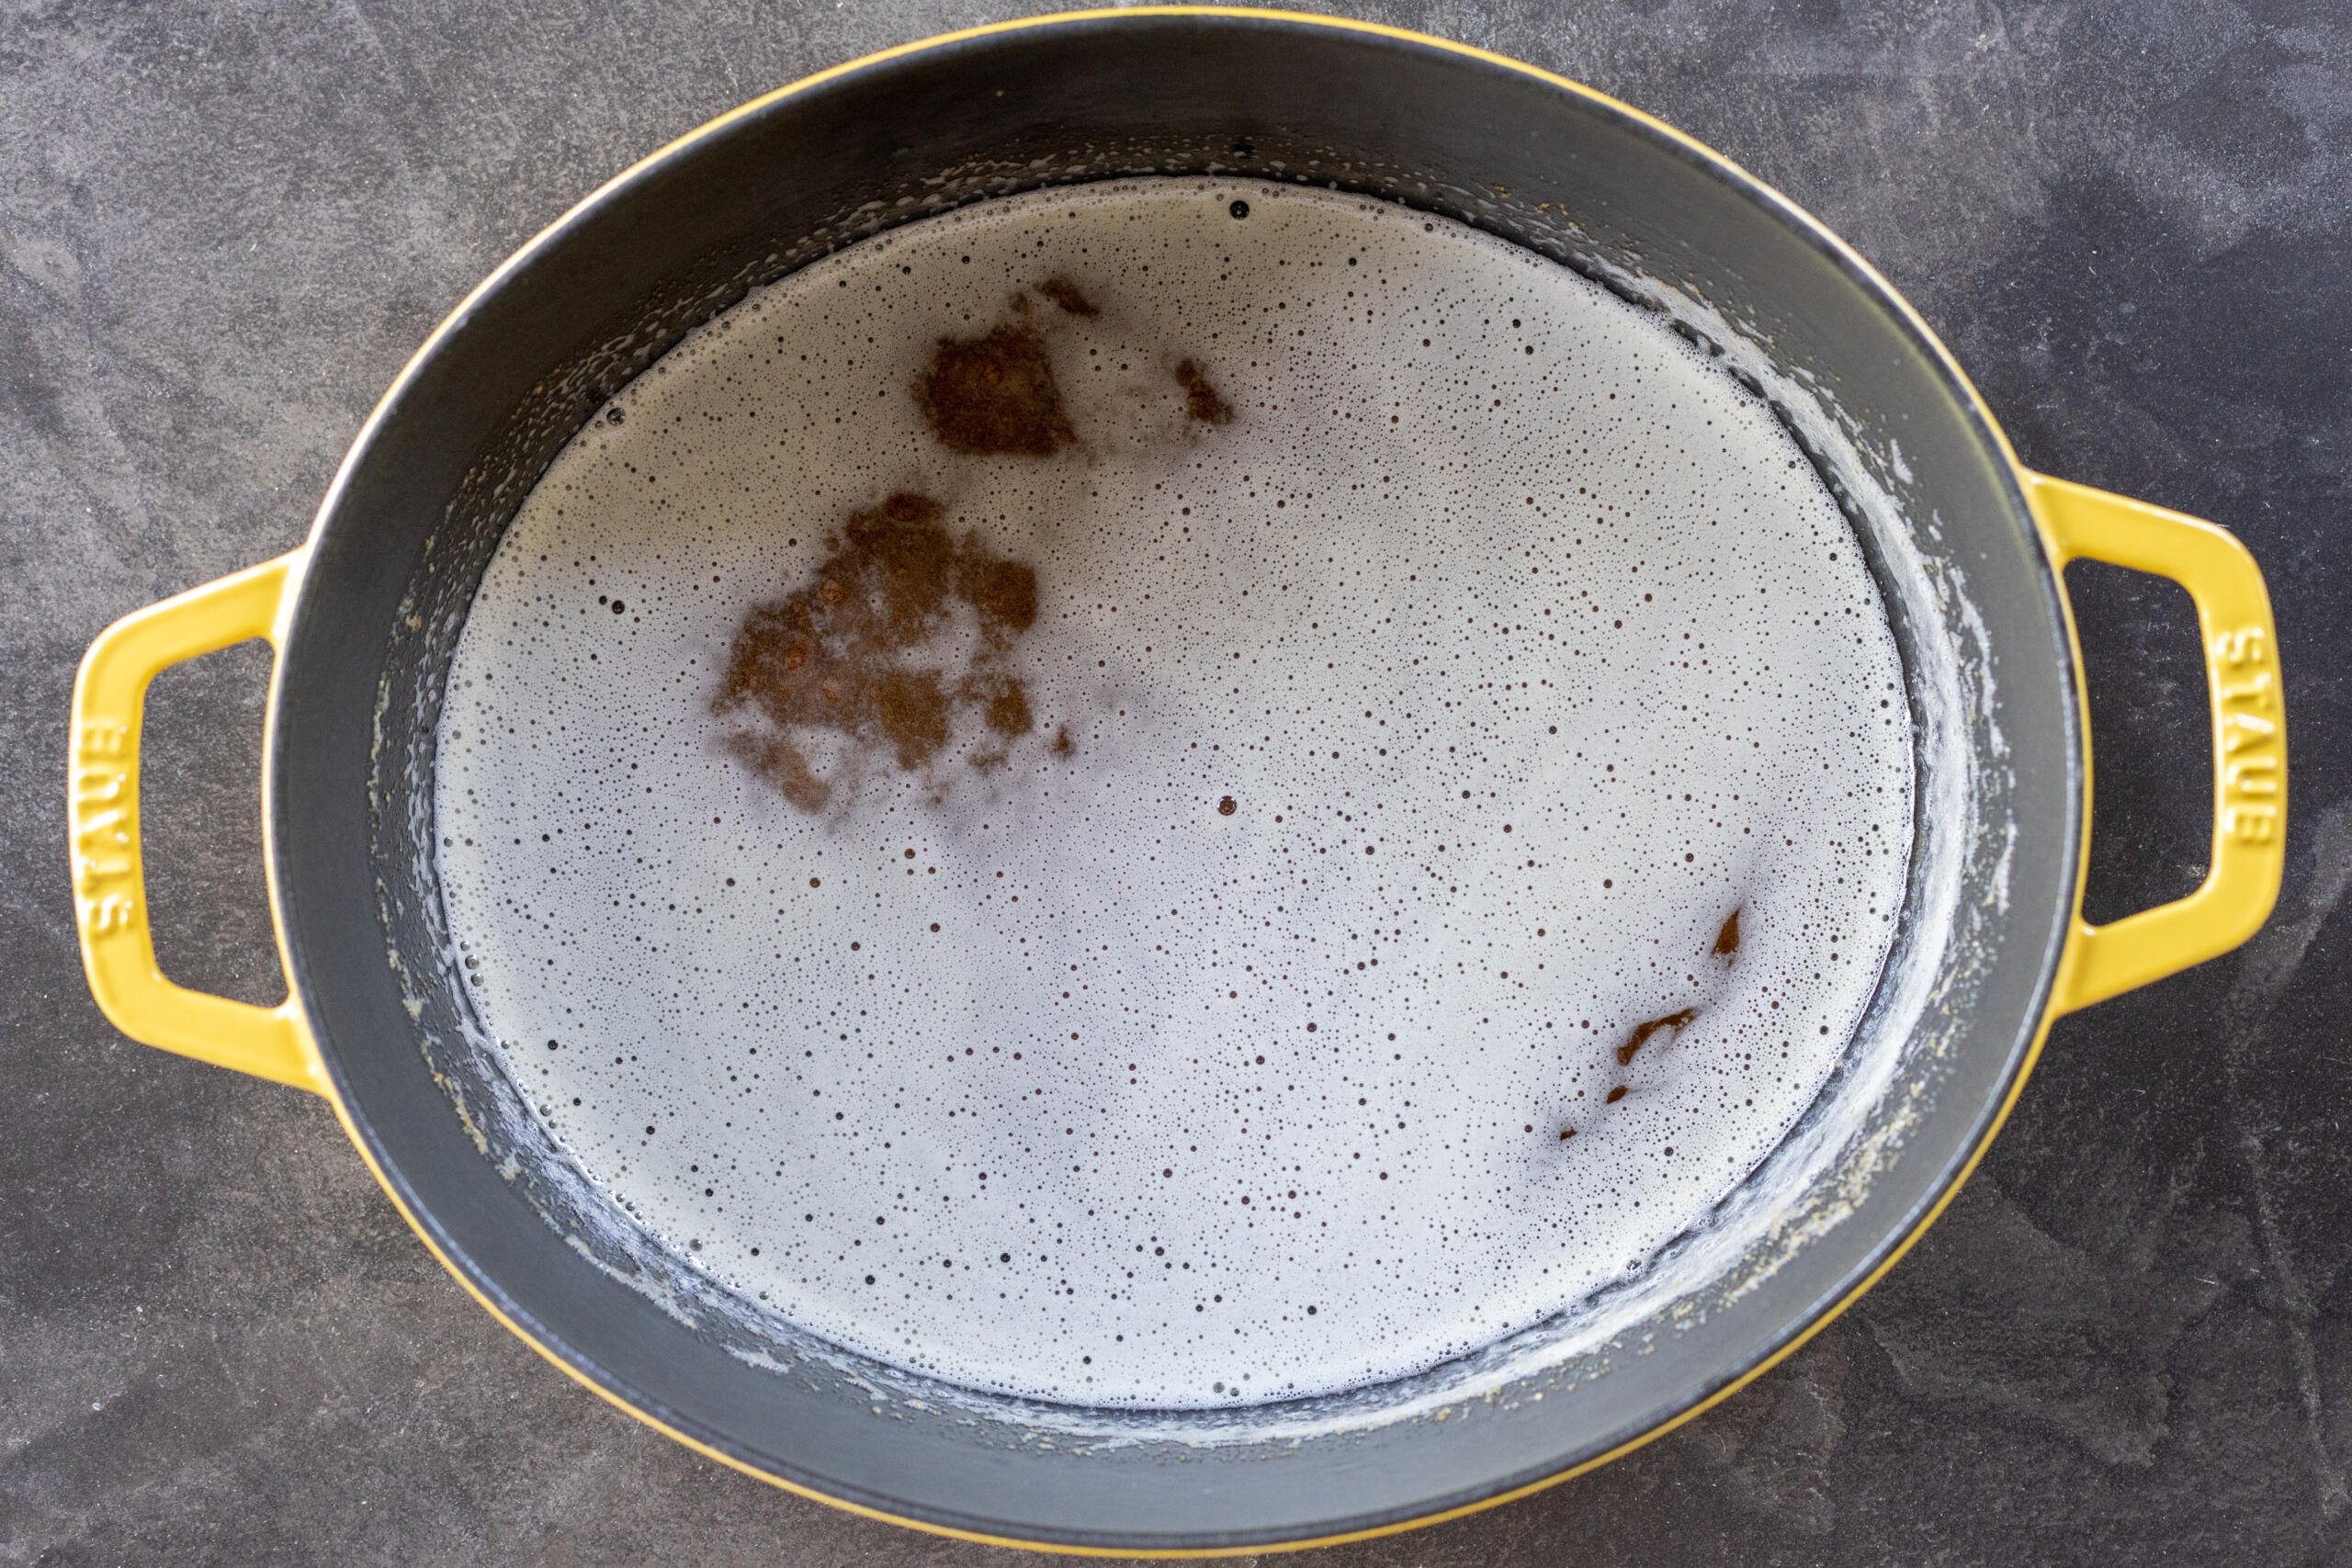
- Brown the butter: Let the butter melt in a large pot over medium-high heat. Continue cooking until it turns brown and smells nutty.
- Melt in the marshmallows: Turn the heat down to medium-low and stir in the vanilla and 20 ounces of the marshmallows until they melt.
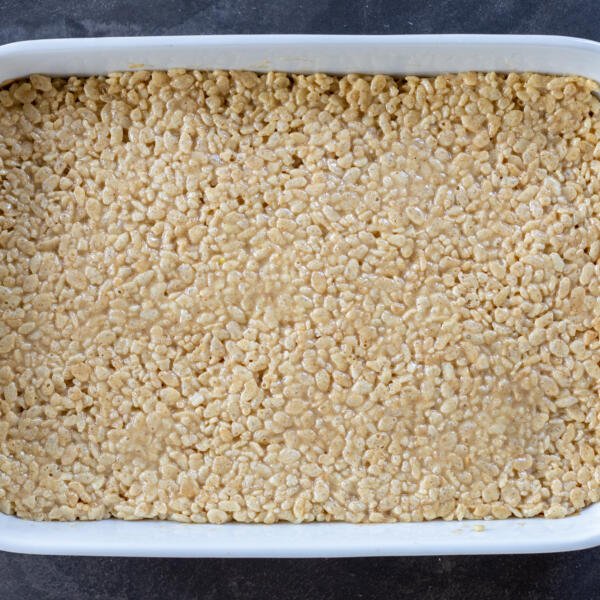
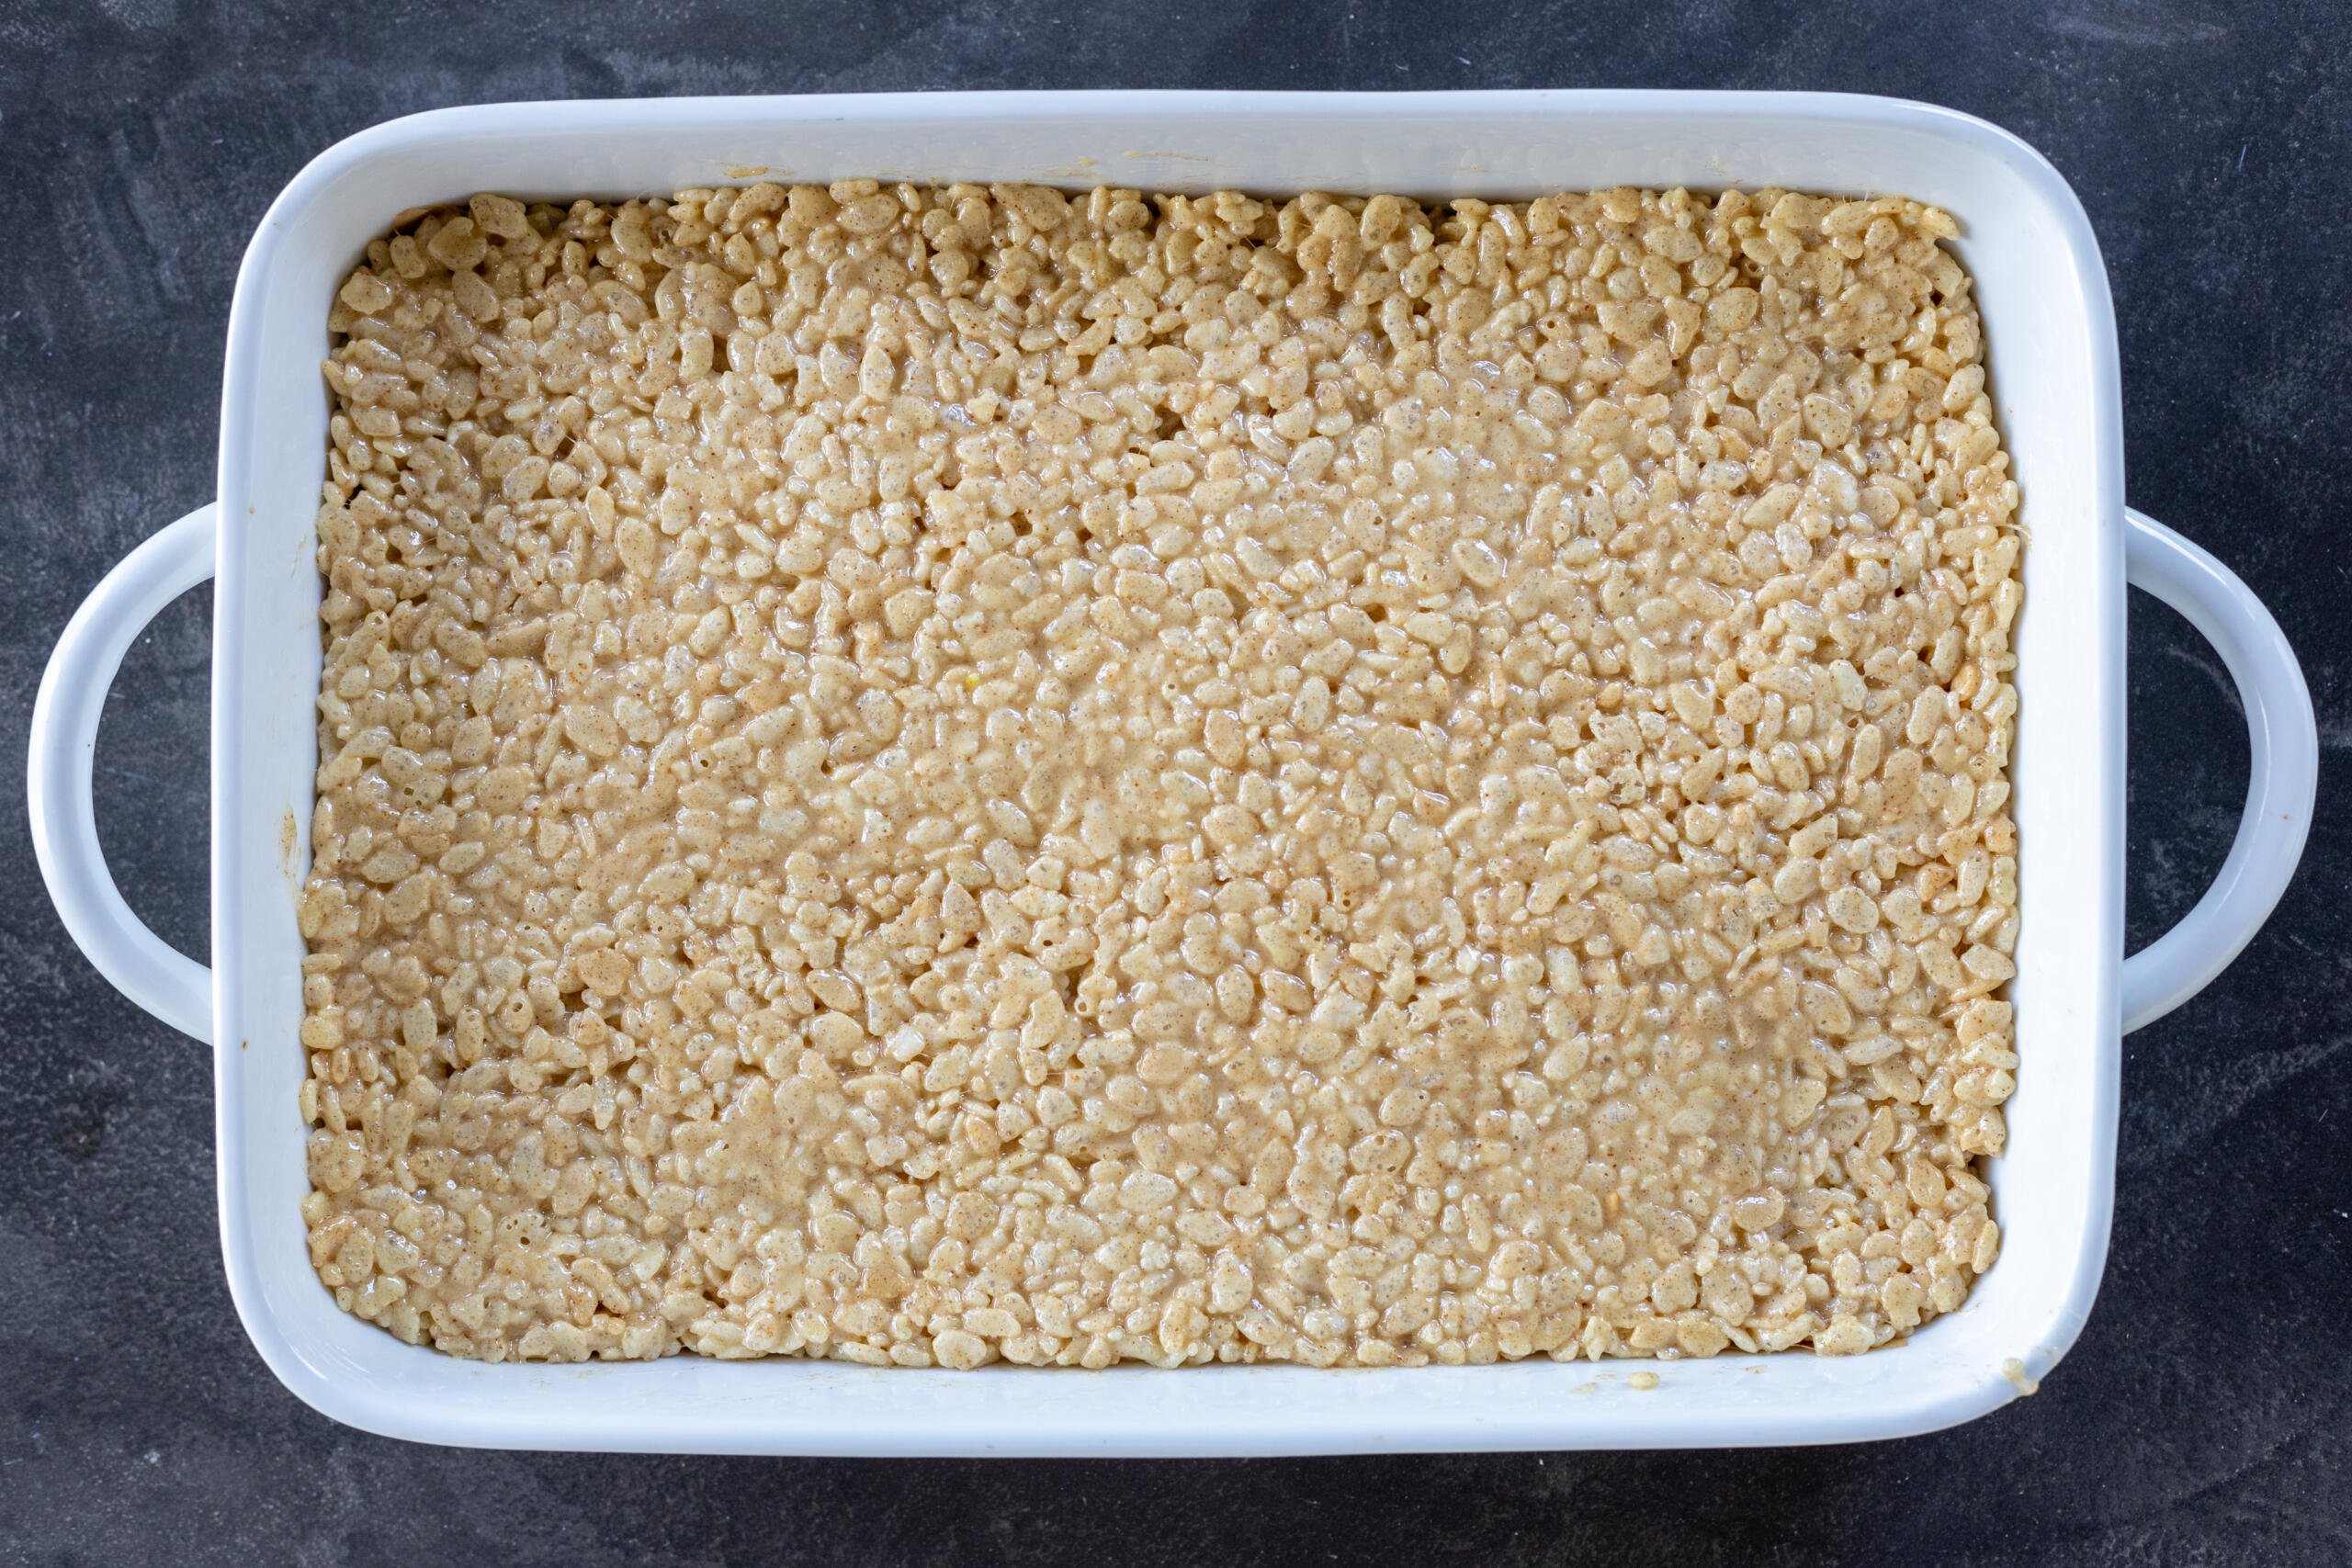
- Mix in the crispy rice cereal: Remove the pot from the heat, then add the cereal and mix until evenly combined. Fold in the remaining marshmallows, then transfer the marshmallow mixture to the prepared baking dish. Press the mixture into an even layer.
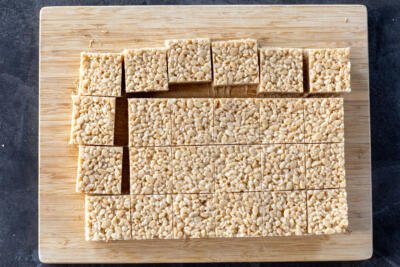
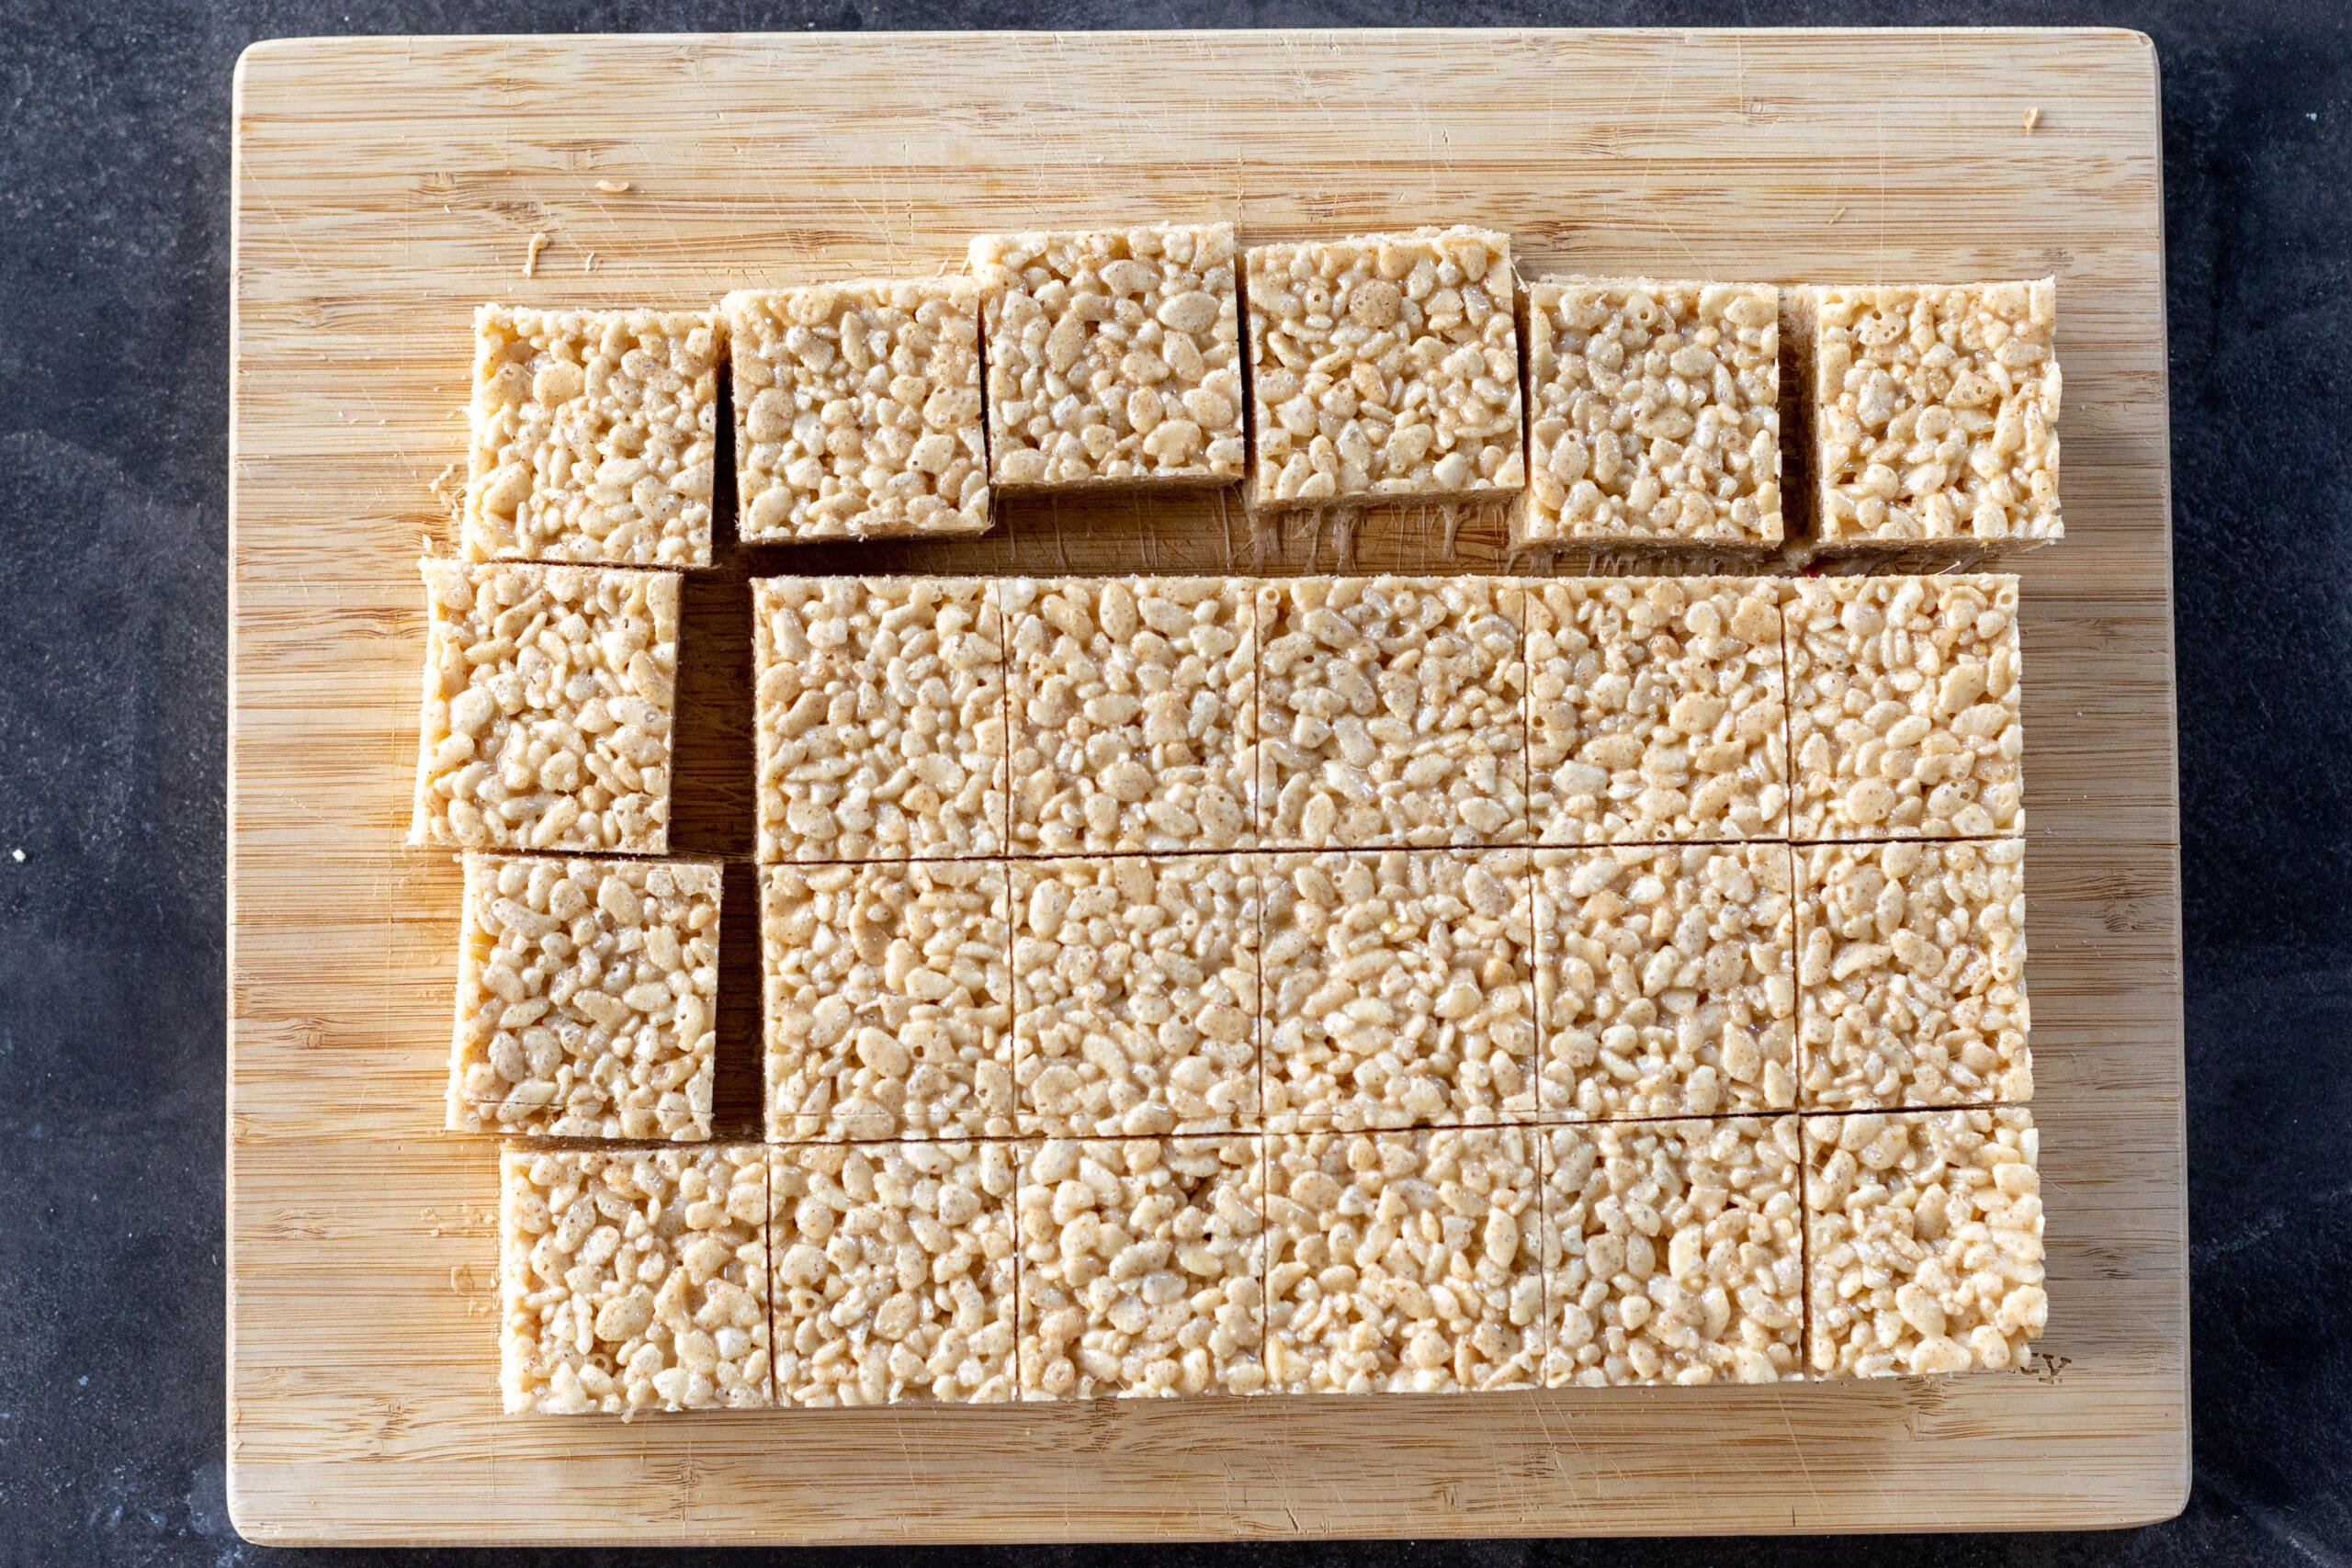
- Allow the bars to cool: Allow the bars to cool for at least an hour at room temperature. Then, slice them into 2-inch squares (or however you prefer) and enjoy each bite.
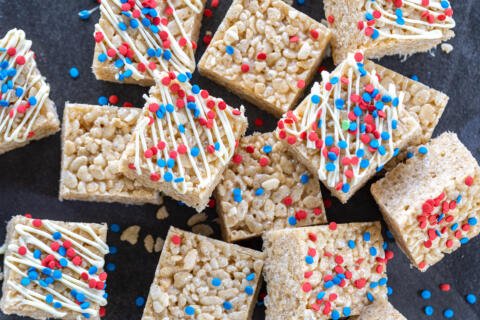
Hot tip: Top the rice krispie treats with sprinkles or mini chocolate chips for a fun flair and more texture.
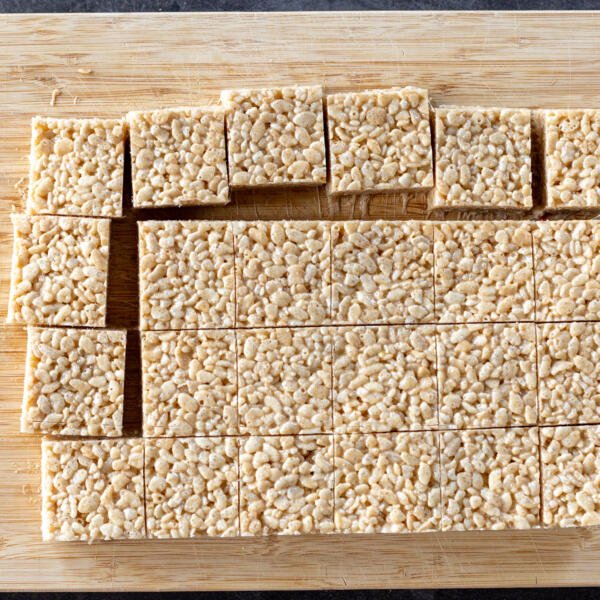
Tips For the Best Homemade Rice Krispie Treats
You may be wondering — can this homemade rice crispy treat recipe really compare to the classic blue foil-wrapped Rice Krispies Treats? You bet!
- Line the pan with overhanging parchment paper: Melted marshmallows are one of the stickiest substances known to man. Spare yourself the headache of stuck rice krispie treats by lining the baking dish with parchment paper that hangs over the edges.
- Use fresh cereal: This is a no-bake recipe, so it’s imperative to use fresh cereal for the best flavor and crunch. Old cereal tends to taste stale and lose its crunch.
- Opt for European butter: Regular butter works fine, but I found that high quality European butter tastes the best! It contains less water and has a richer flavor that is so good.
- Brown the butter: Make sure to brown the butter! This creates a sweet and nutty flavor that makes these treats to-die-for.
- Add a pinch of salt: I use salted butter for simplicity’s sake, but if you only have unsalted butter, don’t worry. Add in 1/2 teaspoon of salt when the butter is melting.
- Trust the marshmallow ratio: It may seem like a ridiculous amount of marshmallows, but this is the secret to rice krispie treats that stand out from the rest. I’ve tested this recipe for over a decade, and stumbling upon this trick was a game changer.
- Use nonstick spray: A gentle spritz of cooking spray on your hands or a rubber spatula is a game changer. It’ll help the rice krispies from sticking to everything and anything. Or, save your butter wrappers and use those for pressing into the pan.
Storing tip: To store rice krispie treats, put them into an airtight container and store at room temperature for up to three days. Or, freeze them for up to three months in a freezer-safe bag. Thaw them at room temperature for 30 minutes before enjoying again.
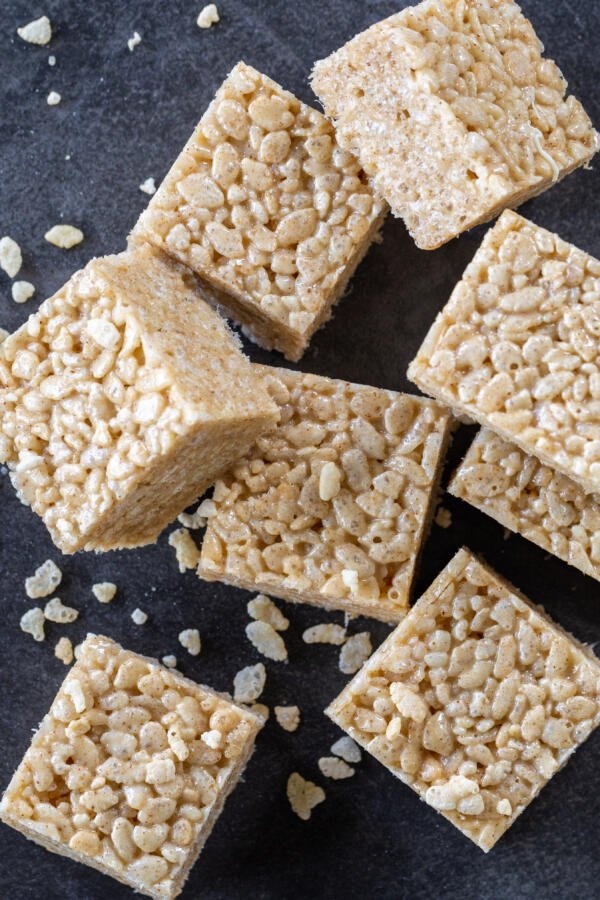
Troubleshooting Hard Rice Krispie Treats
Have you previously been disappointed by rice krispie treats that turned out hard as a rock? Let’s go through the most common mistakes so you get the best rice krispie treats!
- Overheating: Marshmallows become tough when overheated, so keep the pot on medium-low heat and take it off as soon as the marshmallows are melted.
- Overpacking: It may seem tempting to pack the cereal mixture down into the pan, but doing so creates a dense rice krispie treat. Be gentle when patting the mixture into an even layer.
- Chilling: If you have leftovers (by some miracle), putting them in the refrigerator or freezer may seem like the best option, but it’s not! Rice crispy treats tend to dry out when chilled, so they’re best stored at room temperature.
Rice krispie softening tip: If you want to know how to soften rice krispie treats, try microwaving them for 5-10 seconds in the microwave!
More Bar Desserts
- Magic Coconut Bars — A winning combo of coconut, chocolate, and walnuts
- Oatmeal Cranberry Bars — These cozy bars are filled with nuts, oats & dried cranberries
- Pecan Pie Bars — Nutty, caramelized, and mouthwatering
- Plum Crumble Bars — Bursting with fresh plum flavor
- Sugar Free Coconut Bars — Made with dates for a guilt-free treat
Recipe
Ingredients
- 2 cups salted butter
- 1 tsp vanilla extract
- 25 oz mini marshmallows divided
- 9 oz rice krispie cereal
Instructions
- Line a 9×13 inch pan with parchment paper. Leave some overhanging on the sides for easier removal. Set aside.
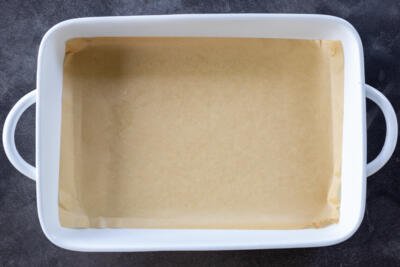
- In a large pot, melt the butter over medium-high heat. Cook until it foams and turns brown.

- Decrease the heat to medium-low. Add the vanilla and 20 oz of marshmallows. Stir until completely melted.
- Remove the pot from the heat and add the cereal. Stir with a rubber spatula or wooden spoon until everything is evenly combined. Add the remaining 5 oz. of marshmallows and mix in (these will soften but not completely melt, you want gooey bits in the rice krispie treats).
- Transfer the mixture to the prepared pan and press gently into an even layer.
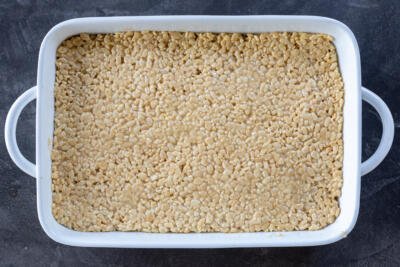
- Let the bars cool at room temperature for at least one hour. When you're ready to enjoy, lift the rice krispie treats out of the pan, slice, and enjoy!





No Comments