Step up your salmon game by grilling it on a cedar plank. The delicious woody and smoky flavor makes this one of my favorite methods of cooking salmon!
If you’ve never heard of grilling salmon on a cedar plank, I won’t judge! It took me longer than I wish to learn about it and gather enough courage to try it on my own. I love the woody, smoky flavor the plank gives the fish, and it makes transferring the salmon onto/off the grill crazy easy (no more fish falling between the grill grates!). Once you get the process down (and taste the amazing flavor), you’ll wonder why you weren’t cooking salmon this way all along.
Don’t have any cedar planks? These cedar planks are great for grilling salmon. Plus, they make beautiful serving trays! Garnish the salmon when it’s fully cooked and serve directly off the plank.
How to Grill Salmon on a Cedar Plank
I’ve been grilling with a cedar plank for over 15 years now, and I’m now ready to share my cedar plank salmon recipe with the whole world — the “crazy easy” Momsdish way!
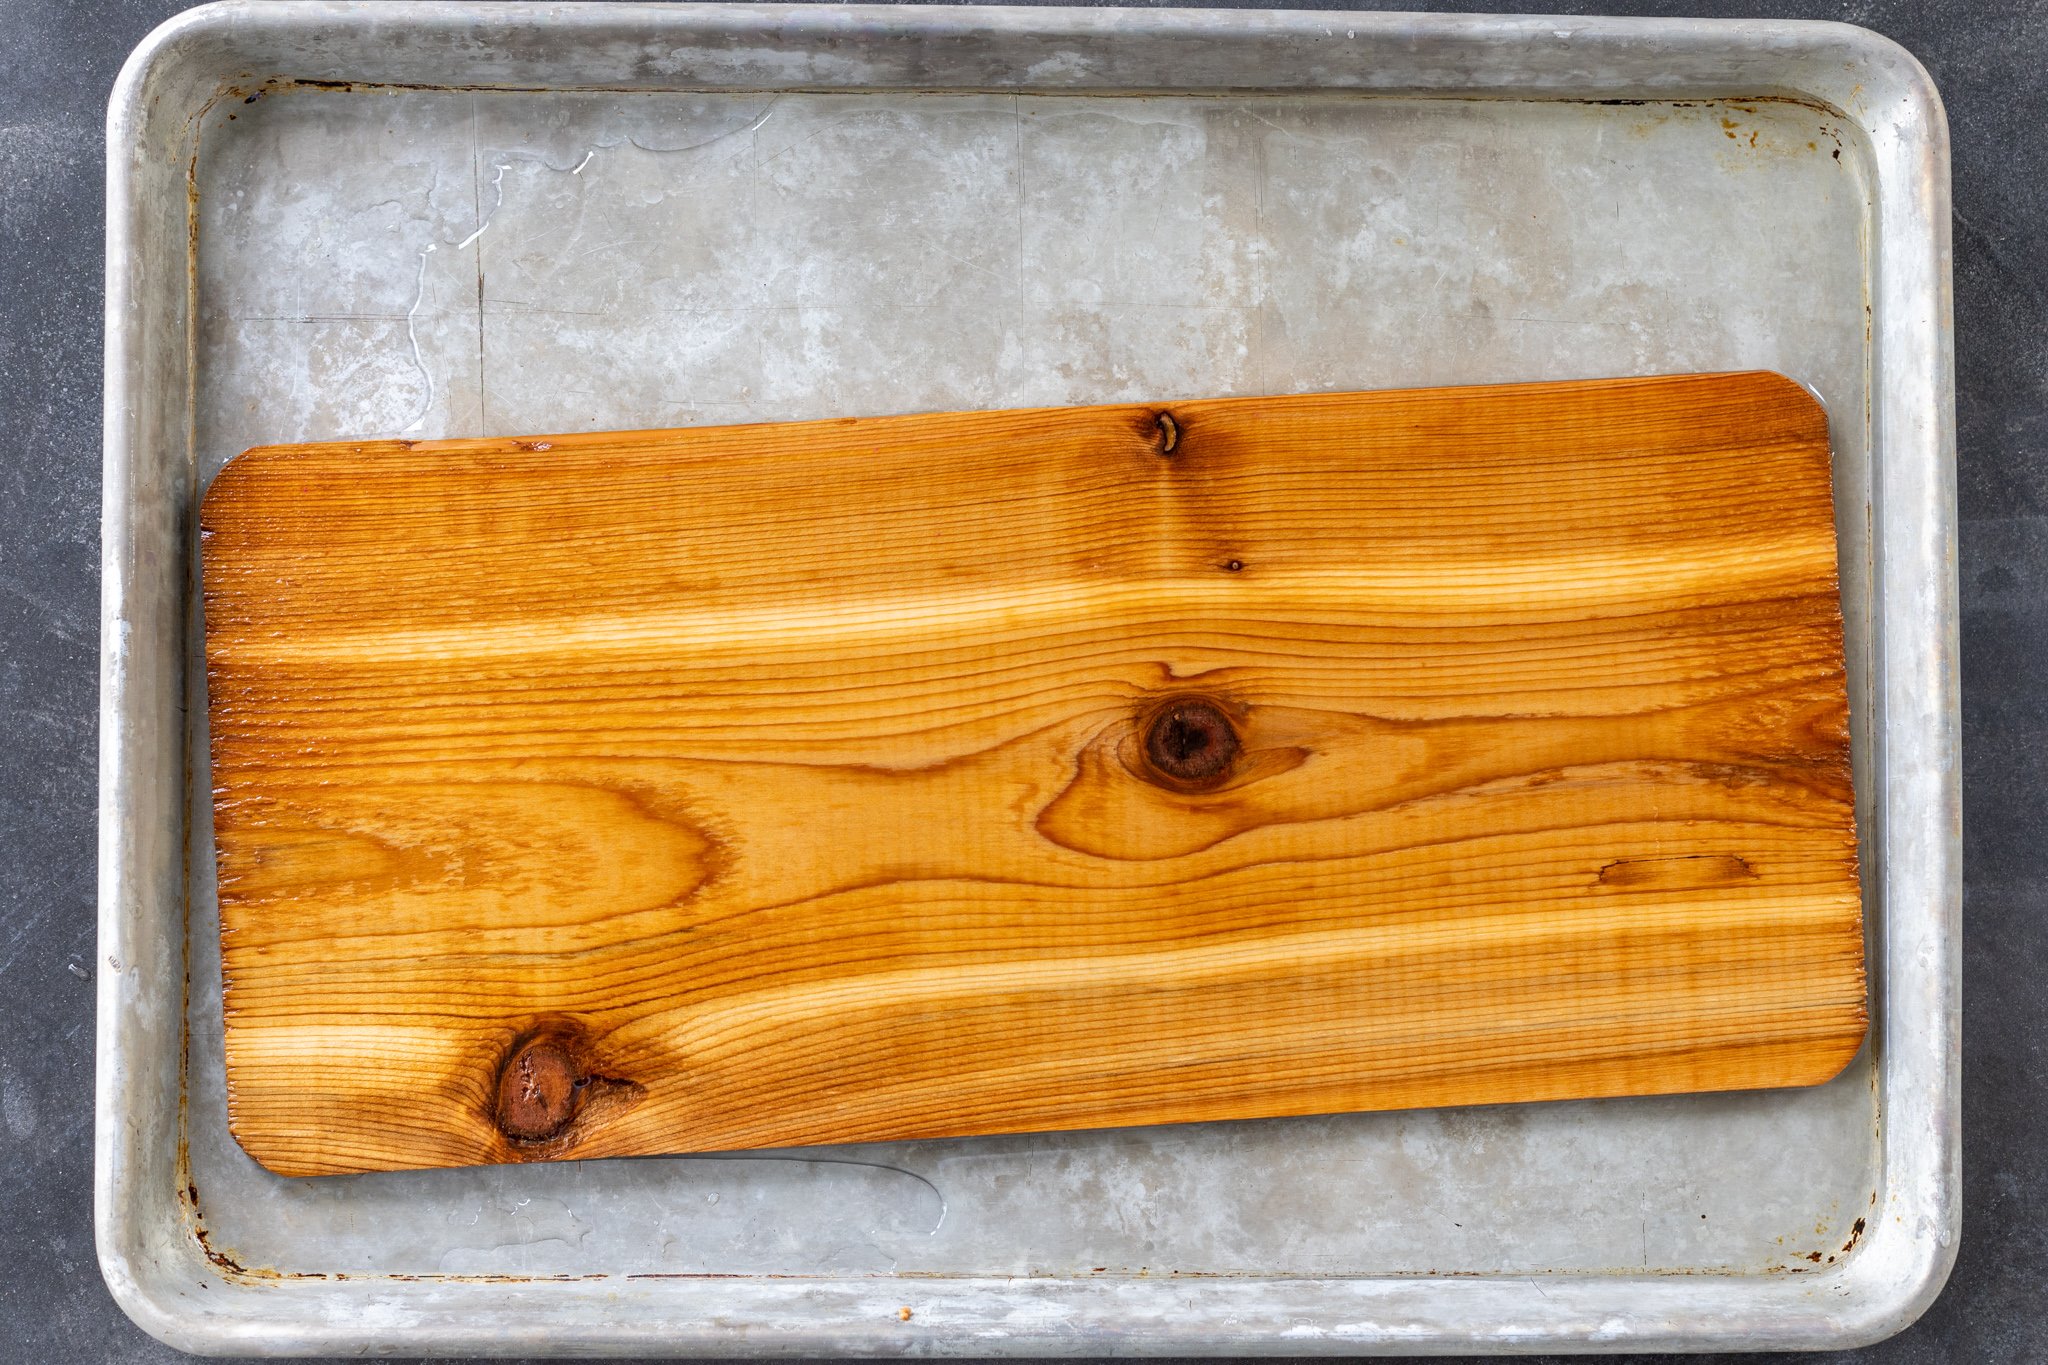
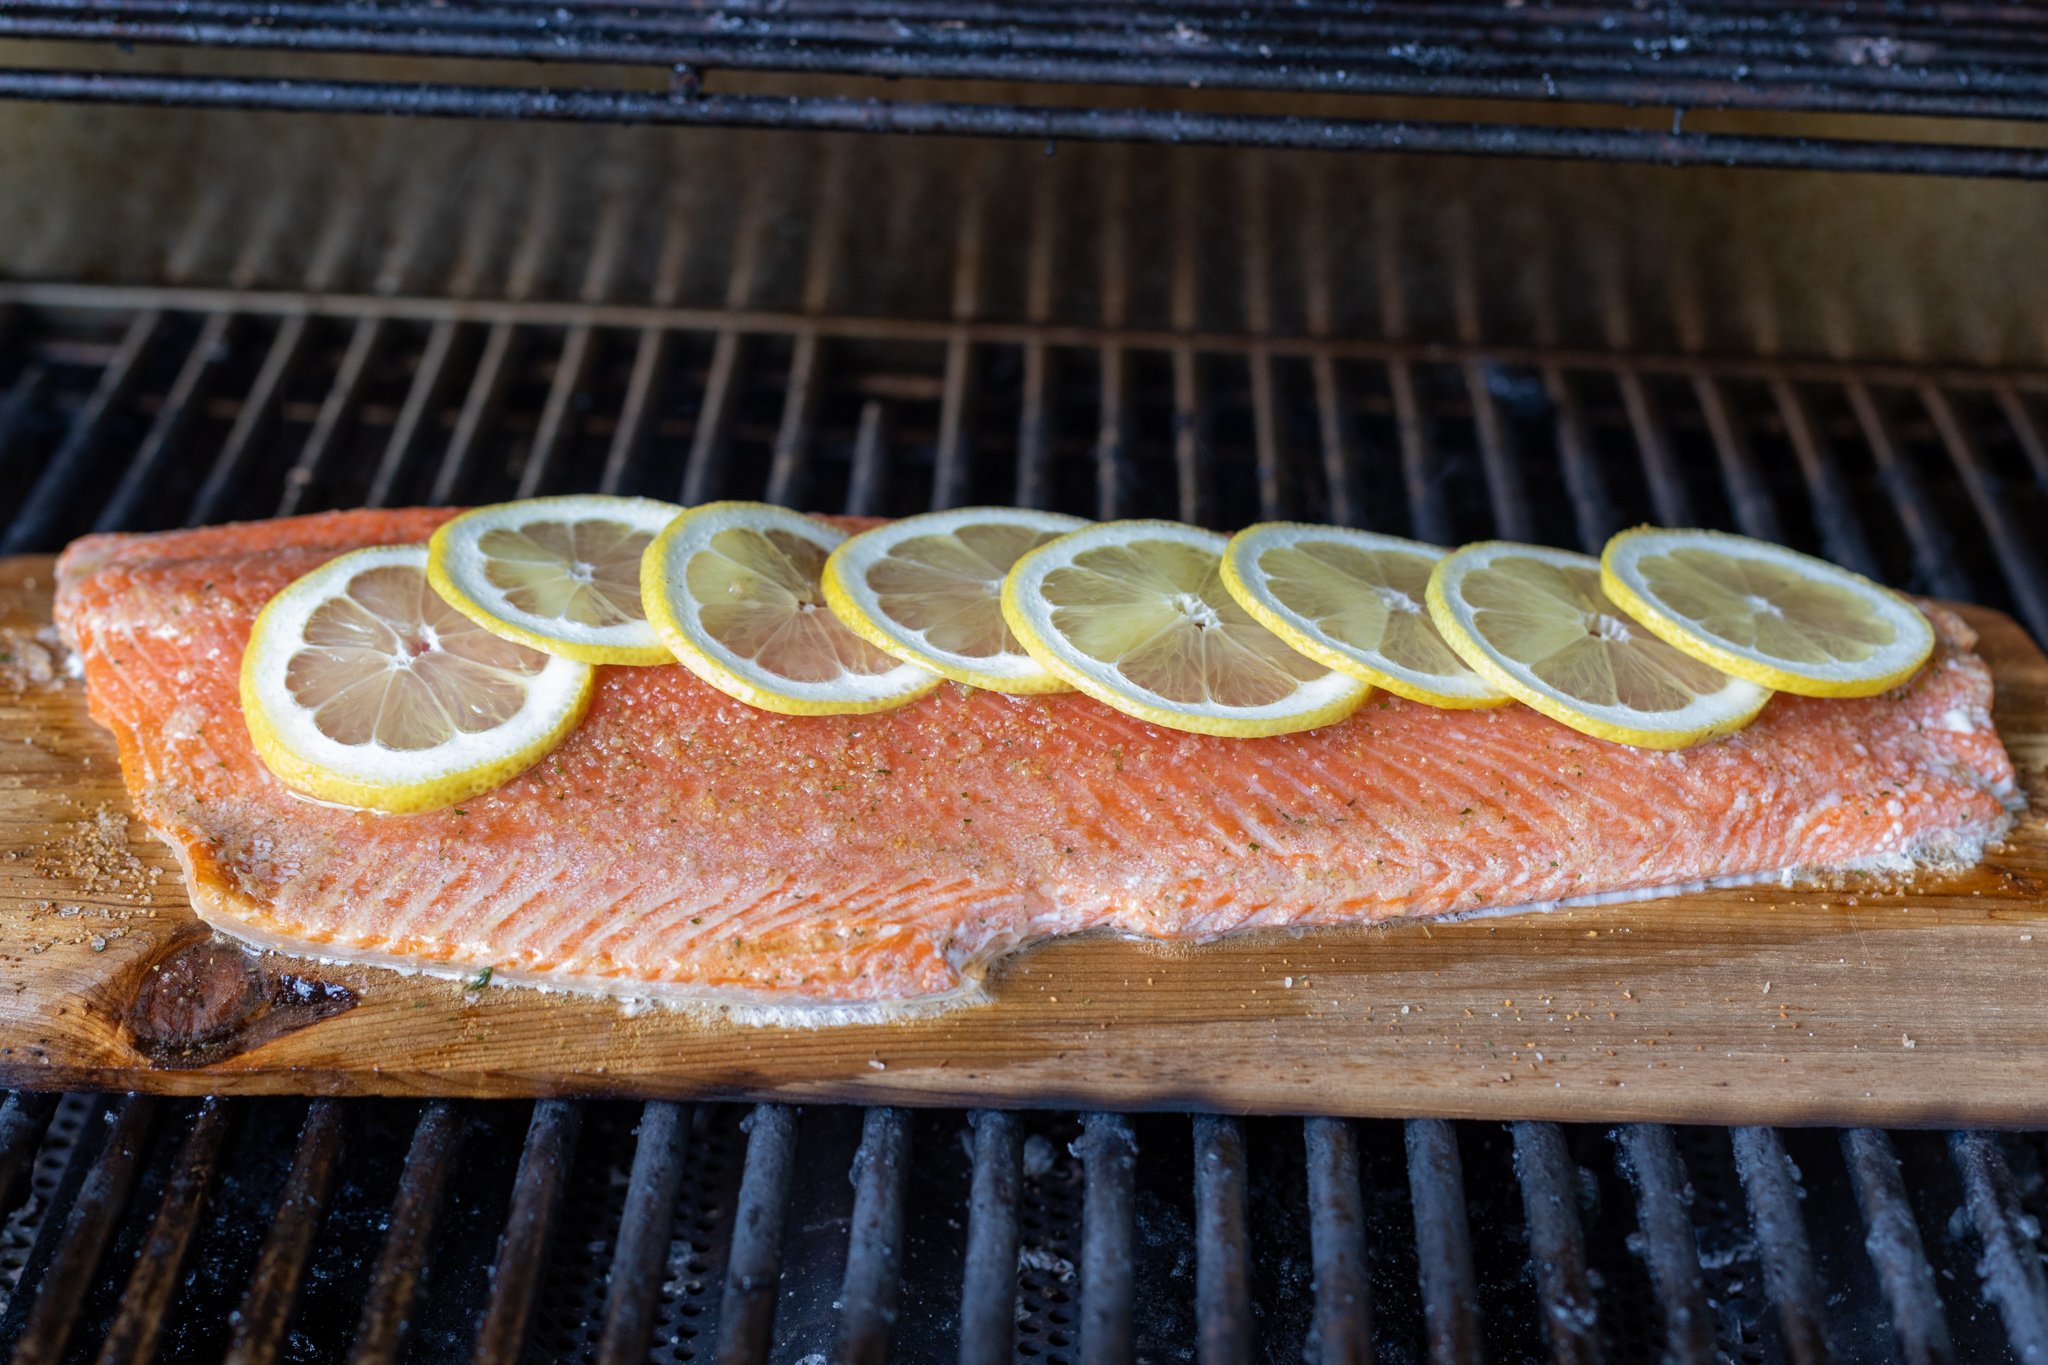
- Prepare the planks: Prepare the cedar planks by soaking them in water for at least an hour. Preheat the grill to 350°F.
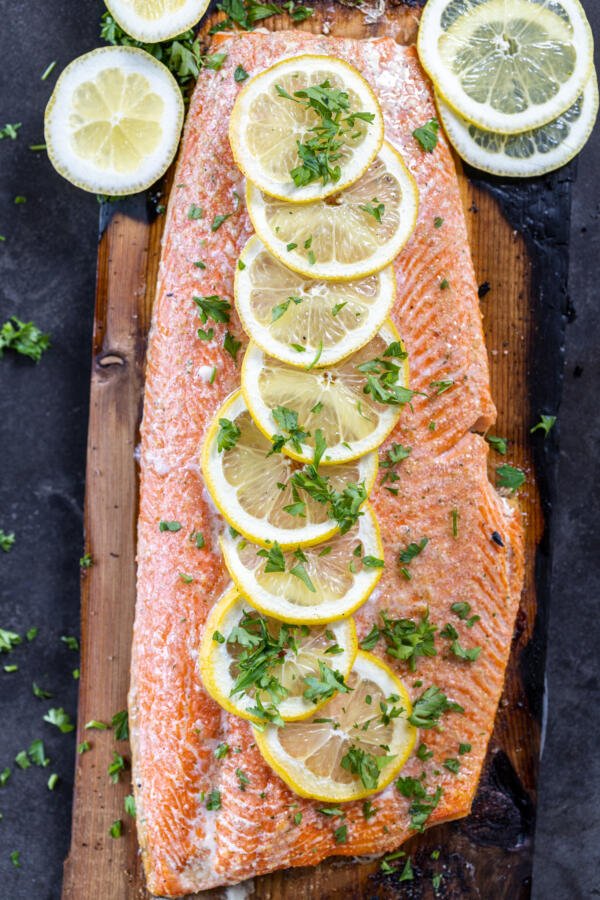
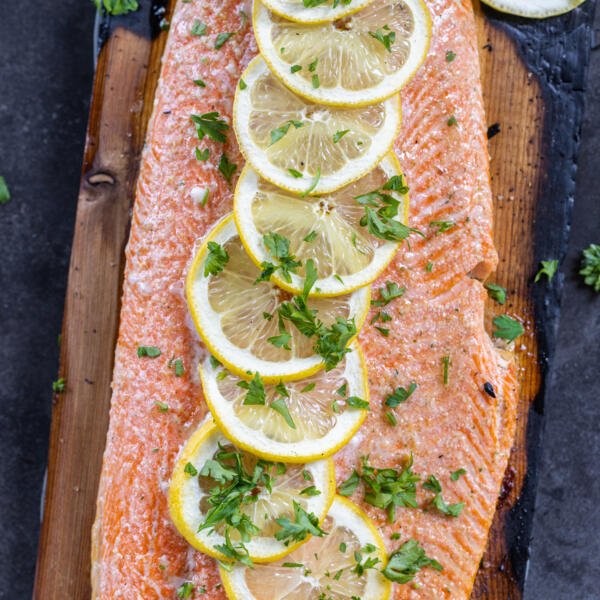
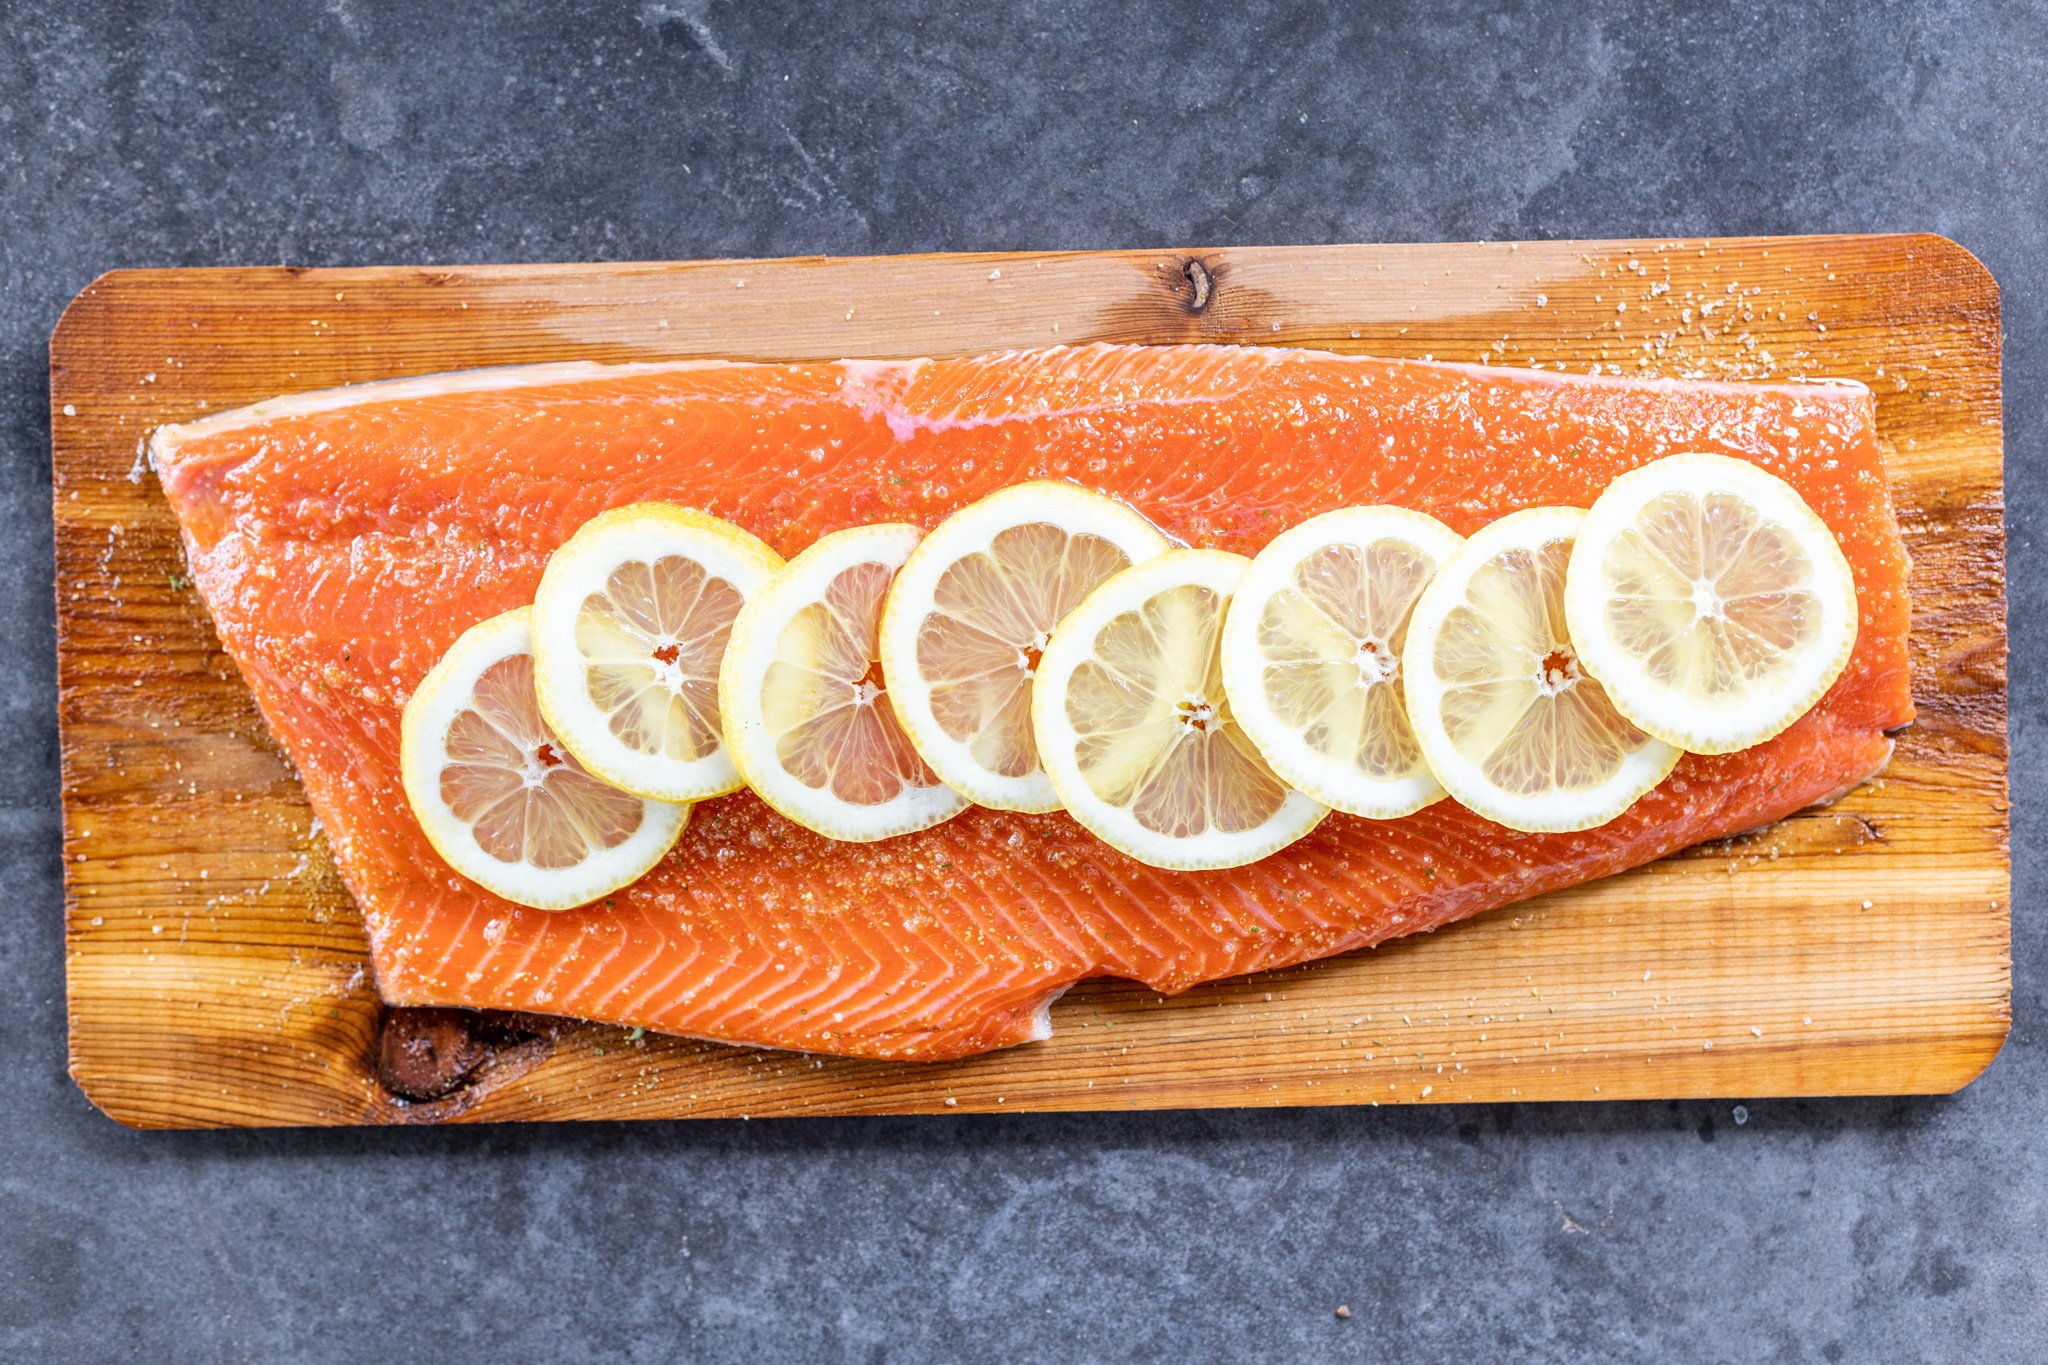
- Season the salmon: Place the salmon on the soaked planks, then brush with olive oil, season with garlic parsley salt, and top with lemon slices.
- Grill the fish: Place the salmon planks onto the preheated grill. Grill for 8-12 minutes, or until the internal temperature reaches 145°F and the salmon easily flakes with a fork.
Hot tip: We typically do not recommend reusing a cedar plank. The planks retain the flavor of the previously cooked food and they will produce a less intense smokey flavor output after each use.


Grilling Variations
One of the many perks about grilling salmon is how easy it is to change up the flavor with different ingredients or marinades. If I ever get into a funk with one flavor, I change it up slightly and the dish becomes something totally new.
- Marinate in advance: Use your favorite salmon marinade and let it infuse into the fish for half an hour before grilling.
- Season with a dry spice rub: For extra flavor, combine brown sugar, smoked paprika, garlic powder, onion powder, salt, and/or black pepper and rub into the salmon before grilling.
- Add a glaze: Instead of adding flavor to the fish before grilling, add it after. Use your favorite glaze like BBQ sauce or teriyaki sauce.
Hot tip: Check out this garlic, lemon, & herb cedar plank salmon for step by step instructions for this flavor combination!
Tips from the Kitchen
It took me quite a few tries to figure out how to make this salmon without the planks catching fire. It might be nice to watch fire dancing in a bonfire, but it certainly isn’t when it’s burning your delicious salmon filets! So — learn from my mistakes, follow these tips, and get the perfect results each time.
- Use a gas or charcoal grill: I like to use a gas grill because it’s super easy to control the temperature. However, cedar plank salmon can be made on a charcoal grill as well — it may even give a smokier flavor!
- Opt for skin-on salmon fillets: We love using skin-on fillets because the skin holds the salmon flesh together. Place the salmon skin-side down on the planks.
- Soak the planks: Make sure to soak the cedar planks for at least an hour before grilling. The longer they soak, the less likely they will be to catch on fire. Remove the plank from the water only when you’re ready to start grilling, because the plank dries quickly.
- Leave space between planks: When grilling several planks at the same time, leave space between each one so the heat evenly disperses around each fillet.
- Check the internal temperature: Salmon is notoriously easy to overcook. Don’t play the guessing game — invest in an instant-read thermometer to ensure perfectly cooked salmon.
Hot tip: Salmon fillets have a shorter cooking time, and are perfectly portioned out to serve right away. But, if you prefer cooking the entire salmon piece as a whole, it will give you the option of garnishing it beautifully. The whole fish will need a bit longer to cook, but it will also be extra moist.
Ways to Serve
No matter what you serve salmon with, it’s guaranteed to be a perfect fit. I always serve cedar plank salmon garnished with lemon zest or fresh herbs, but I alternate between sides of salads, veggies, or carbs. My family loves fresh avocado salad or bacon brussels sprouts salad with the salmon. Or, since the grill is already hot, we make grilled corn on the cob. For a little sweetness, serve with this fresh pineapple salsa on top! If we’re craving carbs we often opt for rice or quinoa.
Hot tip: Use leftover salmon to make a salmon sushi bowl the next day!
Storage Tips & Reheating
Cedar plank salmon is best enjoyed straight off the grill for the freshest, smokiest flavor. If you happen to have leftovers, keep reading for a simple storage and reheating guide.
- Refrigerator: To store for up to three days, place the salmon into an airtight container in the fridge.
- Freezer: Freeze the salmon for up to three months in an airtight bag or container. Thaw the fish slowly overnight in the refrigerator before reheating and serving.
- Reheating: To reheat quickly, use the microwave on a low speed. If reheating a larger portion of salmon, place it into the oven at 350°F and heat until warmed through.
More Seafood Recipes
- Grilled Lobster Tail – Talk about fancy, succulent, and restaurant-worthy!
- Grilled Salmon in Foil – This cooking method yields juicy, flavorful salmon
- Salmon Cakes – Tasty salmon patties made with canned salmon
- Crispy Air Fryer Coconut Shrimp – Crispy breaded shrimp
Recipe

Ingredients
- 2 lb salmon fillet skin on
- 2 tbsp oil avocado or olive
- 1 tbsp garlic parsley salt
- 1 lemon sliced
Instructions
- Prepare the cedar planks by soaking them in water for at least an hour. Preheat the grill to 350°F.

- Place the salmon on the soaked cedar plank. Brush with oil, season with garlic parsley salt, and top it off with lemon slices.

- Place the plank with salmon onto the preheated grill. Grill for 8-12 minutes, or until the internal temperature reaches 145°F. Enjoy!


No Comments