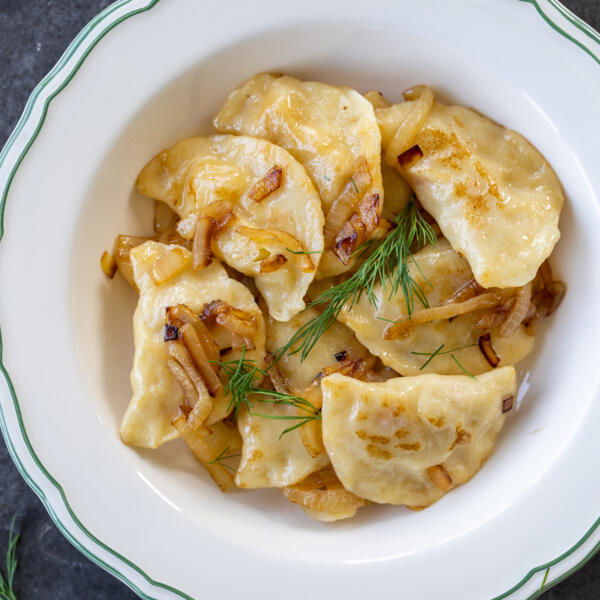
These tender cabbage pierogi are stuffed with a savory sautéed cabbage filling and pan-fried to golden perfection. They are truly a labor of love and one of my all-time favorite comfort foods!

One bite of these cabbage pierogi takes me straight back to my childhood in Ukraine. My parents owned a farm, and if you know anything about farm life, you know that it’s quite labor intensive. Yet somehow, my mom always found time to make varenyky to feed our family. Decades later, this dish is still so close to my heart. I guarantee that once you try this recipe, you’ll fall in love with it the same way I have — the dough is sooo stretchy and forgiving, and assembling the pierogi is an easy and pleasant experience.
Since you’re already planning to make these cabbage varenyky, I suggest doubling the recipe. They freeze exceptionally well and make for a perfect meal on those days when you don’t feel like cooking. Your future self will definitely thank you!
Cabbage Pierogi Video
How To Make Cabbage Pierogi
Whether you’re a seasoned pierogi maker or a newbie, get ready to have some fun! Making these cabbage pierogi takes a bit of prep, but it’s incredibly straightforward and easy to learn.
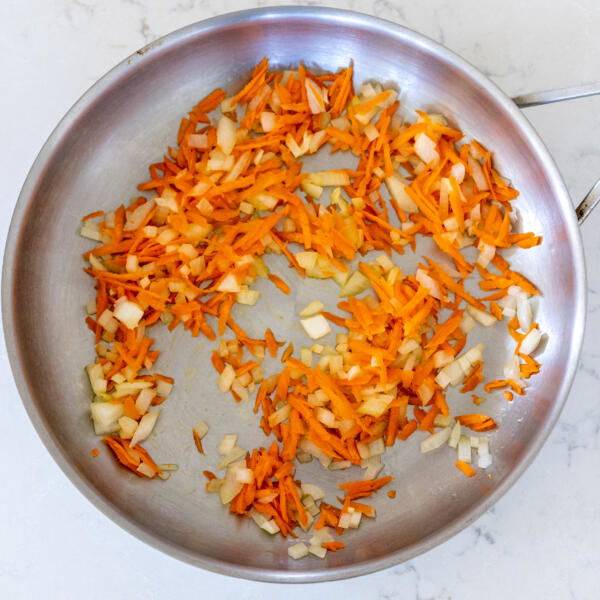
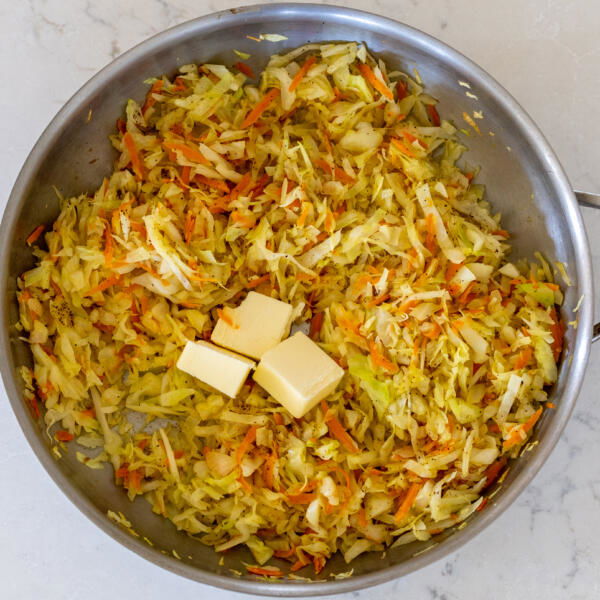
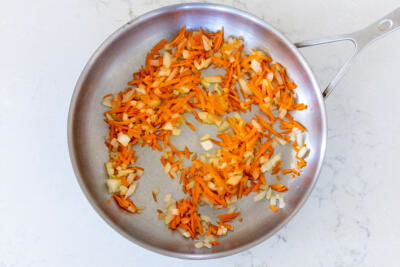
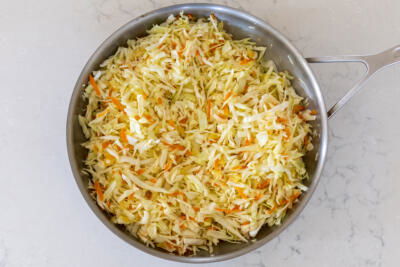
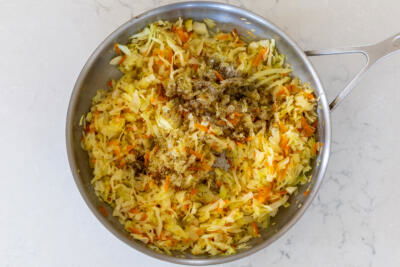
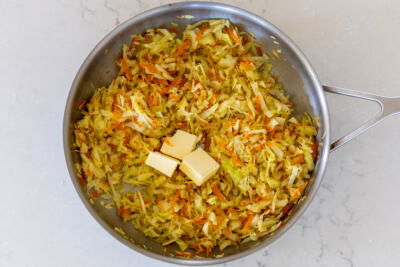
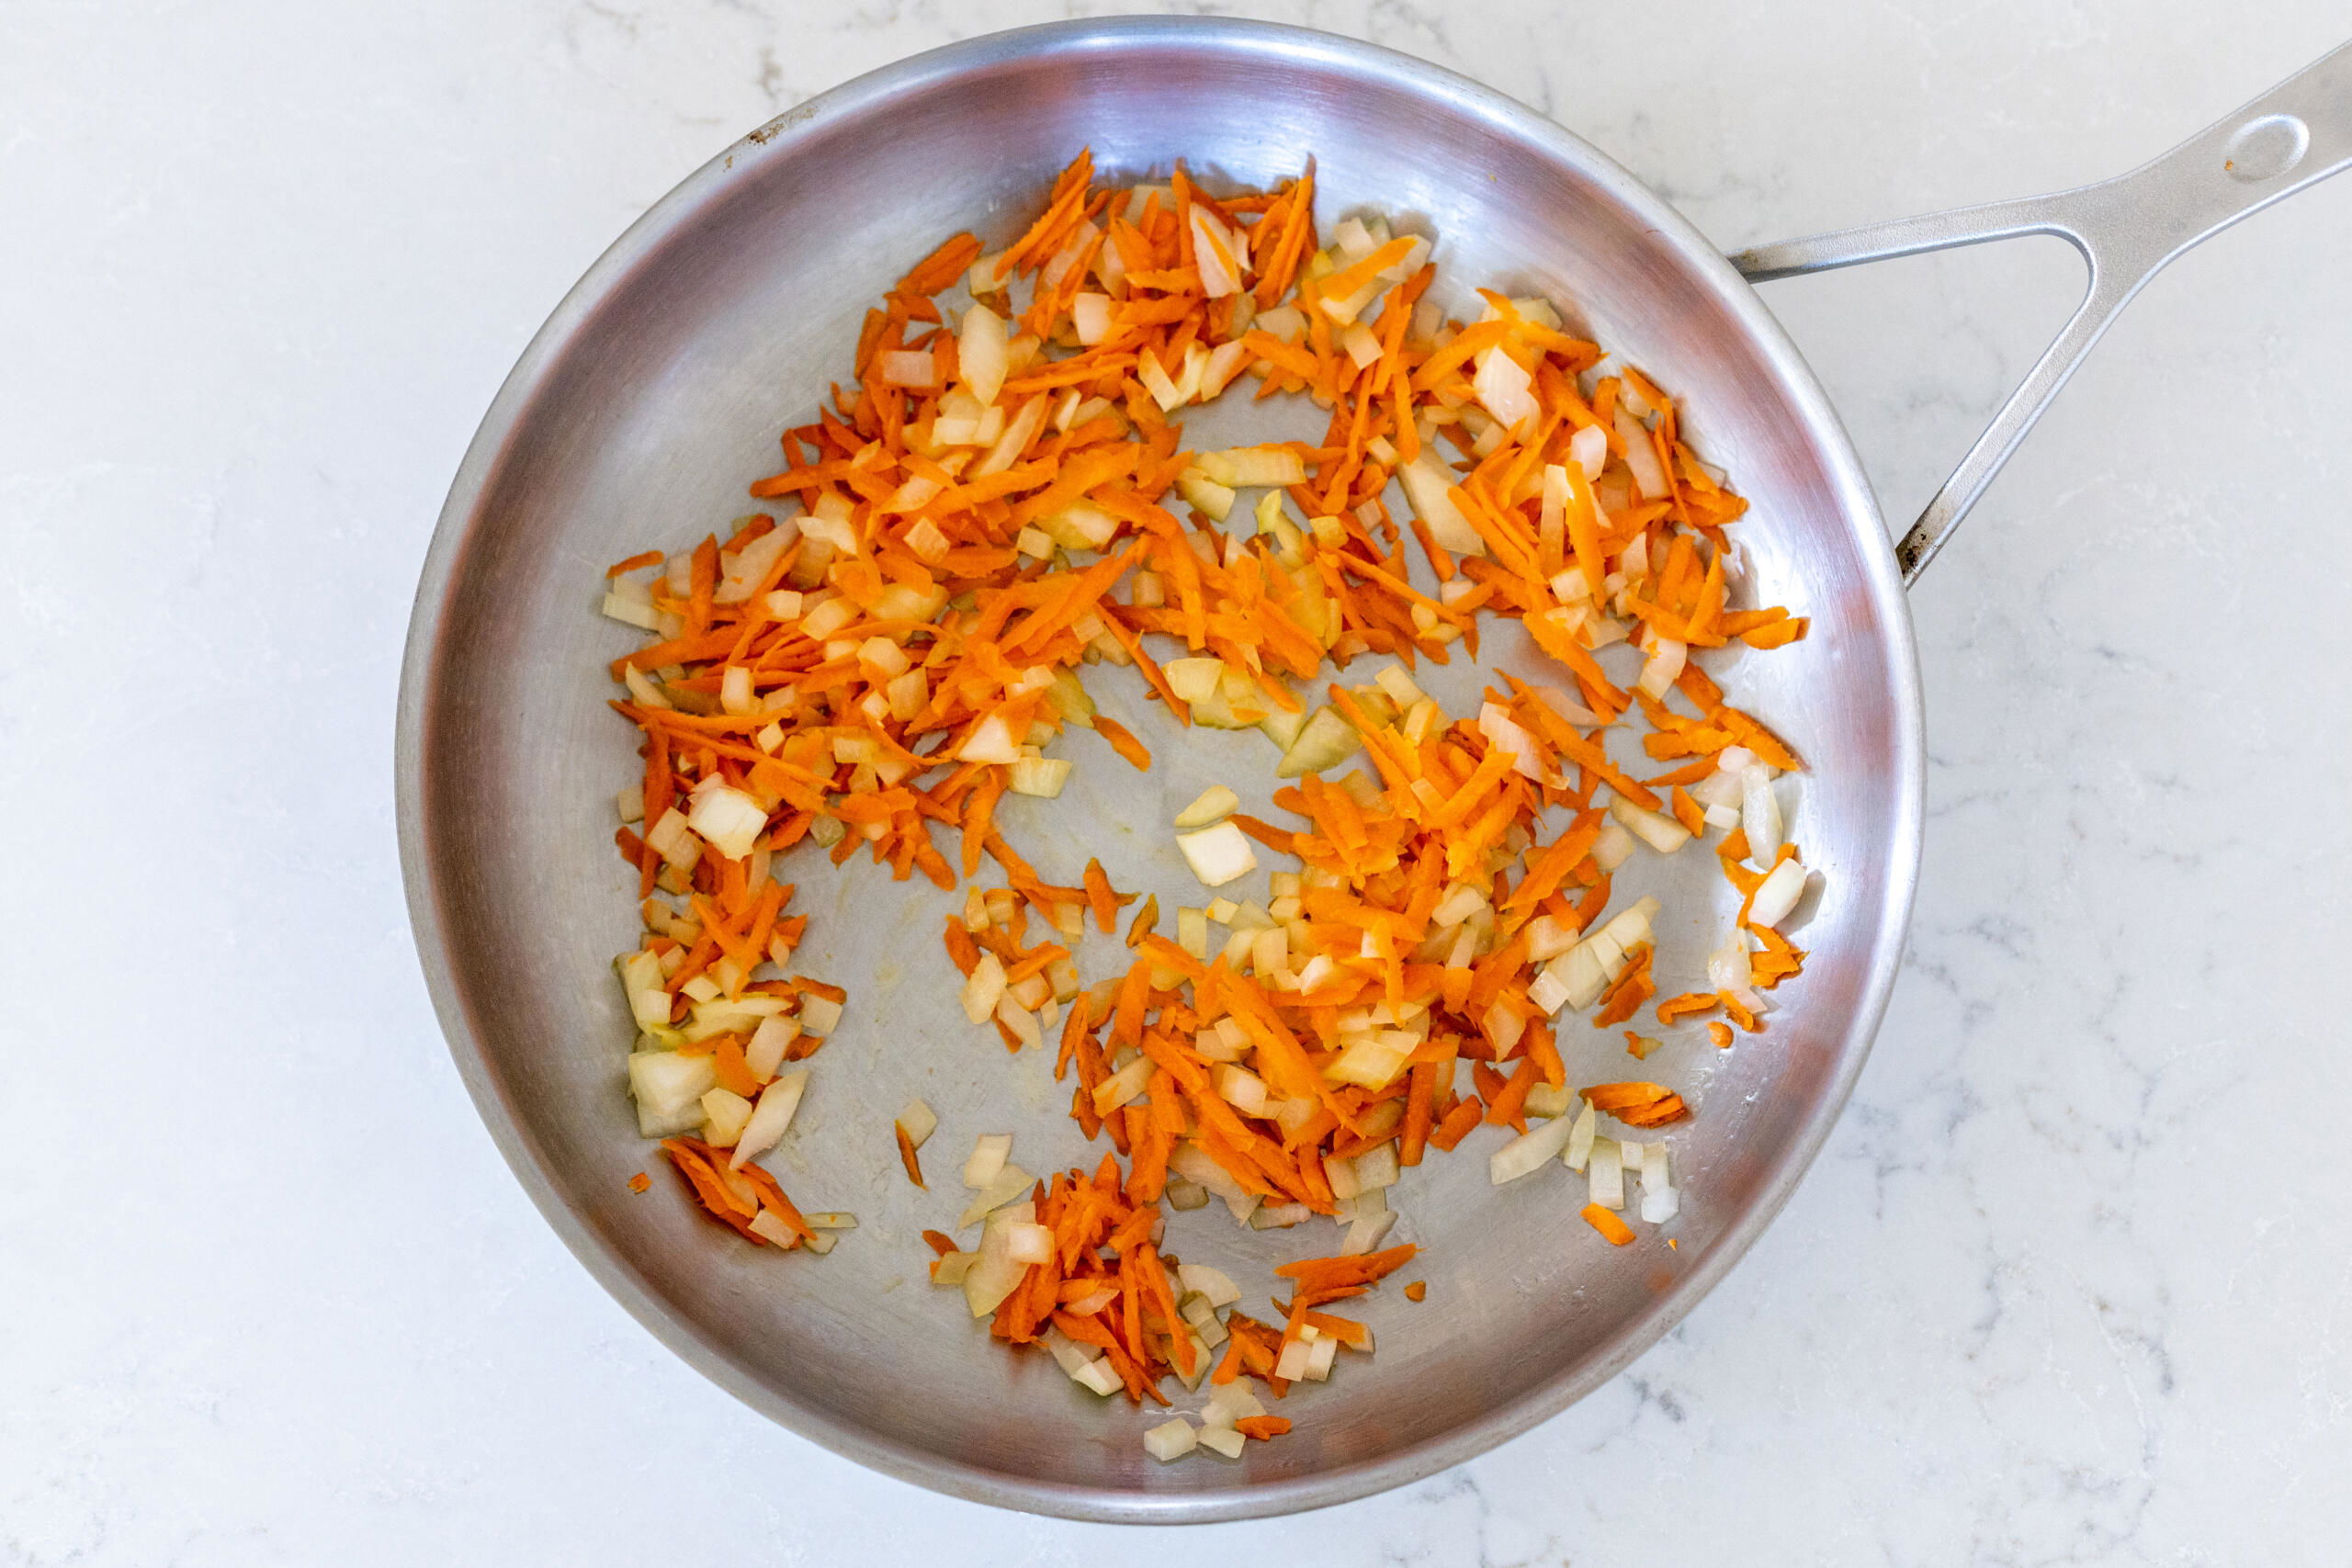
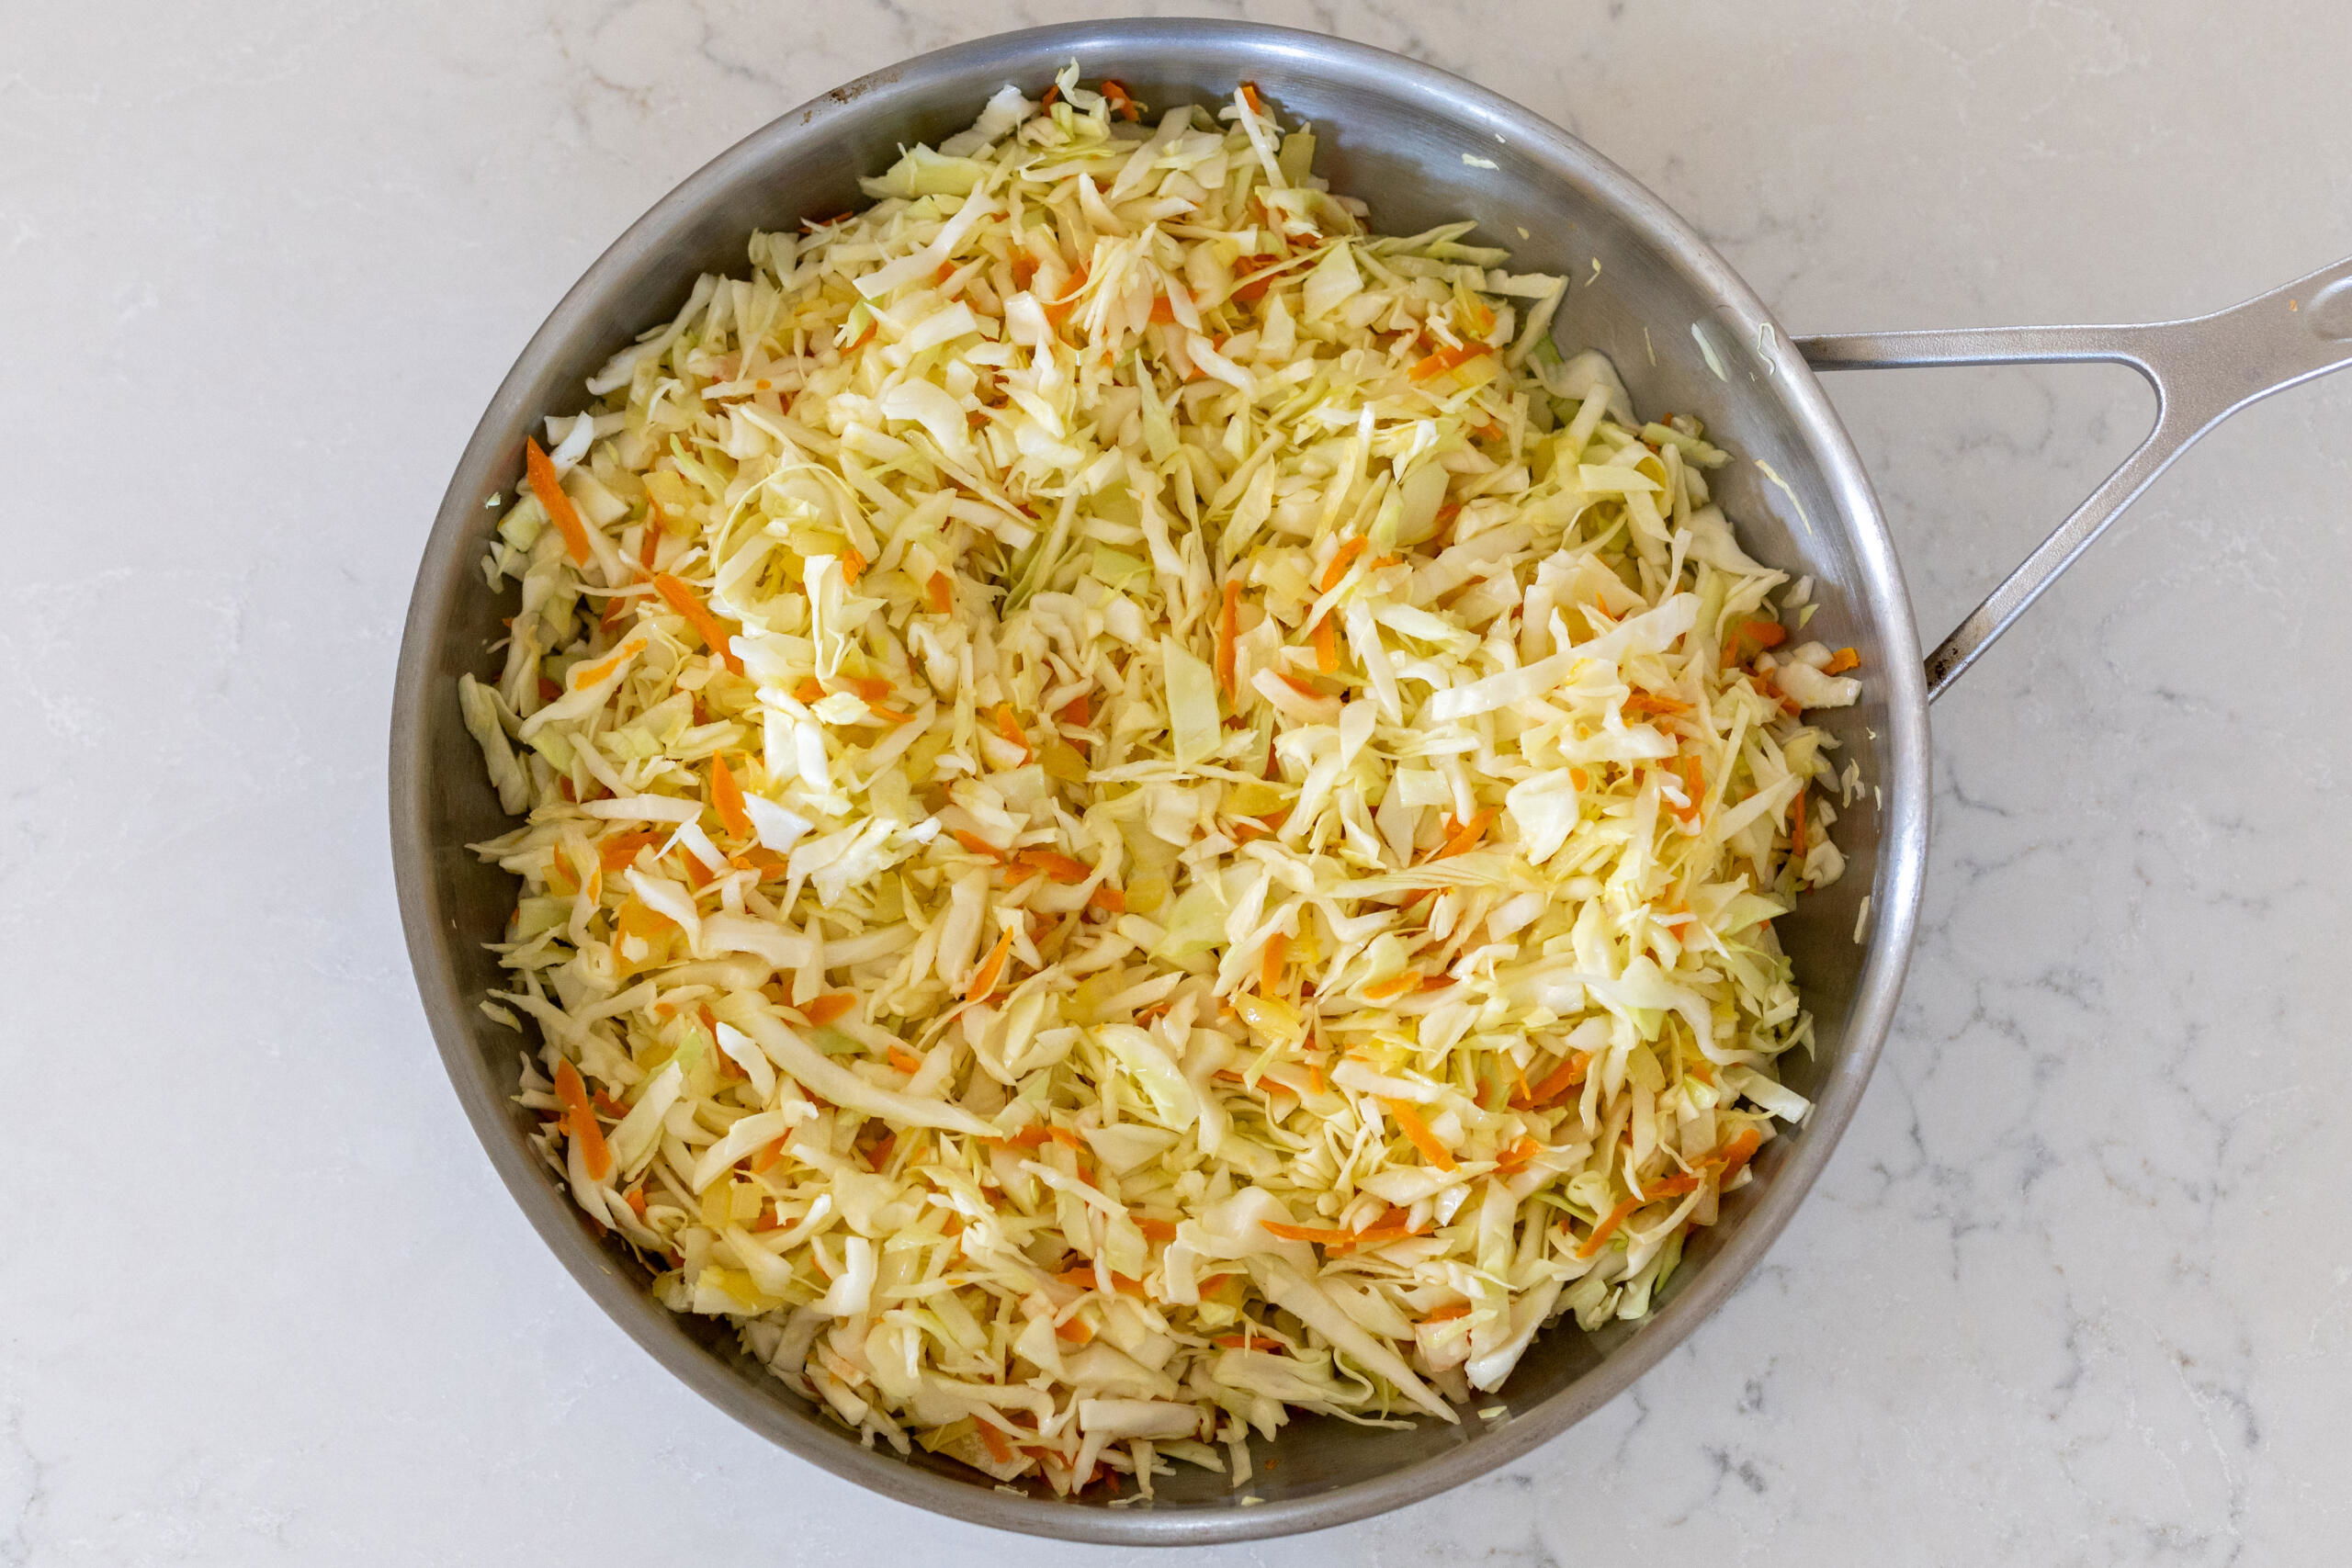
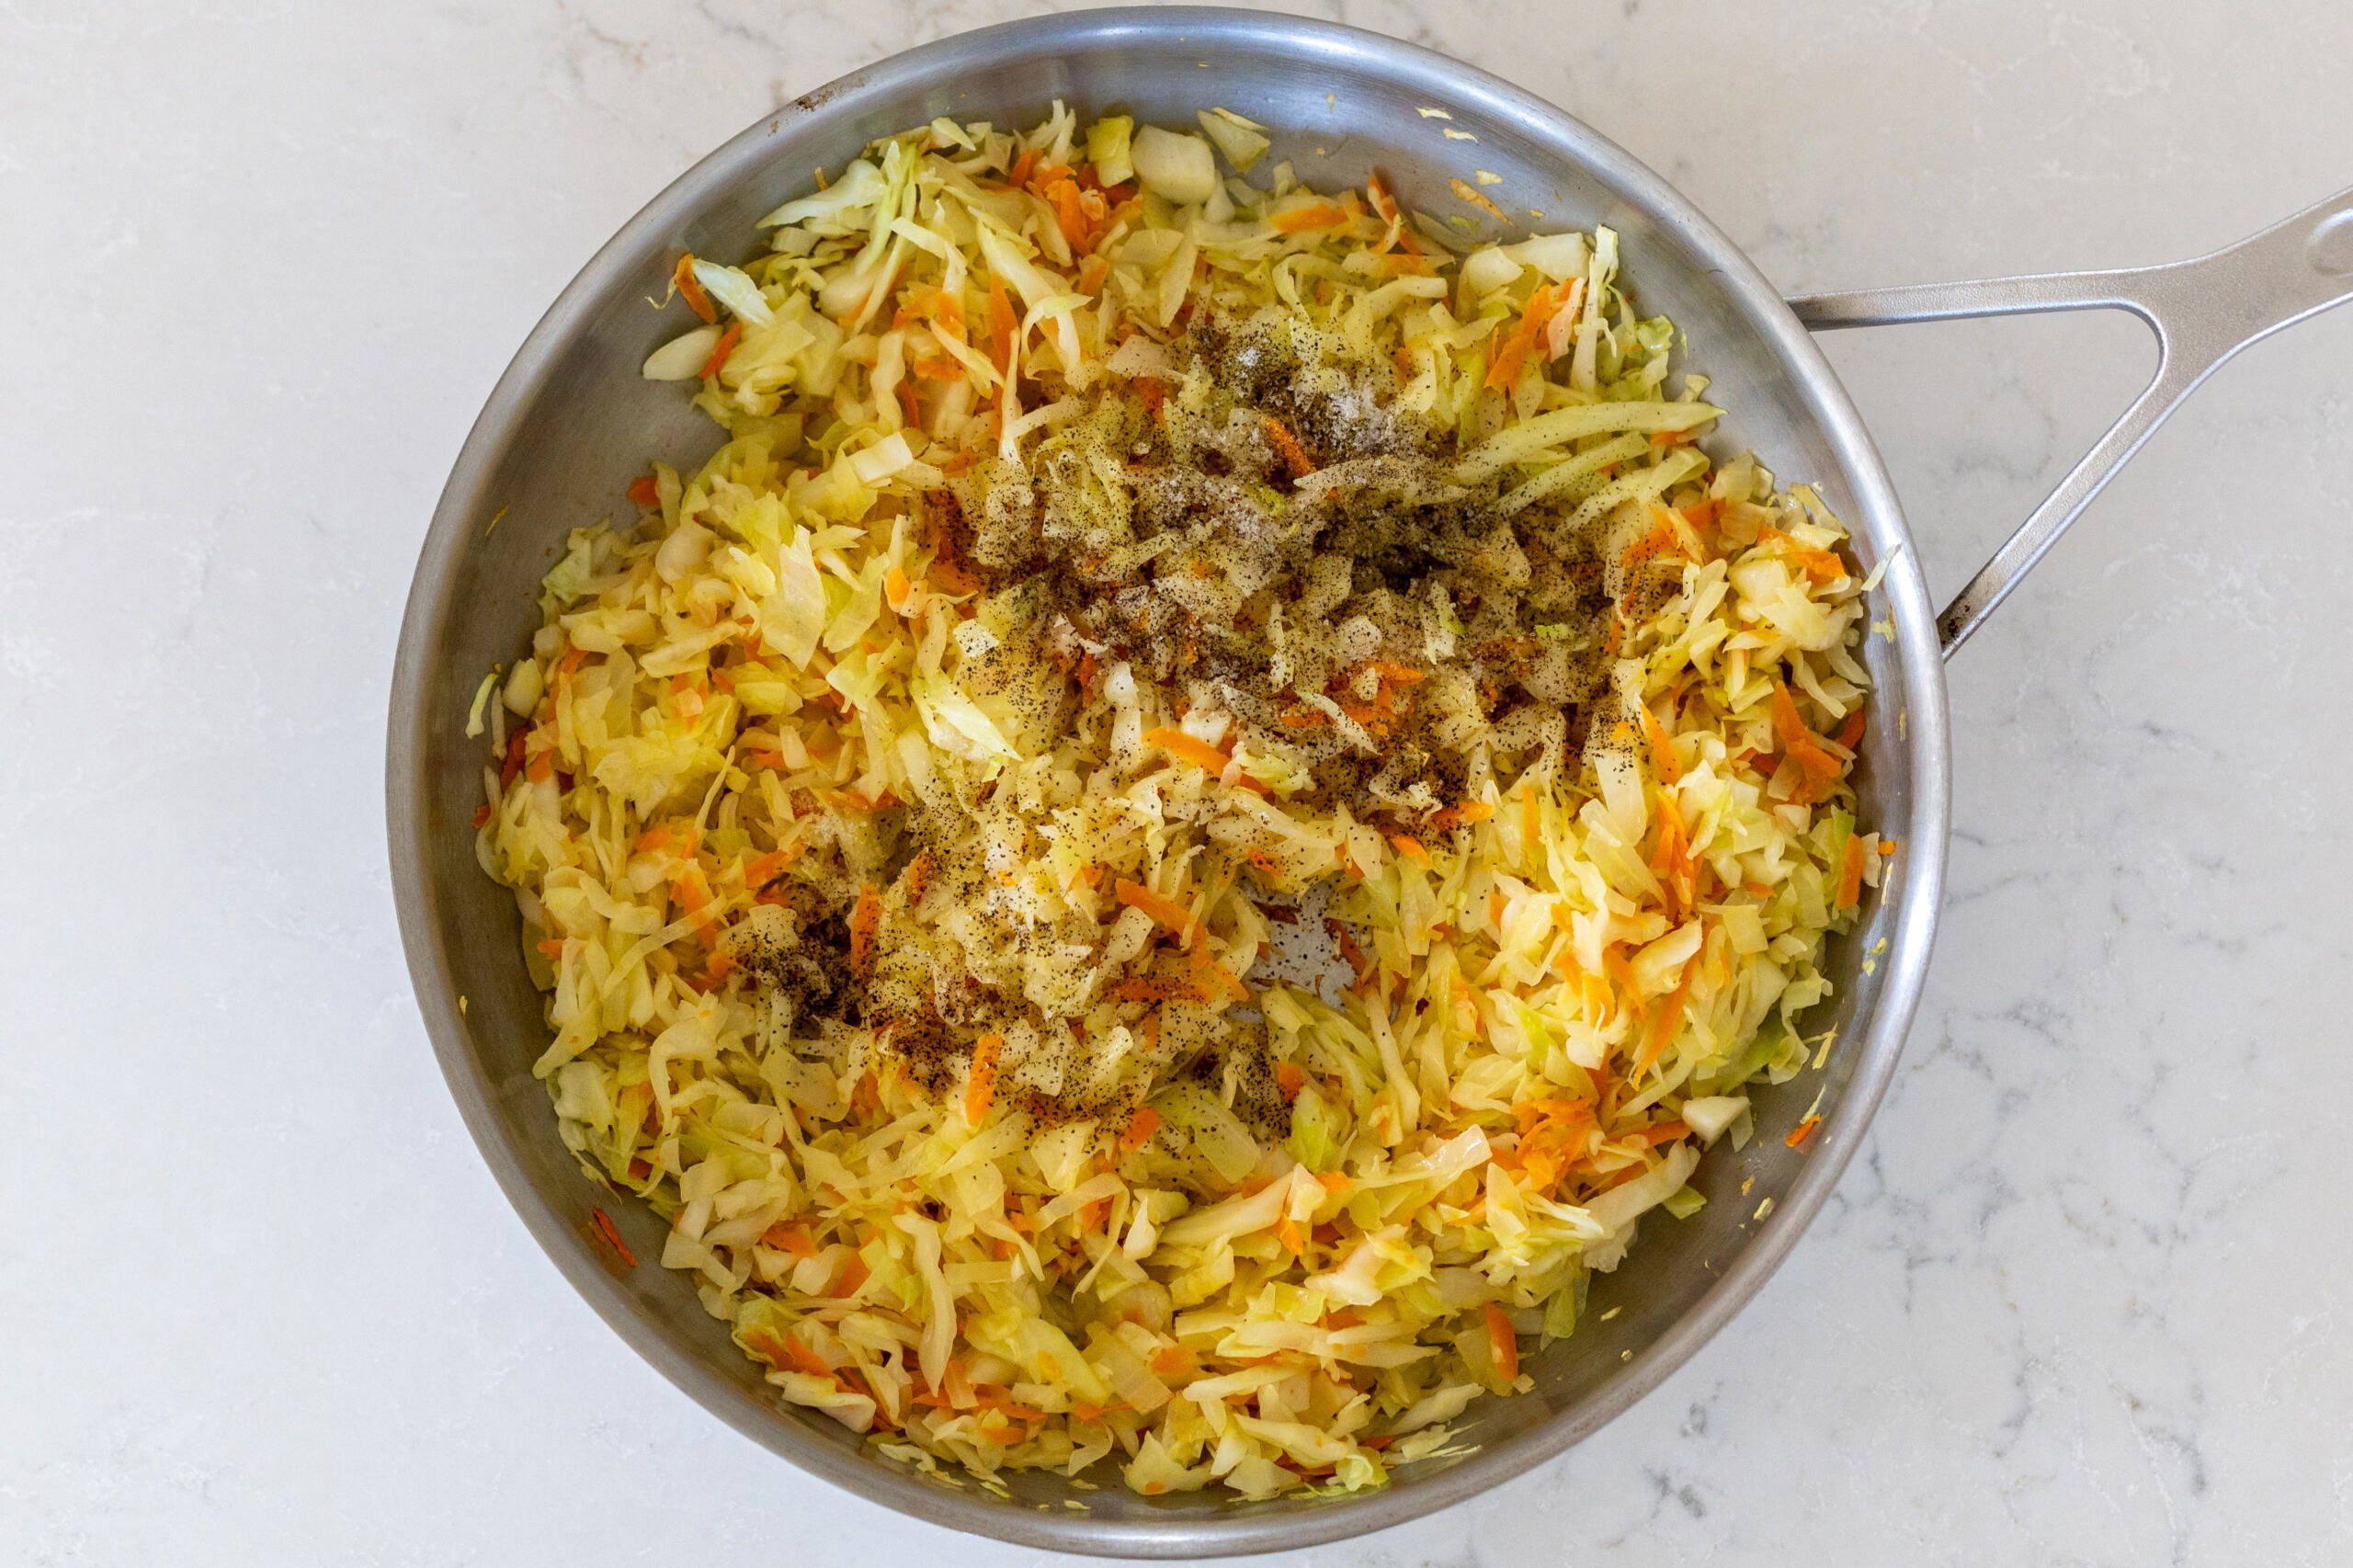
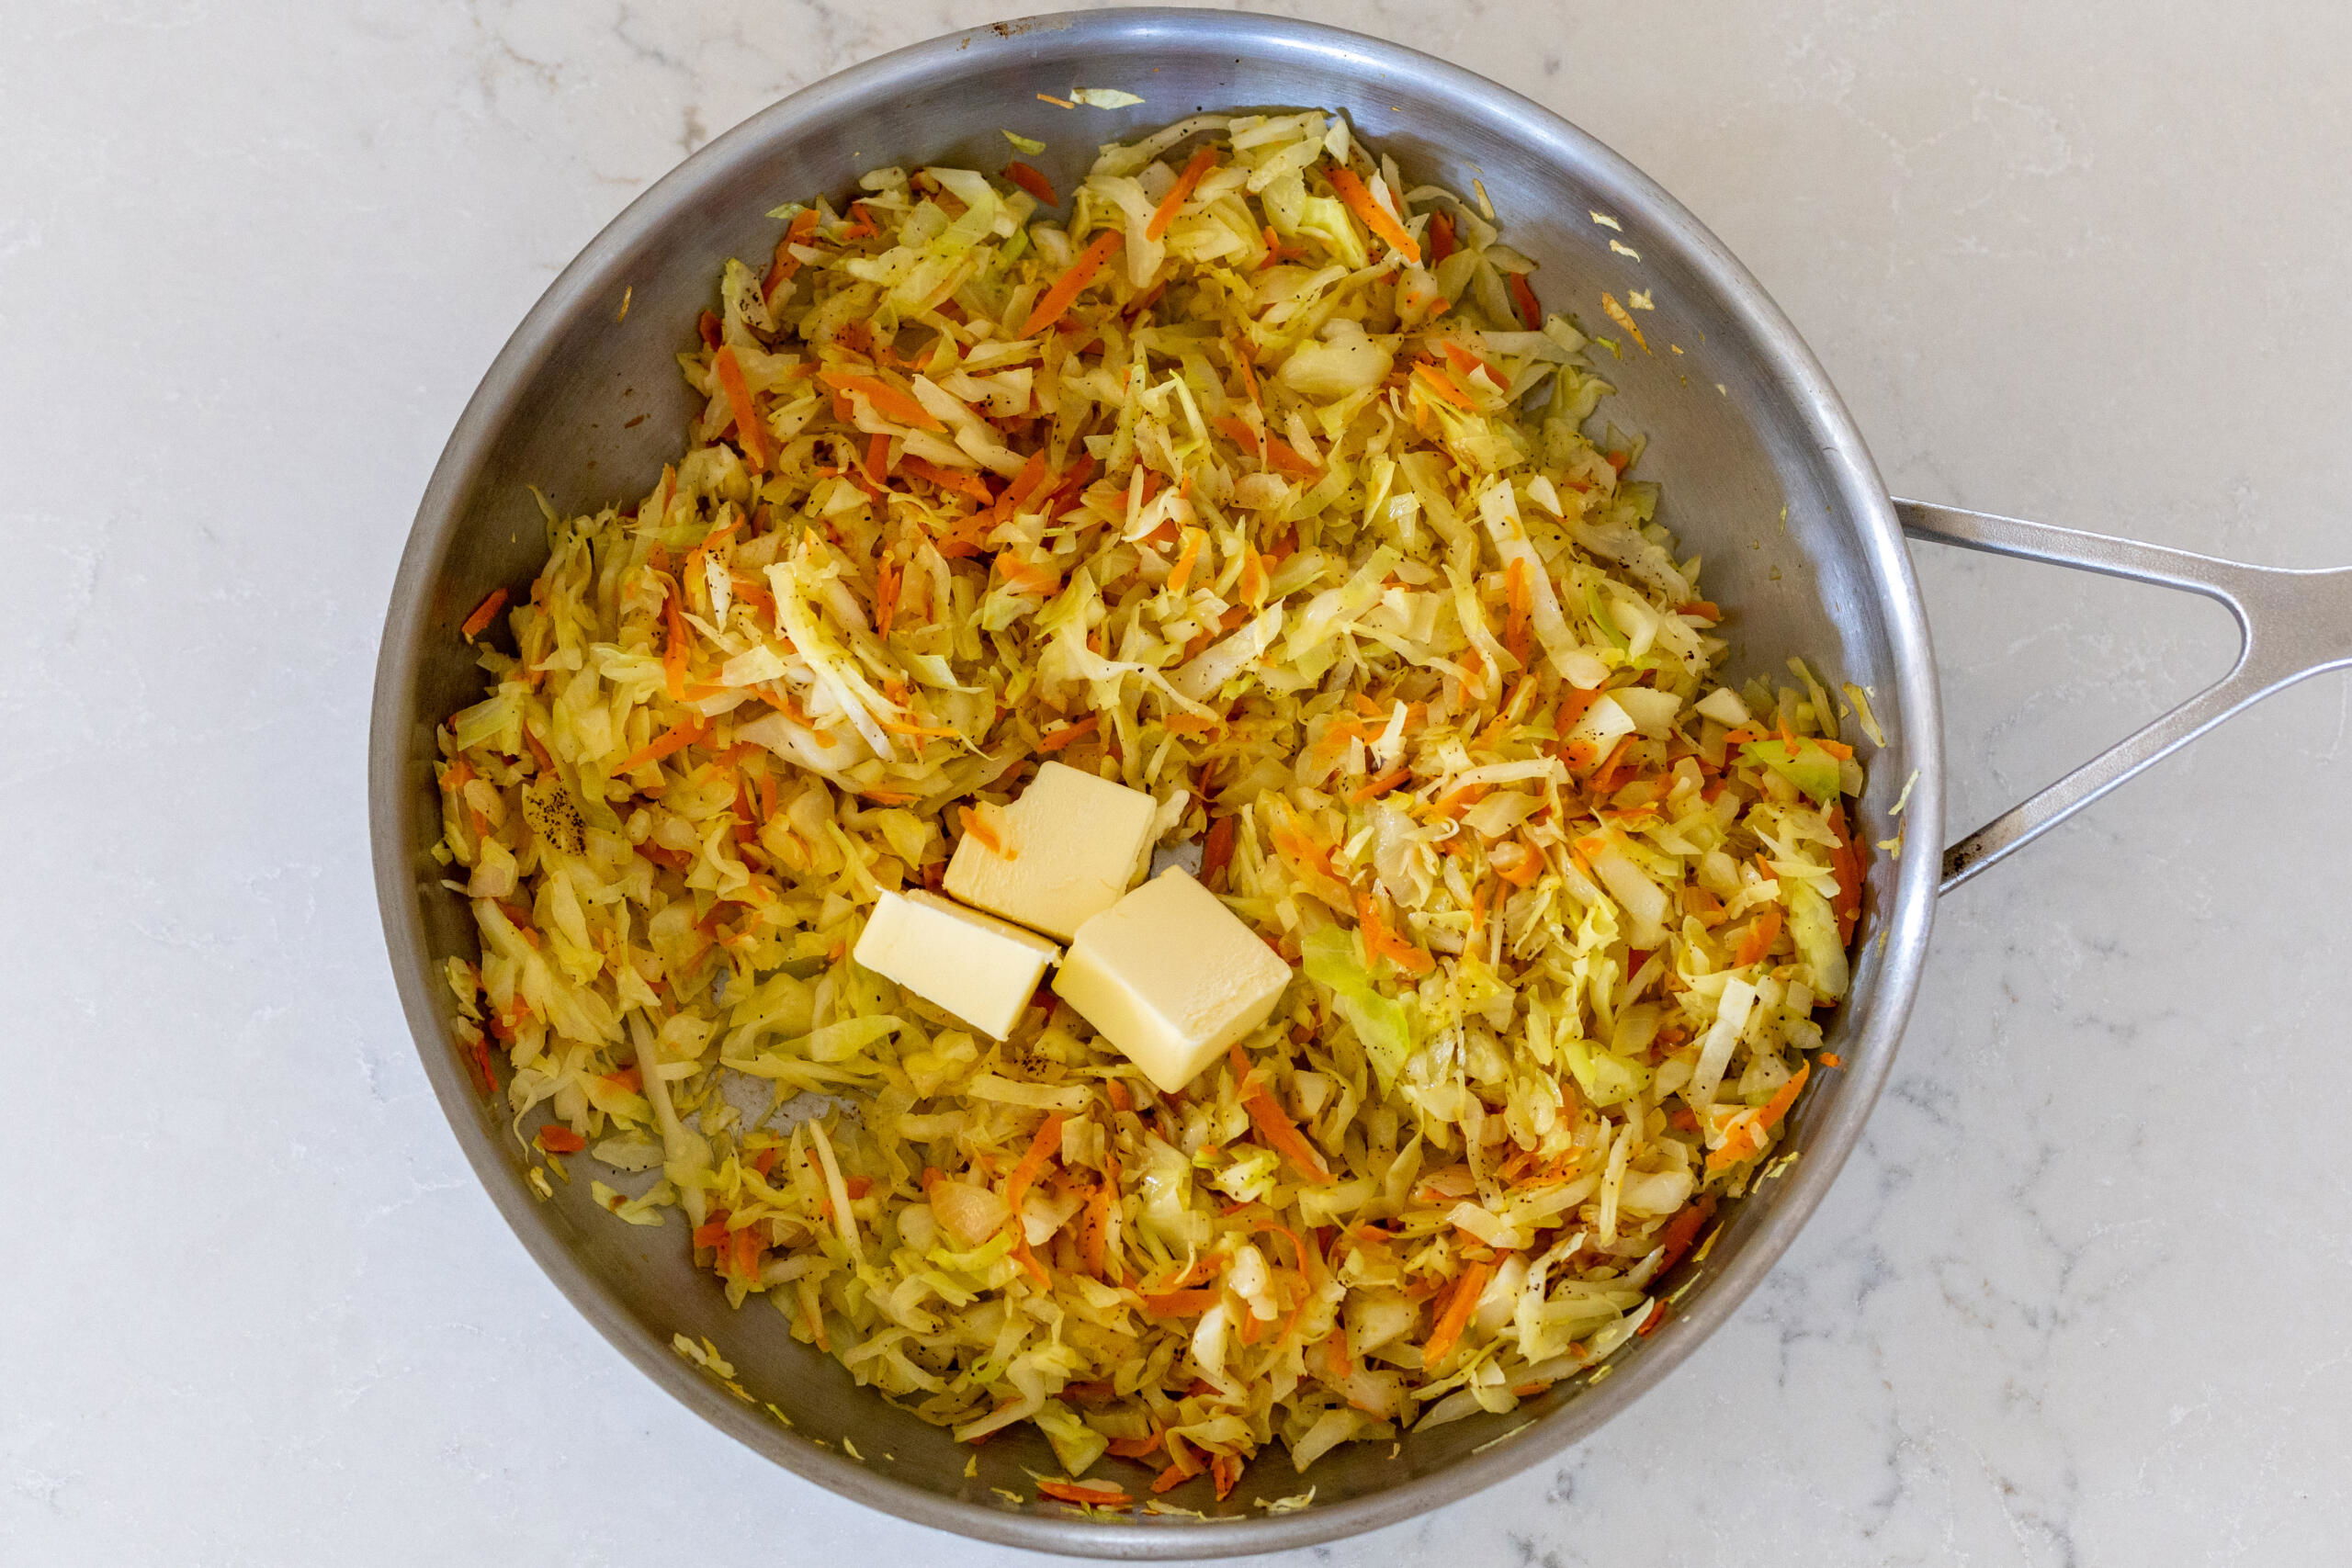
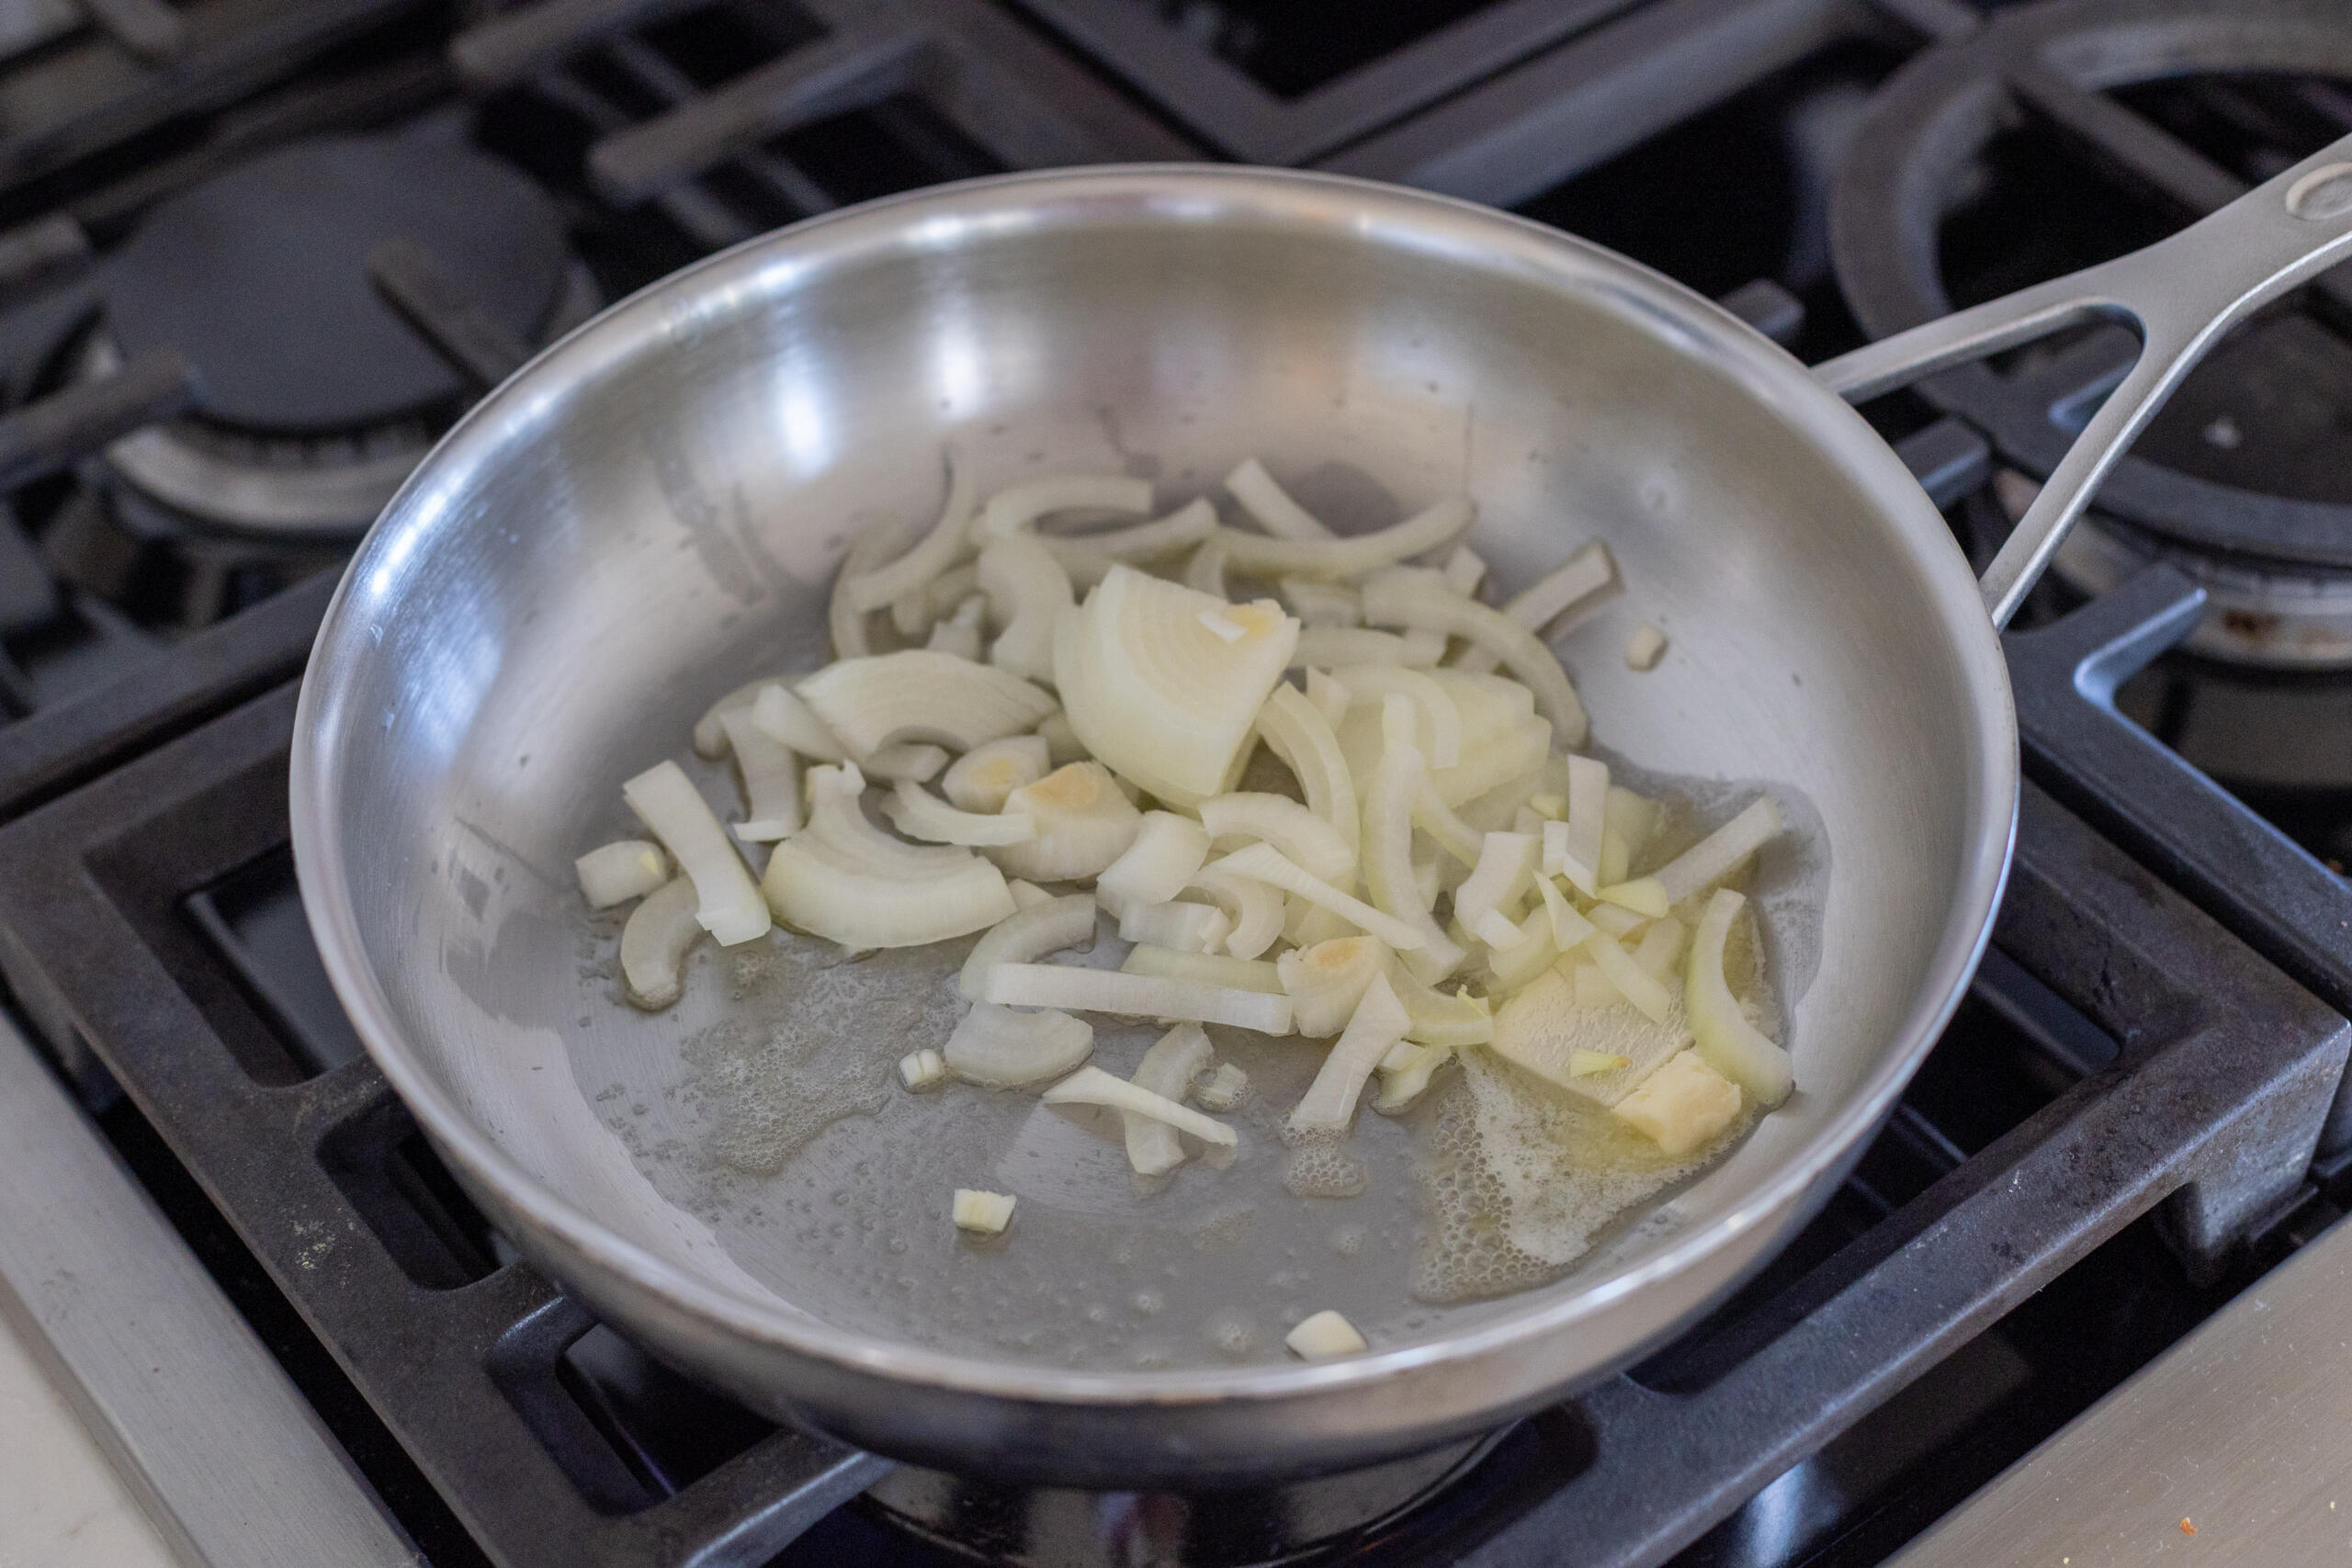
- Cook the cabbage filling: Add the chopped onions and carrots to a large oiled skillet (this one is great for fitting everything) over medium heat and cook until tender. Add the cabbage and continue cooking until it softens. Season the veggies and stir in the butter, then let the filling cool.
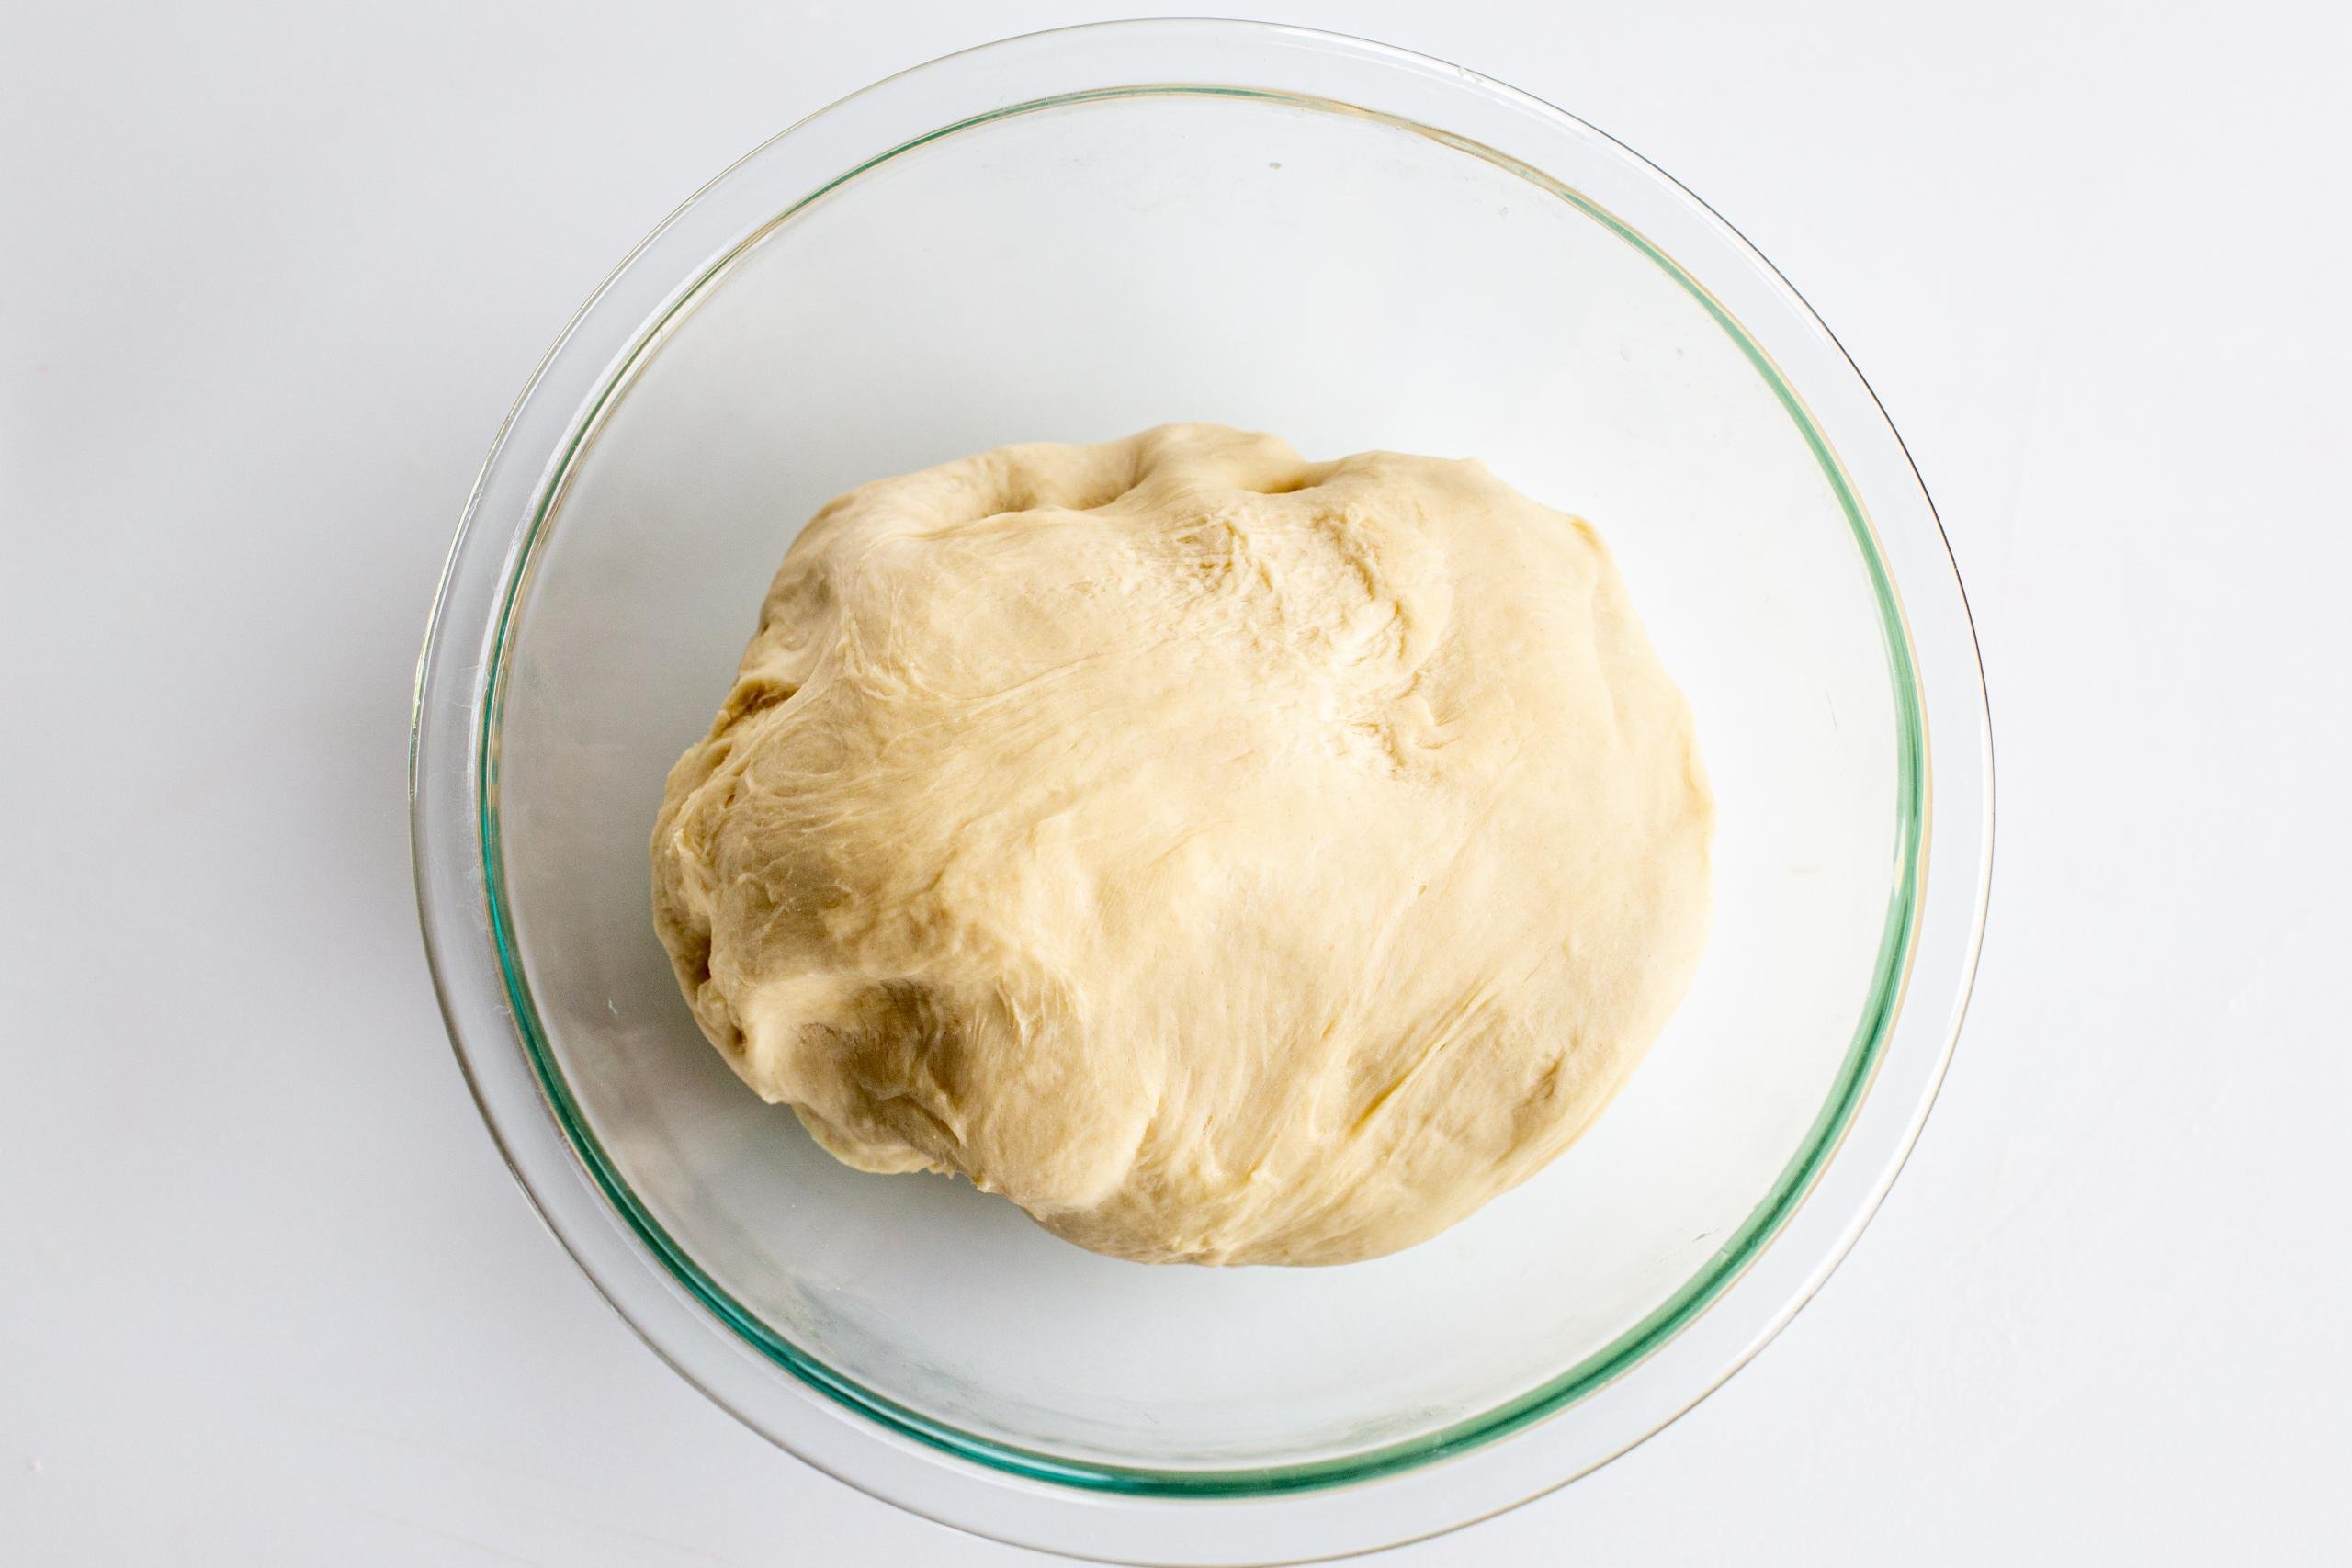
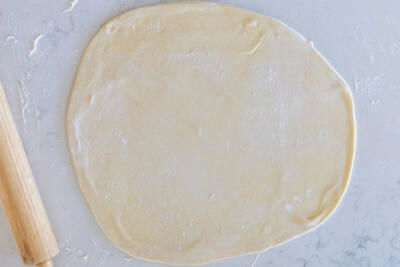
- Make the dough: Using a stand mixer or whisking by hand in a large bowl, combine all the dough ingredients and mix until smooth. Cover and let the dough rest for 10 minutes.
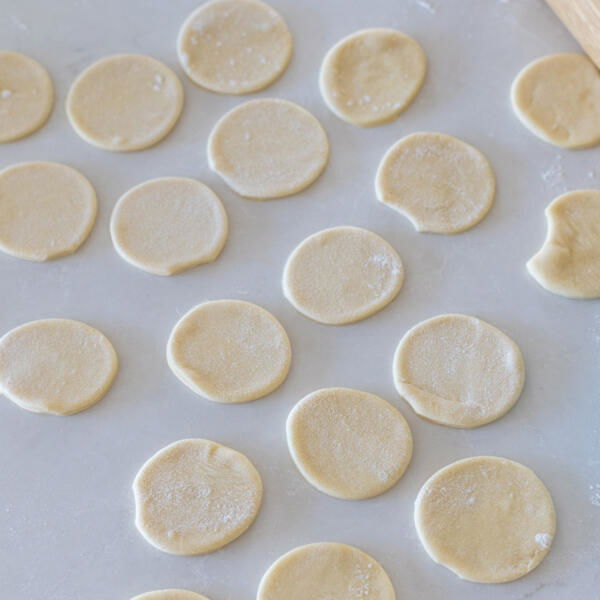
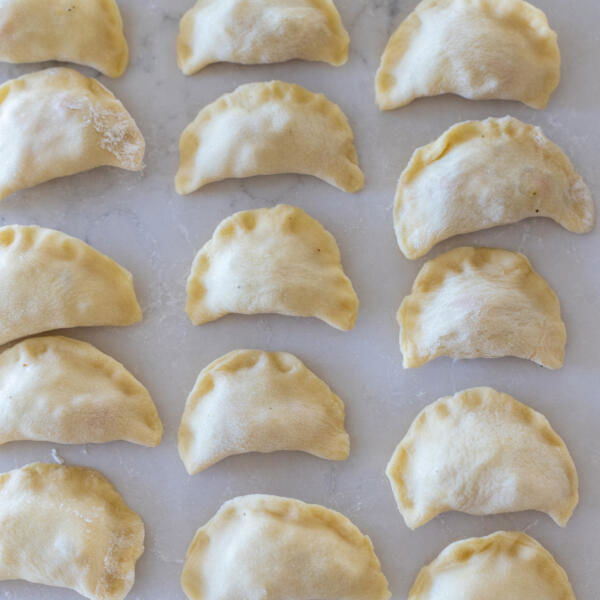
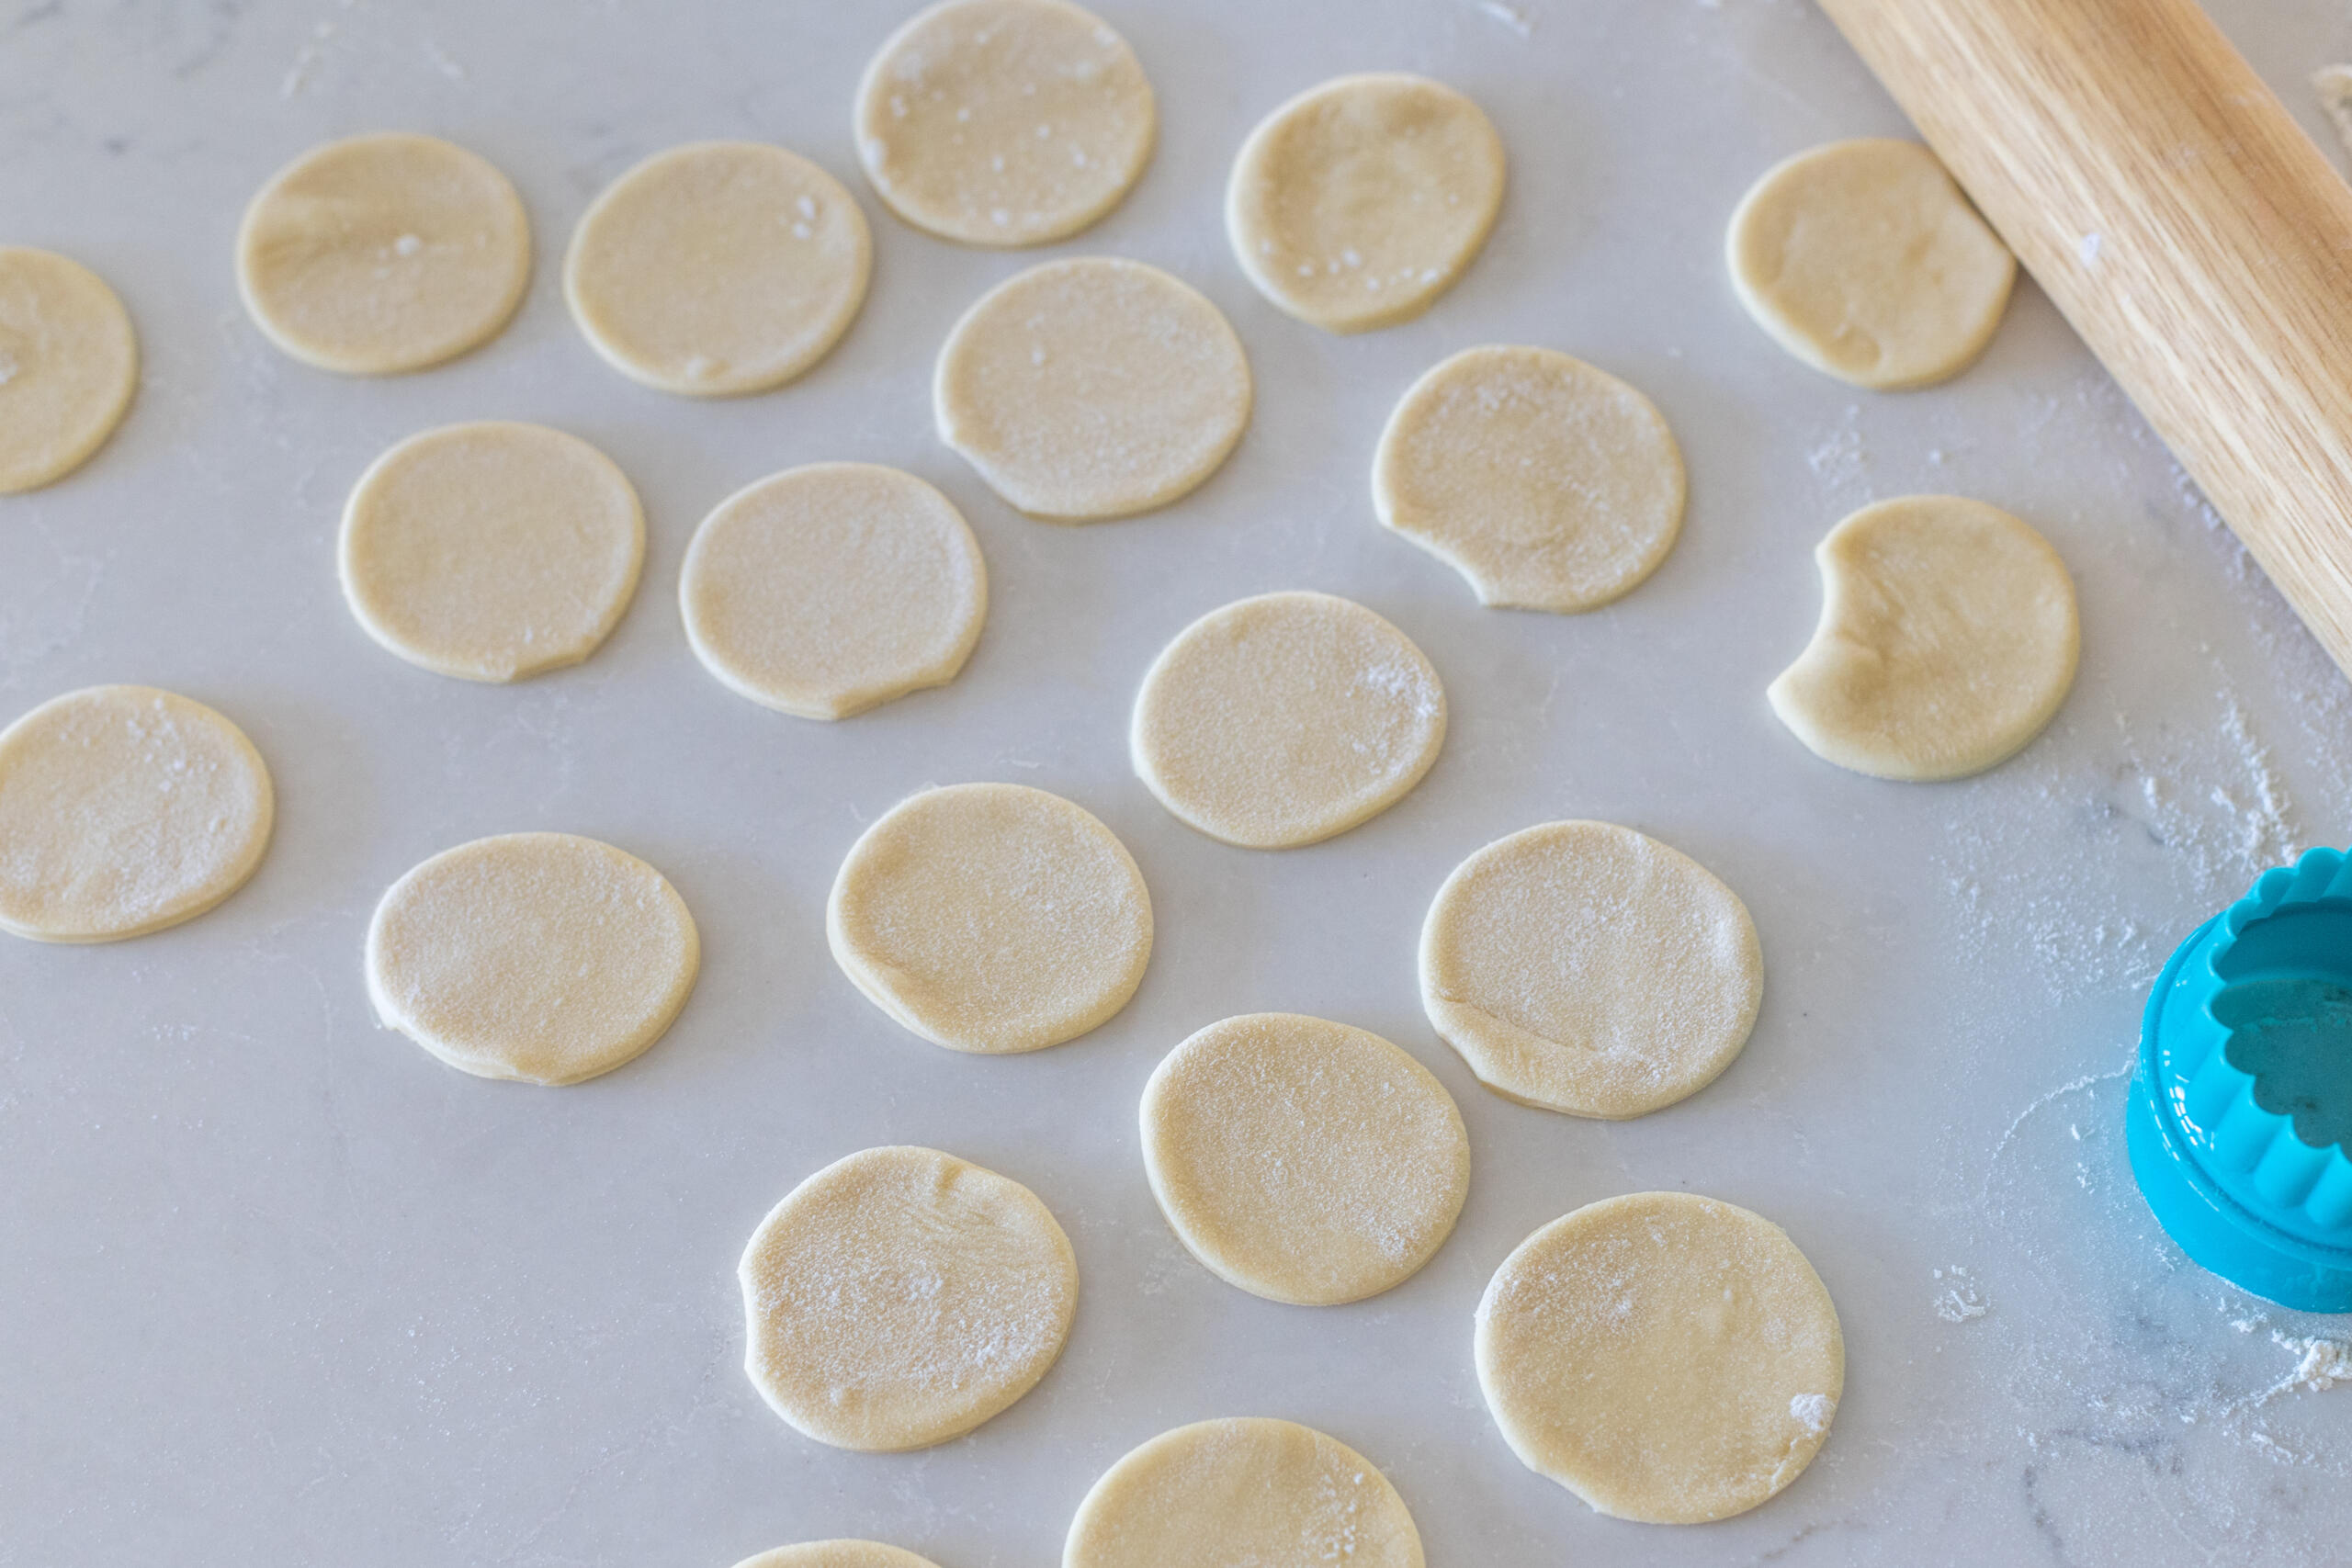
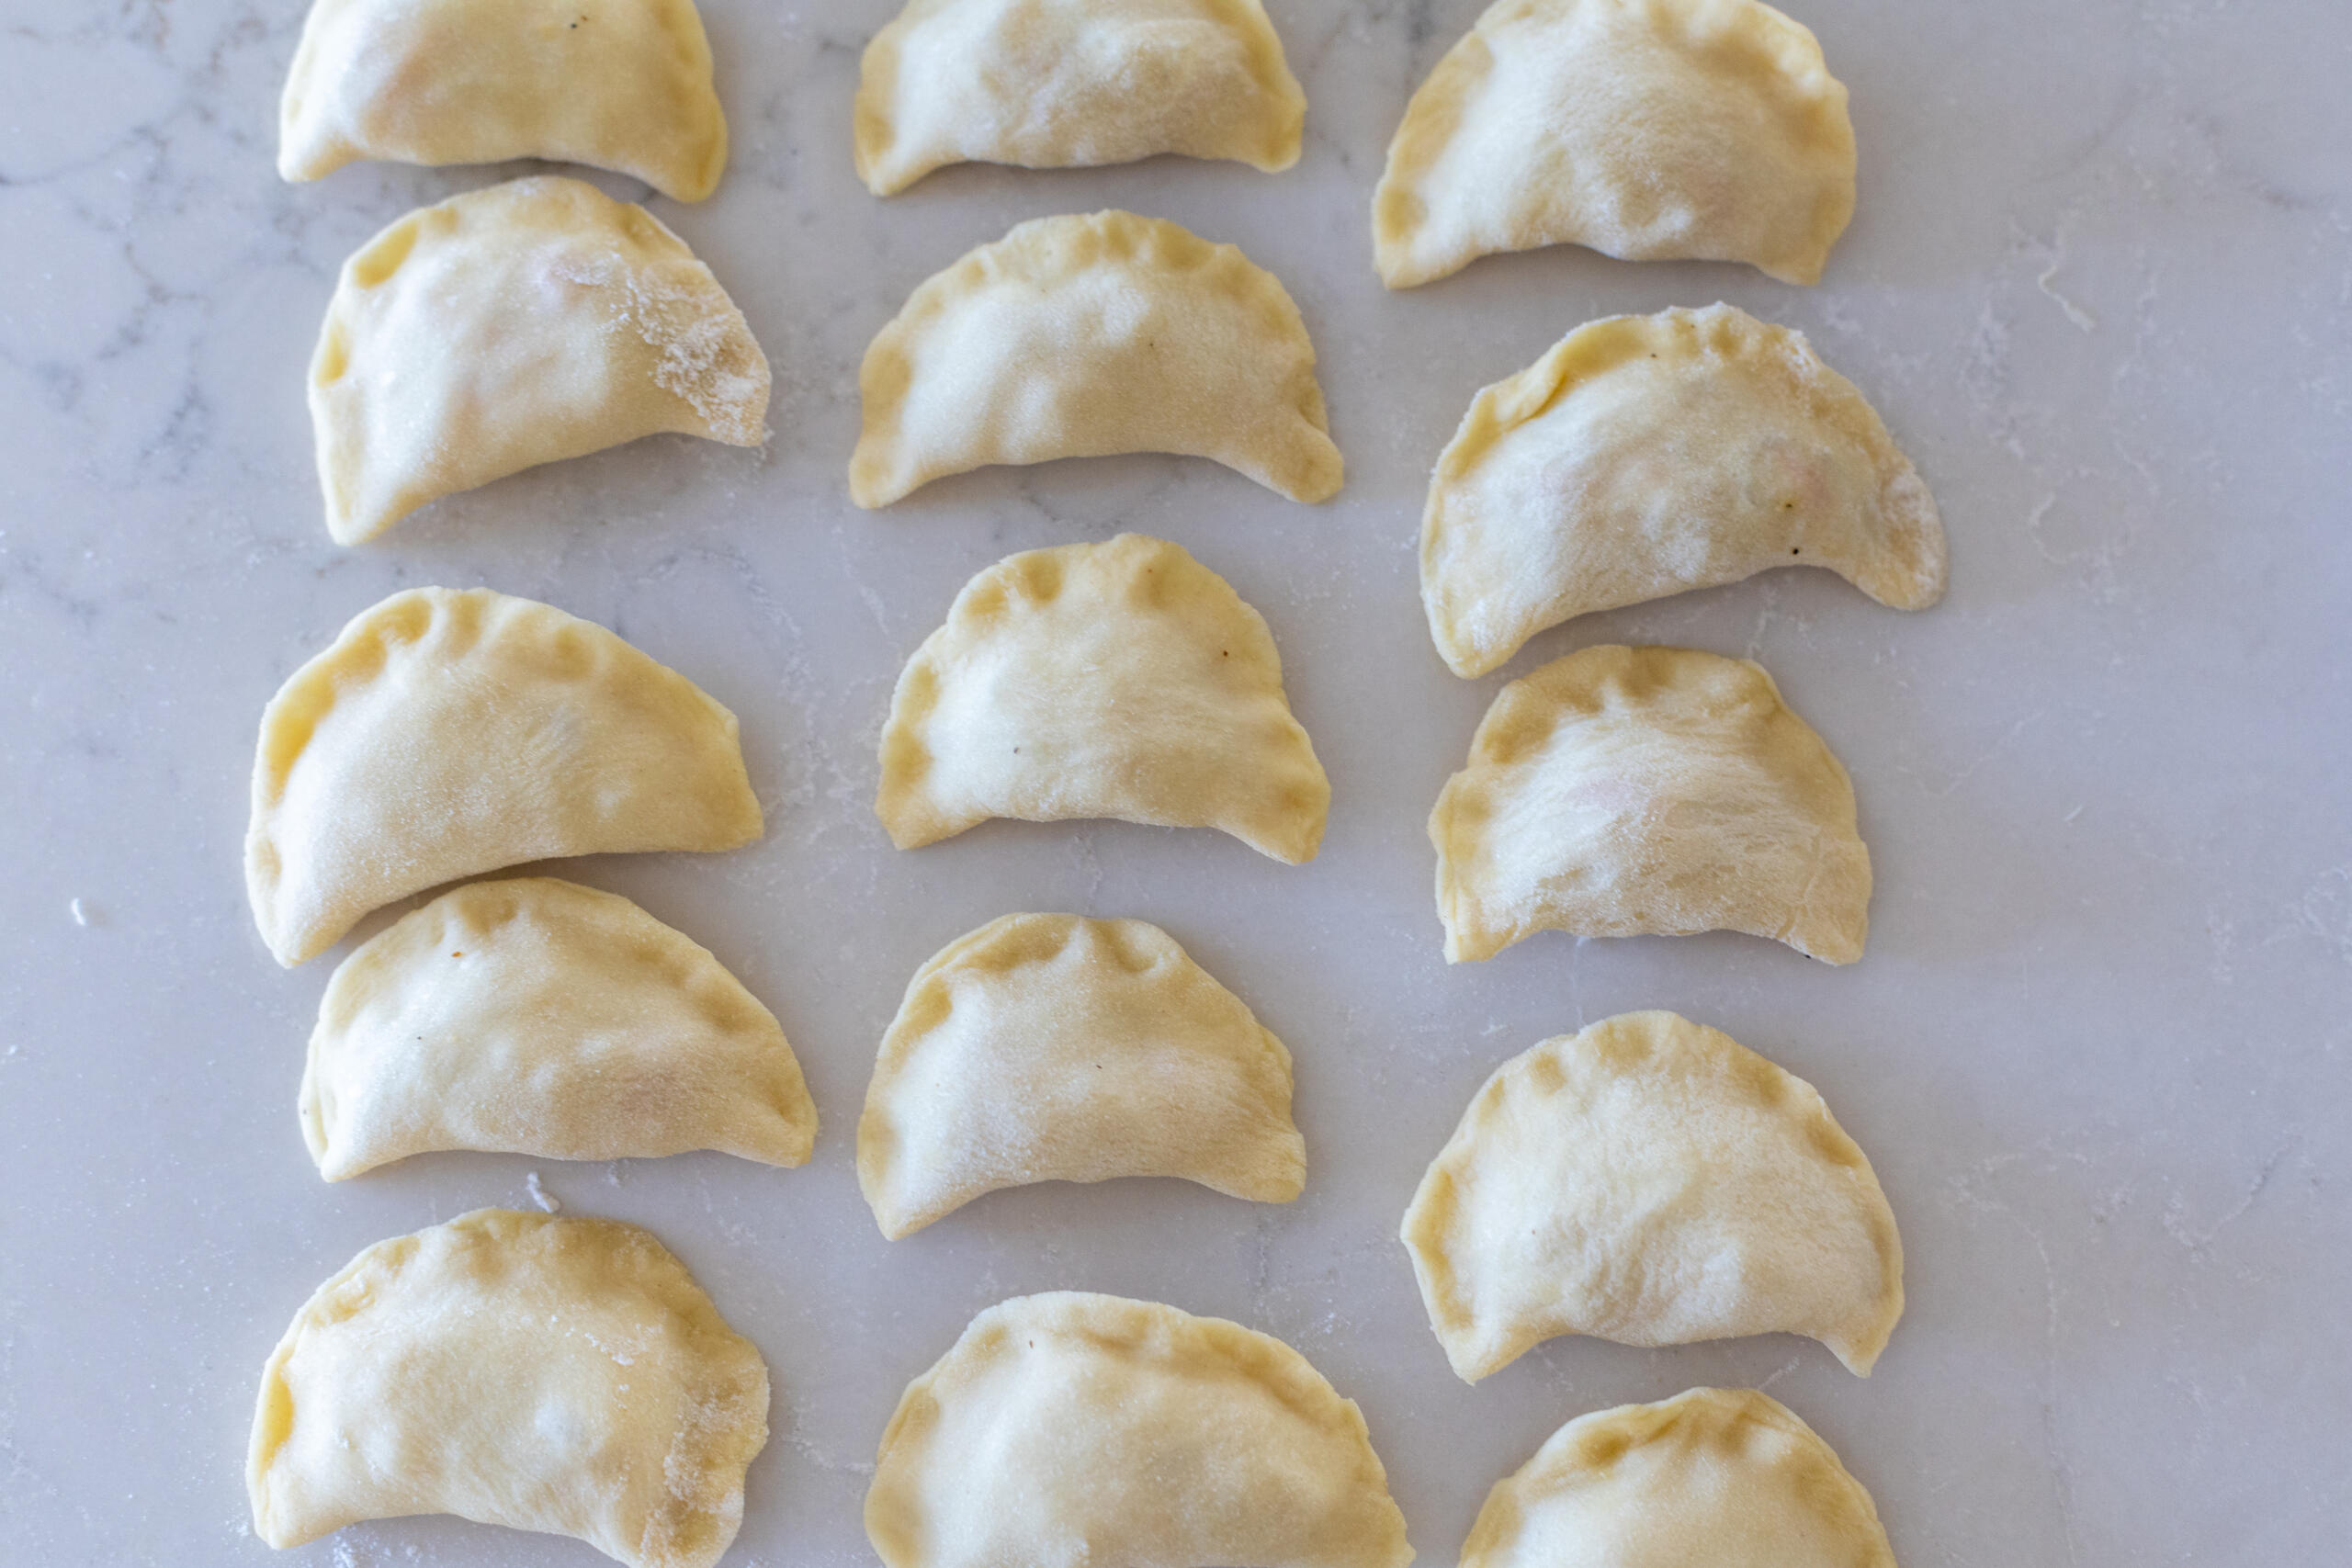
- Assemble the pierogi: On a floured surface, roll out the dough and cut out circles with a round cookie cutter or glass. Place a bit of the filling in the center of each circle, then fold the edges over and pinch to seal.
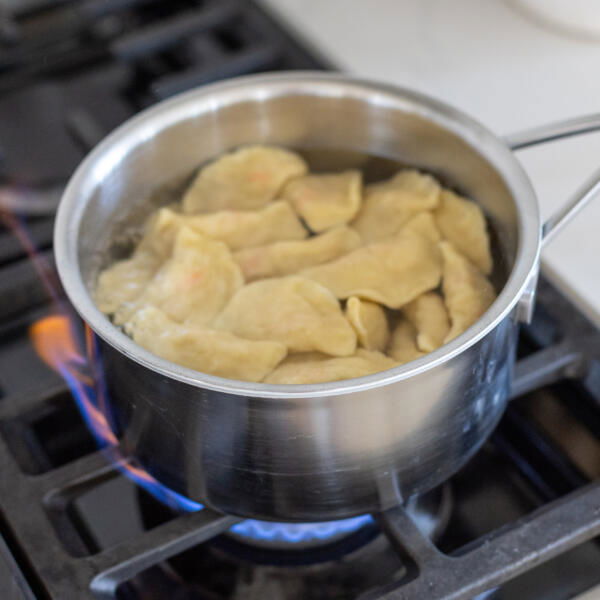
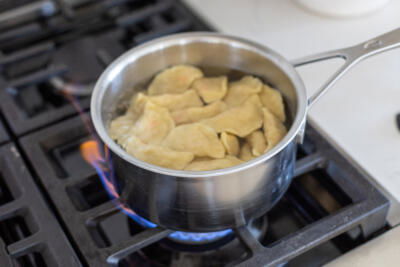
- Cook the pierogi: Bring a large pot of salted water to a boil. Add the pierogi in batches and cook until they float, then remove them with a slotted spoon.
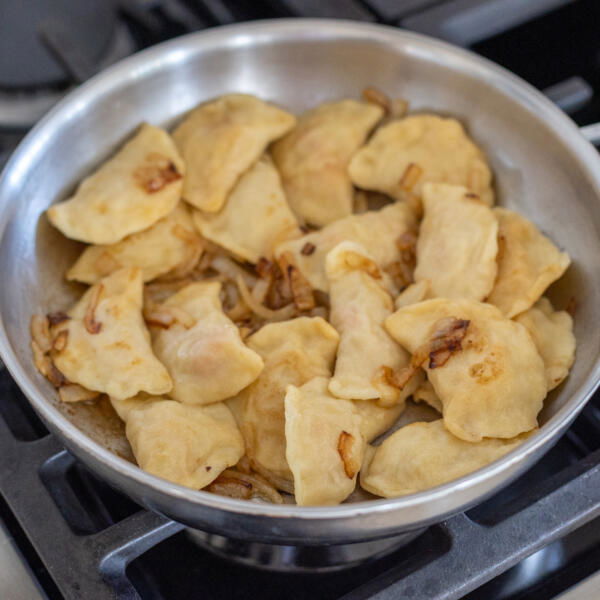
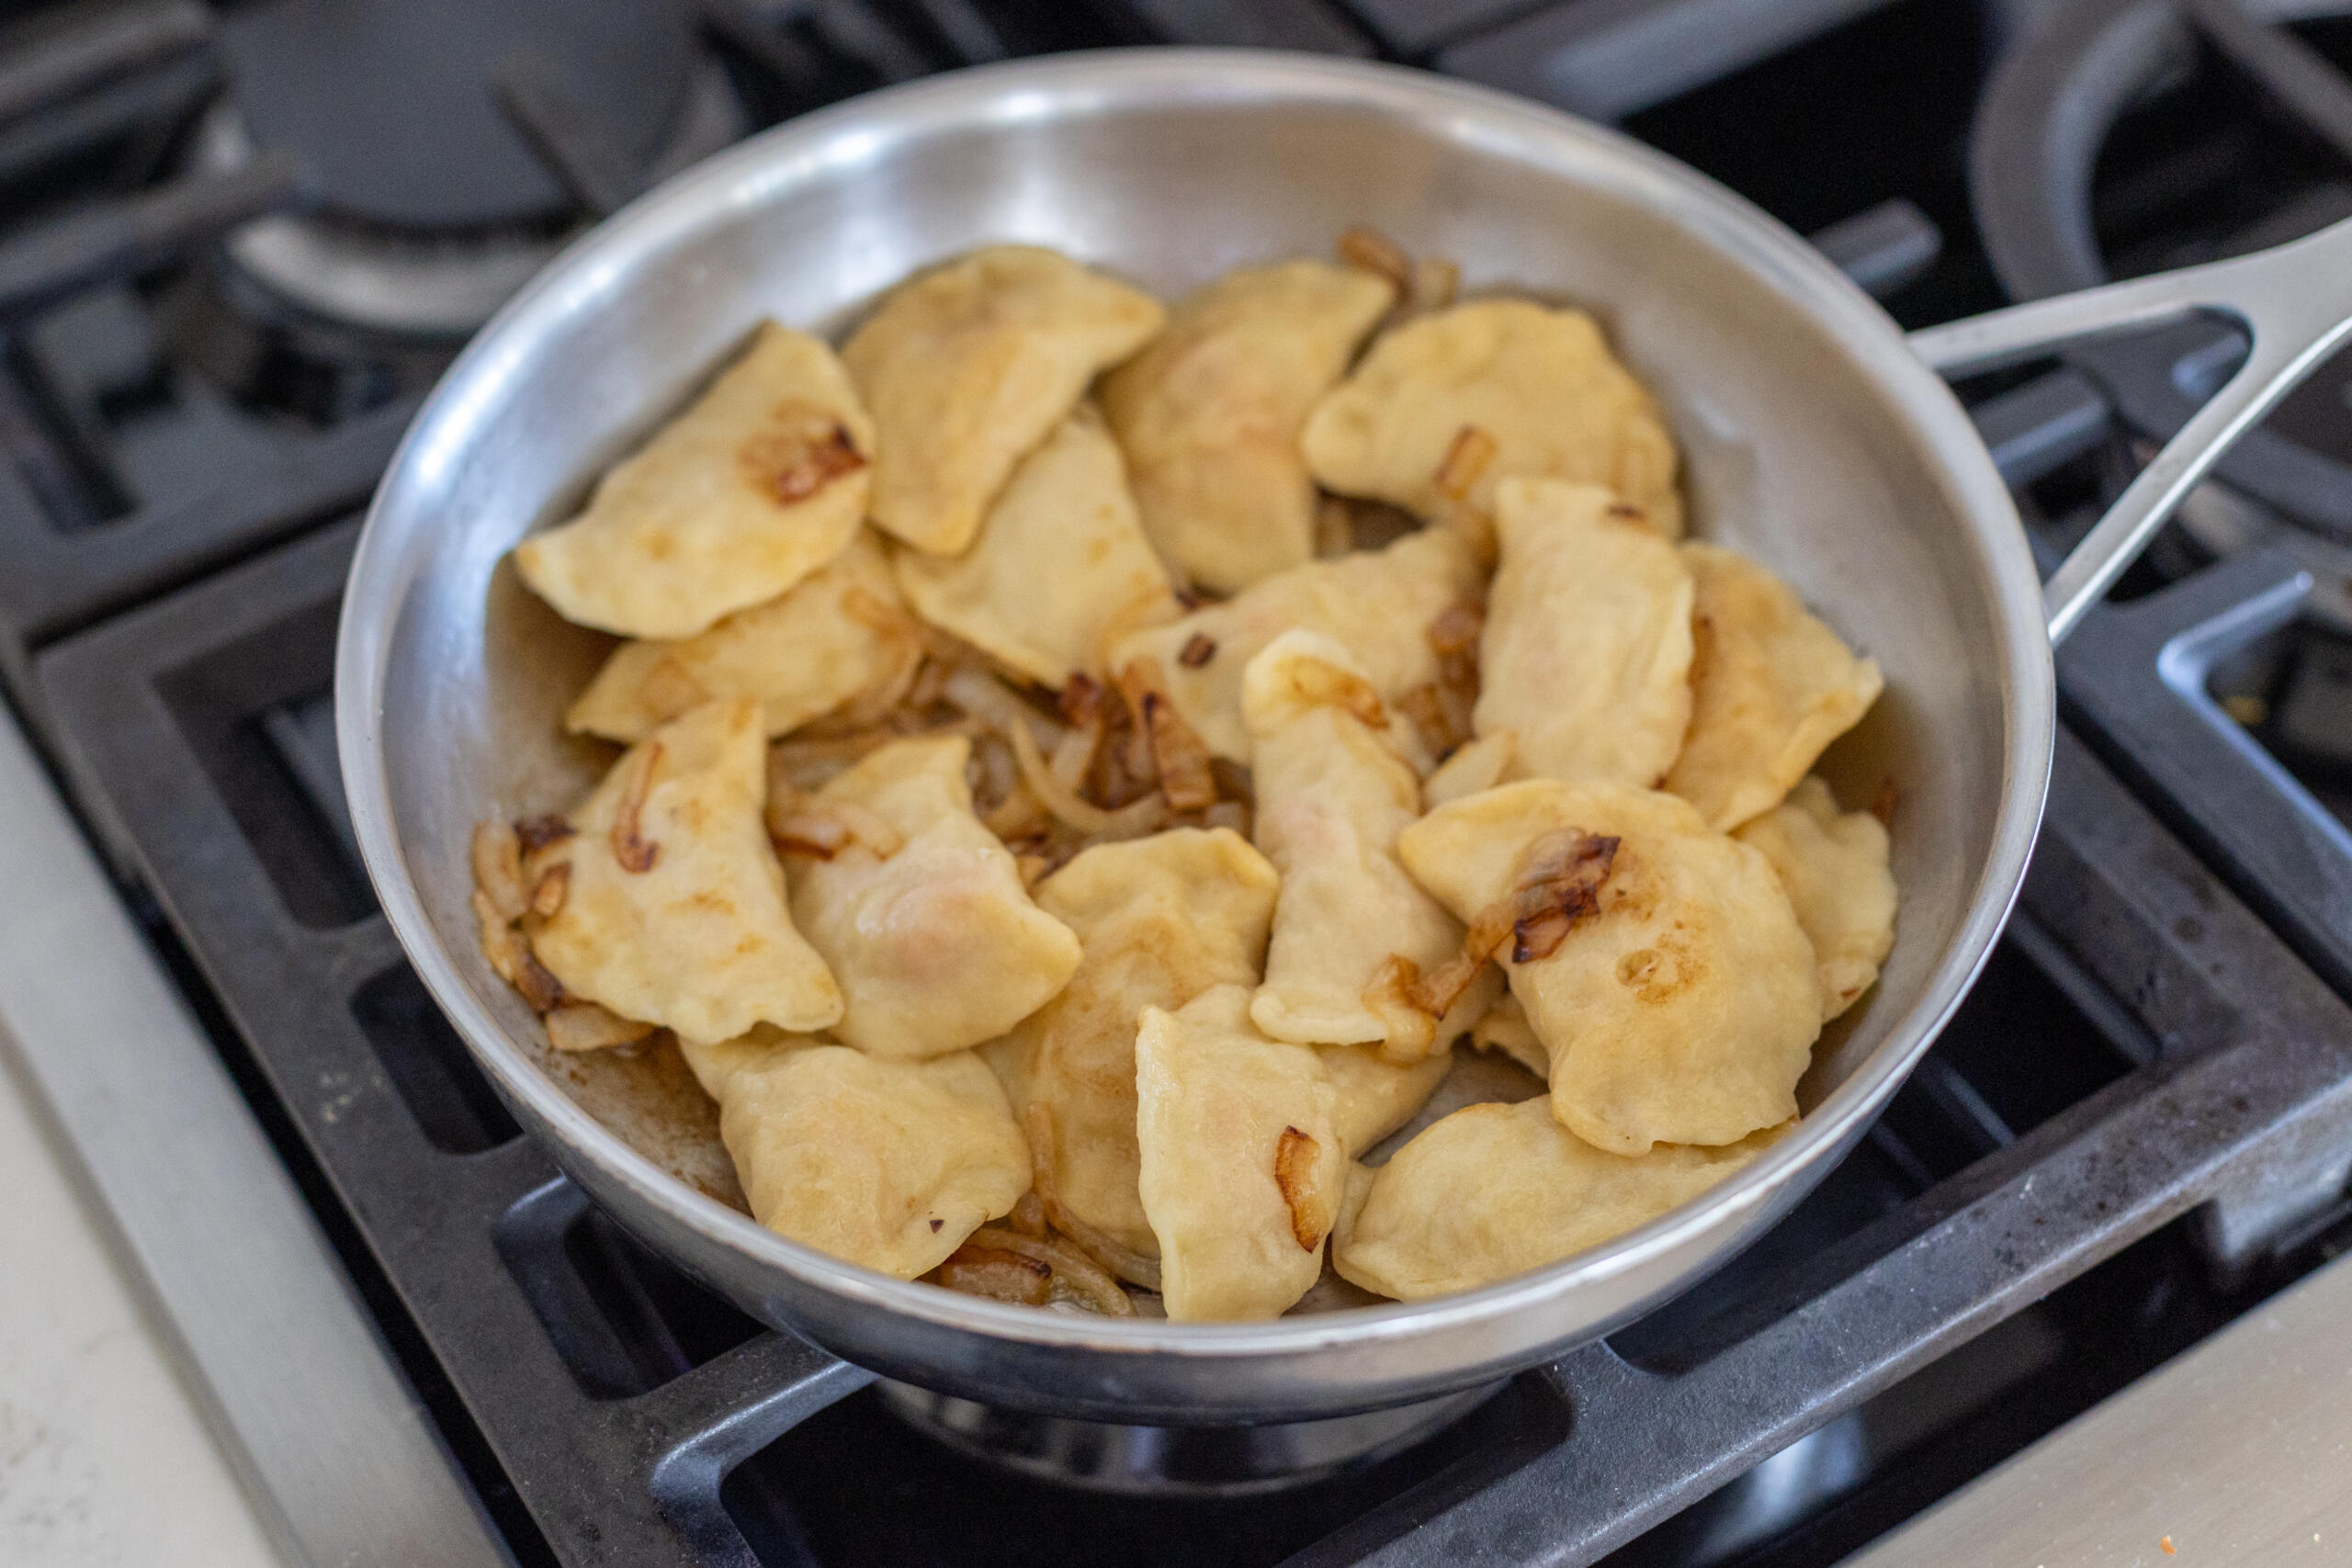
- Finish them off on the pan: Sauté the sliced onion in a skillet with melted butter. Add the cooked pierogi and fry until they are golden on both sides.
Tips For the Best Cabbage Pierogi
I’ve been making these cabbage pierogi for decades. After a bit of trial and error, I’ve landed on the most delicious, foolproof version with these tips.
- Use fresh green cabbage. Although many recipes opt for sauerkraut, I prefer using fresh cabbage because it offers a milder, sweeter flavor. Shred the cabbage yourself for the best results!
- Allow the filling to cool. This prevents the dough from tearing and makes the varenyky easier to assemble.
- Adjust the amount of flour. Depending on the brand of flour you use (I prefer Bob’s Red Mill), you may need a bit more or less flour. The dough should be smooth and soft, not too sticky.
- Rest the dough. Once the gluten has a chance to relax, the dough will be much more elastic and easier to work with. Set it aside for at least 10 minutes after mixing.
- Roll out the dough evenly. I like to aim for a three-millimeter thickness, or the height of two stacked pennies. Every bite should have the same ratio of dough to filling.
- Seal the pierogi well. If you’ve ever experienced the heartbreak of having pierogi burst in the water, you understand how important this step is. Make sure the edges are dry, pinch firmly with your fingers, and avoid overfilling to guarantee that each dumpling stays intact.
Storage & Reheating
As I mentioned earlier, I love freezing these cabbage pierogi for a quick bite anytime. Whether you want to store the pierogi short-term or long-term, here are the best ways to keep them fresh.
- Storing cooked pierogi: Store any leftover cooked pierogi for up to four days in an airtight container in the fridge.
- Storing raw pierogi: Freeze the raw pierogi on a floured tray in a single layer. Once they are completely frozen, transfer them to an airtight container or storage bag and freeze for up to three months.
- Reheating: Reheat cooked pierogi on an oiled pan over medium heat, or use the microwave. For frozen raw pierogi, boil them straight from frozen.
More Pierogi Recipes
- Potato and Cheese Pierogi — The classic… best enjoyed with crispy bacon and sour cream
- Blueberry Pierogi — Lightly sweet, tender, and jam-packed with fresh blueberries
- Meat and Potato Pierogi — Use any ground meat you have on hand and leftover mashed potatoes
- Farmers Cheese Pierogi — My husband’s favorite for a reason!
Recipe

Ingredients
Cabbage Filling
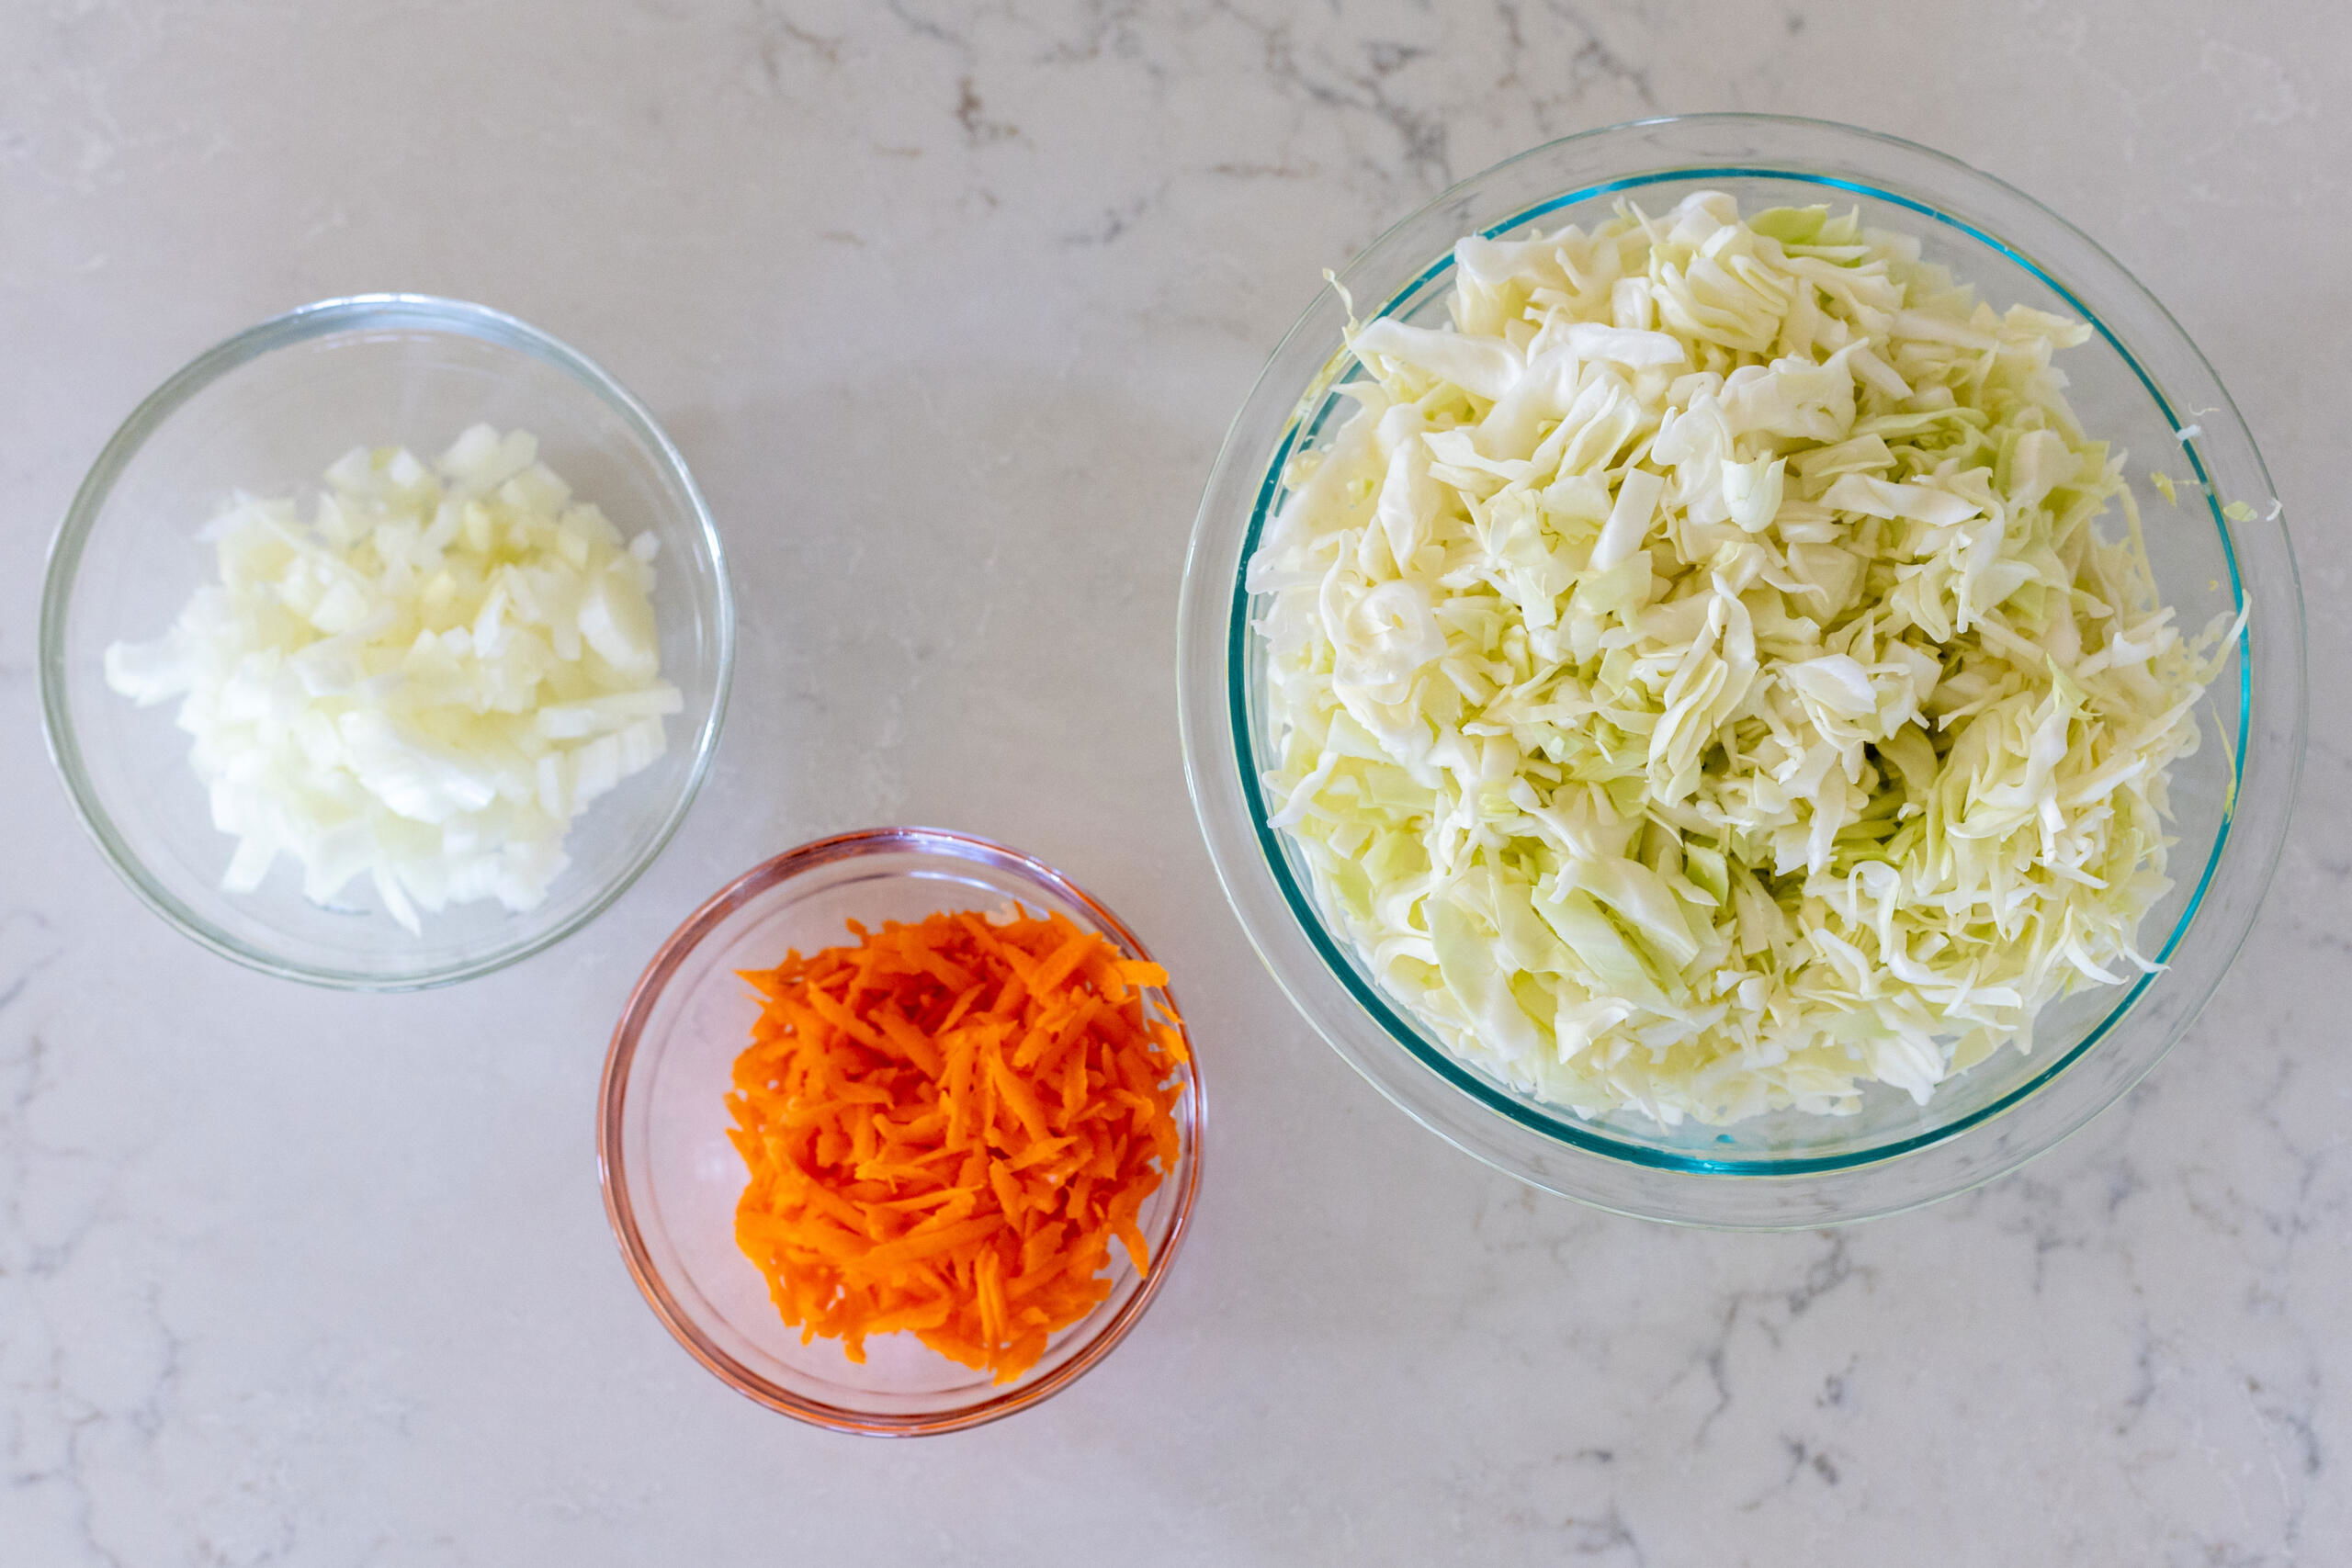
- ½ onion finely diced
- 1 carrot grated
- ½ head green cabbage shredded
- 1 tbsp oil
- 1 tsp salt adjust to taste
- 1/2 tsp ground black pepper adjust to taste
- 3 tbsp unsalted butter
Pierogi Dough
- 2 eggs
- 2 tbsp sour cream
- 1 cup milk
- 3½ cups all-purpose flour may need slightly more or less
- 2 tsp salt
For Serving
- 2 tbsp unsalted butter
- 1 large onion sliced
Instructions
Cabbage Filling
- Dice the onion, grate the carrot, and finely shred the cabbage.
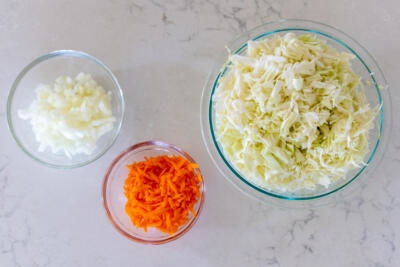
- Heat the oil in a large skillet over medium heat. Add the onions and carrots and cook until they are softened, about 4–5 minutes.
- Add the shredded cabbage and cook for another 15 minutes, or until tender, stirring occasionally.
- Season the veggies with salt and pepper to taste.
- Stir in the butter until it is fully melted. Remove the veggies from the heat and let the filling cool completely before assembling the pierogi.
Pierogi Dough
- In a large bowl, whisk the eggs, sour cream, and milk together until smooth.
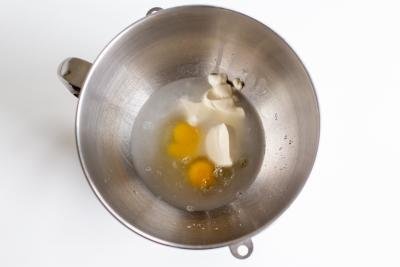
- Add the flour and salt to the liquid ingredients.
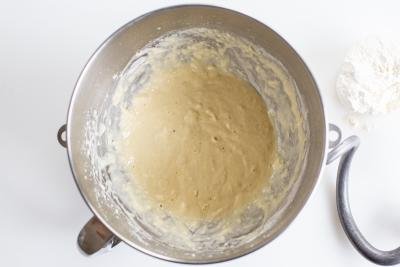
- Knead the dough by hand or with a stand mixer until it is smooth and elastic. Cover and let the dough rest for 10 minutes.


Assemble Pierogi
- Roll the dough out on a well-floured surface.
- Cut out circles using a cookie cutter or floured glass.

- Spoon the filling into the center of each circle.

- Fold one side over and pinch the edges together firmly to seal. It should resemble a half-moon shape. Place the assembled pierogi on a floured surface.


Cook Pierogi
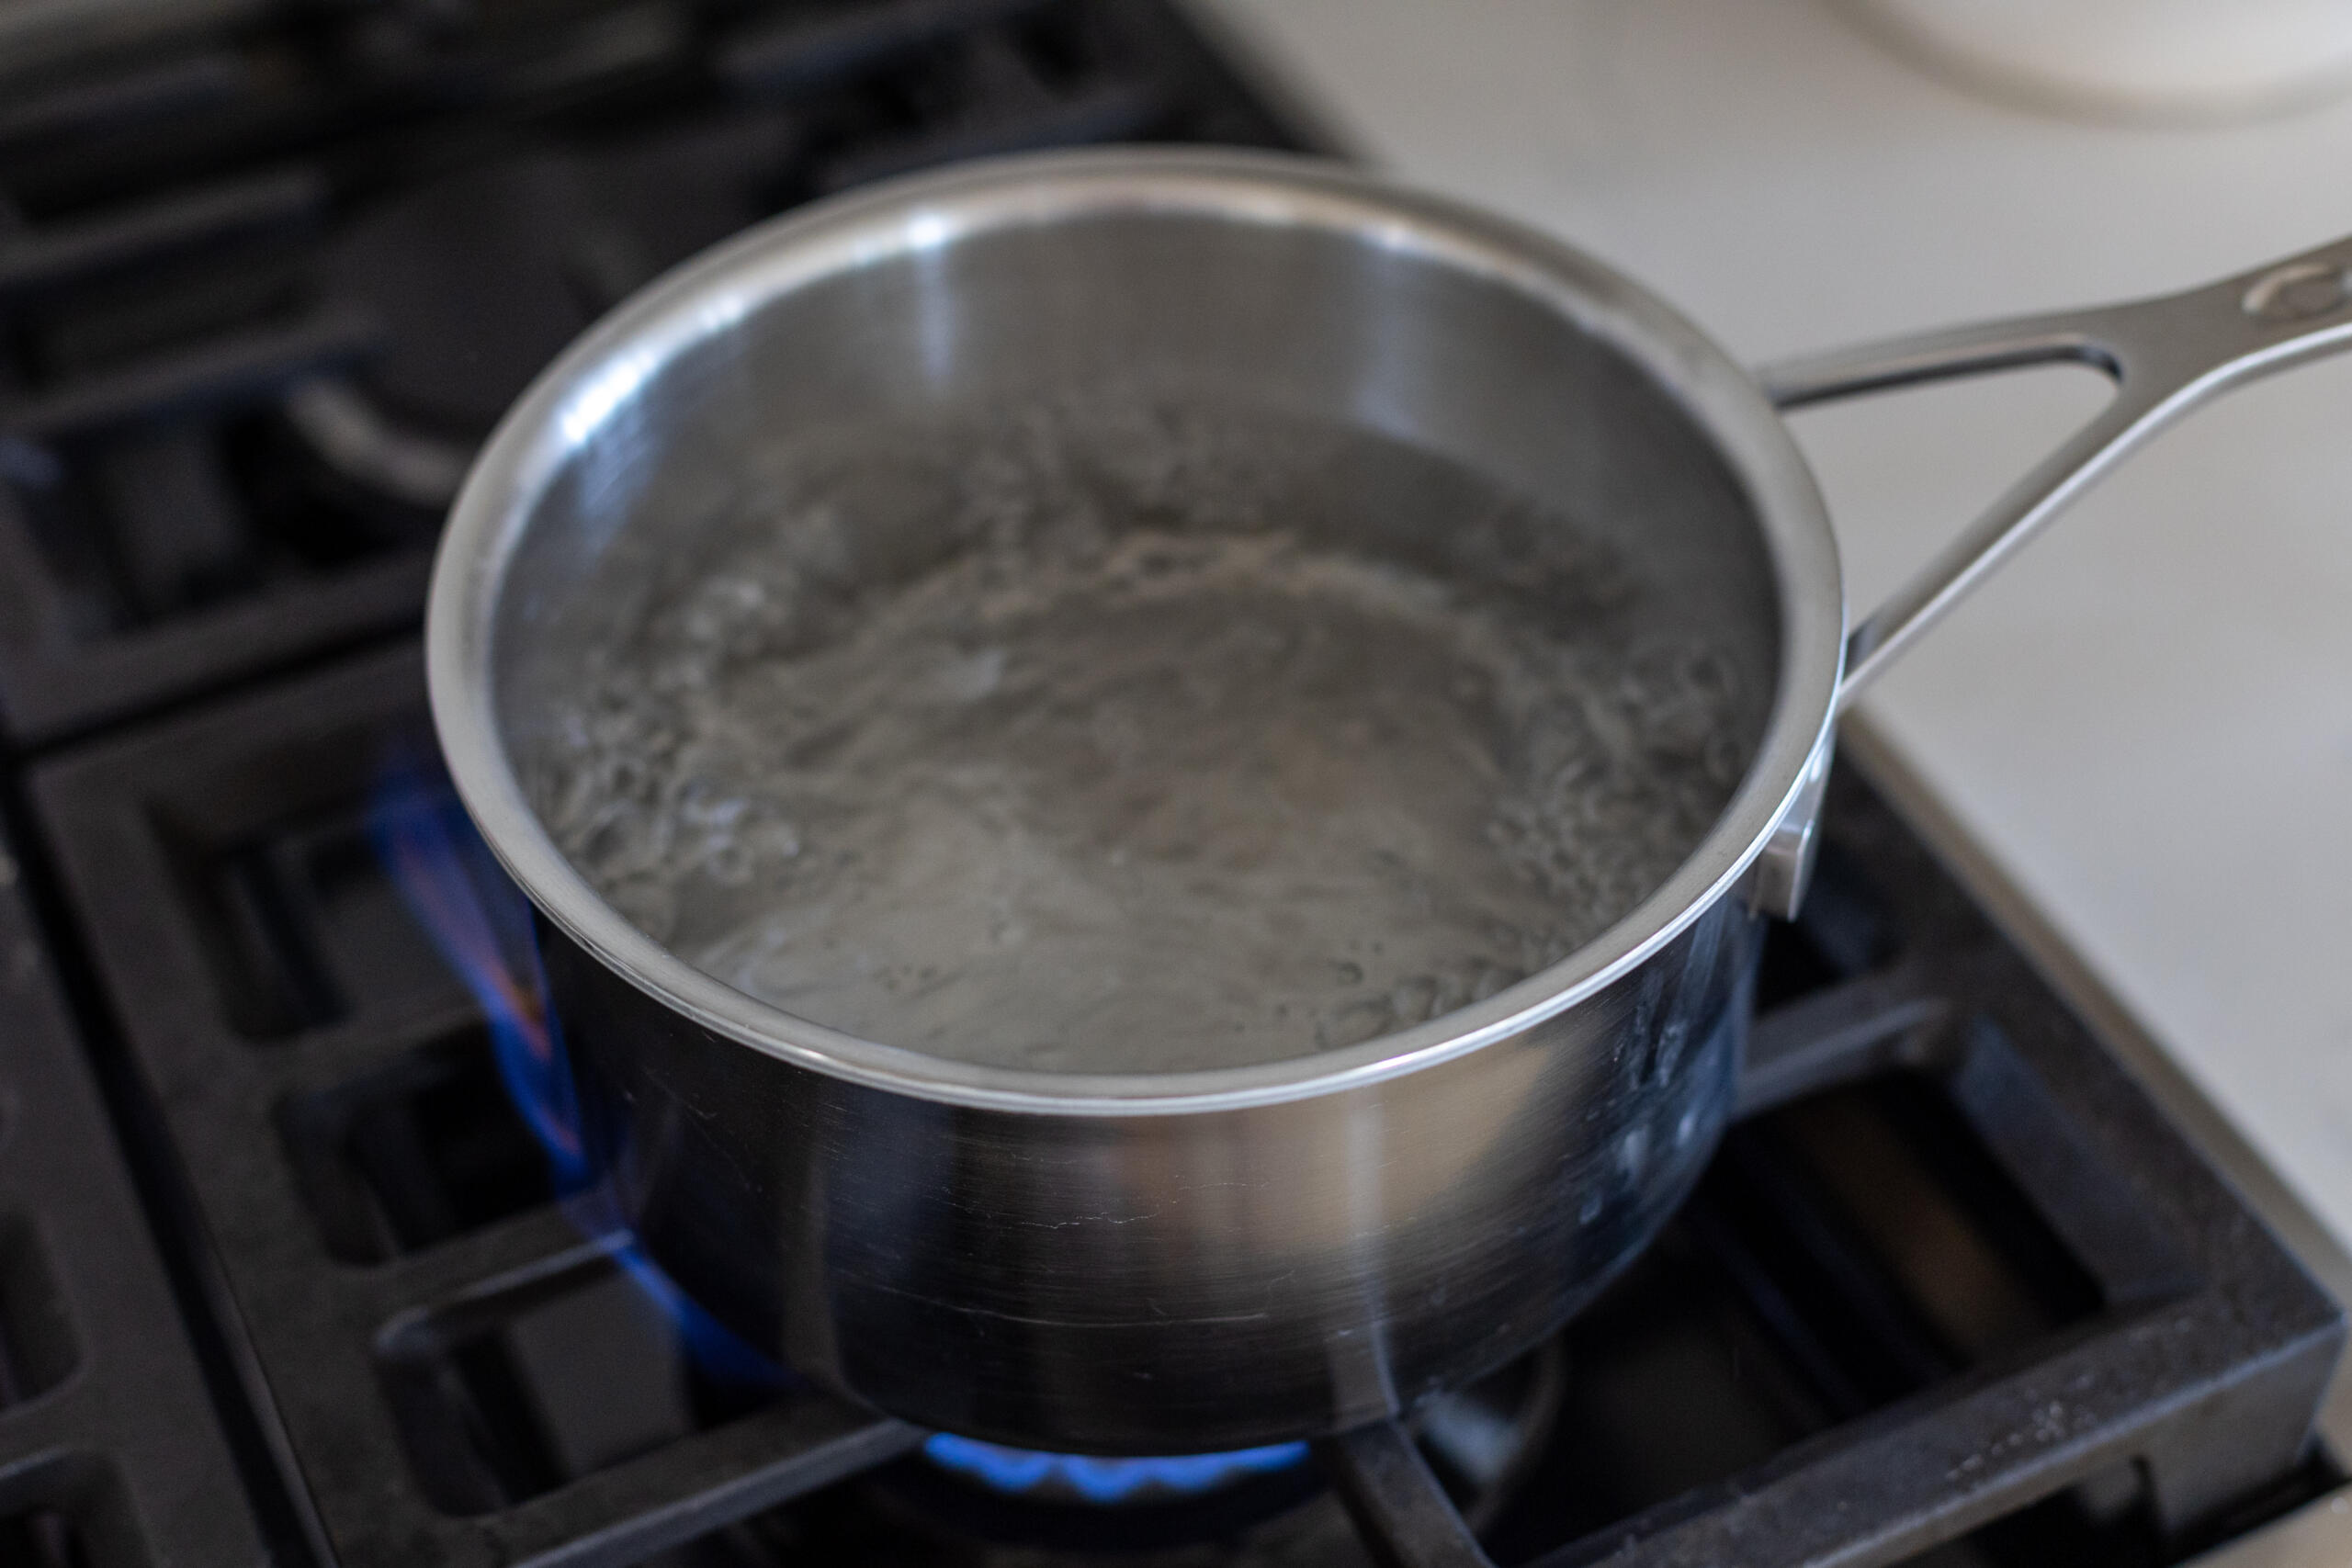
- Bring about 3 quarts of salted water to a boil.

- Add the pierogi to the boiling water in batches. Once they float to the top (after about 10–15 minutes), they’re done. Remove the cooked pierogi with a slotted spoon.
- Meanwhile, melt the butter in a skillet and sauté the sliced onion until it is golden.

- Add the cooked pierogi to the pan and lightly fry until they are golden on both sides. Enjoy!


Hi Nataliya, can I substitute sour cream with maybe plain yogurt? I ran out of it but still want to make varenyky...
Hello Kateryna! I haven't tried yogurt in this recipe, but it's possible it could work. Generally, sour cream can be substitute with greek yogurt (it's a little thicker than regular yogurt). If you tried it, please let me know how it worked out!
Hey Natasha! This recipe looks amazing!
I was wondering if you could ever test a recipe for Scotch eggs.
Just an idea for your Moms Dish Team.
Thank you for all that you do. Your recipes never disappoint!!
Hi Lena- thank you for the kind feedback! I will take note of the request for scotch eggs- I don't know if I've ever tried them! Thanks for being here 😀