
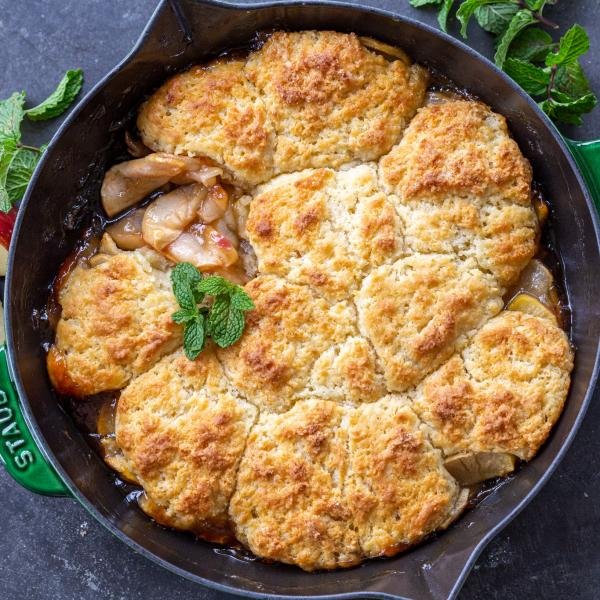
This apple cobbler recipe dishes up a perfectly spiced apple filling baked under a buttermilk biscuit topping. It’s guaranteed to channel all the cozy feelings of fall.
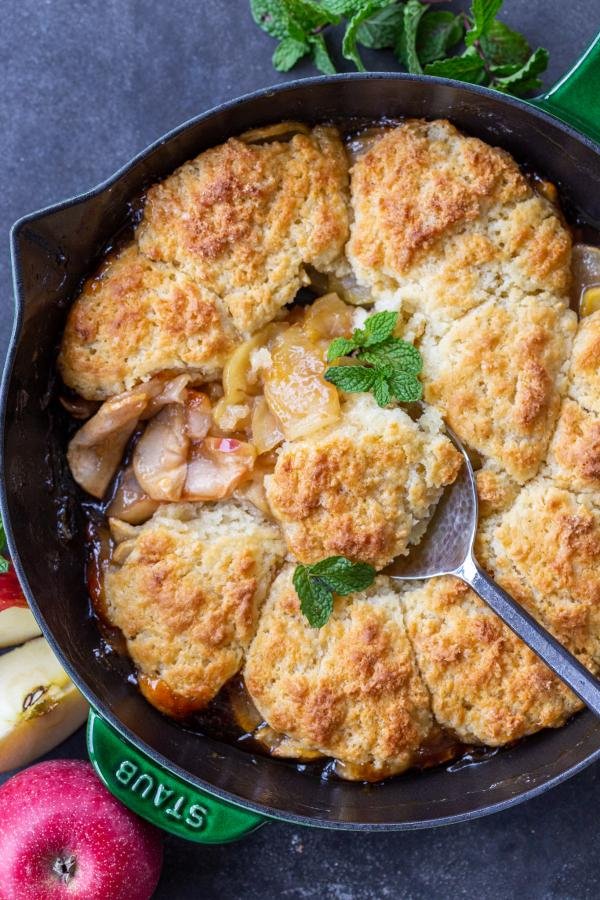
Most of my life, I lived in Washington state, and if you didn’t know, it’s also known as “The Apple State”. I’ve always been obsessed with fall in Washington and all things apple. So naturally, apple recipes became a huge love of mine, and this apple cobbler recipe became one of our family favorite fall desserts.
I love the smell of fresh apples baking while it’s raining outside, which was a pretty typical day in Seattle. Ah… some of the best memories! People say they don’t like Seattle’s gloomy weather, but I think they just haven’t had warm apple cobbler during it. It’s the best feeling ever!
What are the Best Apples for Cobbler?
The first thing you’ll need to do before making easy homemade apple cobbler is make sure you have the right apples. Here’s what I look for in my apple cobbler apples.
- Firm, tart-sweet varieties are the top choice. Reach for Gala, Honeycrisp, Pink Lady, Braeburn, Golden Delicious, or Granny Smith apples. They stand up to baking and the tart edge cuts through the sugar.
- Skip soft, mealy types of apples. Red Delicious and McIntosh apples break down into applesauce under heat. Save those for snacking.
Hot tip: The freshest, ripest apples carry a strong, fragrant aroma. That’s a good sign they’re ready for your cobbler!
Apple Cobbler vs Crisp vs Pie
It’s super easy to confuse apple cobbler, apple crisp, and apple pie. I wanted to address this super quickly so there’s no confusion! Apple cobbler and apple crisp share a spiced fruit filling, but the topping is what sets them apart. Cobbler has a soft, biscuit-like or cake-like topping whereas a crisp features a crunchy oat-based streusel on top. On the flip side, pie has a structured bottom and (sometimes) top crust. Cobbler and crisp skip the bottom crust and go straight for the filling!
Did you know? The name “cobbler” is thought to come from the way the dropped biscuit dough resembles a cobblestone street when it bakes.
Apple Cobbler Recipe Video
How to Make the Best Apple Cobbler Recipe
This is a simple apple cobbler recipe: prepare the apple filling, whip up a cold biscuit batter, assemble, and bake. Every step is one step closer to a delicious, hot dessert!
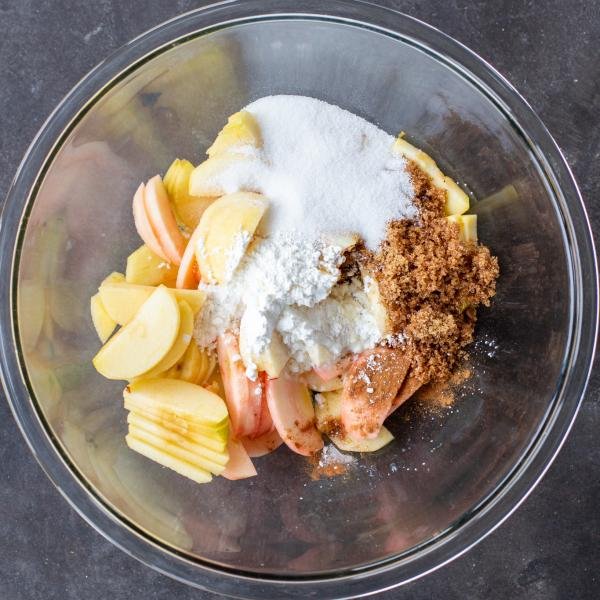
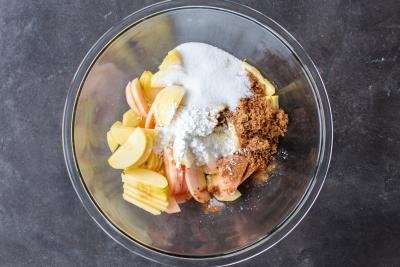
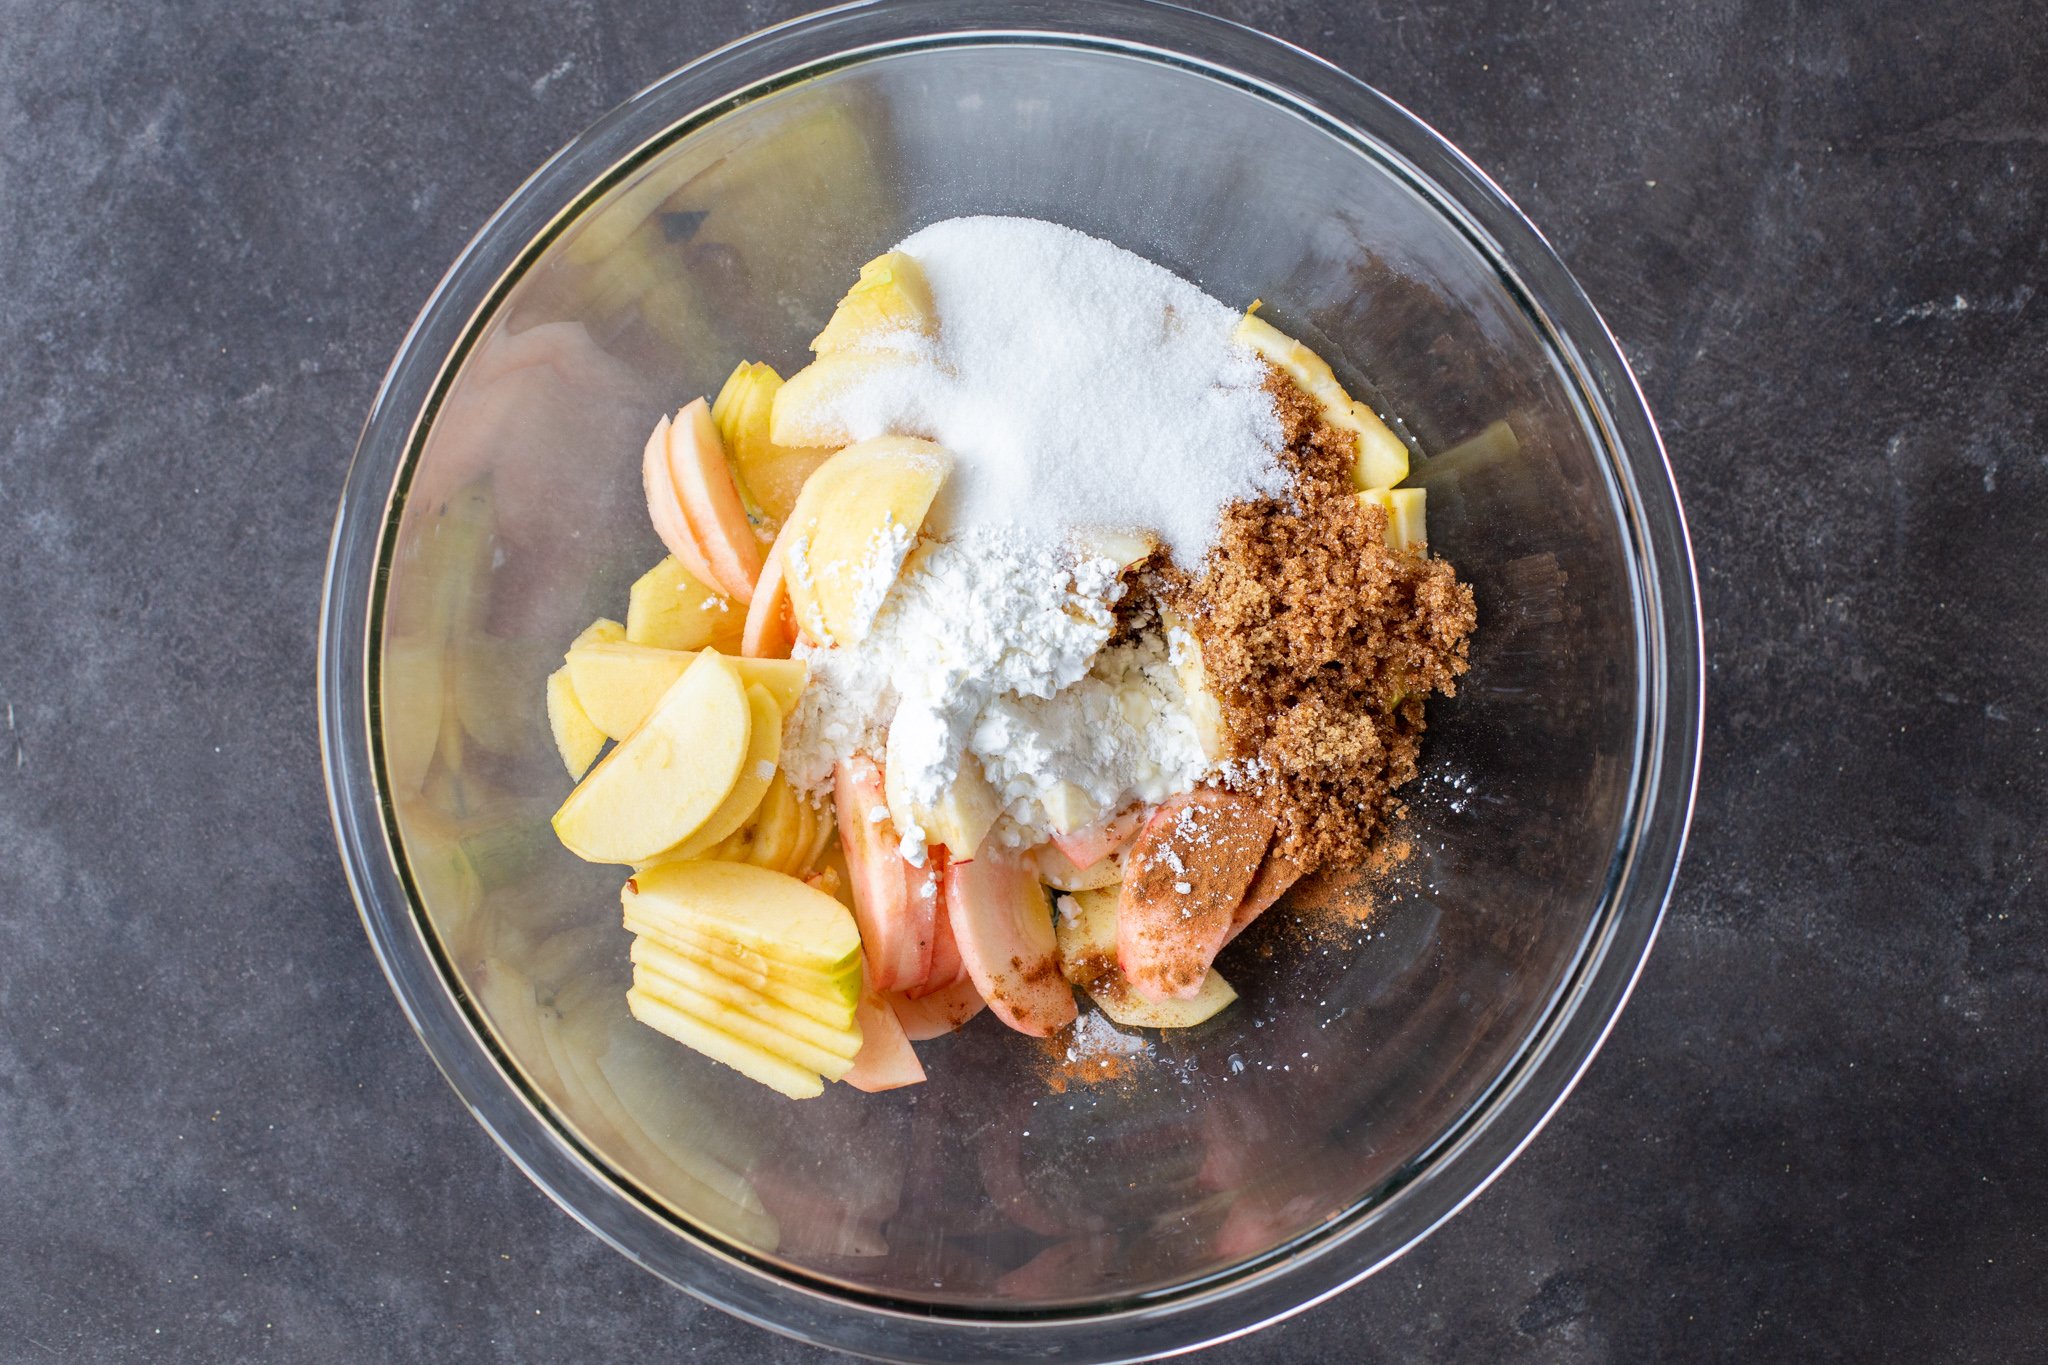
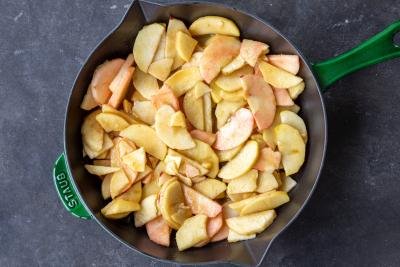
- Create the filling. Combine the sliced apples, both sugars, cinnamon, cornstarch, and lemon juice in a large bowl. Set it aside while you make the topping — the fruit will release a little syrup, which is exactly what you want.
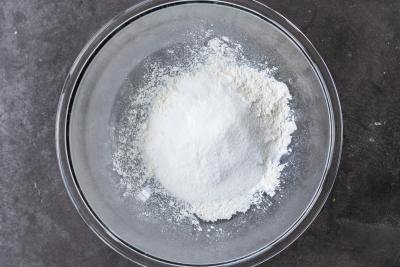
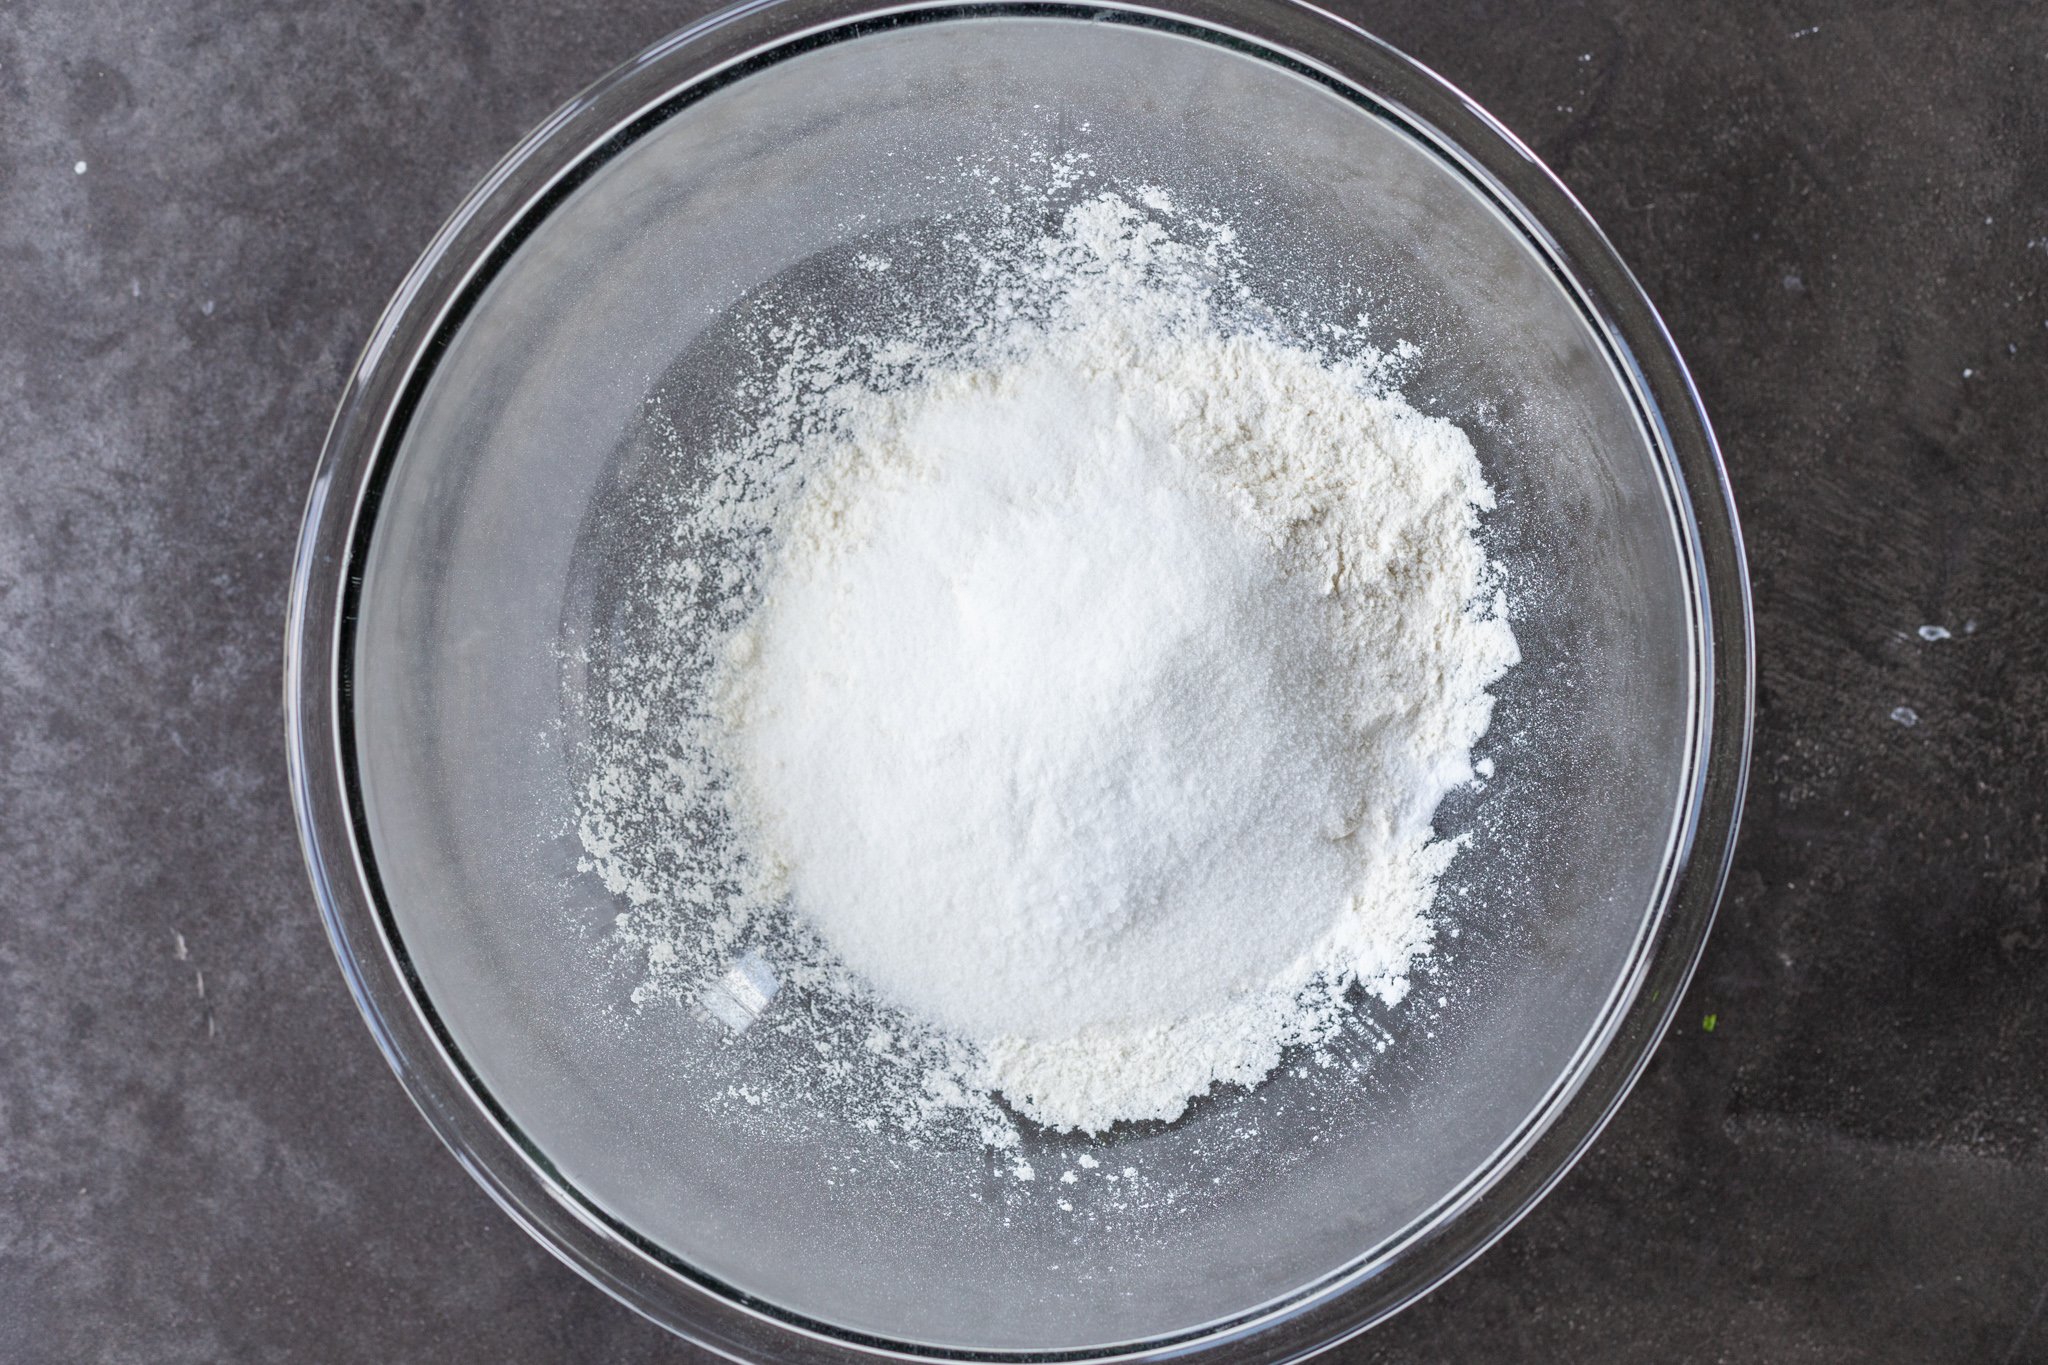
- Mix the dry ingredients: Measure out the flour, sugar, baking powder, baking soda, and salt, keeping them all as cold as possible. For an even flakier topping, pop the flour mixture into the freezer for 10 minutes.
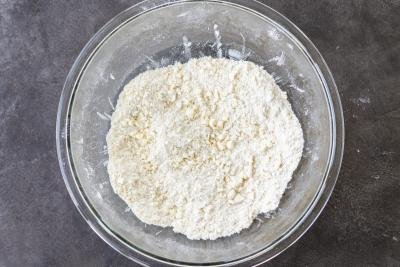
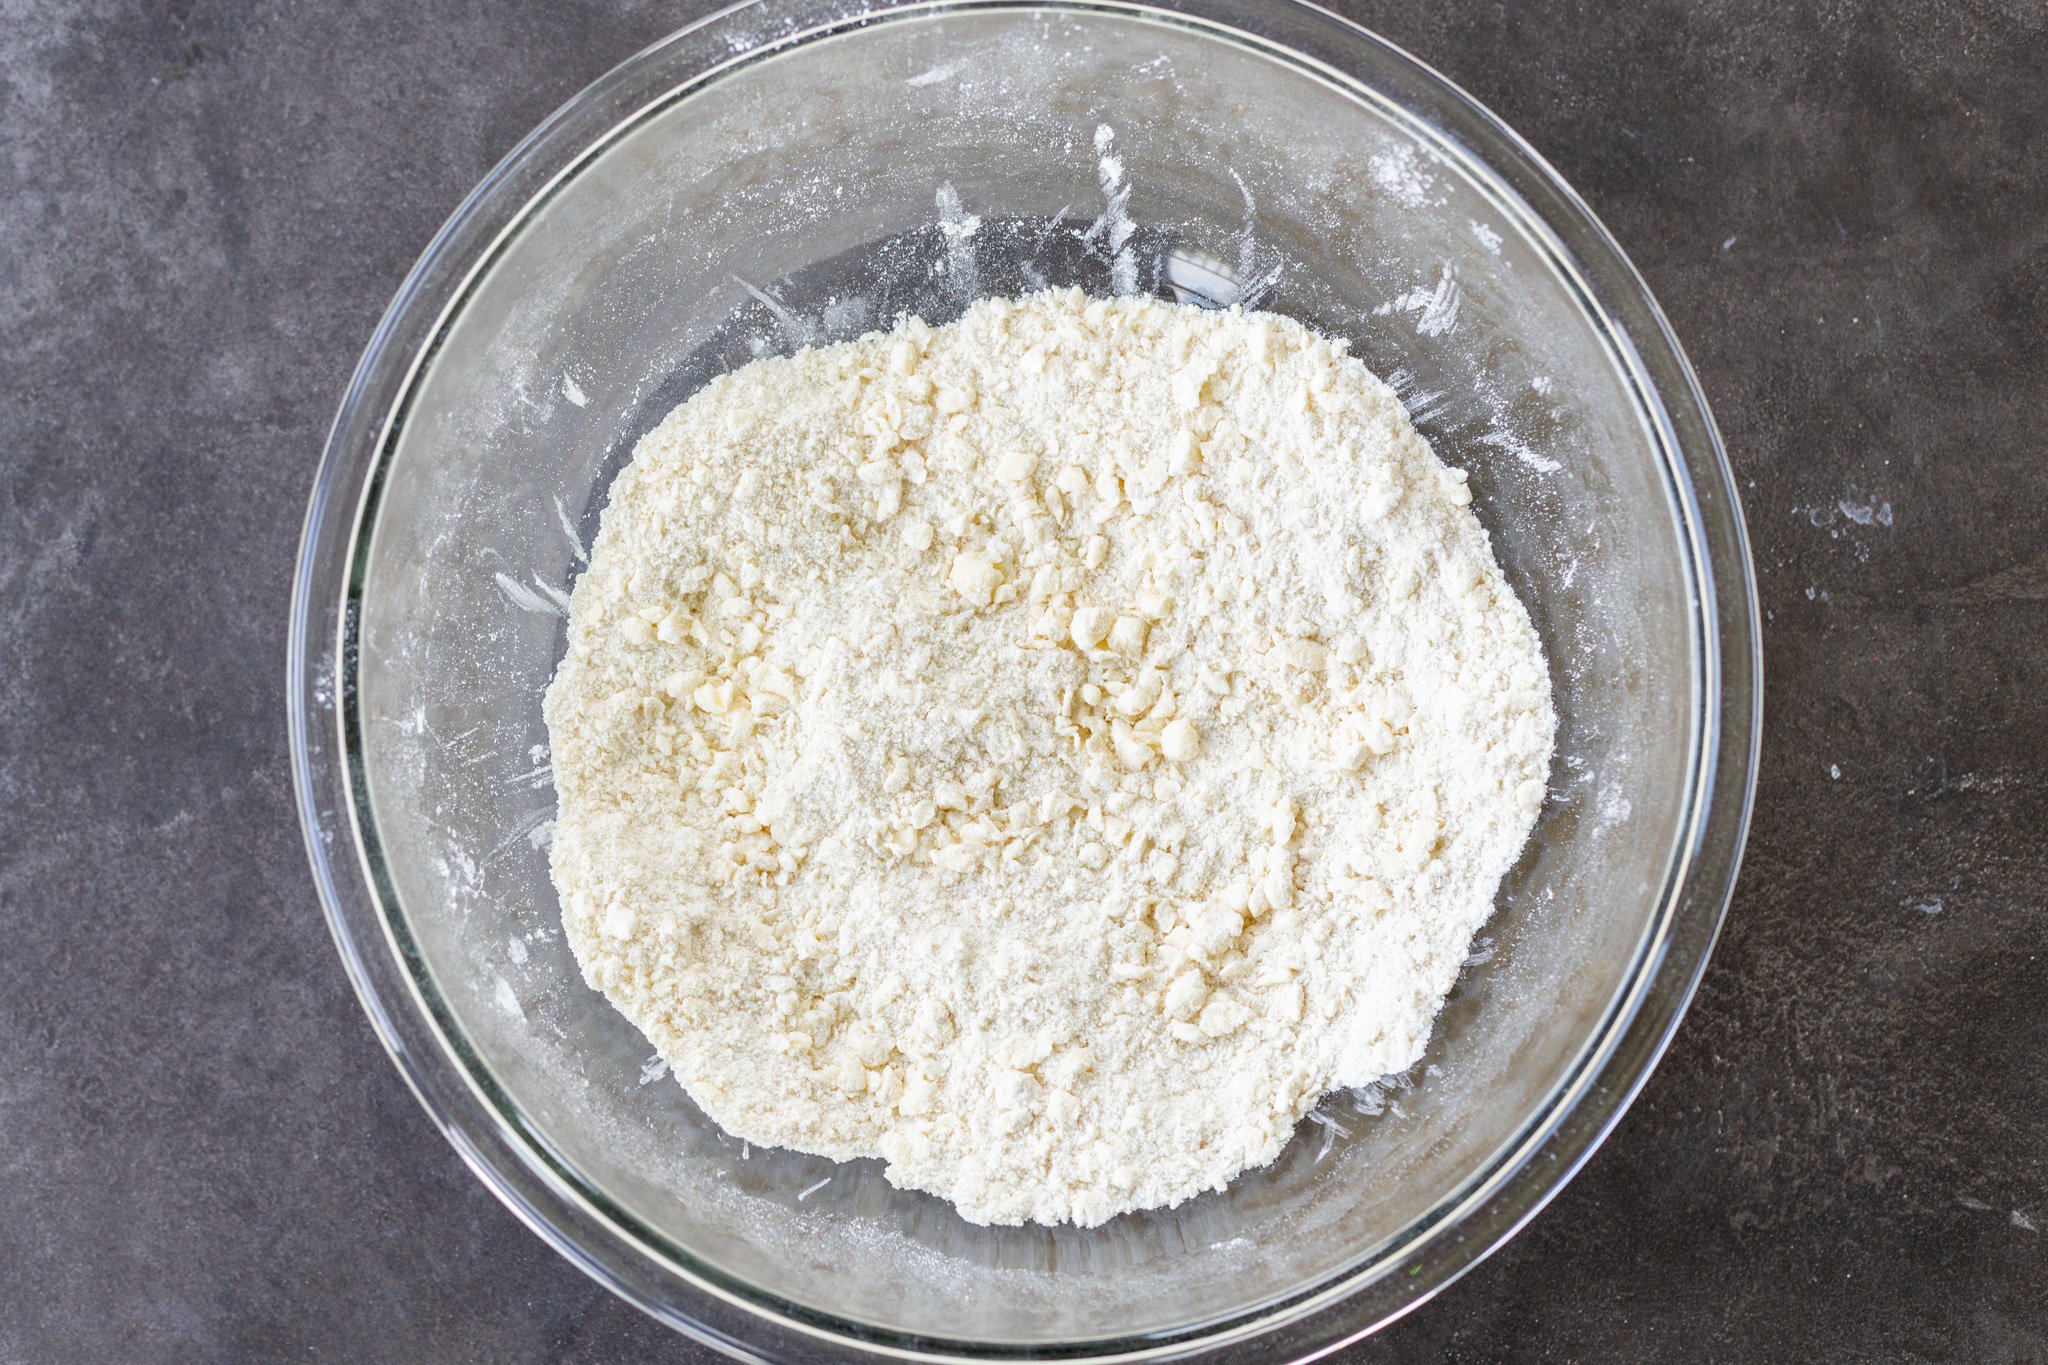
- Cut in the very cold butter. Grate frozen butter directly into the dry mix or cut cold butter into small cubes and work it in until the mixture looks like coarse crumbs. Cold fat creates steam in the oven, which lifts the biscuit topping into tender layers.
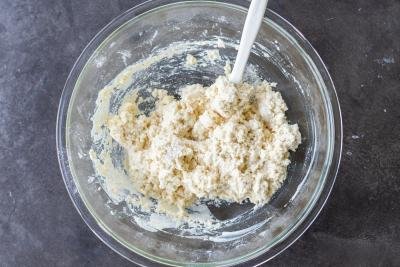
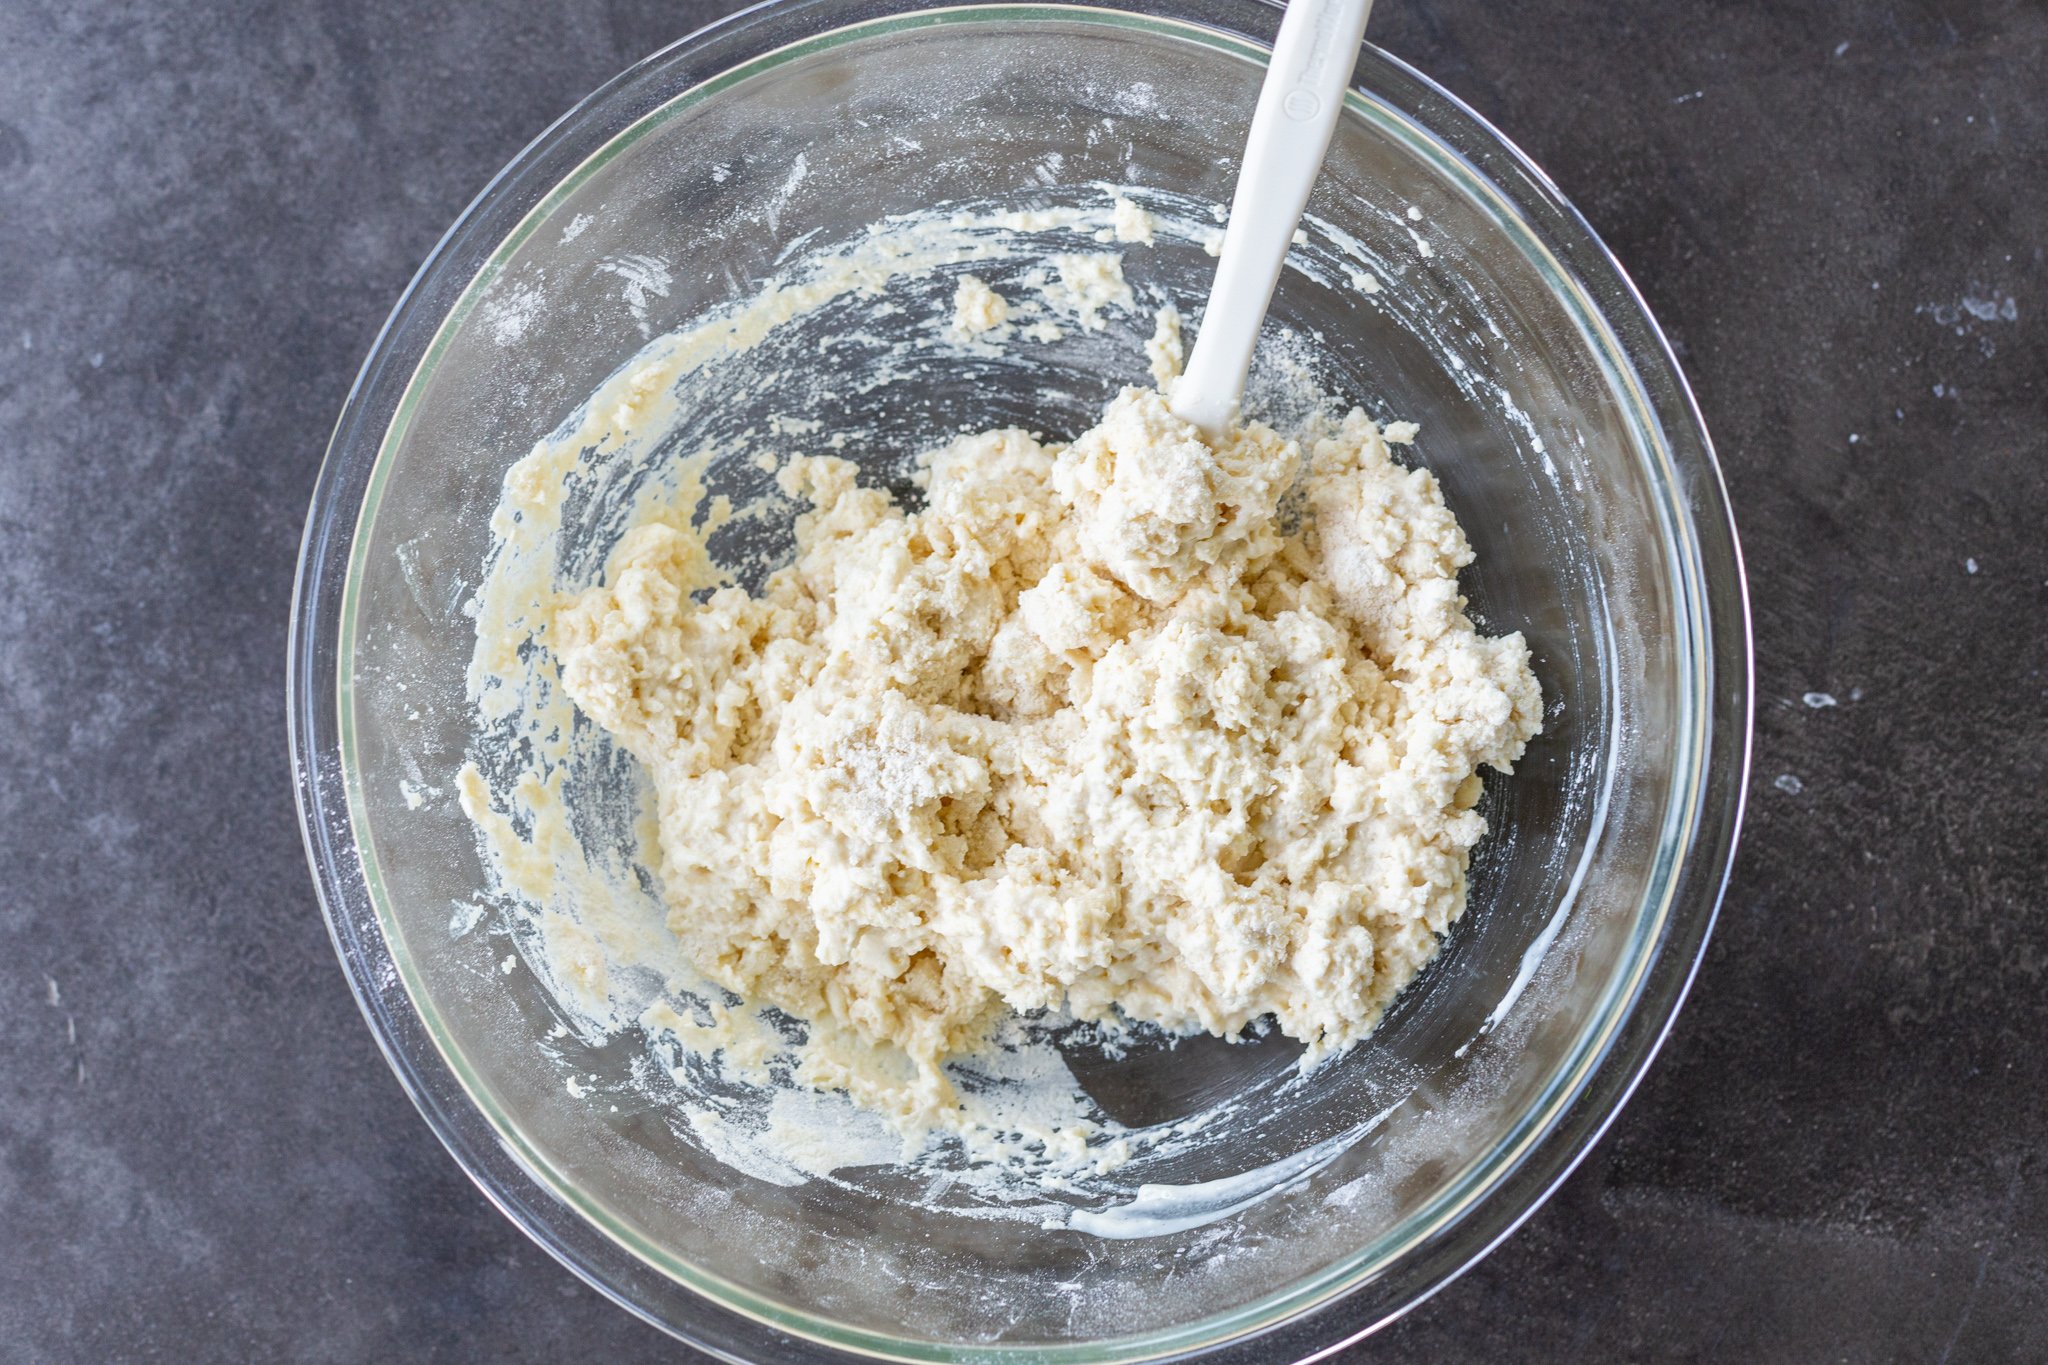
- Mix the wet ingredients separately, then combine. Stir the vanilla extract into the cold buttermilk, then pour it into the flour mixture. Fold it all together just until everything comes together — lumps are fine. Over-mixing develops gluten and makes the topping tough.
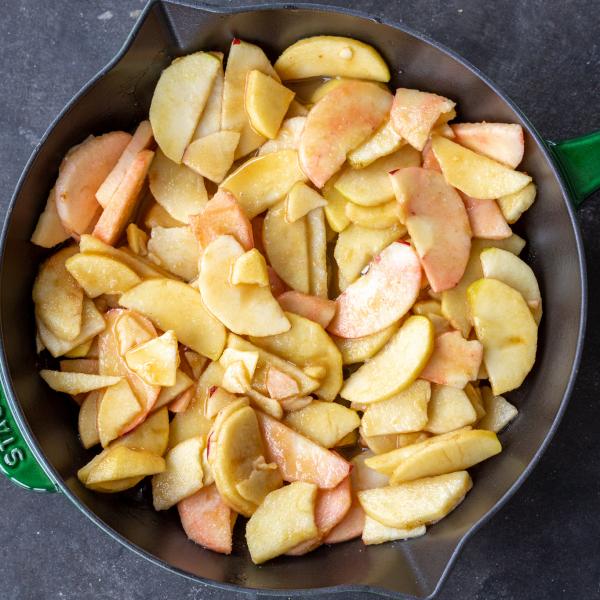
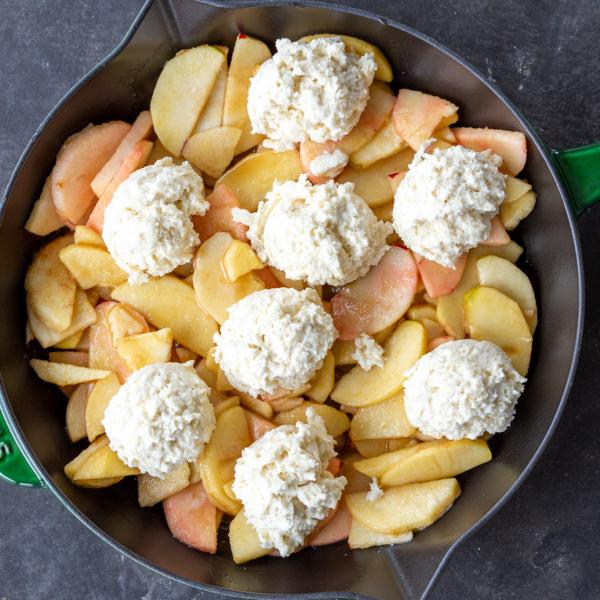
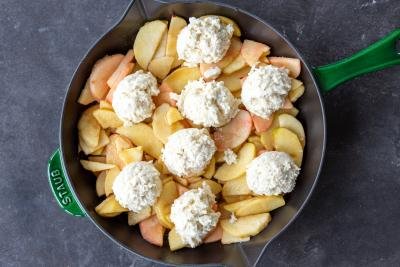
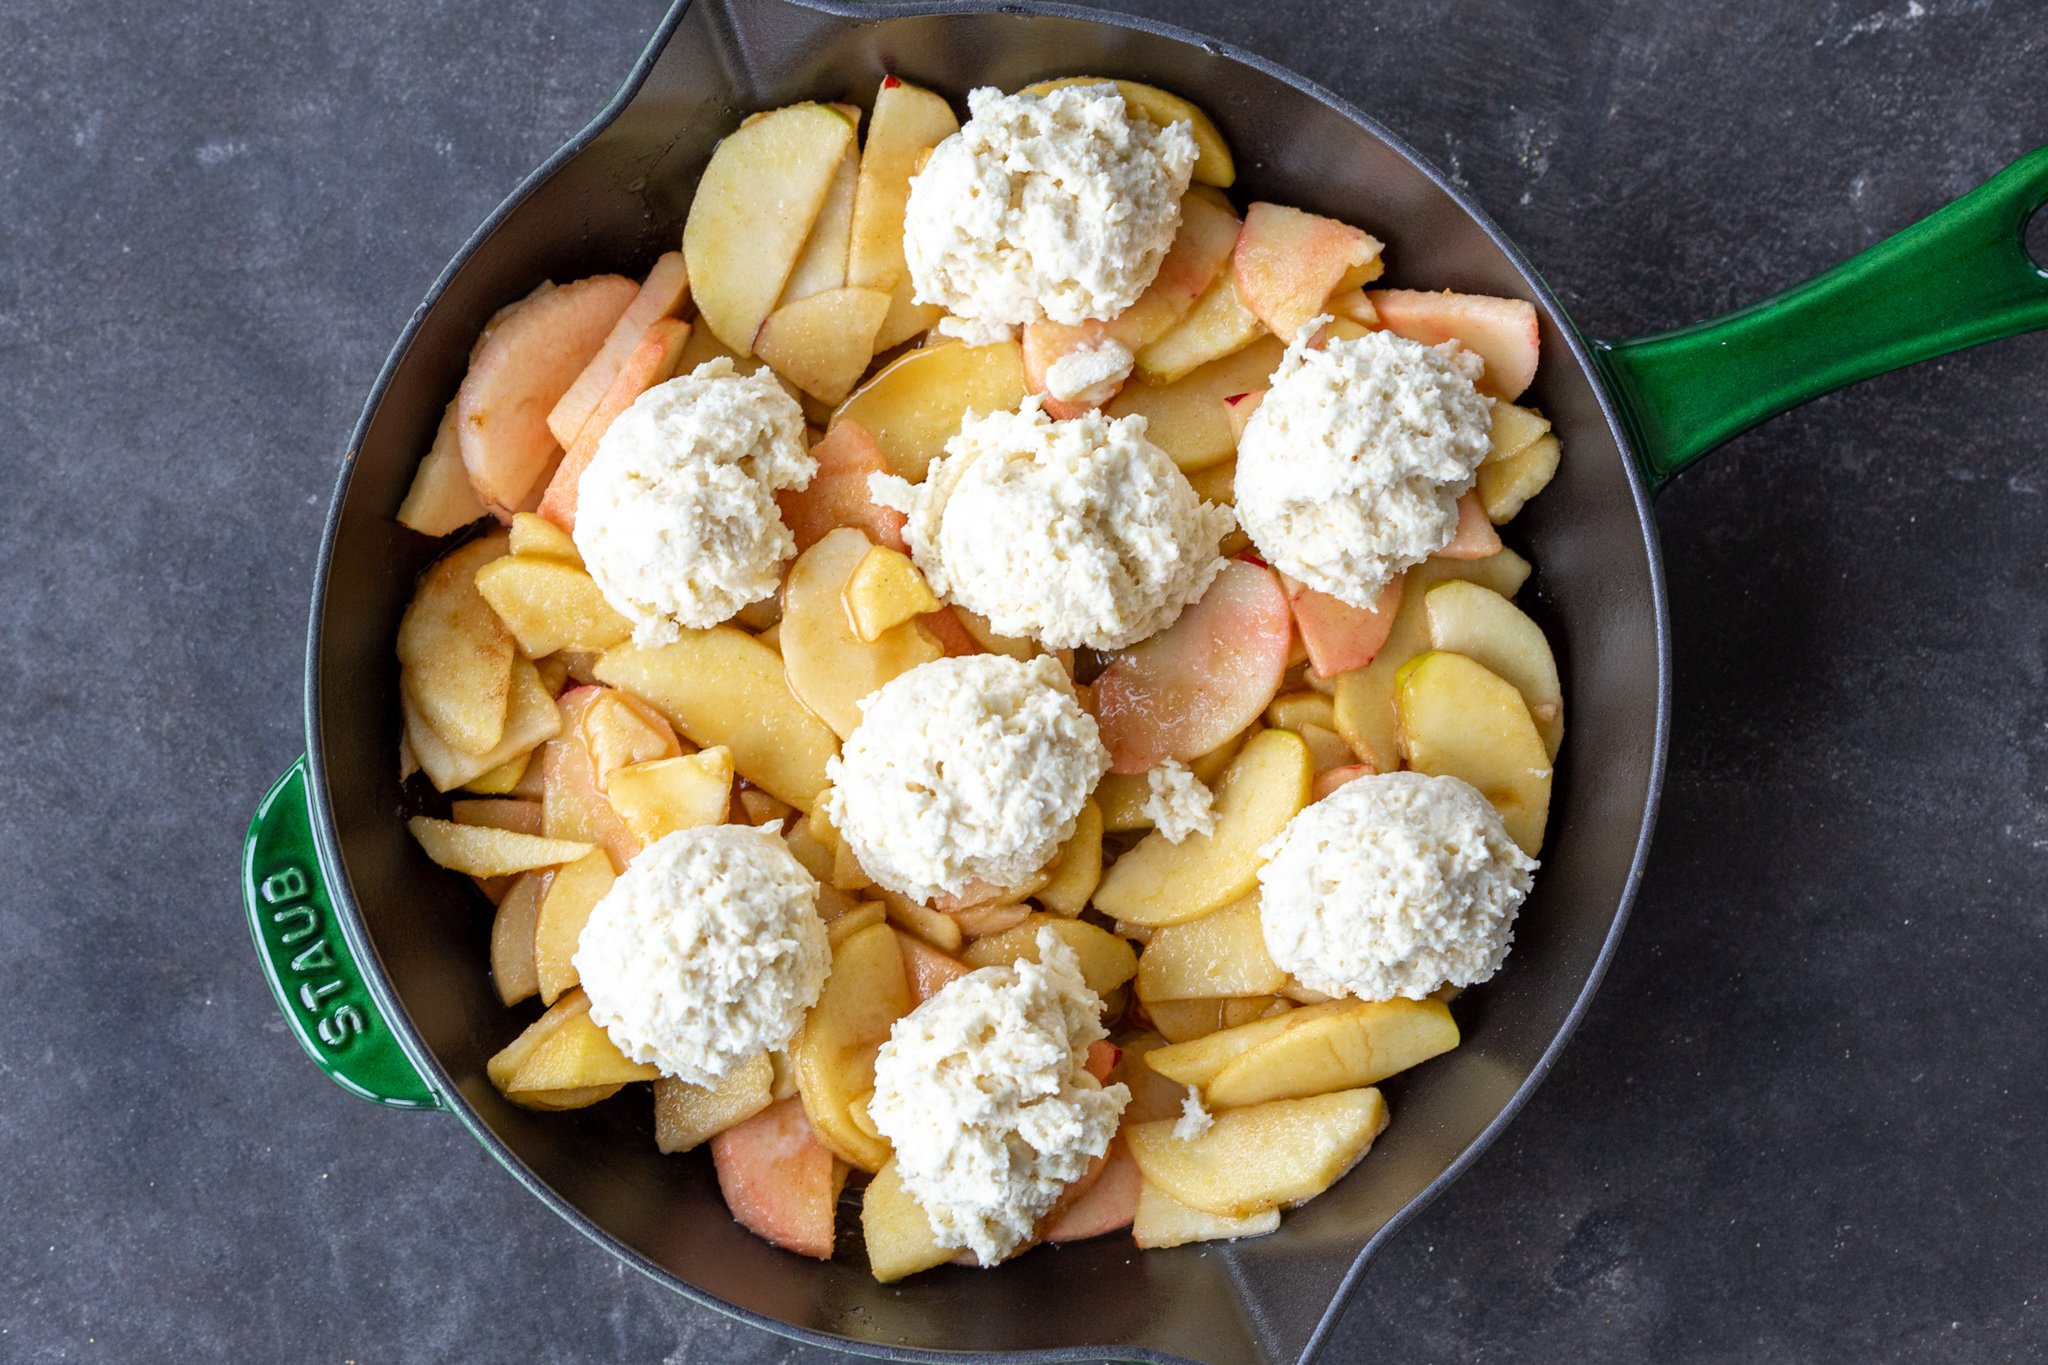
- Assemble the cobbler. Spread the apple filling across the bottom of the baking dish. Then, spoon or scoop 6-8 dollops of the biscuit batter over the top, leaving a few gaps so steam can escape and the filling can caramelize.
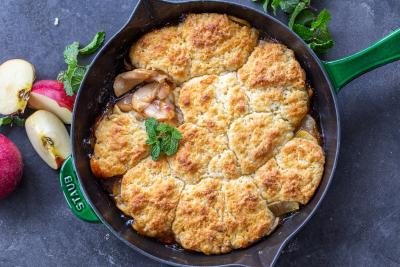
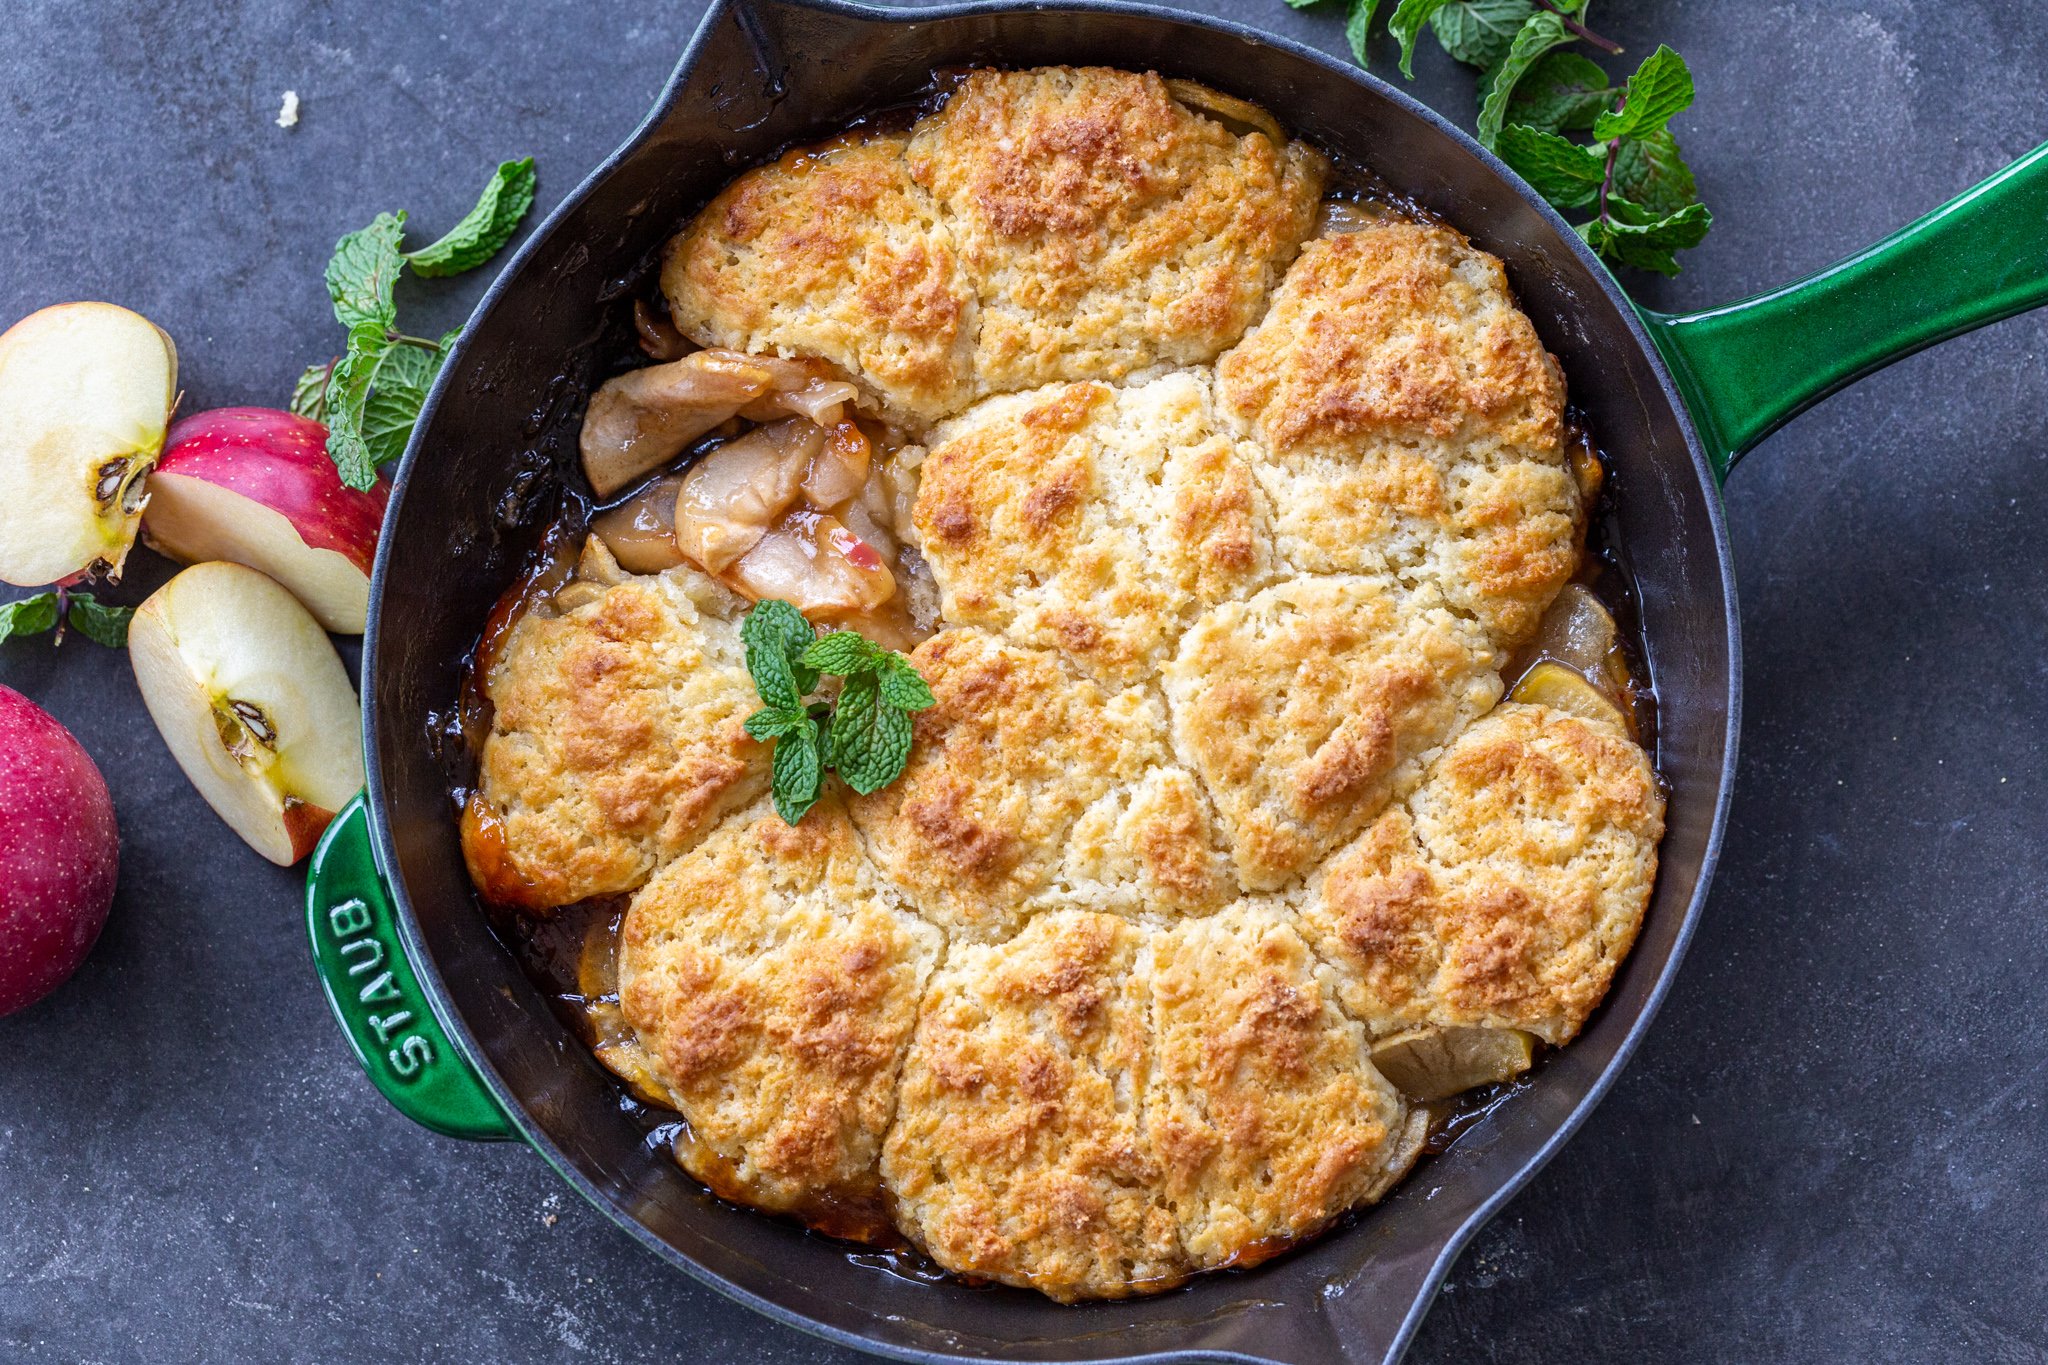
- Sprinkle with sugar, then bake. A final dusting of granulated sugar creates a crackly crust. Bake at 375°F for about 40 minutes, or until the topping is golden brown and the juices bubble around the edges. Allow the cobbler to cool a bit before serving.
Hot tip: The cobbler is ready when a toothpick inserted into the topping comes out clean and the whole kitchen smells of baked apples and cinnamon. If the topping browns too fast, tent it loosely with foil for the last 10 minutes.
Recipe Variations & Substitutions
Make this cobbler your own with a few easy swaps and additions. Here are a few ideas.
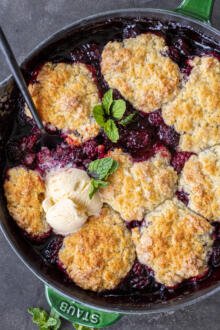
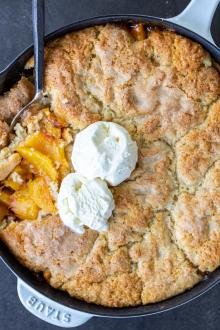
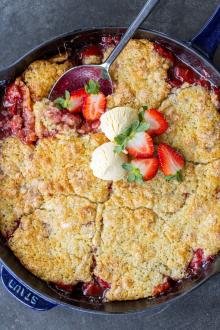
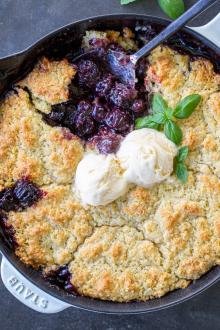
- Swap the fruit. If you want a cobbler with a different berries or fruit, check out my recipes for blackberry, strawberry, cherry, or peach cobbler.
- Add oats for a heartier topping. Stir ½ cup of rolled oats into the biscuit batter for a crunchier texture that’s a mix between cobbler and crisp.
- Take a shortcut with cake mix (optional). Instead of the biscuit topping, sprinkle a package of yellow or vanilla cake mix over the filling, drizzle with melted butter, and bake.
- Boost the spice blend. Add in a pinch of ground cloves, ginger, cardamom, or freshly grated nutmeg into the filling or topping.
- Make it gluten‑free. Substitute a 1‑to‑1 gluten‑free all‑purpose flour blend for the regular flour. You may need an extra splash of buttermilk, as GF flours tend to absorb more liquid.
- Use canned apple pie filling. In a pinch, skip the fresh filling and pour two 21‑ounce cans of apple pie filling into the dish. Reduce the sugar in the topping slightly to balance the sweetness.
Want individual portions? Divide the filling and batter among four to six ramekins. Bake at 375°F until the topping reaches 200°F internally, about 15‑20 minutes.
Apple Cobbler Recipe Tips & Tricks
Small tips can make a big difference when it comes to cooking and baking. Here are mine that I make sure to follow each time, divided between the apple filling and the biscuit topping. Take a quick read so you’re ready to go.
Apple Filling Tips
- Mix multiple apple varieties for flavor depth (optional): Combining a few different types of apples can give you a more interesting flavor and texture. The tartness of one and the honeyed notes of another can be so delicious!
- Peel the apples for the smoothest texture. Apple skins don’t soften much in the oven and can turn tough. A vegetable peeler strips them fast and removes less flesh than a knife.
- Slice the apples evenly — about ¼ inch thick. Consistent slices cook at the same rate, so you won’t end up with some crunchy and some mushy pieces. A mandolin slicer makes quick work of this.
- Toss with lemon juice right after cutting. The acid keeps the slices from browning and adds a subtle brightness to the filling. This recipe calls for 1 tablespoon.
- Sweeten to your taste. This recipe uses a mix of granulated and brown sugar for depth. If your apples are extra tart, bump the sugar up a notch, but if they’re on the sweeter side, scale back slightly.
Biscuit Topping Tips
- Make sure the ingredients are cold. Cold flour, cold butter, and cold buttermilk produce the flakiest biscuit. Warm ingredients melt the fat too early and leave the topping dense.
- Avoid overworking the dough. Stir the wet ingredients into the dry just until combined. A few small clumps of flour are fine — they turn into tender pockets during baking.
- Grate the butter instead of cubing it. Frozen butter shredded on a box grater distributes faster and stays colder than cubed butter, leading to an ultra‑light topping.
- Leave breathing room between biscuit dollops. Crowding the batter traps steam and can make the filling soggy. Those gaps let the juices reduce into a syrupy sauce.
- Sugar the top before baking (optional): A light sprinkle of granulated sugar over the dough adds a shatter‑thin crust and a touch of sweetness.
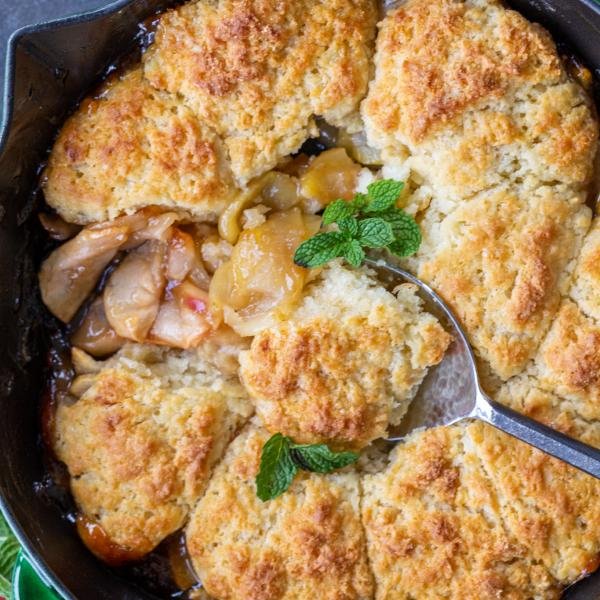
- Rest after baking. Let the cobbler sit for 10 to 20 minutes before scooping. The filling firms up while it rests so it doesn’t run across the plate.
Serving Apple Cobbler
Warm cobbler plus cold, creamy toppers is a combo that never misses. Set the table with options and let everyone dress their own.
- Vanilla ice cream: Ice cream is a classic choice. The hot‑cold contrast and milky sweetness round out the spiced apples.
- Whipped cream or crème fraîche: This light topping lightens each bite.
- Caramel drizzle: A ribbon of salted caramel drizzle plays beautifully against the cinnamon.
- Greek yogurt: A spoonful of thick plain yogurt adds tang without extra sugar.
Storing Apple Cobbler for Later
Refrigerating cobbler is a total YES! I do refrain from freezing it as the biscuit topping doesn’t do so great after thawing. Fresh cobbler tastes so much better than a thawed out frozen one!
- Refrigerator: Store cobbler for up to three days in the refrigerator in an airtight container. Keep in mind, the consistency of the apple filling and biscuit topping will likely change the longer it sits in the fridge. The juices in the cobbler may cause the cobbler to become softer with each day.
- Reheating: Reheat in a 350°F oven for 15-20 minutes to revive the biscuit topping. For speed, microwave individual portions for 30-60 seconds.
Make ahead tip: To make apple cobbler in advance, prepare as instructed. Instead of baking, place the cobbler into the refrigerator until ready to bake. Easy as pie – I mean, cobbler!
More Apple Desserts
- Apple Turnover – Apple filled puff pastries
- Apple “Sharlotka” Cake – Airy and soft apple-filled sponge cake
- Apple Tart – Handheld puff pastry squares with sweet apple slices
- Apple Cinnamon Rolls– Autumn’s favorite cinnamon roll, filled with tender apples
- Apple Fritters – Rustic-style donuts with apple chunks and spicy cinnamon
Recipe
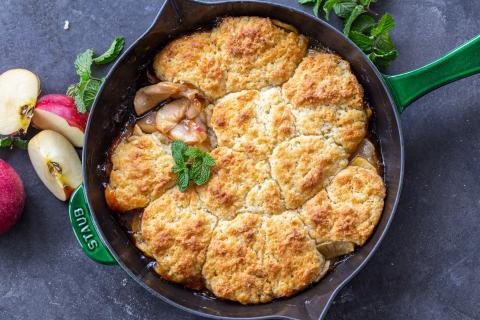
Ingredients
Apple Filling
- 4 cups apples peeled and thinly sliced
- 1/3 cup granulated sugar
- 1/4 cup brown sugar
- 1 tbsp ground cinnamon
- 3 tbsp cornstarch
- 1 tbsp lemon juice
Cobbler Topping
- 1 1/2 cups all purpose flour cold
- 1/4 cup granulated sugar
- 2 tsp baking powder
- 1/4 tsp baking soda
- 1/4 tsp salt
- 1/2 cup unsalted butter very cold
- 1 tbsp vanilla extract
- 1 cup buttermilk very cold
- 3 tbsp granulated sugar for topping
Instructions
Apple Filling
- In a large bowl, combine the sliced apples, granulated sugar, brown sugar, cinnamon, cornstarch and lemon juice. Set aside.
Cobbler Topping
- In a large bowl, stir all the dry ingredients together.
- Grate or cut in the cold butter into the dry ingredients. Combine until it resembles course crumbles.
- Add vanilla extract to the buttermilk. Then, add it to the flour mixture. Stir to combine. It is ok for mixture to be lumpy, so try not to over-mix.
- Place the apple filling on the bottom of a 9 inch baking pan.
- Top it off with about 6 to 8 spoonfuls of the cobbler topping and sprinkle with sugar.
- Bake at 375°F for about 40 minutes or until the topping is golden brown. Serve with your favorite ice cream and caramel sauce.


This really is the easiest!! And, it tastes amazing!! We love apple cobbler over here. No one ever refuses it! Ultimate comfort dessert!
Hi Kristyn, So glad to hear you enjoy this fall dessert as much as we do! Bon appétit!
I’ve made peach cobbler and blackberry cobbler before, but never apple cobbler. What a great fall twist on a classic! My whole family loved it!
Hi Samantha, So glad your family enjoyed this recipe! I appreciate your feedback. Bon appétit!
I sprinkled the top of mine with some cinnamon sugar instead of just regular sugar. Delicious warm with vanilla ice cream!
That sounds absolutely incredible! I live how you were able to make the recipe your own. Enjoy!