
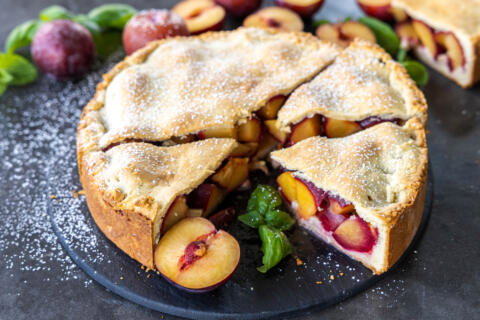
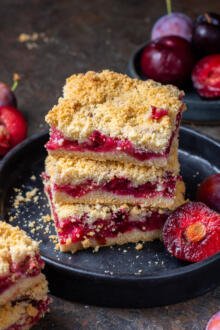
This fresh plum pie, made with sour cream-spiked crust and sweet-tangy plums, is the ultimate summer dessert. Top it with ice cream or whipped cream for a slice of heaven.
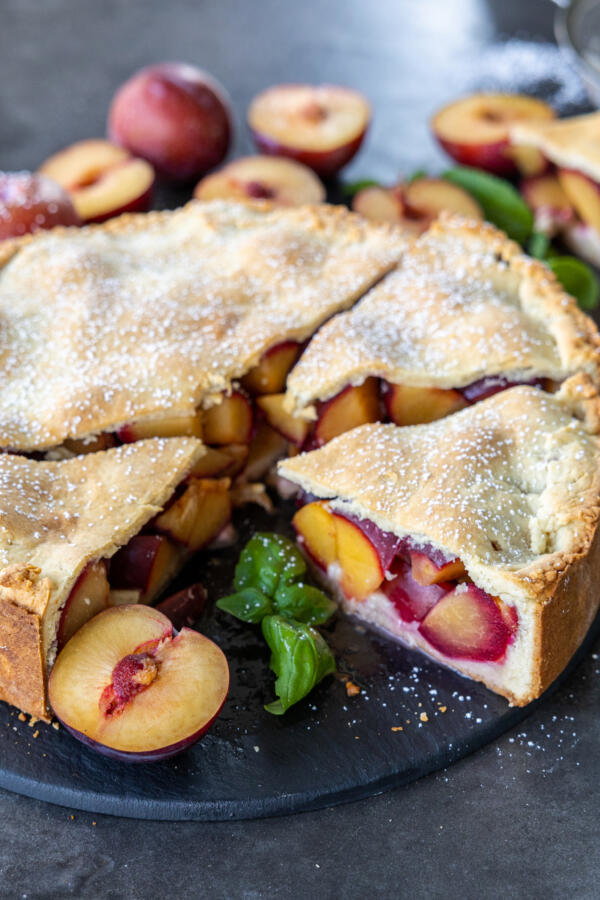
This recipe has been in my family for years — it was one of the very first recipes we ever shared on Momsdish. I love that it’s remained a staple all this time. It’s simple to make, loaded with fruit, and has just enough crust to hold everything together. A lighter, easy-to-love dessert.
The crust is what makes it so special. It’s more like a sweet butter cookie than a flaky pie crust, soaking up some of those delicious plum juices as it bakes. This is the kind of pie I grew up with in Ukraine, and I love making it for my family now.
How to Make a Plum Pie from Scratch
A sour cream dough comes together fast, cradling juicy sugared plums in a tender, golden crust. Here’s the quick walkthrough.
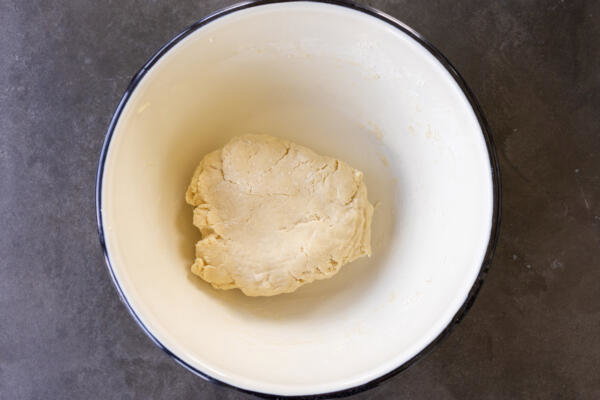
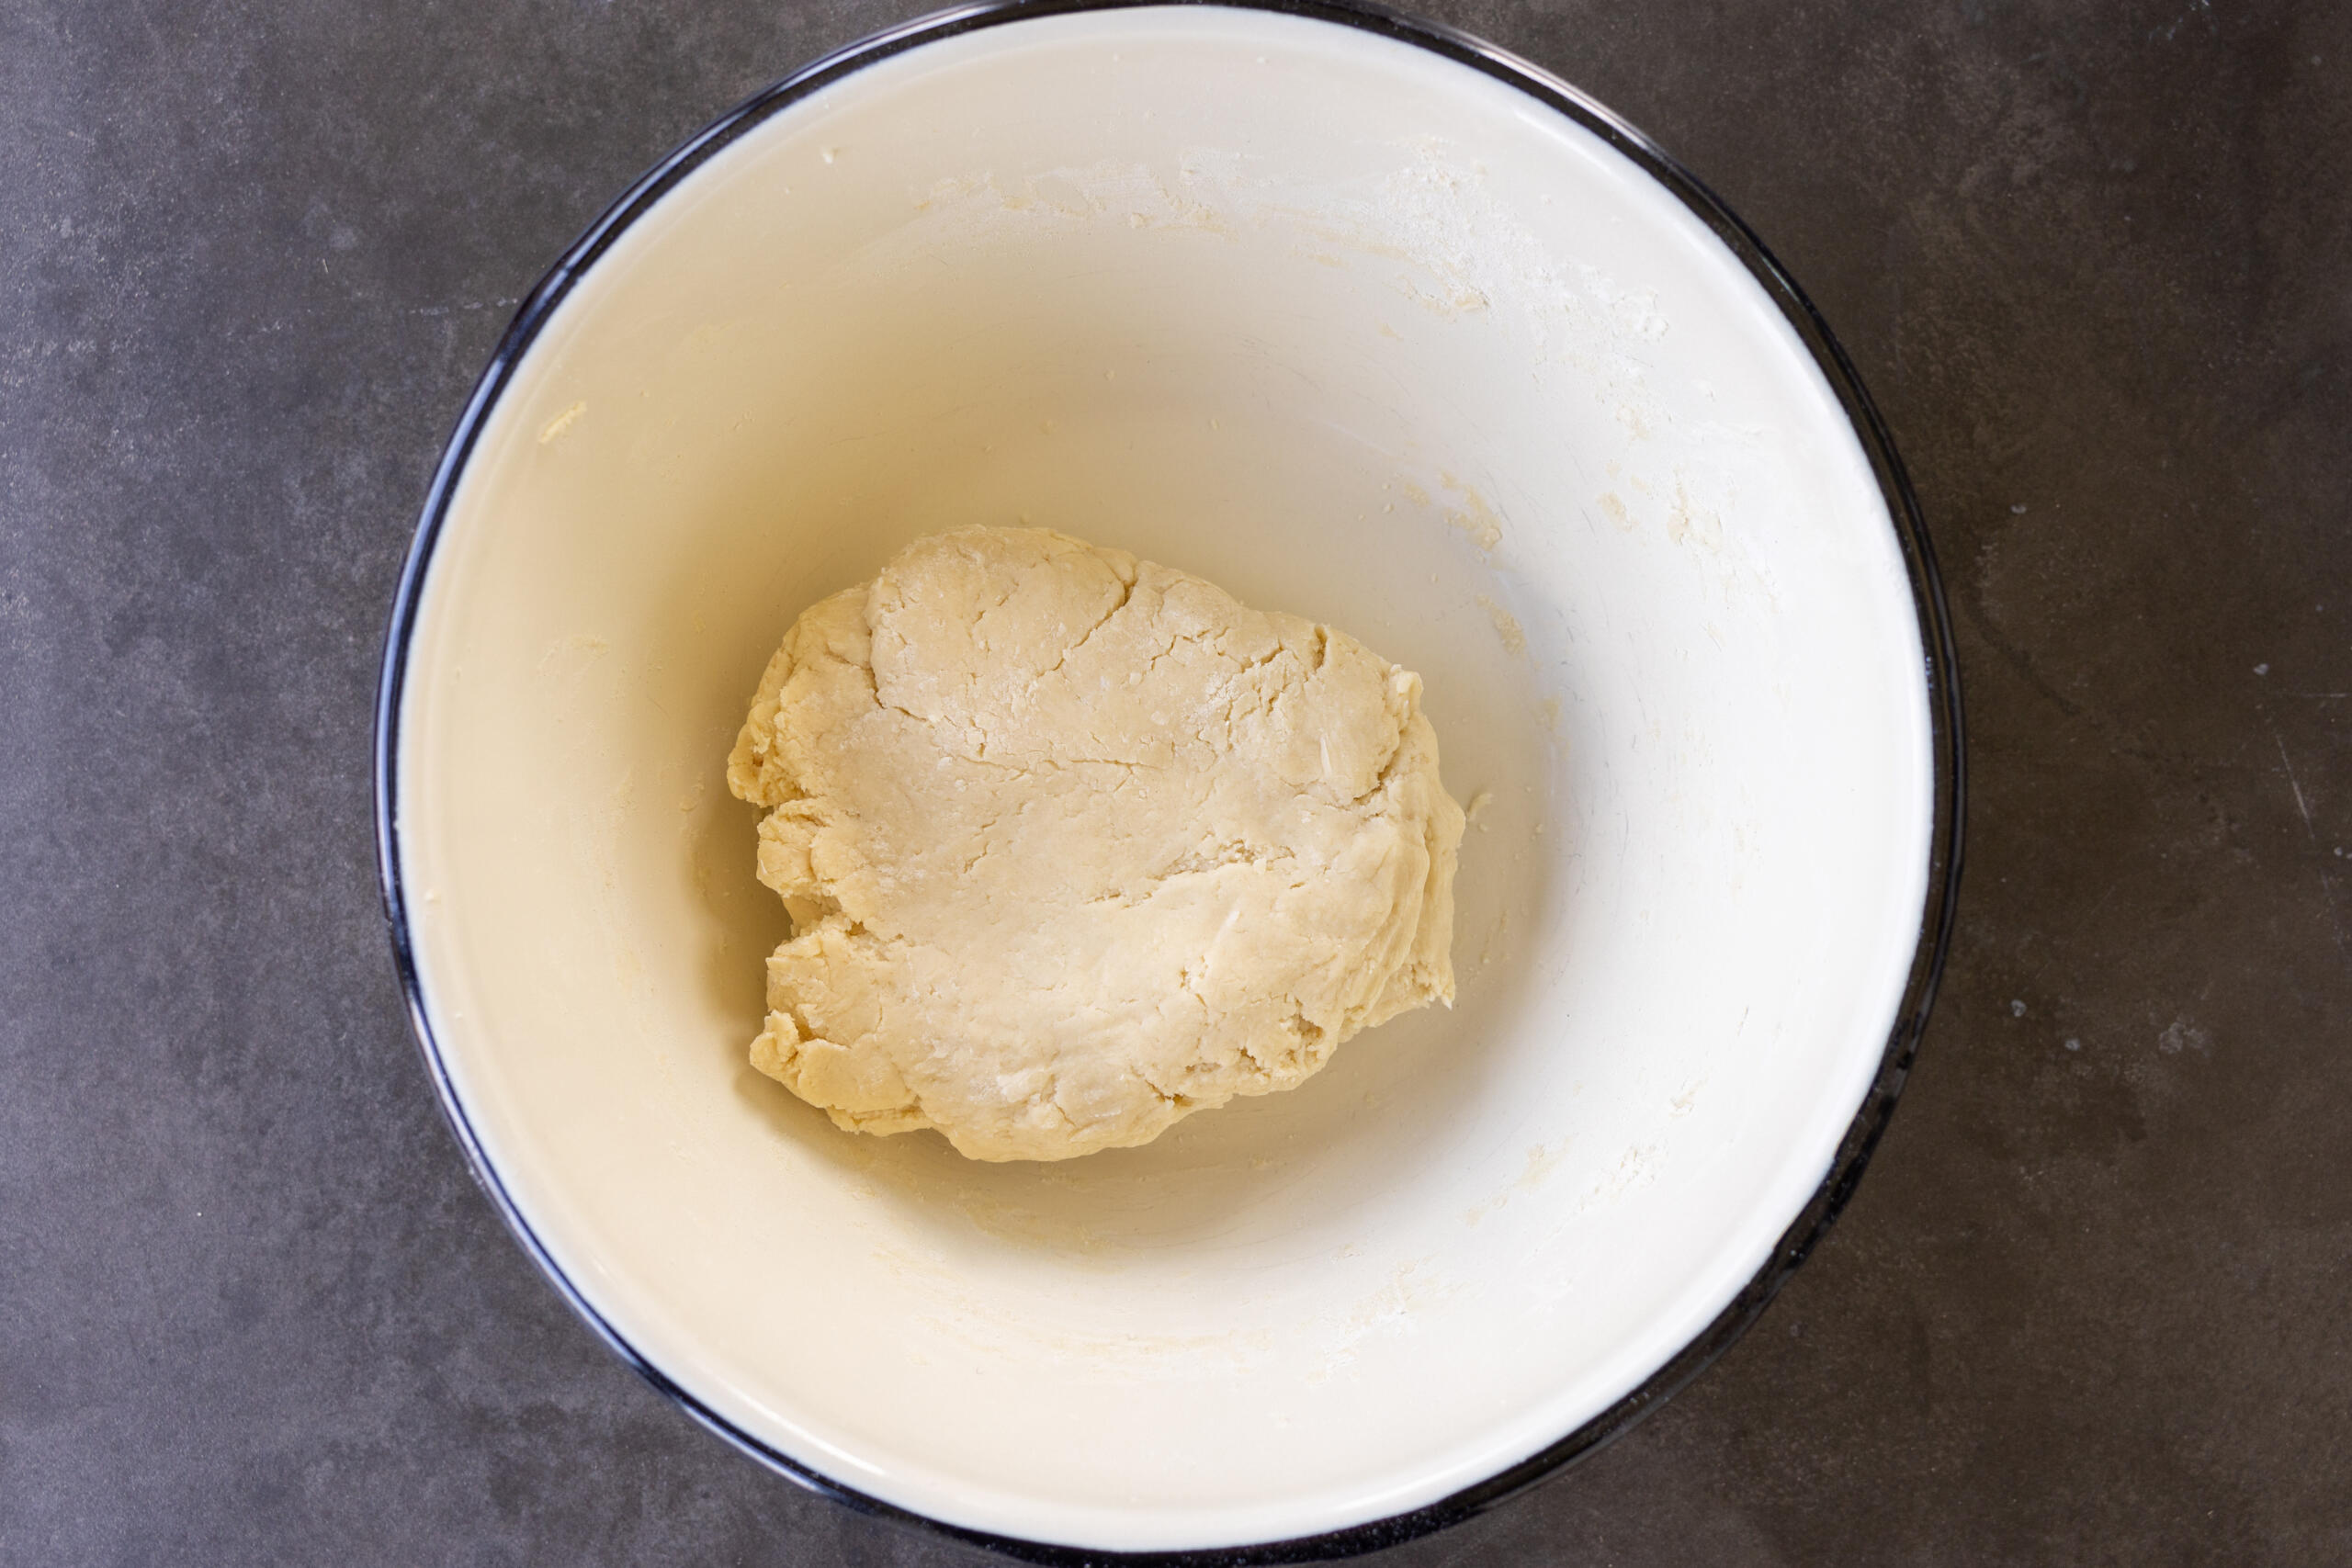
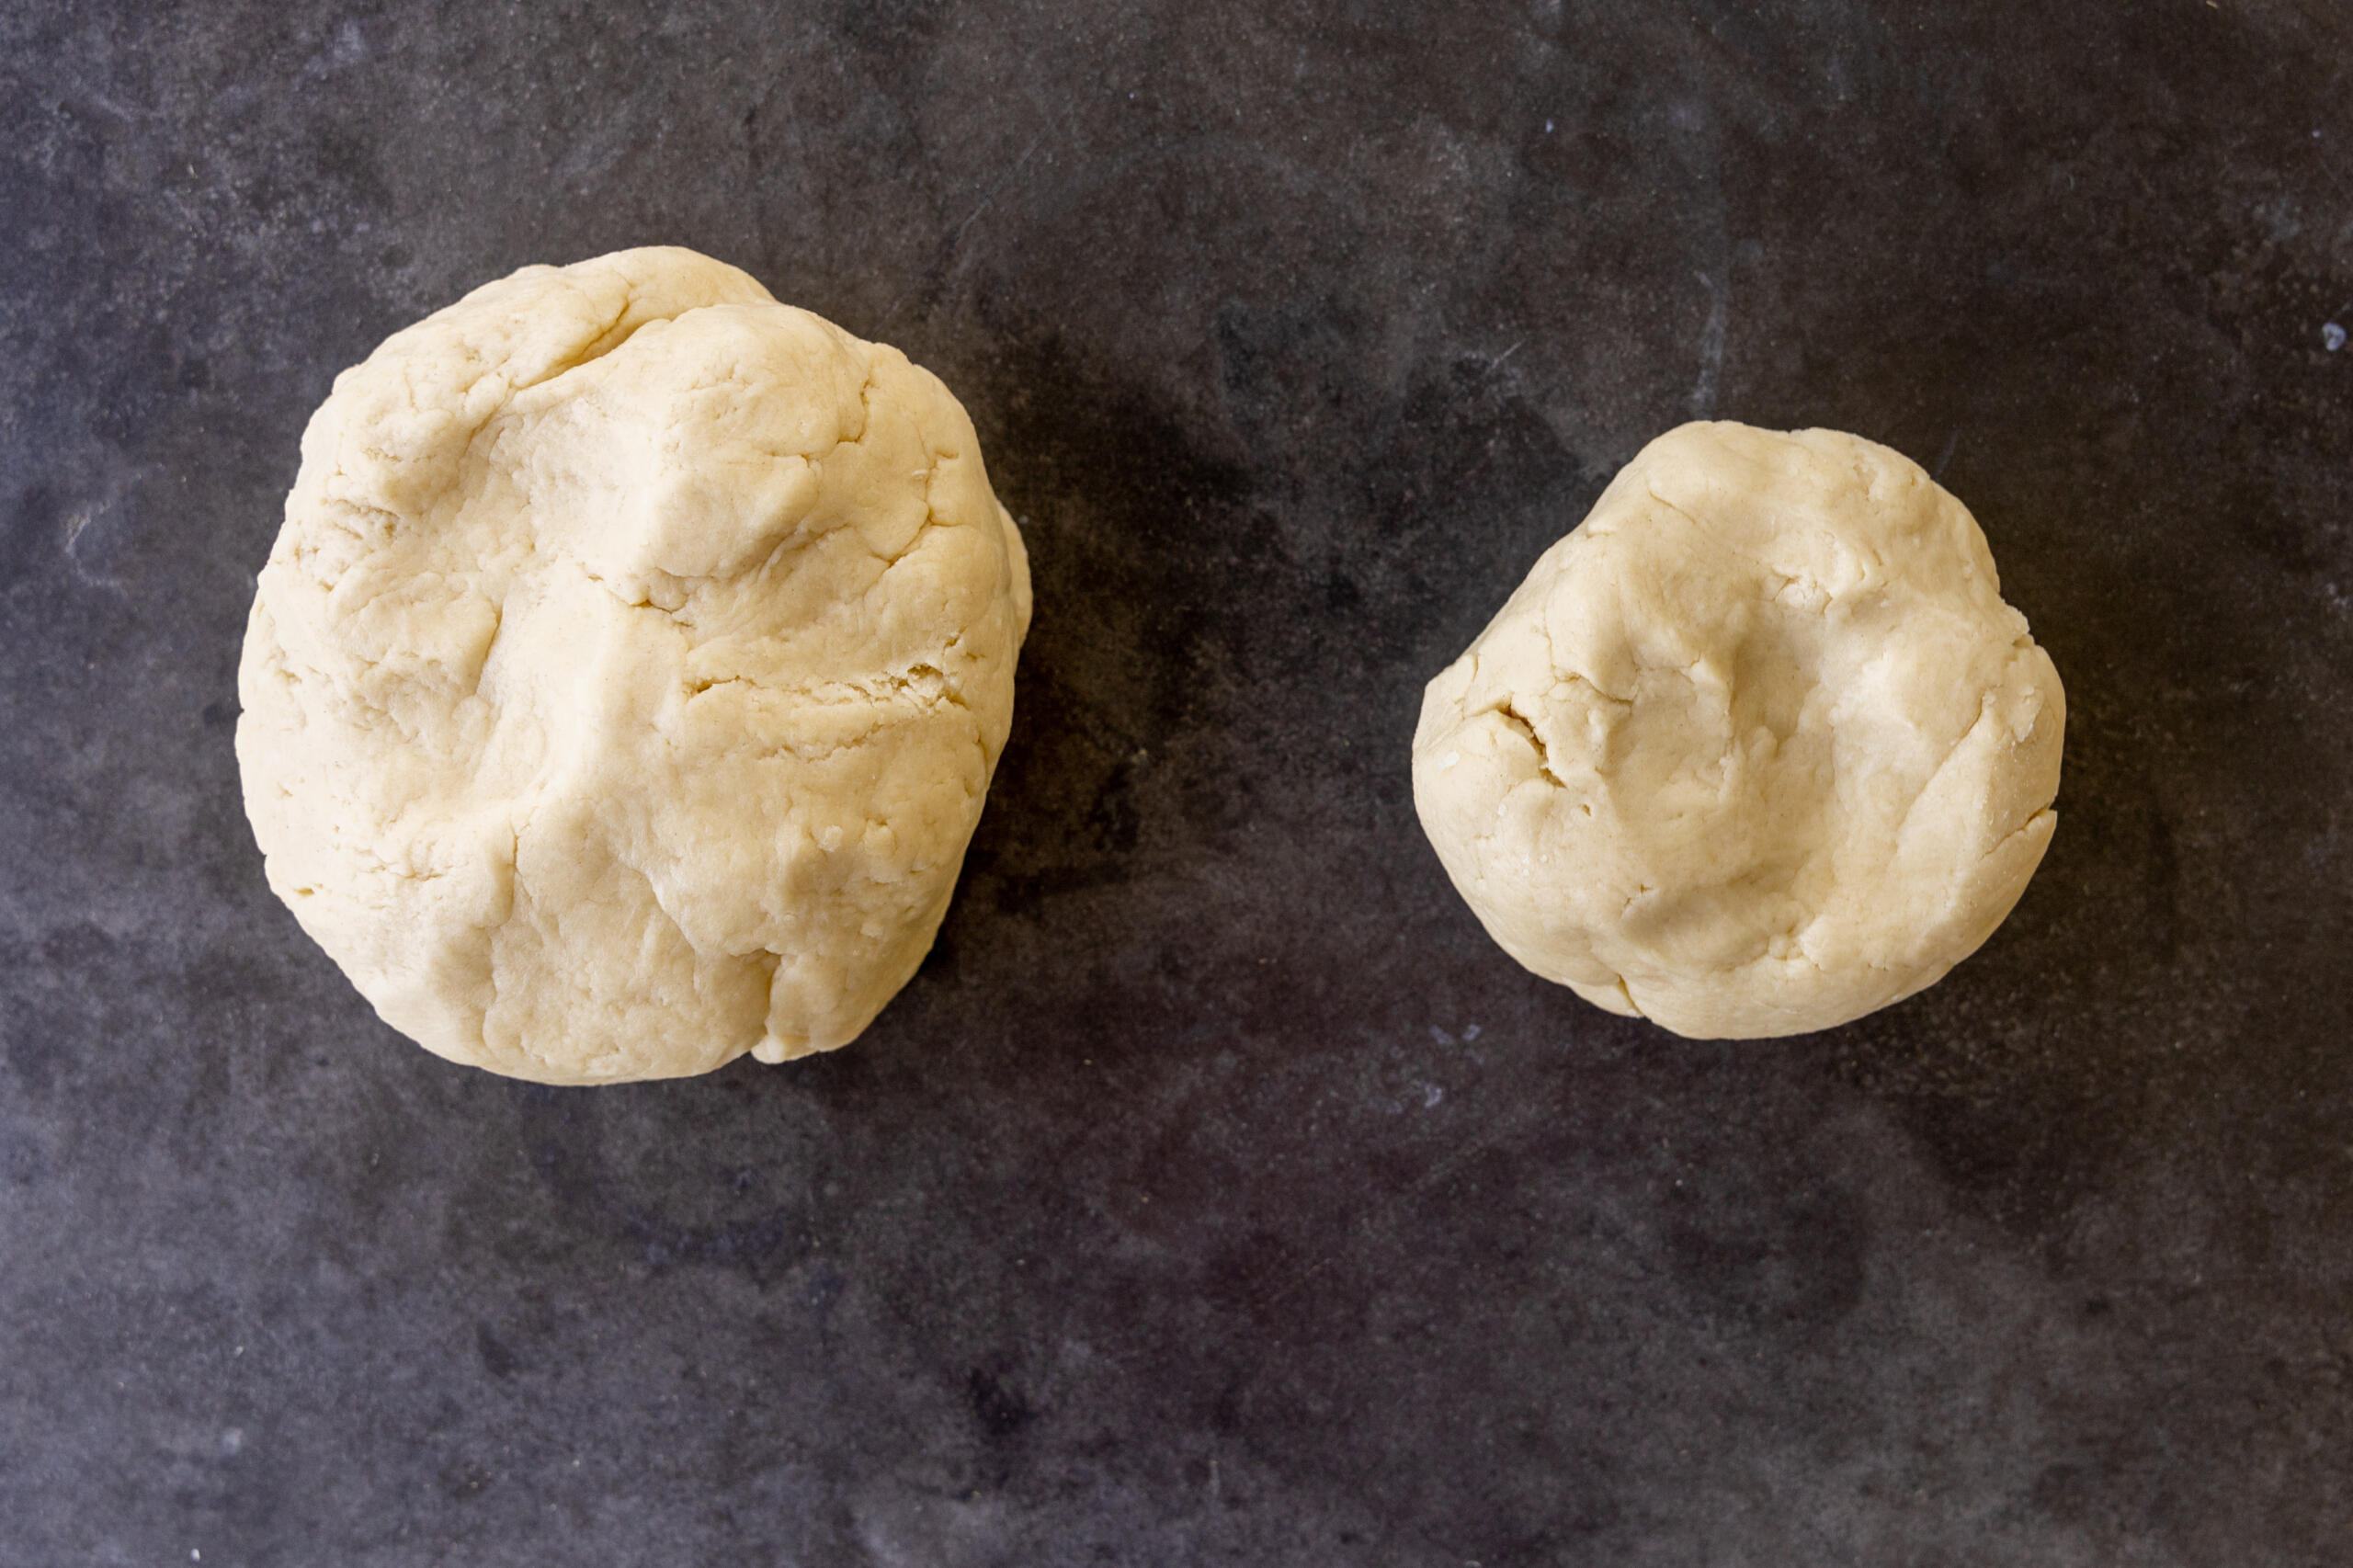
- Make the dough: Cream softened butter with sugar, vanilla, and salt. Blend in sour cream, then flour and baking powder until the mixture is elastic. Split into a larger portion (about ⅔ of the dough) and a smaller one (about ⅓).
- Roll and line: Roll the larger dough into a circle, press it into a round baking pan, and let the edges climb the sides. I use a springform (cheesecake) pan for this recipe, instead of a traditional pie plate.
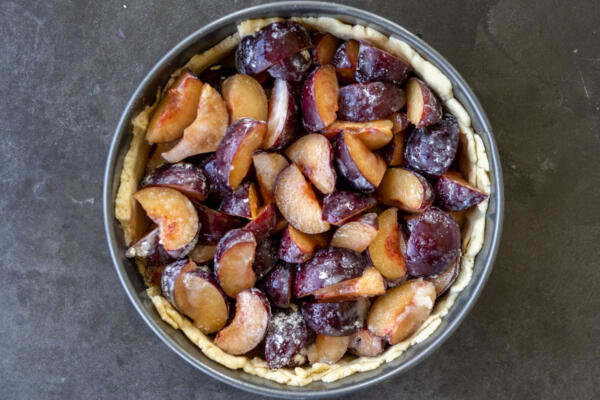
- Fill it up: Toss sliced plums with sugar and cornstarch. Heap the mixture onto the bottom crust, spreading it evenly.
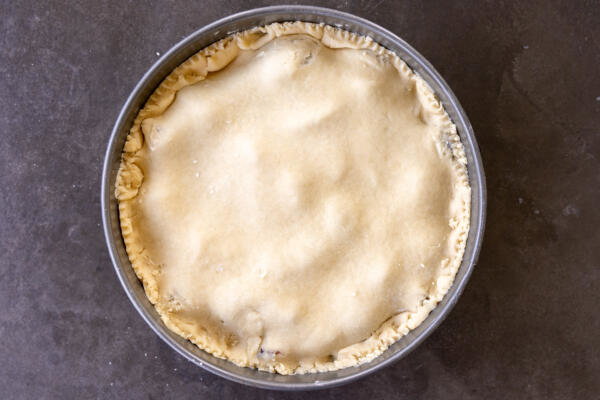
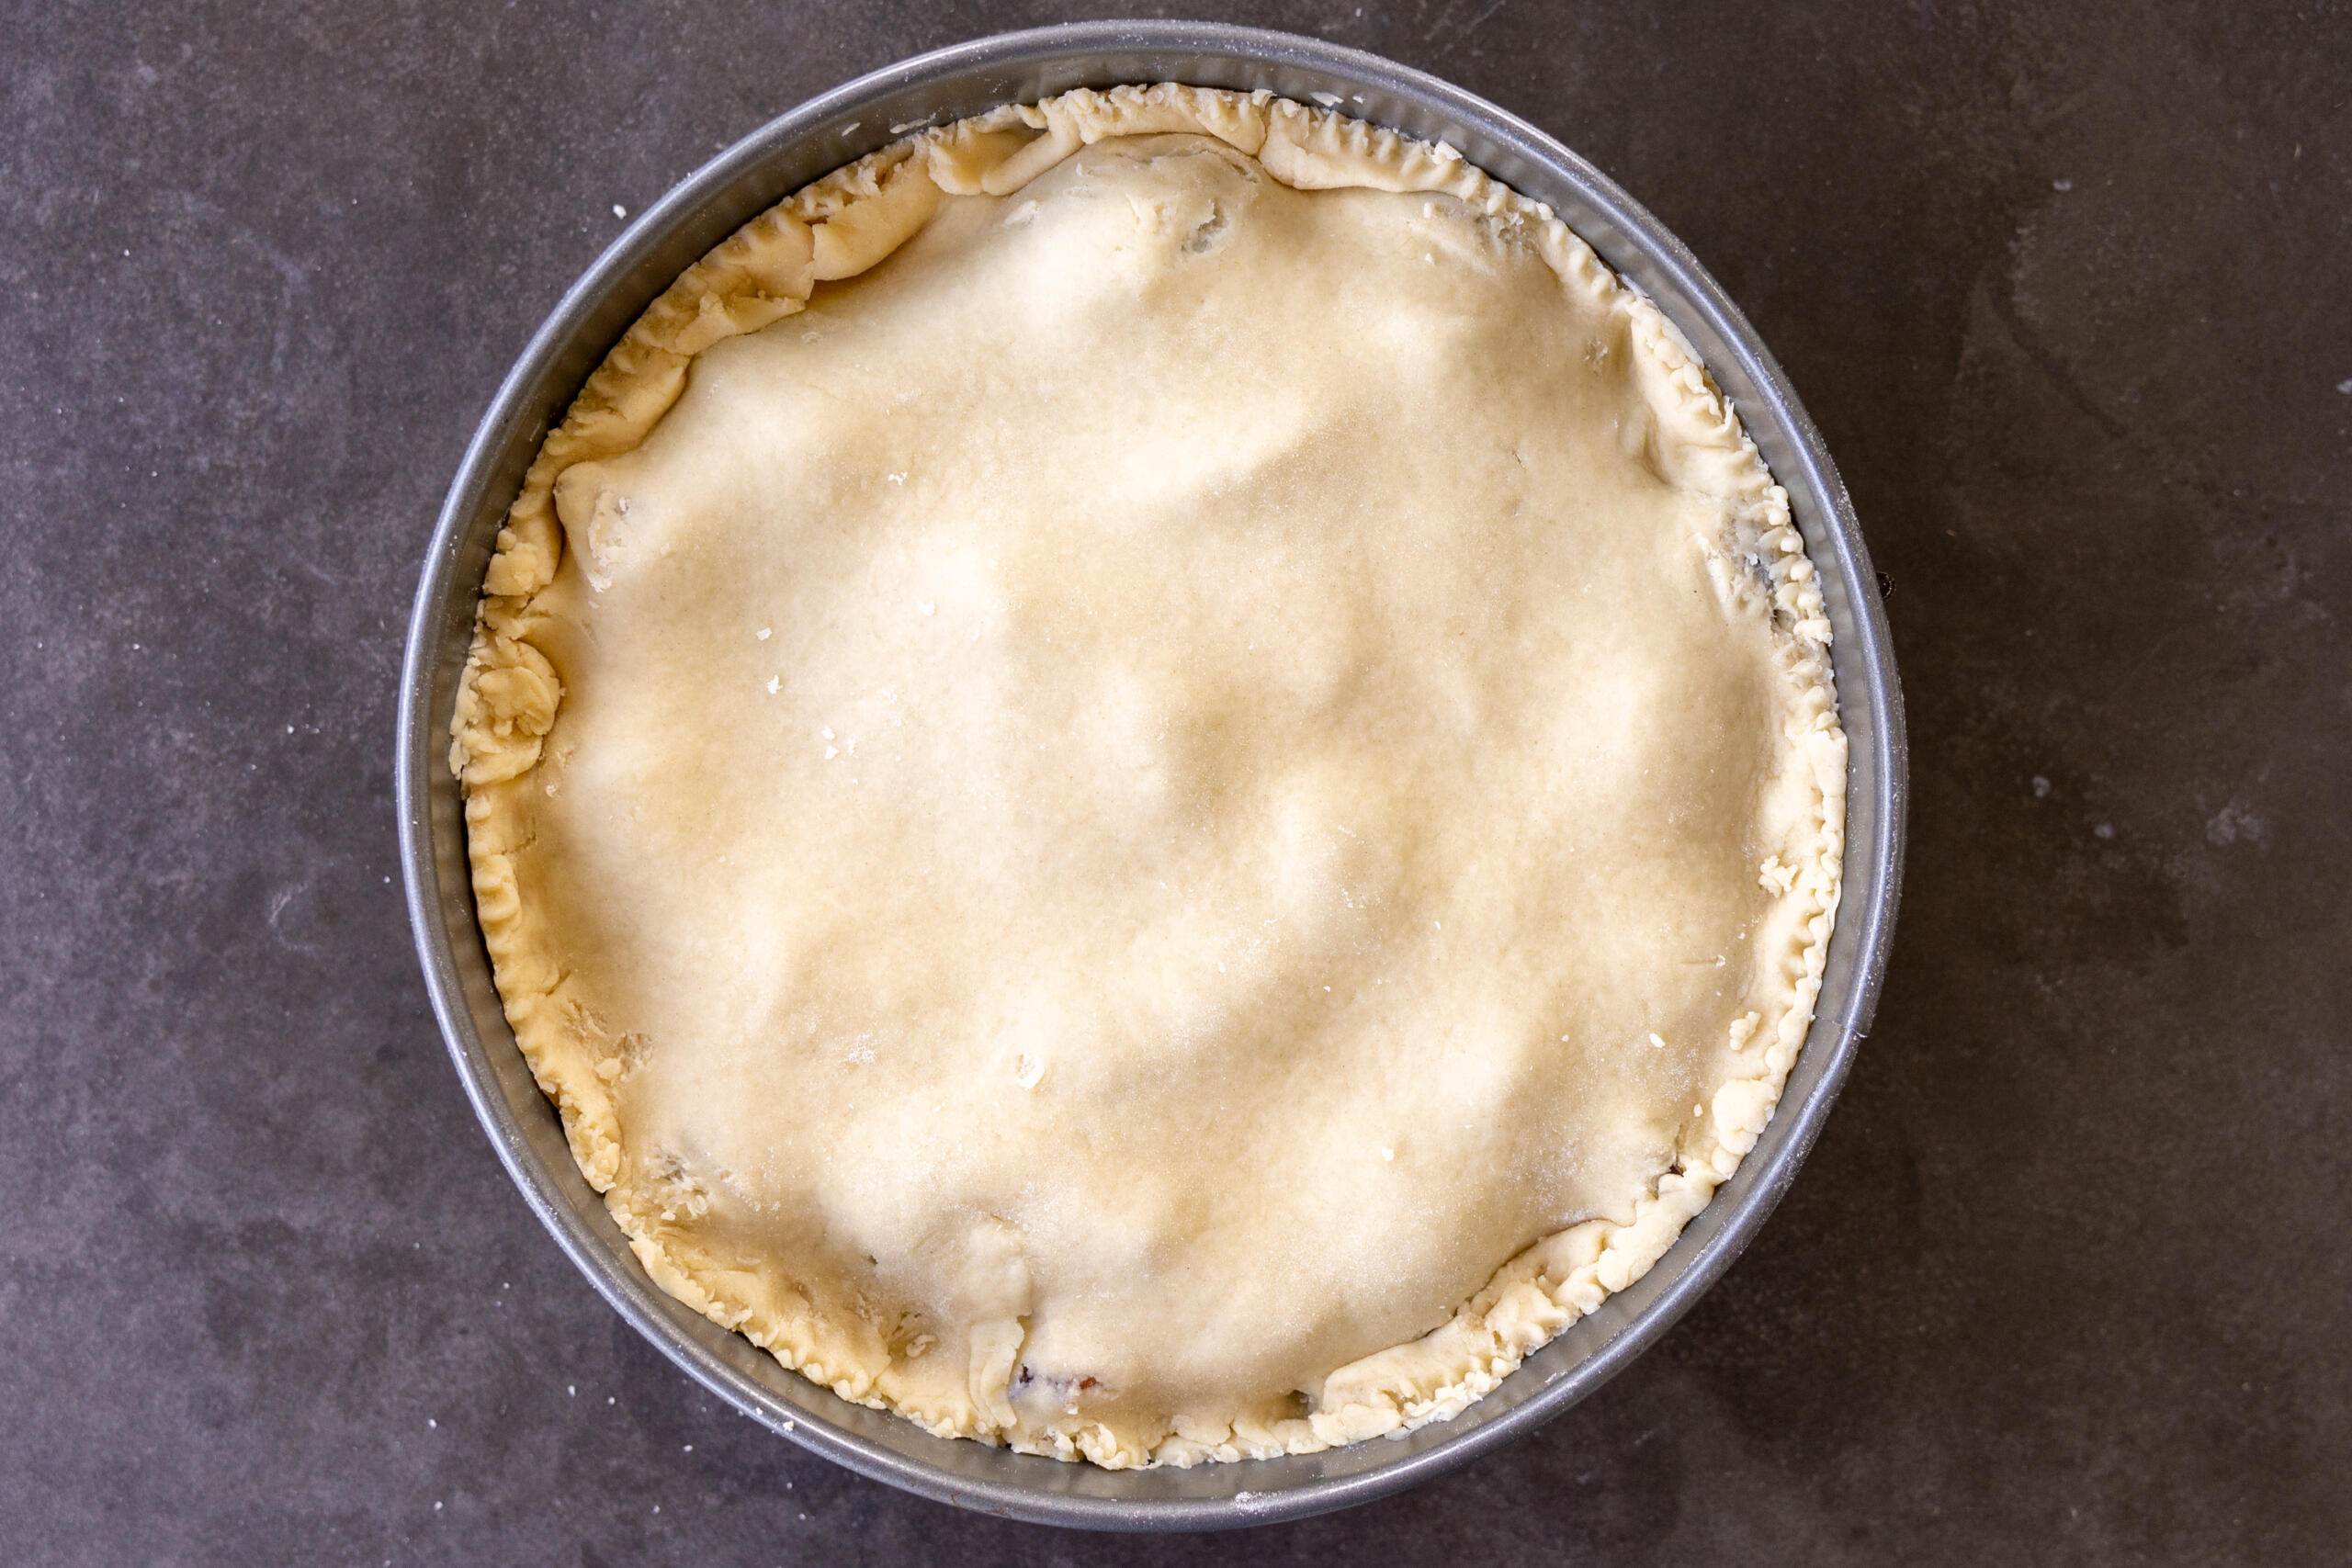
- Top and seal: Roll out the smaller ball of dough, lay it over the fruit, and crimp the edges tightly. Cut a few slits so steam can escape.
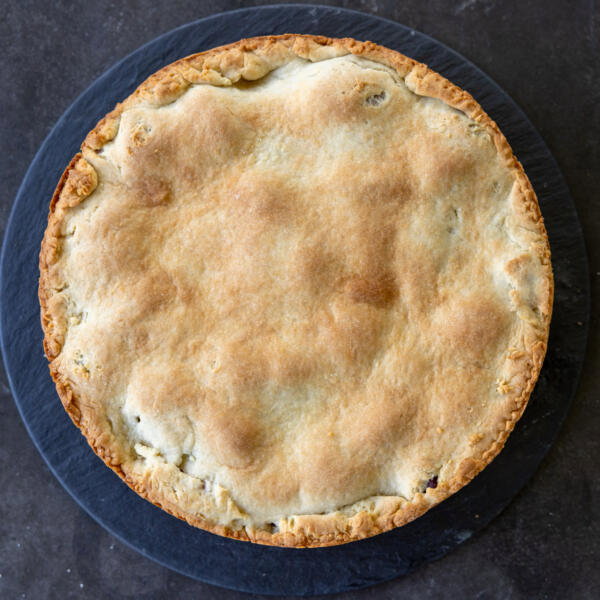
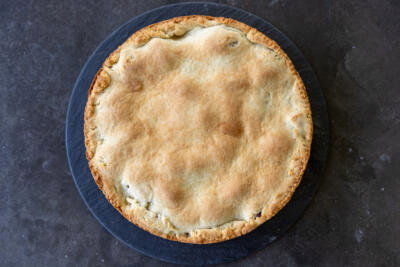
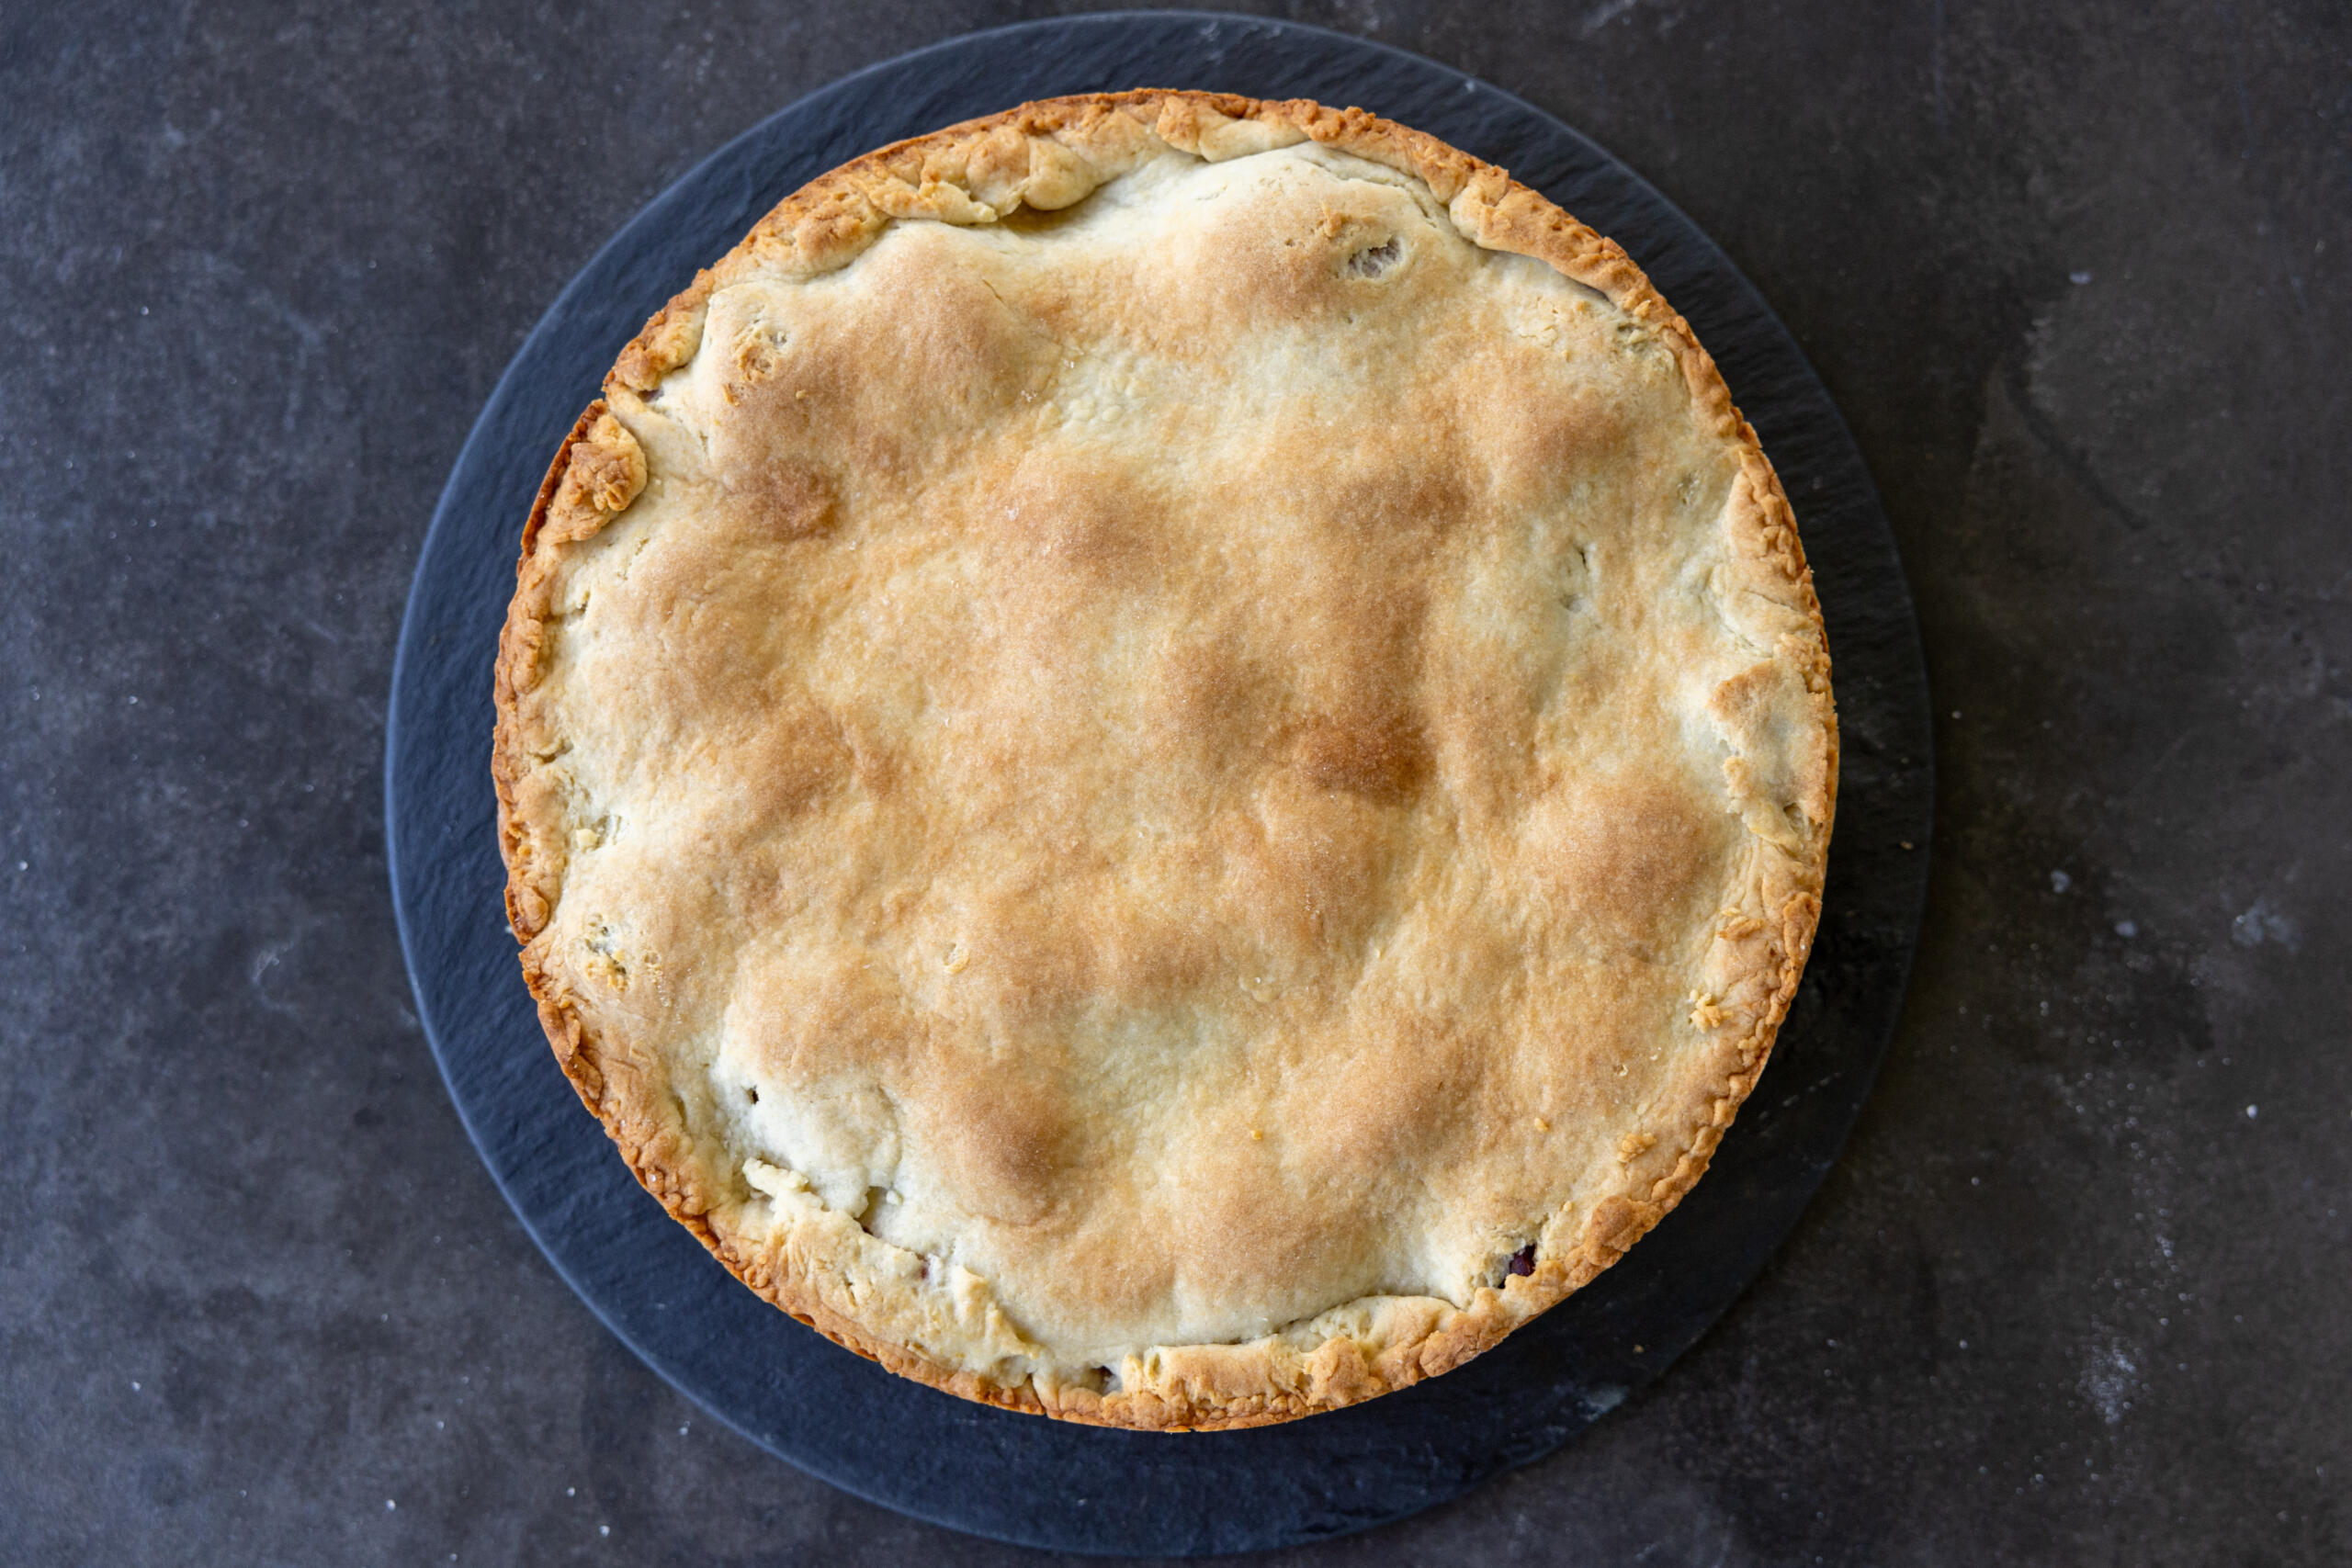
- Bake: Slide the pie into a 375°F oven and bake about 35 minutes, until the crust is deep golden.
Note: You do not have to peel the skin off of plums for plum pie. It will bake down in the oven and become super soft, while also adding color and texture to the filling.
Tips for the Best Plum Pie
Land a thick, jammy filling and crisp bottom crust with these no-fail moves.
- Let the fruit macerate: Toss the plums with sugar and cornstarch, then rest the mixture 15 minutes. The juices release and the thickener activates before the oven even gets involved..
- Seal with conviction: Pinch the top and bottom crusts together firmly; a weak seal can crack open and leak sticky juice.
- Rest before you slice: Cool the pie at least an hour on a wire rack. Cutting too soon turns a set filling into a river; patience rewards you with clean wedges.
- Shield the edges: Check the crust after 25 minutes. If the rim darkens too fast, tent it with foil or a silicone shield.
- Vent the top: With a solid crust, slash a few steam vents — moisture escapes, the bottom stays crisp. This is optional!
Little Tip… Grate half a Granny Smith apple into the filling. It adds pectin silently, helping the juices set without a chalky thickener taste.
Storing & Reheating Tips
If you have leftover plum pie or are prepping it ahead of time, here’s all you need to know about storing and reheating it.
- On the counter: Cover and keep at room temperature up to 2-3 days. The crust softens slightly, but the flavor deepens.
- In the fridge: Refrigerate and enjoy within 4-5 days for longer freshness.
- Reheat: Warm slices in a 350°F oven for 10-15 minutes. For a single serving, 45 seconds in the microwave works, though the crust loses some crunch.
Other Fruity Desserts to Try
- Quick Apple Tarts Recipe – Sweet apples in puff pastry
- Rustic Peach Galette (Free Form Peach Pie) – Peach pie with no pie pan required!
- Pear Tarte Tatin – Caramelized pears in a flaky puff pastry crust
- Apple Cobbler – Cozy spiced apples with a buttermilk biscuit topping, this apple dessert is like a warm hug!
Recipe
Ingredients
Dough
- 2 cups all-purpose flour
- 1 tsp baking powder
- 8 tbsp unsalted butter softened
- 1/2 cup sugar
- 1 tsp vanilla extract
- 1/4 tsp salt
- 1/2 cup sour cream
Plum Filling
- 1 1/2 lbs plums pitted and sliced
- 1/2 cup sugar
- 1 tbsp cornstarch
Instructions
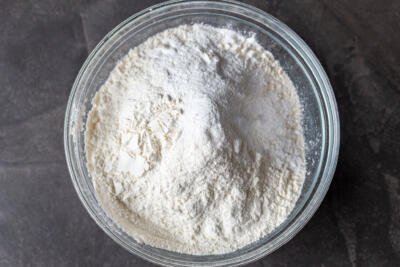
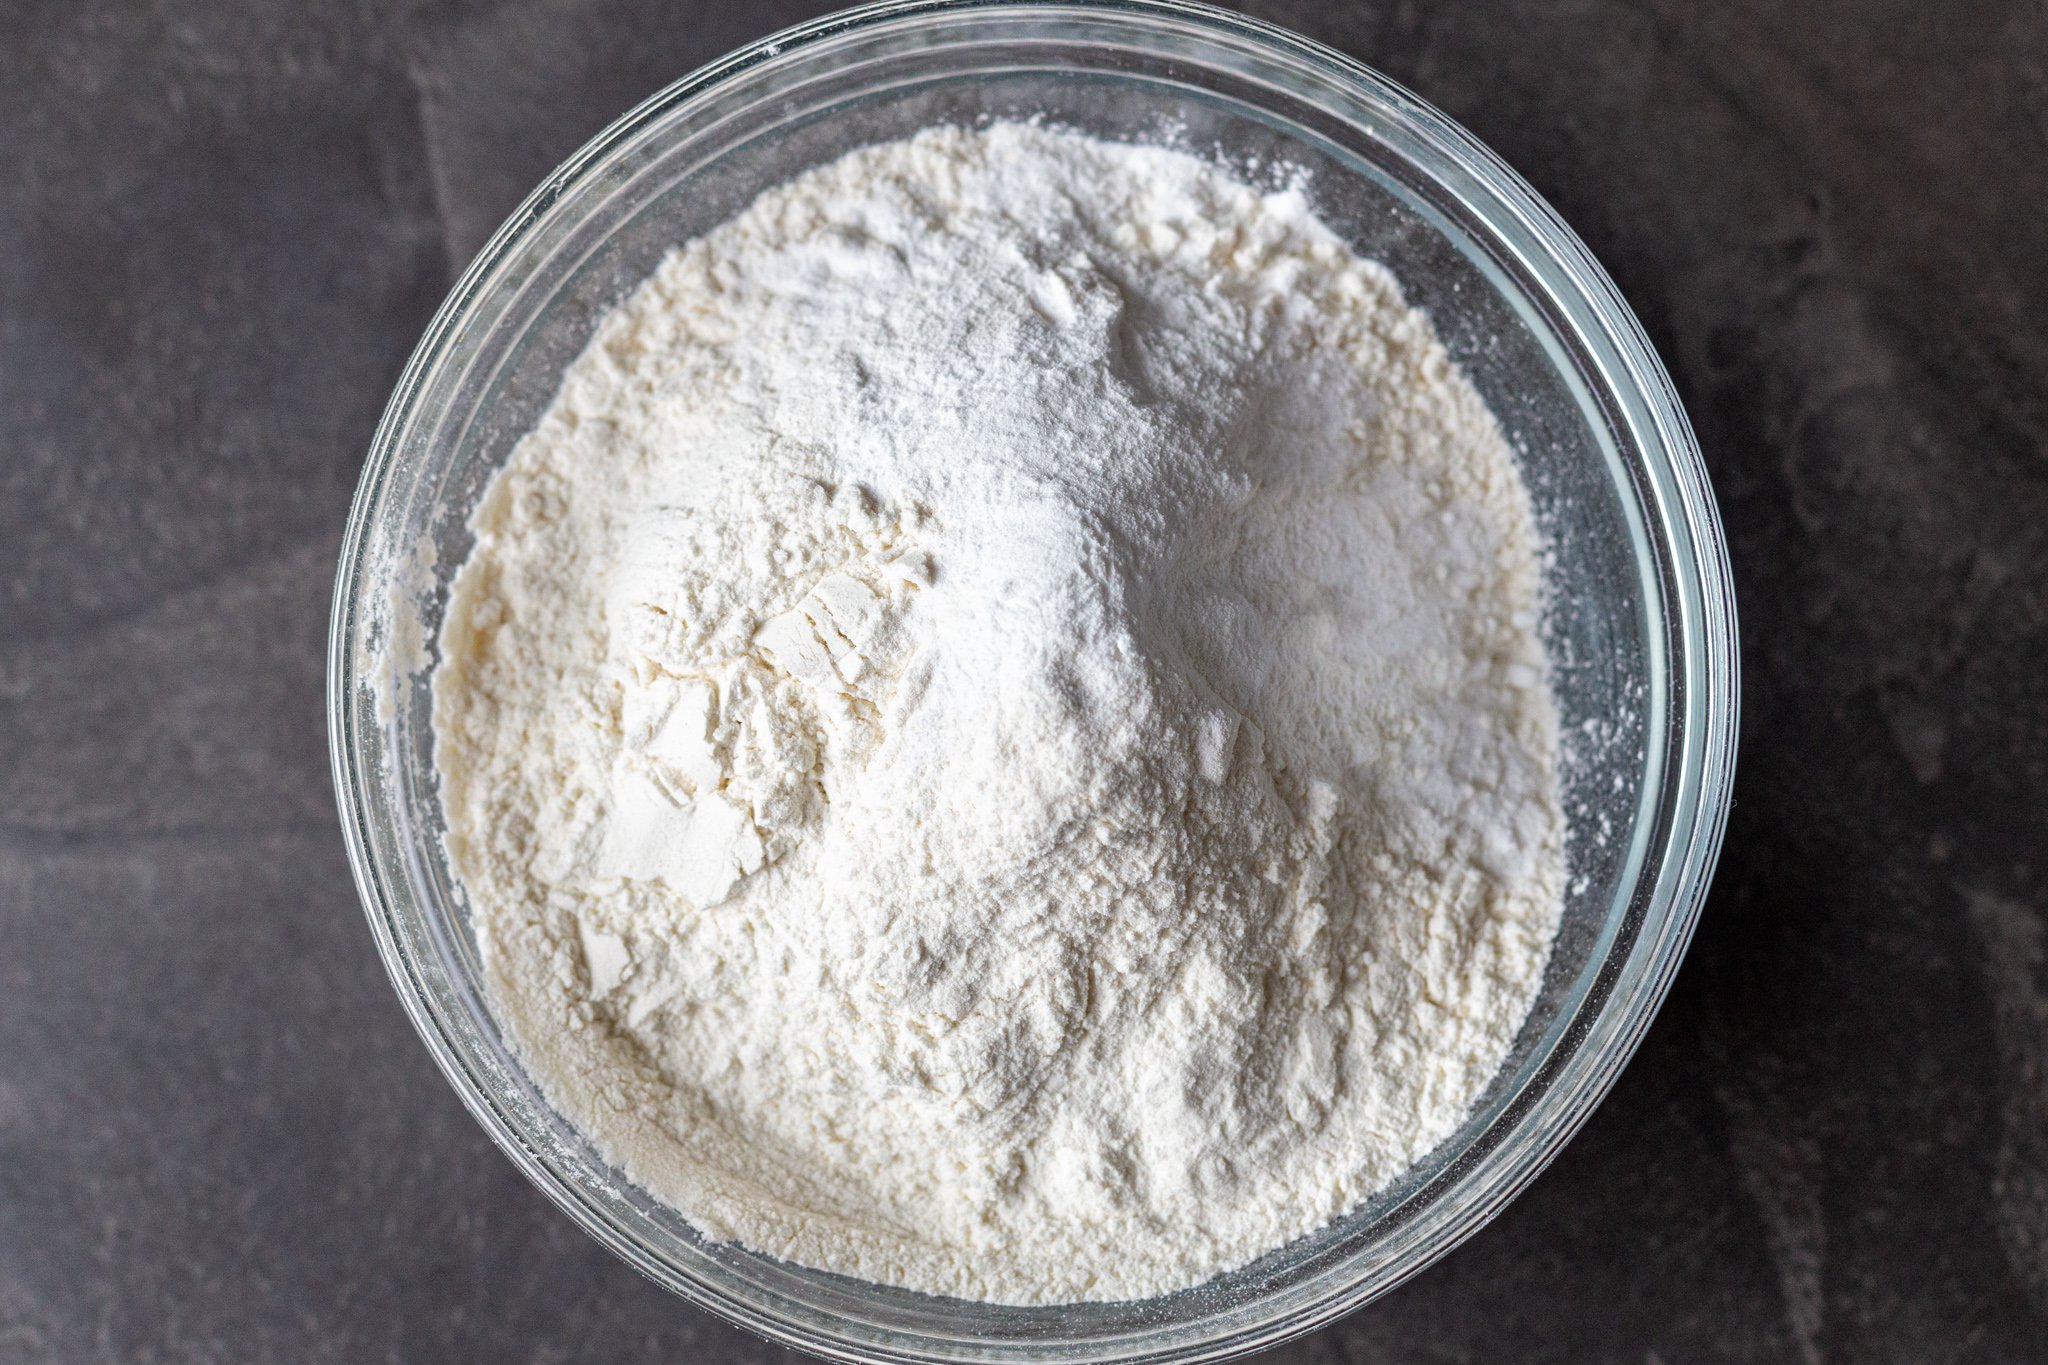
- Preheat the oven to 375°F. In a medium bowl, whisk the flour and baking powder together.
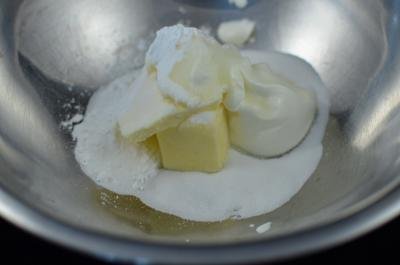
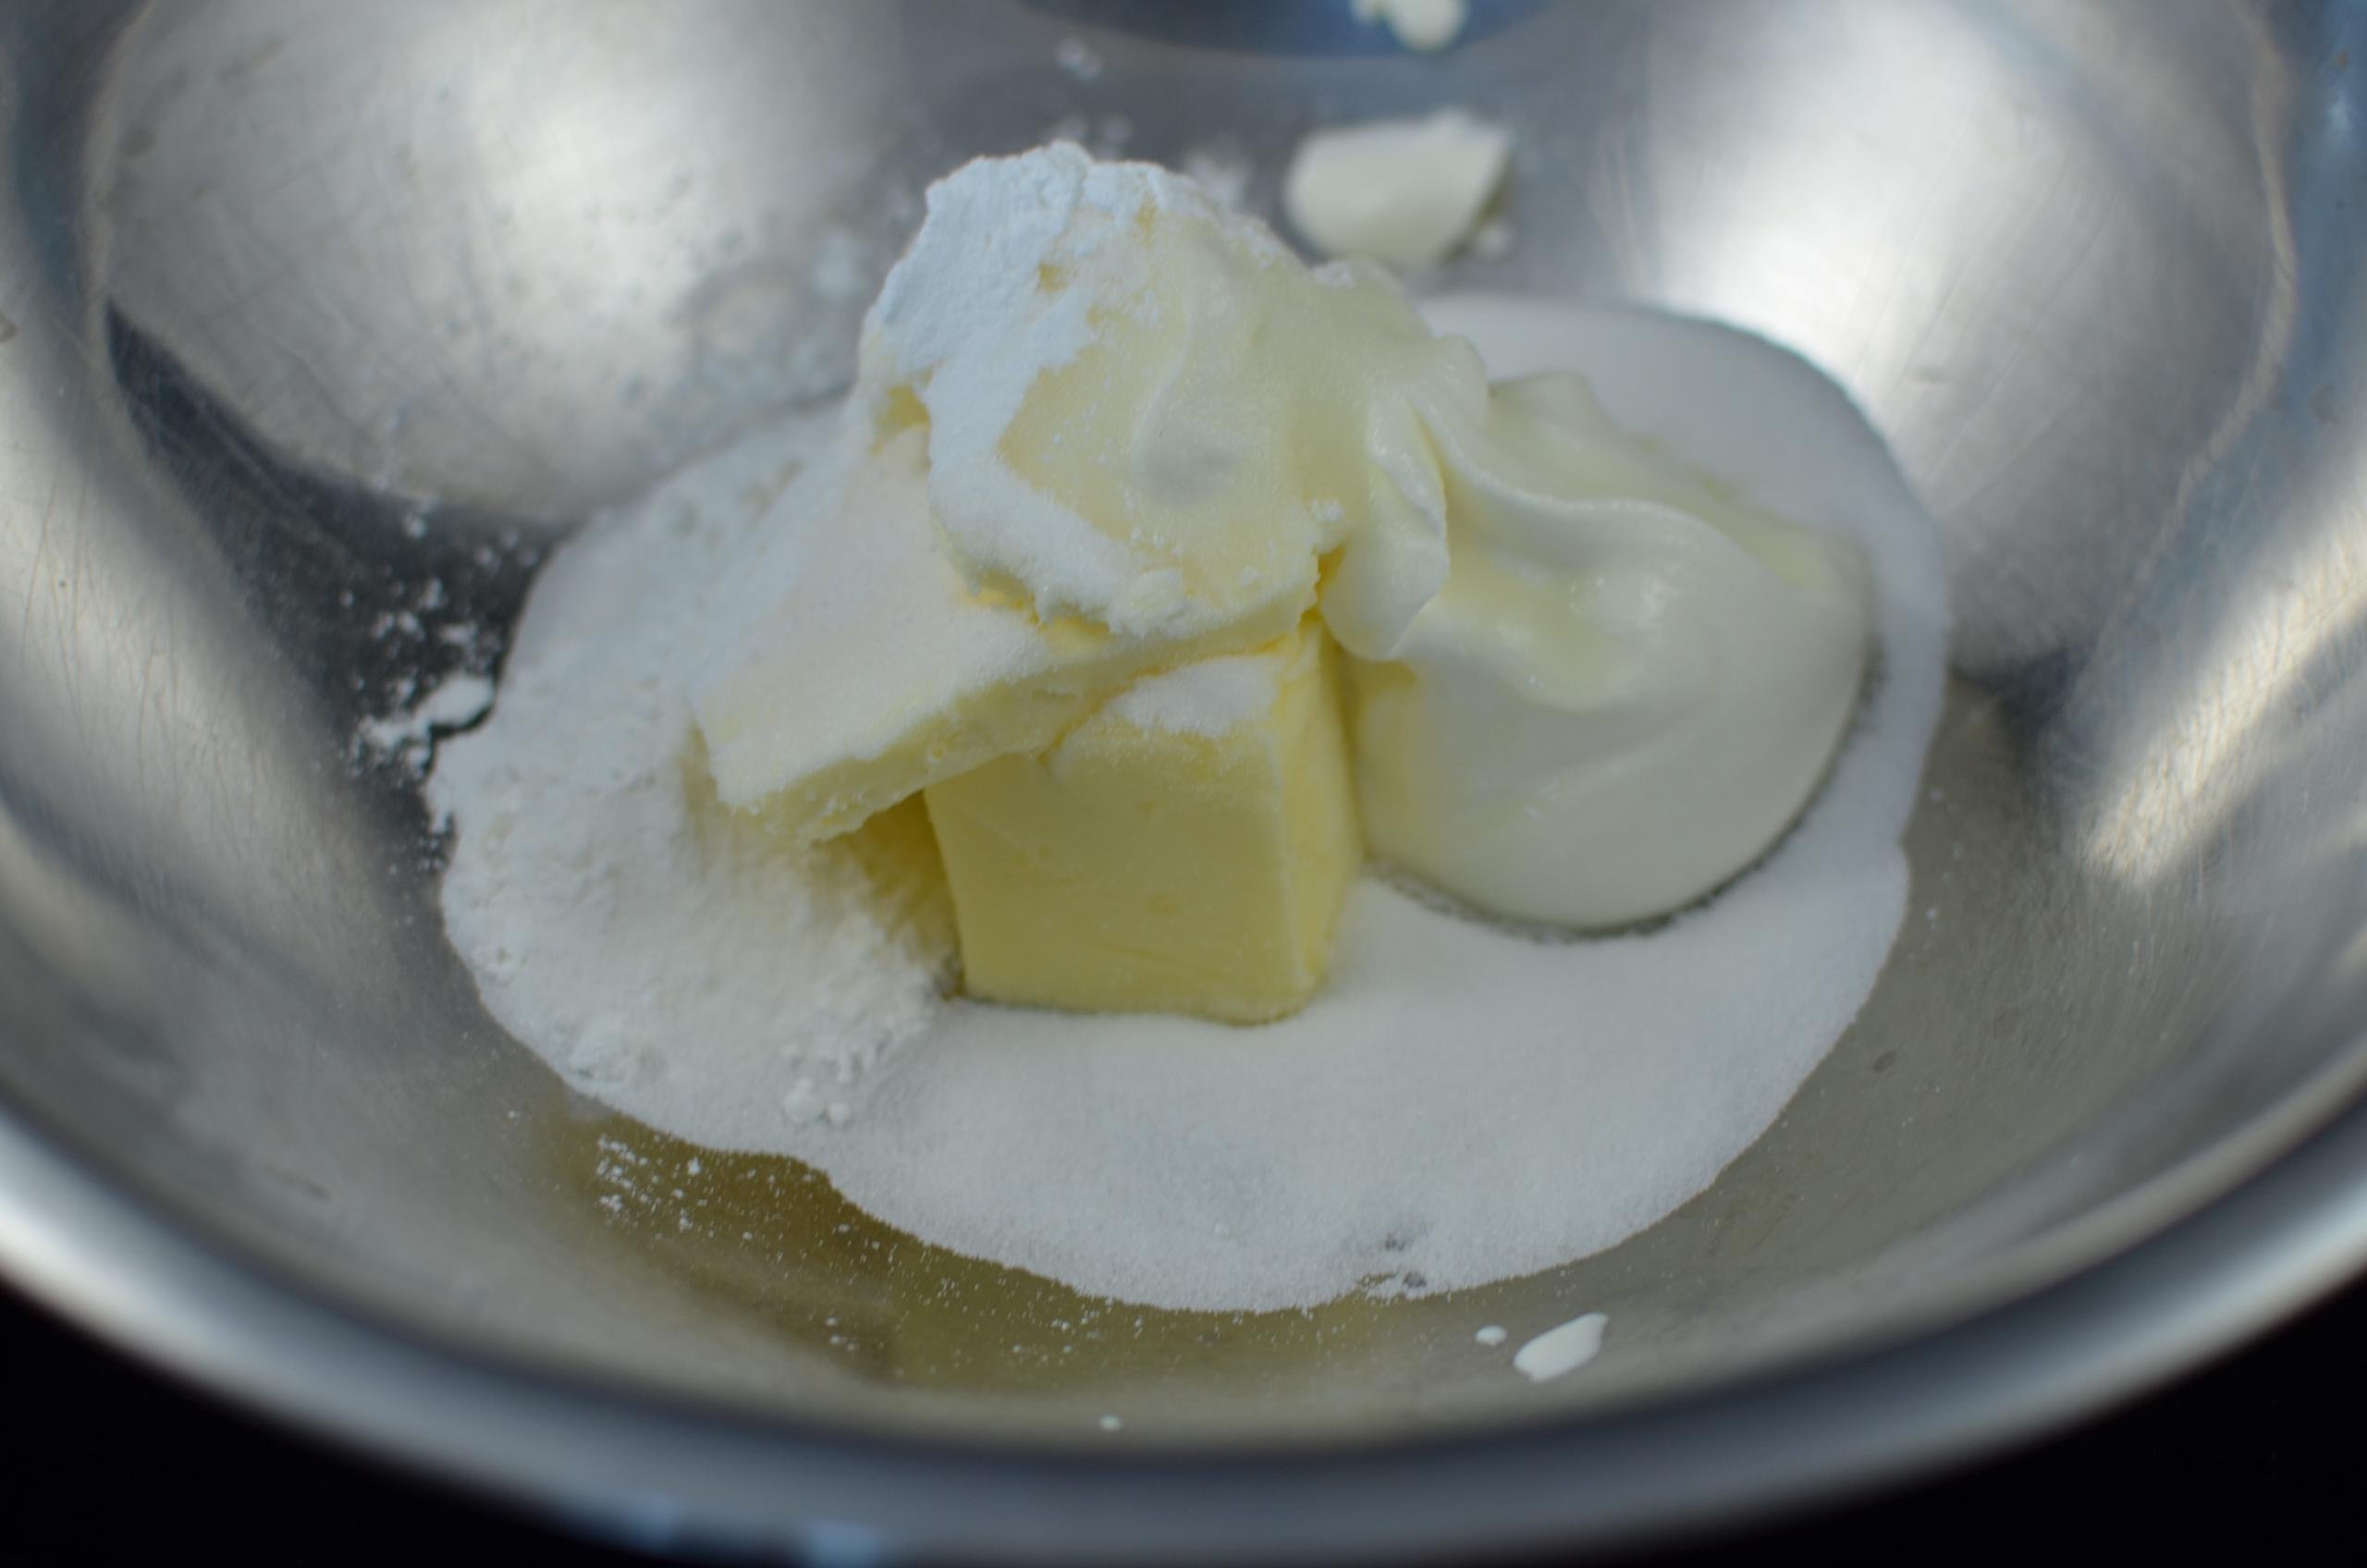
- In a large bowl, combine the softened butter, sugar, vanilla, salt, and sour cream until well combined.
- Gradually add the flour mixture to the wet ingredients, mixing until a soft, elastic dough forms.
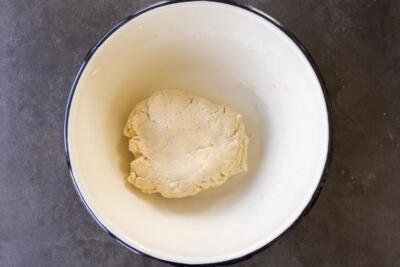
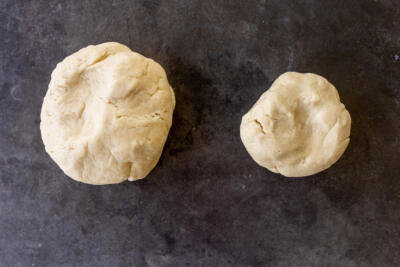
- Divide the dough into two portions: about 2/3 of the dough for the bottom crust (roughly 400 g) and 1/3 for the top (roughly 200 g).
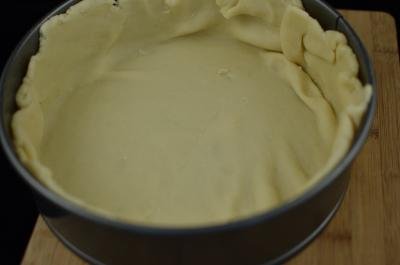
- Roll out the larger portion and place it into a round 9 inch baking dish (I prefer to use a springform pan to get taller sides), bringing the dough slightly up the sides.
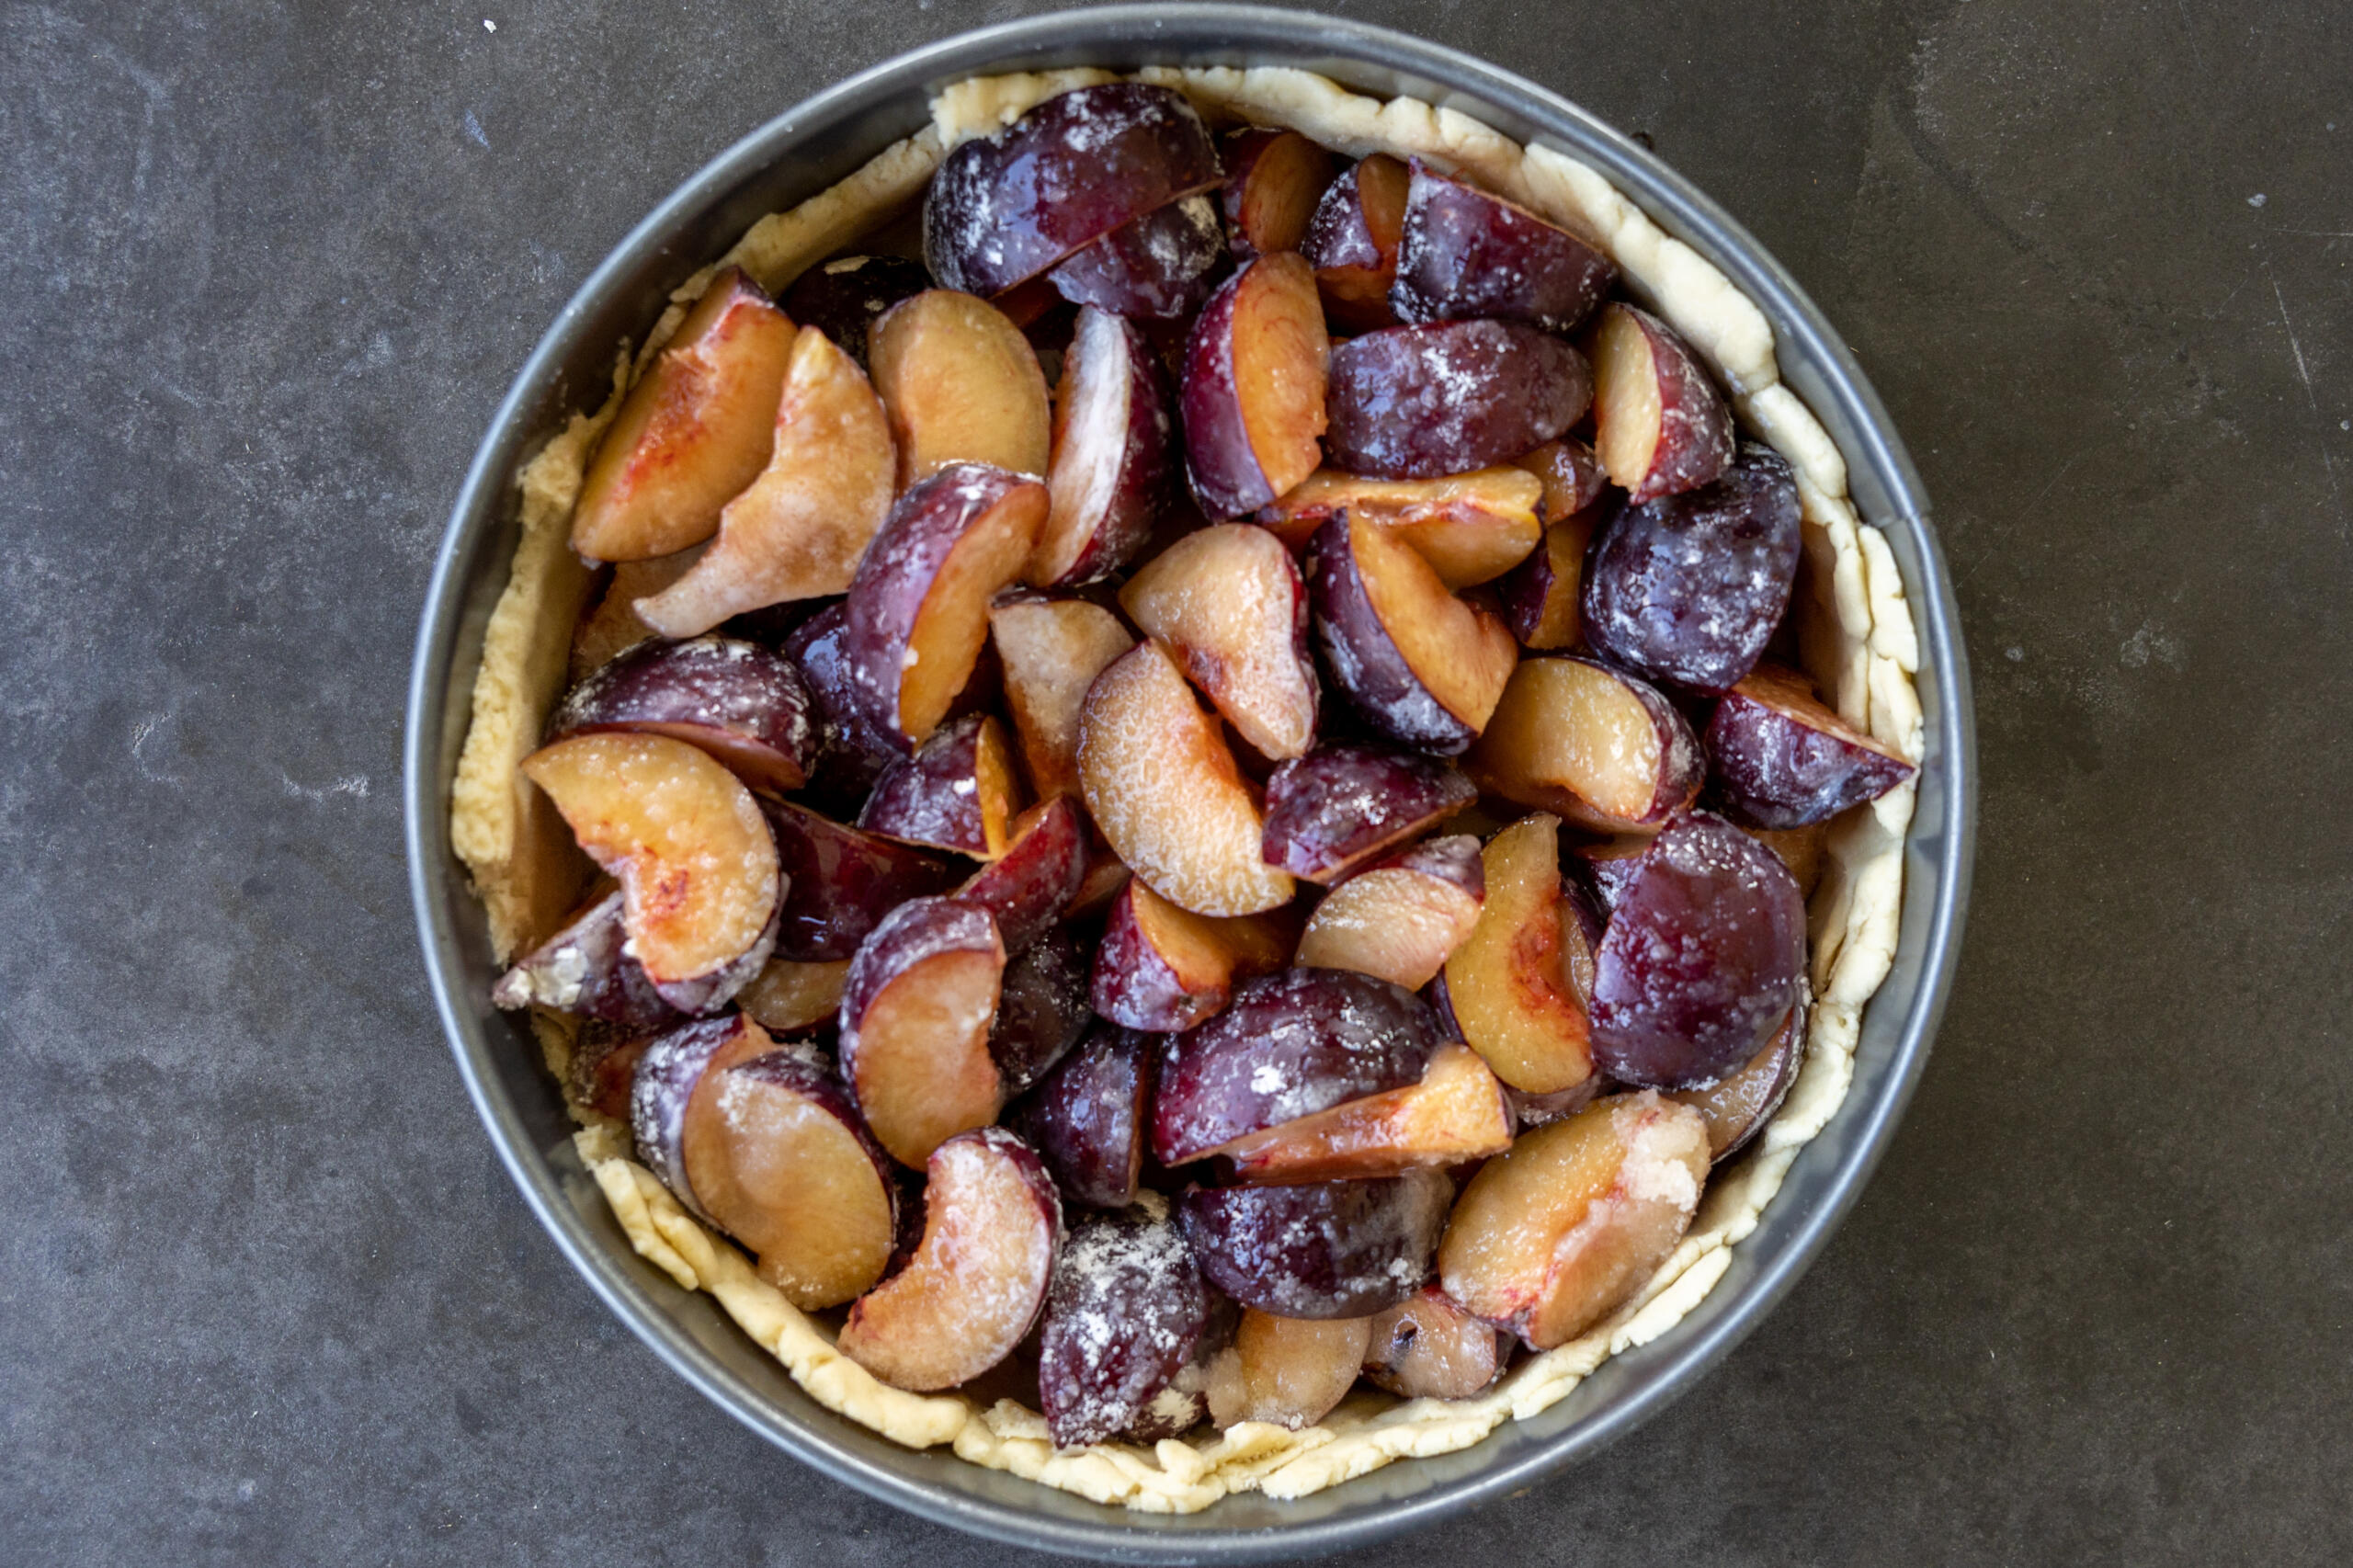
- In a separate bowl, combine the plums with the 1/2 cup sugar and cornstarch. If possible, allow the filling to rest for 15 minutes so that it thickens a bit. Then, spread the plum mixture evenly over the bottom crust.
- Roll out the smaller portion of dough and place it over the plums. Tightly pinch the edges together to seal the pie. Optionally, add a few slits to the top crust so that steam can escape!
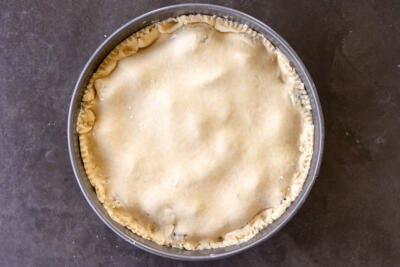
- Bake at 375°F for about 35 minutes, or until the crust is golden brown.



Any specific plum variety?
Hi Julia, I would use prune plums if you can find them, but otherwise, any plum will work. I usually go for purple ones if I can’t find prune plums.
Hi, Can I use fresh peaches? Thank you!
Hi Marigold! I haven’t tried using fresh peaches, but I think they would work. If you give it a try, please report back and let me know how it turns out!
My favorite!!! Thank you for bringing this recipe back 🙌🏻🙌🏻🙌🏻
My pleasure Julie, I'm so happy you love it!
Does this pie taste sour? becuse mine though made with sweet plums tasted sour even after adding a cup of sugar
Plums turn more sour as you cook them. So you may be getting more of the sour flavors.
This looks awesome! My neighbors are French and this summer they brought us over a plum pie that had a cookie dough like crust. I can hardly wait till summer (when plums are good again) to try this.
Me too, I am really looking forward to having some fresh fruits.