This semolina porridge is so creamy and made with just four ingredients. It’s an easy and comforting hot breakfast that you’ll instantly fall in love with!
Growing up, semolina porridge (aka “manna kasha”) was our version of breakfast cereal. It was warm, wonderfully simple, and always finished with a luscious pat of butter. My favorite memory of this dish was spending time at a summer camp by the Black Sea in Odessa, Ukraine, and eating it daily for weeks. You’d think I’d get tired of semolina porridge by the fifth day or so, but I loved it… and I’m still obsessed with it to this day!
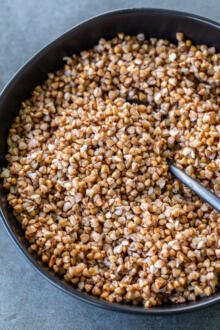
Semolina flour is made from durum wheat and it’s similar to cream of wheat or farina here in the States, although semolina is ground more coarsely. If you can’t find a good brand of semolina in the store, this is my favorite kind on Amazon.
Semolina Porridge Video
How To Make Semolina Porridge
One of the reasons I love semolina porridge is because it takes less than 20 minutes to prepare, and it provides energy for hours. Parents, this may become your new favorite breakfast to make for your kids!
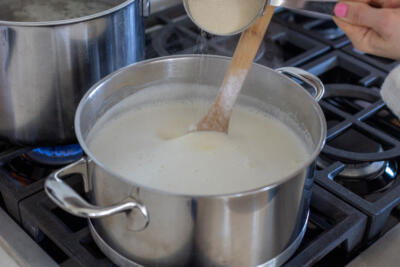
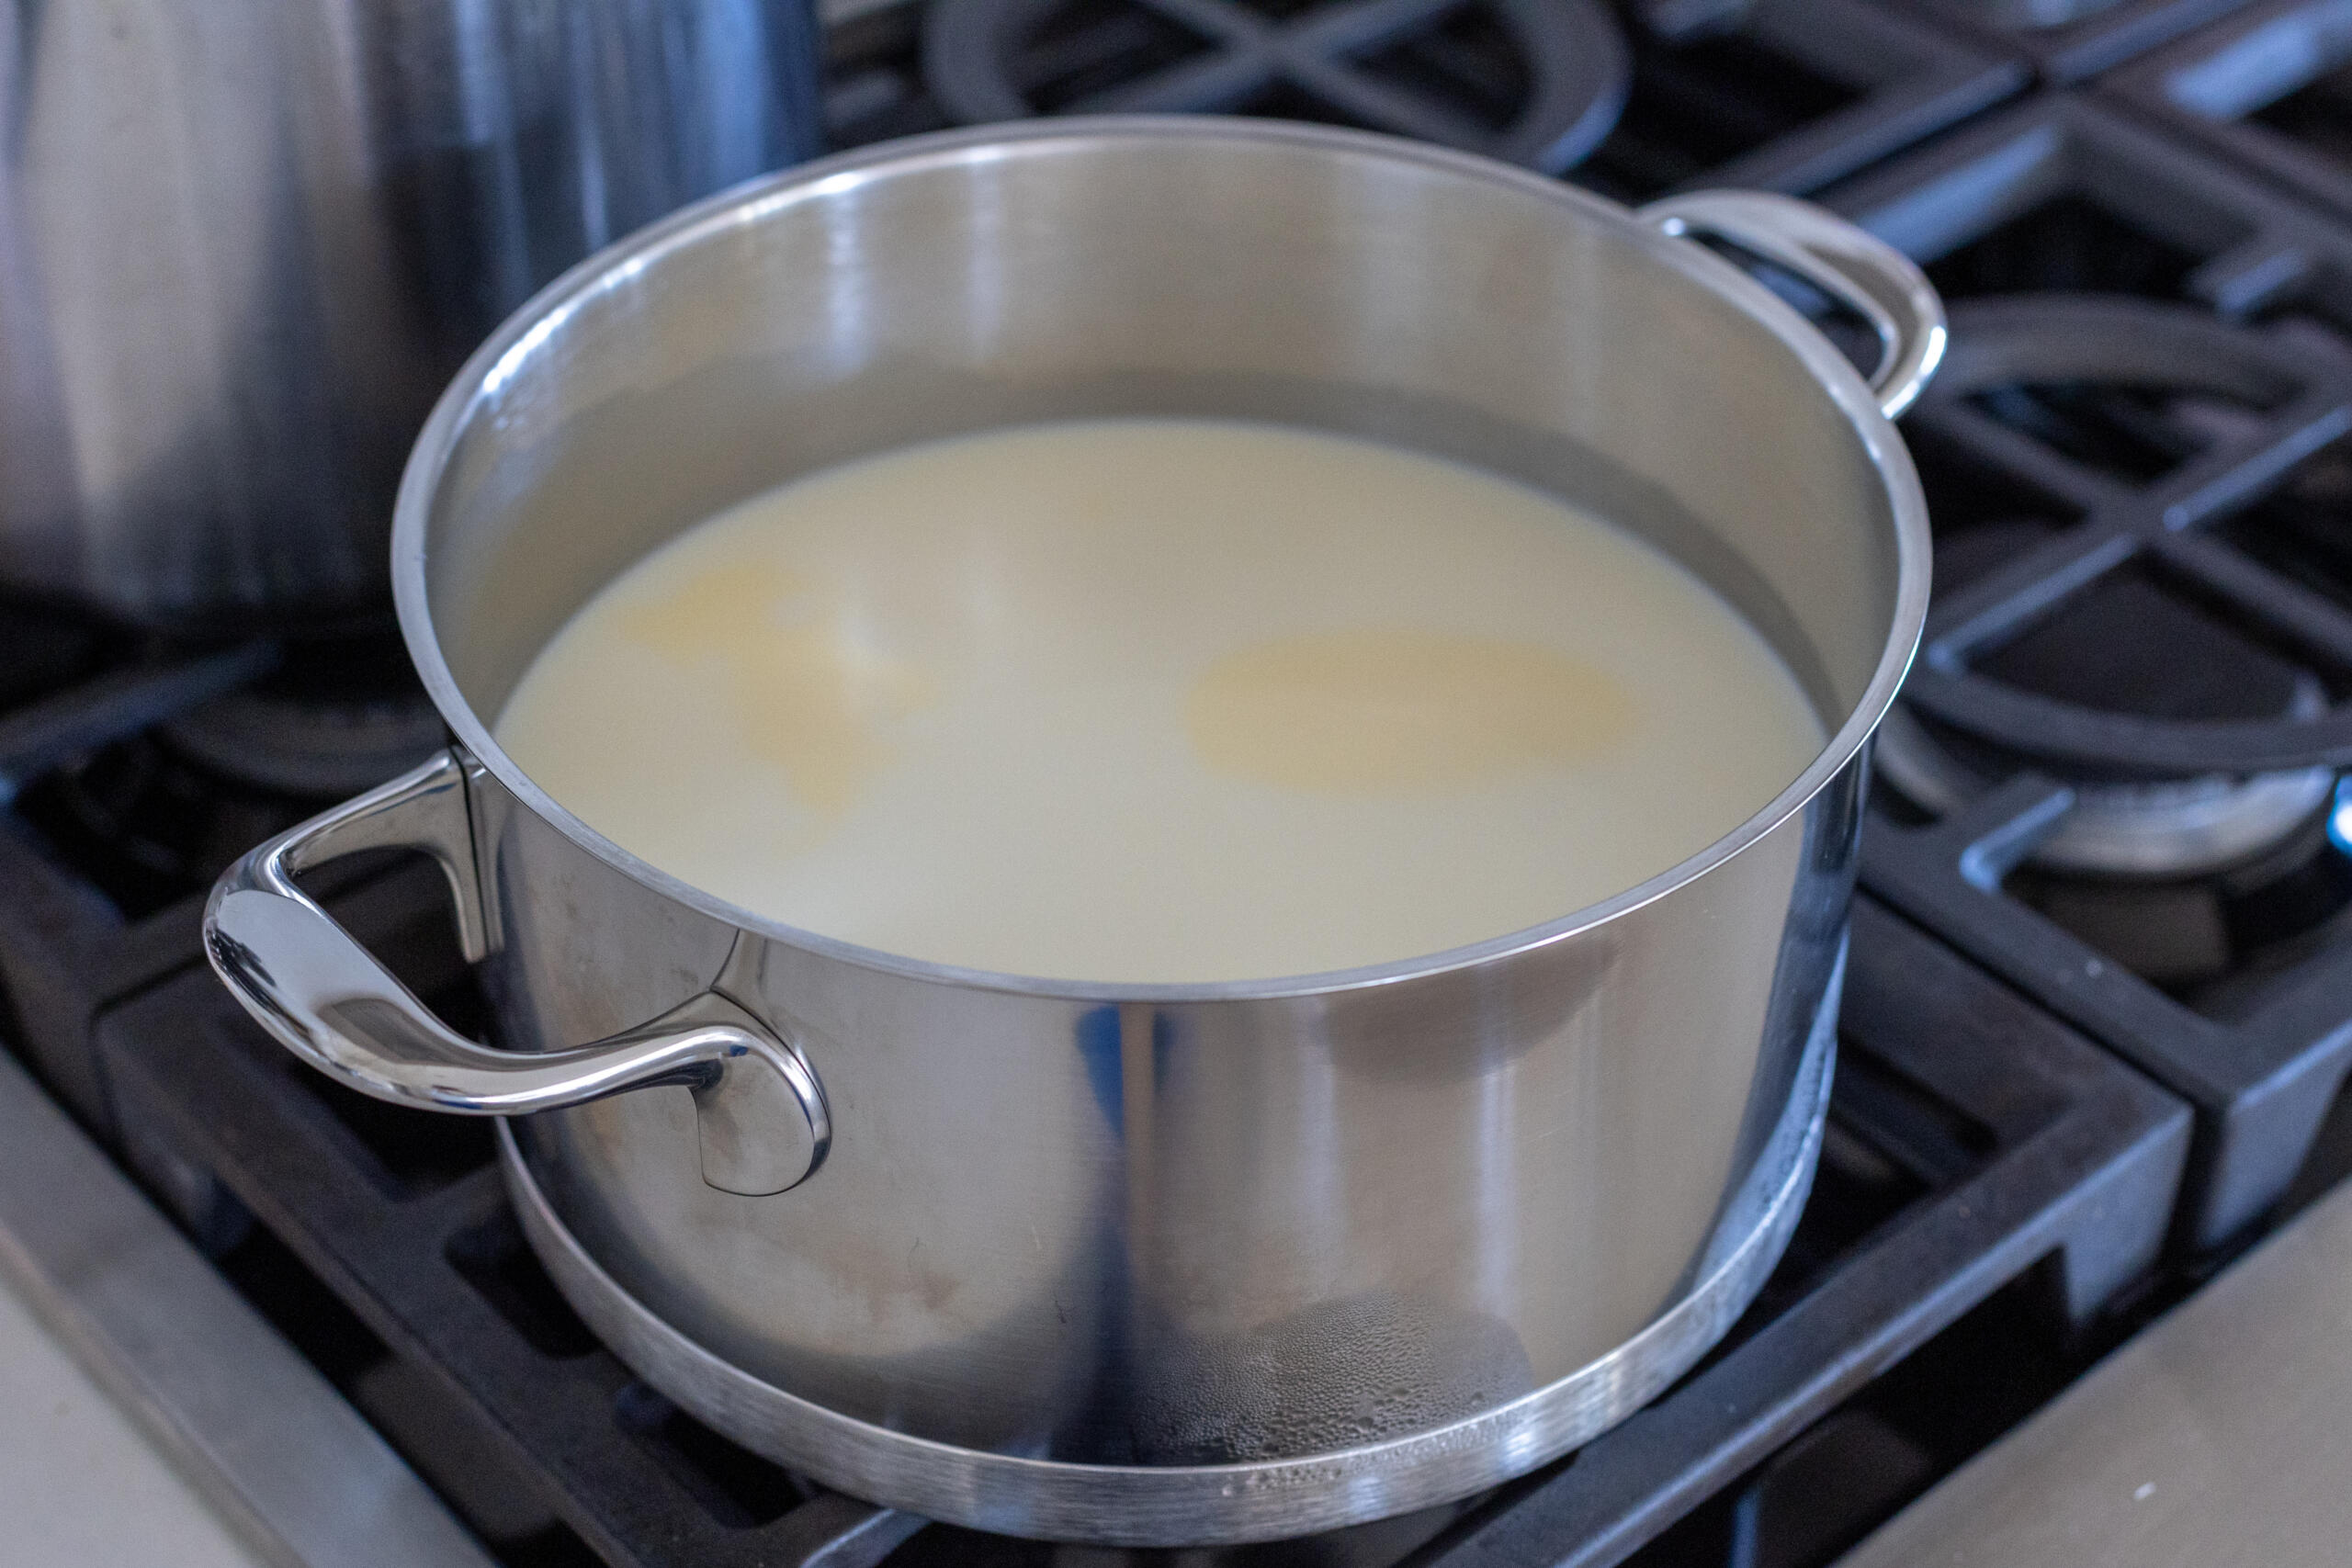
- Simmer the milk: Bring the milk to a simmer in a large, heavy-bottomed pot (I love the 4-quart saucepan in this set).
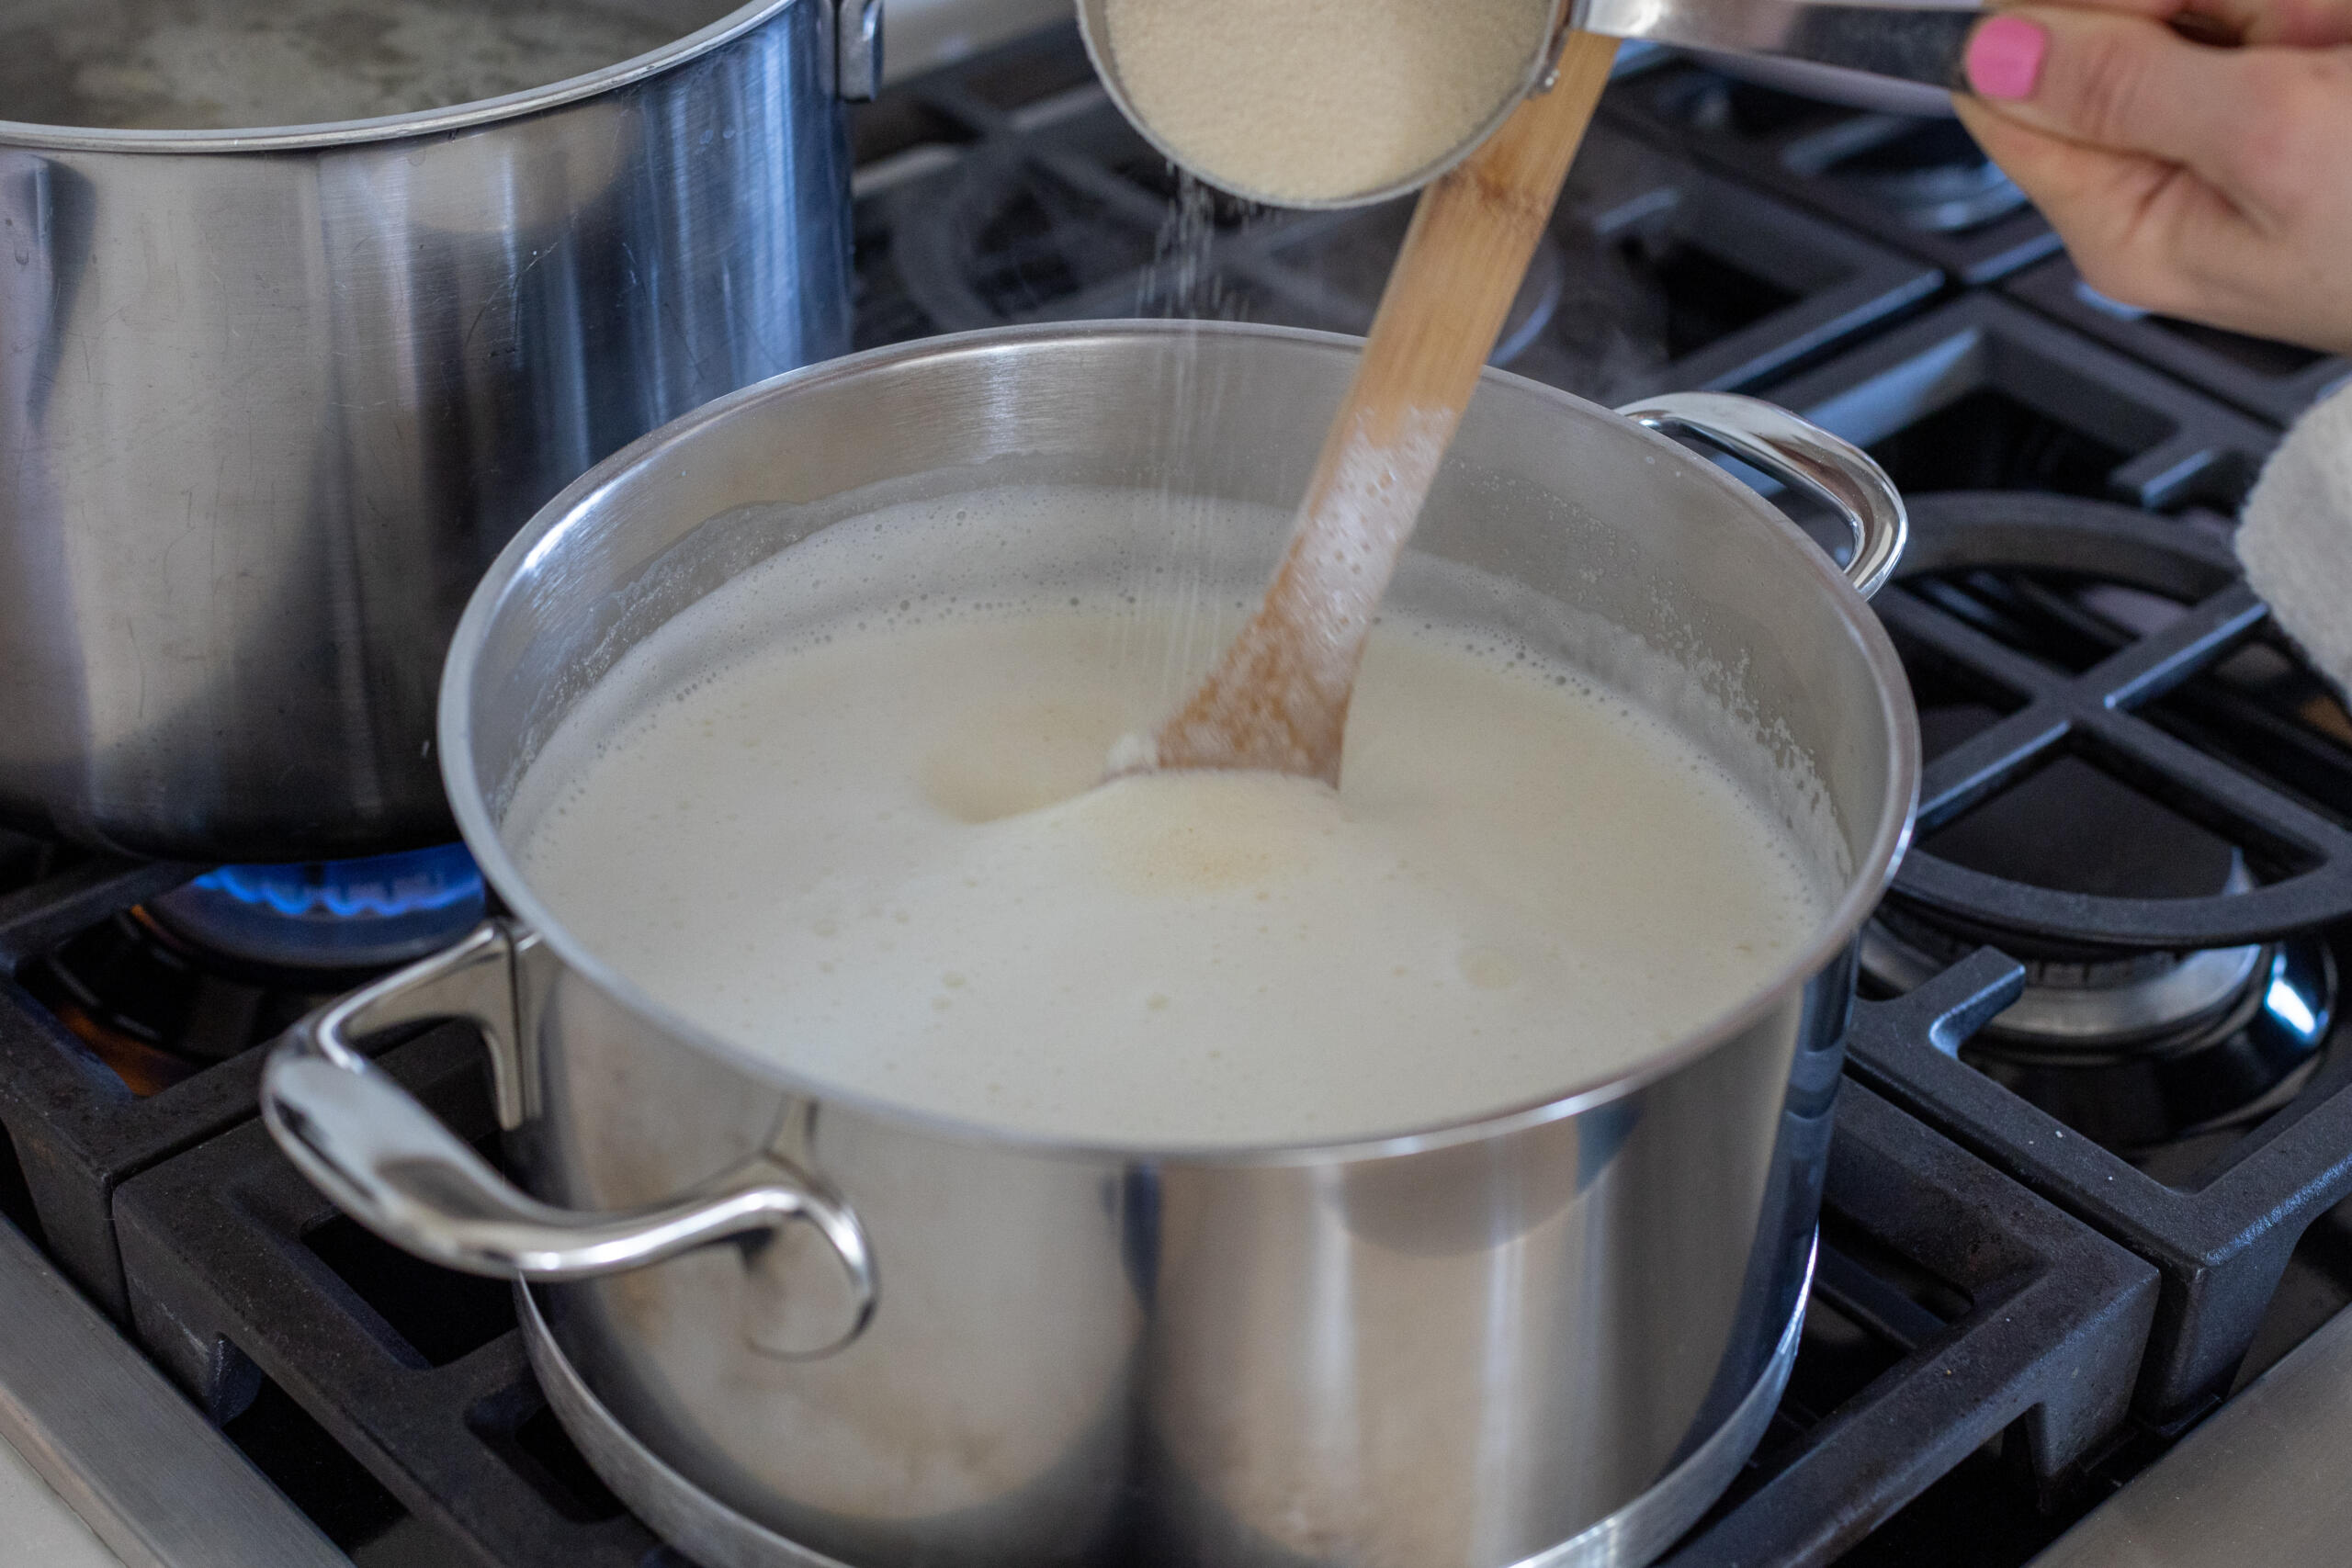
- Add the salt and semolina: Stir in the salt, then gradually pour in the semolina while whisking.
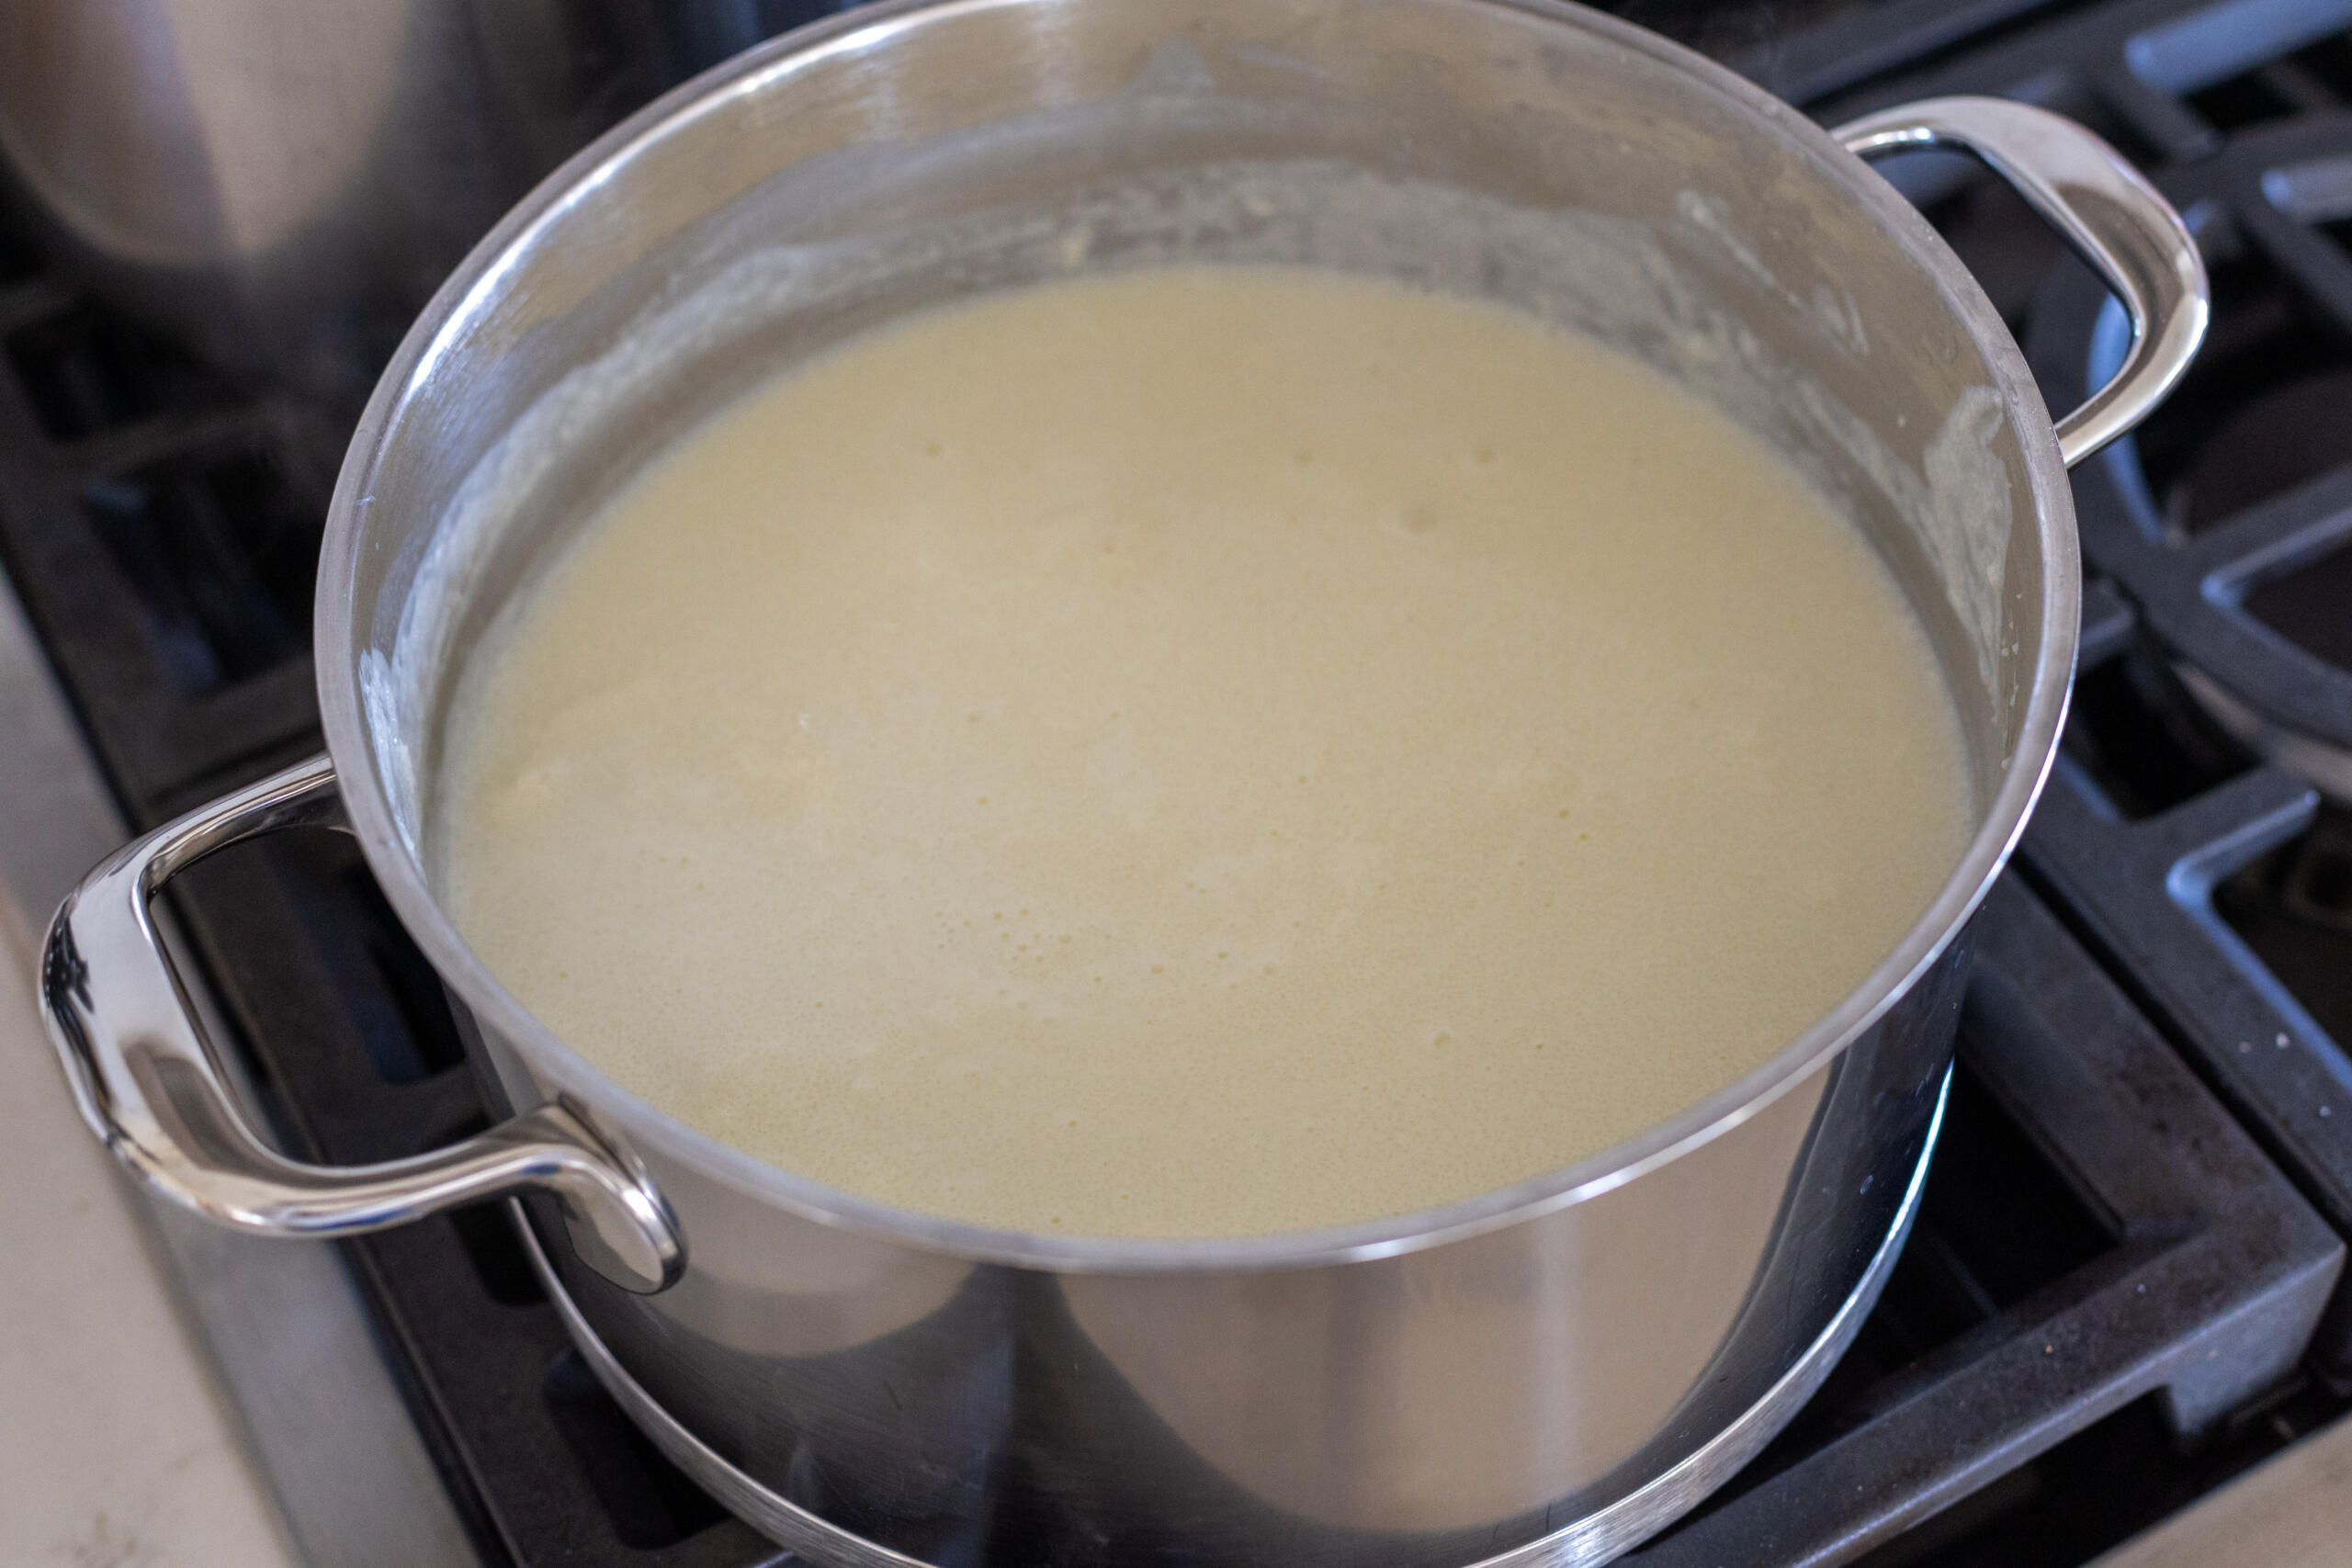
- Cook the porridge: Reduce the heat to low and cook the porridge for 4-6 minutes, stirring occasionally. Let it rest for a few minutes, then dig in.
Tips For the Best Semolina Porridge
Making semolina porridge is so easy, but there are a few simple tips and techniques that make the process even smoother. Here’s how I’ve learned to perfect it over the years.
- Use whole milk. Whole milk (4%) has the highest fat content, which creates the most creamy, velvety texture for this porridge.
- Don’t skip the salt! Even for a sweet breakfast, a pinch of salt is essential to bring out the flavor of the milk and grain.
- Gradually add the semolina. To ensure a smooth texture, always sprinkle the semolina into the milk slowly while whisking constantly. This distributes the granules evenly and prevents lumps from forming.
- Stir frequently. The porridge thickens quickly once the semolina is added, so keep whisking and don’t take your eyes off the stove!
- Avoid overcooking. As soon as the porridge starts to thicken, take it off the stove. It should still be creamy and slightly runny, not stiff.
- Adjust the texture to your liking. Semolina porridge continues to thicken as it cools, so if you find that it’s a bit too thick for your liking, add a splash of warm milk.
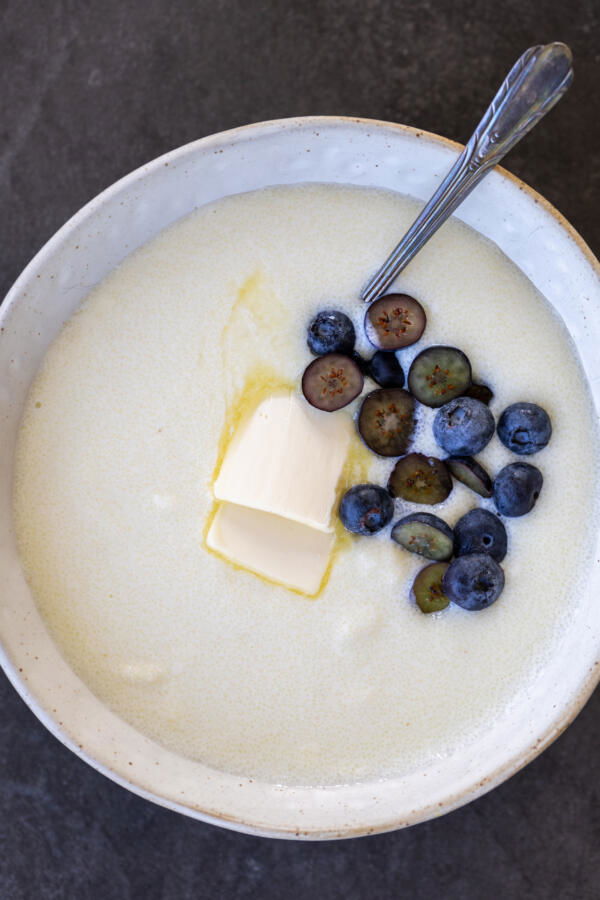
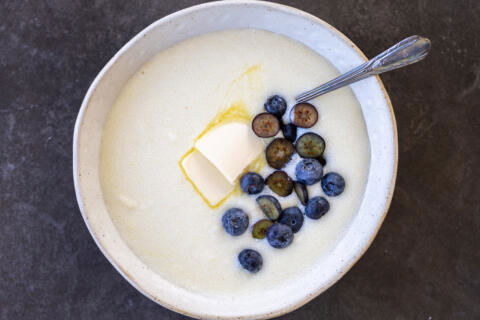
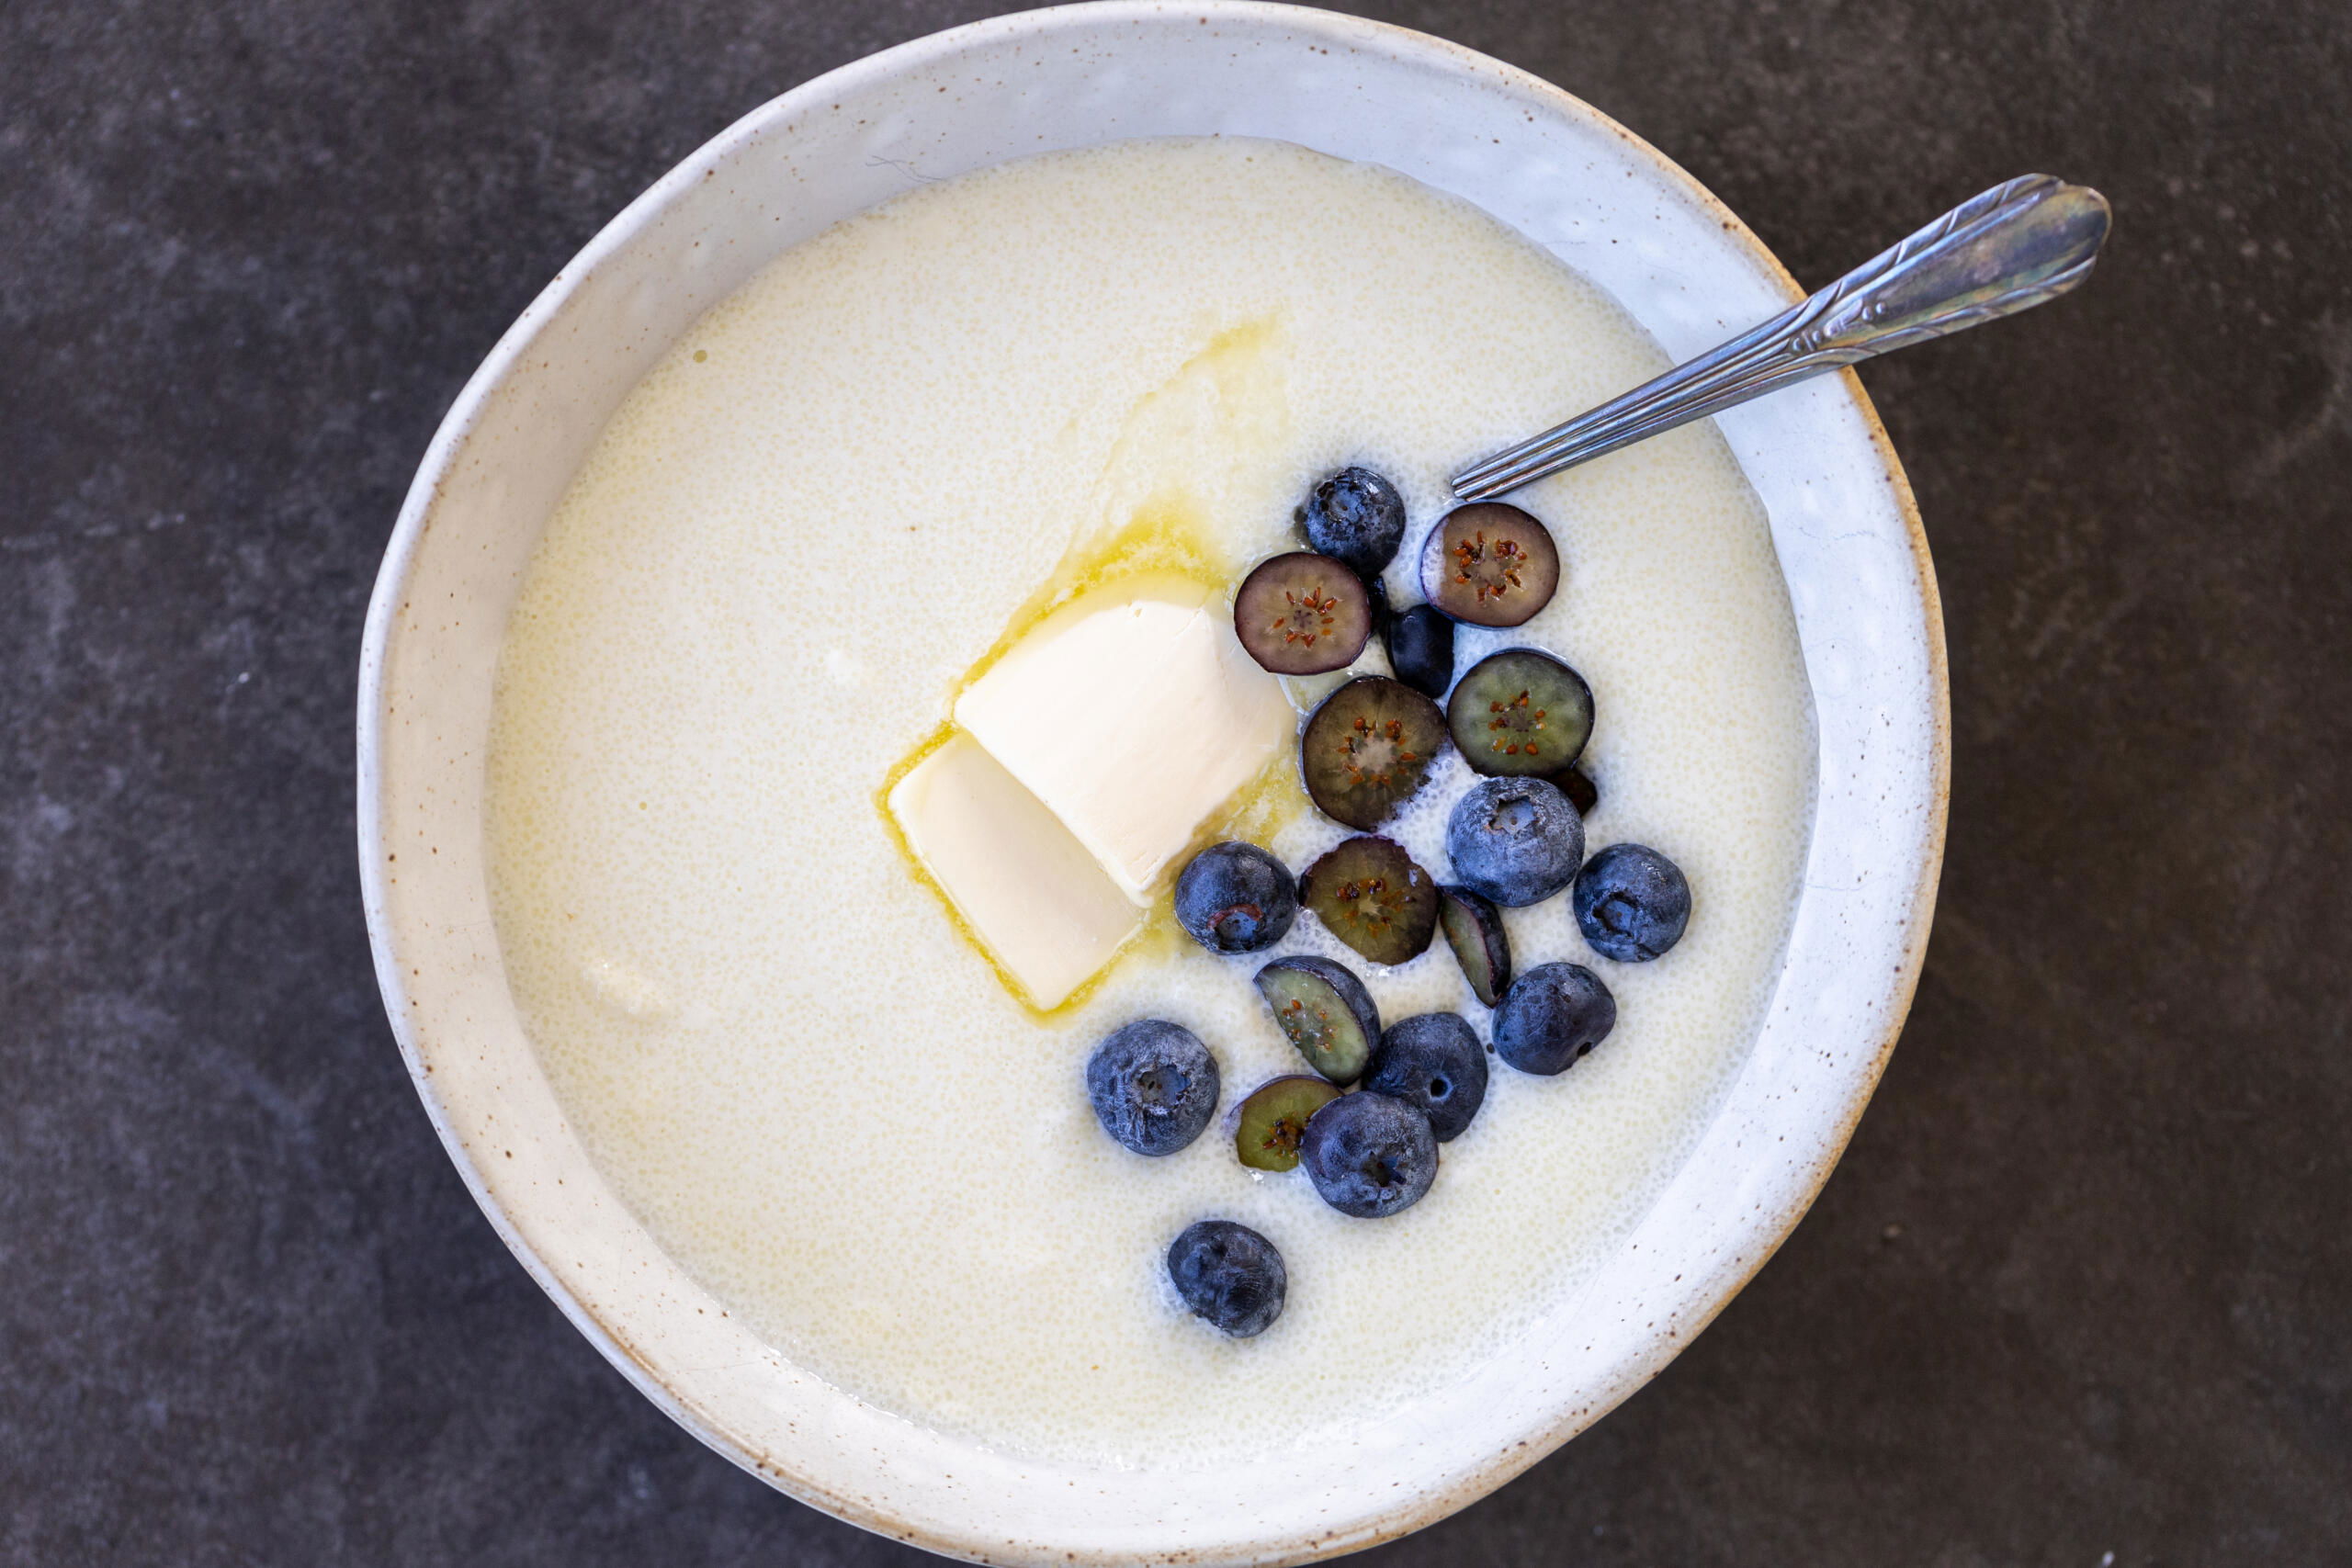
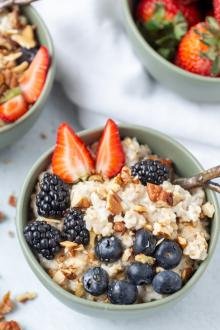
- Serve it warm with your favorite toppings. For me, nothing beats a bowl of hot semolina porridge with butter and jam. To sweeten it up, add honey, maple syrup, or brown sugar, along with a touch of cinnamon and vanilla extract.
Storage & Reheating
I love ending up with leftovers of this semolina porridge because it means that I have breakfast covered for the next few days!
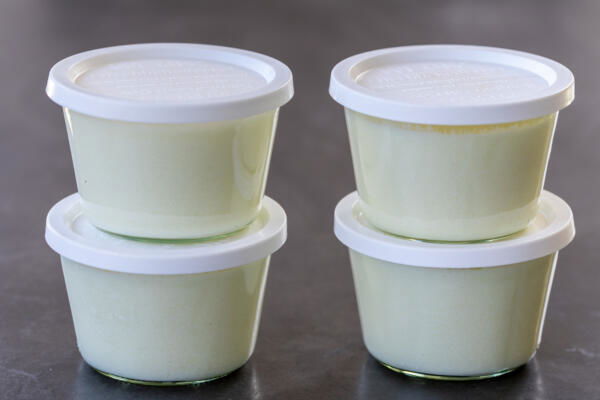
- Storage: Allow the porridge to cool completely, then transfer it to an storage container and refrigerate for up to three days.
- Reheating: This porridge becomes quite firm when it’s cold, but it reheats wonderfully. Simply place the porridge in a small saucepan with a splash of extra milk, and whisk it over low heat until it becomes creamy again. If you’re in a time crunch, the microwave also works.
More Hearty Breakfast Recipes
- Breakfast Quiche — Grab a pie crust and stuff it with all your favorite breakfast ingredients!
- Cottage Cheese Pancakes — Fluffy, crispy, and packed with protein
- Breakfast Burritos — Perfect for large batch meal prepping
- Old Fashioned Pumpkin Pudding — Made with rice, millet, and plenty of pumpkin puree
Recipe
Instructions
- Add the milk to a large, heavy-bottomed pot and heat it over medium heat, stirring occasionally, until it reaches a gentle simmer (small bubbles around the edges). This takes about 10-12 minutes for a large batch. Stir in the salt.

- Slowly sprinkle in the semolina, whisking constantly.
- Reduce the heat to low and cook the porridge for 4–6 minutes, continuing to stir, until it thickens. It should still be slightly runny.

- Remove the pot from the heat and let the porridge rest for a couple minutes. Serve the porridge warm with butter on top. Enjoy!


No Comments