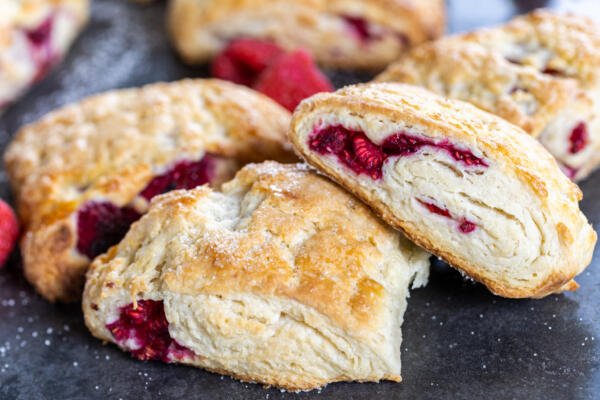
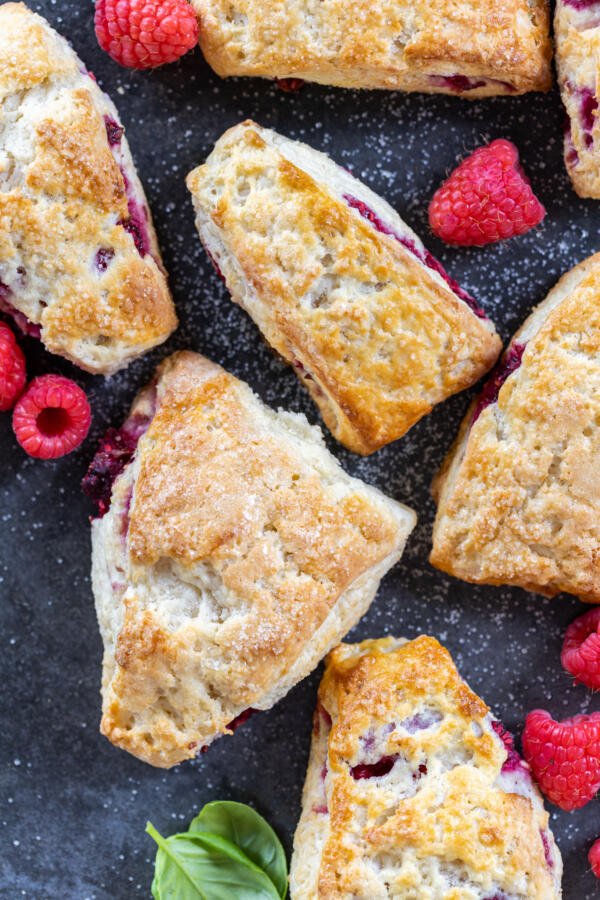
Made with vibrant raspberries, simple pantry staples, butter, and sour cream — these raspberry scones are easy to make and delicious!

What Are Scones?
Scones are baked pastries known for their slightly sweet, crumbly, and tender texture. They are typically made into triangular or round shapes and come in a variety of savory or sweet flavors like blueberry or cranberry orange. Scones are delicious plain or with butter or jam. These lovely treats are ideal with a cup of coffee or tea — perfect for breakfast, afternoon snacks, parties, and gatherings.
Do I Use Fresh or Frozen Raspberries?
Great news! Both fresh or frozen raspberries work well in this recipe. If using frozen raspberries, keep them in the freezer until ready to add to the dough. Work quickly with the frozen raspberries before they thaw. Thawed raspberries have too much liquid, which affects the overall scone texture.
Raspberry Scones Video
How To Make Raspberry Scones
Raspberry scones are made in a few straightforward steps. Grab a bowl, whisk, and a grater to get started.
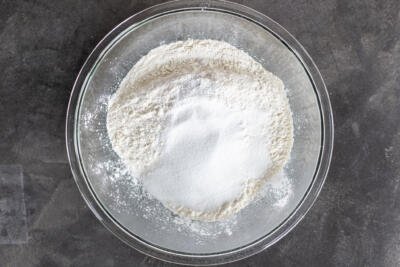
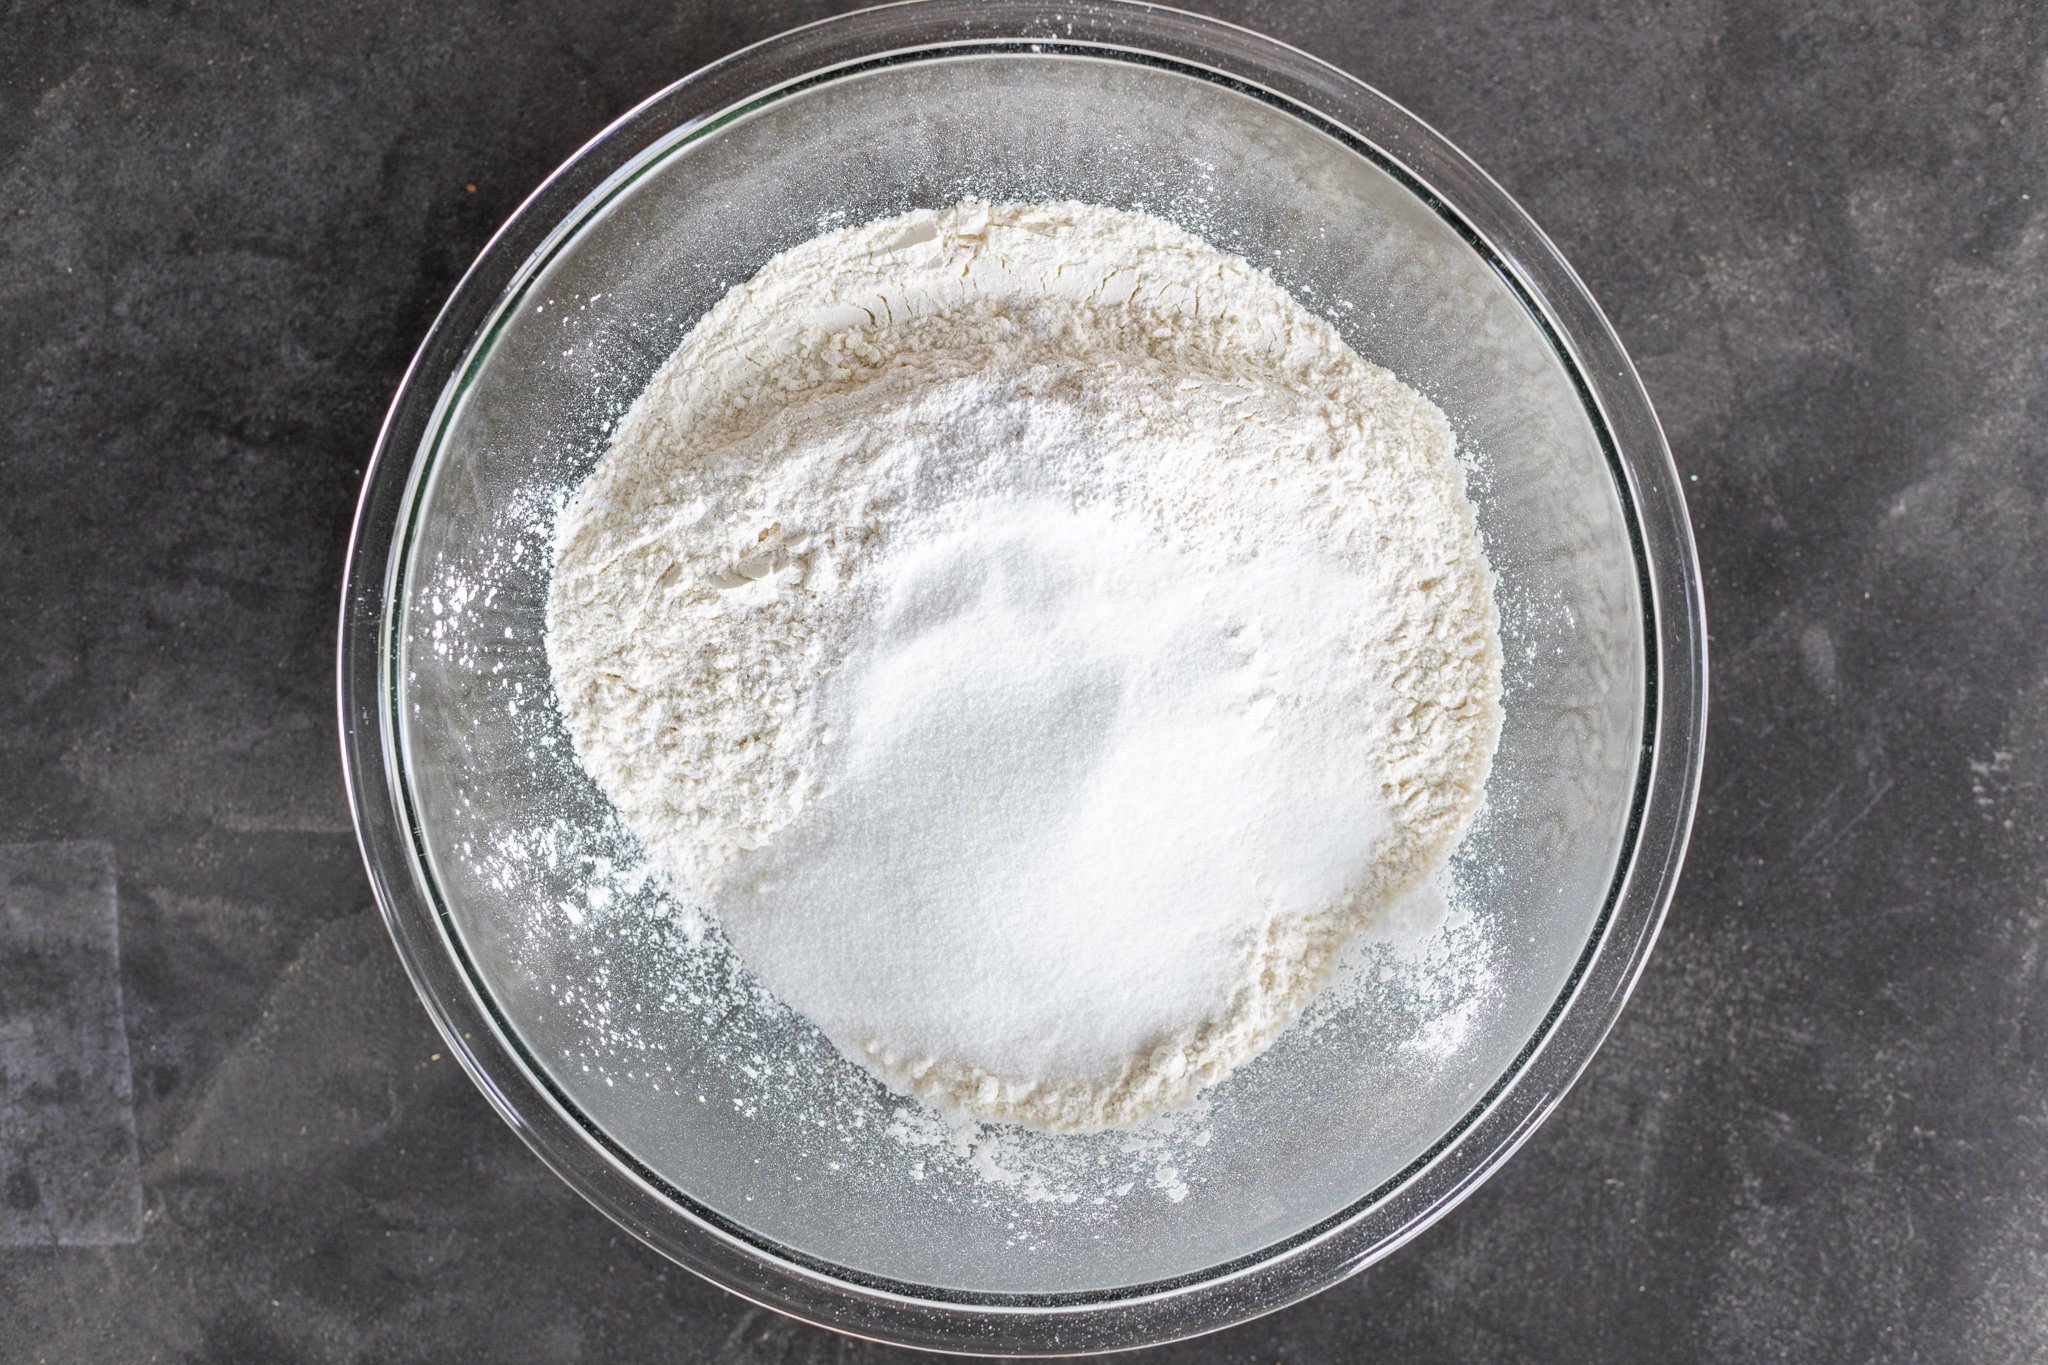
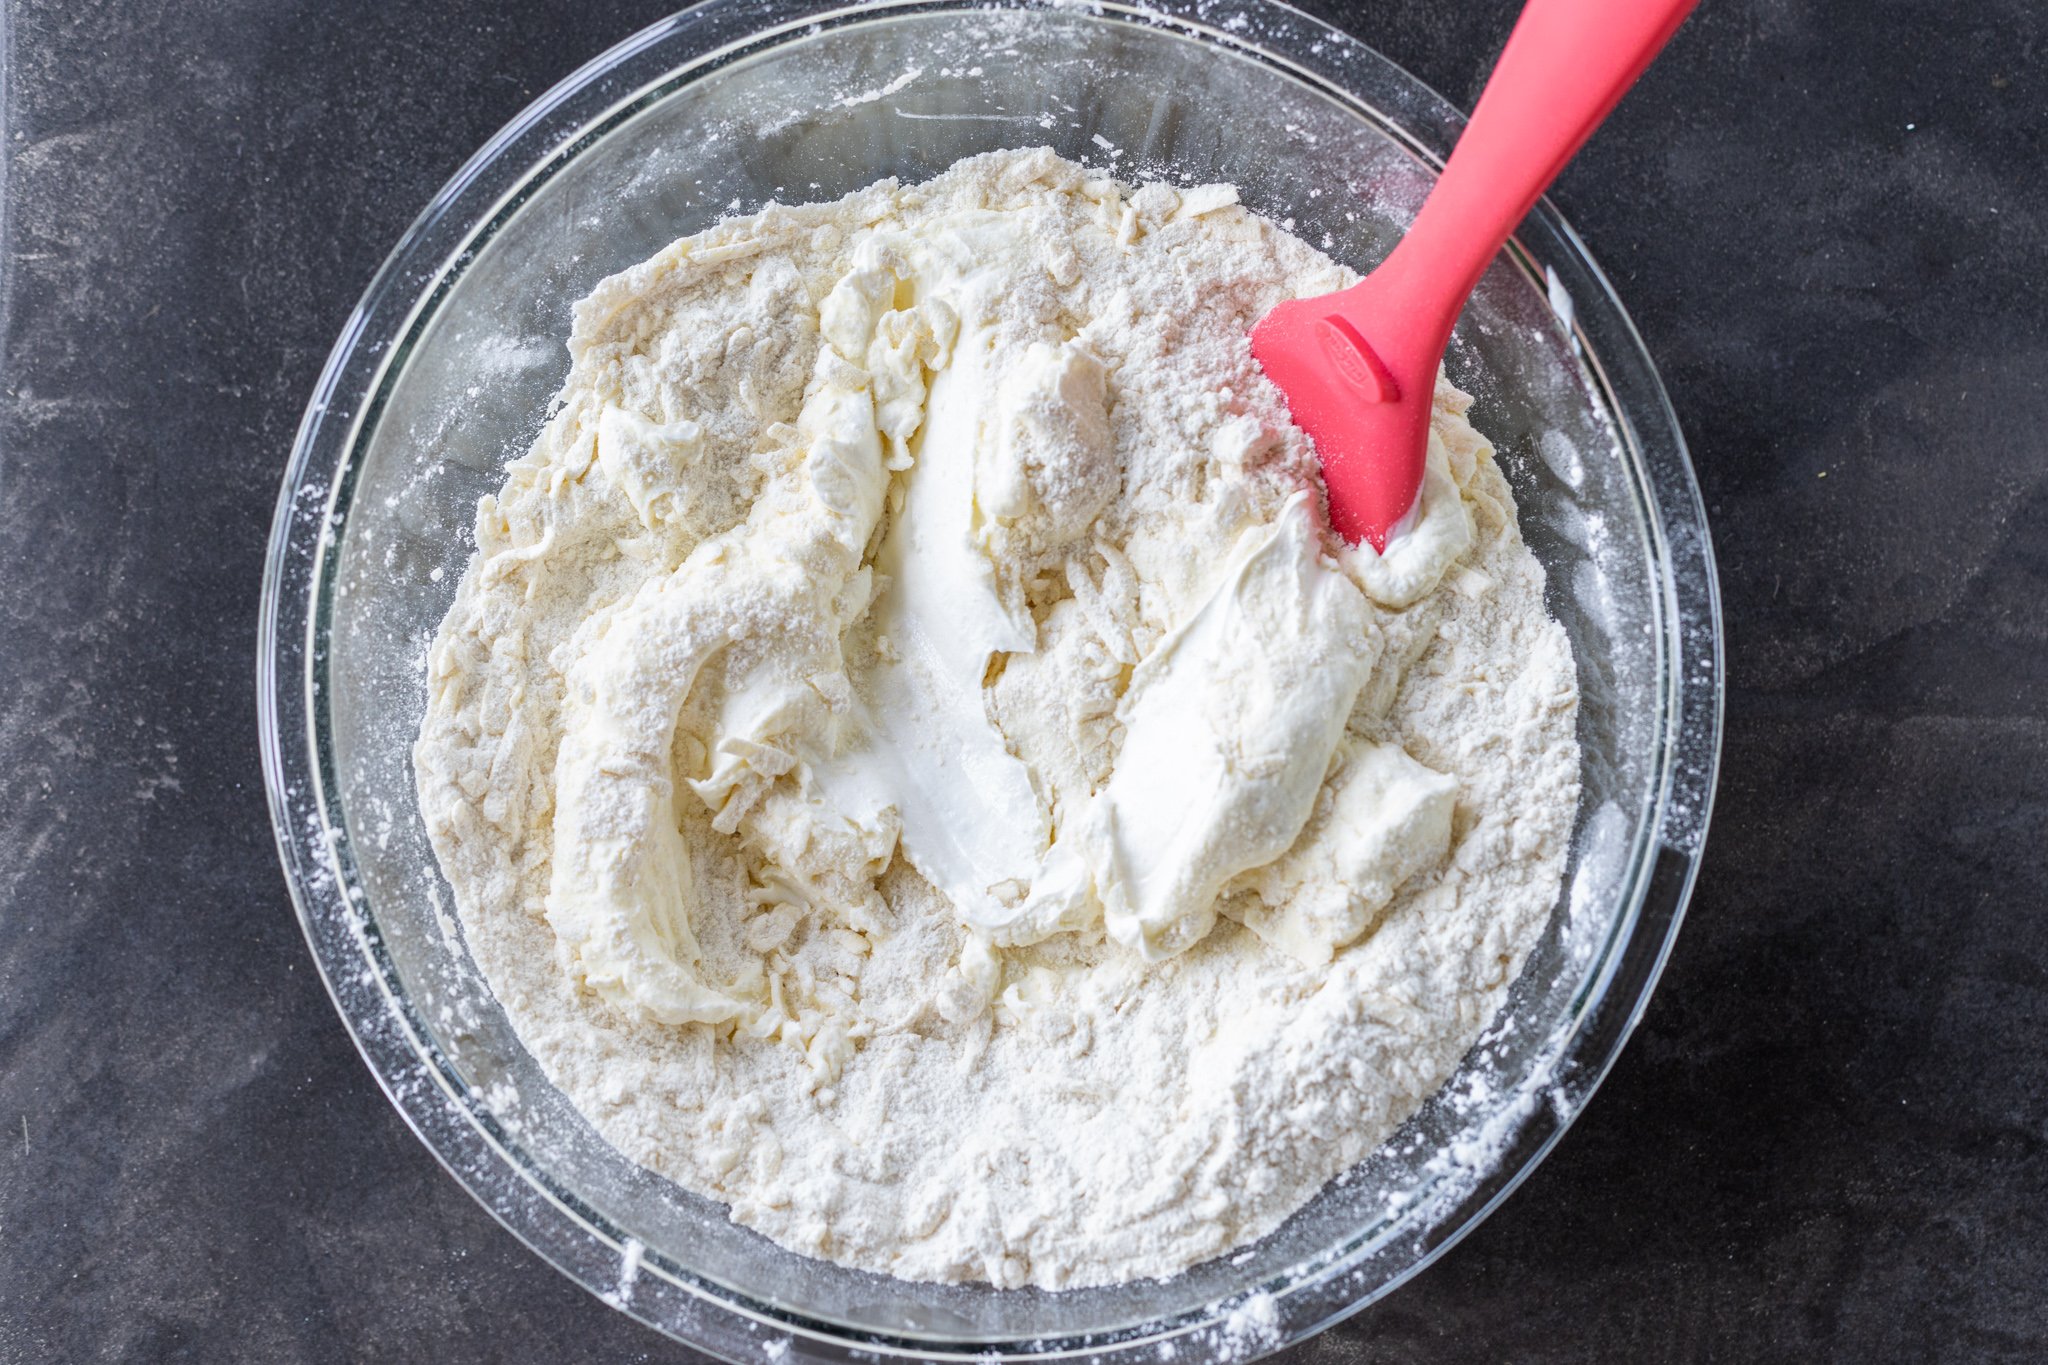
- Combine the dry ingredients: In a large bowl, combine all of the dry ingredients.
- Add in the butter and sour cream: Grate the cold butter into the flour mixture. This ensures equal sizes of butter for easier mixing into the dough. Then, gently fold the sour cream into the dough. This is my favorite spatula for baking.
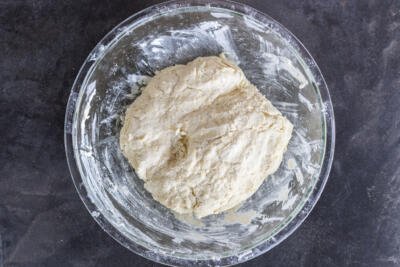
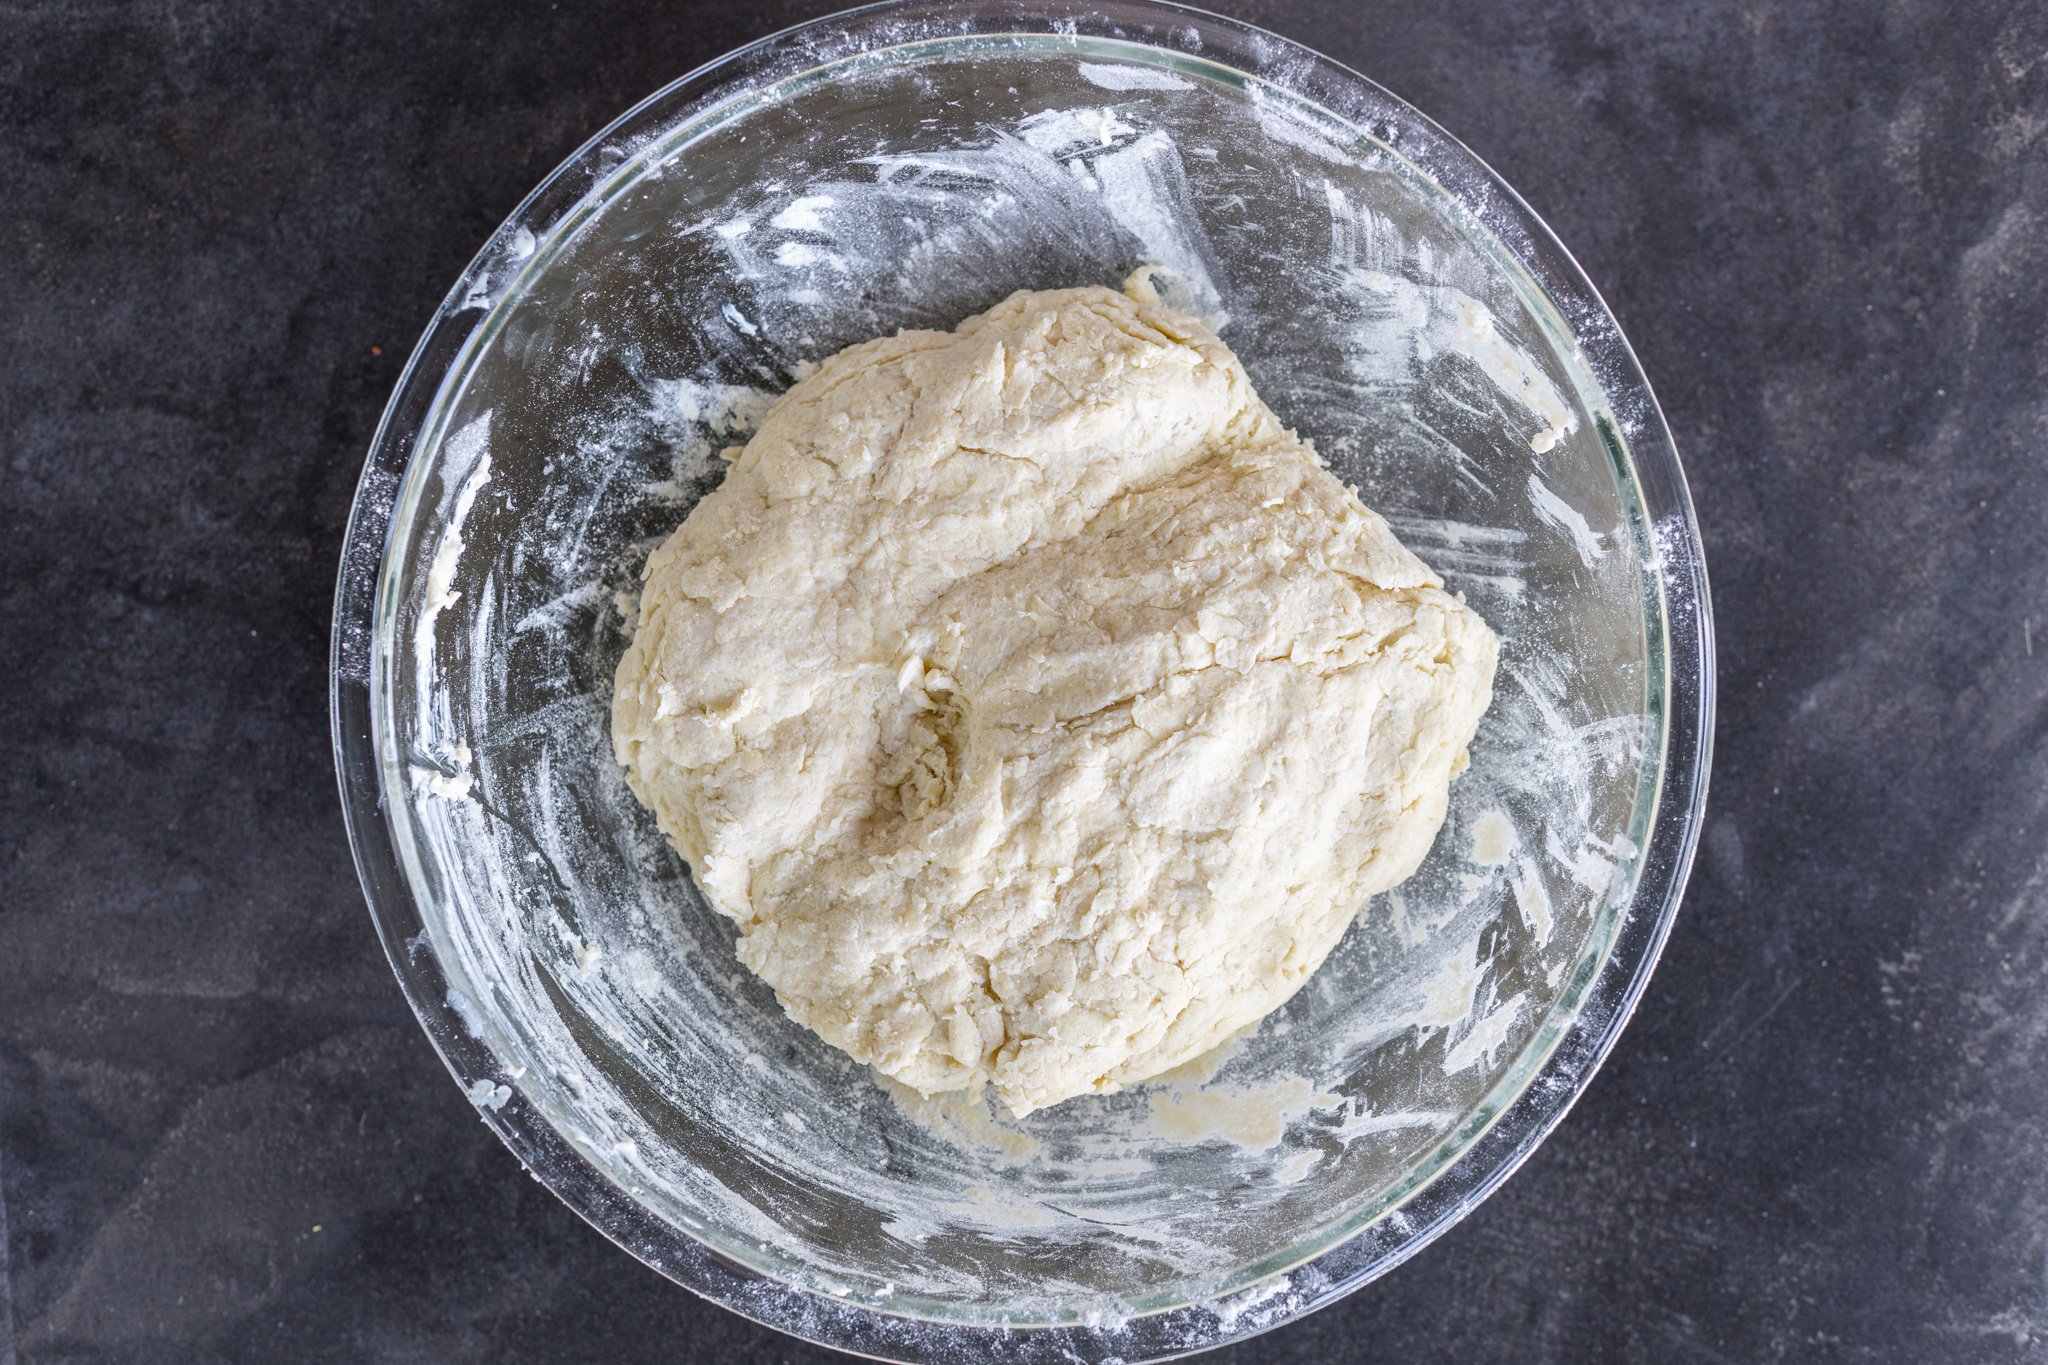
- Mix the ingredients: Mix the ingredients all together until combined into a coarse, crumbly texture. Avoid over-mixing the dough — the dough will feel like it’s not sticking together, but that crumbly texture is ideal.
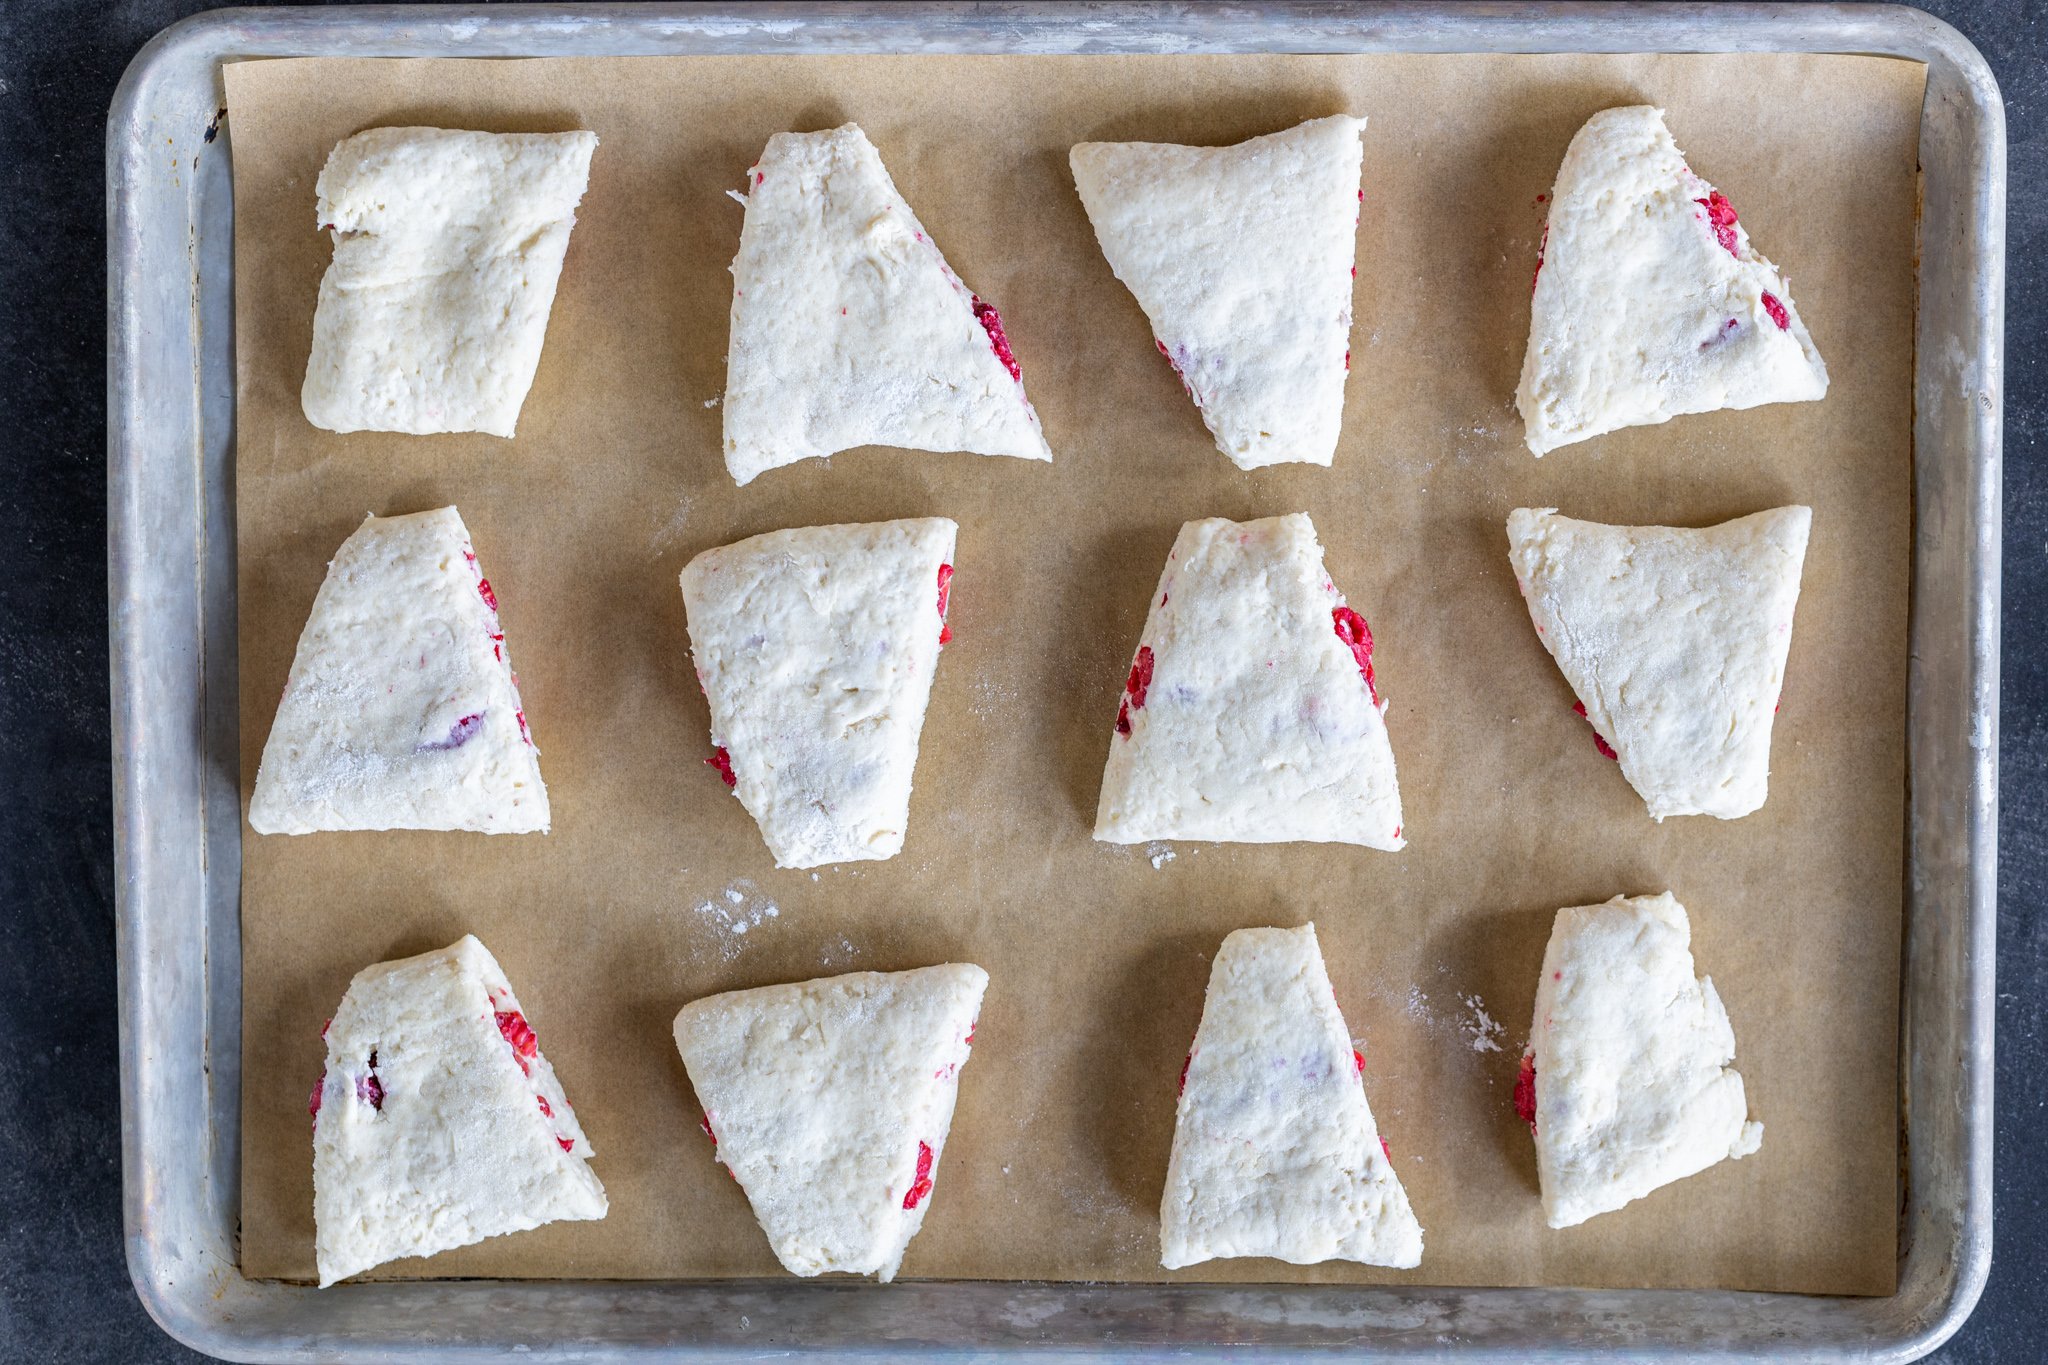
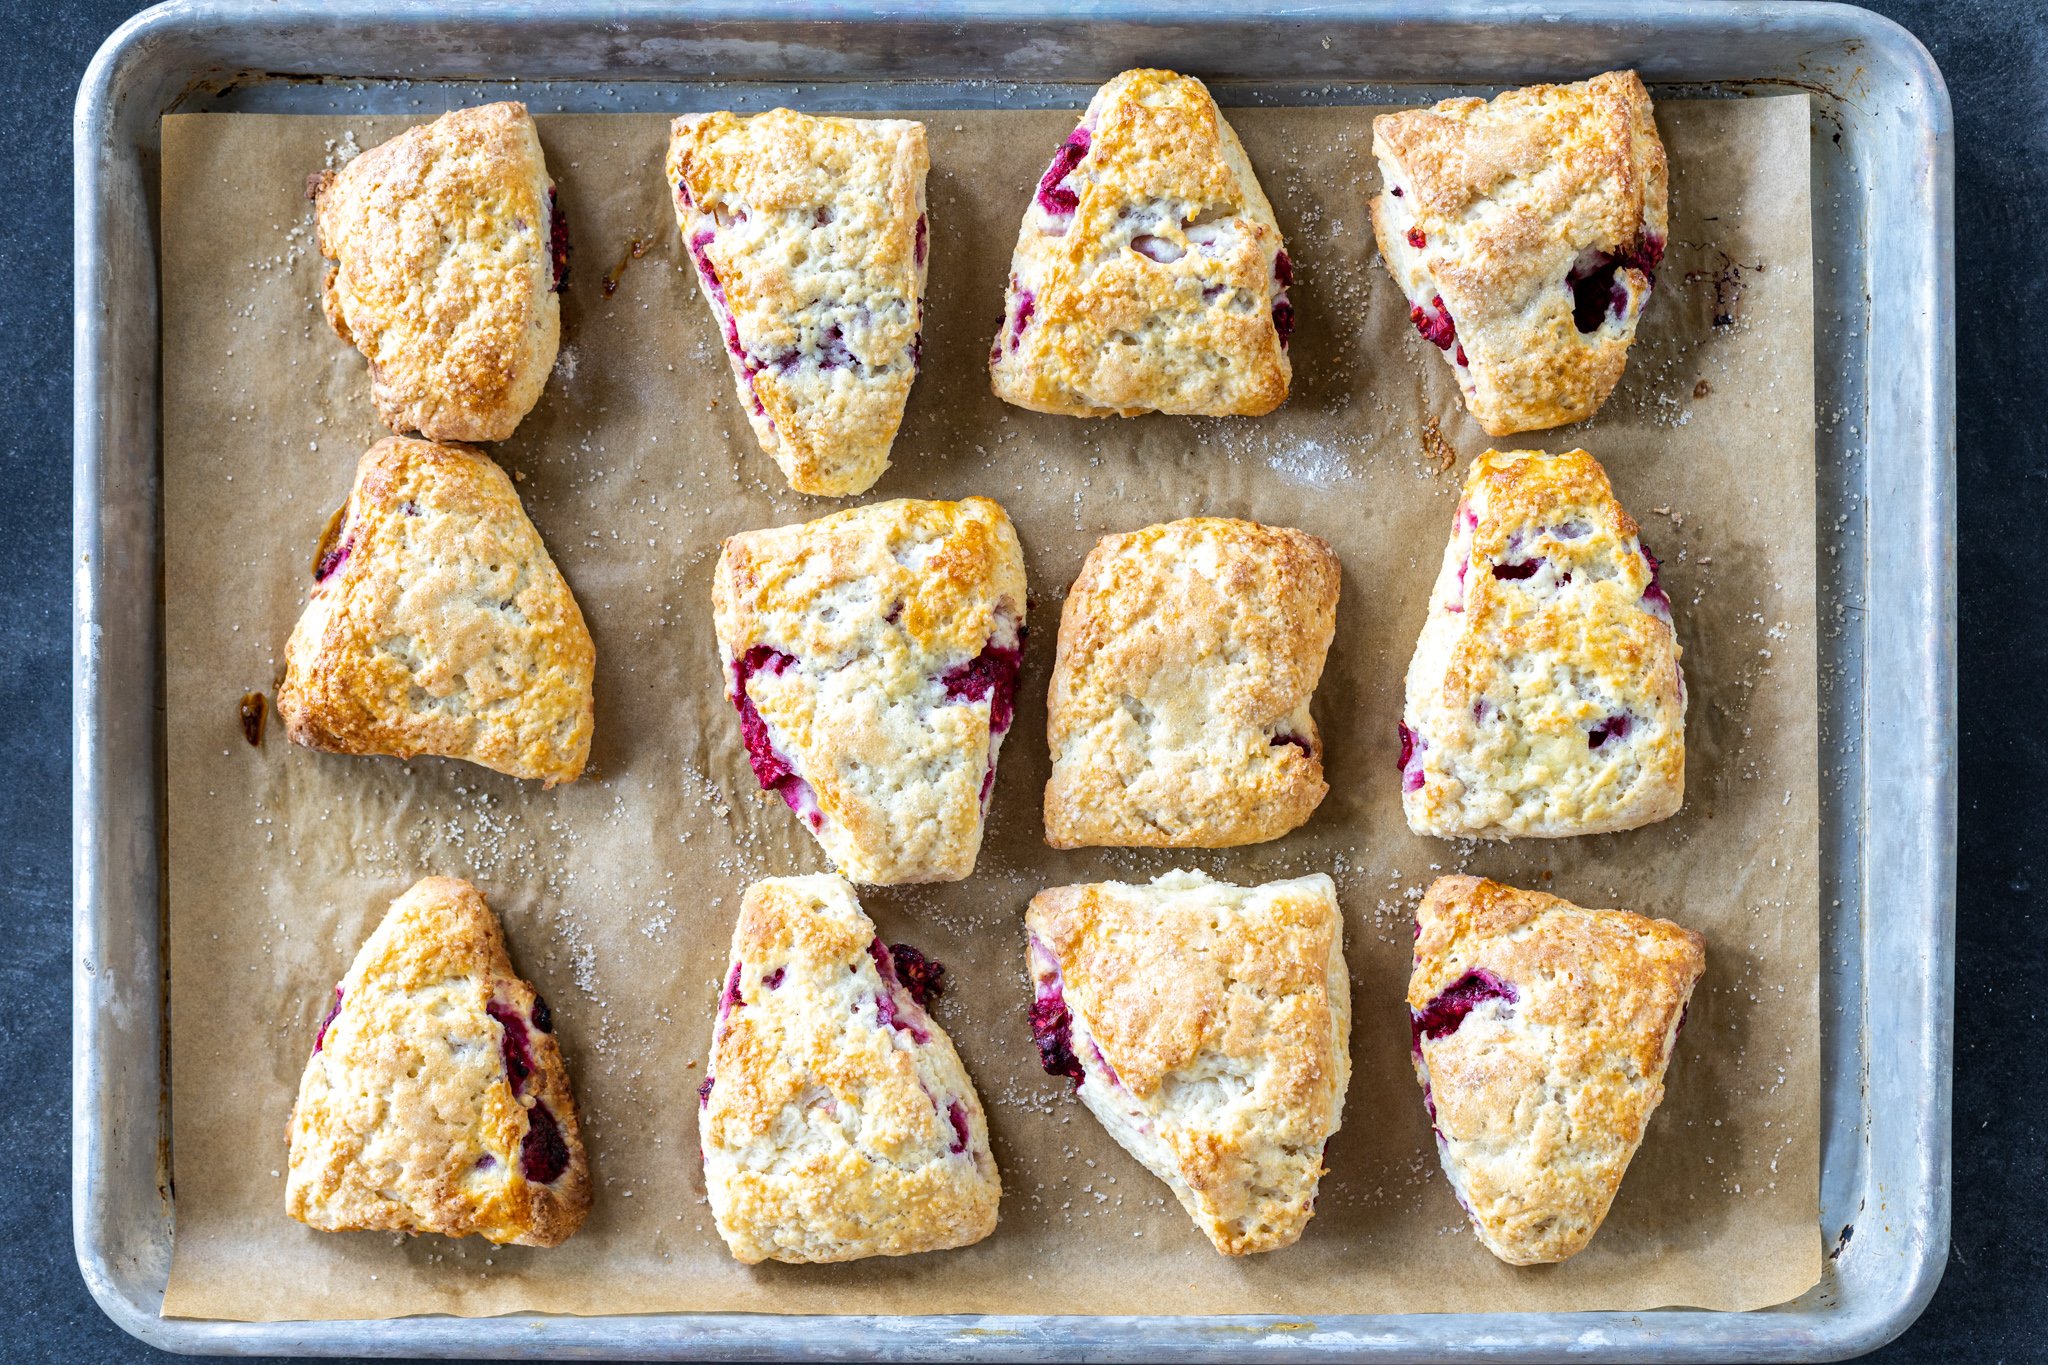
- Shape the dough: Roll the dough into a rectangular shape and place the raspberries evenly over the dough. Fold the dough over and roll it into a log shape. Cut the scones into similar-sized wedges about two inches wide and 3/4 inch thick.
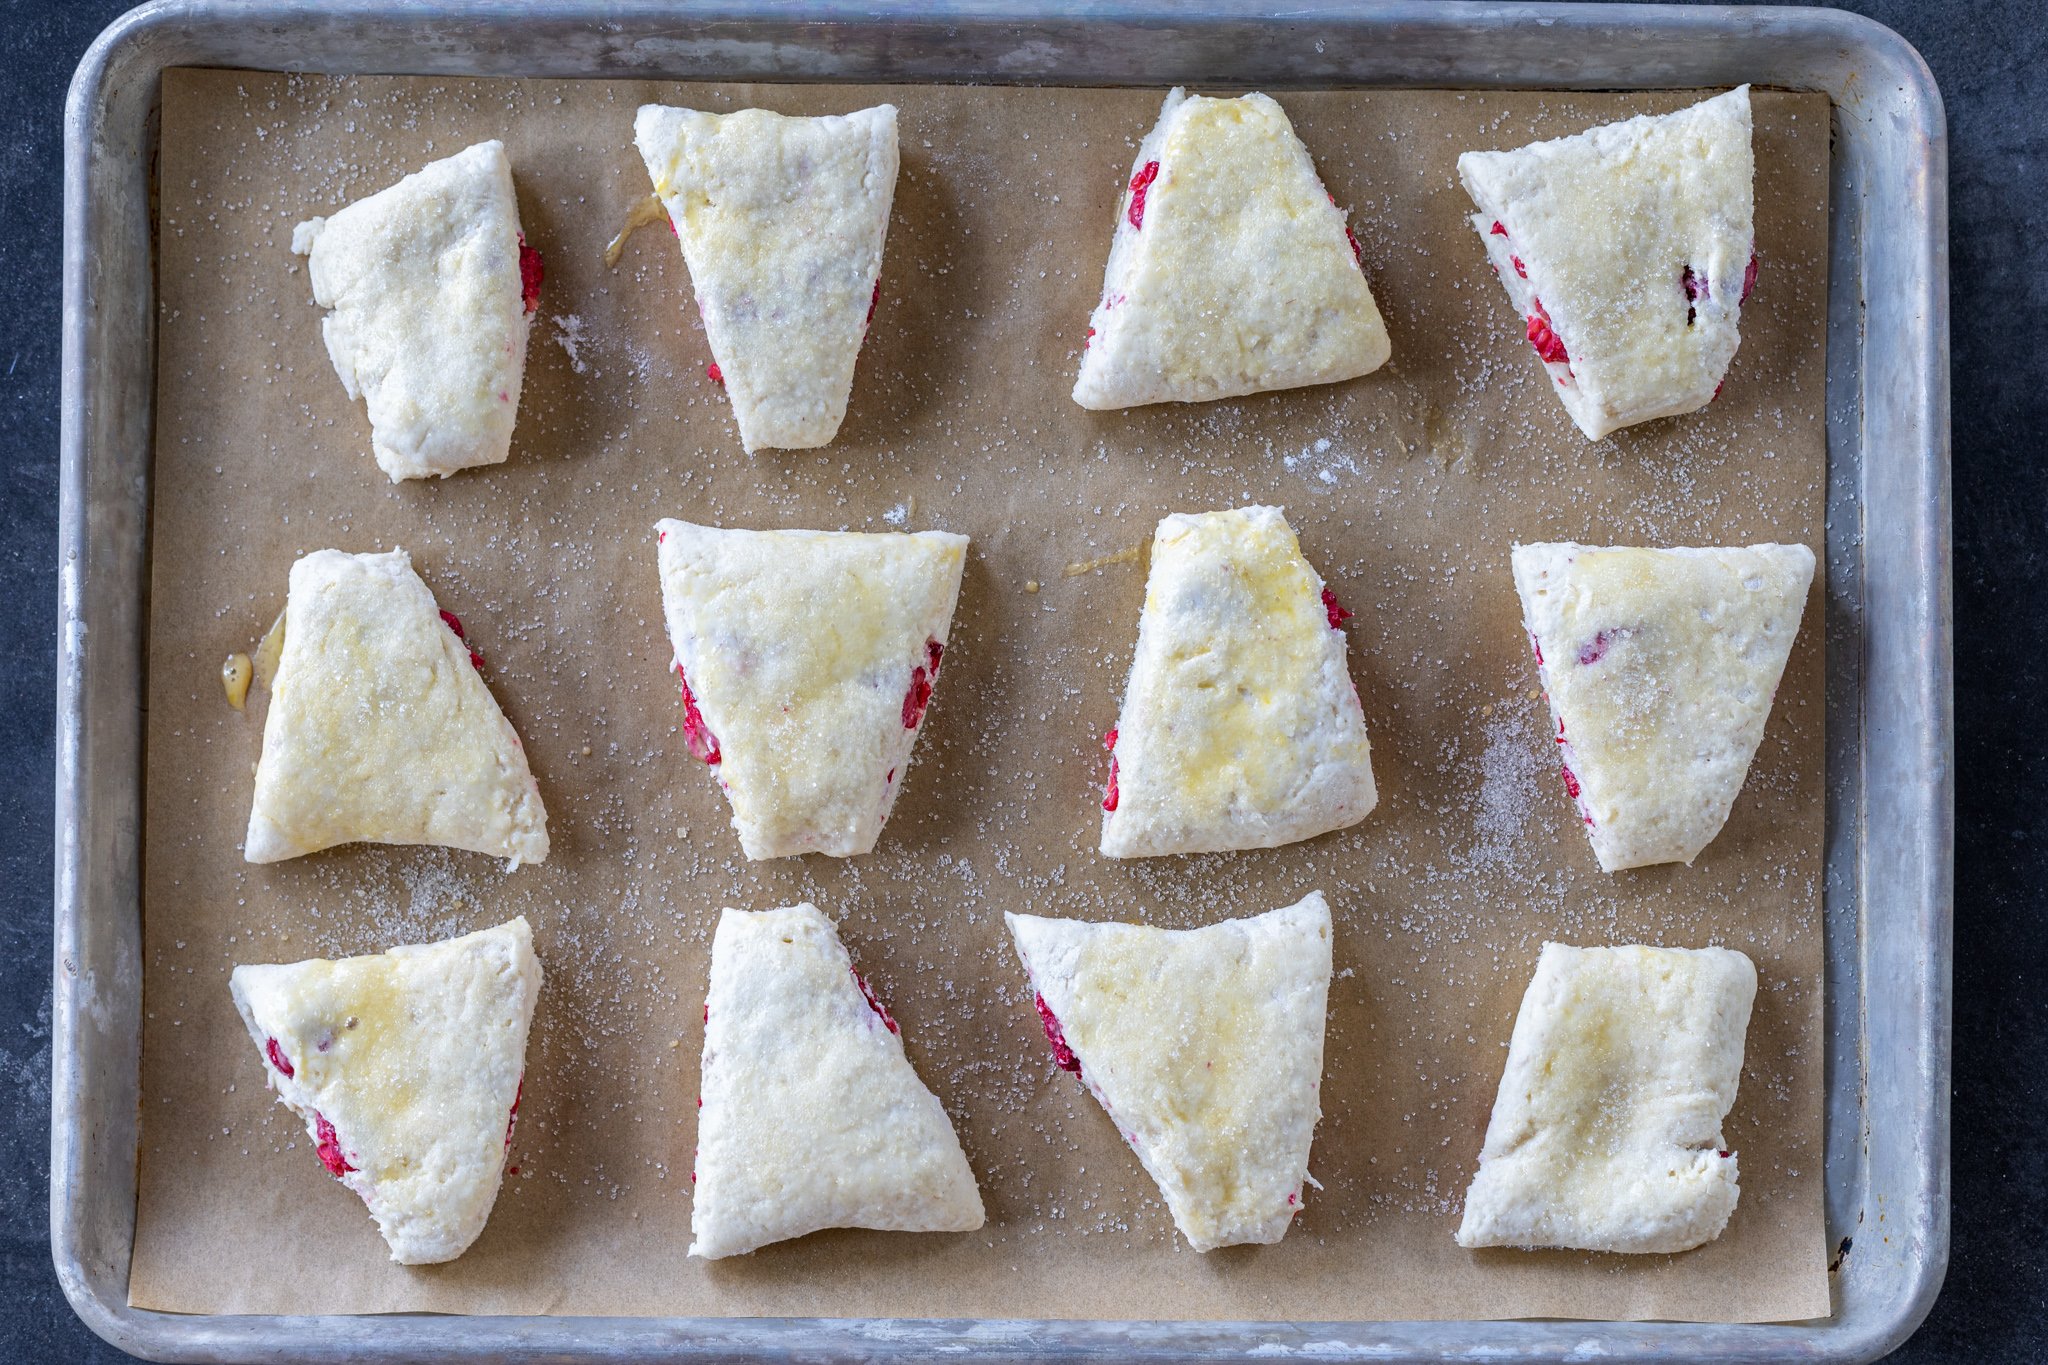
- Bake: Evenly space out the scones on a lined baking sheet. Brush the tops with whisked egg, followed by a sprinkling of sugar. Bake the raspberry scones for 30-40 minutes or until golden brown.


Why Aren’t My Raspberry Scones Fluffy?
Scones are simple to make but getting the texture just right is key for the best raspberry scones. Follow these tips to ensure the fluffiest texture.
- Use cold butter: Cold or frozen butter is easier to grate, and the cold butter produces a fluffier texture in the scones.
- Avoid over-mixing: Over-mixing the dough results in a tough scone. Mix until the dough is lumpy and crumbly.
- Chill the shaped scone: Place the shaped raw scone wedge into the fridge for at least 10-15 minutes before baking. This helps keep the shape when baking and also chills the butter in the dough, resulting in airy scones.
Raspberry Scone Add-Ins
Raspberry scones are slightly sweet with a fresh burst of raspberry flavor. They are scrumptious as is, but even better when paired with other sweet flavors.
- White chocolate: Add a cup of white chocolate chips to the dough for a classic raspberry white chocolate flavor.
- Lemon zest: Add one to two teaspoons of fresh lemon zest to the dough for a refreshing citrus tang.
- Nuts: Add one cup of finely chopped toasted almonds for a nutty crunch.
- Vanilla: Mix one tablespoon of vanilla extract in the dough for extra depth of flavor and sweetness.
Tasty Glazes
Glazing the scones is optional but worth the extra step. Customize the taste and appearance of the scones with a yummy glaze. It adds an appealing glossy finish and helps seal in the moisture of the scones. Allow the scones to fully cool before drizzling on your favorite glaze.
- Chocolate glaze: Melt dark, sweet, or white chocolate and drizzle over the scones for a chocolatey, sweet flavor.
- Lemon glaze: Whisk one cup of powdered sugar and two tablespoons of lemon juice until smooth. Use a spoon or pastry brush to drizzle onto the scones.
- Powdered sugar glaze: Make this simple two-ingredient powdered sugar glaze to add the perfect amount of extra sweetness.
Make Ahead
Prepare the raw, shaped scones in advance and freeze or refrigerate them. Bake fresh when needed. They are perfect to have on hand for busy mornings and last-minute guests.
- Using within 24 hours: Wrap the scones in plastic wrap and place them in an airtight container to bake within 24 hours. This works best for scones made with fresh versus frozen raspberries. Scones with frozen raspberries will result in thawed raspberry juice all over the scones.
- Using within three months: For extended storage, keep the scones in the freezer for up to three months. Place the scones on a baking sheet in the freezer until frozen solid. Then pop them into a freezer-friendly container. There’s no need for defrosting before baking; just add a few extra minutes to the baking time.
Storing Baked Raspberry Scones
This recipe produces 20 scones — the perfect amount to enjoy some now and store the rest to enjoy later.
- Short-term storage: Store the baked and cooled scones in an airtight container in a cool, dry place. For optimal taste and texture, eat them up within 2-3 days.
- Long-term storage: Store the baked scones in the freezer for up to three months. To freeze, place cooled scones in a freezer-safe container. Reheat in the microwave or oven until warmed through and softened.
Hot tip: For a fresh baked taste, reheat the cooked scones in the oven for a few minutes before eating.
FAQ
What is the secret to good scones?
The secret to good scones is to use cold butter and avoid over-mixing the dough. Follow these two tips and the scones will be the perfect crumbly, yet tender texture.
Do scones taste like biscuits?
Scones taste similar to biscuits because of their similar textures. However, scones are sweet and more dense than biscuits.
Should you rest the scones before baking them?
This recipe does not call for resting the scones before baking them. Bake them as soon as they are formed.
More Raspberry Desserts
- White Chocolate Raspberry Tarts — White chocolate, cream cheese-filled tarts topped with fresh raspberries
- The Easiest Raspberry Coffee Cake — Fruity coffee cake perfect with a cup of coffee
- Pecan Raspberry Thumbprint Cookies — A nutty cookie filled with raspberry jam
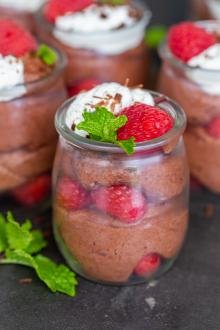
- Raspberry Chocolate Roll Cake — Decadent chocolate roll cake with fresh berries
Recipe

Ingredients
- 4 1/2 cups all-purpose flour
- 2 tbsp baking powder
- 1/3 tsp salt
- 3/4 cup granulated sugar
- 3/4 cup unsalted butter
- 3 cups sour cream
- 2 cups raspberries fresh or frozen
- 1 egg for brushing tops
- 1/4 cup coarse sugar for tops
Instructions
- Combine all the dry ingredients together in a large bowl.
- Grate butter into the flour mixture. Gently fold in the sour cream.
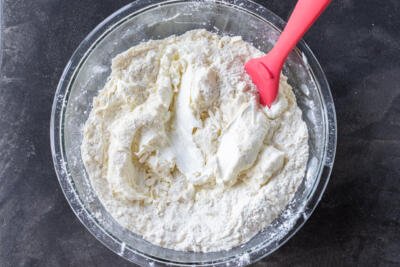
- Carefully mix the dough together, being extra careful not to over-mix it. The dough should be crumbly in texture.
- Roll the dough into a rectangular shape. Spread raspberries evenly over the dough. Fold over the dough, rolling it into a log shape. Cut the scones into similar-sized wedges.
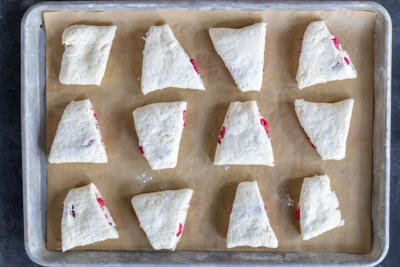
- Place scones onto a lined baking sheet, leaving space in between each other. Brush the tops with a whisked egg, followed by a sprinkling of sugar.
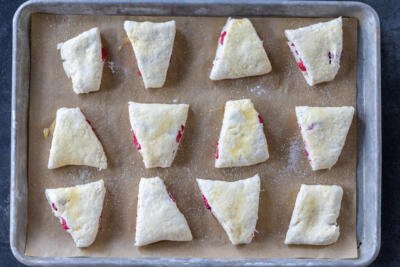
- Bake at 350°F for 30-40 minutes or until scones are golden brown.


Thanks for sharing your time awesome recipes these are awesome
First time scones came out delicious
Moist not dry and brittle
the recipes was easy to use
Thanks again for awesome recipes
Five stars two thumbs up on all your
Recipes this is a superb blog
Hey Aeil, thank you for your feedback! I appreciate you trying out multiple recipes on my blog and I'm glad to hear you are enjoying them.
So how big do we roll the dough out? How many sconce do we cut from the dough?
Hi Elena, I get around 20 scones that are cut about 2 inches wide and 3/4 inch thick. So, roll out the dough approximately 40 inches wide. I hope this helps!