This homemade cranberry orange scones recipe uses fresh orange zest, craisins, and pantry staples. Add the orange glaze, and these scones will be everyone’s top hit!

Love scones? Check out these strawberry, raspberry, or blueberry scones to really get on your scone A-game!
Orange Cranberry Scones Video
How To Make Orange Cranberry Scones
Look no further for delicious, slightly fruity, and flaky cranberry orange scones. There’s a reason why scones are one of the most popular pastries worldwide!
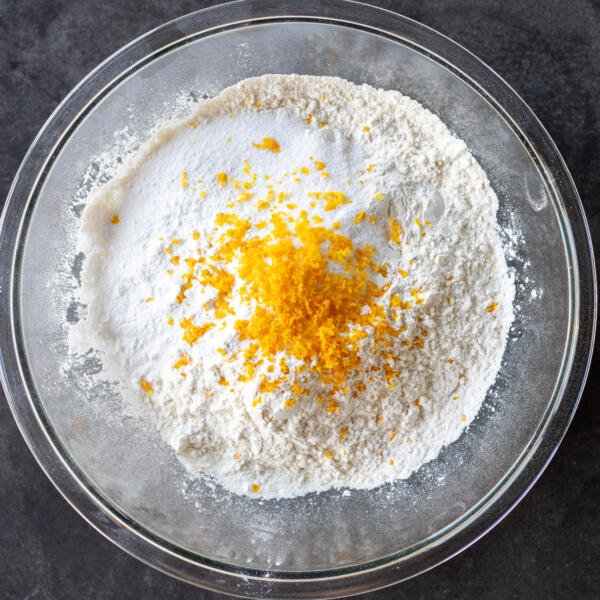
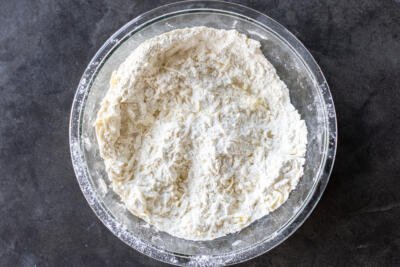
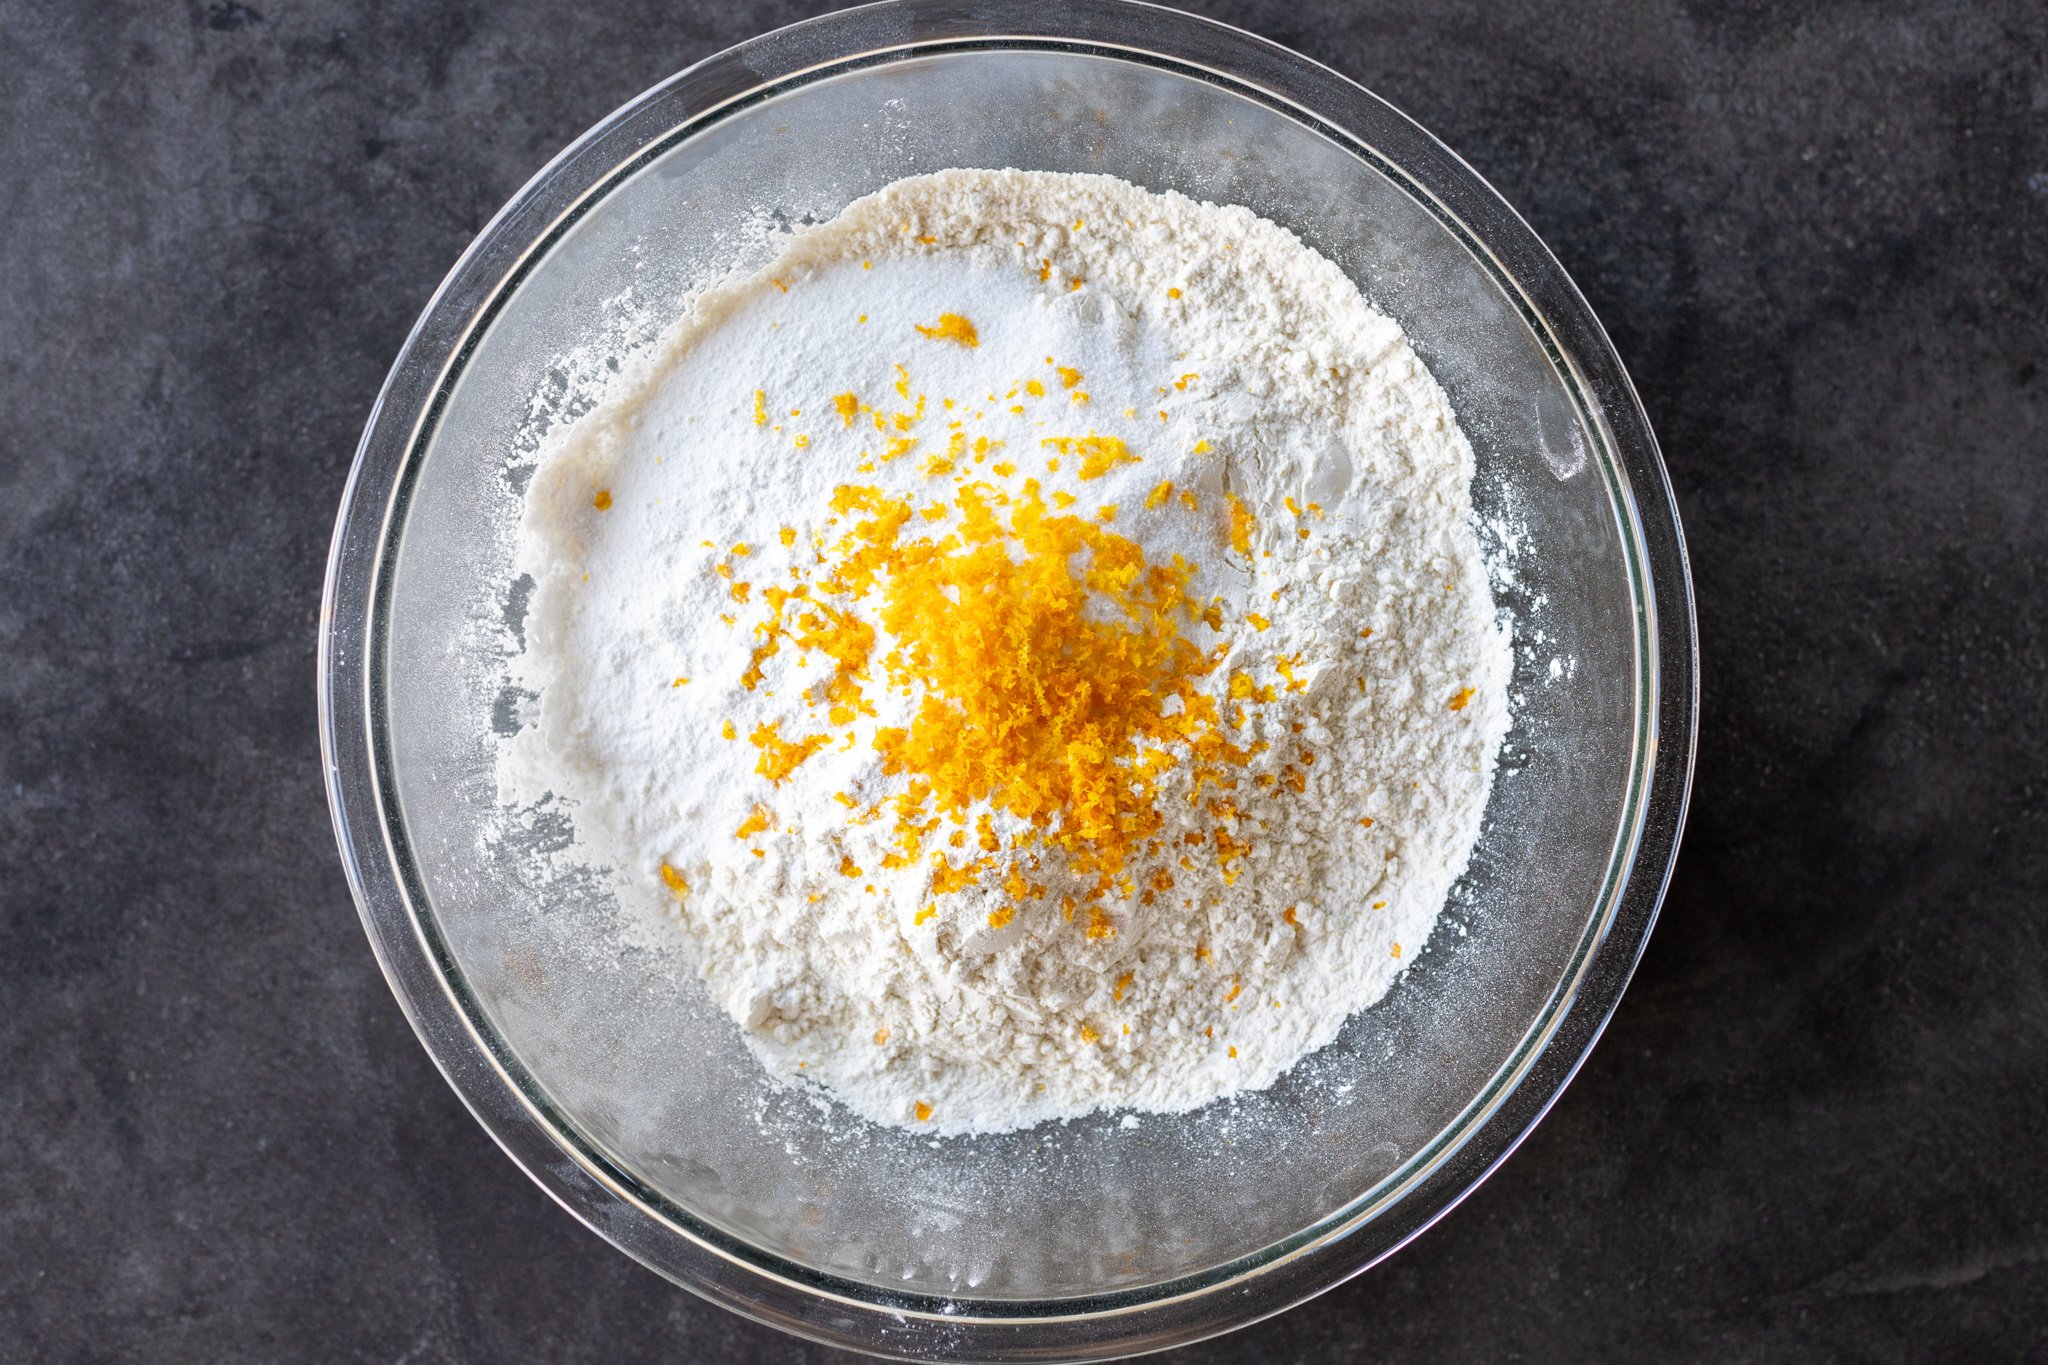
- Combine the dry ingredients: In a large mixing bowl, stir together the all-purpose flour, baking powder, salt, sugar, and orange zest.
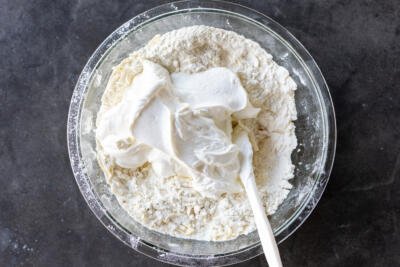
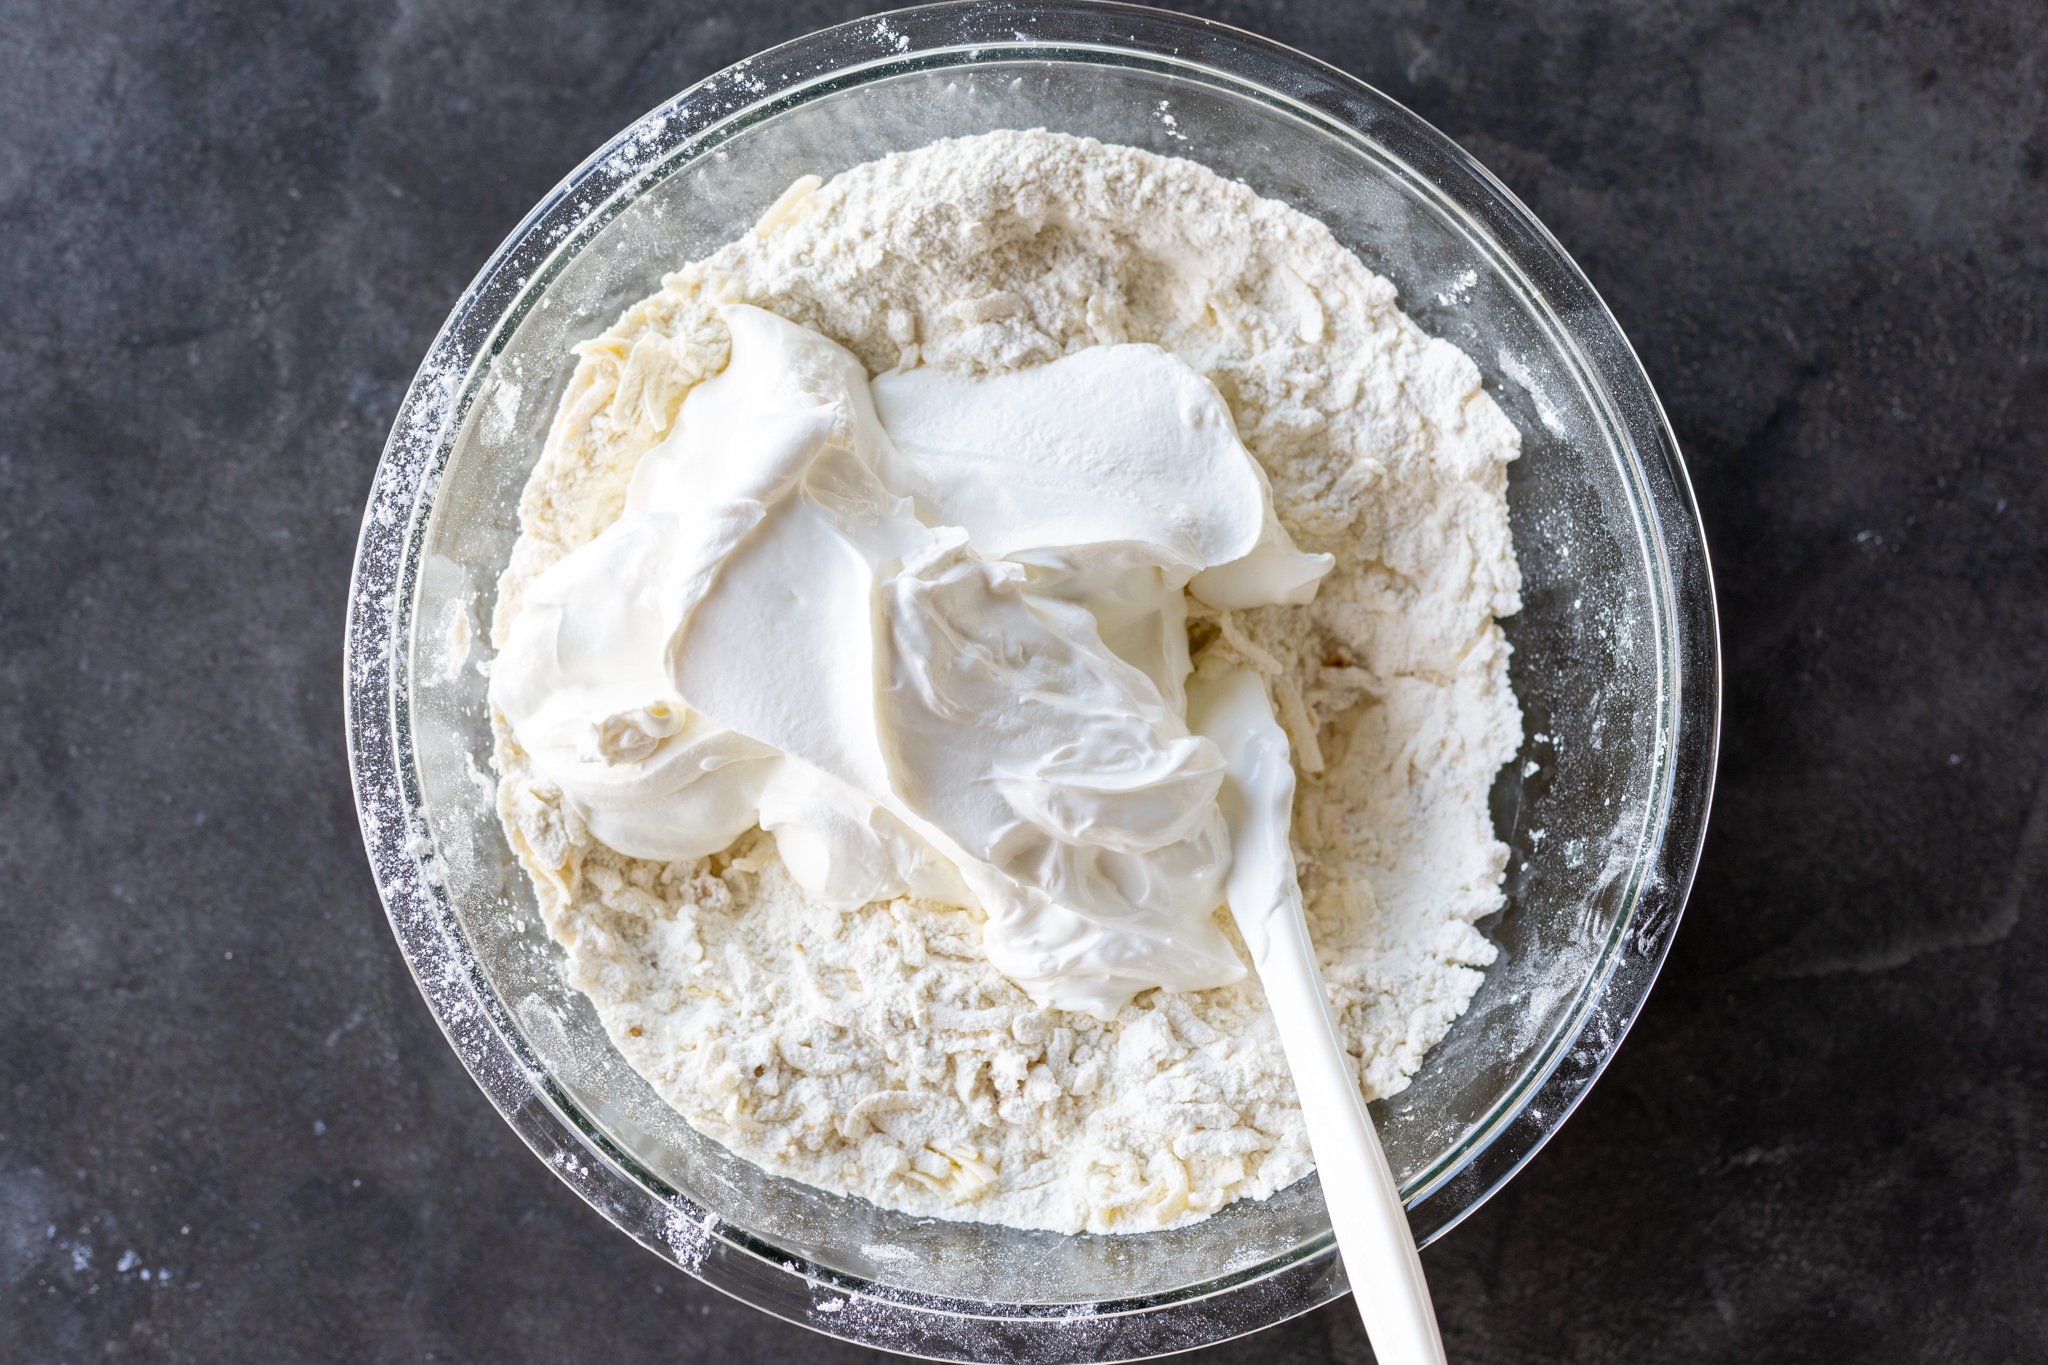
- Mix in the wet ingredients: Grate the cold butter into the flour mixture and combine until the dough is crumbly. Then, fold in the sour cream and vanilla until the dough is crumbly again.
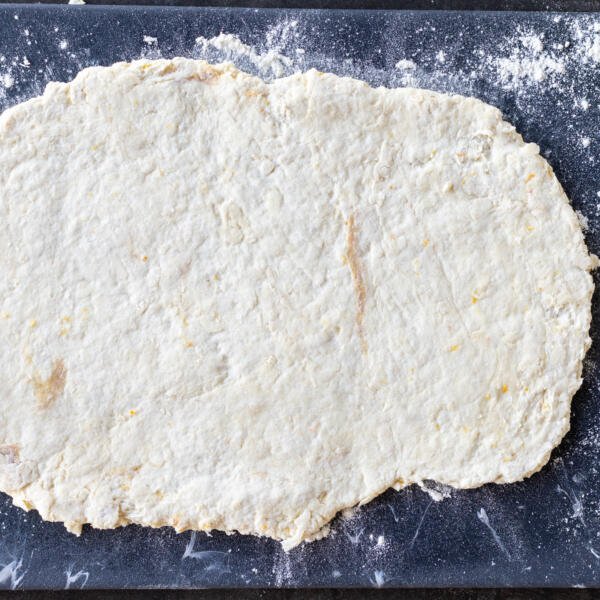
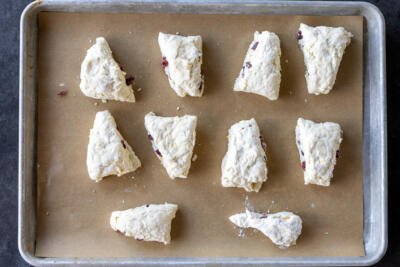
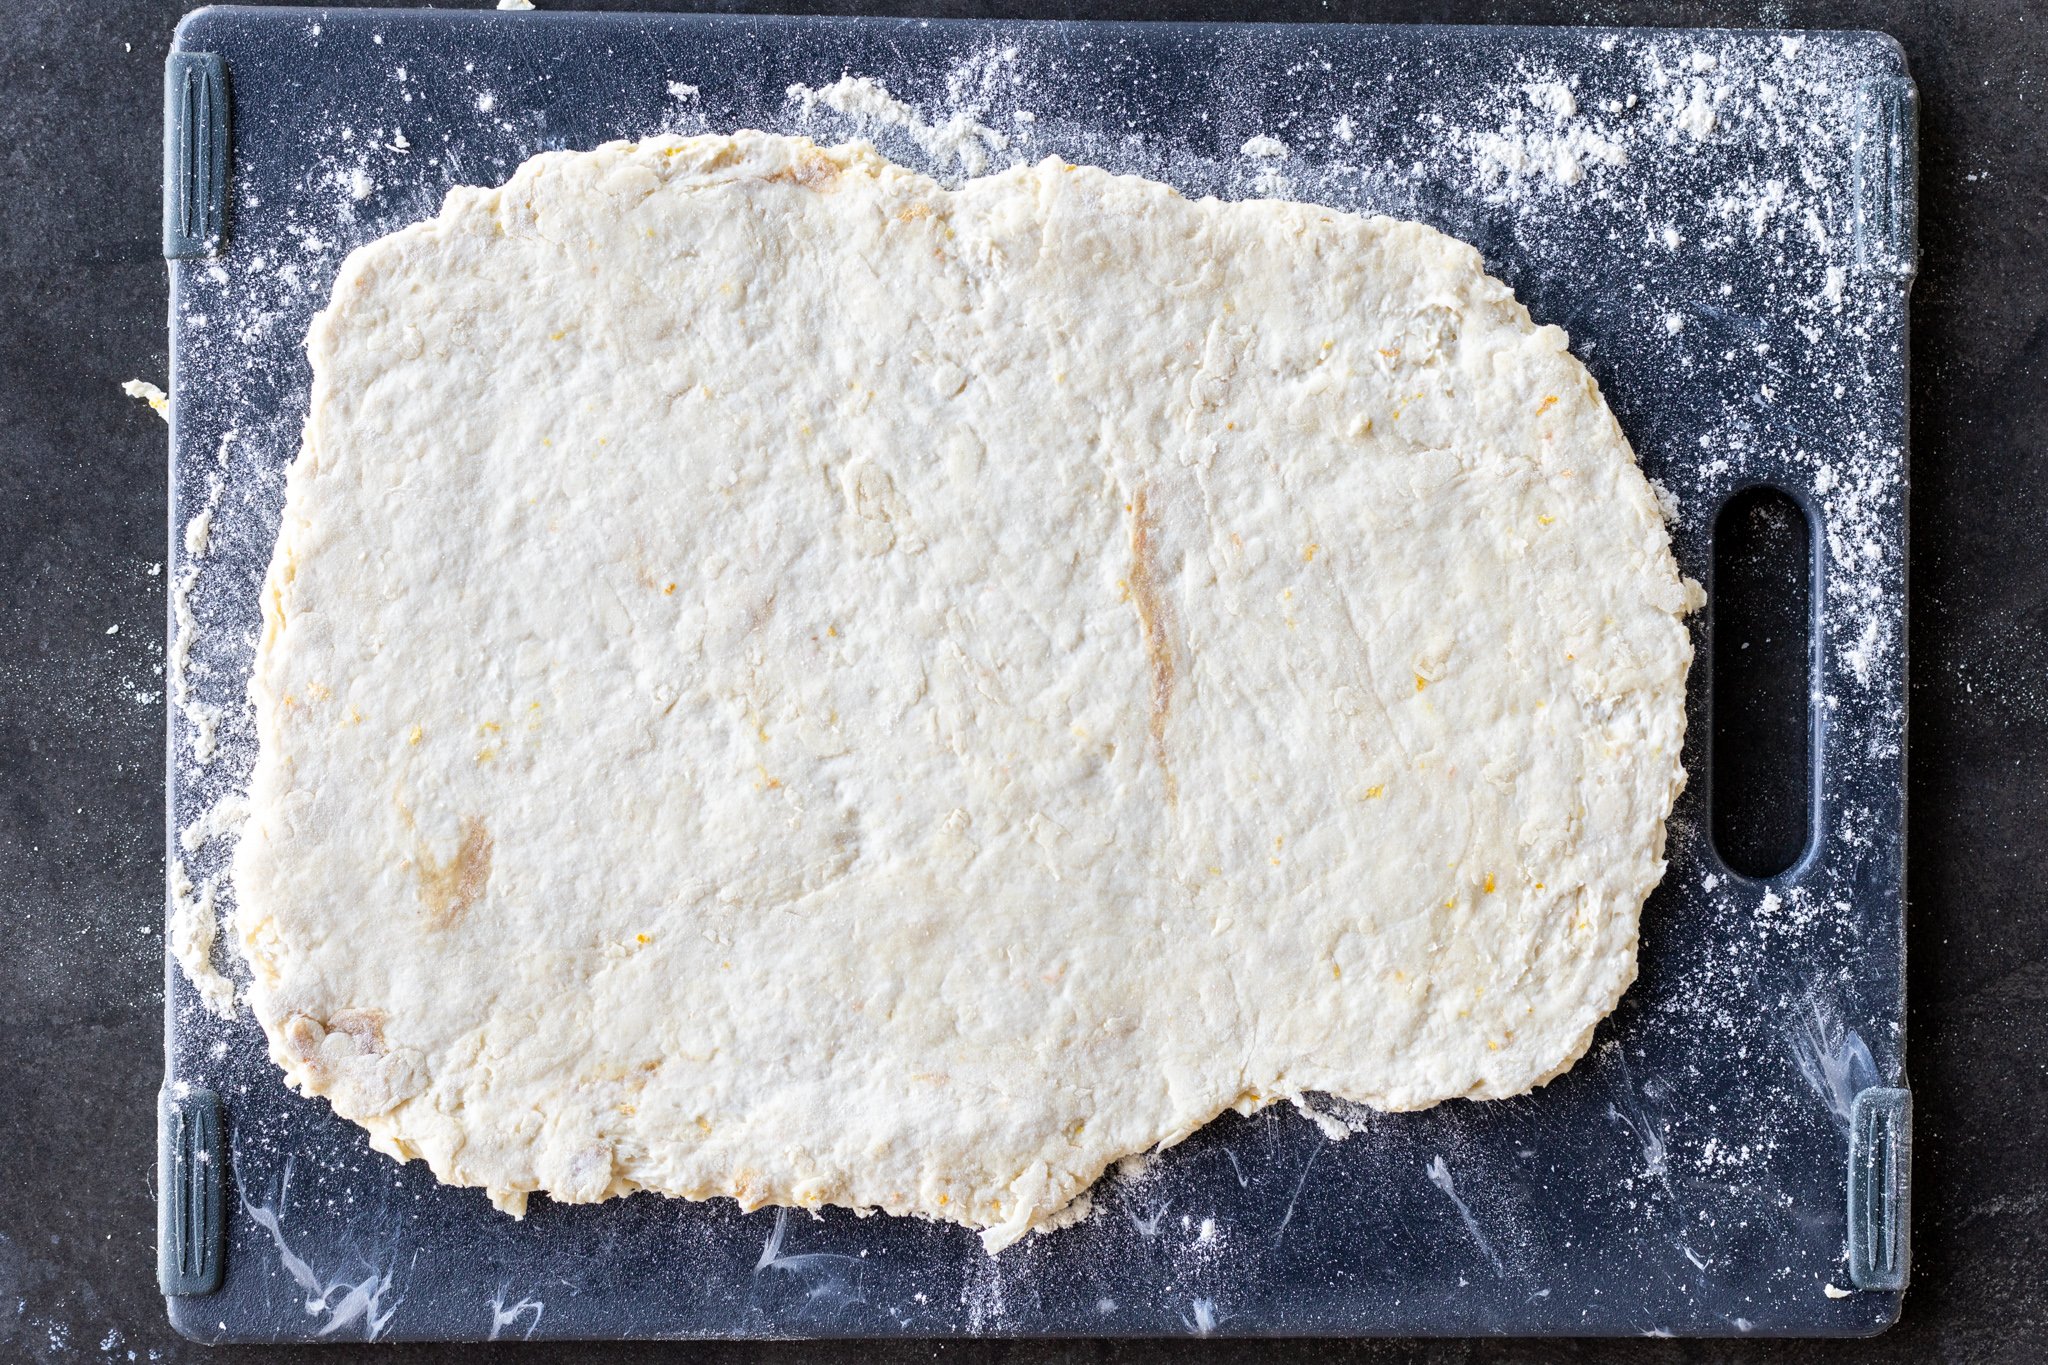
- Divide the dough: Section the dough into two equal halves, then roll it on a floured surface into a rectangle about 10 x 20 inches in size.
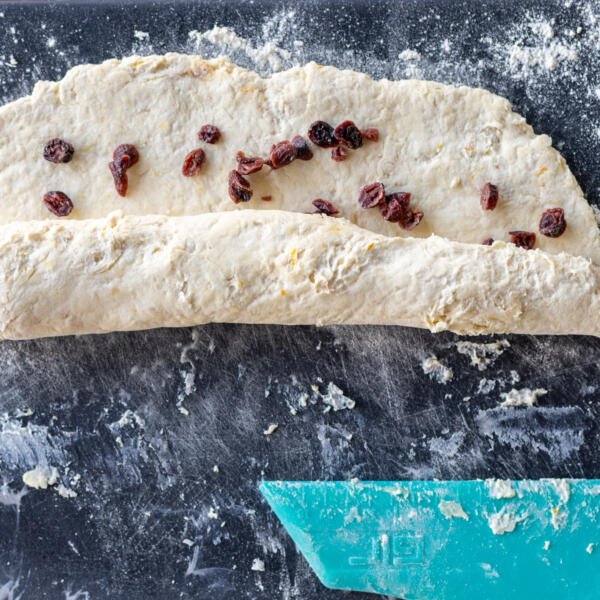
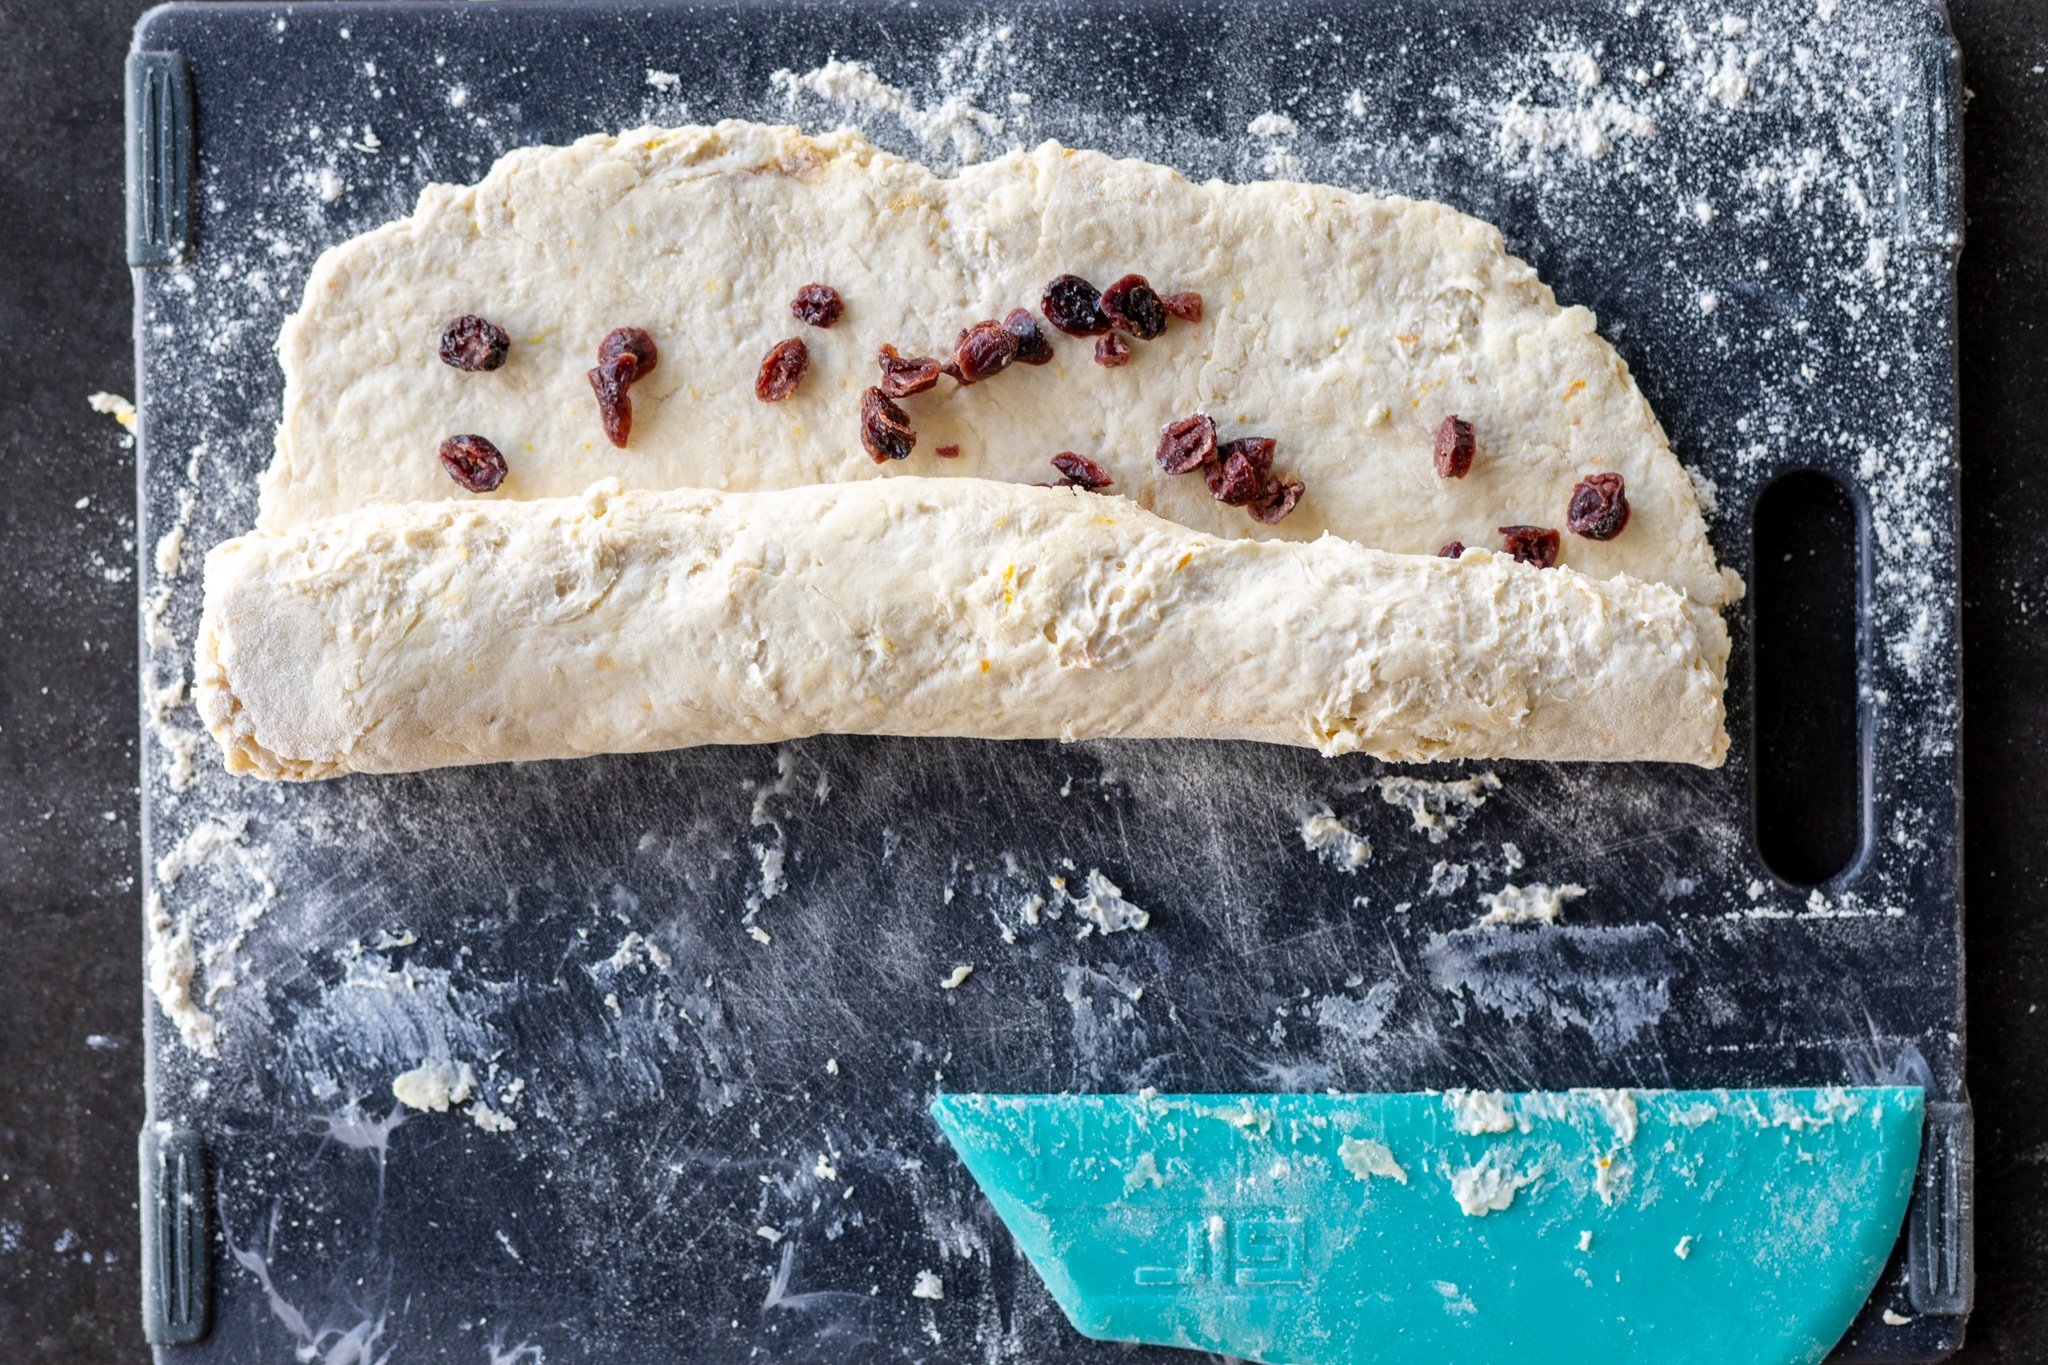
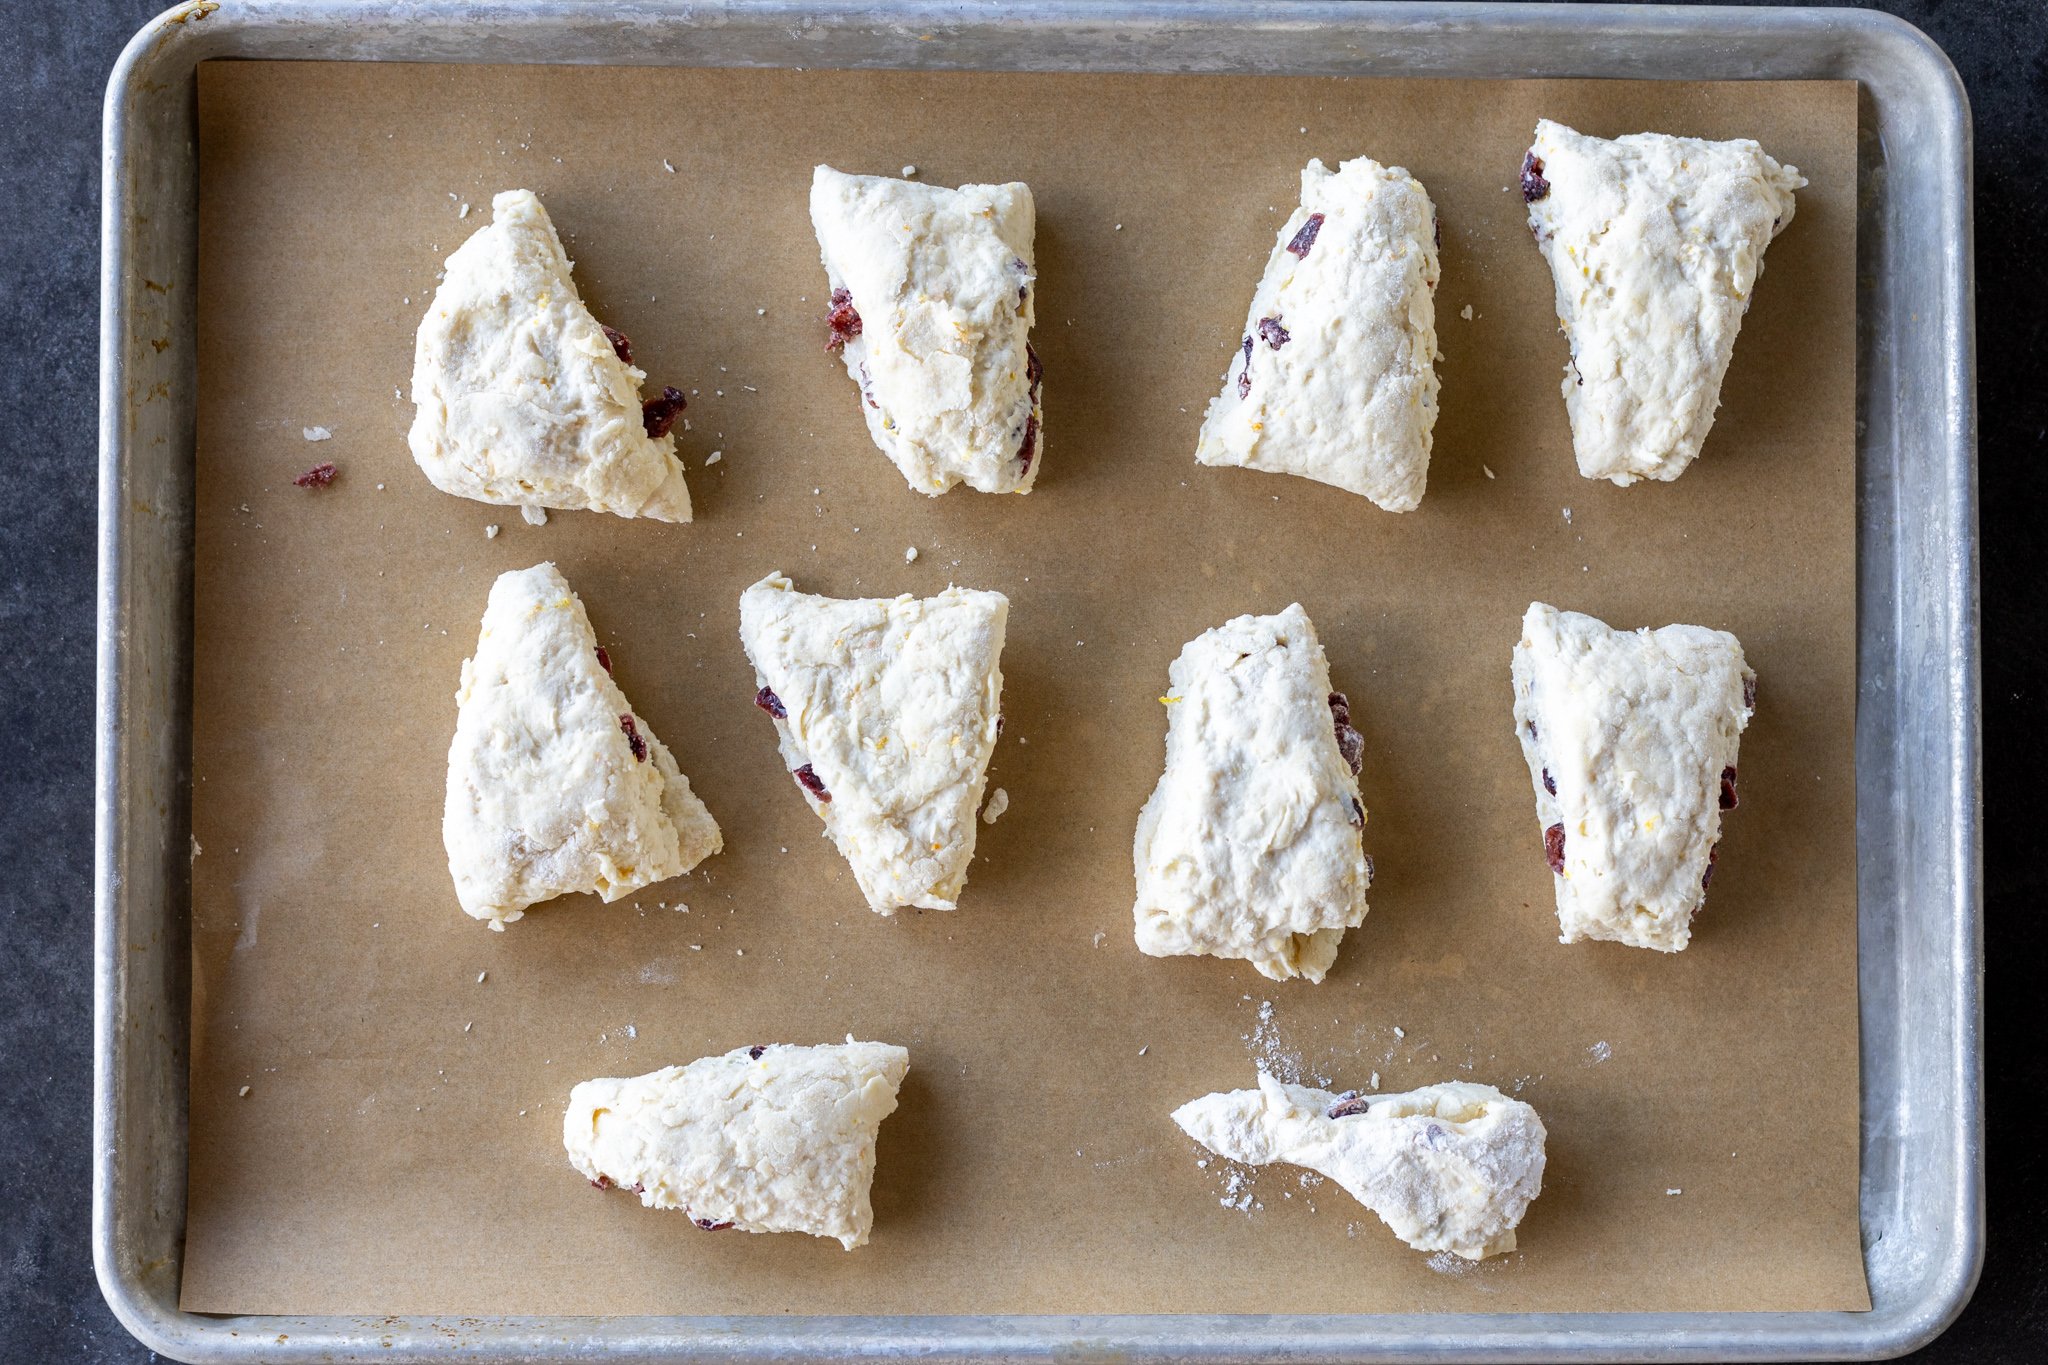
- Sprinkle the cranberries on top: Gently pat the cranberries in all over the dough, then roll the dough into a log. With a sharp knife, cut the log into 10 equal triangle wedges.
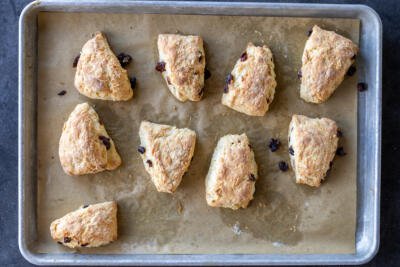
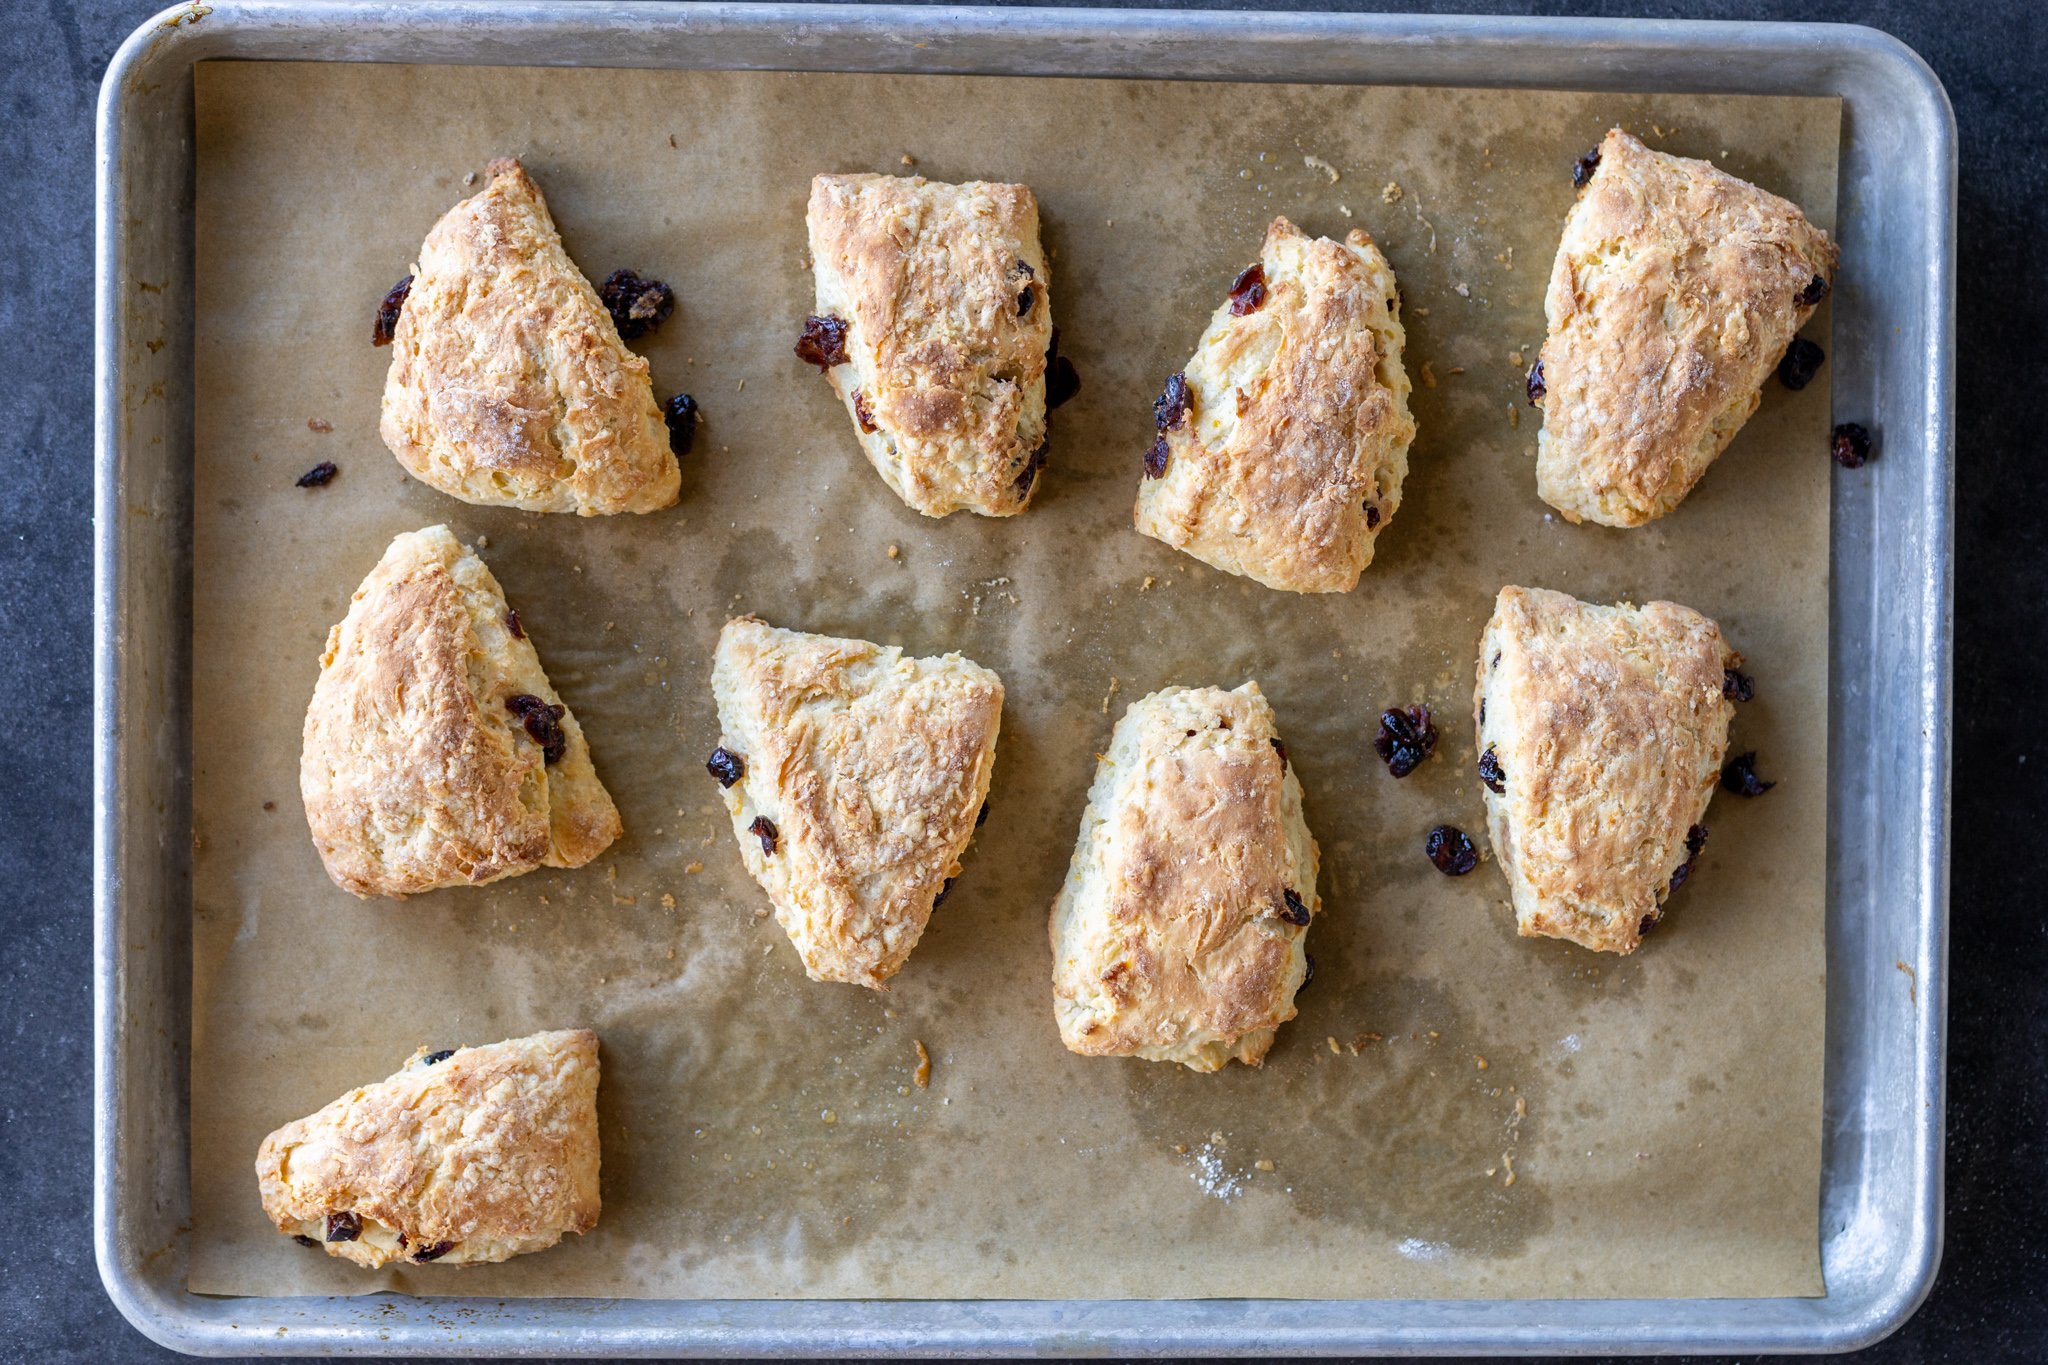
- Bake the scones: Bake the scones in the oven at 350°F for 35-40 minutes or until they are golden brown. Then, cool for about 10 minutes.
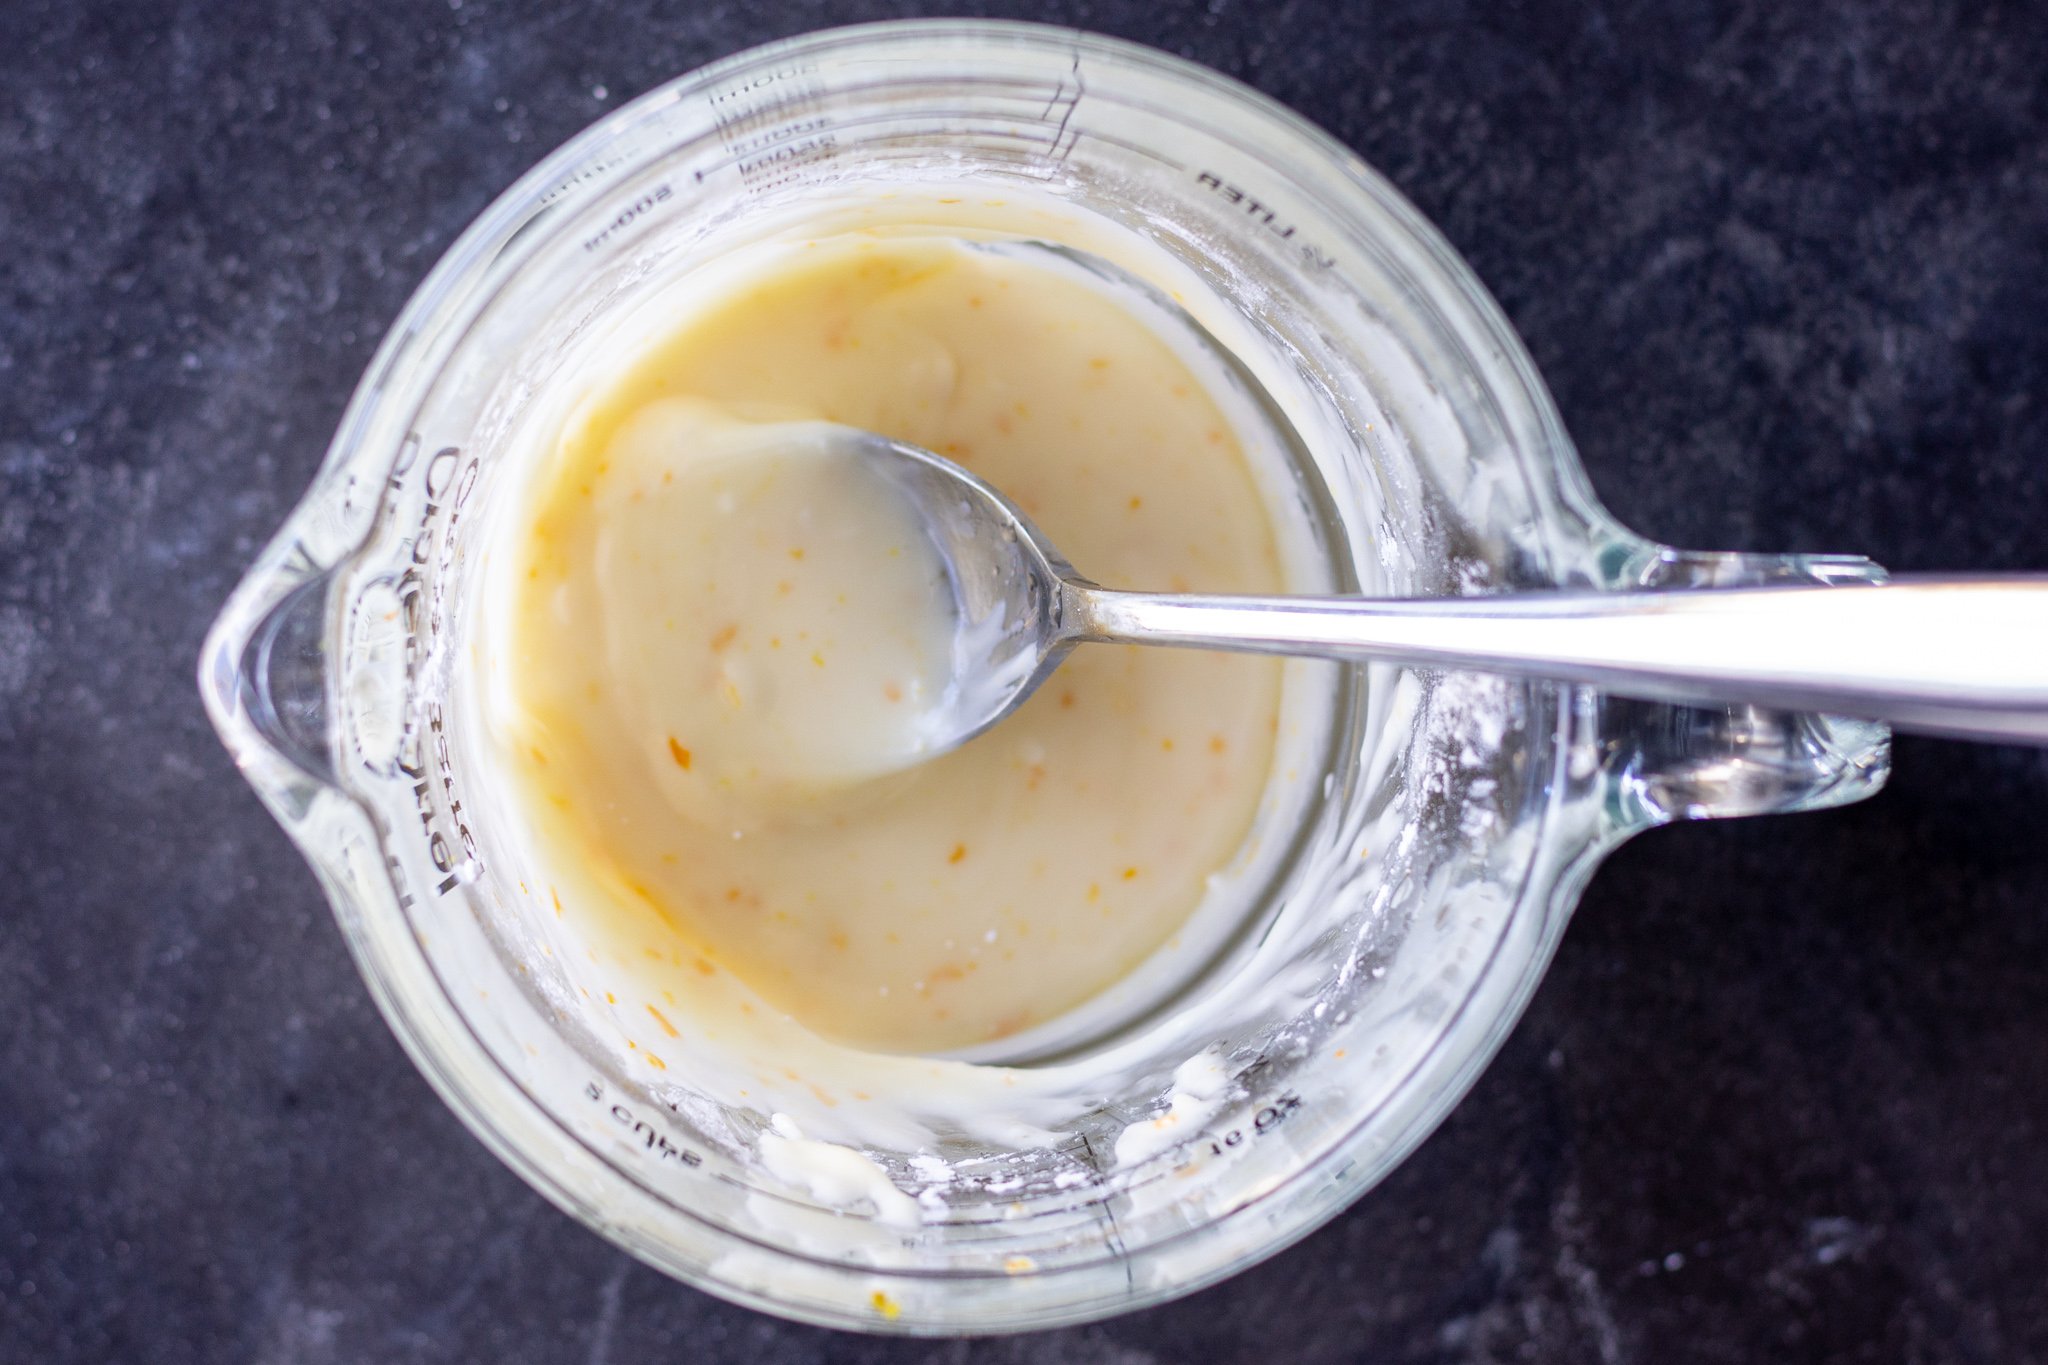
- Drizzle on the sweet orange glaze: Combine the powdered sugar, orange juice, and zest, then drizzle it over the scones. Serve and enjoy your tender scones!
Hot tip: If you like warm scones but they’ve cooled too fast — no fear! Simply reheat them in the microwave for 30 seconds.


Tips For Delicious Cranberry Orange Scones
You may be used to only seeing scones in a bakery made by professionals. But guess what — with these tips, you’ll be making scones just like a pro in your own kitchen!
- Almost any cranberries work: Feel free to use frozen, fresh, or dried cranberries. Avoid any canned cranberries as they be too moist for the scone.
- Avoid over-mixing: For the flakiest, melt-in-your-mouth scones, be careful not to overmix the batter. The batter should be lumpy and crumbly, as the pockets of butter in the dough create the trademark flaky texture of scones.
- Mix with a pastry cutter: Prevent the butter from melting too quickly while mixing with your hands — instead, use a pastry cutter to combine the wet and dry ingredients.
- Use cold butter: We all want fluffy scones, right? Make sure to use cold butter! As the cold butter is exposed to the heat of the oven, it melts and creates steam that causes the scones to rise.
- Cut scones into even sizes: For the best visual appeal and even baking, cut the scones into equal sizes.
- Swap the sour cream with Greek yogurt: For moist scones that are a tad healthier and have a slight tangy flavor, use full-fat Greek yogurt instead of sour cream.
- Ensure the baking powder is active: Baking powder is essential for the scones to rise. To check if it’s still good, pour 1/4 cup of boiling water over 1/2 tsp baking powder. If it foams and bubbles, it’s still active, but if not — it’s time to buy fresh baking powder. If you like extra fluffy scones, add an extra tablespoon of baking powder.
- Brush the scone tops: For a golden crust, brush the scones with a bit of milk or heavy cream before baking.
Hot tip: For more variety, add in white chocolate chips or dark chocolate for a sweet surprise. Or, for a stronger orange flavor, add a teaspoon of orange extract.

Ways To Serve
Cranberry orange scones are sweet, so they are best served as a dessert or a quick bite for breakfast or brunch. No matter when you serve them, provide the option for a glass of milk, hot tea, or coffee to enjoy with the scones. Or, if you’re serving scones for a gathering, place them on a breakfast charcuterie board along with fruit, hard boiled eggs, and smoked salmon toast.
Storing & Reheating
Scones take a mere 20 minutes of prep time, so make an extra batch and store them to enjoy again later. Whether it’s a few to store on the counter or a batch to freeze, we have you covered.
- Room temperature: To store scones for up to four days, keep them in an airtight container on the counter. The container keeps them from drying out and turning stale.
- Freezer: Freeze baked (and cooled) scones by storing in a freezer-safe bag for three months. For best results, freeze the extra scones without the glaze, or it’ll likely make a sticky mess in the freezer.
Hot tip: You can also freeze raw scones! Freeze them individually on a baking sheet, then keep them frozen in a freezer-safe bag for up to three months. Bake straight from frozen — but they will need a bit of extra time to bake!
More Flaky Pastries
- Puff Pastry Nutella Twists — Two ingredient flaky, chocolatey twists
- Cranberry Cinnamon Rolls — Bursting with jammy cranberry and orange flavor
- Quick Apple Turnovers — Puff pastry squares with a baked apple filling
- Sweet Cheese Bourekas — Puff pastry filled with sweetened farmers cheese
- Stenj (Moroccan Donuts) — Moroccan-style sweet fried donuts
Recipe

Ingredients
- 4 1/2 cups all-purpose flour
- 2 tbsp baking powder
- 1/2 tsp salt
- 1/2 cup granulated sugar
- 1 tbsp orange zest
- 3/4 cup unsalted butter cold
- 3 cups sour cream
- 1 tsp vanilla extract
- 2 cups craisins
Orange Glaze
- 1 cup powdered sugar
- 2 tbsp orange juice freshly squeezed
- 1 tsp orange zest
Instructions
- Combine the flour, baking powder, salt, sugar, and orange zest in a large bowl.
- Grate the cold butter into the dry ingredients. Toss to combine.
- Gently fold in the sour cream and vanilla. Carefully mix the dough together, being extra careful not to over-mix. The dough should be crumbly in texture.
- Divide the dough into two equal portions. Roll each dough section into a rectangular shape about 10×20 inches.

- Spread the cranberries all over the dough, gently pressing them in. Fold over the long side of the dough. Cut each half of the dough into 10 even wedges.

- Place the scones onto a lined baking sheet, leaving space in between each one.
- Bake the scones at 350°F for 35-40 minutes or until the tops of the scones are golden brown. Allow the scones to cool for about ten minutes.
- Combine the powdered sugar, orange juice and zest together.

- Drizzle over the warm but slightly cooled scones. Serve and enjoy.


I love that this doesn't use heavy cream as I usually don't have it on hand. They came out HUGE!
I'm so glad you enjoyed them, Lily! And it's always a win when recipes use staples we already have, right? 😀
I hope to make these in the very near future
I hope you do too and please report back! I'm sure you're going to love them!
So good!
Thank you 🙂