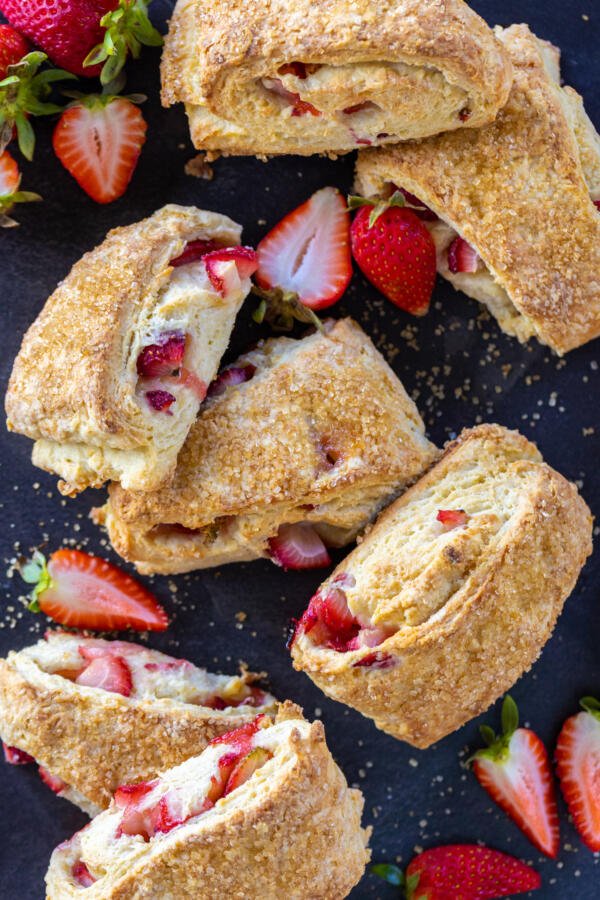
This easy strawberry scone recipe is straight from my grandmother’s kitchen. A few pantry staples and fresh strawberries are all you need to create this memorable dessert!
Every time I make these scones, I remember my Ukrainian grandma. She frequently made them as a special treat whenever she had a spare moment away from farming— it became a family tradition! It seemed like each visit, these flaky, tender scones were gobbled up before she could even set them on the table.
Now, I know they aren’t like most “traditional” scones, but they are my grandmother’s version — and that makes them extra special to me. My grandparents maintained a farm in Ukraine (which was more than a full time job), and yet my grandma still found time to do all the cooking herself. So when she made these fresh strawberry scones, I knew it was out of love for us. Now, I want to forward that love to all of you with this recipe.
Love scones? We’ve got you covered with recipes for raspberry, blueberry, and cranberry orange scones!
How to Make Grandma’s Strawberry Scones
Making these scones is a piece of cake (or a piece of scone?). You don’t need to be an expert baker to produce amazing, easy scones — in fact, they taste just as delicious when they look a bit rustic and misshapen. Follow these steps to be well on your way to enjoying dessert.
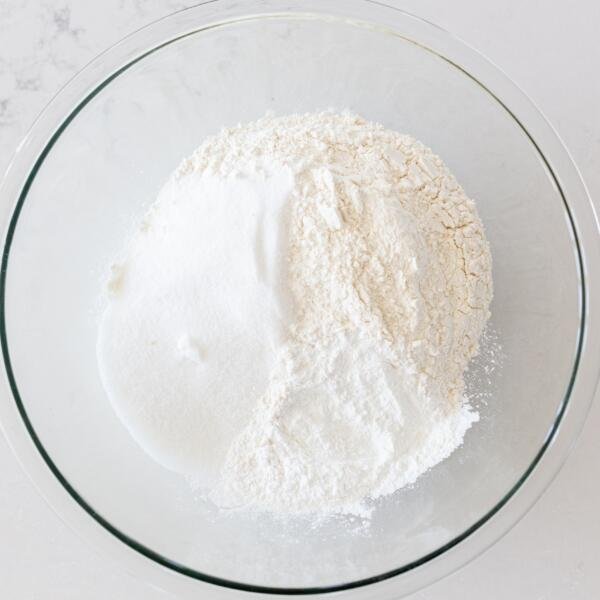
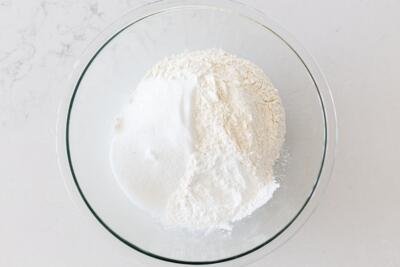
- Combine the dry ingredients: In a large bowl, stir together the flour, baking powder, salt, and sugar.
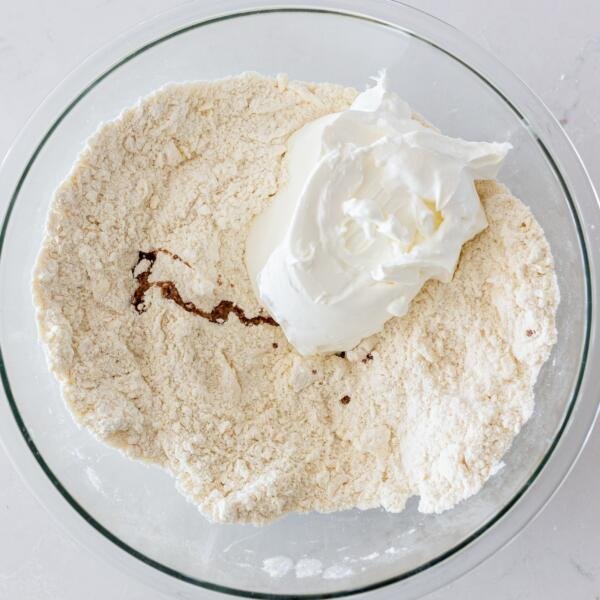
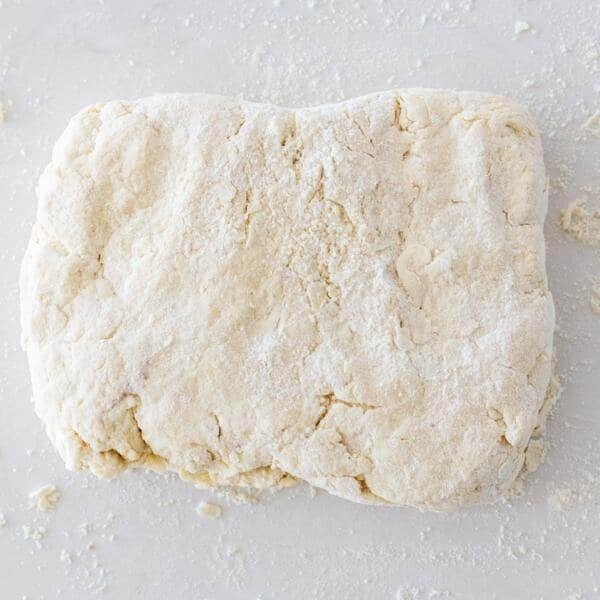
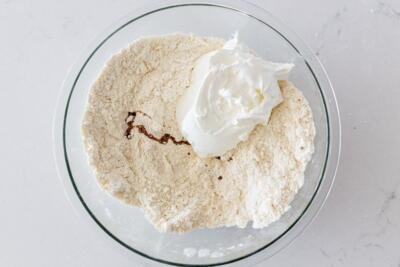
- Add in the wet ingredients: Grate the cold butter into the flour mixture, then fold in the sour cream and vanilla extract until a dough forms.
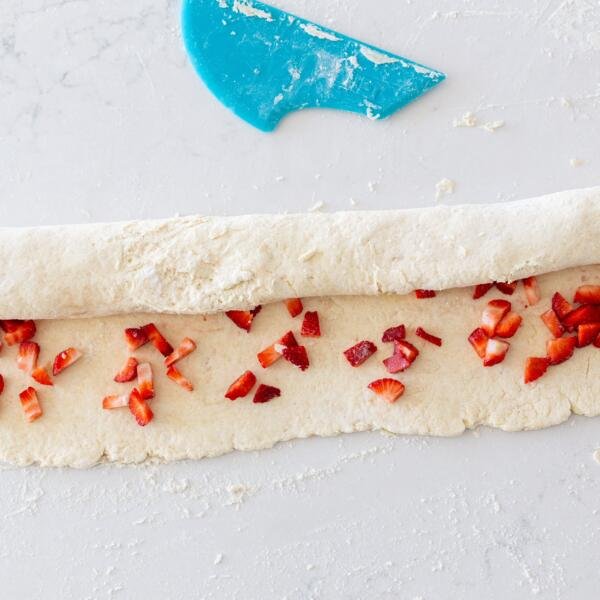
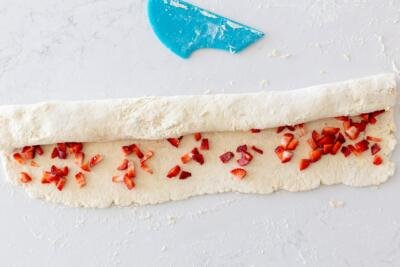
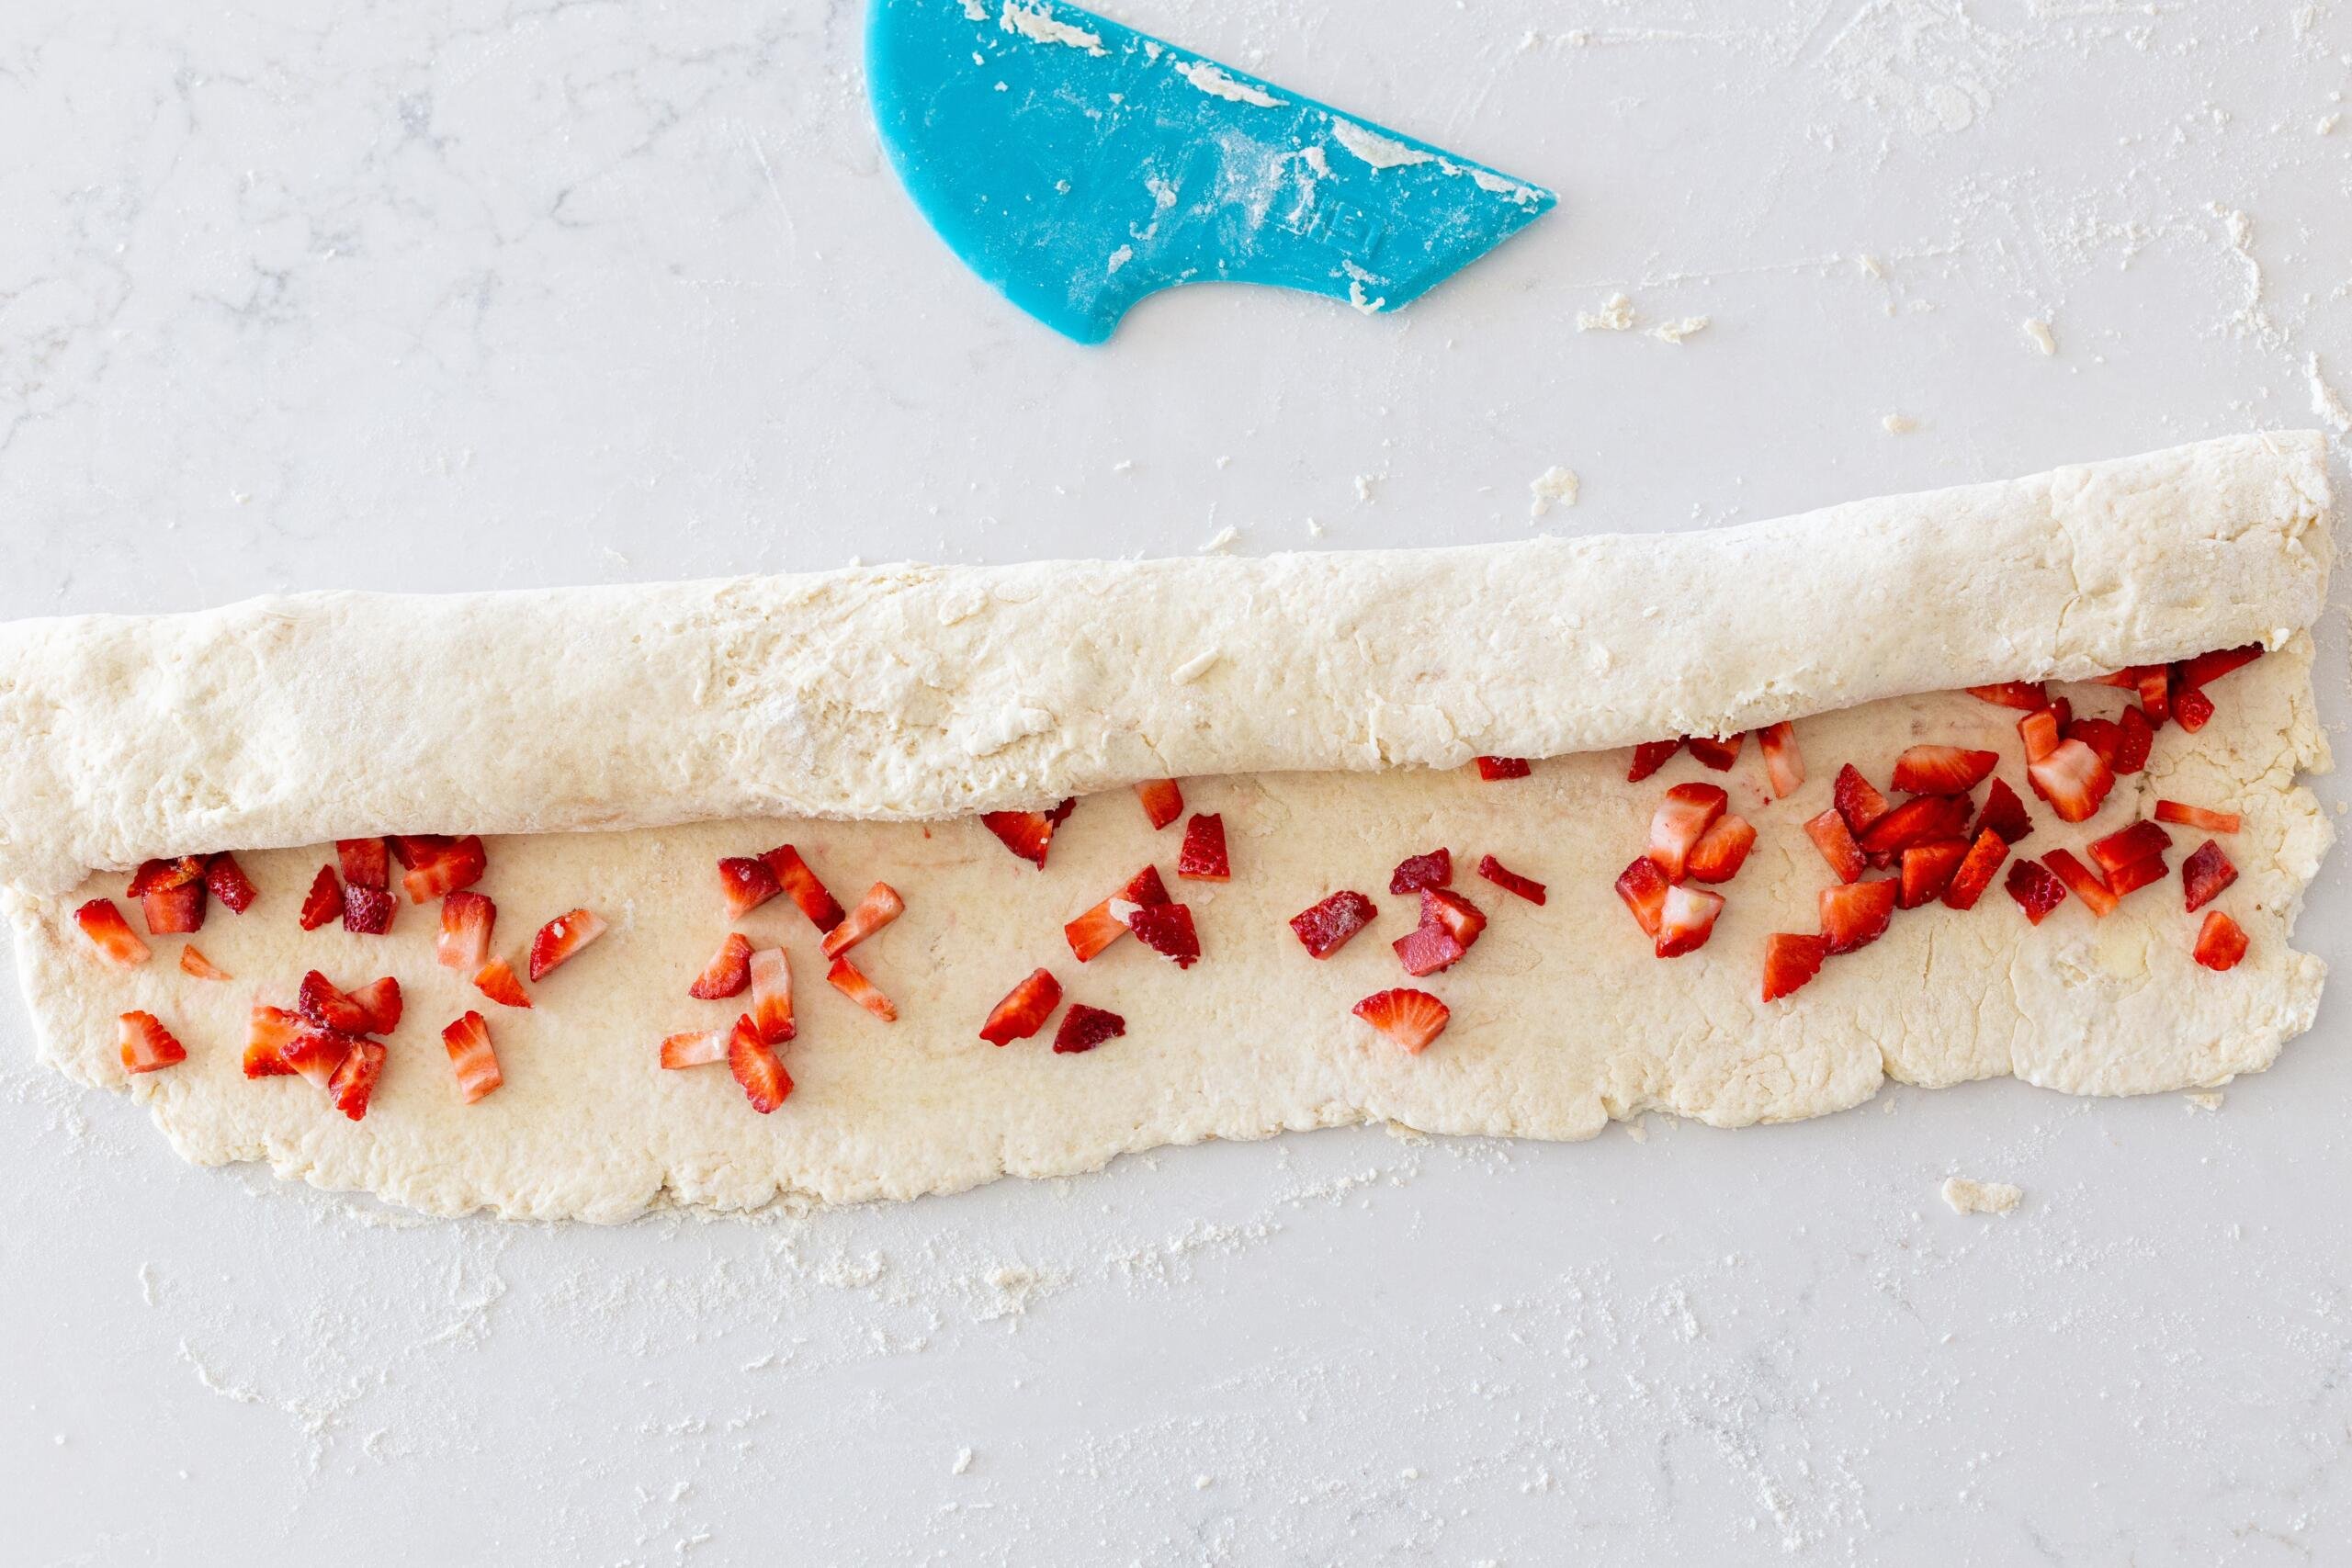
- Roll the dough log: On a well floured surface, roll the dough into a rectangle. Spread the chopped strawberries all over the the top. Then, roll it into a log. The log should be fairly thick (about an inch).
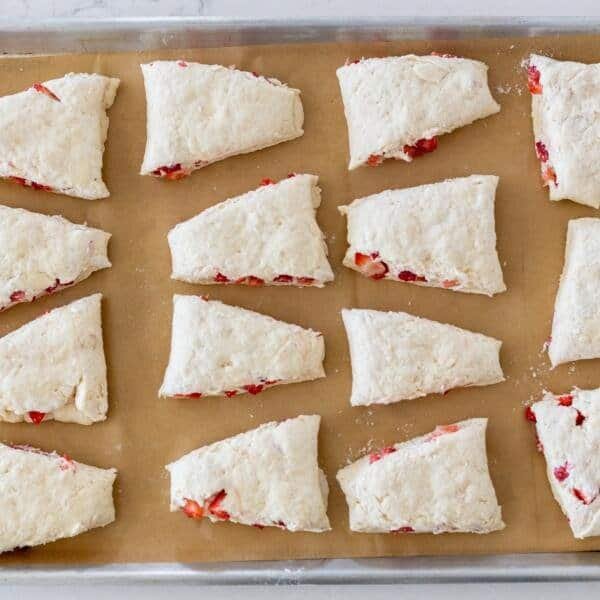
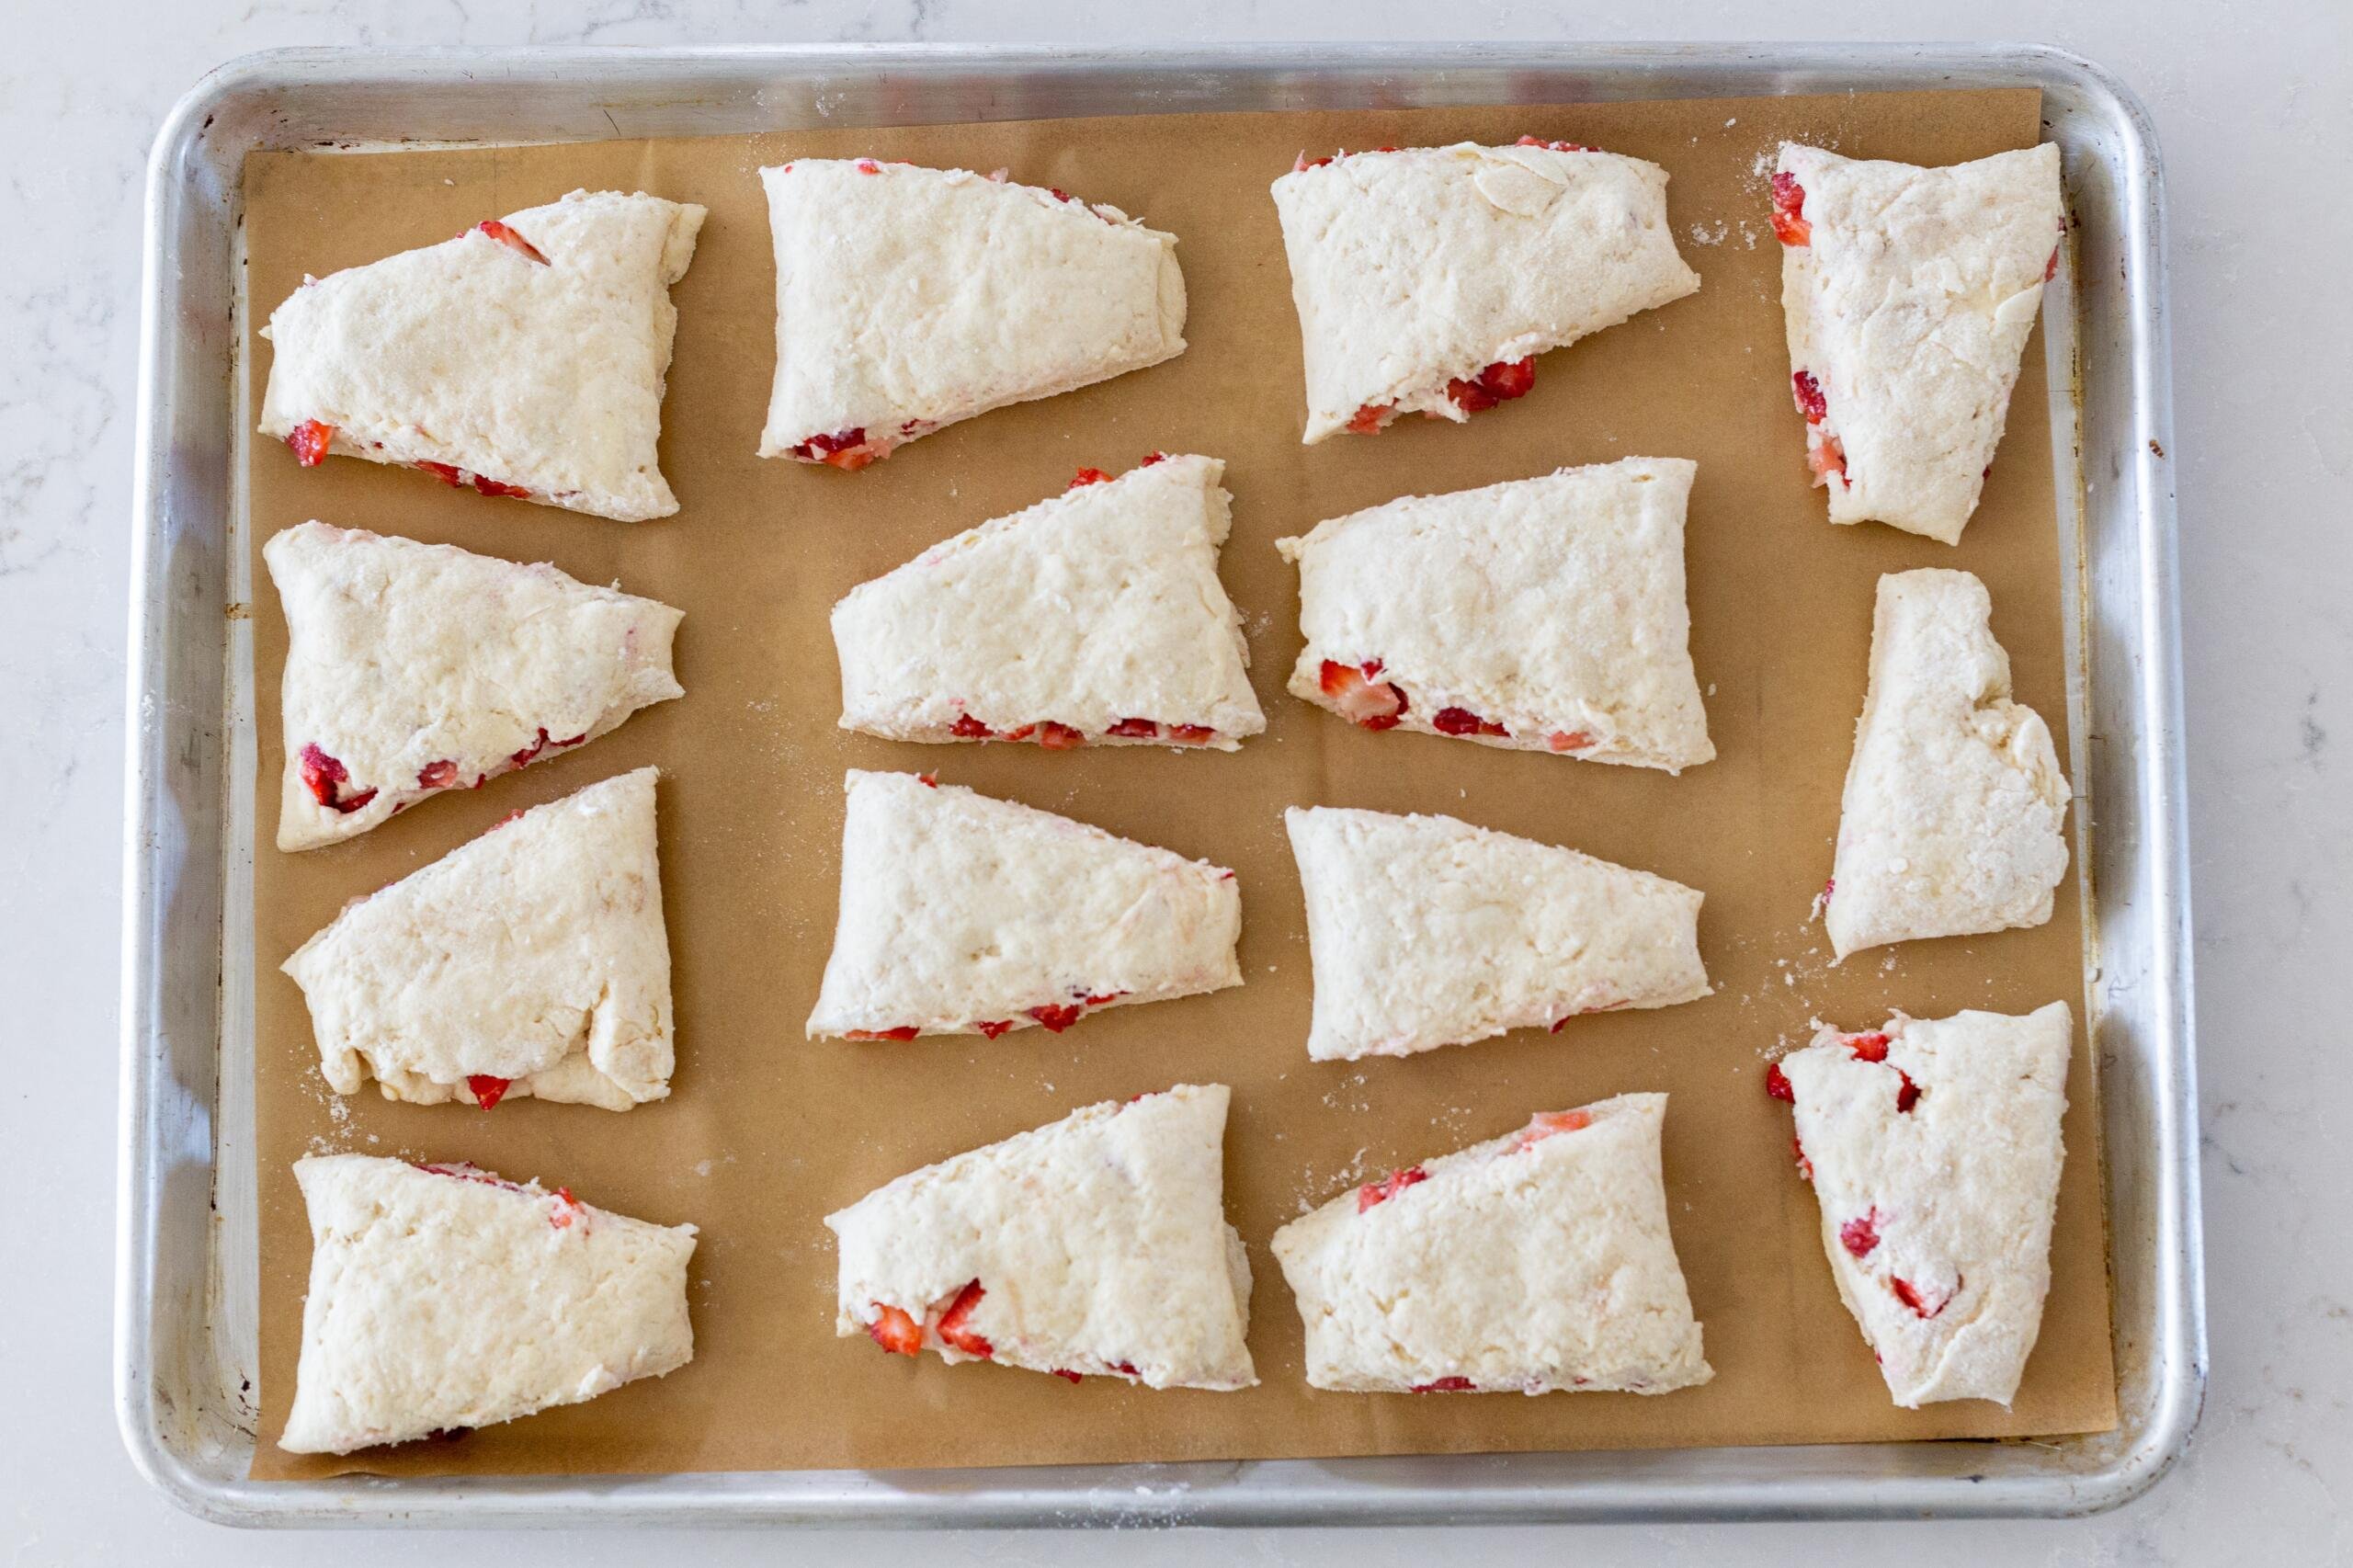
- Cut out the scones: Cut triangular shaped wedges out of the dough log, slicing at a 45° angle. Place the scones onto a baking sheet lined with parchment paper. Brush the tops with the whisked egg and sprinkle with sugar.
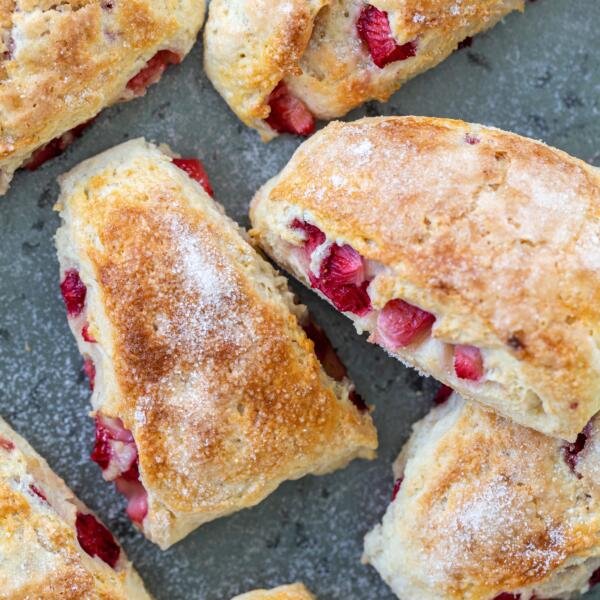
- Bake: Bake the scones until the tops are golden brown. Remove them from the oven and transfer them to a wire rack to cool.

Tips for Making the Perfect Scones
This strawberry scone recipe was one of the first desserts I learned to make, thanks to my grandmother. Baking didn’t come easily to me, but with time (and help), I learned how to improve my baking skills. Here are the top tips I’ve learned over the years of making these scones.
- Stick with all purpose flour: There was a time when I tried to substitute the all purpose flour with bread flour, and it did not turn out too well. Due to the high protein content of bread flour, my scones lacked that signature light, airy texture.
- Avoid overworking the dough: The secret to perfectly soft scones is to not overwork the dough. Be sure to fold gently, or the scones will be flat and dense.
- Cut the scones evenly: Make sure to cut all of the wedges the same size so they bake evenly.
- Use an egg wash: Whisk your eggs, then use it to coat the top of the scones. Although some recipes use milk, I find that eggs give the best bakery-worthy shine.
- Be generous with the sugar: I love sprinkling a good amount of sugar on top of the scones. The scone itself isn’t super sweet, so a hefty coating of sugar is delicious. Use chunkier crystals if you want a nice crunch!
- Steer clear of frozen fruit: Frozen fruit may turn out delicious in some recipes, but this recipe isn’t it. Use only fresh fruit in these scones, as the water from the frozen fruit will make the dough into a soggy mess.
Variations to Strawberry Scones
When it comes to scones, variety is the spice of life. Try a couple of these ingredient variations to change things up!
- Replace the sour cream: In case you’re out of sour cream, use an equal amount of Greek yogurt instead!
- Switch up the berries: Blueberries, blackberries, or raspberries can be swapped for the strawberries in this recipe. Use whatever berry that’s in season and ultra-fresh. You can’t go wrong!
- Glaze the scone – Instead of sprinkling the scones with sugar, make a sugar glaze with powdered sugar and milk. Drizzle each scone generously with the glaze and allow them to sit at room temperature until the glaze hardens.
Hot tip: For a lemon-y twist, add a couple teaspoons of lemon juice to the dough, or make a lemon glaze.
Storing the Strawberry Scones
Making a batch of strawberry scones to snack on throughout the week? Read on for the best practices for storing and reheating them to enjoy again later.
- Room temperature: If you plan to eat your scones within five days, store them in an airtight container on the counter.
- Freezer: To freeze for 3-4 months, place the fully cooled scones on a lined baking sheet in a single layer and stick the entire baking sheet into the freezer. Once the scones are completely frozen, transfer them to a freezer-safe plastic bag or airtight container.
- Reheating: To reheat room temperature scones, microwave them for about 20-30 seconds. If heating frozen scones, microwave them for about a minute or until they are heated through. If there’s a large number of frozen scones, place them all into the oven at 350°F until they’re fully heated through.
More Pastries to Try
- Chocolate Babka Recipe – A show stopping centerpiece for your next brunch
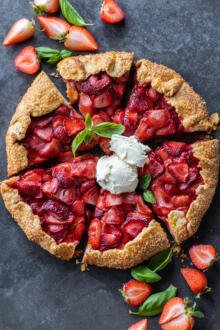
- Strawberry Galette – A rustic pie that is delicious and nearly effortless to make
- No-Knead Cinnamon Rolls – These cinnamon rolls will save your forearms from all the hard work
- Cranberry Orange Scones – The perfect combination of zesty orange and tangy cranberries
- Raspberry Thumbprint Cookies – Buttery dough complemented with sweet, tangy jam
Recipe

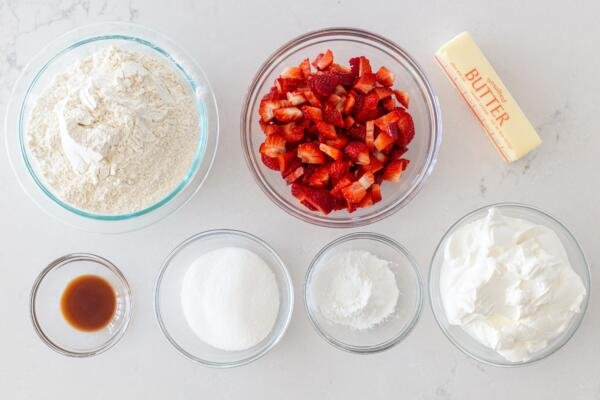
Ingredients
- 3 cups all-purpose flour
- 2 tbsp baking powder
- 1/2 tsp salt
- 6 tbsp granulated sugar
- 1/2 cup unsalted butter extra cold
- 2 cups sour cream
- 1/4 tsp vanilla extract
- 1 cup fresh strawberries chopped
- 1 egg for the tops
- 1/4 cup sugar for the tops
Instructions
- Gather all the ingredients. Combine the dry ingredients in a large bowl. Note: If you have a sifter, use it to combine all the dry ingredients for an extra light scone.
- Grate the cold butter into the flour. Gently fold in the sour cream and vanilla extract until a cohesive dough forms.
- On a well floured surface, roll the dough into a rectangular shape. Spread the diced strawberries all over. Then, roll the dough into a log.
- Cut the log at 45° into triangular pieces. Place the scones onto a lined baking sheet. Brush the tops with the whisked egg and sprinkle with sugar.

- Bake the scones at 350°F for 30 minutes or until the tops are golden brown. Remove from the oven and cool on a wire rack.


Wonderful scones! Thank you for sharing your grandmother’s recipe! The strawberries cook down into a jam-like flavor. I can’t wait to try the others!
Thank you, Linda! Glad you enjoyed them!
Wonderful looking scones…. I would like to try all of them!
Hi dear, I hope you love them. We love this recipe, it goes back to my grandma, best childhood memories. 🙂
I added 2 tablespoons of finely chopped rosemary to the flour for an added twist of flavor. Delish
That sounds like a fun twist —herby and sweet. Thanks for sharing your tweak!
Hi, can I replace strawberries by cherries?
Hello Ursula, I haven't tested the recipe with cherries but I think that it could work, just use chopped cherries. Let us know how it comes out with this ingredient swap. Happy Baking!
My favorite recipe for scones, perfect not too hard and not too soft.
Katie, this makes me so happy. Thank you for sharing.
The recipe didn't work at all 🙁 The dough is super sticky, even with a well floured kitchen counter you can barely roll it out, let alone get them on the baking tray once they are cut in shape. I tried chilling the dough, but that barely made a difference. The individual scones didn't keep their original shape and melted together in the oven after only a few minutes, even though there was plenty of space between all of them.
Hey Kiki, I am sorry that you had a hard time with the recipe. Did you see the video for this recipe? Our dough is always sticky as well. Usually, we just gently work with it on a floured surface. Hope you find the video helpful.
Loved these scones!! I added more sugar though since i remember making them a while ago and i like mine a little sweeter. Super yummy, thank you for the recipe!!
Thank you for your feedback, Victoria, I'm glad you enjoyed the scones!
This is my first time doing scones and definitely this recipe is going into my recipes box. This is really a keep....
I will try them next week with blueberries..♥️♥️
I also have this recipe for blueberry scones if you'd like to try it: https://momsdish.com/the-best…
Sandra, I'm so glad you enjoyed the scones, thank you for your feedback 🙂
Can I make these scones with cheese
Hey Ana, I think so but I have never tried making them with cheese. Can you share how to make them? I would love to hear feedback.
Love how simple this scone recipe is to make! Just a few ingredients! These are super tasty!
So glad you enjoyed them, thank you for your feedback, Ashley!
We all love these scones! The strawberries bring so much flavor and bake so well.
Glad you enjoyed them!
Can I use 2 cups of heavy whipping cream instead of sour cream? Also are they supposed to be moist or dry inside?
Hey Ella, it would totally change the recipe if you replace the sour cream. They are moist but crispy on the outside,
I JUST LIVE THESE. I have made blueberry with white chocolate chips and I have strawberry with white chocolate chips in the oven as I type. I am just having a hard time because even though i flour the counter ,as I’m making my triangle when I start to fold and roll it sticks bad and starts to rip.. any help for me? 🙄
Hey Debbie, did you watch my video for this recipe? I shared how I make it in more detail.
Can I use frozen strawberries?
I wouldn't recommend using frozen strawberries because they will be mushy.
Would there be an issue to freeze before baking? Would like to take out just a couple at a time to bake
I think that would work. My only worry is strawberries holding up after your freeze them. I typically freeze them fully baked but reheat in an oven, they come out amazing and fresh.
I made these scones-delicious!! Thank you so much for the recipe- they will become one of our family traditions!
Teresa, I am so happy to hear this. Thank you so much for sharing!
Loved this recipe! So easy to make and the scones are so so delicious 😋. Made them with my girls this morning and we had a lot of fun. We will be definitely making this again!😁
Hey Marina, I am so happy to hear this feedback! Your comment made me so happy. Glad your girls enjoyed the process! 🙂
This recipe is amazing! Quick, easy and most of all, delicious! If you are looking for a scone recipe, this one is definitely the one!!!!
Hey Rewari, thank you so much for sharing your feedback. I am so happy you loved this recipe.
Hi I think you are missing half the directions 🙁 it starts with “ cut in butter “
Do I miss all dry ingredients - flour sugar baking powder salt etc. the. Add in the butter ??please clarify. Trying to make them tomorrow
Hey Vicky, thank you for heads up. There was a bug, should be all fixed now.
The.best.scones.EVER! This recipe is a keeper. Perfect sweetness and super easy to make. 5 stars:)
Anna, I am so happy to hear you love them. 🙂 Just dont share them with friends because you will have to make them all the time for everyone 🙂
I started making them again and realized that I was out of sugar so I used honey instead and added more flour. Turned amazing.
I am so glad you loved them! Cool tip with honey 🙂
Hi and greetings from Estonia 🙂
I have a question about cups and grams 🙂
Do you use only cups and ounces or decilitres and grams too? I realy like your recipes but I have no idea how to measure 1/2 cups of butter...
Could you please weigh your most often used products and make a small chart for people like me who have no idea about sticks and cups of butter :)?
Best wishes,
Ingrid
https://uploads.disquscdn.com…
This is awesome, thank you for sharing.
Hope that helps.
The best thing to do is google for measurements. We use measuring cups in USA for all the ingredients. Here is a link that you may find helpful. http://www.goodtoknow.co.uk/r…
SUPER YUMMY AND EASY TO MAKE! BEST SCONES EVER TASTED! THANK YOU FOR THE RECIPE!
Thank you Tanya! We also love them and strawberries are almost in season. Looking forward to baking them.
I made this scones with Apple cinnamon and brown sugar! They turned out so good! I totally like this recipe a lot!
Oh man!!! That's an awesome idea. Like a cozy autumn dessert. You are genious!!!
я наверное готовить не умею, два раза их делаю и два раза не знаю почему тесто настолько липнет, что я не могу его завернуть в рулет, и еще какой толщины оно должно быть? получается вкусно, хотелась бы и красиво
Yes, this dough is very sticky but if you flour the surface it will be easier to work with. Roll it out as thin as you can, this way you get to add more berries. I rolled it out to 1/4 of an inch.
Thank you, the other day I had some with a latte and some strawberry sauce dipping. Strawberries with more strawberries = heaven 🙂
This looks delicious! I love scones, and strawberries are a nice addition!