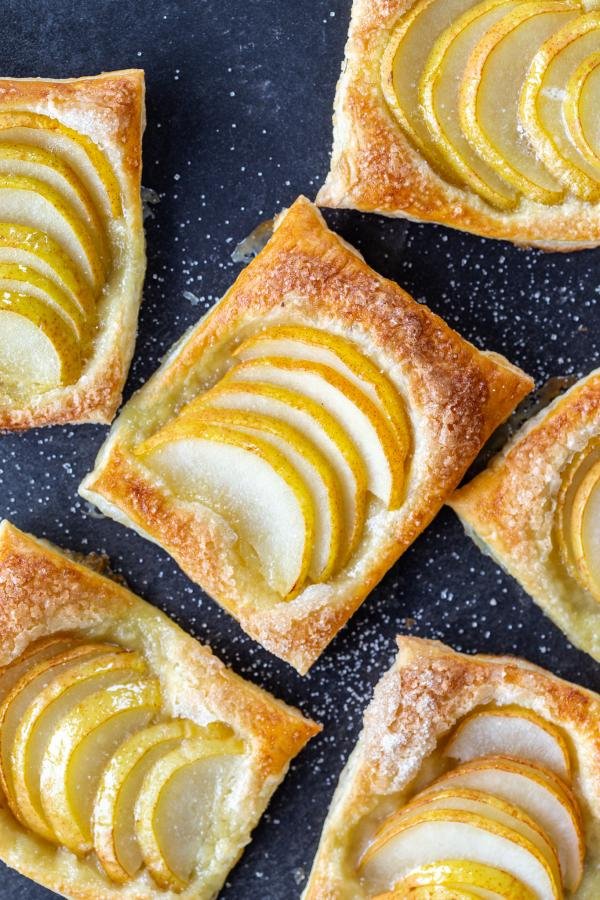
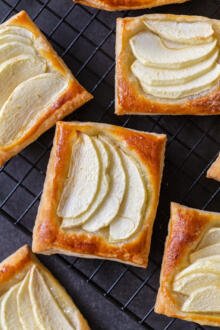
These crazy easy puff pastry pear tartlets are only made with pears, puff pastry dough, egg wash, and sugar. So good, they’ll rival your favorite bakery.
Are you the kind of person who always reached for pear tartlets when you hit the bakery? Well, guess what? They couldn’t be any simpler to make at home – especially when you take a shortcut of store bought puff pastry!
Puff Pastry Pear Tartlets Video
Homemade Puff Pastry: If you’re feeling up to it, use our recipe for homemade puff pastry and make these tartlets 100% from scratch.
How to Properly Core & Slice a Pear
Before you start making your pear tartlets, we’re going to cover off on how to properly core and slice the pears.
- Slice Off the Stem: Slice or pull the steam off the top of the pear.
- Slice the Pear: Next, slice the pear in half.
- Spoon Out the Seeds & Bottom Stem: Using a melon baller or spoon, remove the seeds from the core using a circular motion. Next, remove the bottom stem.
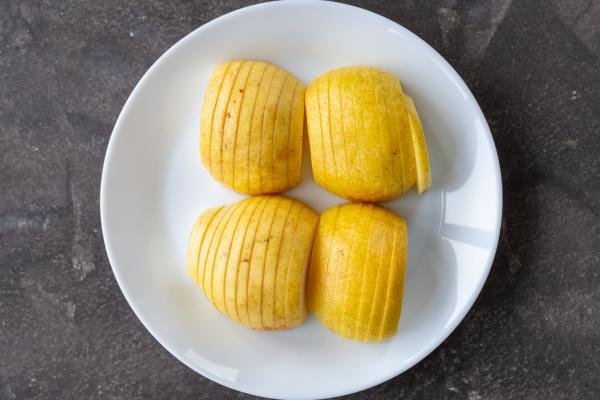
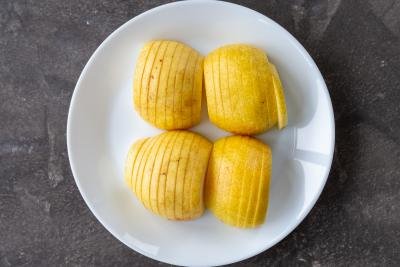
- Slice the Pear: Core-side down, slice the pear into thin pieces.
Making this Easy Pear Tartlets
This four-ingredient pear tartlet is so easy to make, you can hardly call it a recipe.
- Prep the Pears: Clean, core, and slice the pears.
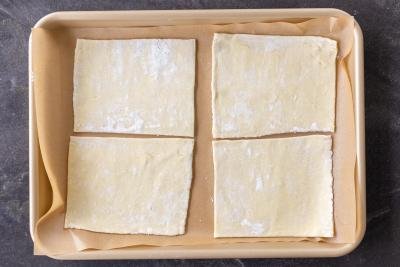
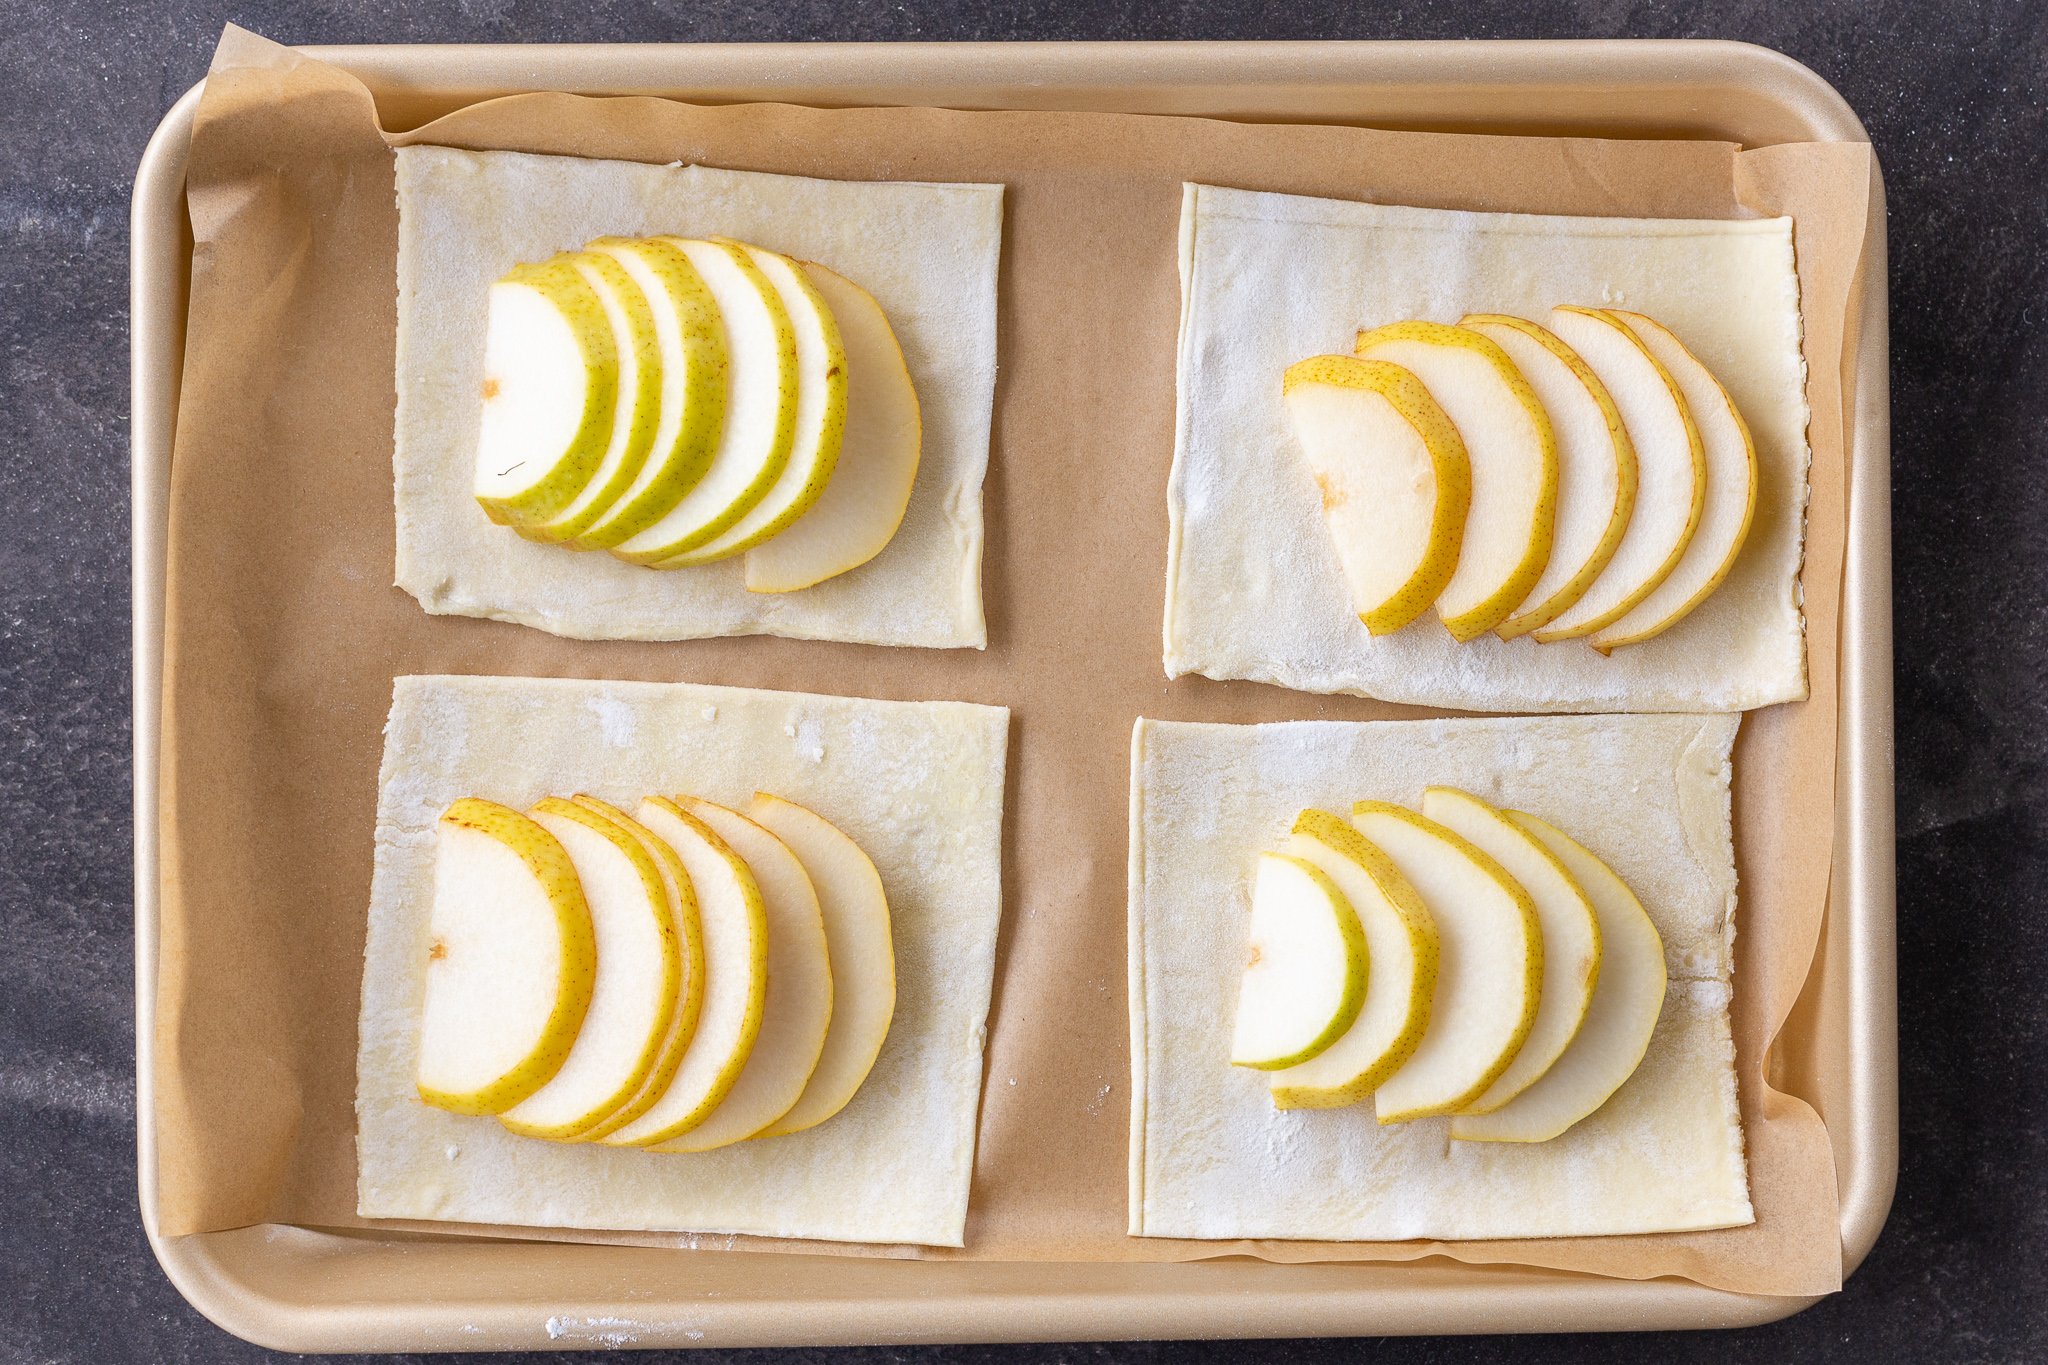
- Roll Out the Puff Pastry: Next, roll the puff pastry out into a thin, flat piece on a floured work surface and slice it into squares.
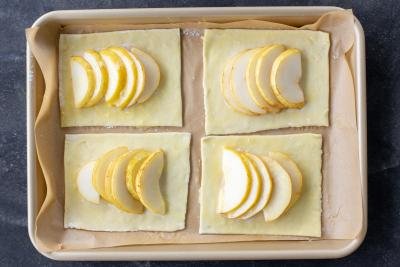
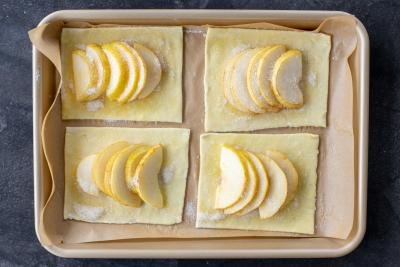
- Assemble the Pear Tartlets: Place the puff pastry squares on a baking sheet lined with parchment paper. Top each square with a handful of pear slices, leaving the edges free to account for the tart crust. Whisk the egg and brush the tops of the tartlets with it. Sprinkle on some sugar.
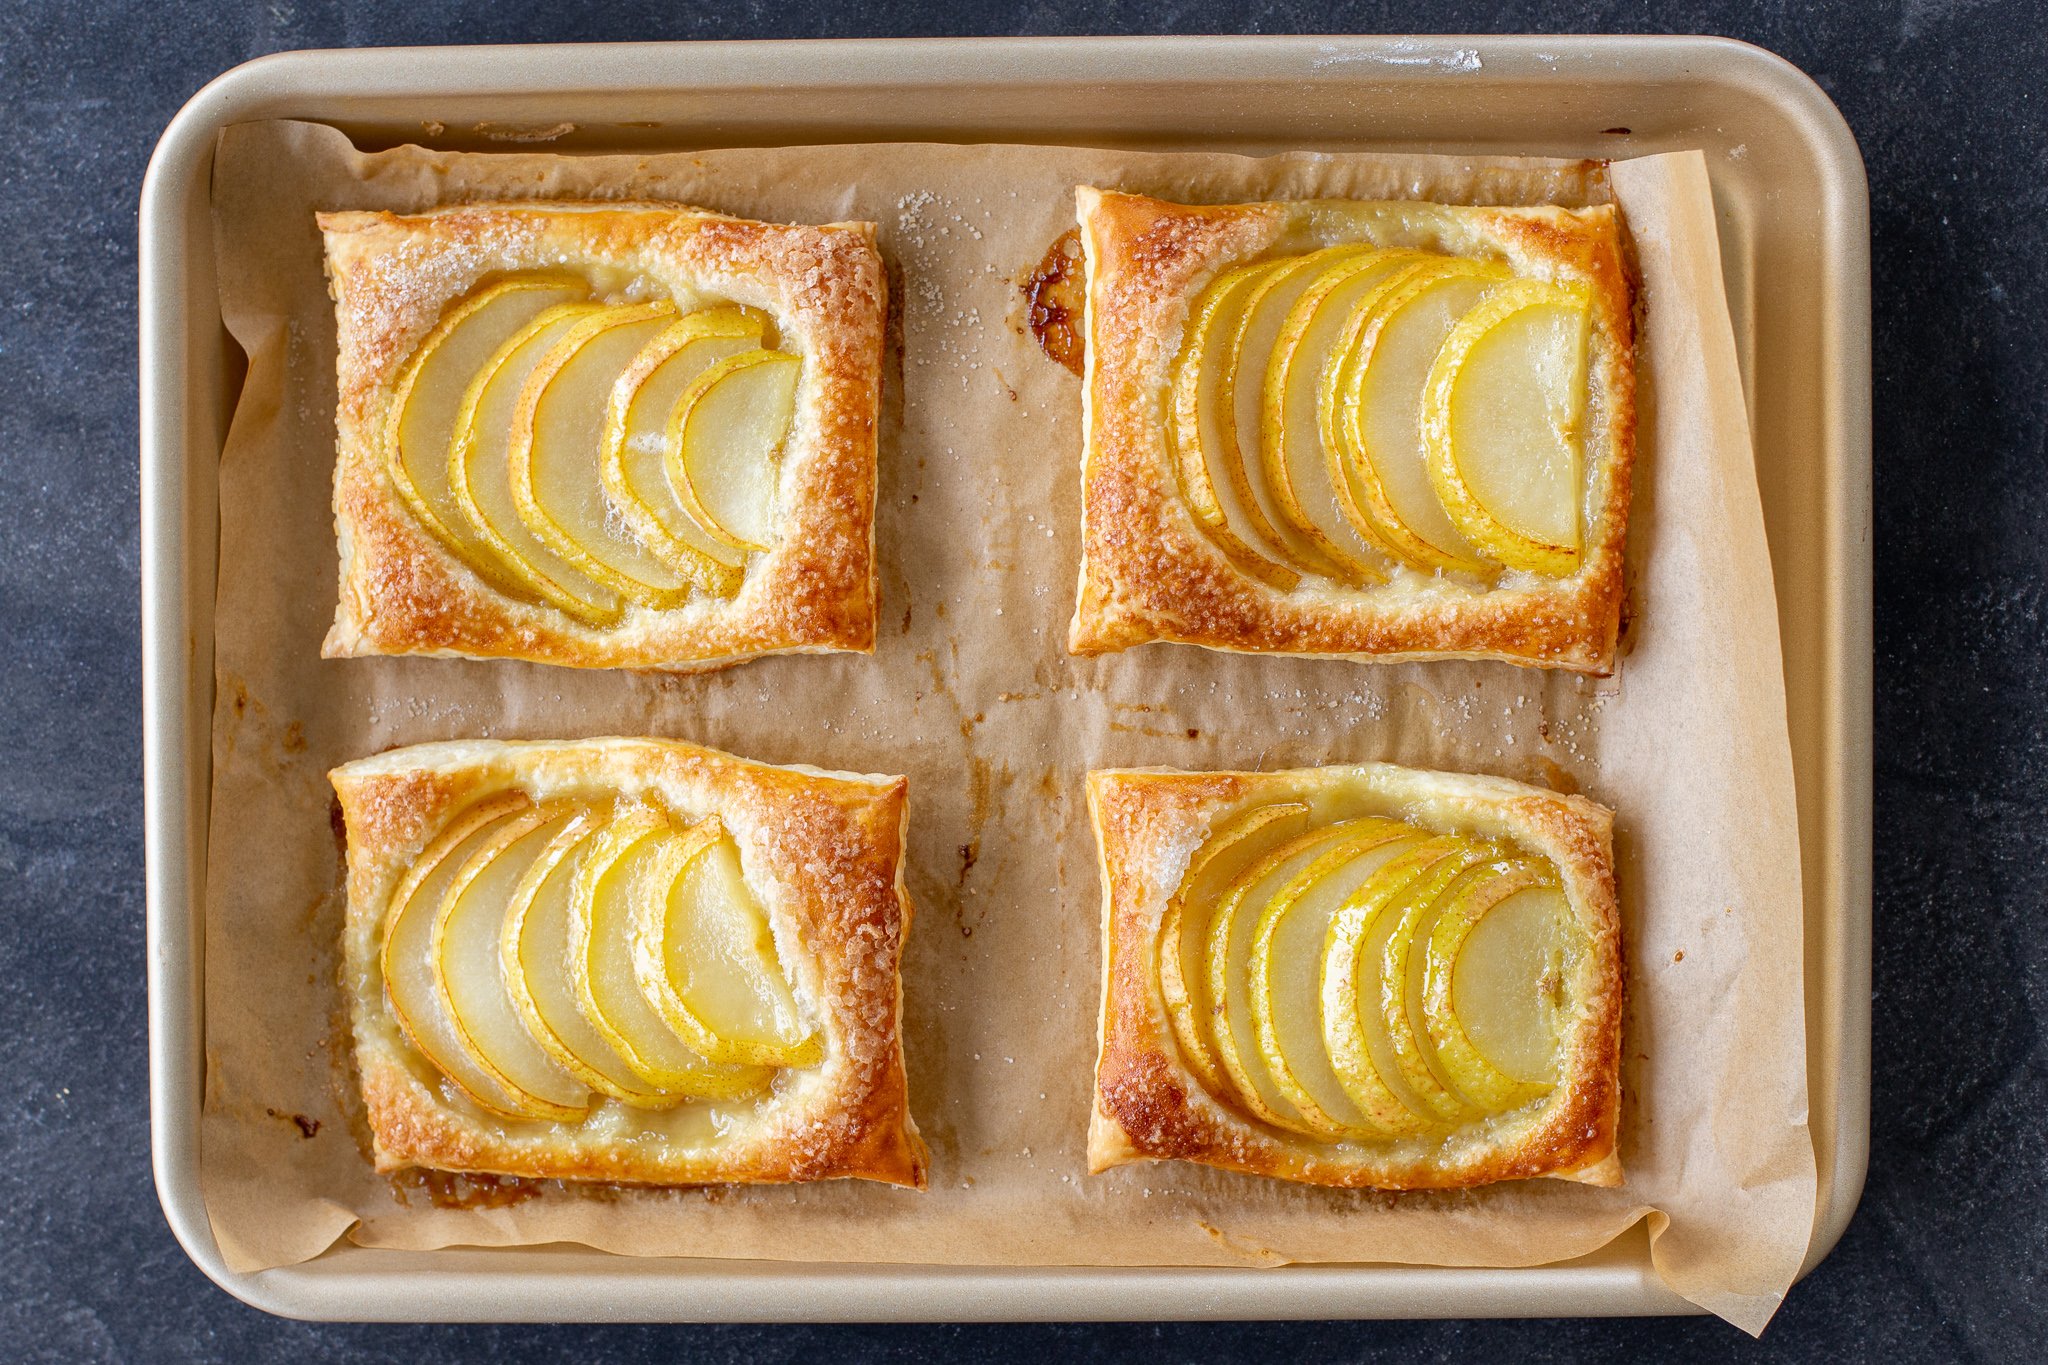
- Bake the Tartlets: Bake the tartlets at 415°F for 15 minutes or until the tops are golden brown. Serve immediately and enjoy!


Expert Tips & Tricks for the Best Tartlets
Follow these three tips and tricks to make the most out of your pear tartlets.
- Keep the peel on the pears. The peel adds such a nice texture and pop of color to the tartlets. Save yourself the hassle and keep it on!
- Add cinnamon to the tartlets. For a spicy kick, add a sprinkle of cinnamon to the top of the tartlets. This is perfect for fall!
- Swap out the white sugar for brown sugar. For a deeper flavor, swap the white sugar for brown sugar.
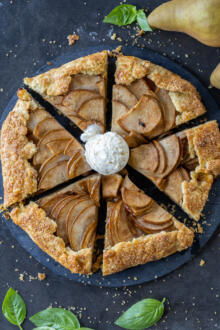
Love pears? They are underrated but so delicious in dessert- try this pear galette, too!
Storing & Reheating Your Pear Tartlets
While these tartlets are best eaten warm straight out of the oven, you can store and reheat your leftovers wonderfully. Here’s how:
- Storing: To keep the pair tartlets on hand for up to 3 days, store the tartlets in an airtight container or plastic bag at room temperature to prevent them from turning stale. To keep them on hand for up to a week, store them in the fridge.
- Reheating: To reheat the tartlets, place them in the oven for 5 minutes until warmed through or pop them in your air fryer. Just make sure not to overcook them or they’ll dry out!
FAQ
What are the best pears for pear tartlets?
You can use concorde, d’anju, bosc, or barlett pears. If you’re feeling adventurous, you can even use a combination of a couple of different kinds for complexity and color.
What is the sweetest pear you can use for pear tartlets?
Comice pears are the sweetest variety of the bunch. They are really fruity and juicy and typically hard to find in most grocery stores.
How ripe should the pears be for baked pear tartlets?
It’s ideal for the pears to be ripe, yet slightly firm. You want them to be sweet, but not so mushy that they don’t hold their texture well during baking.
Can you use frozen pears for this pear tartlet?
You should not use frozen pears for this pear tartlet. They don’t tend to bake well and get super mushy in the oven. They will also release moisture that will make the puff pastry slightly soggy.
Can you freeze these pear tartlets?
It’s not a good idea to freeze these pear tartlets. They don’t tend to bake well from frozen and will to lose their fresh-out-of-the-oven taste and texture.
More Tasty Pastry Recipes to Try
- Fresh Fruit Tart – Tart recipe with fresh fruit and cream
- Cheese Danishes – One taste and you’ll never want store bought danishes again!
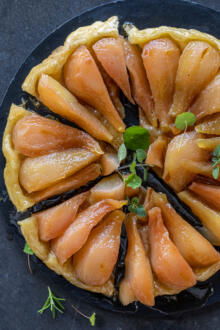
- Pear Tarte Tatin – Tender, caramelized pears nestled in a flaky puff pastry crust
- Cream Puffs – Delicious chioux pastry with a whipped cream filling
- Quick Apple Turnovers (Only 5 Ingredients) – Puff pastry baked with sweet apples
- Sweet Cheese Bourekas – Puff pastry filled with a sweet farmers cheese mixture
- Whole Wheat Banana Bread Recipe – Hearty banana bread
- Starbucks Morning Buns (Copycat) – Honey and butter rolls
- Raspberry Scones – Flakey, fruity scones that are easy to make.
Recipe

Instructions
- Clean the pears, cut them in half, core them, and slice them into very thin pieces.
- Lightly roll out the puff pastry and dive it into 4×4 in. pieces. Assemble the pastry pieces in a single layer on a lined baking sheet.
- Place a handful of pears in the center of the puff pastry squares, leaving the edges uncovered.

- In a small bowl, whisk the egg with 1 tsp of water. Brush the tops of the tartlets with the egg wash.
- Generously sprinkle sugar on each tartlet.
- Bake the tartlets at 415°F for 15 minutes or until the tops are golden brown. Serve right away and enjoy!


I didn’t use any sugar and it’s still so good! Simple to make for me as a new baker. An easy win!
Easy is just how I like it, too, Hsiaohui! Enjoy 🙂
hello! am i able to use blueberries instead of pears?
Of course! Blueberries would be delicious!
How do I make the tartlet not soggy?
Hey Patti, The puff pastry may be undercooked if it's soggy. Bake until golden brown and puff pastry is crispy. I hope this helps!
The pear I used was extremely juicy, so the bottom was a little soggy, but not so much to not enjoy these simple and tasty tarts! We loved them! I made two slightly rectangular tarts and added a pinch of salt after they came out of the oven. Do not be afraid to be generous with the sugar! This is a keeper recipe, delicious and pretty! Thanks for sharing Natalya!
Hi Laurel, I love all the feedback that you shared. It will be so helpful to others and the idea of salt... love that! Thank you for sharing!
Very tasty! Although the pears I used (Anjou) were firm and not overly ripe the center of the tarts were very soggy. I’m not a baker so don’t know why this happened.
Hey Marge, That's a bummer the tarts were soggy. The first thing that comes to mind is perhaps they were undercooked. I would suggest baking them a bit longer next time. I hope this helps!
This was great! I cut into smaller squares for my work potluck before baking and it was a hit! I had a bunch of frozen pears from last year’s harvest, so I cooked them first. My pears variety is very firm (keiffer) so i figured they needed to be precooked, plus being frozen, they may release a lot of moisture and make the crust soggy. I baked for the stated time.
Lori, Sounds like you nailed it! We love everything with baked pears.
Can i make them smaller for large group?
Hey Lori, You totally can! Or, make them as is and cut them in half after baking them. Enjoy!
Very easy and tasted great! Added a little cinnamon to the sugar - thanks for a quick, easy treat!
Hi Peggy, I'm happy to hear you appreciate these quick and easy, but tasty treats as much as I do! Enjoy!