This danish pastry dough is crazy easy to make and have on hand for yummy danish desserts. It’s buttery, flaky perfection!
I know it can be disappointing when you want to bake a quick pastry at home but realize you don’t have any dough. Instead of going to the store for one ingredient, I like to make a few batches of my own dough to keep in the freezer for times such as this. It makes me feel so proud when I can say I made a pastry from scratch and not with store-bought dough! Hence why I make my own danish pastry dough, puff pastry dough, and yeast pastry dough.
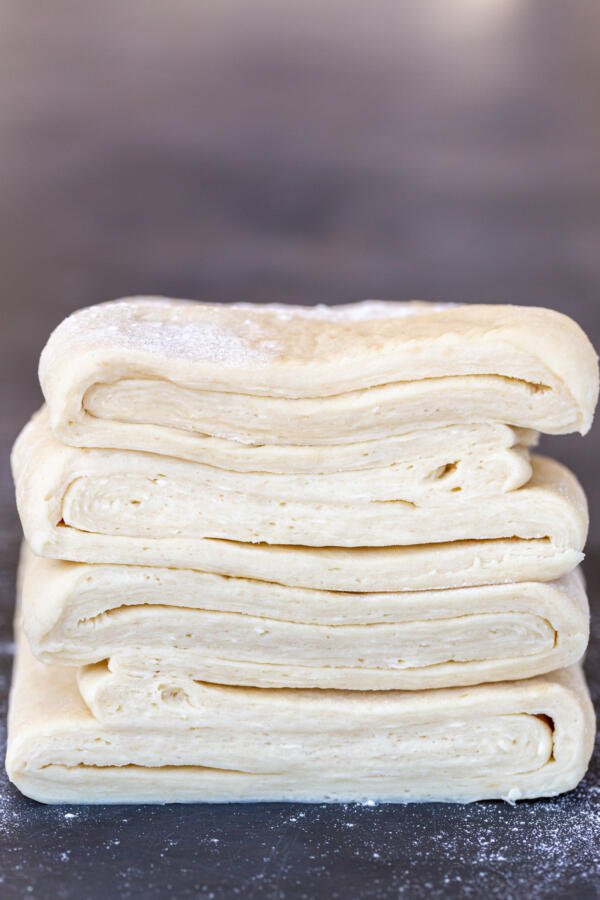
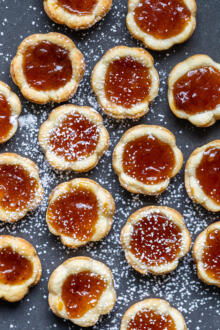
Danish pastry dough is delicious, easy, and so versatile! Its multi-layered, yeast-leavened, laminated dough is buttery and sweet, making it great for Danish pastries. These danish pastries are frequently filled with fruit jam, cream cheese, or chocolate, and topped with a glaze or a sprinkle of nuts.
Hot tip: It may be tempting to double or triple the recipe to make extra, but this may negatively affect the overall texture of the dough. Instead, make a few separate batches at the same time if you’re looking to make extra!
Danish, Puff Pastry, and Croissant Dough: What’s the Difference?
All three of these are popular types of pastry doughs that are very similar. Puff pastry is flaky and crispy. Croissants are less crispy, but still flakey due to the yeast in the dough. Danish pastry dough is chewy and flakey due to the yeast, milk, and egg ingredients. The variations in ingredients across the pastries may seem small, but even small ingredient variations change the texture and taste of the final result.
How to Make Danish Pastry Dough
If anyone tells you it’s too complicated to make your own danish dough, don’t listen! With these easy-to-follow instructions, you’ll be well on your way to a tasty dessert fit for the Danes.
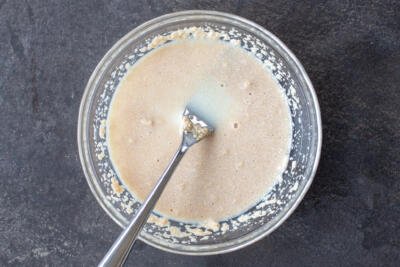
- Combine the milk and yeast mixture: Warm half of the milk to 110°F and combine it with the yeast and sugar. Let this rest to allow for the yeast to activate.
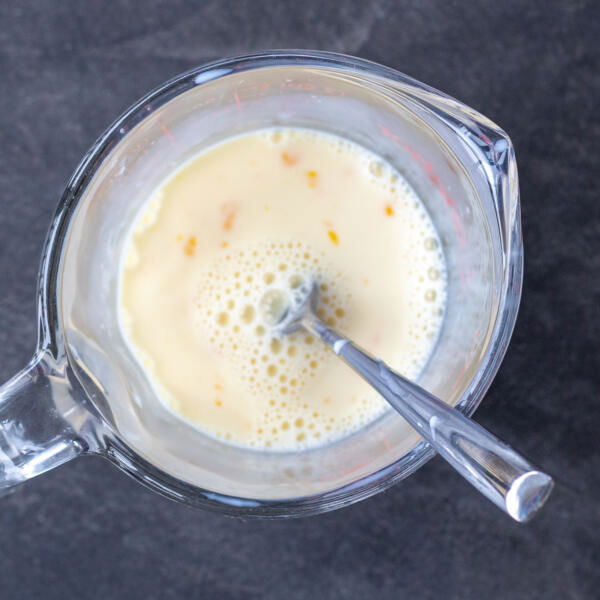
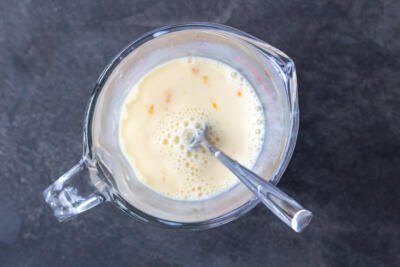
- Whisk the remaining milk and egg: In a second bowl, whisk the egg and the remaining half of the room temperature milk.
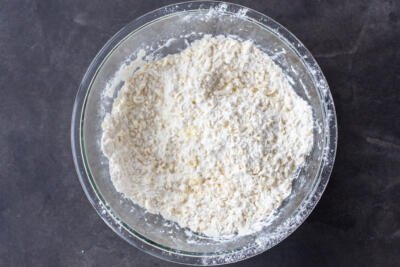
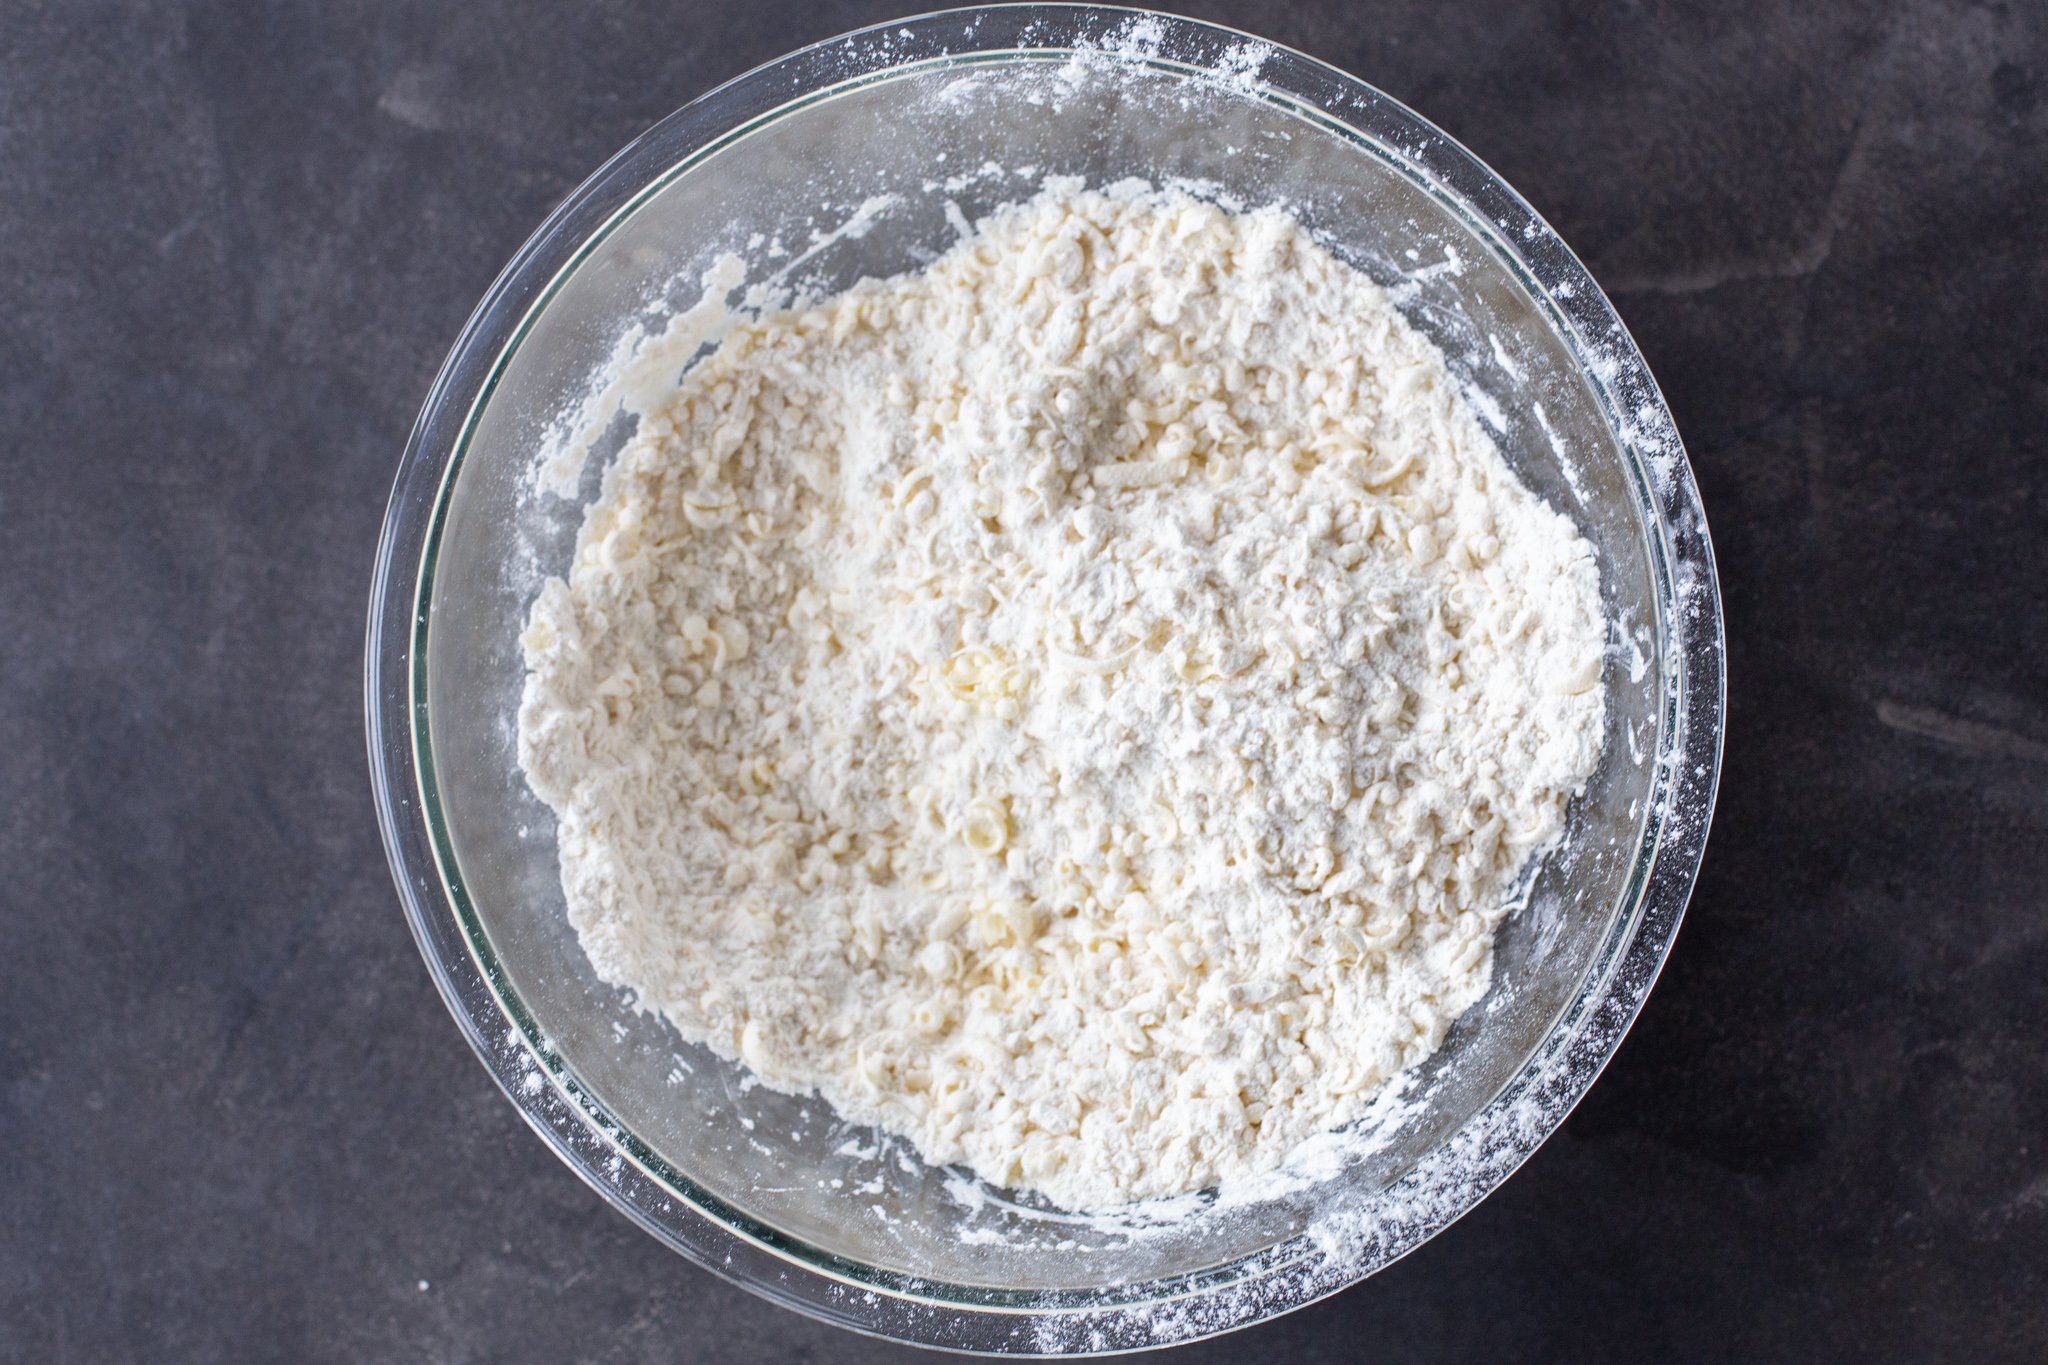
- Grate in the frozen butter: Combine the flour and salt in a third large bowl, then grate the frozen butter into the flour mixture. Toss the butter with flour as you grate it in.
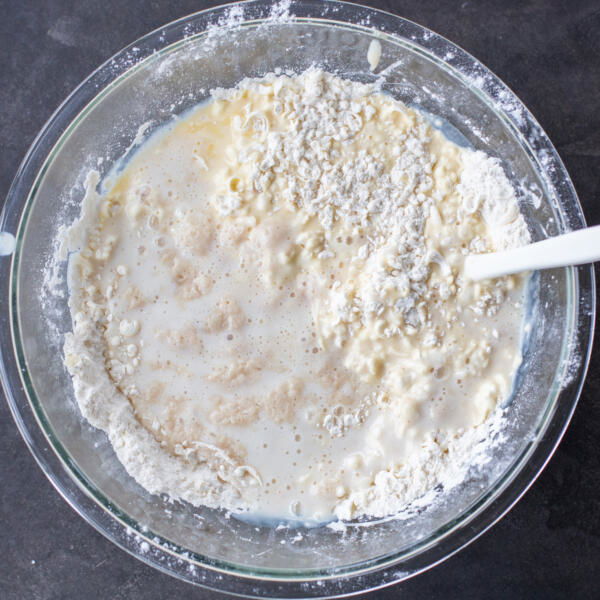
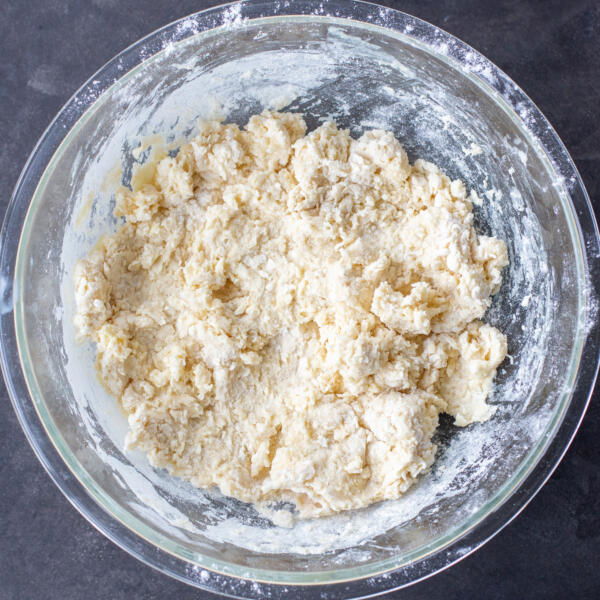
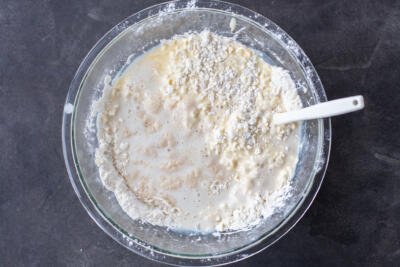
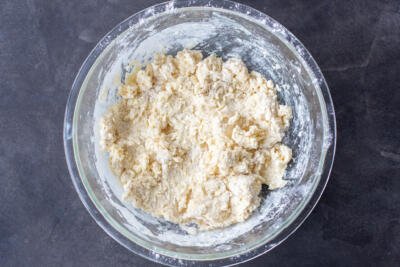
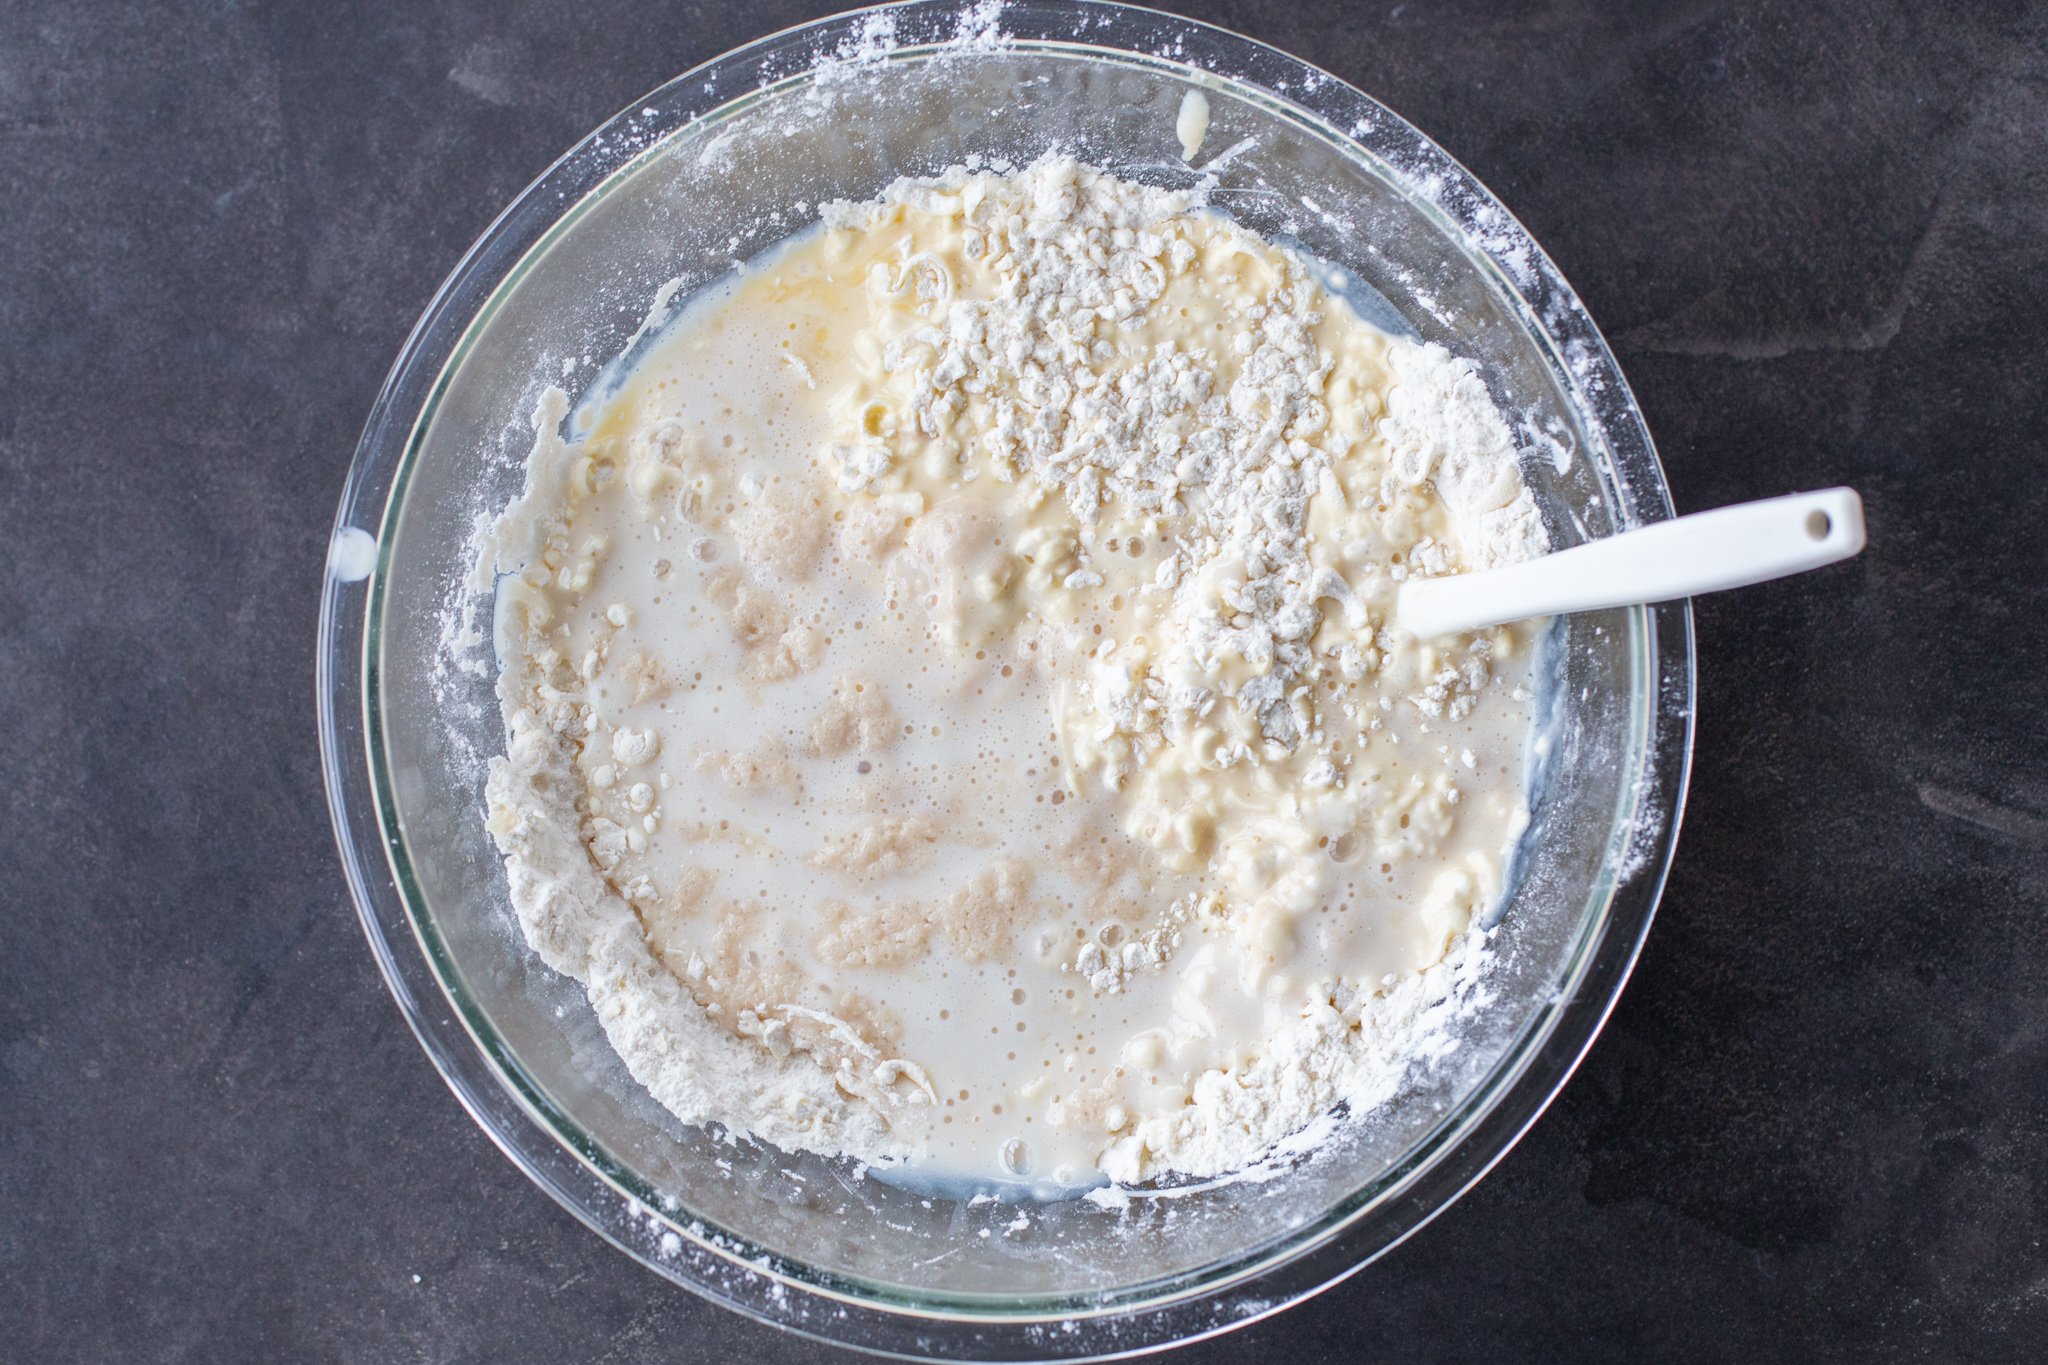
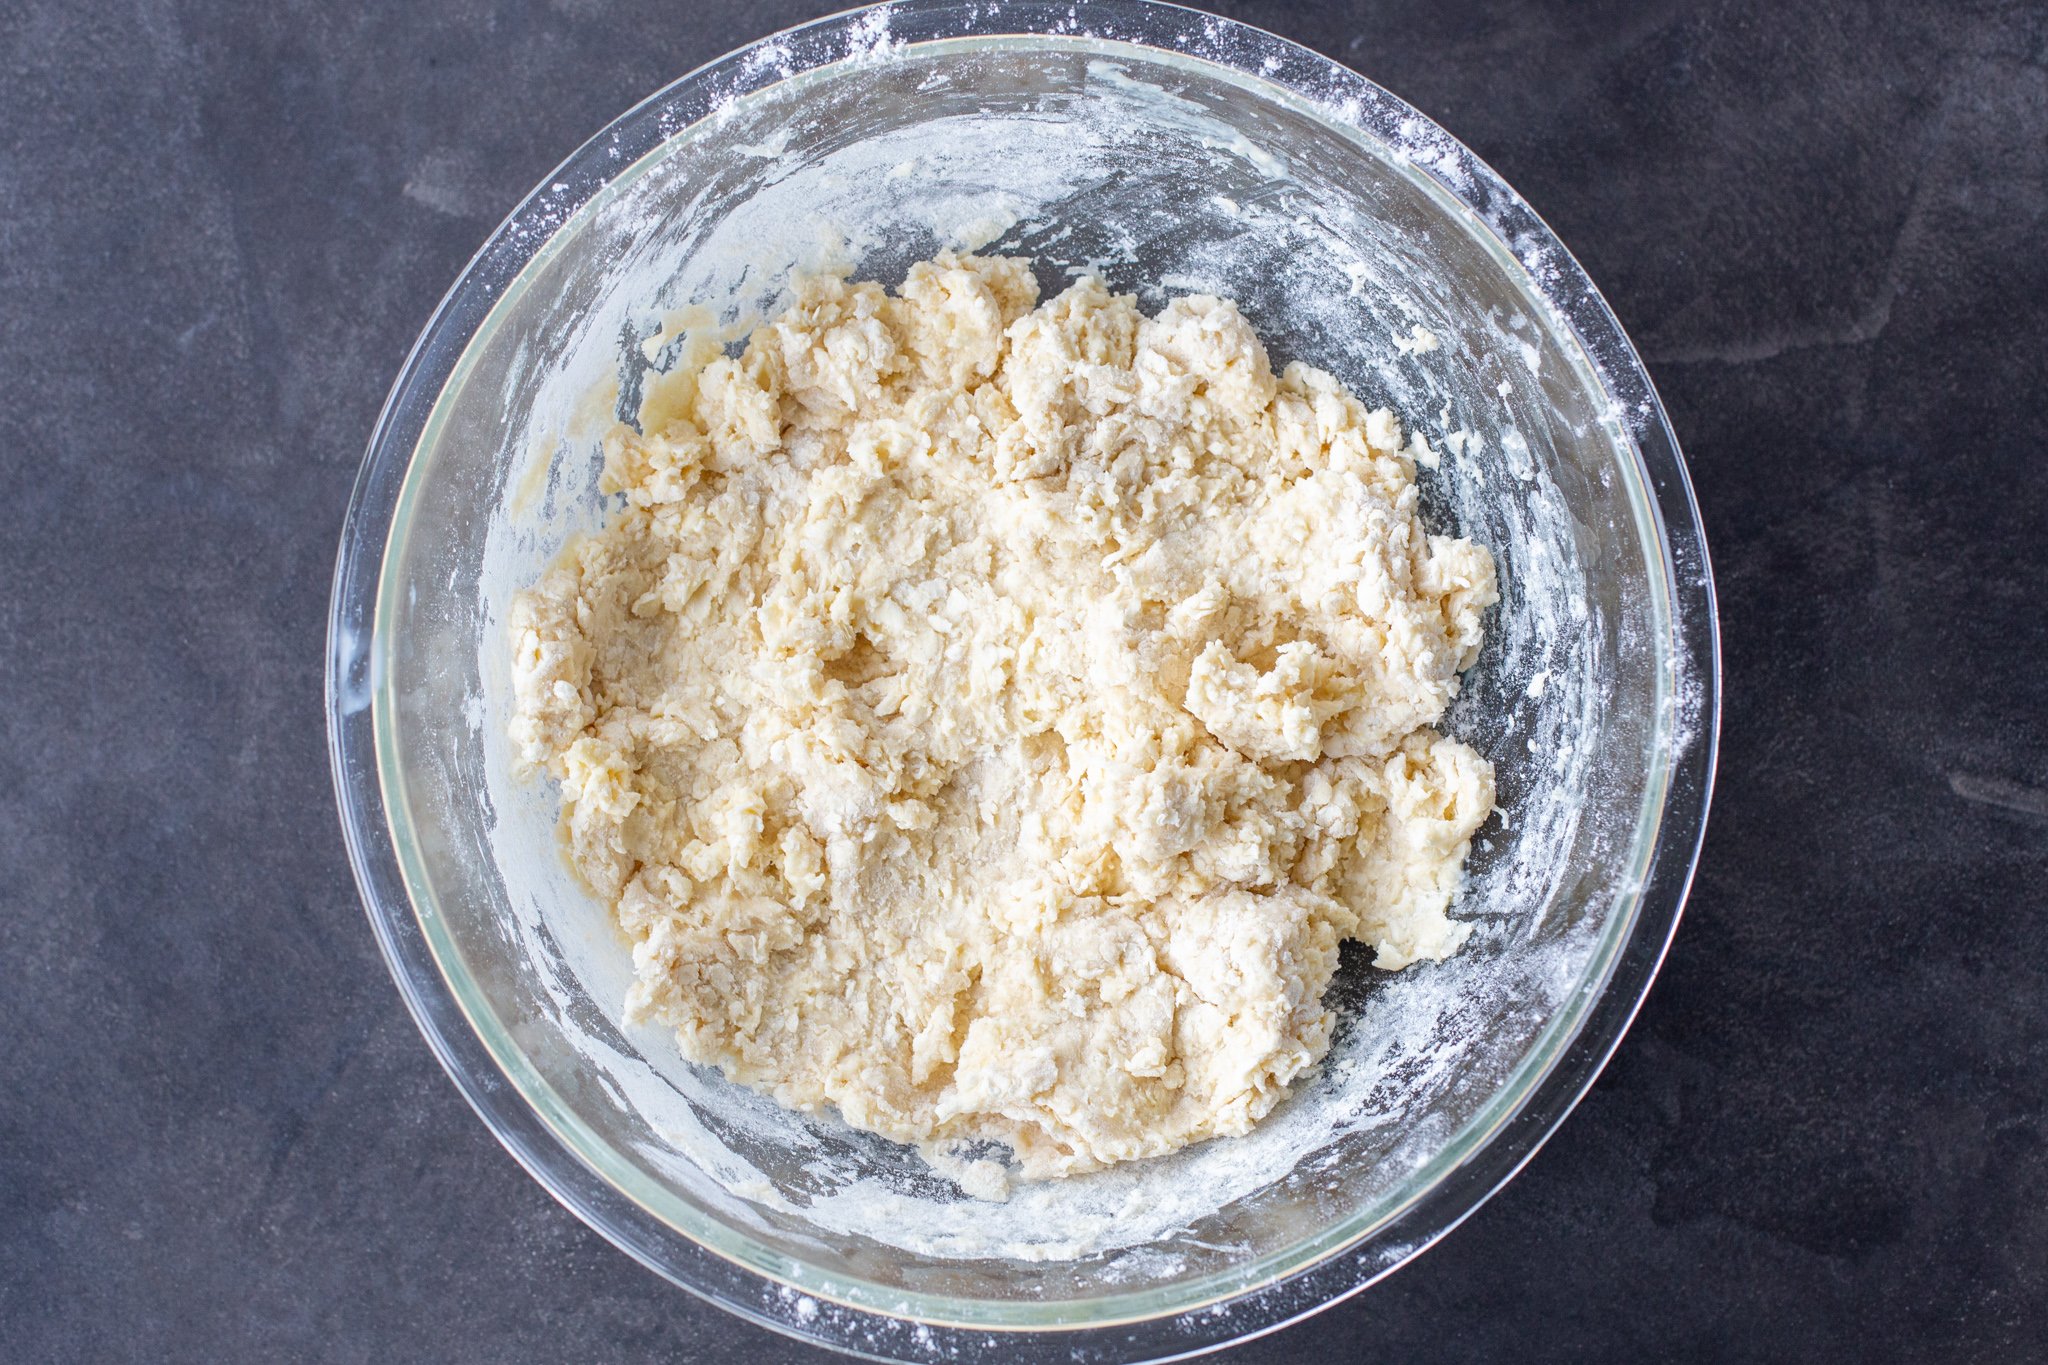
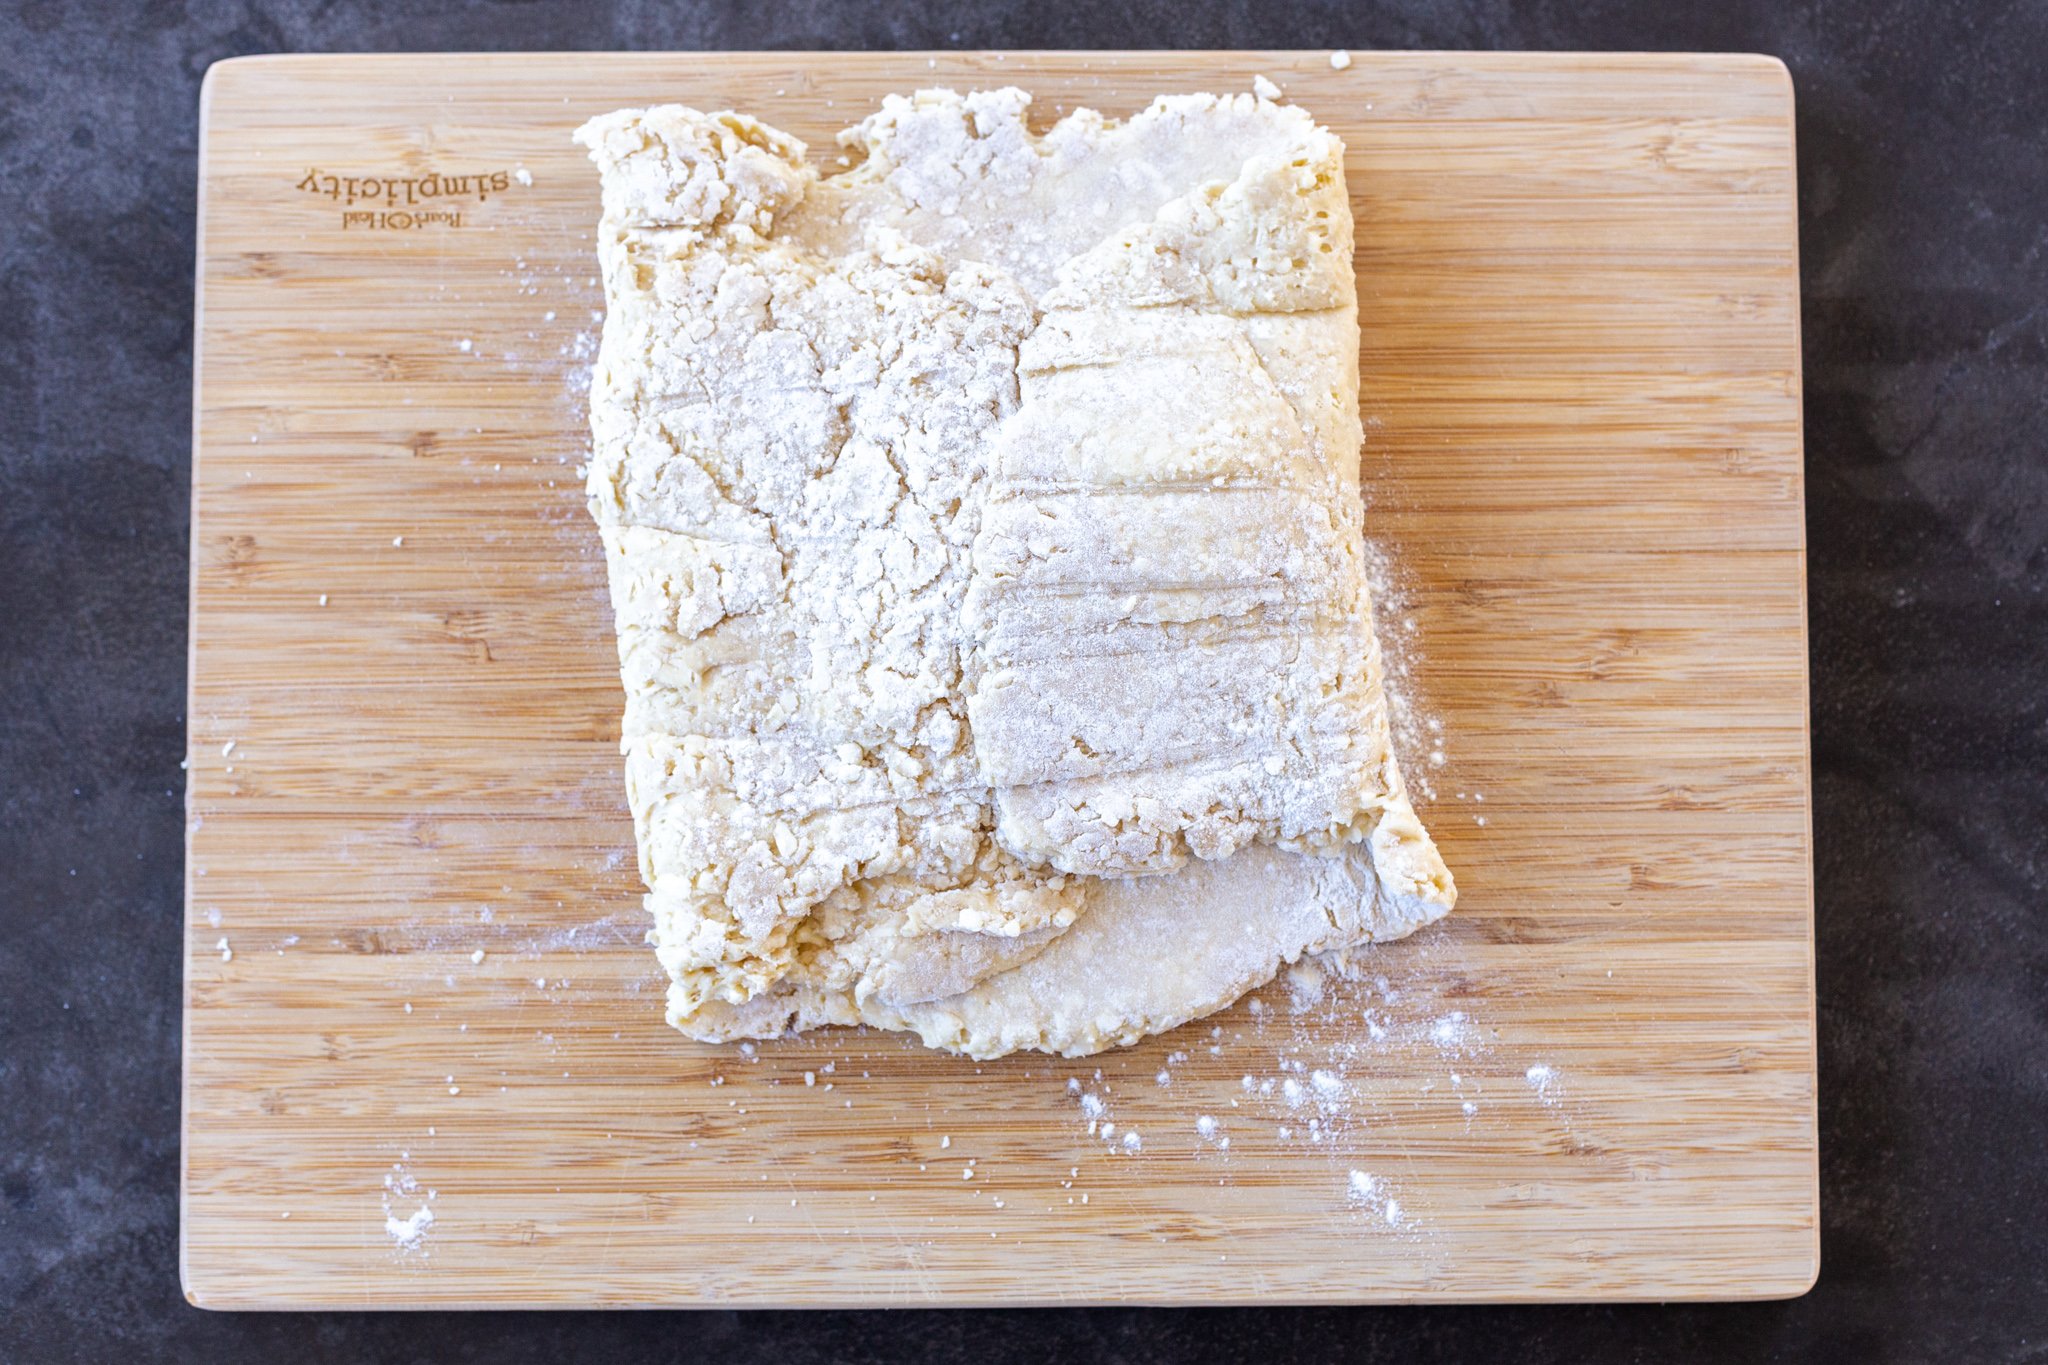
- Stir in the liquid: Add all the liquid ingredients to the dry ingredients (third bowl) and stir until combined. The dough should look rough/sticky.
- Cover the bowl: Cover the bowl and refrigerate for at least six hours.
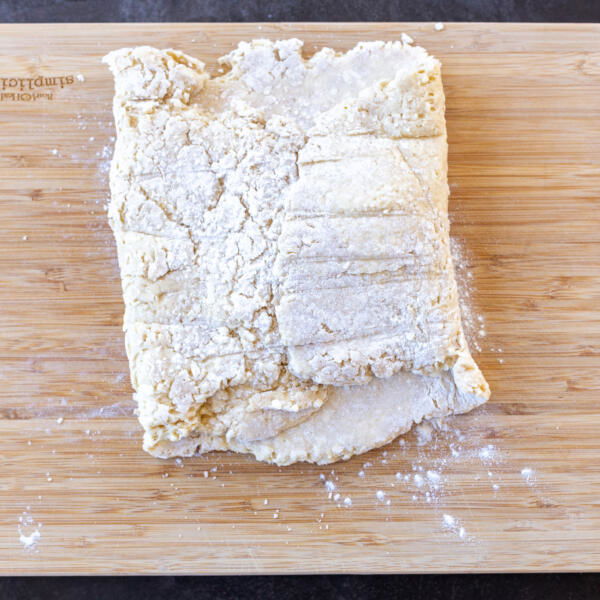
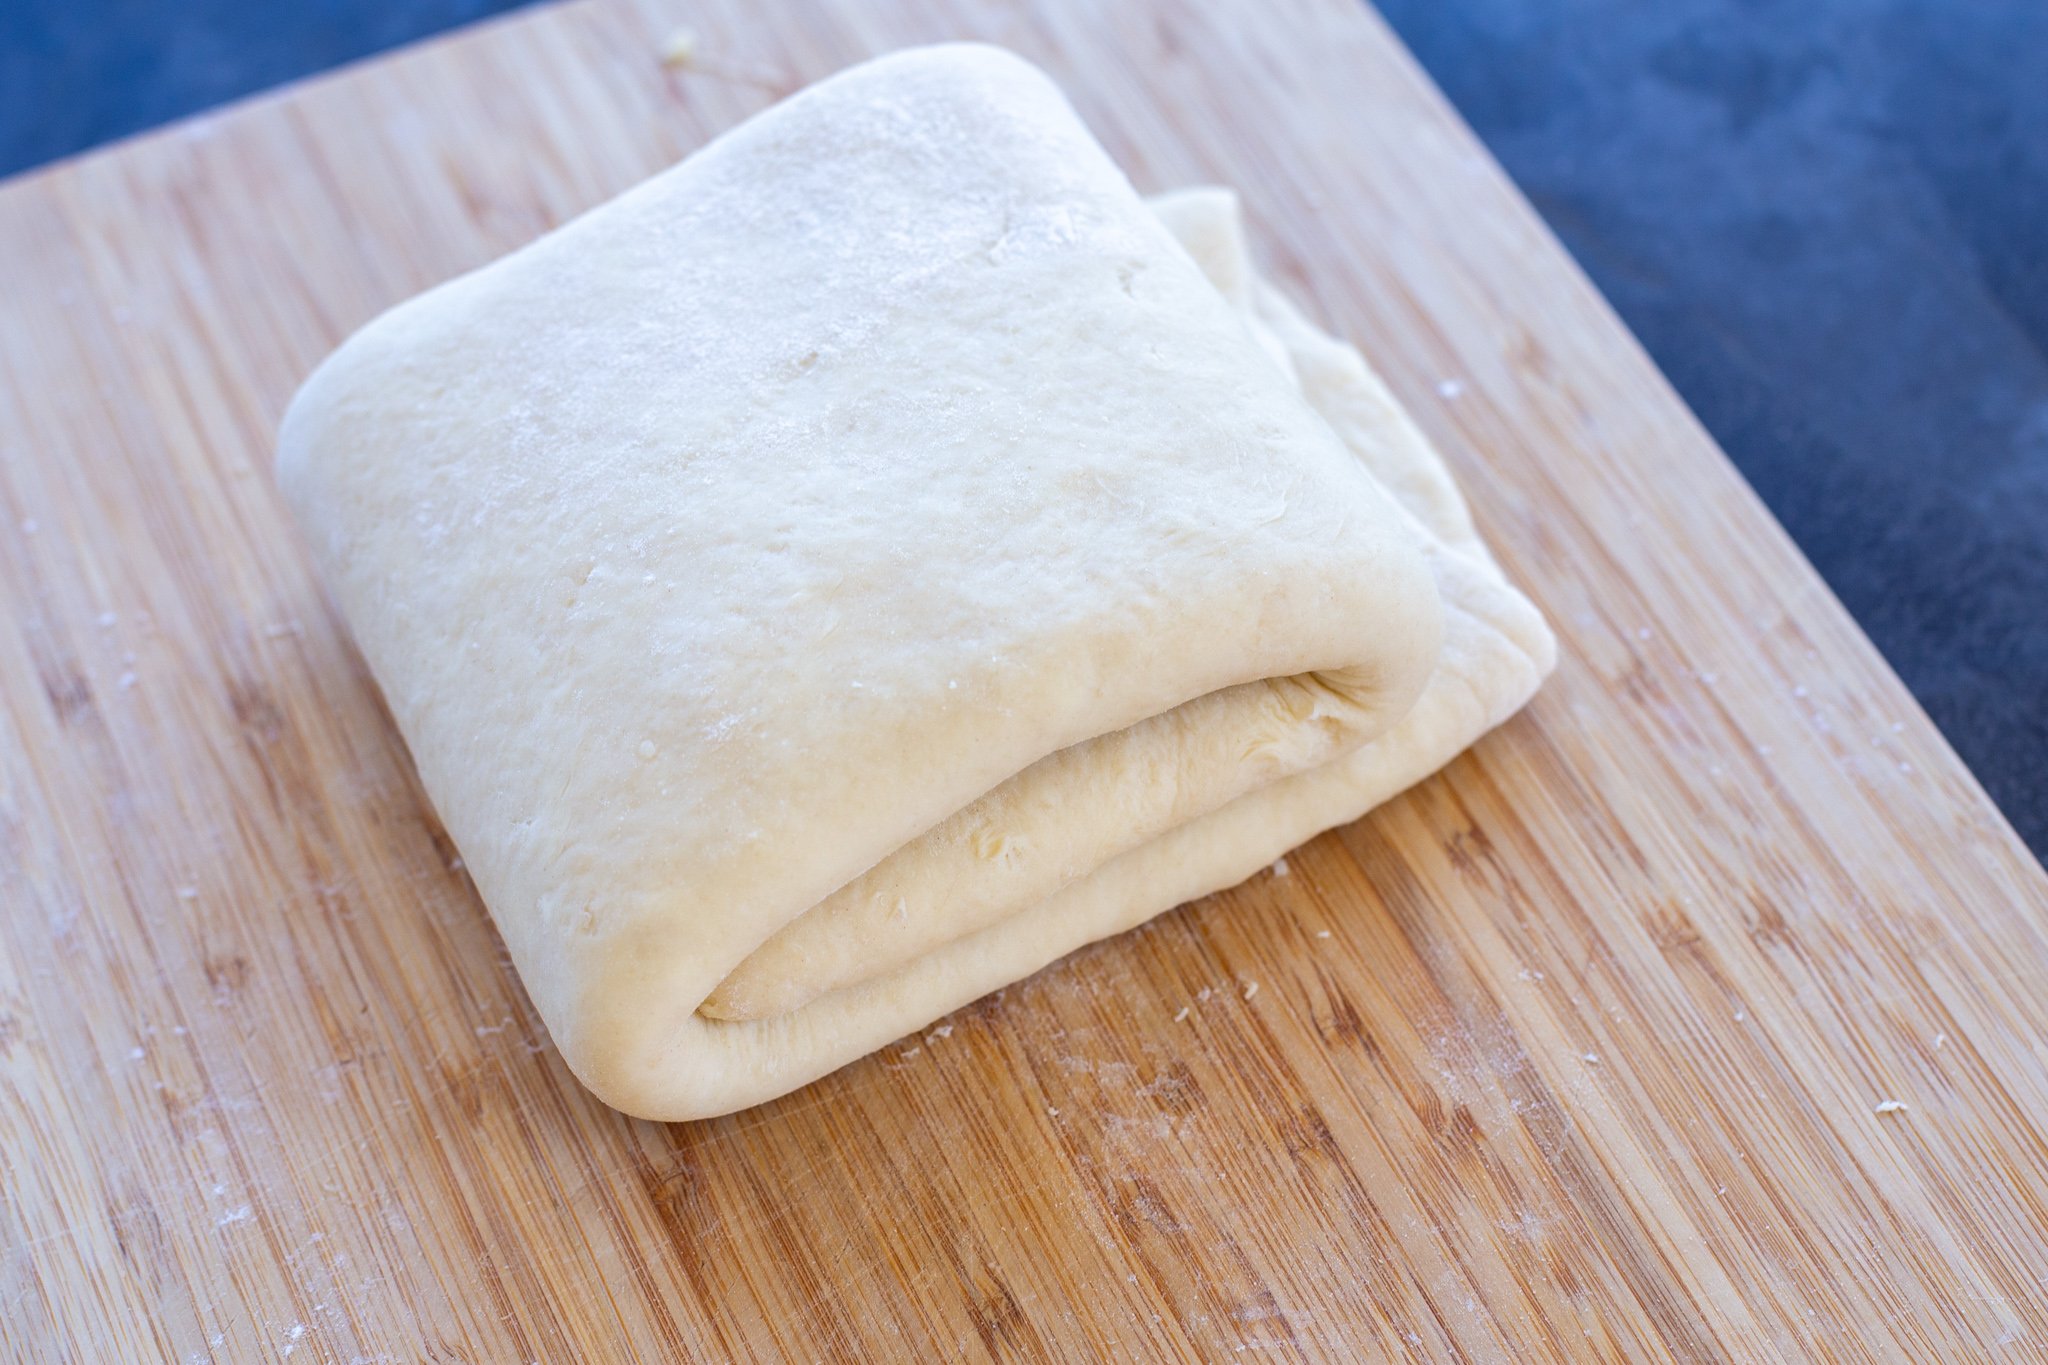
- Roll the dough: Use a rolling pin to roll the dough into a rectangle about 1/3 inch thick on a lightly floured work surface. Fold the dough in half, then roll the dough again to the same thickness. Repeat three times until the dough is smooth. This is called the “lamination process.” Work quickly to prevent the butter in the dough from melting.
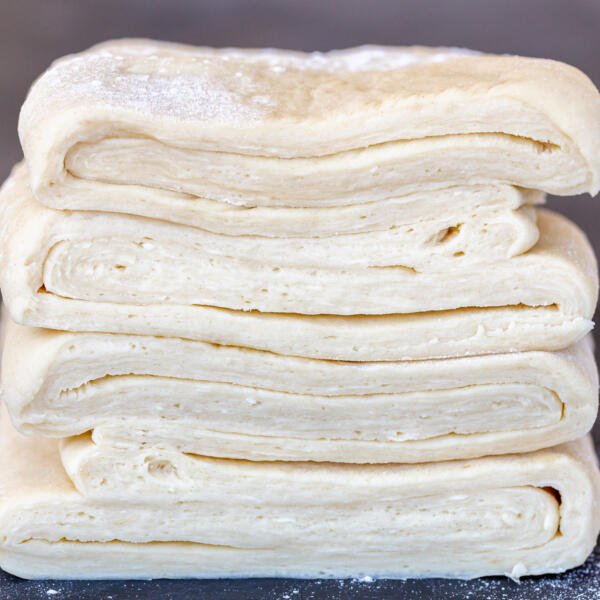
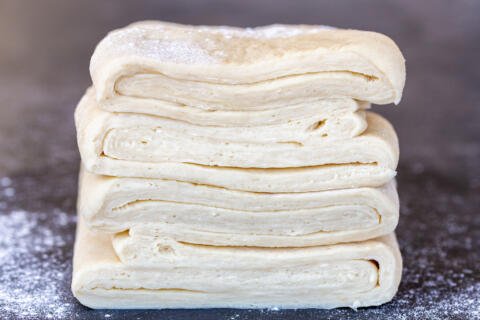
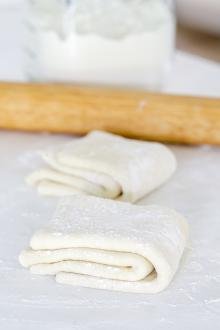
- Refrigerate the dough: Cover with plastic wrap or a sheet of parchment paper and fold again. Refrigerate the dough for a minimum of two hours.
Tool tip: This recipe requires a few mixing bowls throughout the process, making this set of 3 perfect for the job!
Tips to Ensure a Perfect Danish Pastry
The trick to a perfect danish pastry lies in the temperature of the ingredients and method. Here’s some tips to make sure your pastry turns out perfect each time.
- Keep the butter cold: Cold butter is the key. If the butter begins to melt or soften, immediately place it back in the fridge or freezer for a few minutes. Softened butter ruins the texture by preventing the flaky layers we want.
- Grate the frozen butter: Grate the frozen butter on the large side of the grater. When tossing the grated butter with the flour, you should still see little pieces of frozen butter.
- Use warm milk: Avoid cold or hot milk. Warm milk (about 110°F) is the key. Hot milk kills the yeast and cold milk will not activate the yeast. Use a food thermometer to easily check the temperature. Here’s our favorite!
- Chill the dough: Let the dough chill in the fridge for at least six hours. Roll it out only after it has been chilled, then chill it again after rolling.This will keep the butter cold, which keeps the dough flaky when it is time to bake.
- Flour the table very lightly: Using too much flour on the surface when rolling the dough can affect the texture of the dough. Keep the flour to a minimum. If the dough gets sticky when rolling out, don’t add more flour. The dough gets sticky because it is getting warm. Instead, place the dough back in the fridge to chill.
Storing Danish Pastry Dough
Whenever I make this dough, I make multiple sheets. That way, i’ll have some in the freezer for my next baking adventure! Whichever way you store it, store the dough folded in parchment paper.
- Freezer: To freeze for up to two months, place the folded dough on a baking sheet, then move to a ziplock bag when frozen.
- Refrigerator: To refrigerator for up to ten days, keep the folded dough wrapped in parchment paper and plastic wrap.
Hot tip: Thaw frozen dough in the refrigerator when ready to use. Avoid thawing on the counter as the butter will melt, which will result in an unfortunate loss of flaky layers.
More Homemade Dough Recipes
- Overnight Pizza Dough – Day-ahead pizza dough
- Pizza Dough – Quick-rise pizza dough
- Sourdough Pizza Crust — A tangy pizza dough made with sourdough discard
- Flaky Pie Crust — The perfect dough for all your favorite pies
Recipe
Ingredients
- 1 cup milk lukewarm
- 2 tsp dry yeast Instant or Active
- 1/4 cup granulated sugar
- 1 large egg
- 3 cups all purpose flour
- 1/4 tsp salt
- 8 oz unsalted butter frozen
Instructions
- Warm 1/2 cup of milk to 110°F. Combine the warmed milk with yeast and sugar, then let it sit for 10 minutes until the yeast blooms.
- In a separate dish, add the remaining 1/2 cup of milk and egg. Whisk until it is well combined.
- In another separate large bowl, add flour and salt. Grate the frozen butter on the large side of a grater. Toss the butter with flour as you grate it in.
- Add all the liquid ingredients to the butter/flour mixture. Using a spatula, stir to combine together until you have everything combined. The dough may look rough and sticky, but that is normal.
- Cover the bowl with plastic wrap and refrigerate for at least 6 hours.
- Sprinkle the working surface lightly with flour. Roll out the dough into a rectangular shape, about 1/3 inch thick. Fold the dough over like a paper, then roll it again to 1/3 inch thick. Repeat 3 times until you reach smooth dough. Work quickly to prevent the butter from melting.
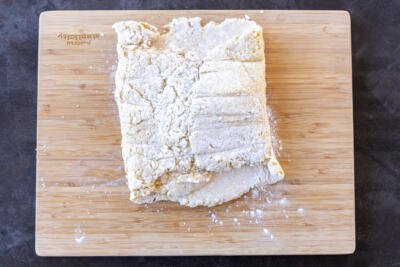
- Place the plastic wrap or parchment paper on the dough and fold it over. Leave to refrigerate for at least 2 more hours.


Hello. Could you give the measures in grams, please?
Hey Nicole, By the ingredients list there is an option to switch from US units to metric. I hope this helps! Enjoy!
Hello. Can I use this recipe for mini quiches? If so, do i have to
par-bake the crusts before adding the eggs? Thank you.
Hey AP, I would suggest using a flaky pie crust for quiches. Check out our recipe here: https://momsdish.com/recipe/3…
Okay, at what temperature do I set the oven ? How long do I bake the Pastry ?
Hi Kathleen, This pastry recipe makes just the dough which can than be used in other recipes such as our cheese danish, https://momsdish.com/cheese-d….
So, after you make the dough, what do you do with it?
Hey Chris, You can use this dough for any danish pastry recipe, such as our cheese danish: https://momsdish.com/cheese-d…. Enjoy!
I’m looking forward to trying this. I have a couple of questions. One, how long can it sit in the fridge before and after rolling out? How about freezing best practices?
Thank you
Hi Ben, It can be stored in the fridge for up to ten days, and two months in the freezer. You can read about these tips under the storage section in the blog. I hope this helps. 🙂
Thank you. It's amazing what you learn when you read lol
Do you have a recipe or two for fruit filling? Assuming you make a fruit-filled danish
Hi Ben, Type in pastry in the search on our blog and it'll pull up many recipes. We have pear, apple, and cheese filled pastry recipes. Enjoy!
Hello Natalya,
I would like to try this dough recipe but I didn't see the oven temperature to bake it at. Did I overlook something??
Hi Sere, You are correct, I do not have a bake time on this recipe because it is for the dough itself. The bake time will differ depending on what you want to make with this dough. I hope that makes sense.
Is there no video for Danish pastry if you have please send me
Hi Alex, that is correct, we have not come out with a video for this recipe yet. I do have a video for the puff pastry dough, if you would like to check that out. https://momsdish.com/recipe/3… I hope this helps.
this dough is amazing! thank you so much for sharing this recipe!
Jess, I am so happy to hear this. Thank you for sharing!
Loved this danish pastry! So happy to have found this easy method. My kids thank you!
Hi Jamie, I am thrilled to hear that! Thank you for taking the time to leave feedback, enjoy!
Such a great dough recipe! So many things you can do with it, I love it.
Hi April, I am so glad to hear you found a recipe you love! Thank you for your feedback. Enjoy!