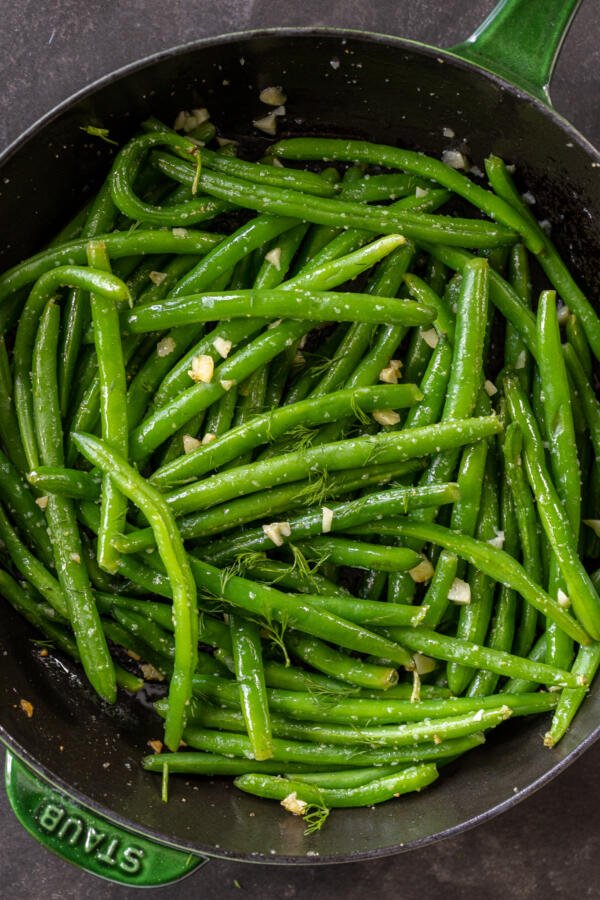
These buttery garlic green beans are bursting with fresh garlic flavor. Try this easy and delicious side dish — you’ll never go back to eating plain green beans!
Buttery Garlic Green Beans Video
How To Make Buttery Garlic Green Beans
Whip up these green beans in just under 15 minutes using only a pot and a skillet. Let’s get cooking!
- Boil the water: Bring a pot with about two quarts of water to a boil.
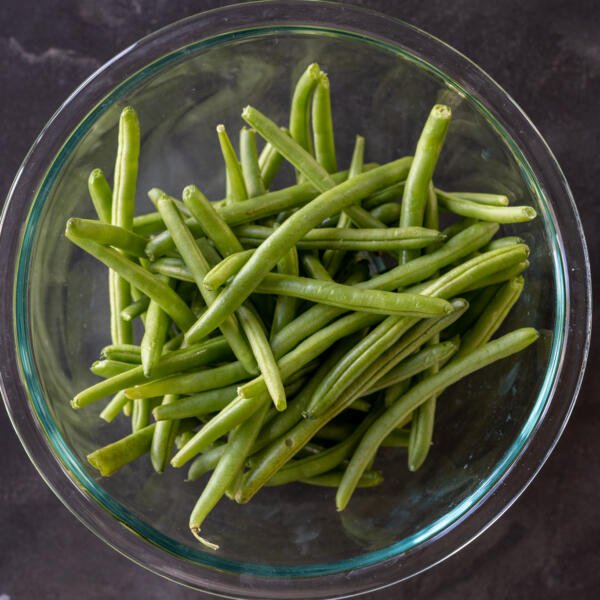
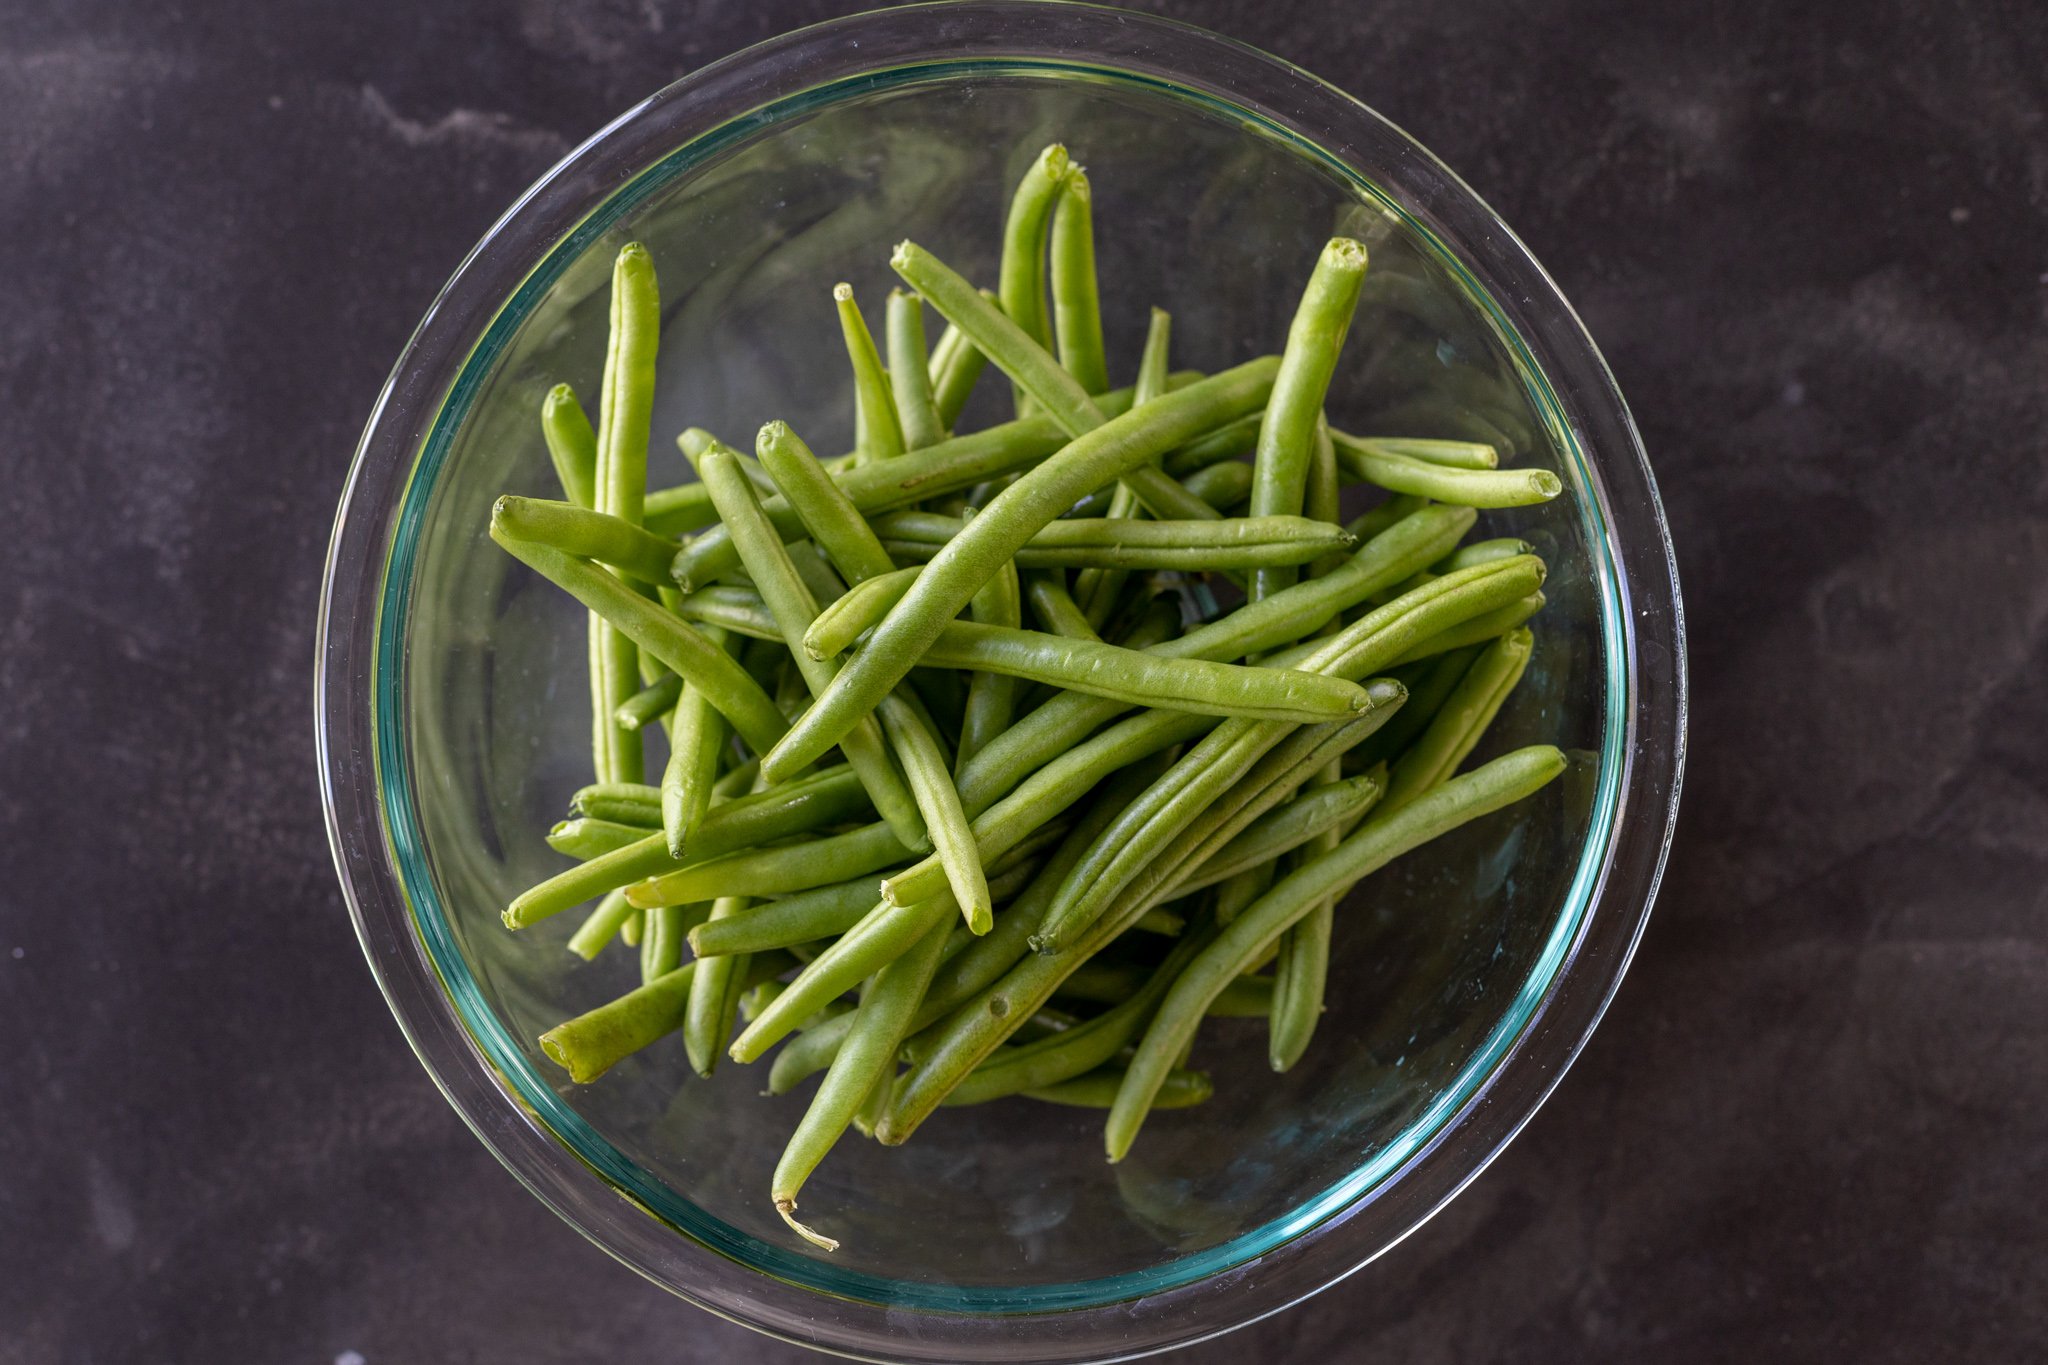
- Prepare the green beans and garlic: Wash the green beans and trim the ends off. Peel and finely chop the garlic.
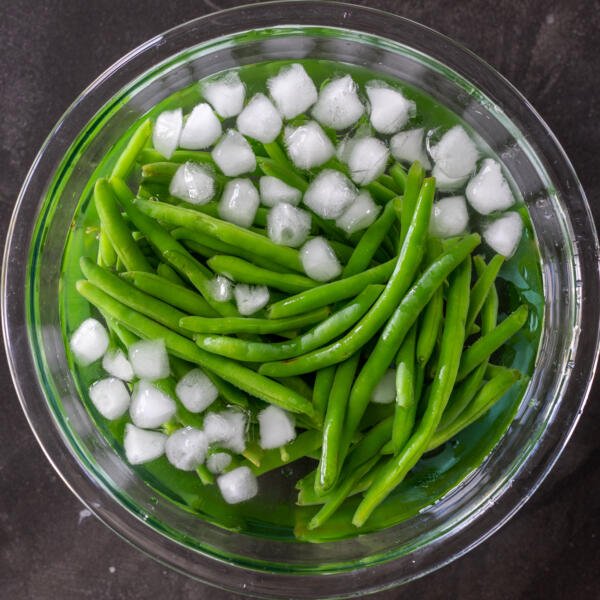
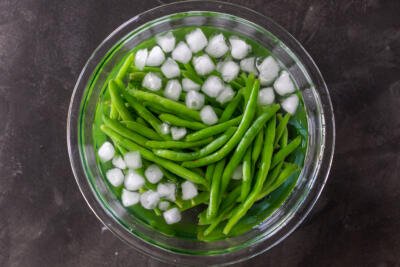
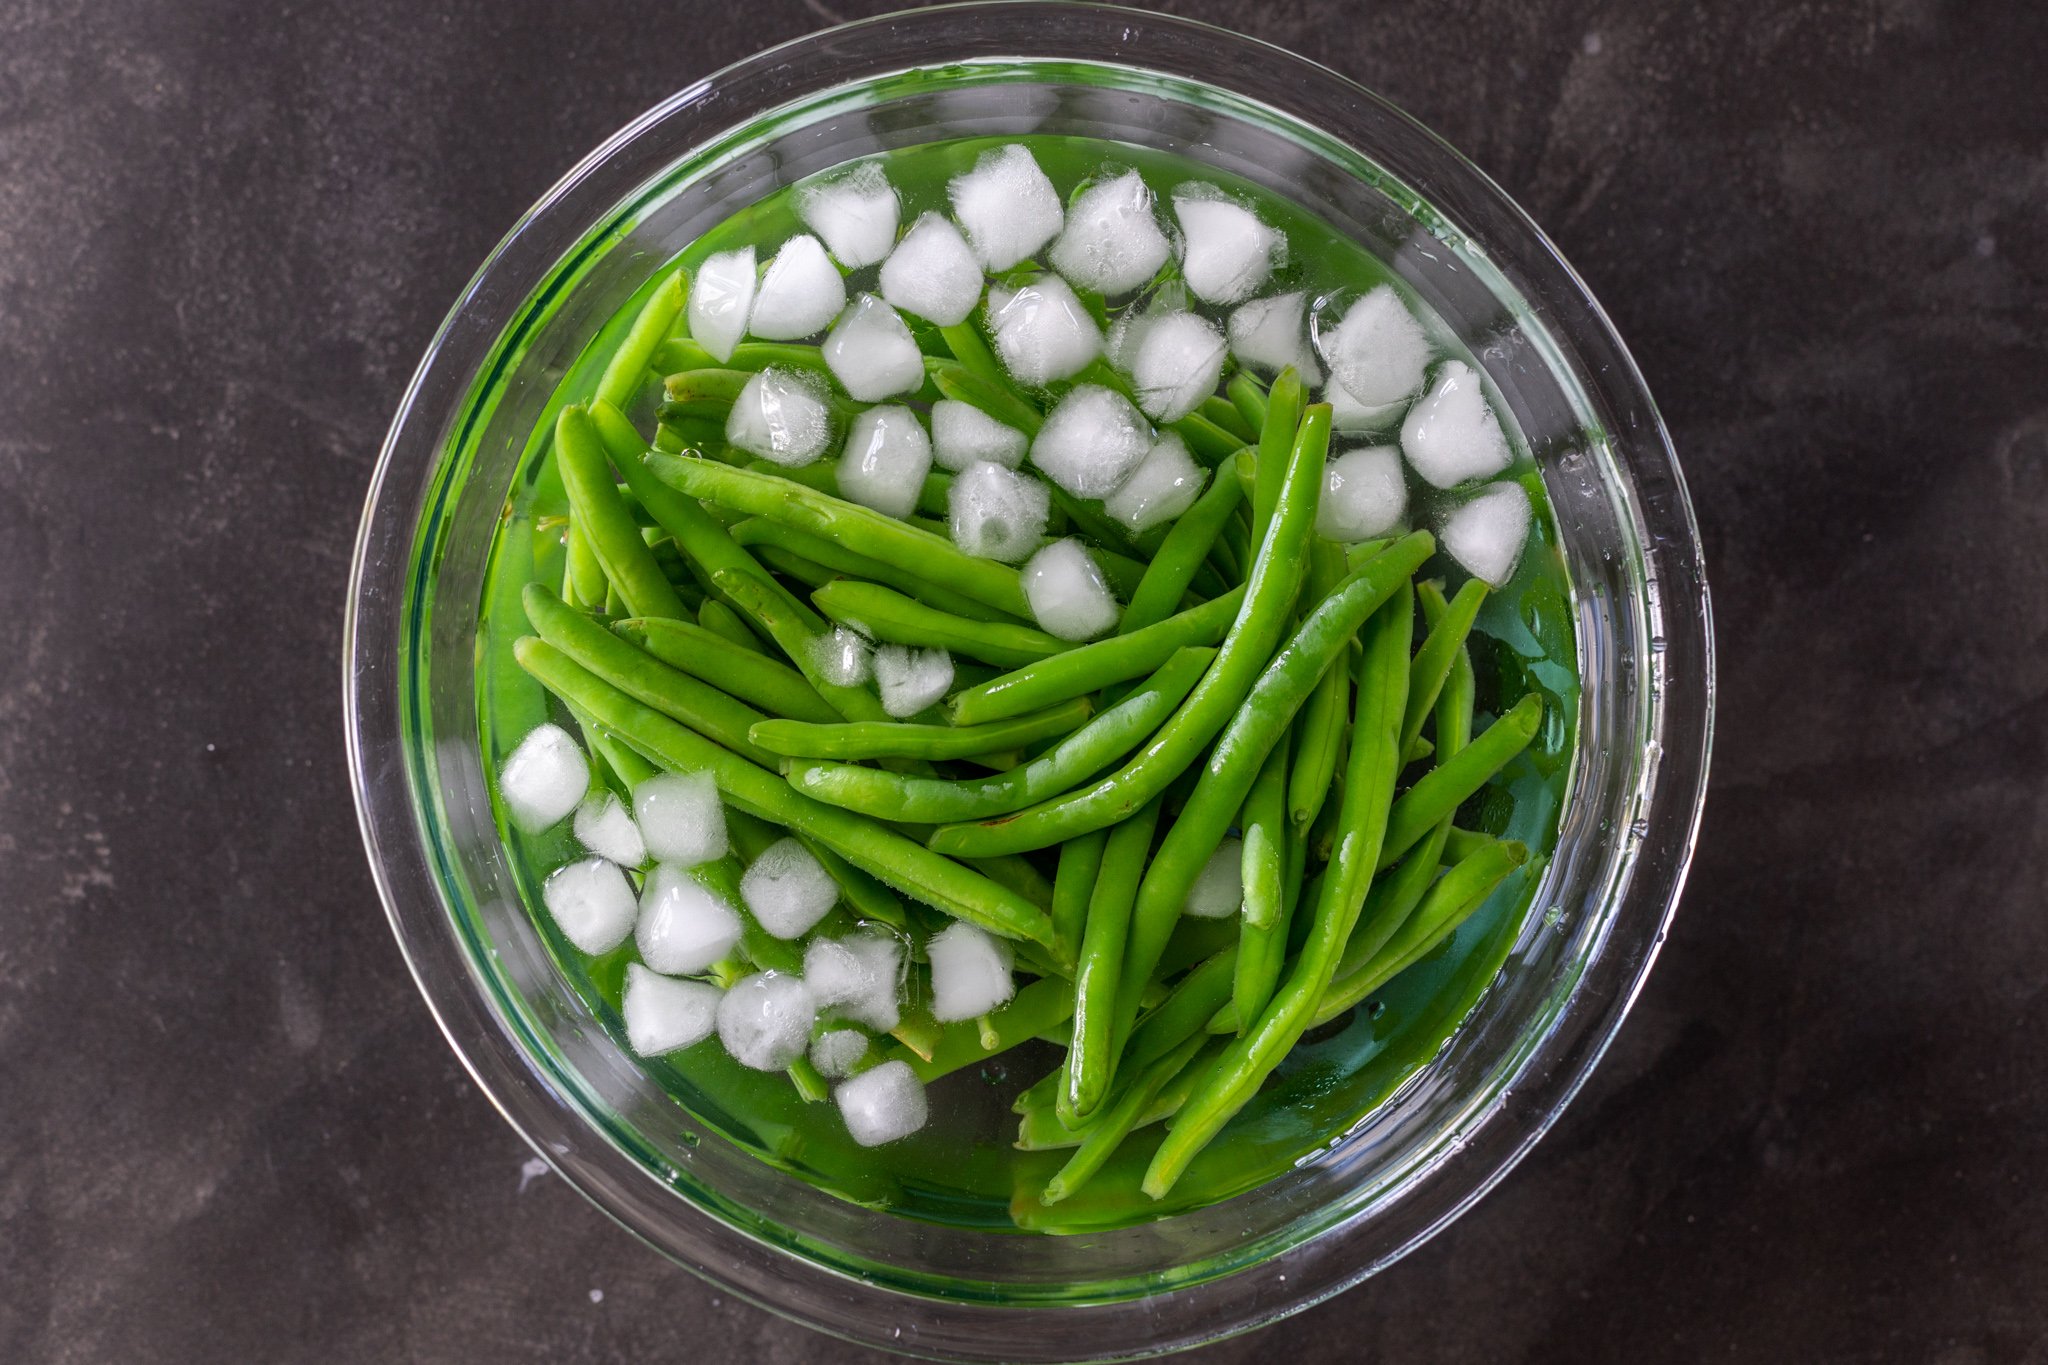
- Blanch the green beans: Add the green beans to the boiling water and cook for 3-5 minutes, or until they become bright green and just start to soften. Strain the beans and immediately place them into a bowl of ice water to stop the cooking process.
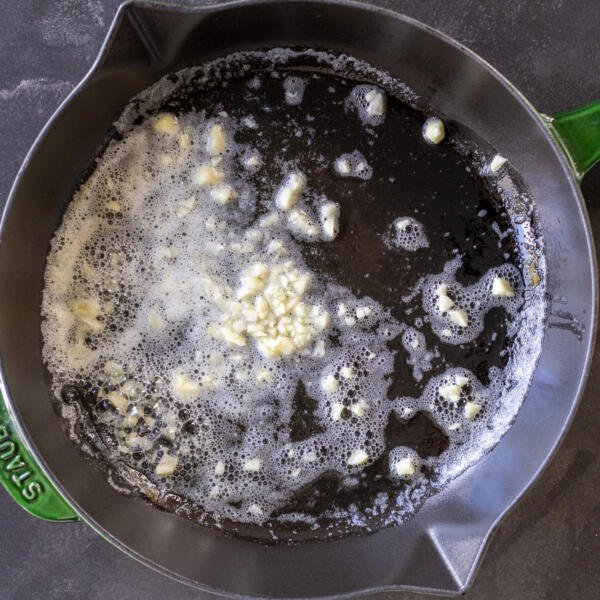
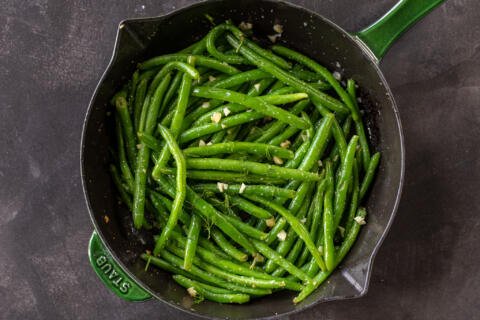
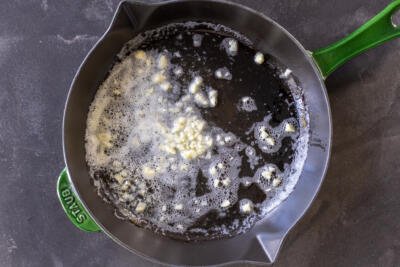
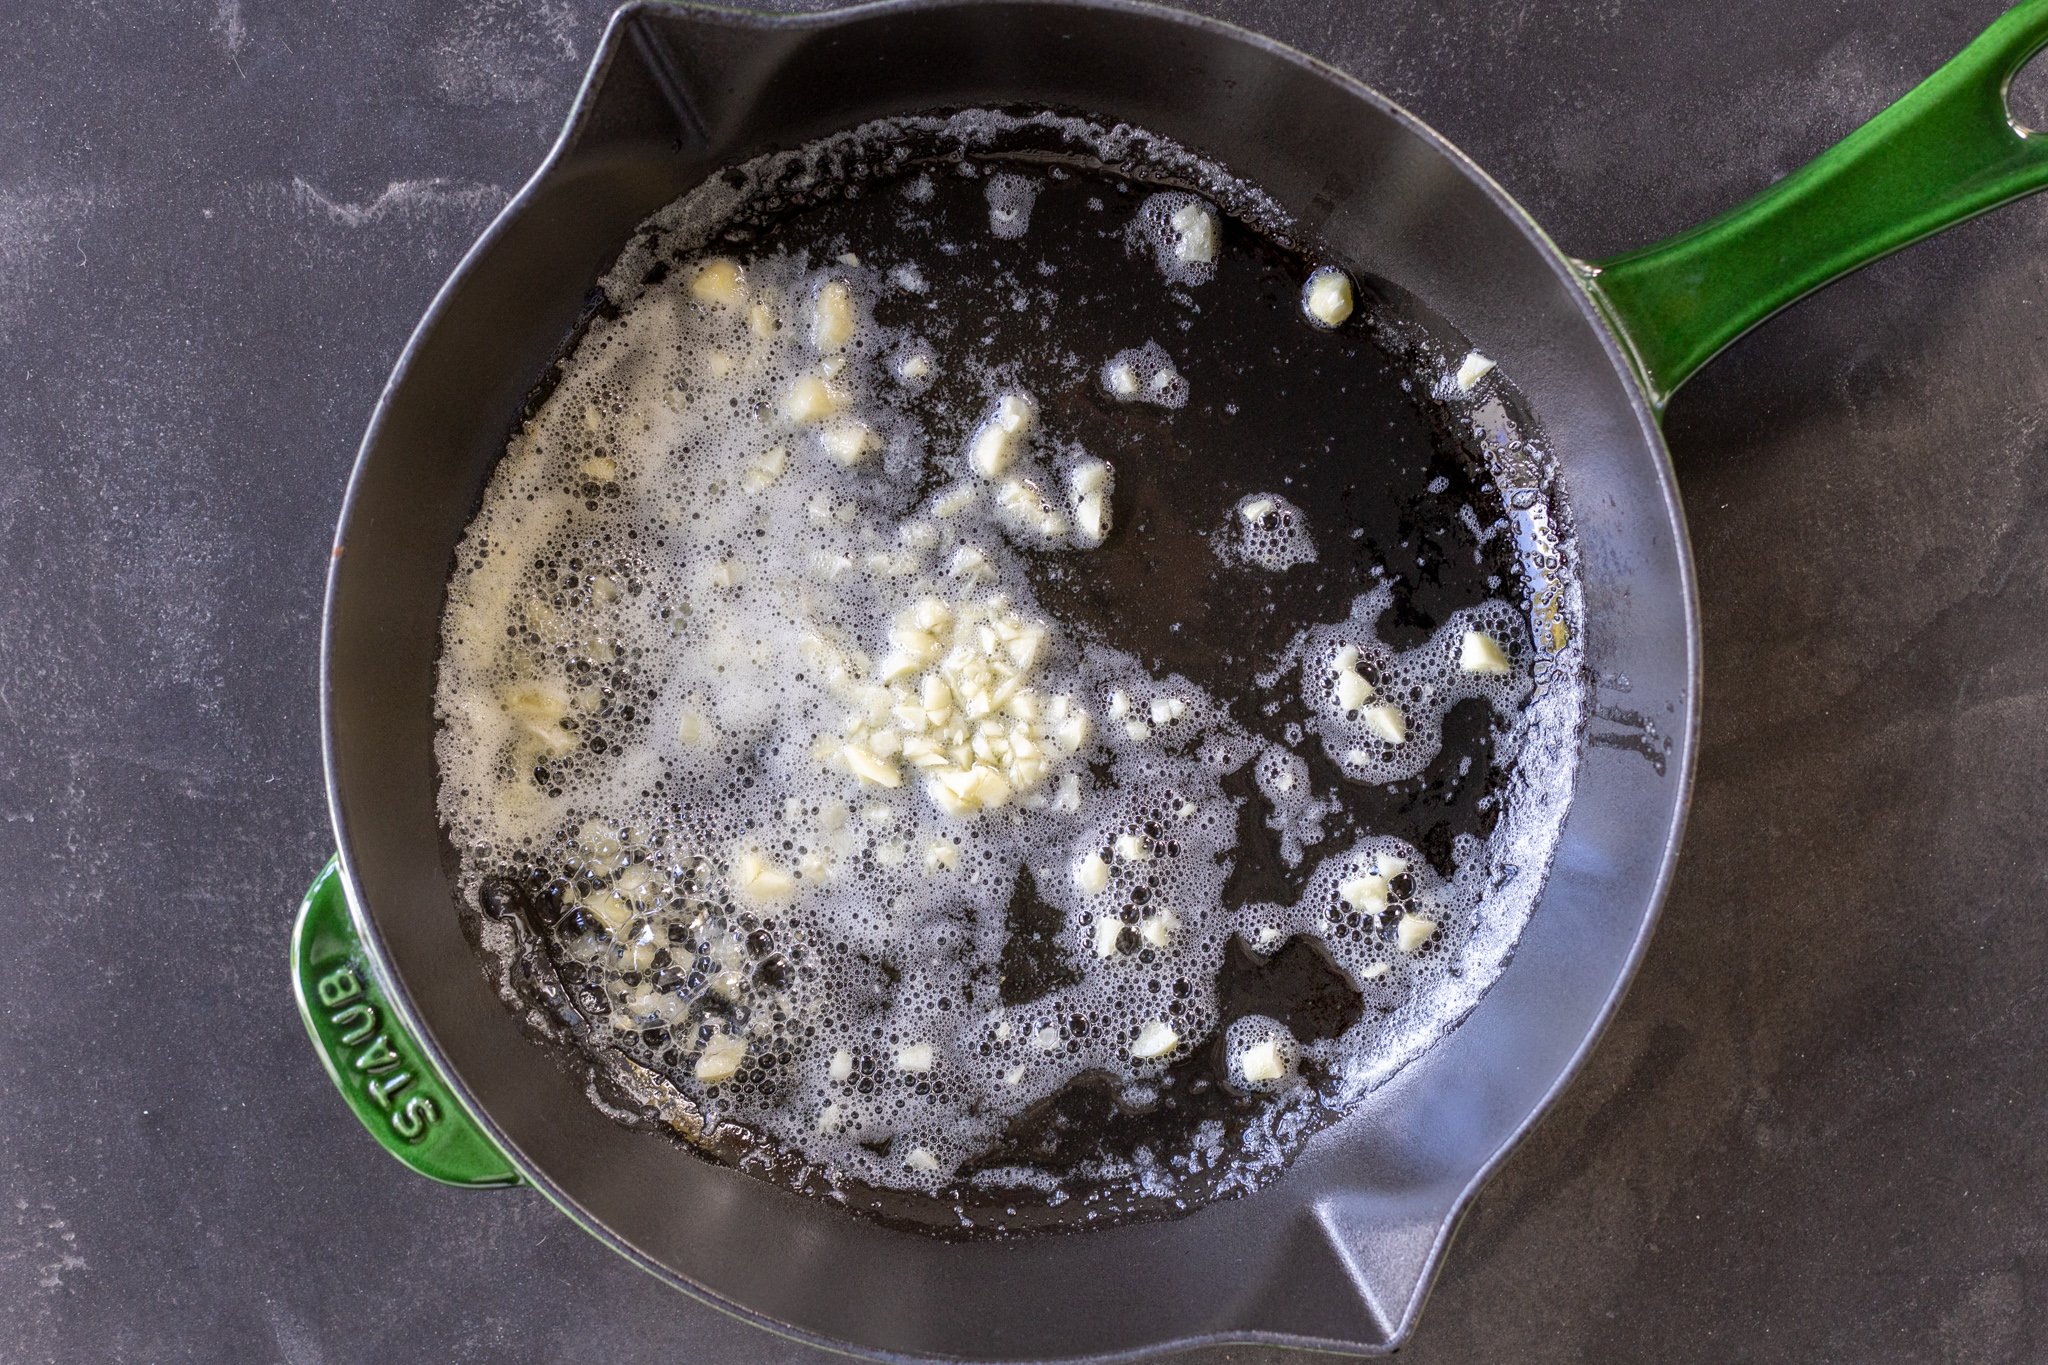
- Sauté the garlic: Preheat a skillet over medium-high heat and add the butter. As soon as it melts, add the garlic and sauté for about 30 seconds.
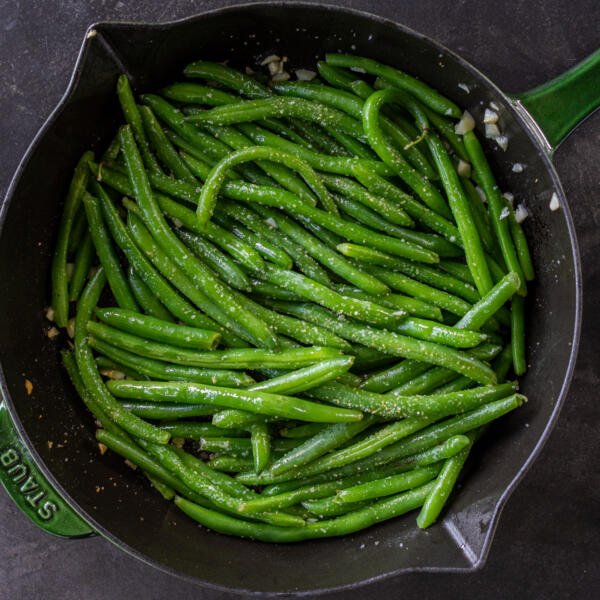
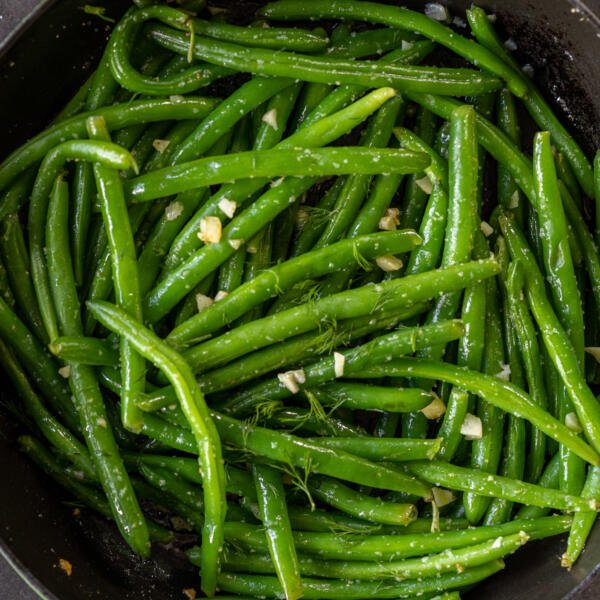
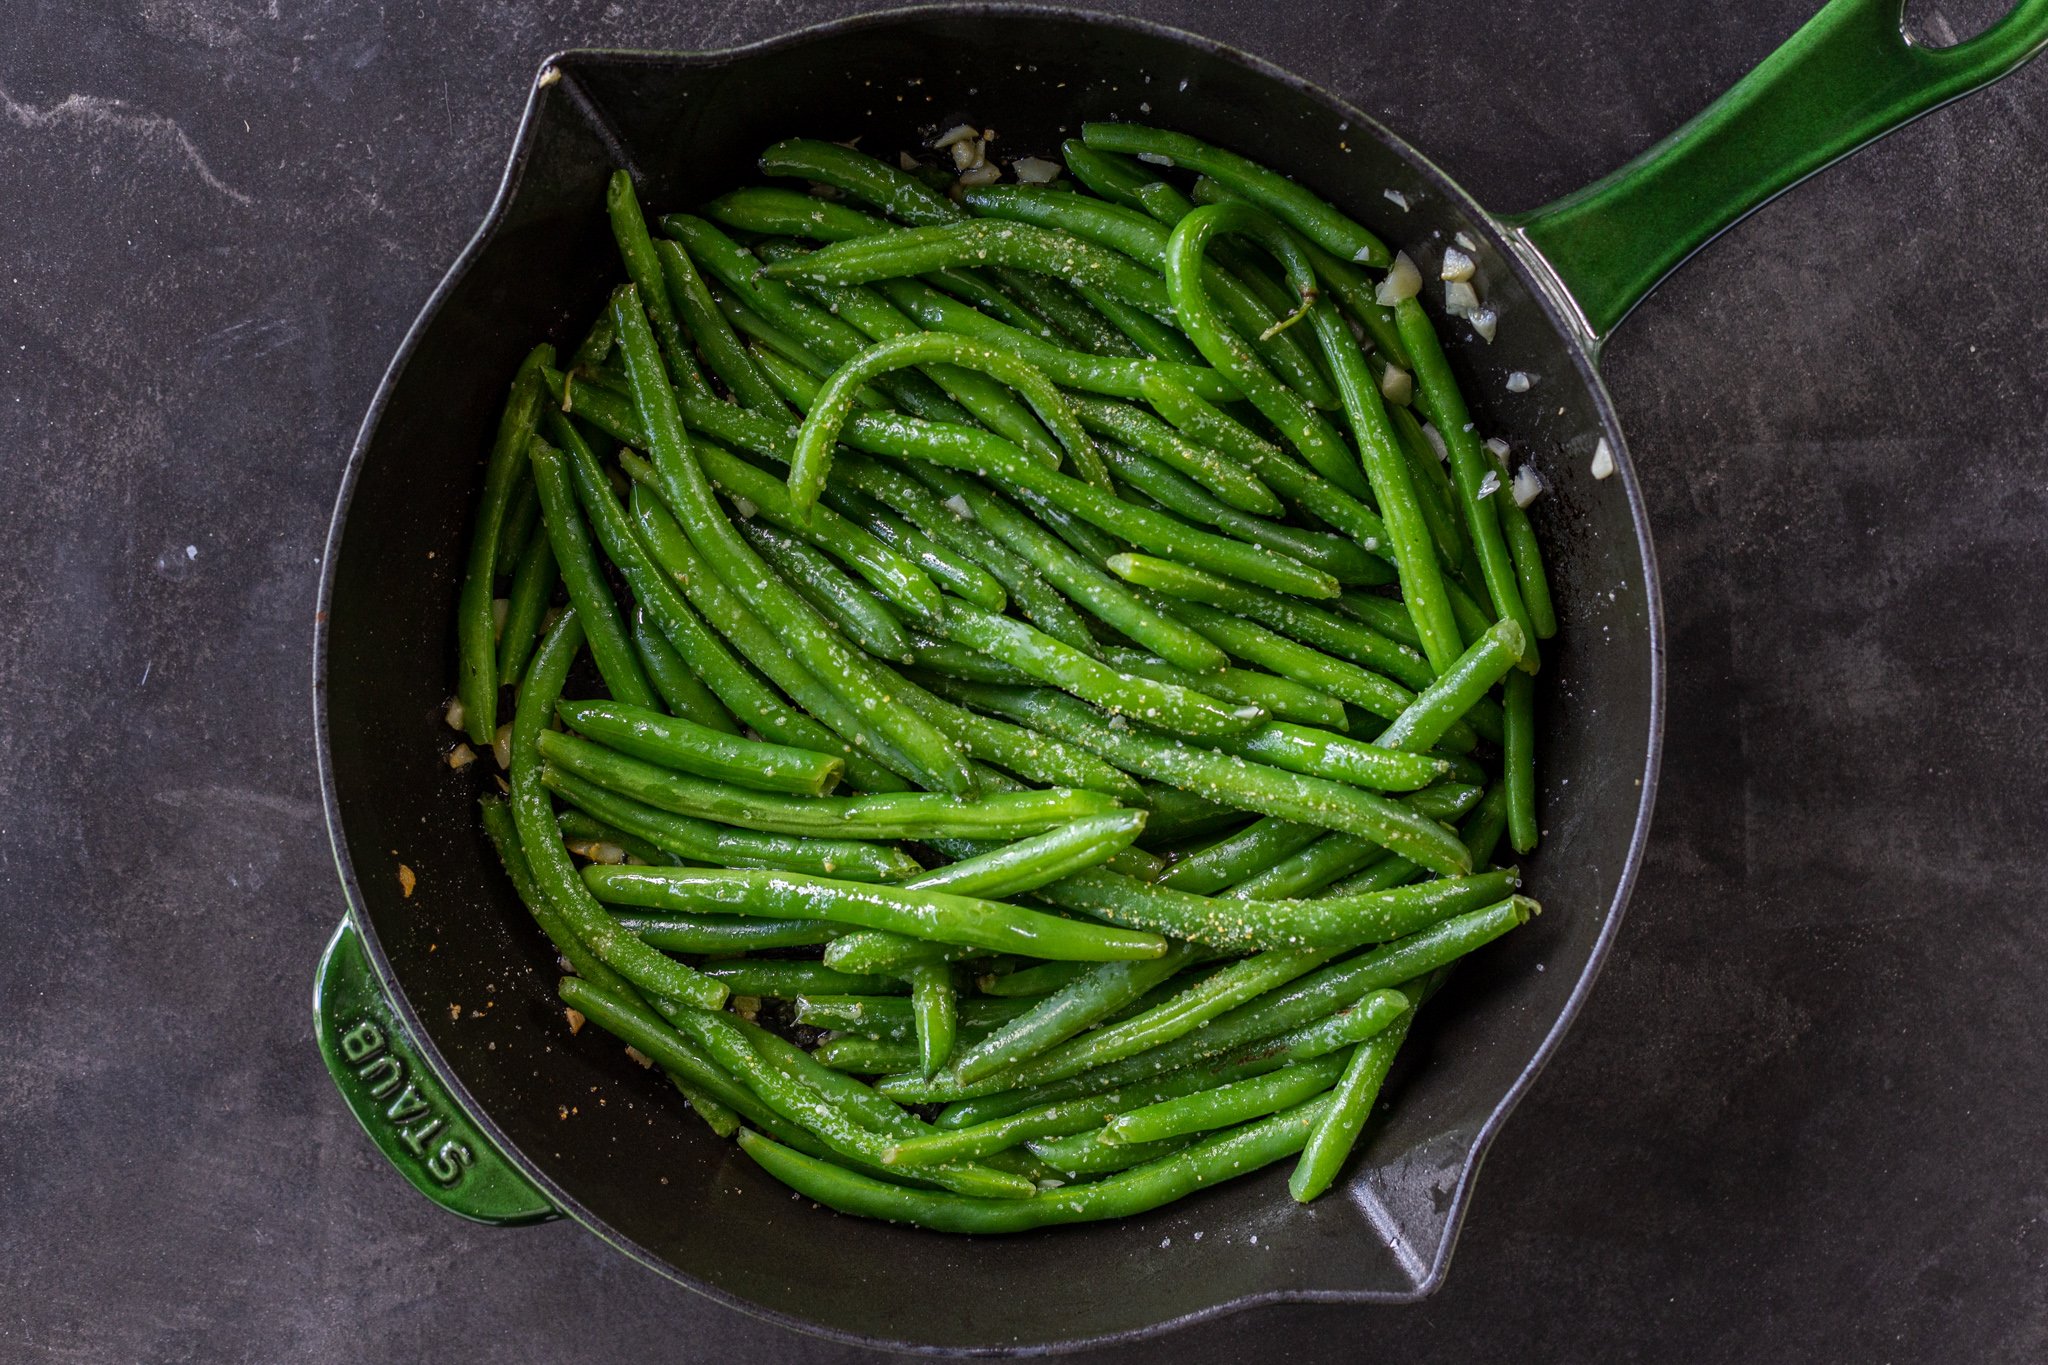
- Combine everything: Add the green beans to the skillet and season with garlic parsley salt. Give everything a stir and cook for about three minutes, or until the green beans are tender. Enjoy!
A Guide To Trimming Green Beans
Do you really need to trim green beans? How do you trim them correctly? Let’s discuss the reasons and technique for trimming green beans.
- Reasons: It’s essential to trim the stem end of green beans (where they were attached to the plant) because it’s inedible. The stem is woody and fibrous — frankly unpleasant to eat. On the other hand, the choice to trim the tail end is purely aesthetic. For evenly sized green beans, we suggest trimming both ends.
- Technique: The most efficient way to trim a bunch of green beans is to line them up on a cutting board and hold them in place with one hand. Use your other hand to cut the ends off each side with a sharp knife.
Tips For the Best Garlic Green Beans
These garlic green beans are incredibly simple to prepare, but we have a few extra tips for guaranteed success. Pay attention to these pointers so your beans turn out perfect!
- Use fresh green beans. Look for firm and crisp green beans without bruising or discoloration — these signs ensure ripe and healthy green beans.
- Chop the garlic yourself. Freshly chopped garlic has the best flavor and it doesn’t burn as quickly as pressed garlic or garlic paste.
- Blanch and shock the green beans. The blanching process gives the green beans a vibrant green color and slightly softens them, while shocking them in ice water ensures they don’t overcook.
- Season to taste. To lower the sodium content, use unsalted butter or less garlic parsley salt. For more spice, add a twist of freshly ground black pepper or a pinch of red pepper flakes.
- Avoid overcooking. Take the green beans off the pan as soon as they are tender with a slight crisp. Overcooked green beans become mushy, dull in color, and less nutritious.
Ways To Serve
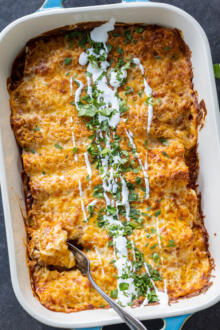
Buttery garlic green beans are the perfect vegetable side dish for lunch or dinner. Serve them fresh off the skillet alongside a roast turkey, sirloin tip roast, creamy mashed potatoes, and a white chocolate cranberry cake for a holiday dinner dinner of your dreams. Are you meal prepping for the week ahead? Add these garlic green beans to your lunch of flank steak wraps, Israeli couscous salad, and sweet potato fries. Or, get creative and make a green bean casserole with these beans (for a veggie overload, add cauliflower and broccoli too)!
Storing & Reheating
Are you tired of mushy and lackluster veggie leftovers? Listen up to these storage and reheating tips to keep the crisp in your leftover green beans.
- Storing: Transfer the cooked and cooled green beans to an airtight container and refrigerate for up to five days.
- Reheating: To restore their crispy texture, reheat the leftover green beans on a skillet over medium-high heat until they are sizzling.
More Veggie Sides
- Grilled Zucchini and Squash — Flame-roasted zucchini and squash seasoned with garlic parsley salt
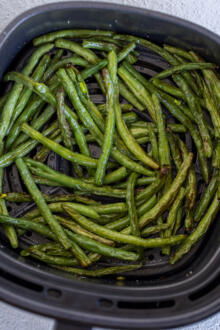
- Air Fryer Green Beans — Ready in ten minutes
- Asian Cucumber Salad — Cucumbers marinated in a soy-garlic-chili mixture and tossed with crunchy peanuts
- Oven Roasted Broccoli — Seasoned broccoli florets roasted in the oven until tender
- Duchess Potatoes — Mashed potato purée piped into elegant swirls and baked until crispy
Recipe
Ingredients
- 1 lb fresh green beans
- 2 tbsp salted butter
- 3 garlic cloves chopped
- 1 tsp garlic parsley salt adjust to taste
Instructions
- Bring a pot with about two quarts of water to a boil. Meanwhile, wash the green beans and trim the ends. Peel and finely chop three cloves of garlic.
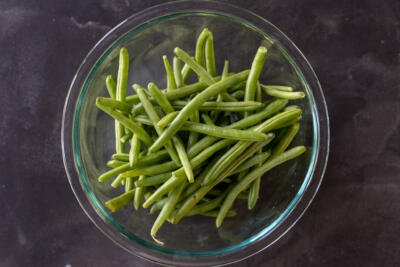
- Add the green beans to the boiling water and cook for about three to five minutes, or until they become bright green and just start to soften. Strain the beans and immediately place them into a bowl of ice water to stop the cooking process.
- Preheat a skillet over medium-high heat and add the butter. As soon as it melts, add the garlic and sauté for about 30 seconds.
- Add the green beans to the mix and season with garlic parsley salt. Toss everything together and cook for about 3 minutes, or until the green beans are tender. Enjoy!


Natalya! I made these for Thanksgiving and they turned out perfect. Very easy recipe but was a total hit
Thank you!!
Hey Lena, We had them for Thanksgiving too. 🙂 I'm glad your family enjoyed them as much as we did!