From making the dough to storing tips, this ultimate guide on how to make cake pops will make you a pro in no time. Foolproof and highly customizable!
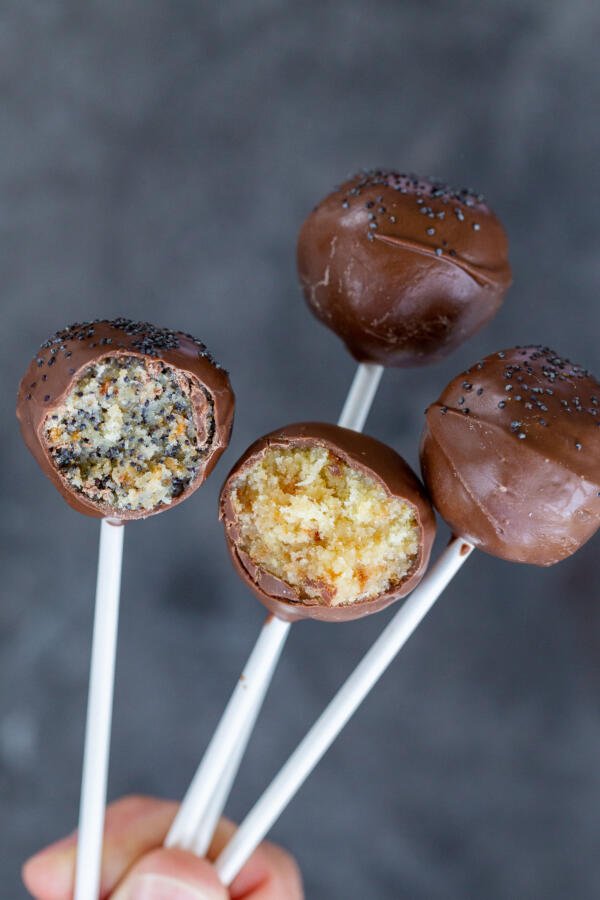
Whether you’re in charge of dessert for a party or a self-proclaimed cake pop addict, this guide has all you need. From the right tools to help you nail it to all the proper tips for getting that smooth sheen, we’ve got you covered. All you need to do? Decide on how you’d like to decorate them!
Note: You’ll need to make a sponge cake in the oven for this recipe (chocolate sponge cake or plain sponge cake will work). Our base recipe is super simple and only require all-purpose flour, eggs & sugar. Alternatively, you can use boxed cake mix!
Handy Tools & Ingredients
A couple of tools and ingredients will set you up for success on your cake pop journey.
- Cookie Scoop – A cookie scoop will help you portion out perfectly even-sized pops.
- Chocolate Candy Melts – Opt for chocolate melts over chocolate chips for that perfect smooth coating.
- Cake Pop Sticks – Cake pop sticks are a bit shorter than lollipop sticks and a touch thicker.
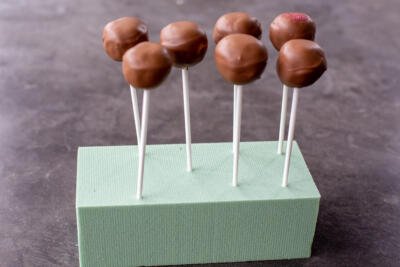
- Cake Pop Stand – After you dip the pops, you’ll want to let them dry on a stand. You have a couple different options here: you can purchase a plastic stand, use a floral styrofoam bloc, or drill holes into a thick piece of wood.
Gifting Tip: Mini bags with twist ties are so useful if you’ll be gifting cake pops. This set on Amazon is my absolute fav.
Instructions on How to Make Cake Pops Like a Pro
Preparing homemade pops like a pro requires a bit of simple technique and refrigeration to ensure they are set properly.
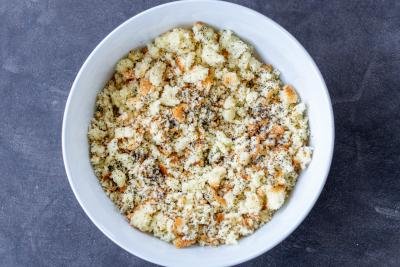
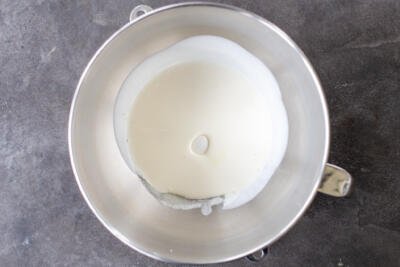
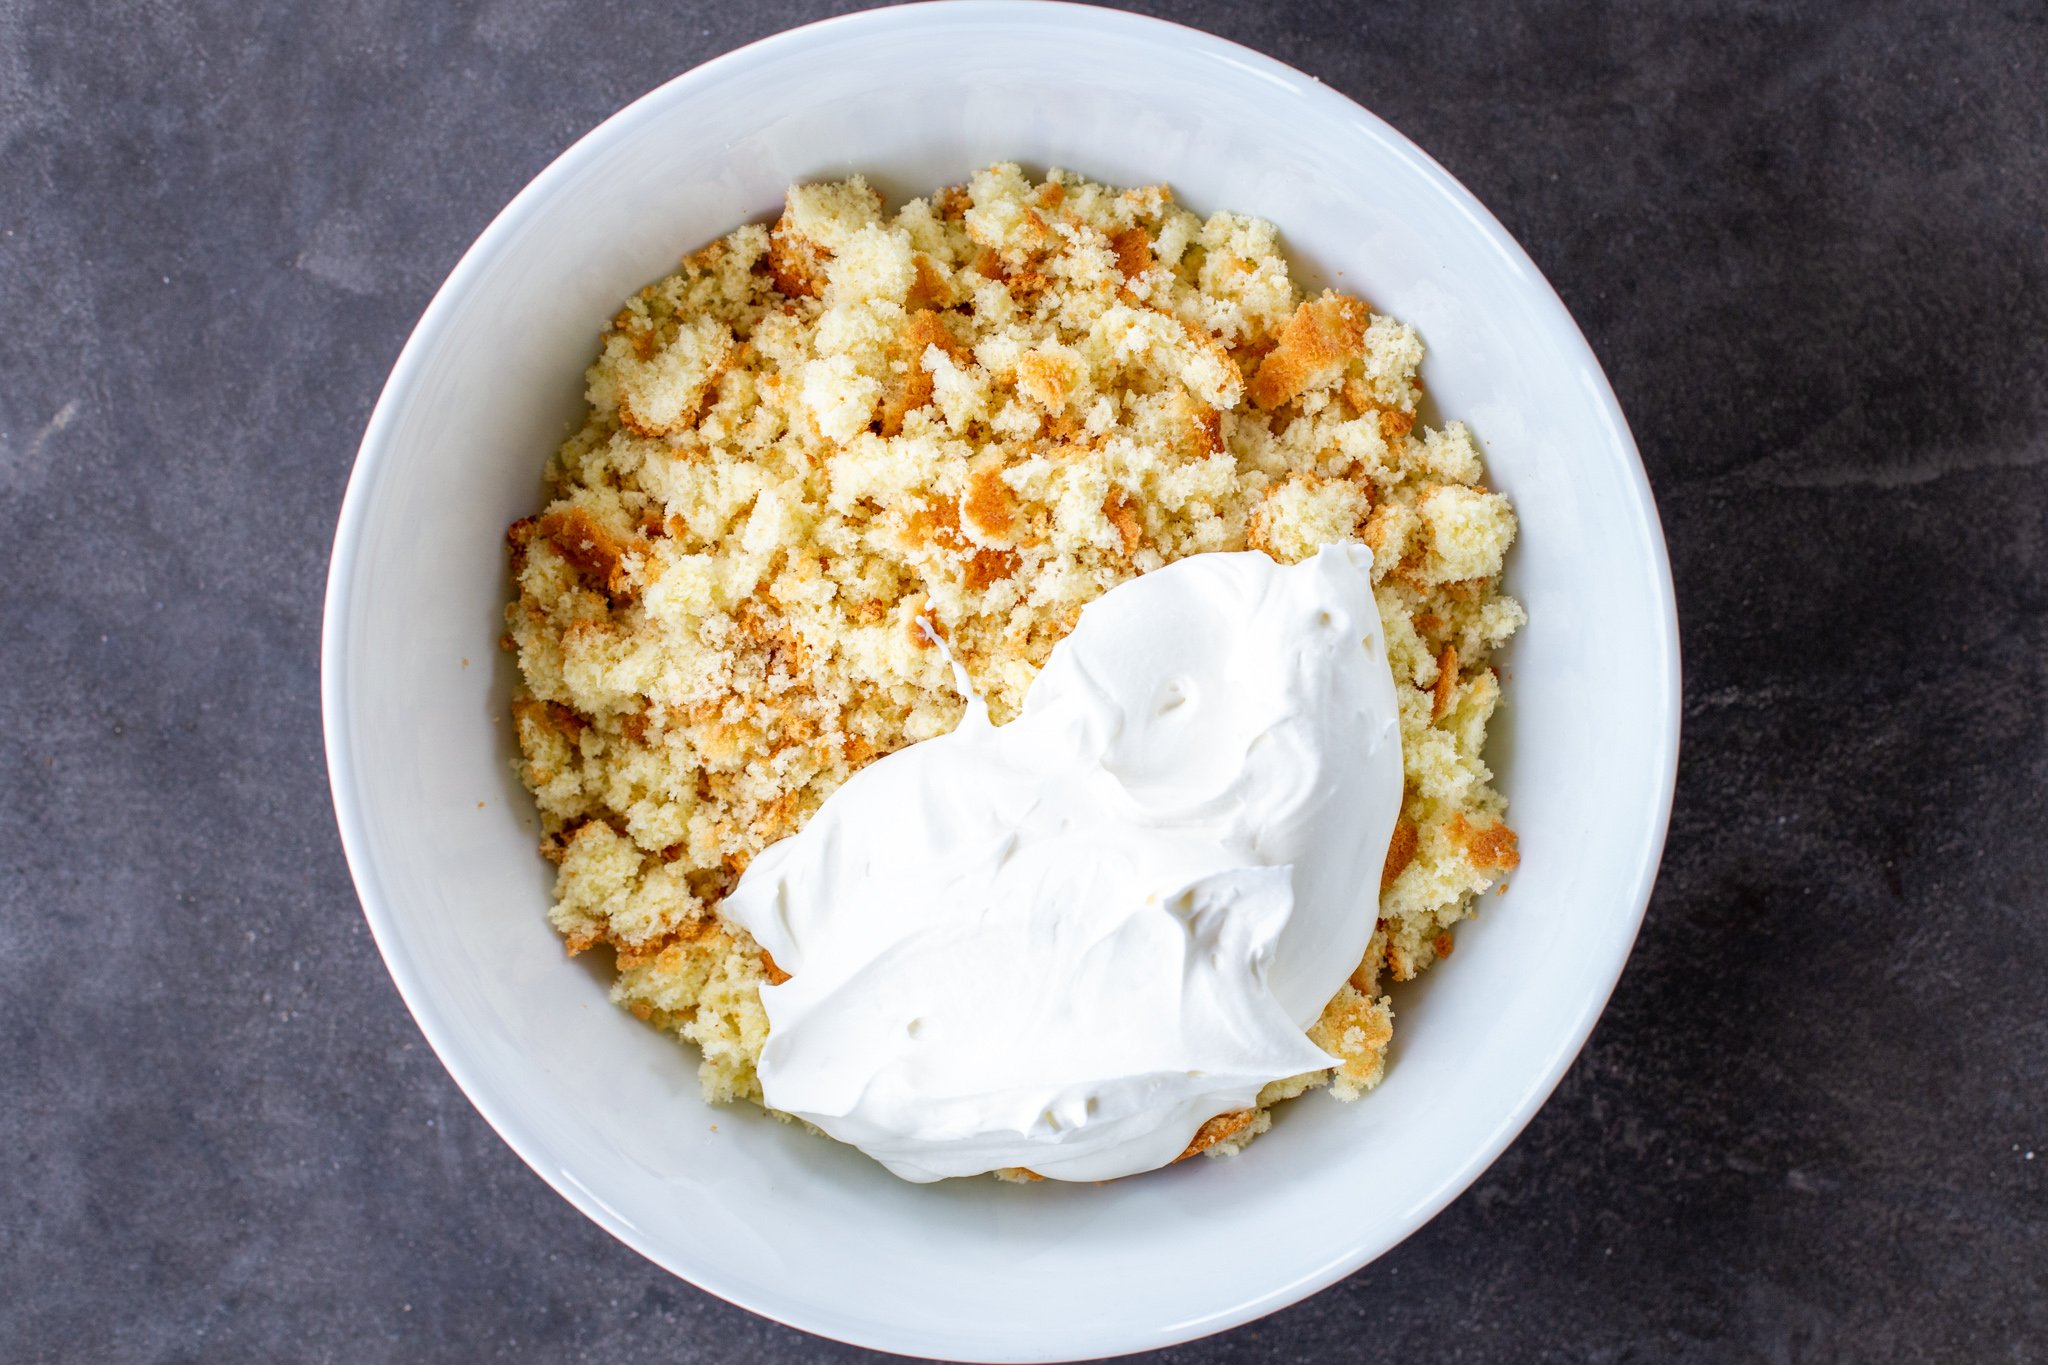
- Make the Cake Pop Dough: In a large bowl, break the sponge cake apart into fine cake crumbs. Next, beat the heavy whipping cream in a stand mixer with the sugar until you get stiff peaks. Next, mix the whipped cream and crumbled cake mixture until smooth.
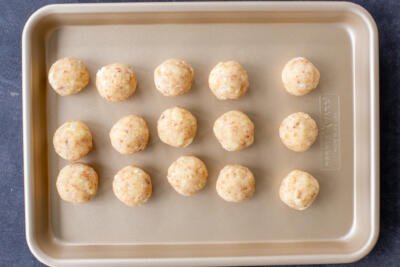
- Portion the Cake Balls: Using a cooking scoop, portion out the dough and roll it into balls. Place each ball on to a lined baking sheet with parchment paper.
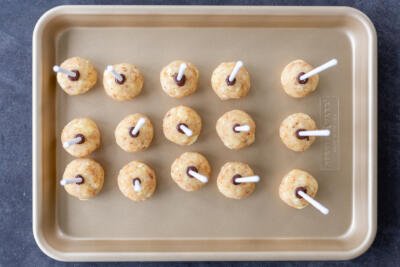
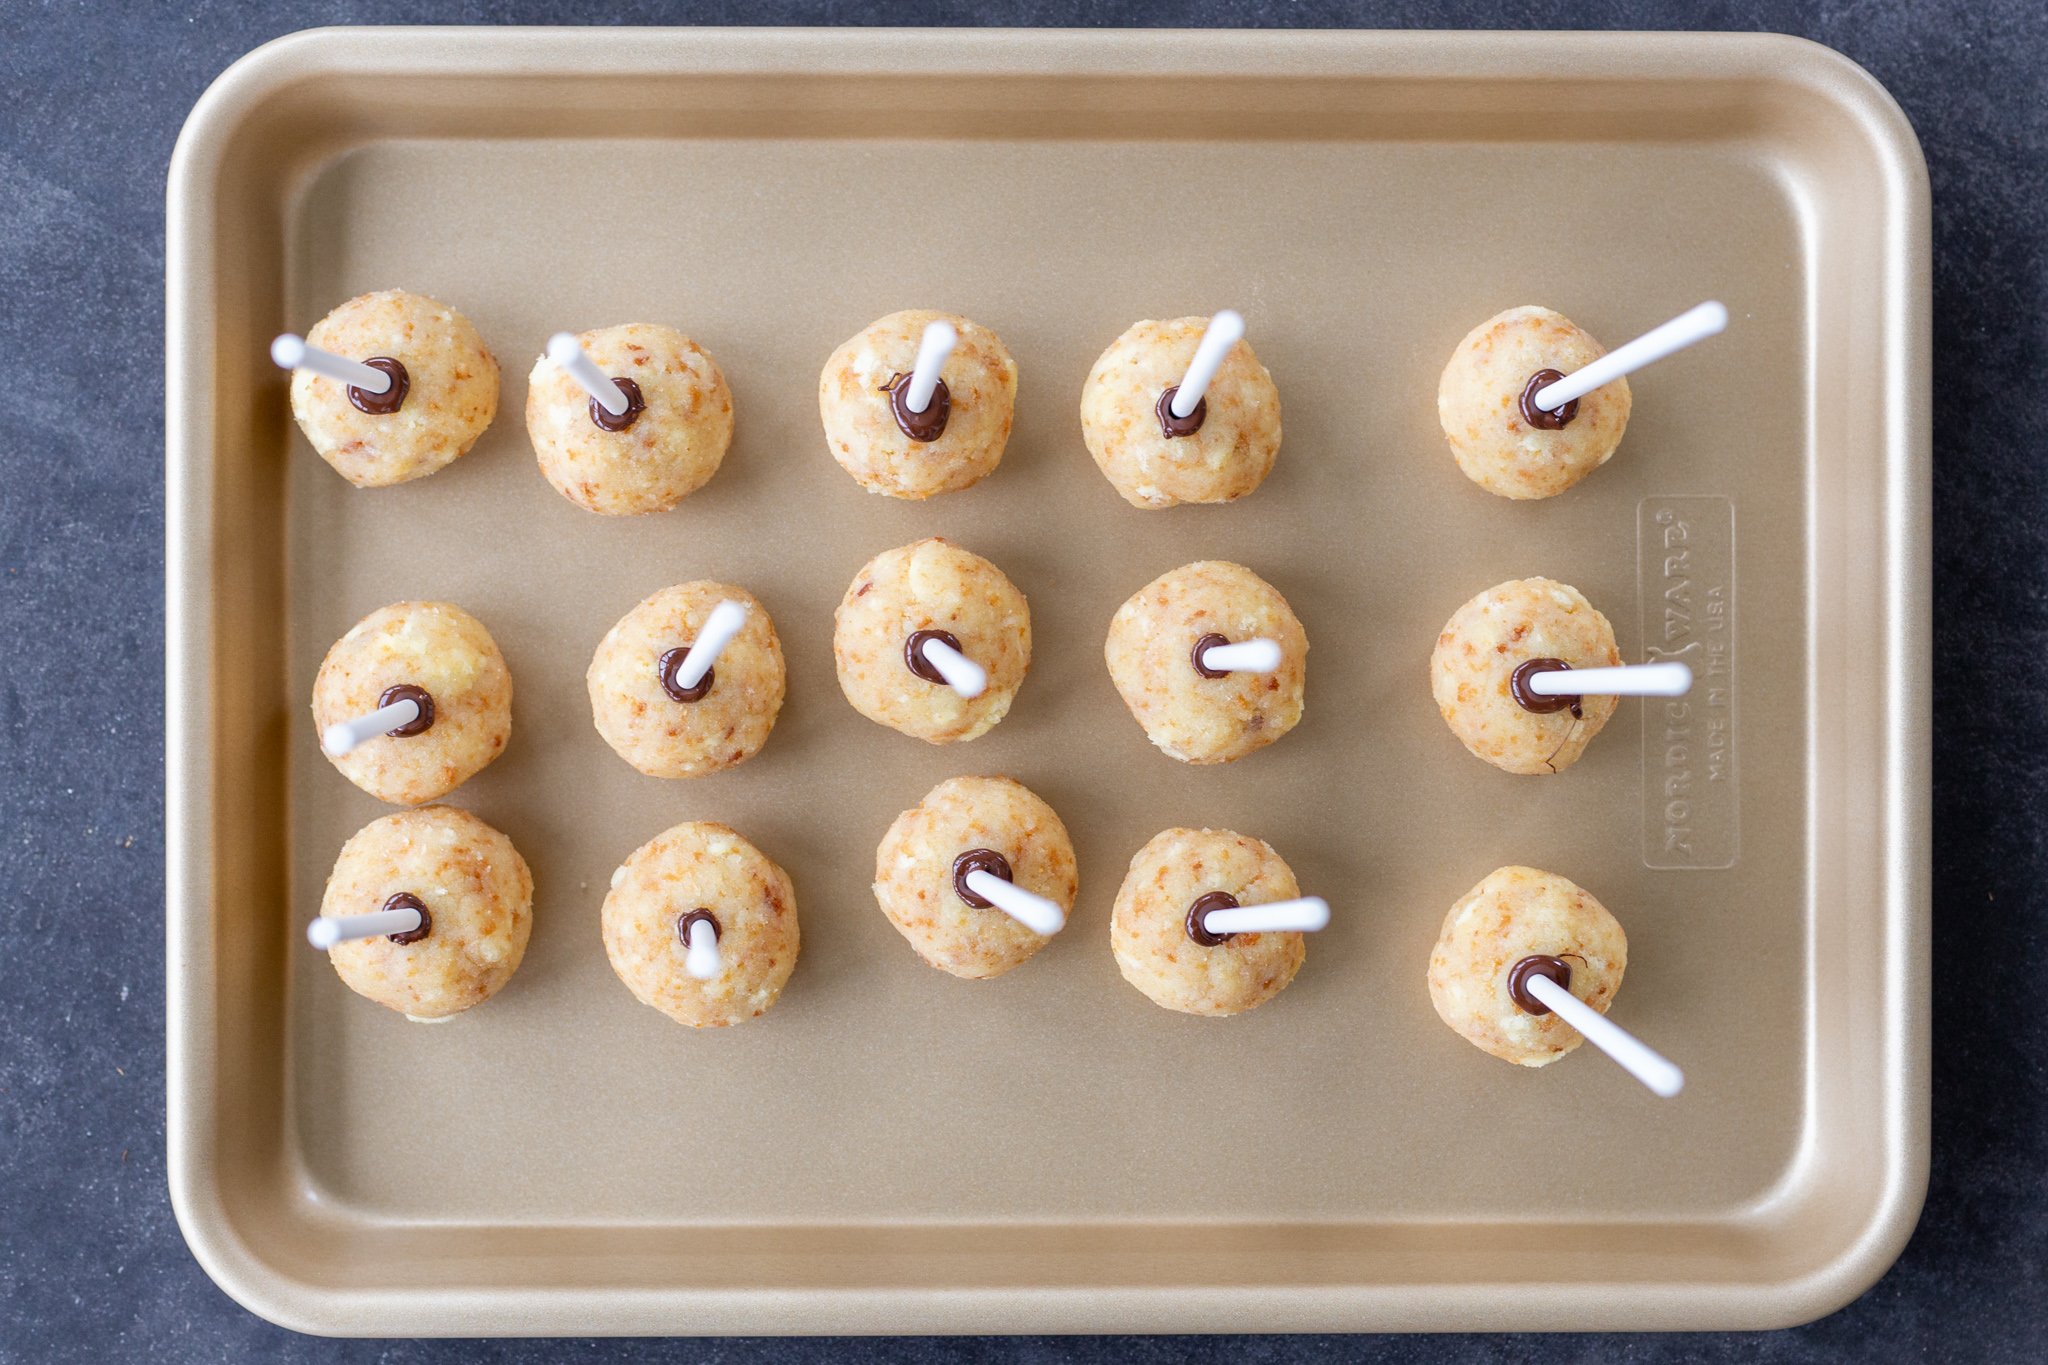
- Pop the Sticks In: Next, melt a small portion of the chocolate melts in a microwave-safe bowl and dip the end of a pop stick into it. Immediately stick it into a cake ball and repeat until all the cake balls have a stick.
- Refrigerate the Pops: Place the prepared pan uncovered in the refrigerator for 10 minutes.
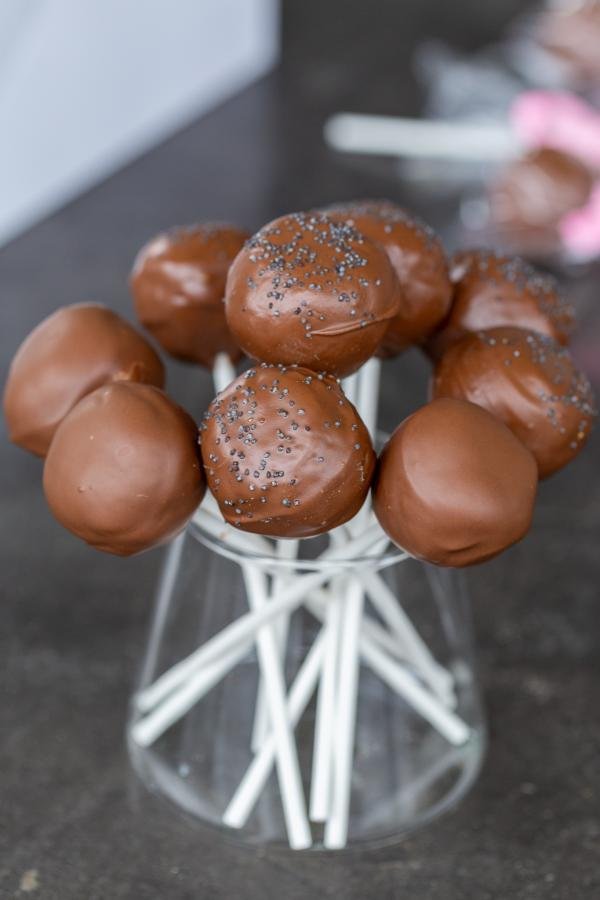
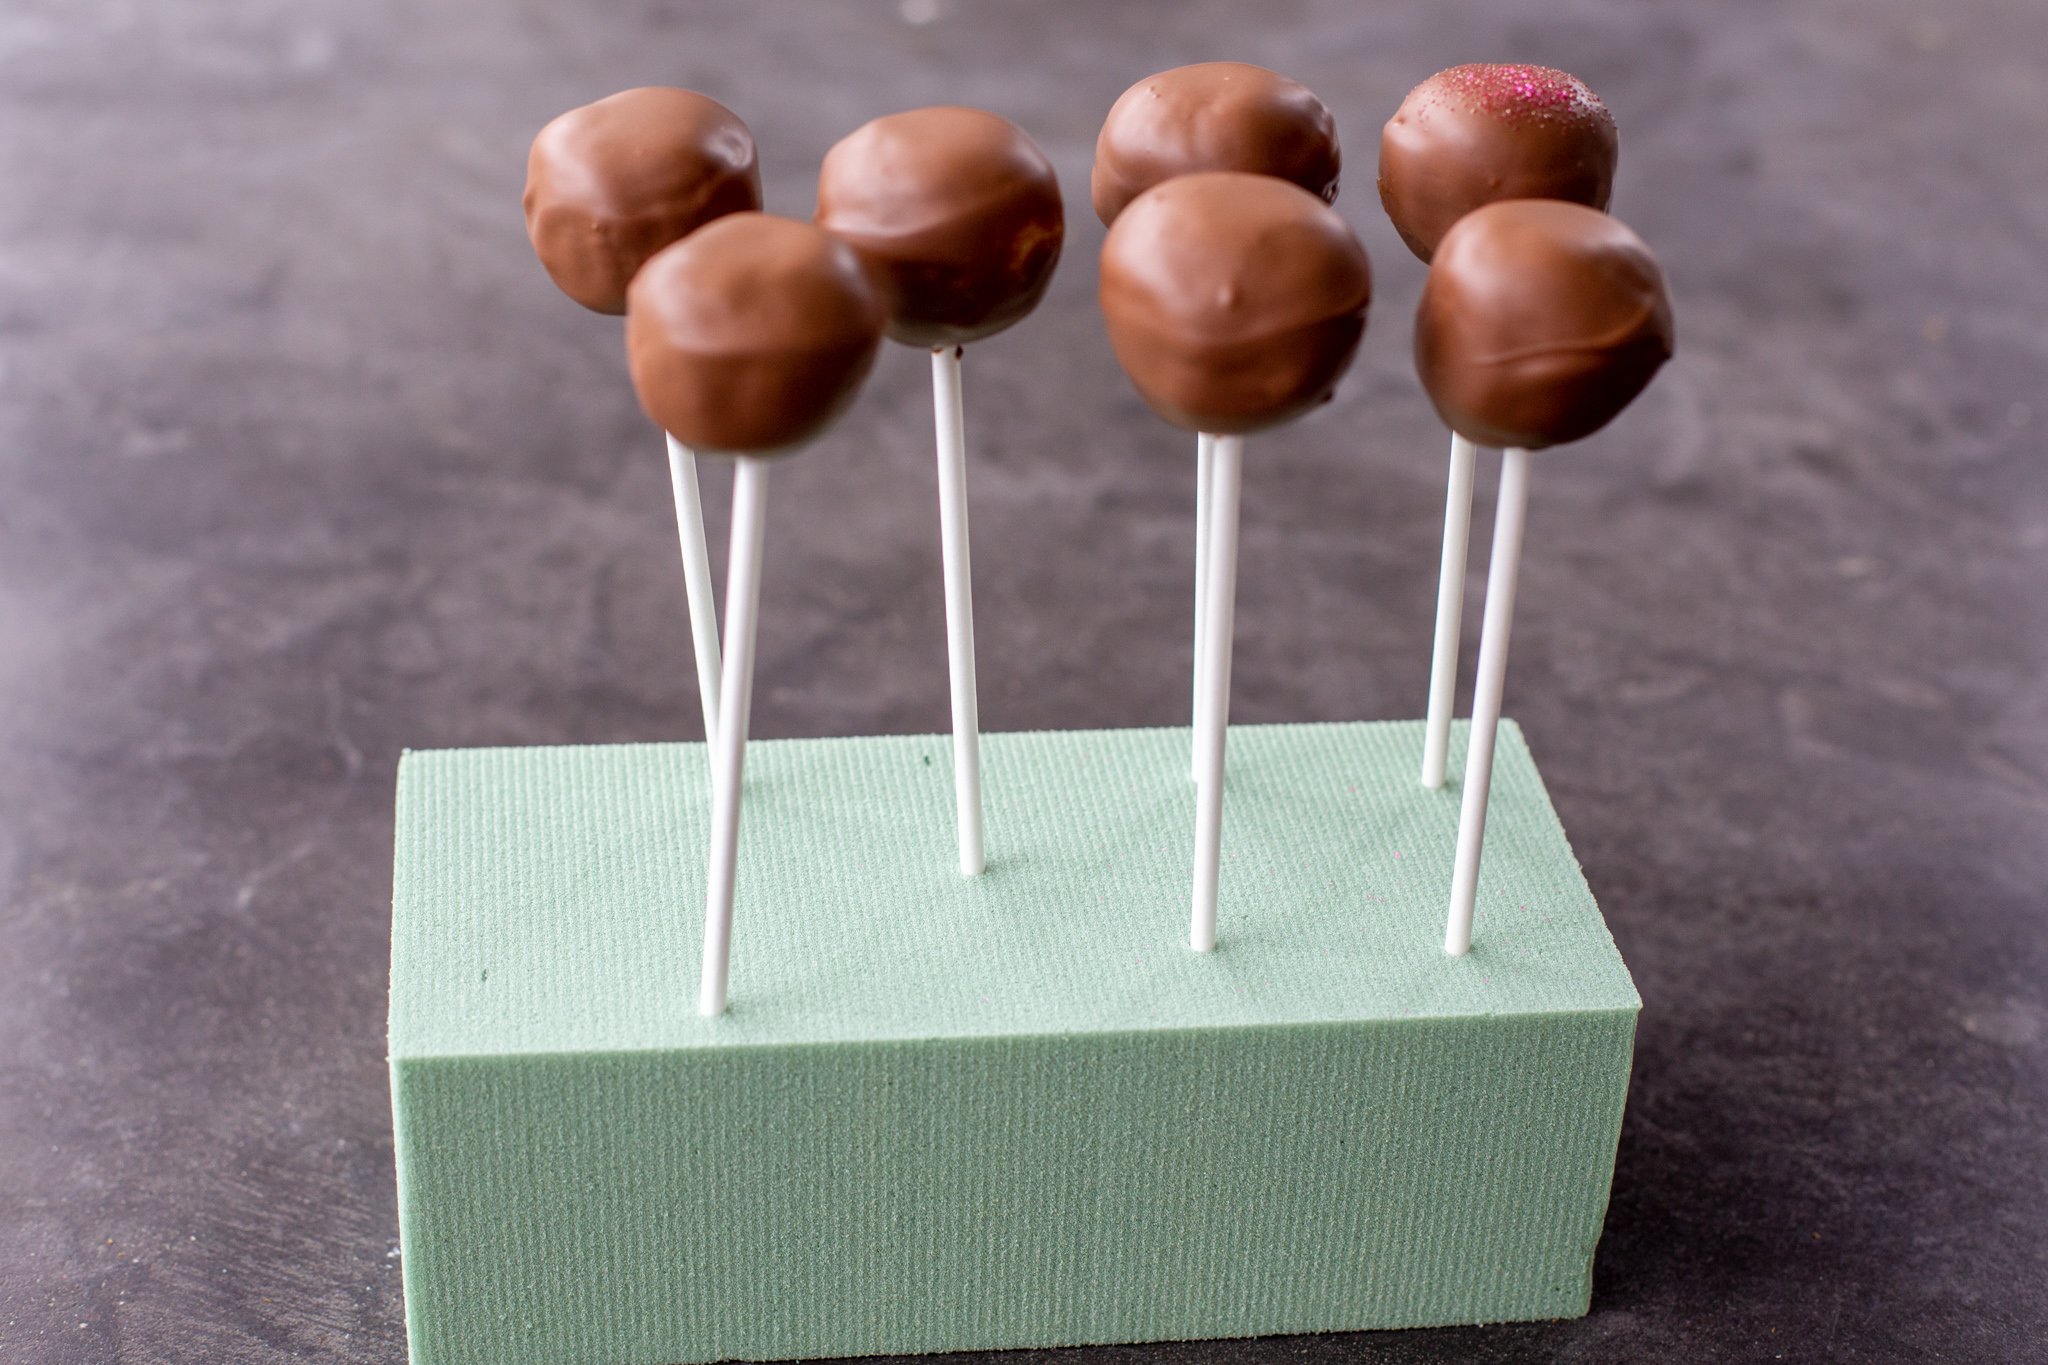
- Dip the Pops: Next, melt the remaining chocolate melts and dip the pops into the melted chocolate. Immediately transfer each to a stand to keep the cake pop upright.
- Refrigerate the Pops: Refrigerate the pops until you’re ready to serve them. Dig in and enjoy!
Hot Tip: Don’t over beat the heavy whipping cream past stiff peaks. If you beat it too long, it will turn into butter!


5 Pro Tips for How to make Cake Pops
There’s always a ton of questions about how to keep these treats in tact. Here’s our top 5 tips to nail them.
- Roll the cake balls into perfect circles. When you shape each cake ball, make sure there are 0 cracks in it. This will help it to not fall apart when you go to coat it in the melted chocolate.
- Use extra cold heavy whipping cream. When you’re making the whipped cream, be certain to use extra cold heavy whipping cream. This will result in the fluffiest texture. If you have to, stick the heavy whipping cream in the freezer for 10-15 minutes before you get to whipping.
- Use chocolate melts as glue to hold the stick in. Dip the stick into melted candy melts before sticking it into the cake ball. This will act as a “glue” to hold the cake balls on tightly. It’s crucial that you make sure the stick is firmly inserted into the cake balls before you try and coat them!
- Dip the pops in a circular motion. As you dip each pop, go around in a circular motion to coat all the sides and create that super smooth outer layer.
- Don’t use too much whipped cream. Make sure to measure whipped cream frosting properly. If the cake pops contain too much frosting, they will come out mushy and fall apart.
Note: This is a very standard cake pop recipe that can and should be tweaked with different sprinkles, decorations and candy coating flavors. Go wild!
How to Store Cake Pops
There are two different ways you can store your cake pops – in the fridge or in the freezer. Here’s how to do both…
- Refrigerator: To keep your pops fresh for up to 10 days, store them in the fridge covered tightly with plastic wrap. This will keep them from absorbing any smells lingering around in your fridge.
- Freezer: To freeze your pops for up to 3 months, place the entire stand in the freezer for 1-2 hours. Once the individual pops are completely frozen, transfer them to a freezer-safe bag. To thaw, place them in the fridge overnight.
FAQ
How do you get cake pops to stick together?
The key to getting cake pops to stick together is to use a little melted candy melts as a glue between the cake ball and the cake pop stick. Otherwise, the cake ball will ultimately slide down the stick and fall apart.
How many bags of candy melts do you need for cake pops?
You’ll need one 24 ounce bag of of candy melts or two 12 ounce bags. It doesn’t matter which color you use, so get creative!
How do you make cake pops smooth?
The key to getting smooth cake pops is all in the technique. First, you want to roll the cake balls into perfect balls. Next, you’ll want to make sure that you dip them in the chocolate in a circular motion to create that super smooth effect.
What’s the best way to melt candy melts for cake pops?
The best way to melt candy is on a steam bath or double-broiler. This will keep the melts liquified as you work. Alternatively, you can keep microwaving them to keep them melted.
How do you make cake pops firmer?
Several different factors are at play when it comes to getting firm cake pops. First off, you’ll need to tear the cake apart super finely so you don’t have too big of chunks that the cake ball falls apart. Secondly, you’ll want to keep the cake pops stored in the refrigerator until you’re ready to serve them so they can set.
More Tasty Cake Balls to Try
- Christmas Cake Pops – Chocolate cake pops with mint & cream cheese frosting
- Chocolate Cake Pops – Using homemade chocolate sponge cake
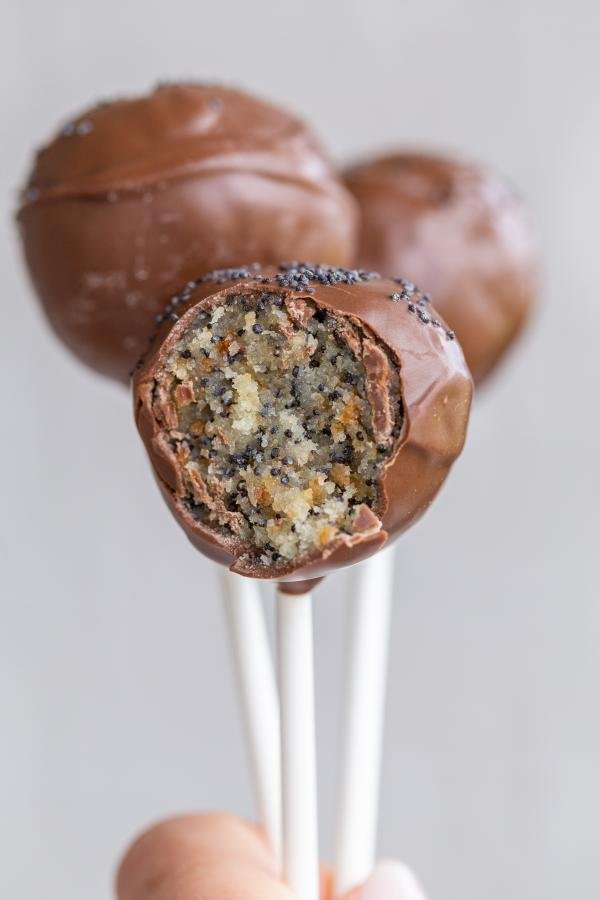
- Poppy Seed & Raisin Cake Pops – Slavic-style cake pops
- Russian Chocolate Cake Balls – Sponge cake & condensed milk cake
- No-Bake Cheesecake Bites – Cream cheese, chocolate & graham cracker bites
Recipe

Ingredients
- 1 sponge cake
- 1 cup heavy whipping cream extra cold
- 1/2 cup sugar
- 24 oz chocolate melts any color
Instructions
- In a large bowl, break the sponge cake apart into tiny pieces, almost to the point of crumbles.
- Using a hand mixer or stand mixer, beat the extra cold heavy whipping cream and sugar together until it's thick and reaches stiff peaks.
- Combine the whipped cream with the crumbled cake mixture. Work it together until it's perfectly smooth.

- Using a cookie scoop, portion out a small amount of batter and roll it into a perfect ball in your hands. As you go, place each ball onto a baking sheet lined with parchment paper.
- In a small dish, melt 1/4 cup of the chocolate melts. Dip the end of the cake pop stick into the melted chocolate and immediately stick the dipped end into the cake ball. Repeat until each cake ball has a stick. Place the cake pops uncovered in the refrigerator for 10 minutes, or until the chocolate hardens.
- In a small but deep dish, melt the remaining chocolate melts according to package instructions.
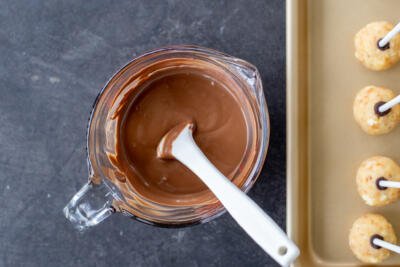
- One by one, dip the cake pops into the melted chocolate. As you go, transfer each cake pop to the stand to dry. Refrigerate the cake pops until you're ready to serve them. Enjoy!


My family loved these cake pops! They were super easy to make and tasted amazing, thank you!
Hi Olivia, I am thrilled that y'all loved the cake pops! Thank you for your feedback, enjoy!
I love that these are made with whipped cream instead of frosting. They aren't overly sweet like others I've tried.
Hi Kara, thank you for your feedback. I am thrilled that you loved this recipe! Enjoy!
Oh my goodness, these were amazing; my kiddos loved them and keep asking me to make them again!
Hi Andie, I am so glad this recipe was a success! Thank you for your feedback, enjoy!