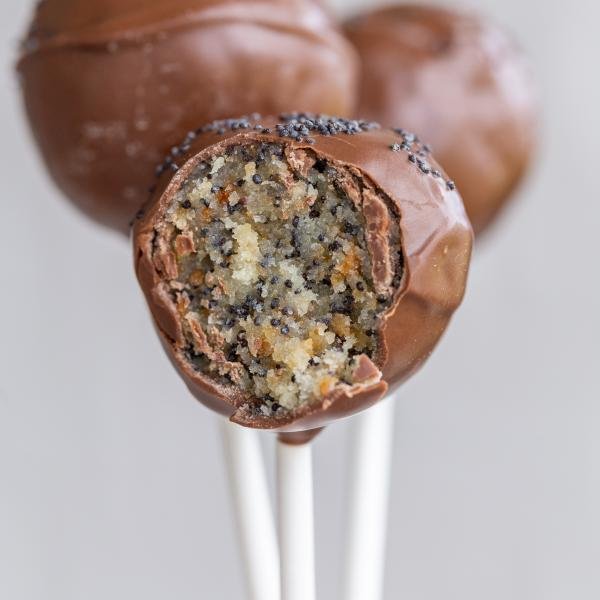
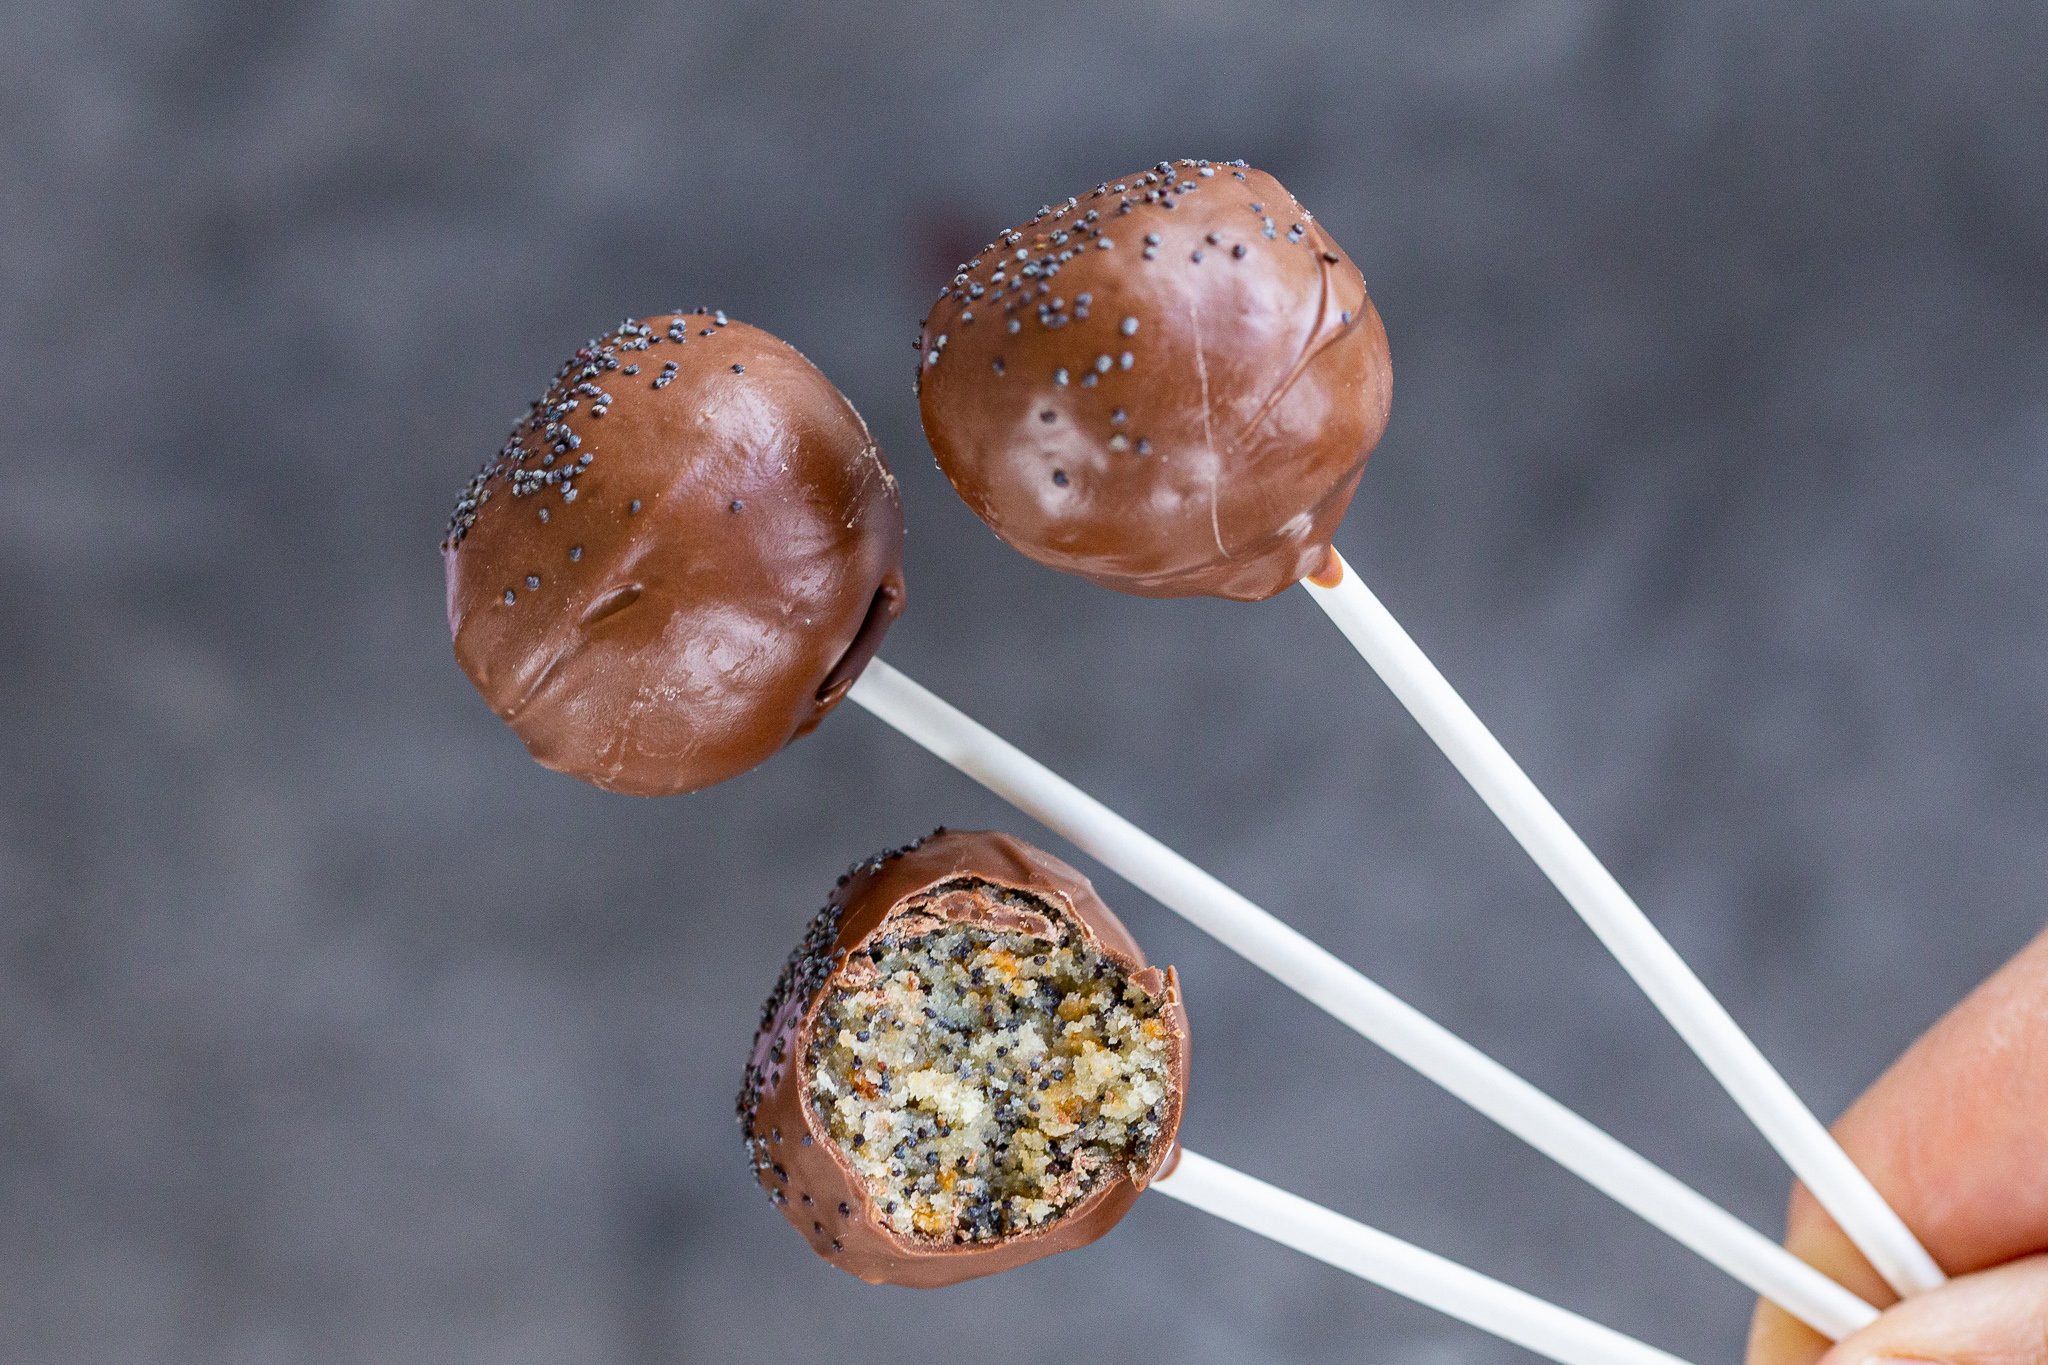
These cake pops don’t take any shortcuts when it comes to texture. You’ll swoon over how the chocolate coating complements the poppy seeds and raisins!
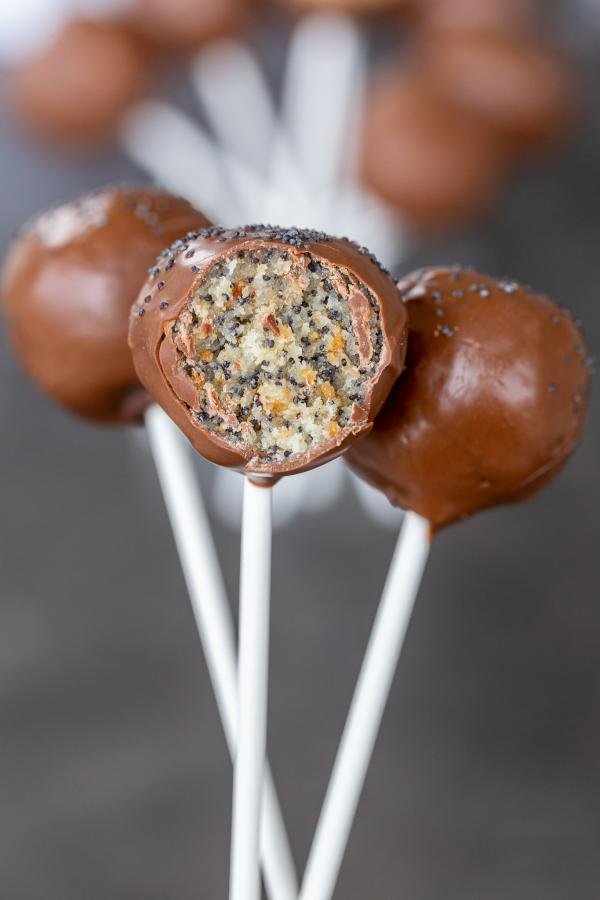
This cake pops recipe is such a fun blend of the new and old school. The combination of poppy seeds and raisins is as classically Slavic as it gets, while cake pops are all the rage right now. Whenever I’m stumped about what dessert will please EVERYONE at a party, I know these fun treats will be a crowd-pleaser for both the young and the old. If you’re a poppy seed fanatic, don’t forget to try my classic poppy seed roll.
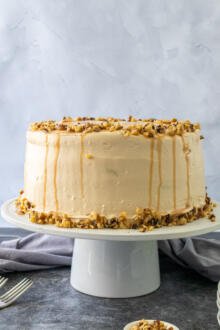
Before you dive in, be aware that you will need to make sponge cake for this recipe or pick up a couple of rounds from your local bakery. Get ahead of the game and bake the cake the day before if you can. This will not only ensure it will cool completely before crumbling, but it will also save you from slaving away in the kitchen day-of. The most fun part is assembling the pops anyway, right?
How to Make Cake Pops with Poppyseeds & Raisins
Making this recipe only requires 6 simple ingredients and a little bit of assembling. Below, find a quick hitter overview of the recipe before you dive in.
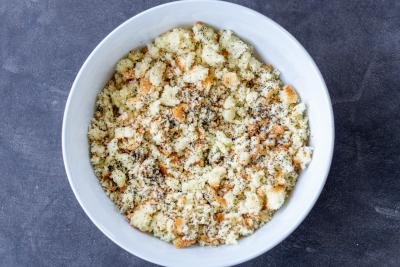
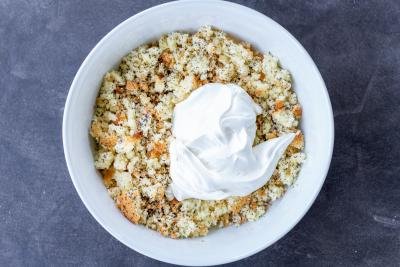
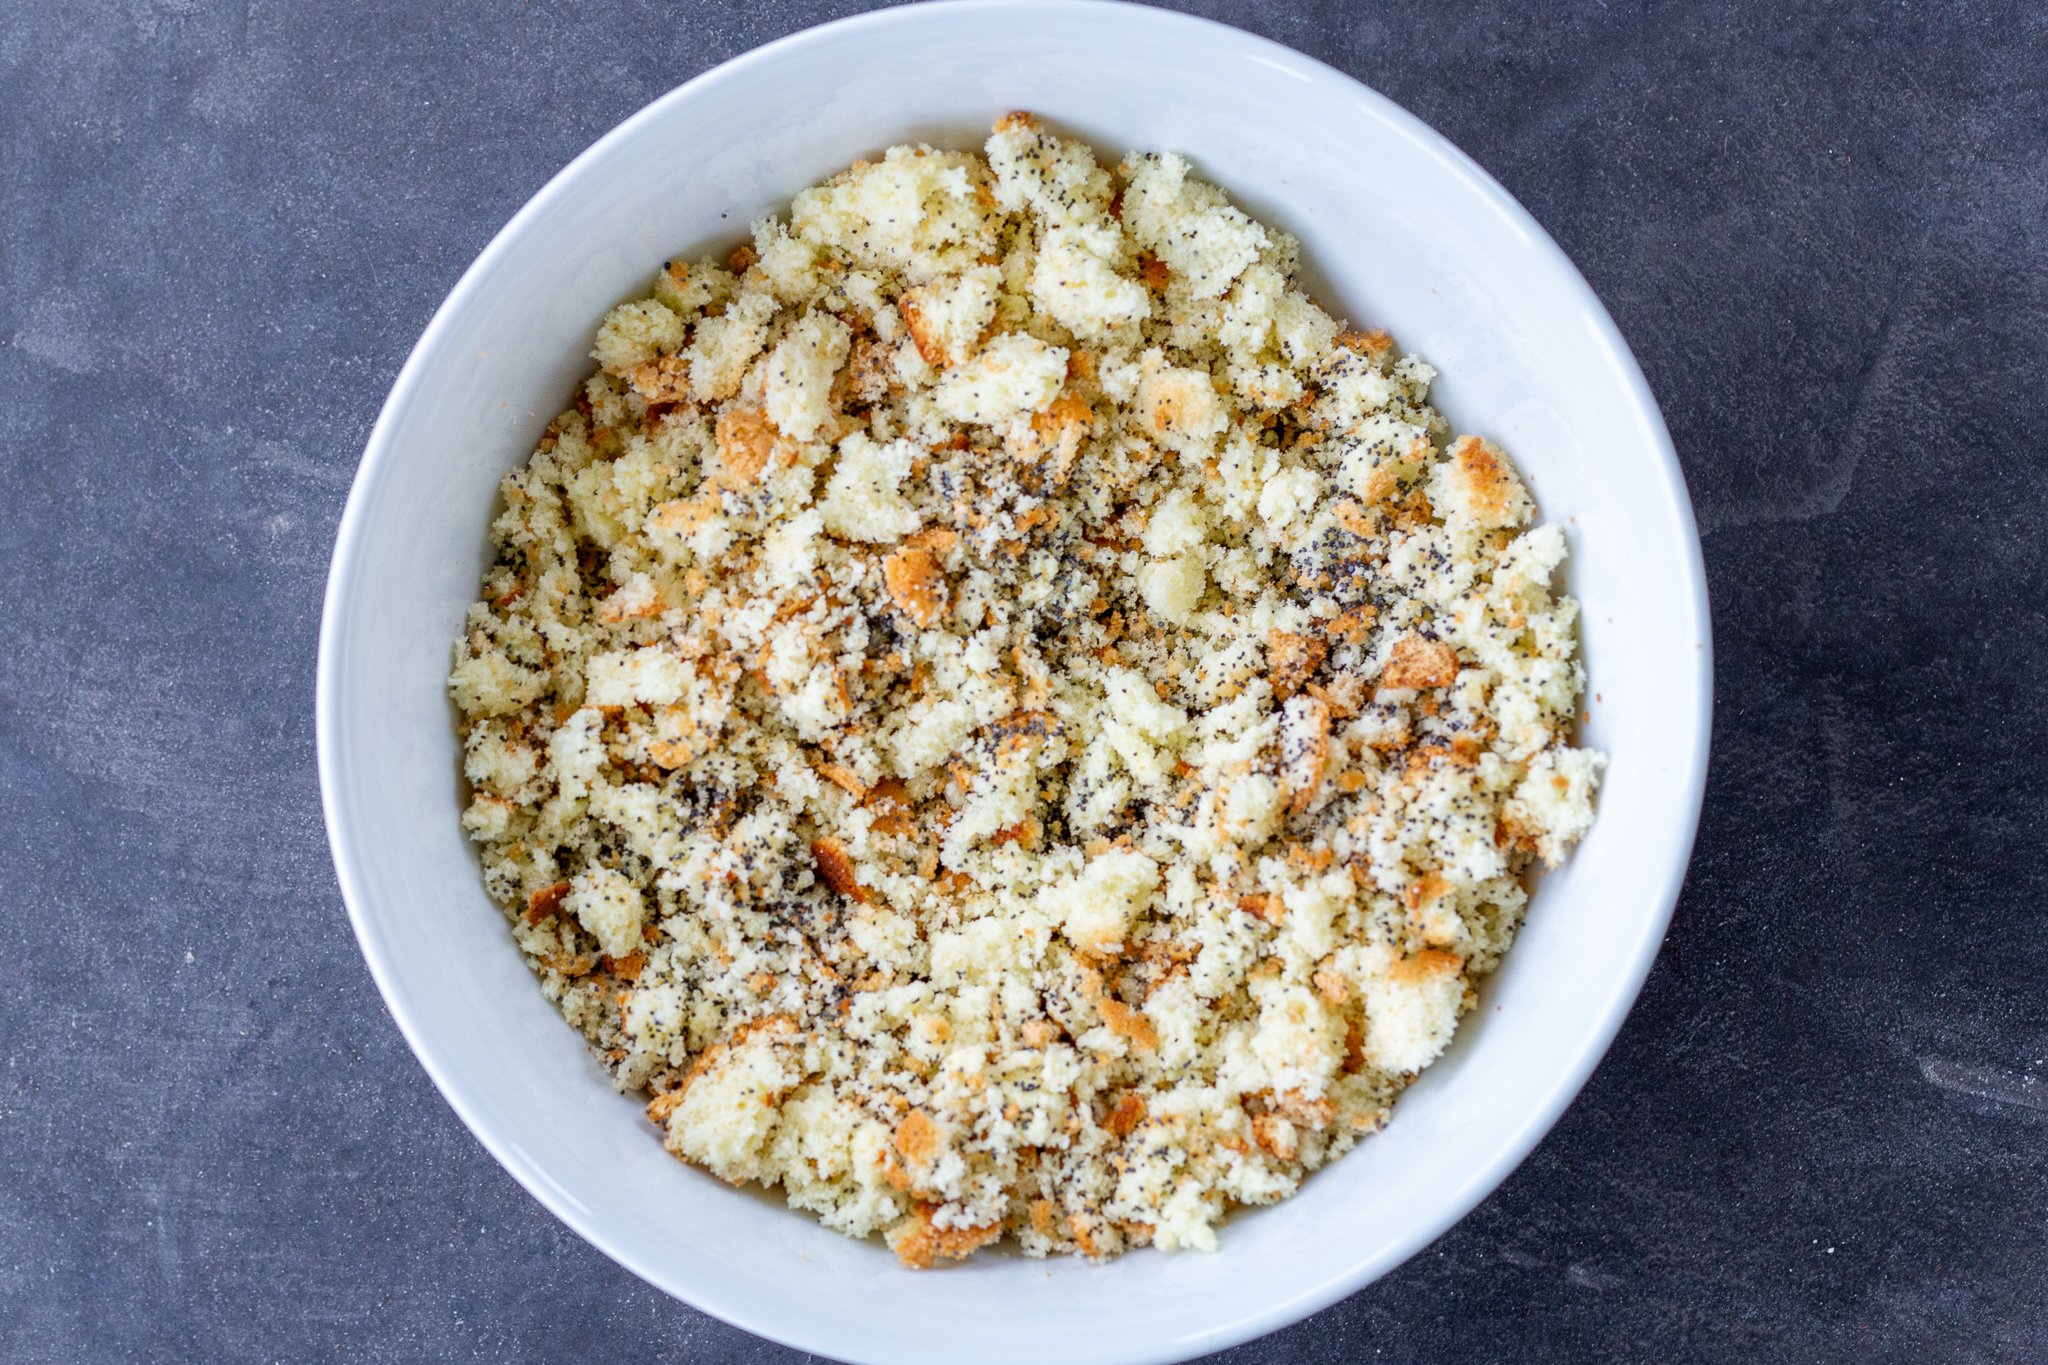
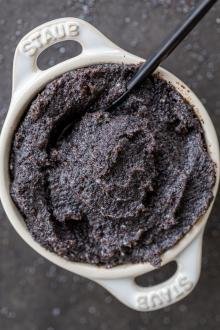
- Make the Batter: In a large bowl, crumble the cake and mix it with the raisins and poppy seeds. Next, use a hand mixer to beat the whipping cream and sugar until fluffy. Slowly, add the whipped cream into the crumbled cake until well-combined.
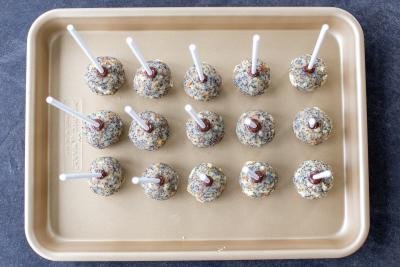
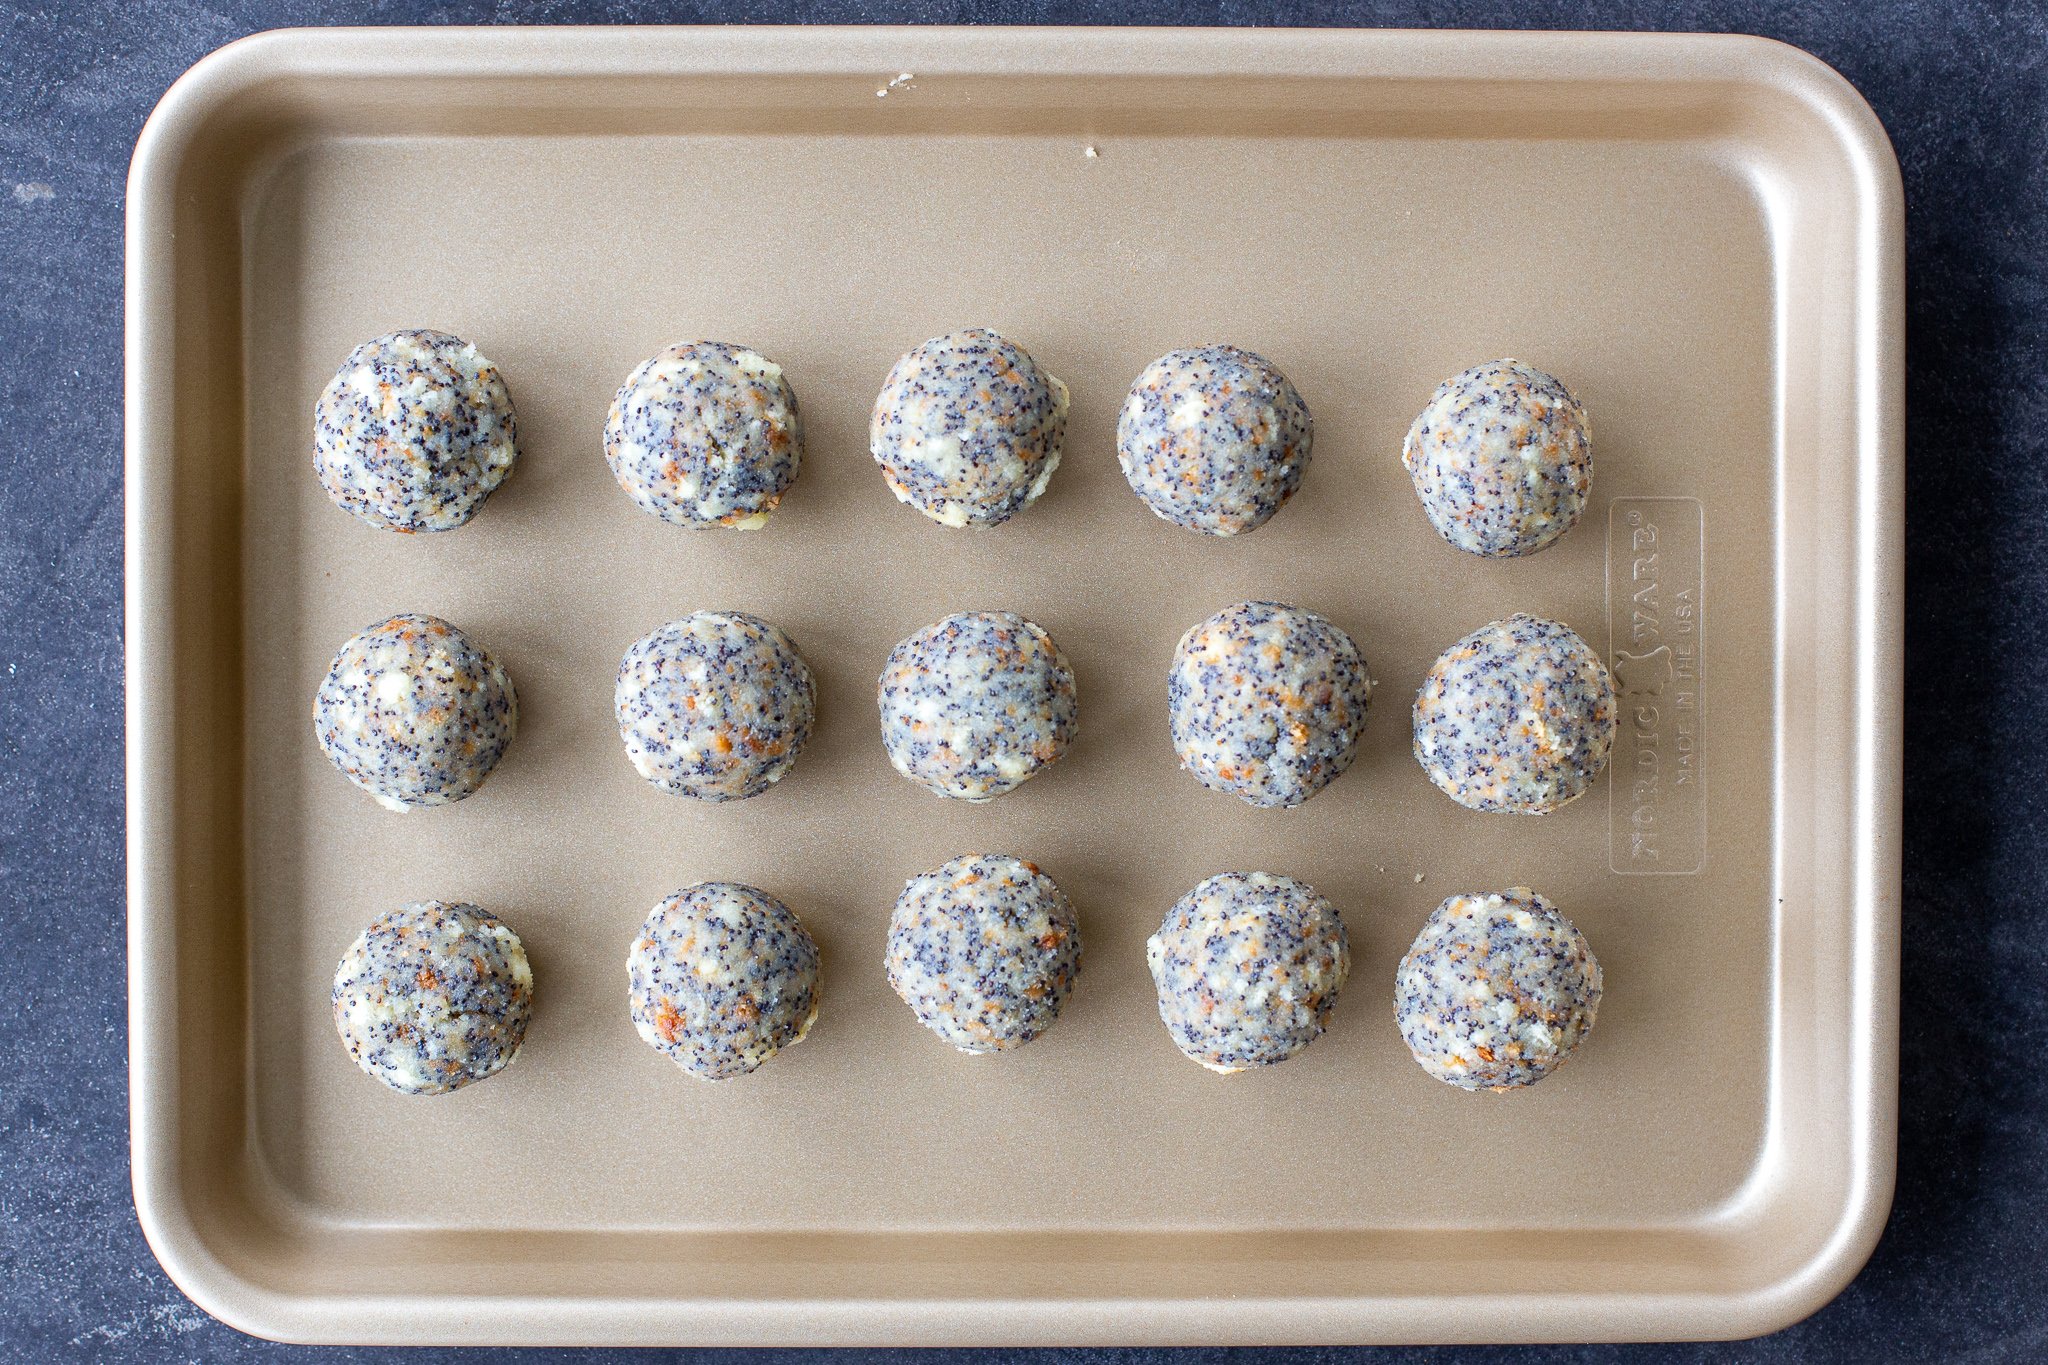
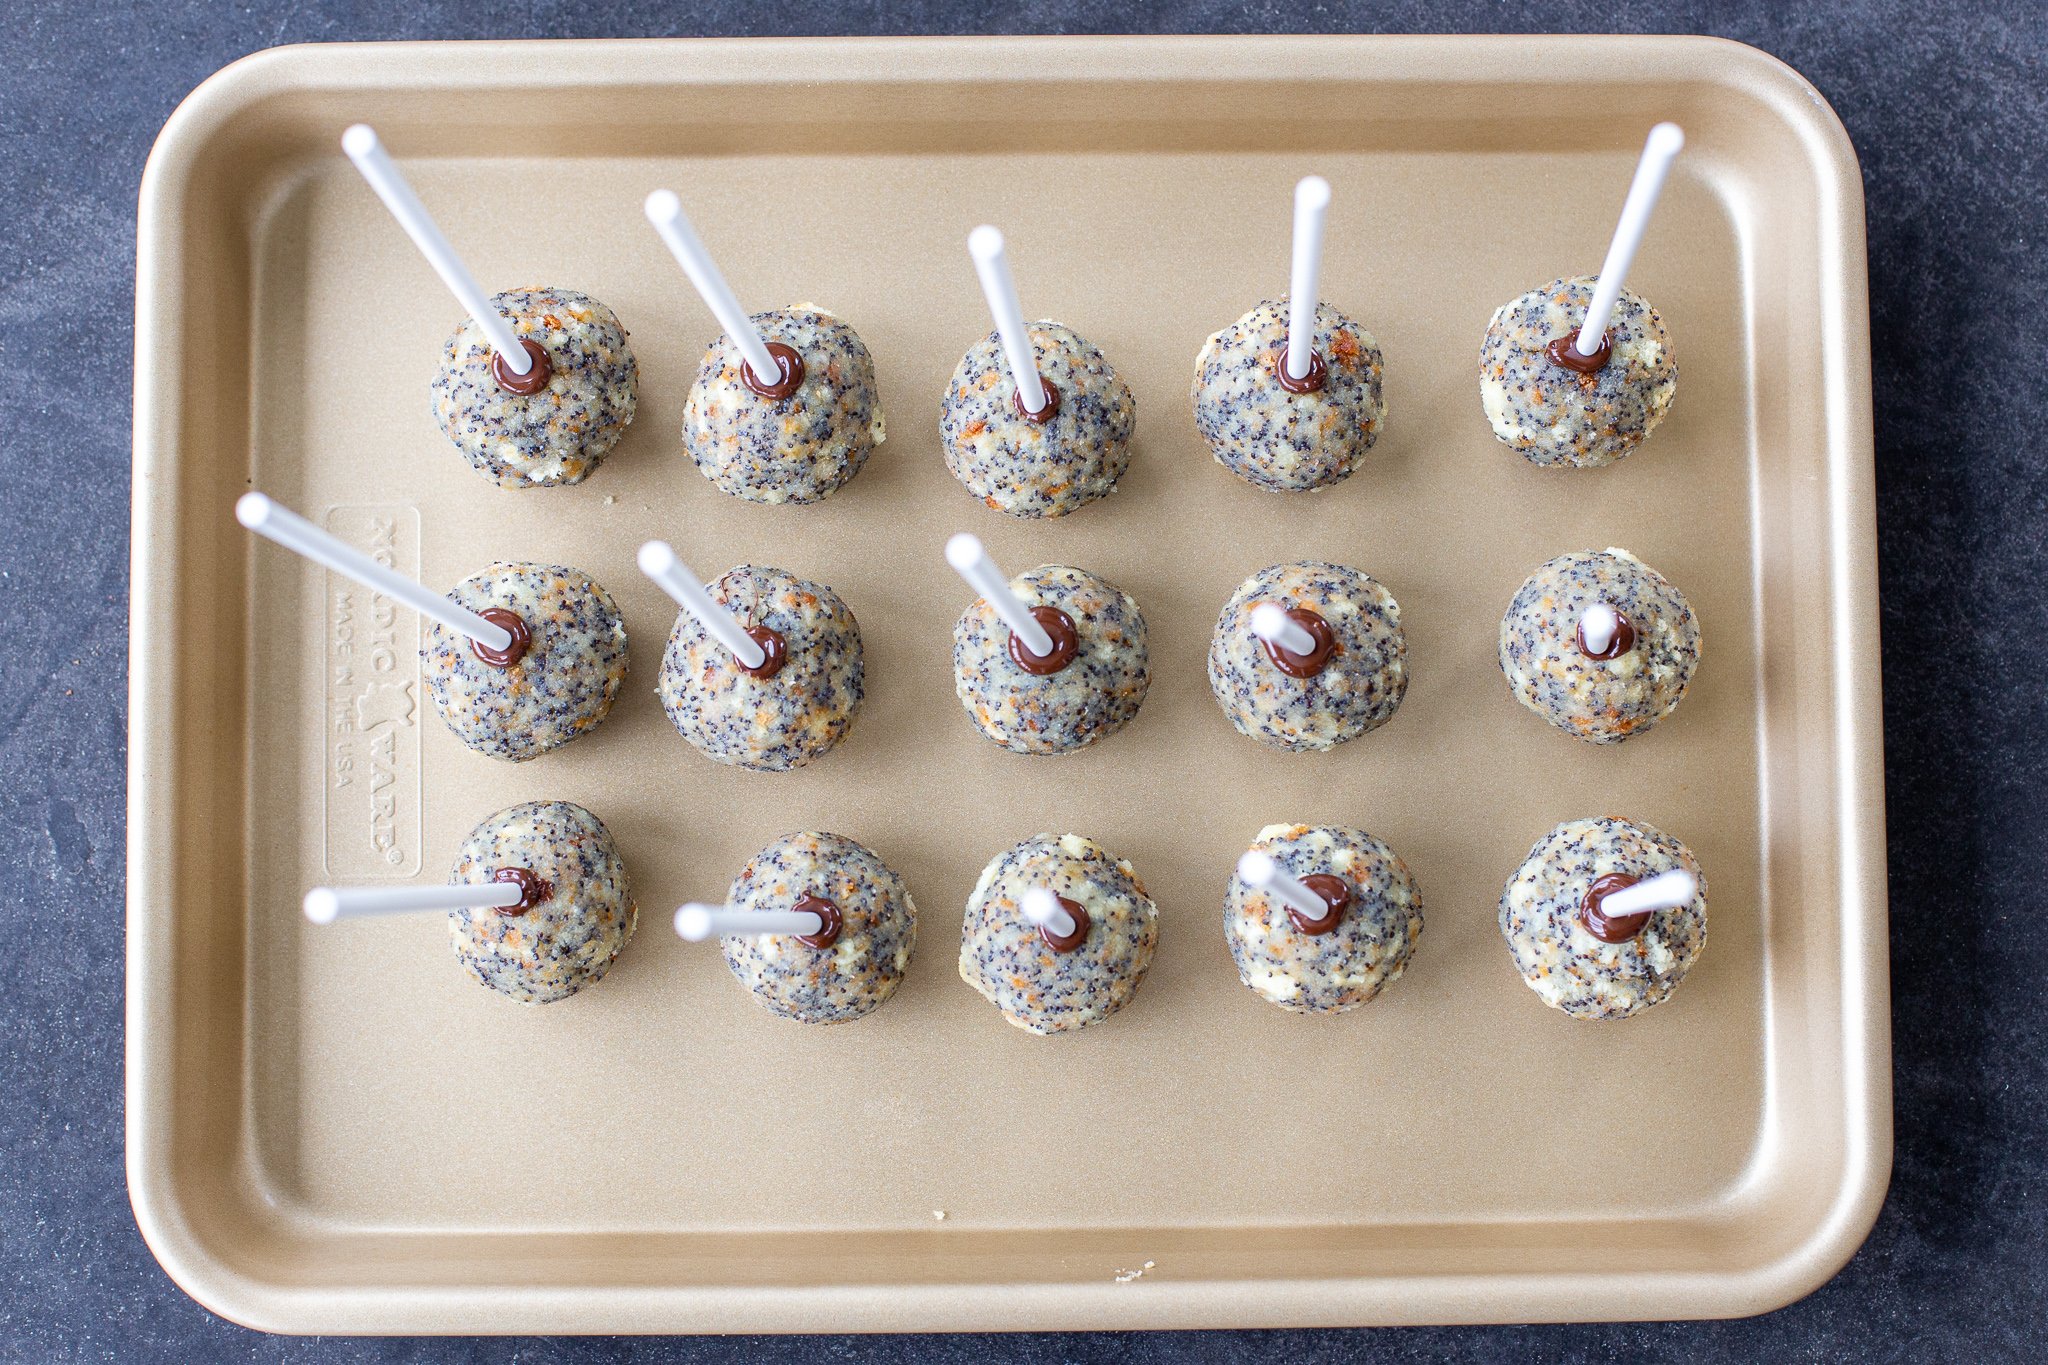
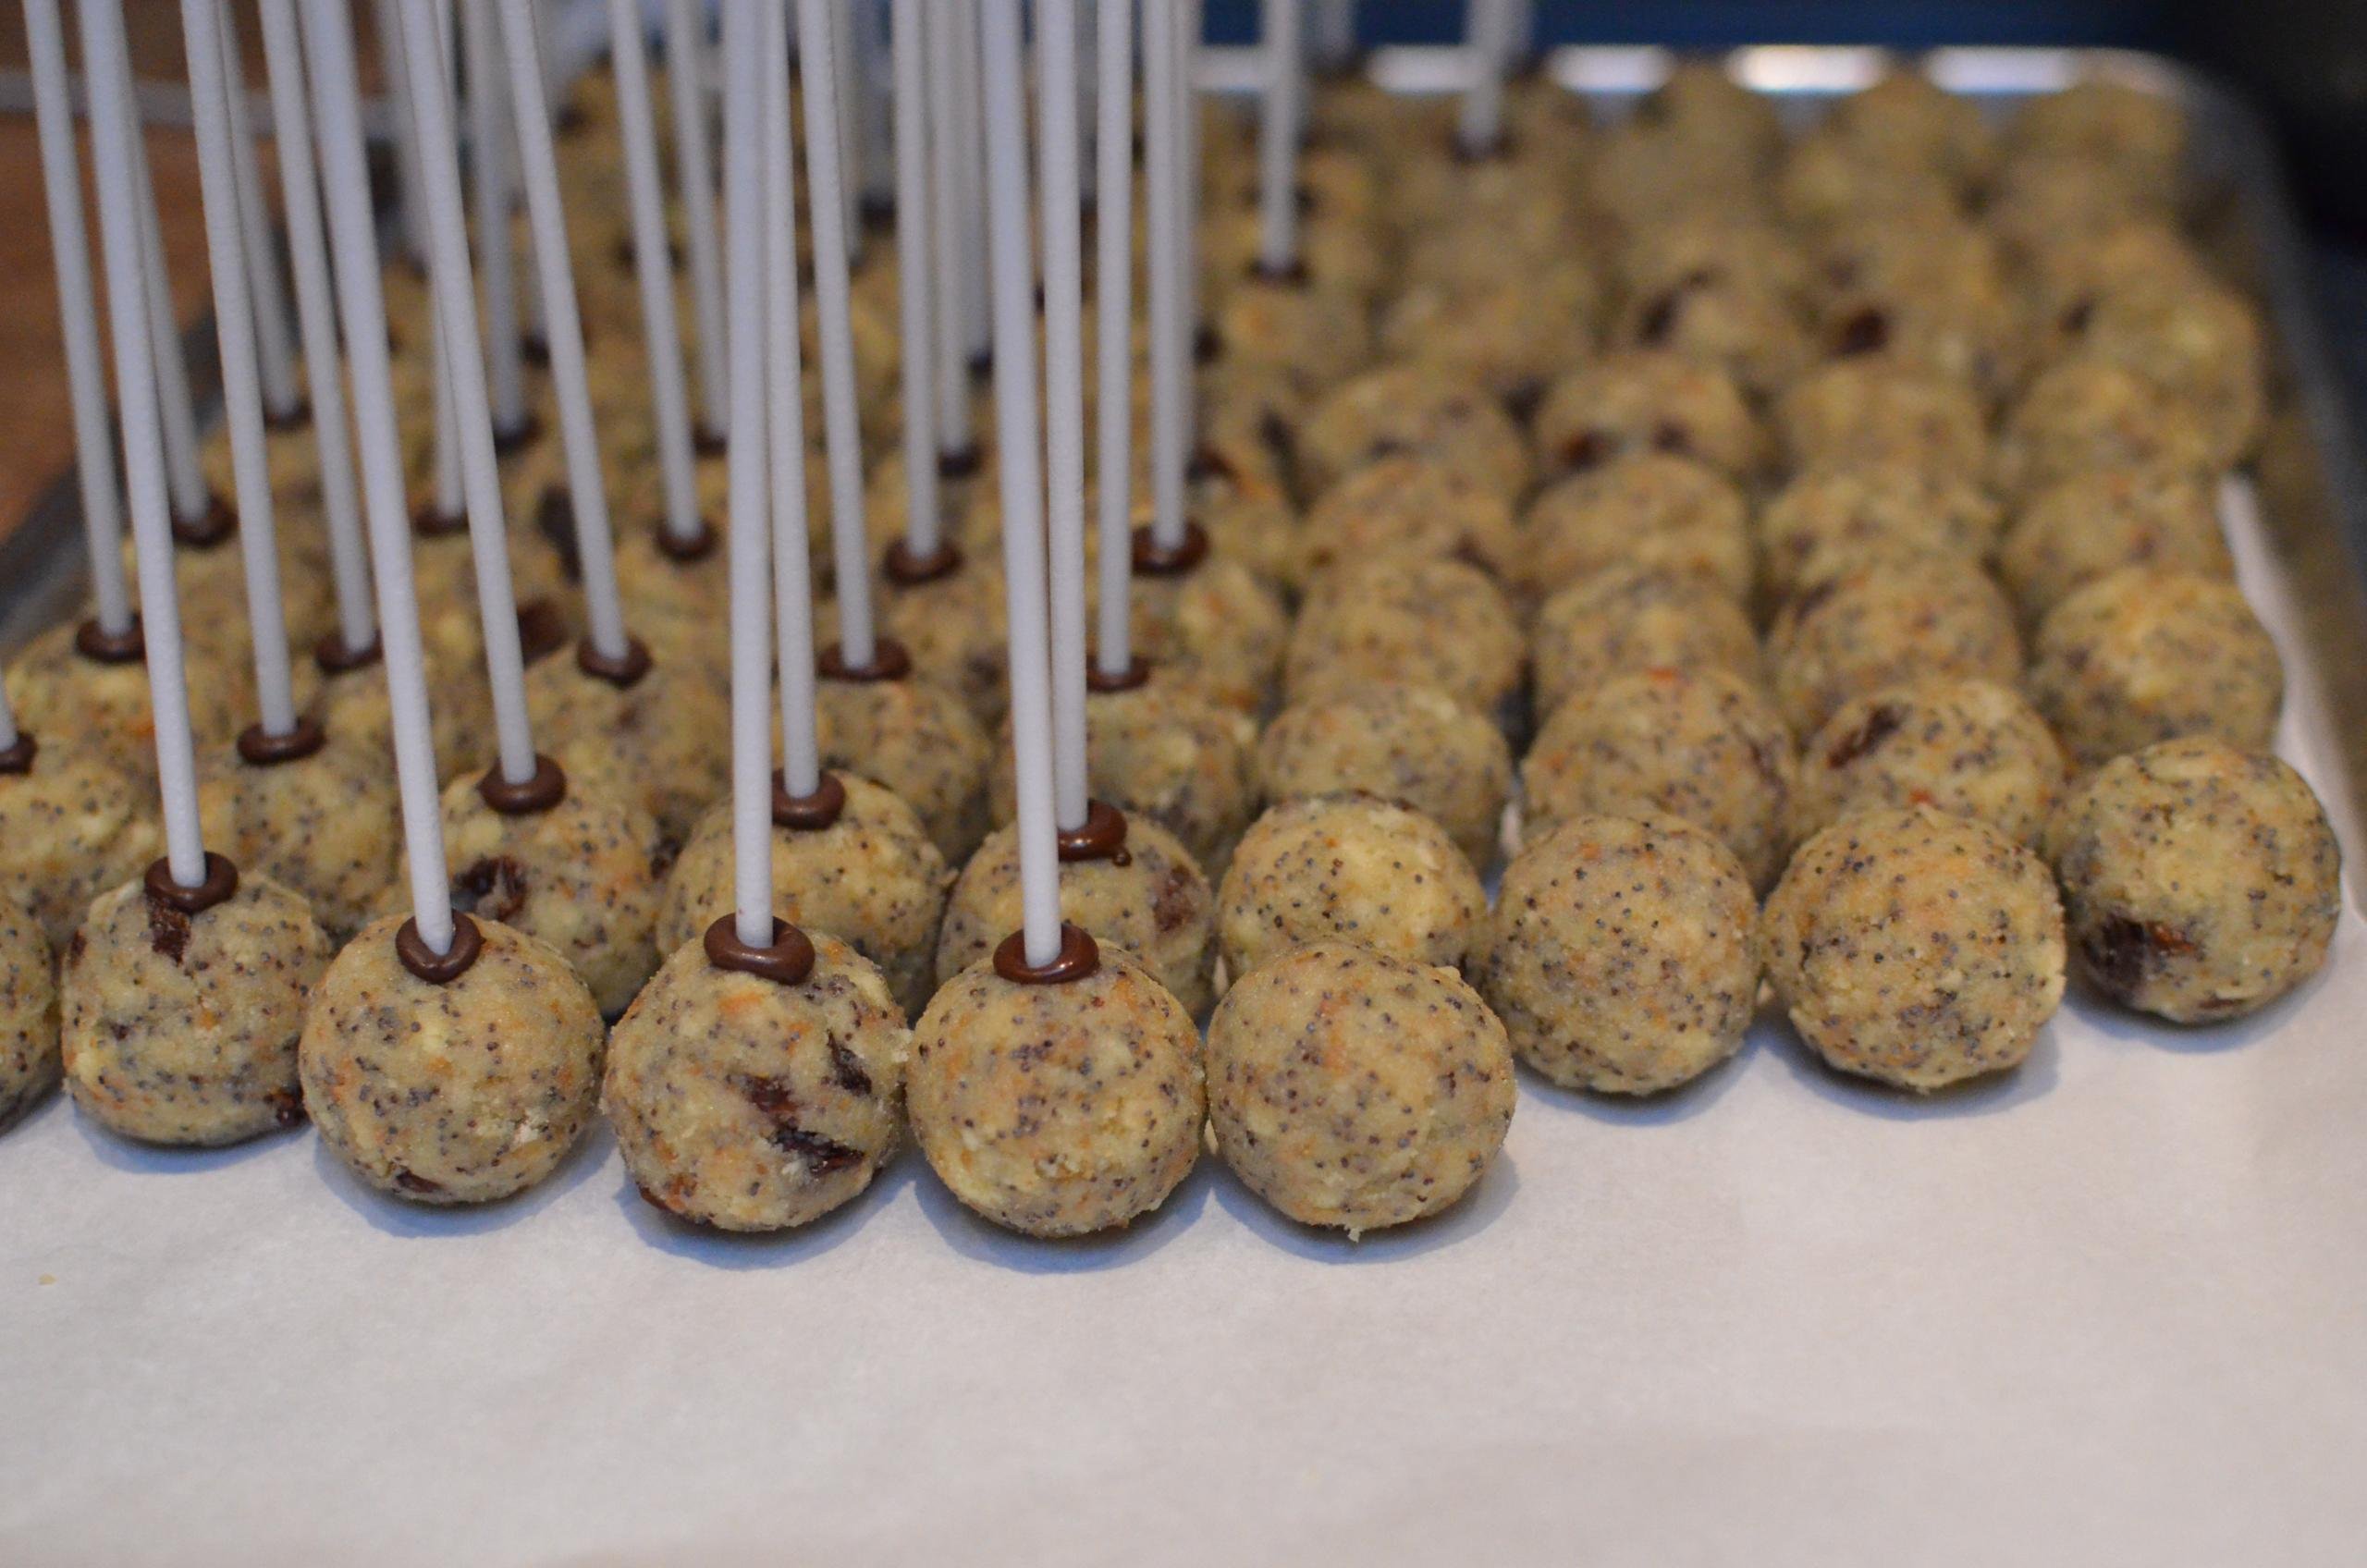
- Assemble the Cake Pops: Using an ice cream scoop or cookie scoop, portion out the batter, roll each piece into a cake ball, and place line up the balls on a lined baking sheet. Next, melt a little chocolate, dip the end of the lollipop stick into it, and poke it chocolate-side first into the cake ball. Repeat until all the cake balls have a stick and refrigerate them for 10 minutes.
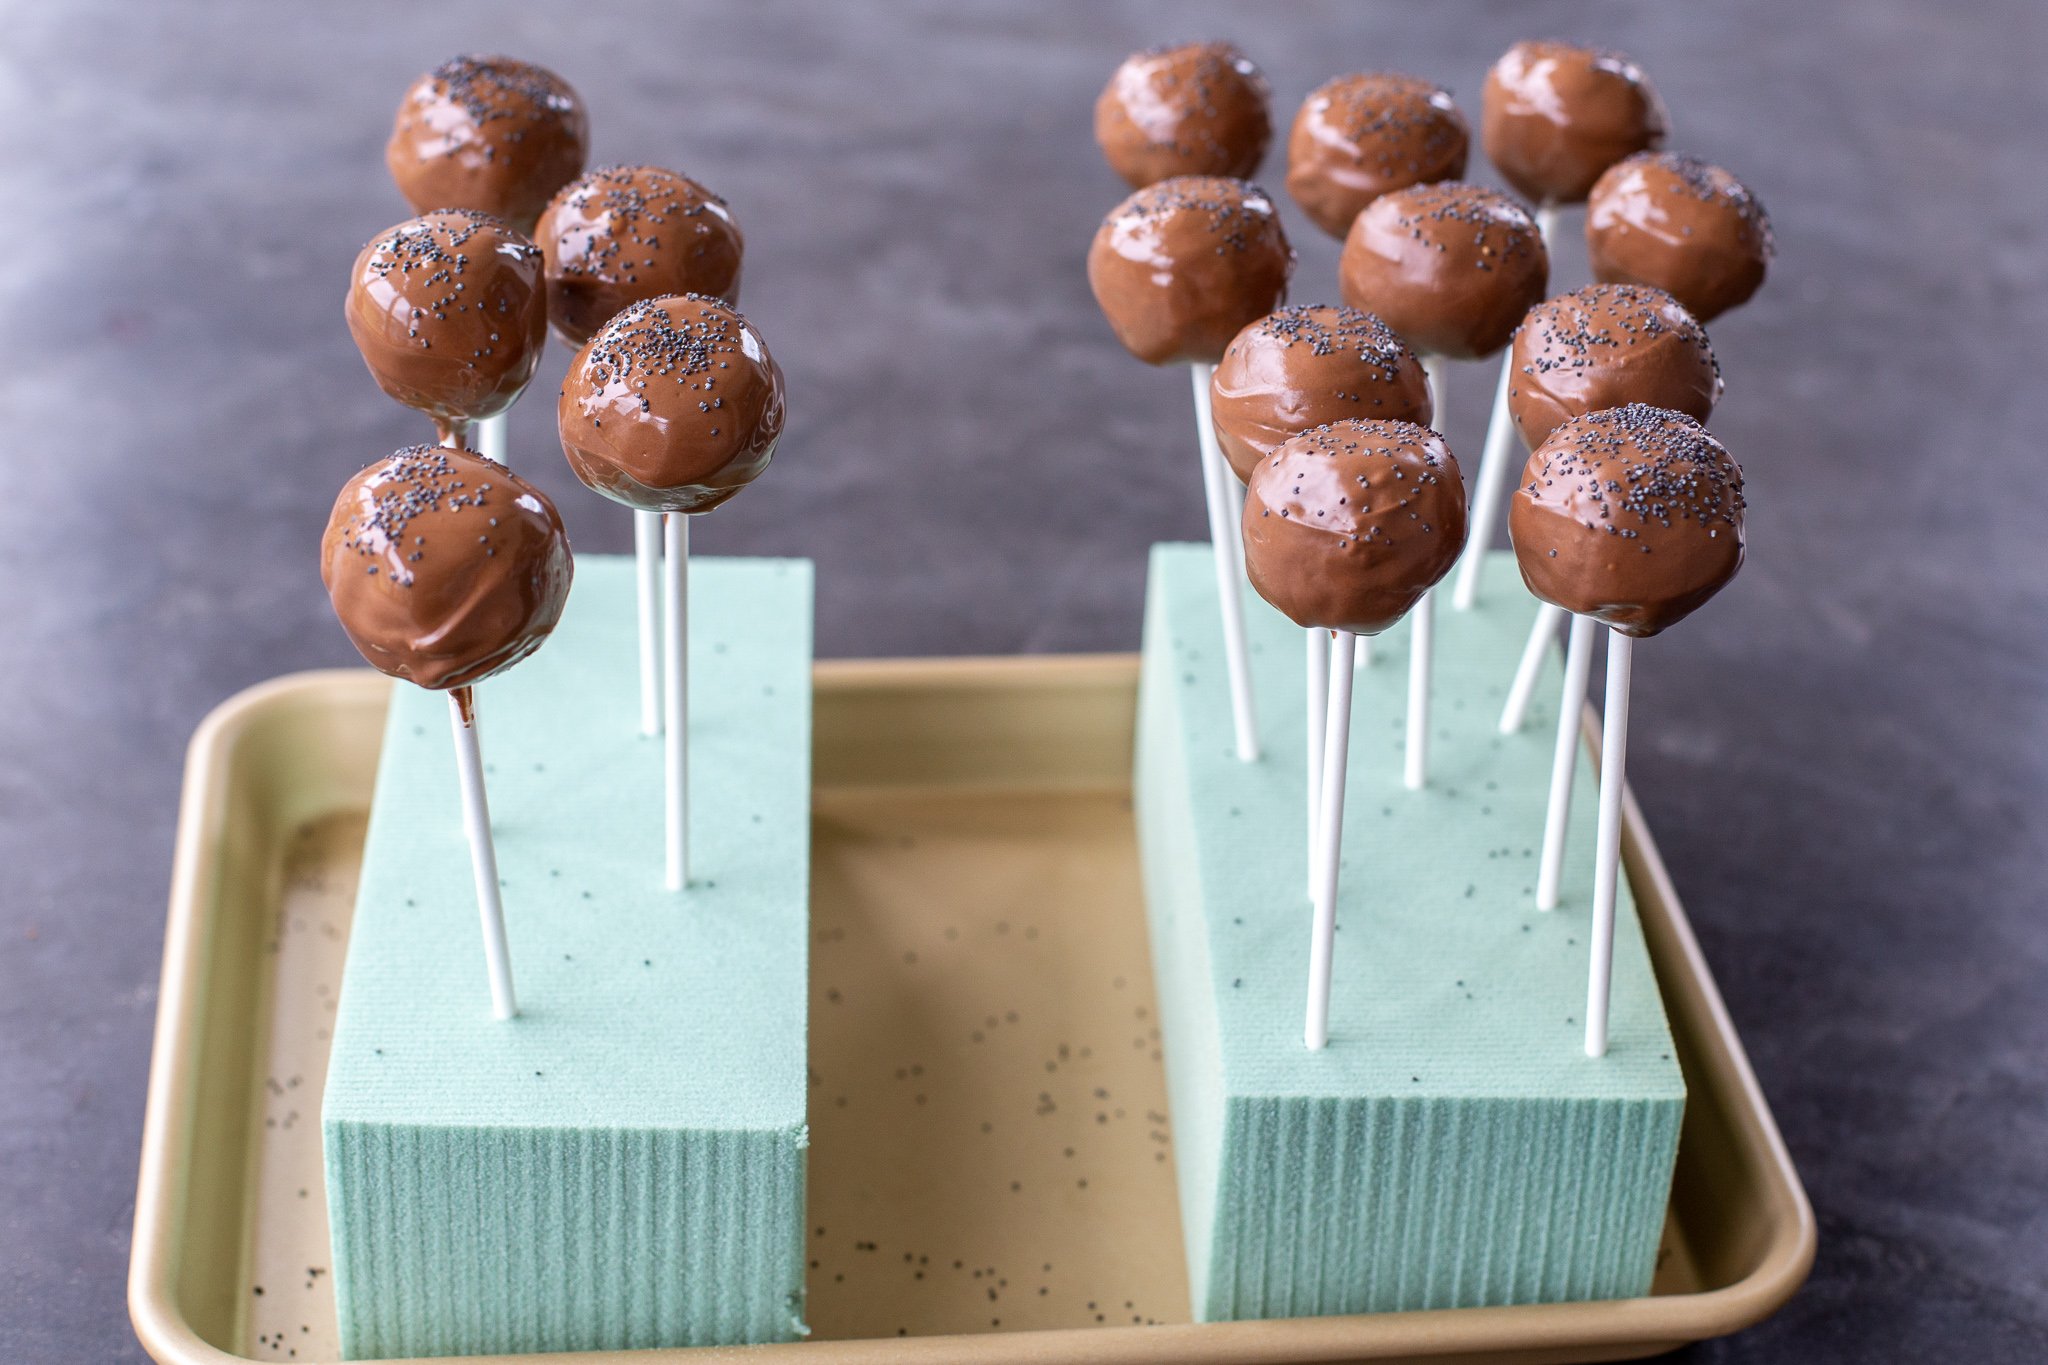
- Dip the Cake Pops: Make a hot water bath to melt the chocolate melts. One by one, dip the cake balls into the melted chocolate and immediately sprinkle them with poppy seeds or top them with a raisin. Refrigerate until you’re ready to serve and enjoy!
Hot Tip: Using a styrofoam block or cake pop stand makes storing your cake pops a no-brainer. Not only are they great for presentation, but they also prevent the pops from getting damaged!


Tips & Tricks
Here find a handful of tips and tricks to help you make the perfect cake pops.
- Bake the spongecake ahead of time to minimize day-of prep. Make your life easier by whipping up the sponge cake a day or two in advance. This will prevent you from having to wait until the cake cools down to crumble it day-of!
- Use an ice cream scoop for portion control. To ensure your pops are similar in size, use an ice cream scoop to portion out the batter.
- Secure the lollipop sticks with melted chocolate. Dip the end of each lollipop stick in a bit of melted chocolate before sticking it into the cake ball. Then, place the uncoated cake pops in the fridge to set. Once the chocolate hardens, it will act like glue and prevent the pops from falling apart during dipping.
- Create a water bath to melt the chocolate. A water bath will keep the chocolate melted without burning it. This will make the dipping process so much easier and prevent you from having to
Hot Tip: If you don’t want to bake a sponge cake or can’t find a store-bought version, use a vanilla box cake mix. Hey, we all need a shortcut from time to time!
Storing Tips
Whether you want to prep pops a couple of days ahead of time for a party or freeze a batch for last-minute parties, find all the storing instructions you need here.
- Refrigerator: If you plan to eat the pops within 5 days, keep them stored in the fridge in an airtight container. To prevent them from sticking, assemble them in a single layer with a paper towel lining the bottom of the container.
- Freezer: If you want to have these treats on hand for up to 2 months, place the cake pop stand in the freezer uncovered. Once the pops are completely frozen, transfer them to a freezer-safe bag. To thaw, place them in the fridge overnight.
FAQ
What is the trick to making cake pops?
The key to making great cake pops is allowing the them to set in the fridge before dipping it in chocolate. Additionally, you’ll want to keep the cake pops refrigerated until you plan to serve them.
How do you dip cake pops in chocolate without it falling off?
To prevent your cake pop from falling off the stick during dipping, secure the stick in the cake pop with melted chocolate. Once the chocolate hardens in the fridge, it will act as a glue and prevent your cake pops from falling apart during coating.
How long should I chill cake pops before dipping them?
Cake pops should chill in the refrigerator for at least 10 minutes before you attempt to dip them in chocolate. This will allow them to set and help the chocolate stick to the cake pop batter.
Are cake pops supposed to taste raw?
Cake pops shouldn’t taste raw, but the texture is somewhere in between raw cookie dough batter and baked cake.
How far in advance can I prep these cake pops?
Cake pops can be made up to 5 days in advance. If they’re going to be sitting in the fridge that long, make sure to cover them with plastic wrap or place them in some kind of airtight container where they can remain upright.
More Tasty Pops & Truffles
- Christmas Cookie Ball Pops – Oreo and cream cheese truffles
- Chocolate Strawberry Pops – Chocolate-covered strawberries on a stick
- Chocolate Cake Pops – Using homemade chocolate sponge cake
- No-Bake Cheesecake Truffles – 3-ingredient cheesecake balls
- Russian Cake Truffles – Sweetened condensed milk & coffee liqueur truffles
Recipe

Ingredients
- 1 sponge cake
- 1/2 cup poppy seeds
- 1 cup raisins optional
- 1 cup heavy whipping cream very cold
- 1/2 cup sugar
- 24 oz chocolate melts
Instructions
- In a large bowl, break the sponge cake apart into tiny pieces and mix it with the raisins and poppy seeds.
- Using a hand mixer, beat the cold heavy whipping cream and sugar together until thick and fluffy (make sure you don't overbeat the cream or it will turn runny). In small portions, slowly add the whipped cream into the crumbled cake mixture.
- Using an ice cream scoop, portion out a small amount of the batter and roll it into a ball in your hands. As you go, place each ball onto a baking sheet lined with parchment paper.

- Grab about a handful of the chocolate melts and melt them in the microwave. Dip the end of a lollipop stick into the chocolate and immediately stick it into a cake ball. Repeat until each cake ball has a stick. Place the cake pops in the refrigerator for 10 minutes, or until the chocolate hardens.
- Melt the remaining chocolate melts by creating a water bath. To do so, bring a pot of water to boil and place a heat-resistant bowl on top. Place the chocolate melts in the bowl, stirring them until completely melted.

- One by one, dip the cake pops into the melted chocolate, followed by a sprinkling of poppyseeds or a single raisin on top for decoration. As you go, transfer each cake pop to a styrofoam block or cake pop stand to dry. Refrigerate the cake pops until you're ready to serve them. Enjoy!


Hi Natalya can I omit raisins?
Hey Lana, yes, you can definitely skip out on raisins. Enjoy
Nataliya, do you soak raisins and poppy seeds in hot water prior to mixing with sponge cake pieces? Thanks!
Hi Inna – Thanks for the Q! Typically, I don’t soak the raisins and poppy seeds. I just mix them directly in with the sponge cake pieces. I find that yields the best texture. Hope this helps! 🙂
First of all thank you Nataliya for all your wonderful recipes, and I have a question:) How long can I store these or how soon can I make them before party? Thank you
Hey Galya, thank you for sweet compliment ;). Refrigerate them in a airtight container, I think they can handle up to 5 days.
Thank you very much!