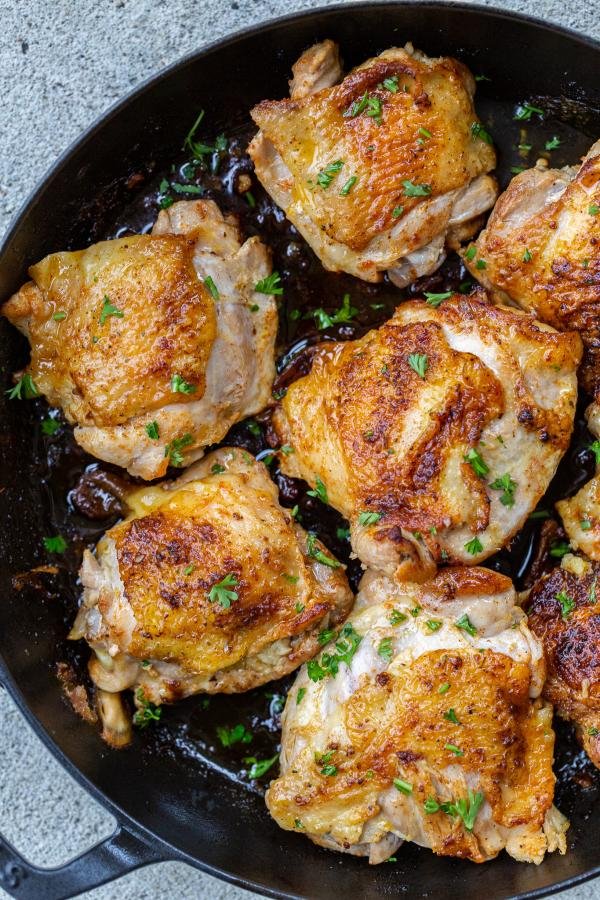
These pan fried chicken thighs are juicy, golden brown, & finished in a garlicky runny pan sauce. Whip them up on the stove top in just 30 minutes.
I love an uncomplicated, easy, simple dinner — and these pan fried chicken thighs are exactly that. As a busy mom, I frequently have 30 minutes at the most to prepare dinner. In this chicken thigh recipe, all it takes is throwing some thighs in a pan, a little bit of seasoning, browning, and you’re basically done. Okay… maybe you’ll need to make a carb and a our garden salad too, but those are also easy-peasy!
I really enjoy how searing this chicken gives it a crispier crust than any other method. That layer of texture is what I LOVE! Plus, searing helps lock in moisture, which is always important when it comes to cooking chicken.
Hot tip: Use a cast-iron skillet if you have one. It is one of the best options for searing and one of my favorites to cook with in general!
How to Make Pan-Seared Chicken Thighs
There really is nothing to it. Get out your pan, prep the chicken and seasonings, and turn on the stove. You’re already more than halfway done!
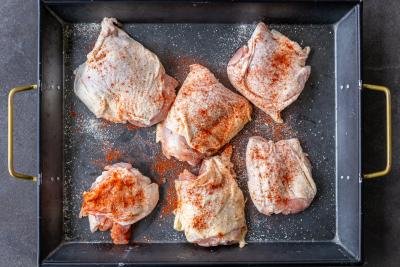
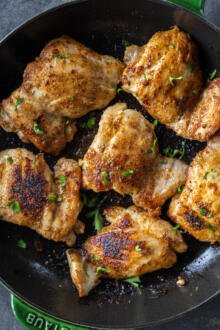
- Season the chicken: Pat the chicken thighs dry with paper towels, then season them with garlic parsley salt and paprika.
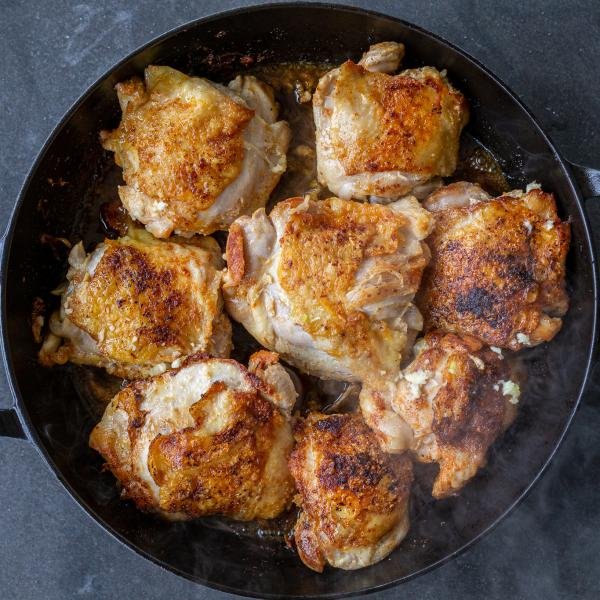
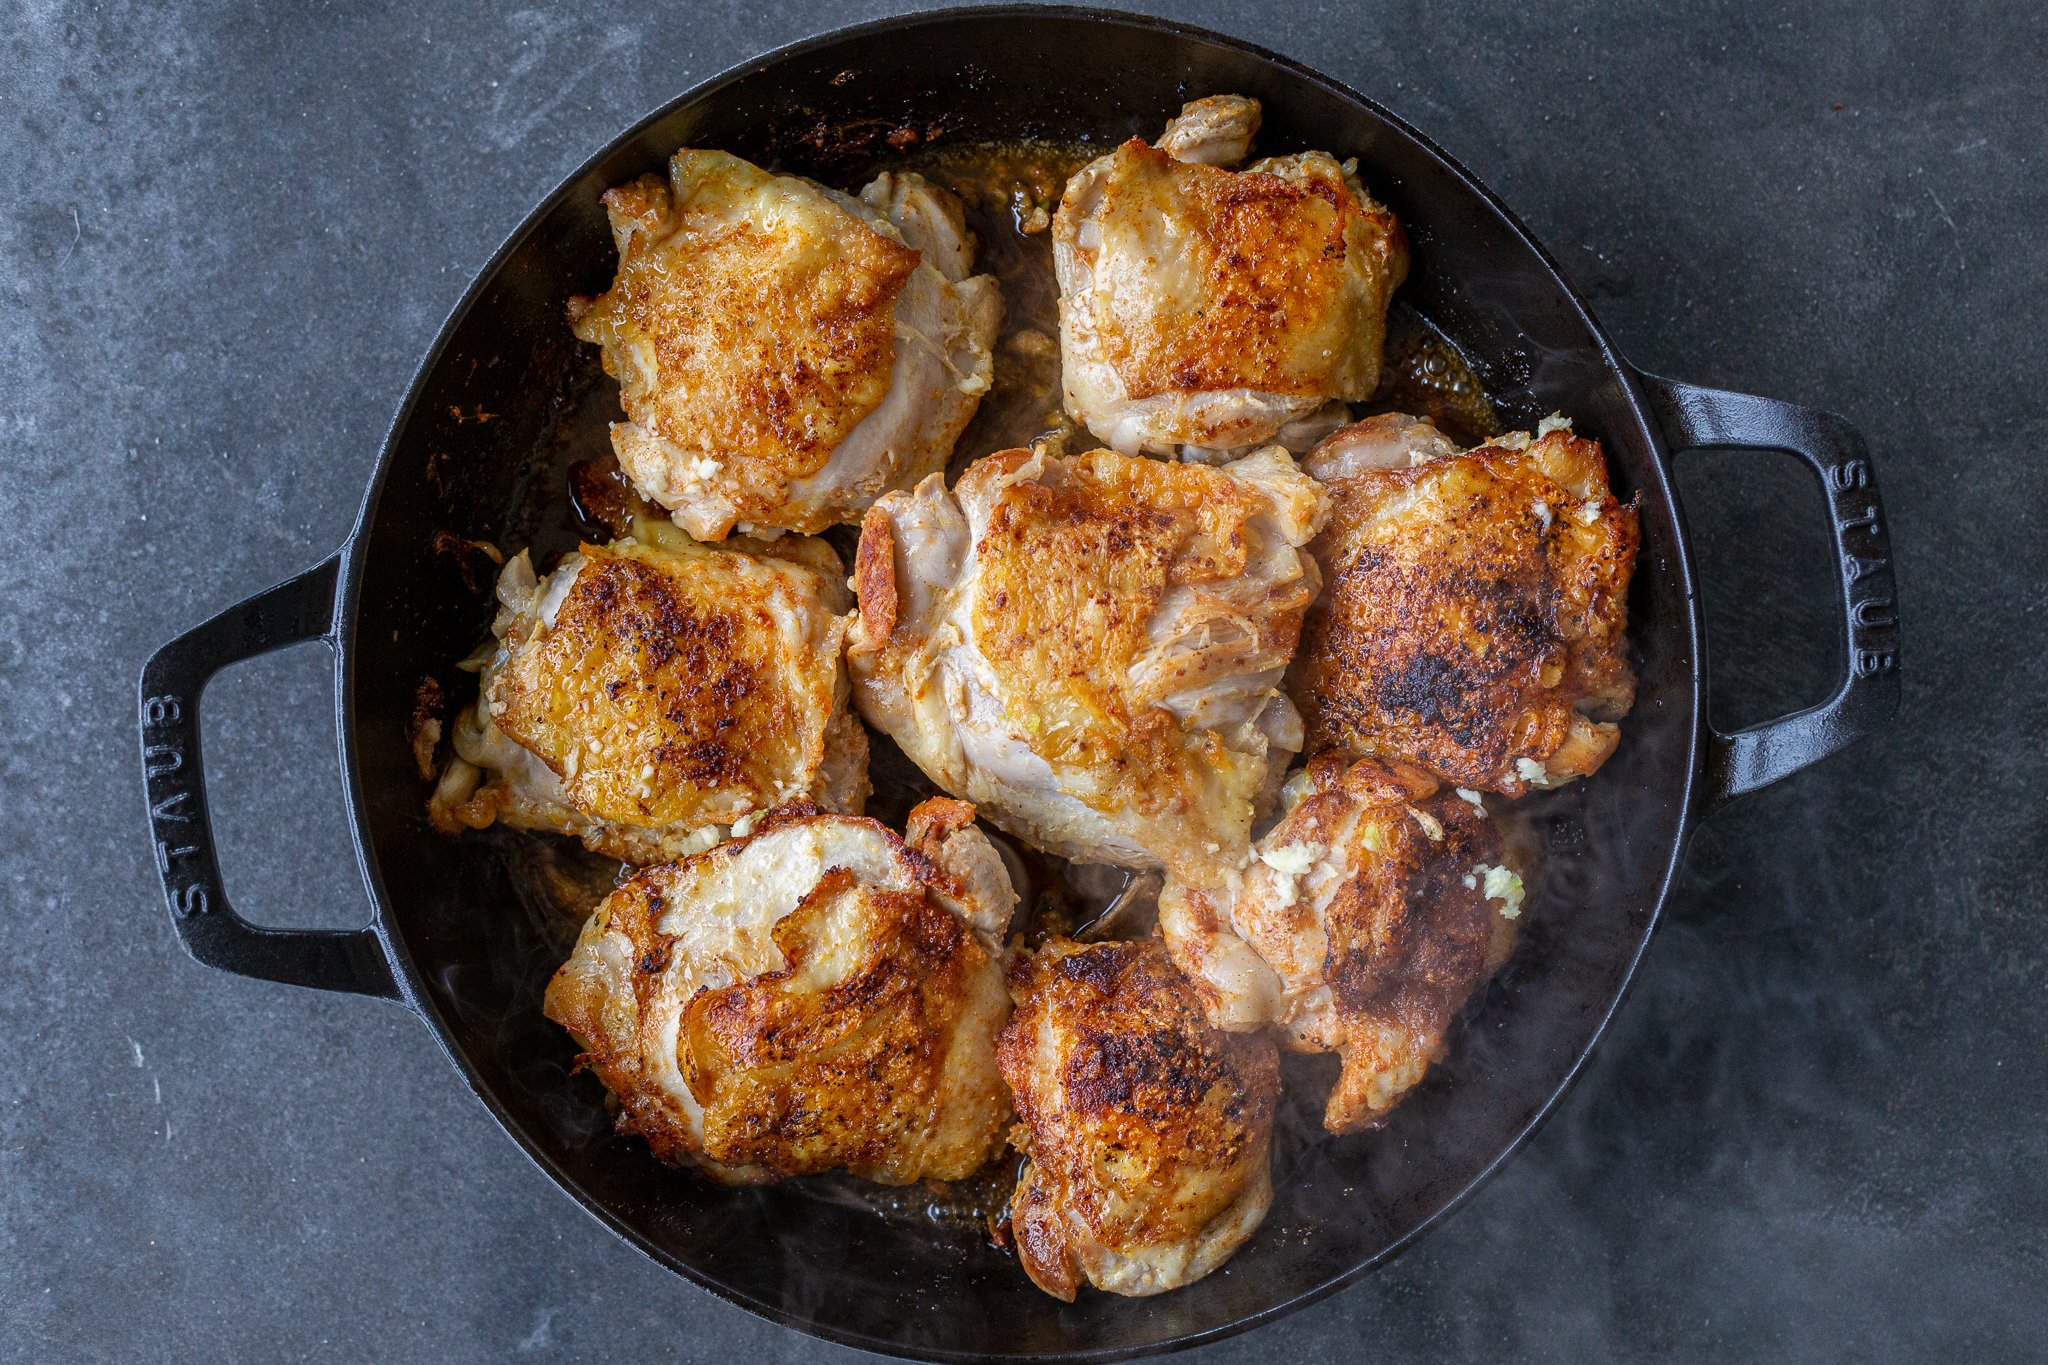
- Sear the chicken: Place the chicken in the skillet with avocado or olive oil and sear it at high heat for 2-4 minutes, or until golden brown. Flip them over and do the same on the other side.
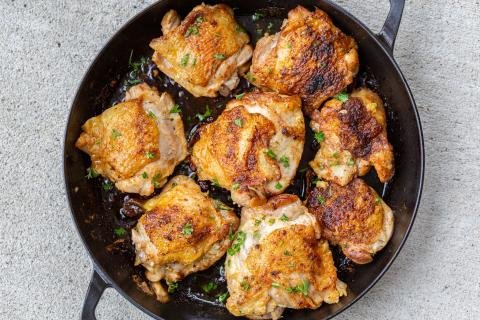
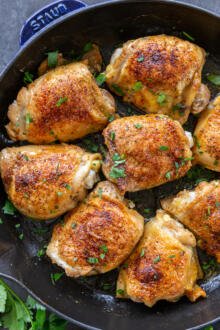
- Simmer the liquid: Lower the heat to medium-low and pour in the chicken broth and add the pressed garlic. Allow the chicken and the liquid to simmer until the chicken is fully cooked.
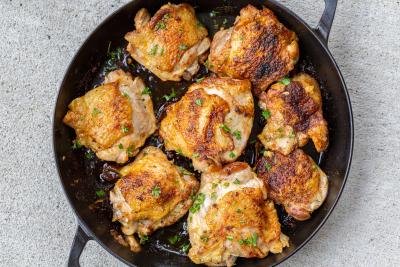
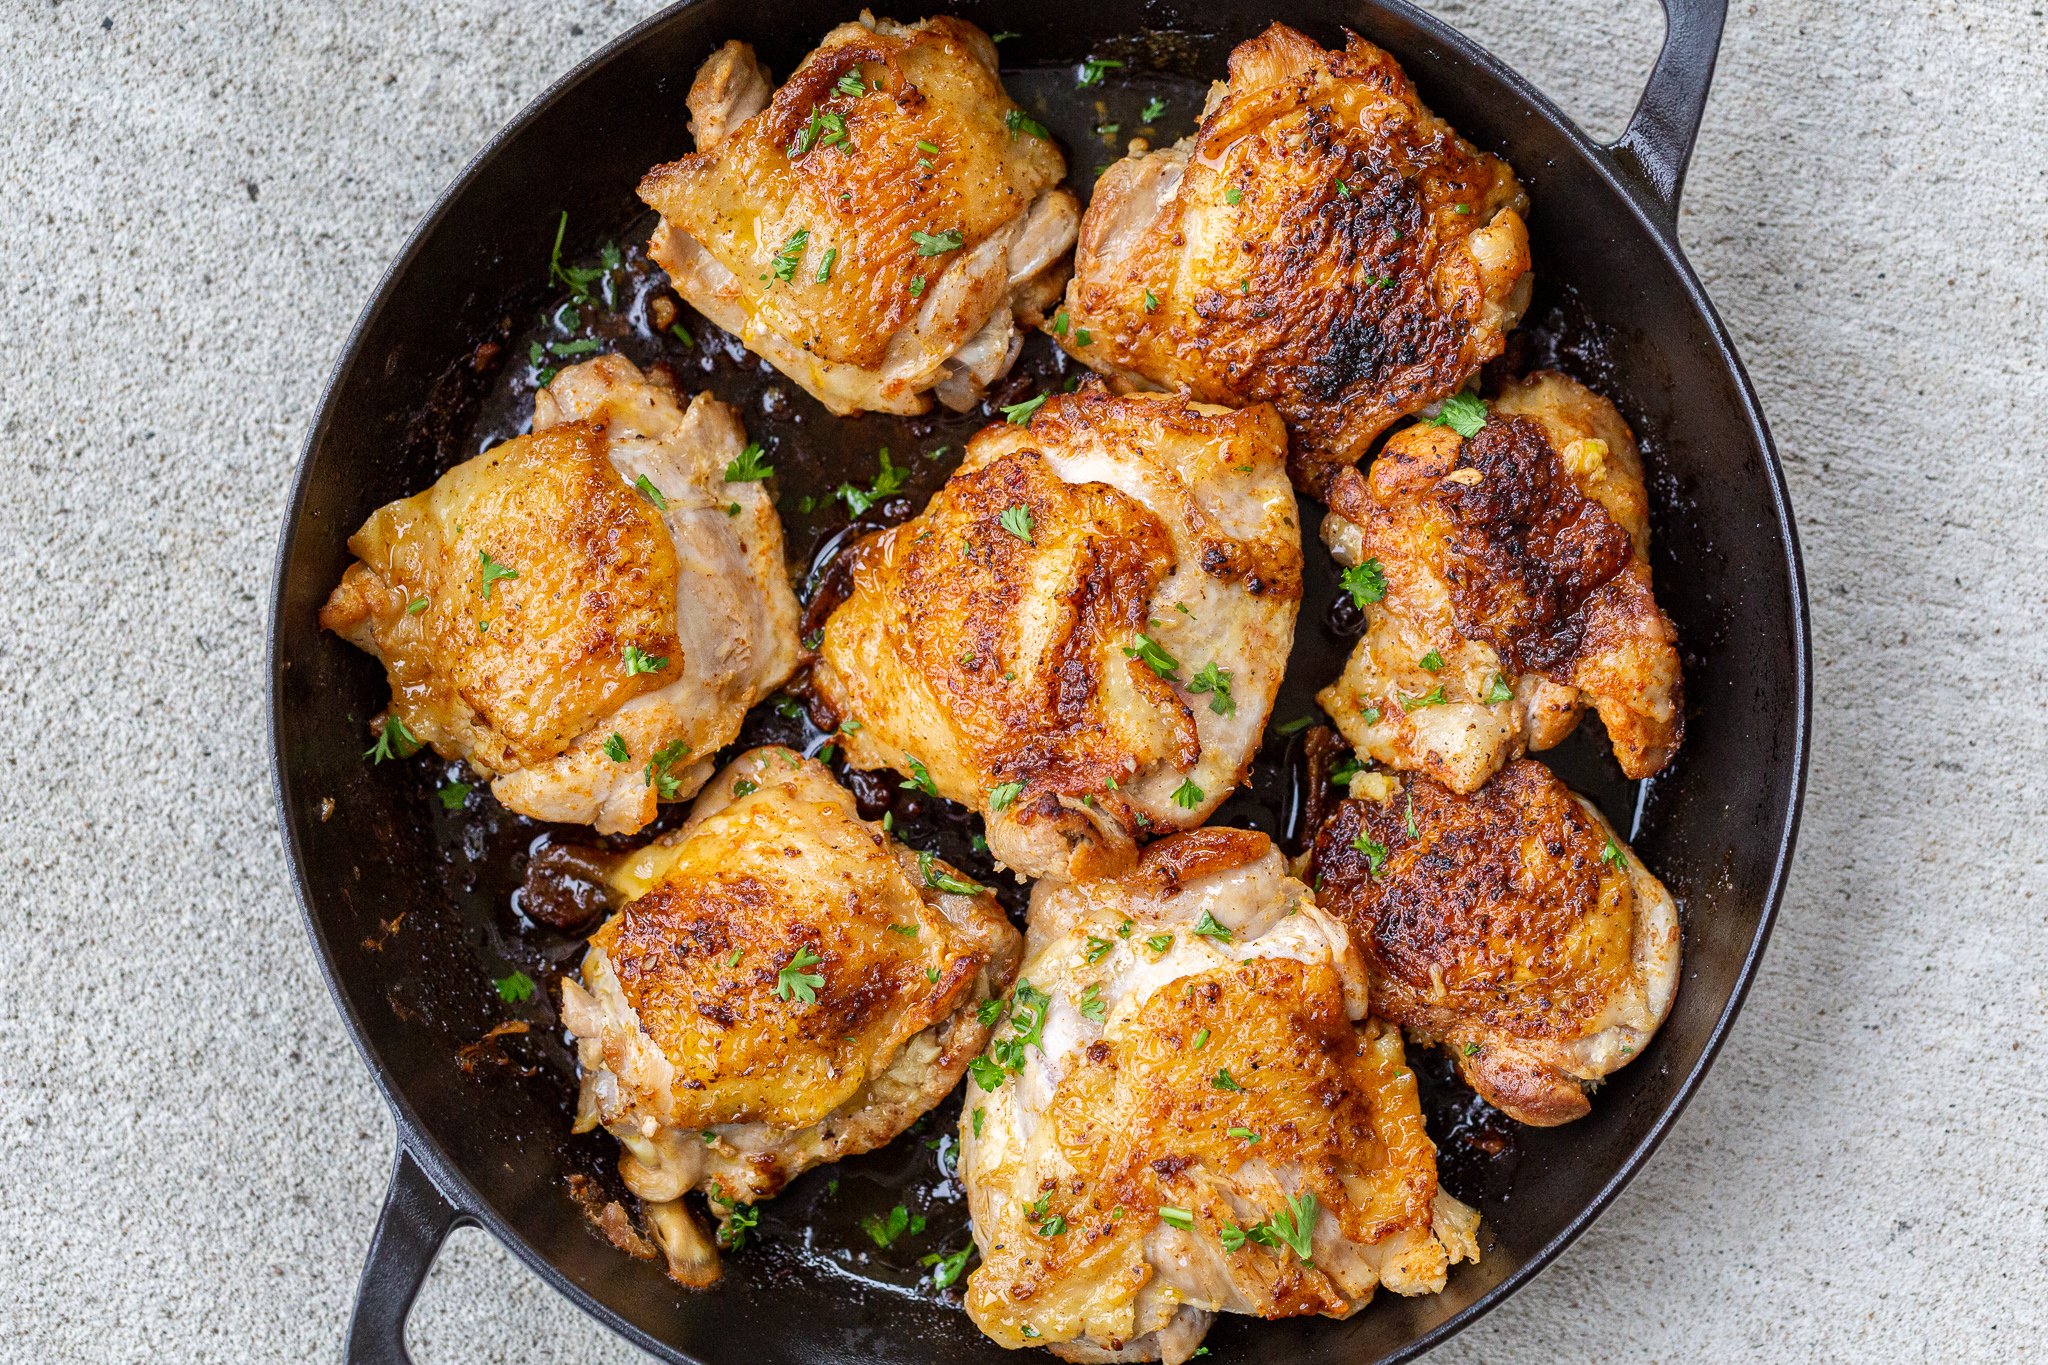
- Garnish the chicken: Finally, take the chicken off the heat and garnish it with parsley or your favorite herbs. Enjoy!
Hot tip: After you add the broth, scrape up the brown bits that form at the bottom of the pan from searing. Don’t let those precious drippings go to waste – they taste so so good!

Pro Tips for the Most Flavorful Pan-Fried Chicken Thighs
Here are a few golden tips for those golden chicken thighs your about to cook up! Check them out and you’ll be gold, too!
- Use bone-in chicken thighs: Opt for bone in, skin-on chicken thighs. They work best for this recipe because they’re more juicy and the crispy skin is the whole point!
- Check doneness with a meat thermometer: Use a meat thermometer to take the guesswork out of gauging doneness. You’ll know the chicken thighs are done when the internal temperature reaches 165°F.
- Don’t overcrowd the pan: You’ll get a much better sear if you don’t overload the pan. You need at least a 10-12 inch pan for this recipe.
- Substitute if needed: While skin on, bone-in thighs work best, I have used skinless boneless chicken thighs and chicken breasts in a pinch. Make sure to turn the heat down low while you simmer (and covering the pan with a lid), as chicken breasts have a tendency to dry out quicker.
Serving the Chicken Thighs
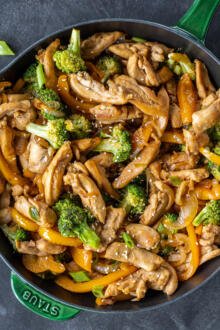
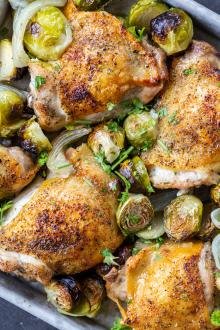
The delicious juices that form from the broth and drippings is perfect over your favorite starchy side dishes and vegetables. Spoon the chicken and sauce over steamed rice or creamy mashed potatoes (my favorite) and lay the chicken right on top. If you’re keto or gluten-free, the thighs go great with cauliflower steaks or bacon brussels sprouts salad.
Storing & Reheating
The simplest recipes are the best for meal prepping. These pan seared chicken thighs are great for that because they store and reheat really well.
- Refrigerator: To store the chicken for up to a five days, refrigerate it in airtight containers.
- Freezing: Freeze the cooked chicken thighs for up to a month by storing them in freezer-safe bags or airtight containers. Thaw in the fridge when ready to enjoy again.
- Reheating: For best results, pop the chicken back into a skillet with a bit of extra broth. Allow it to simmer until warmed through. For a quick option, a microwave does the trick.
More Quick & Easy Chicken Recipes
- Air Fryer Chicken Parmesan – No-guilt breaded chicken with tomato sauce
- Spatchcock Chicken (Crazy Easy) – Butterflied whole chicken
- Mom’s Chicken Dumpling Soup – Comforting dumpling soup
- Crispy Air Fryer Chicken Tenders – Healthy, kid-friendly chicken tenders
Recipe
Ingredients
- 2 lbs chicken thighs bone in
- 2 tbsp avocado oil or olive oil
- 1 tbsp garlic parsley salt
- 1 tsp paprika
- 1/2 cup chicken broth
- 2 garlic cloves pressed
- 1 tbsp fresh parsley garnish
Instructions
- Preheat a skillet with oil over high heat. While it's heating up, pat the chicken thighs dry with a paper towel and season them with garlic parsley salt and paprika.
- Sear the chicken on both sides until golden brown (about 2-4 minutes per side).

- Reduce the heat to medium-low and add the chicken broth and pressed garlic. Simmer and cook the chicken until it reaches an internal temperature of 165°F.

- Remove the chicken from heat, garnish it with fresh parsley, and enjoy!


Great recipe but it took a bit longer than 30 minutes. Took about 40 minutes for me.
Thanks, Geoffrey! It definitely can range, especially depending on the size of your chicken. Enjoy 🙂
Quite tasty! Quick protein to top a delicious salad! Thanks!
Thank you! I'm so glad you enjoyed it. It's such an easy way to add a protein boost to a salad—happy it worked out for you!
Skin on, bone in? I do not see that in the recipe but the pic looks like skin on, bone in. I prefer boneless. Thanks Gwen
Hey Gwen, I prefer bone in and skin on, but you use what you prefer! Enjoy!
When you say 1 tbsp garlic parsley salt, do you mean 1 tbsp of each?
Hi Denise, This is the seasoning, it's combined together in one: https://amzn.to/49OLnrw. I use it in a lot of my recipes, the flavor is so good. My pantry staple. 🙂