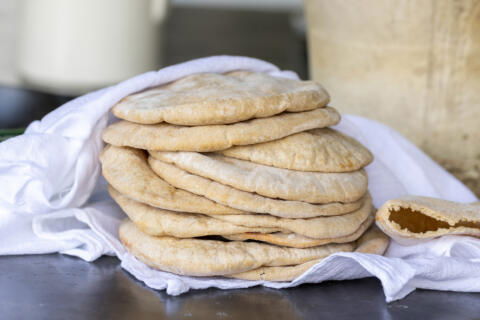
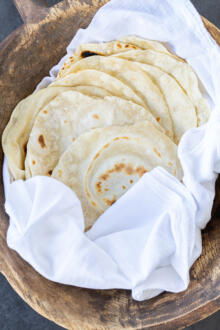
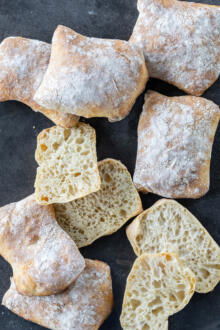
This same-day sourdough pita bread is wonderfully chewy and fluffy. It’s so easy to make that you might say goodbye to storebought pita bread for good!
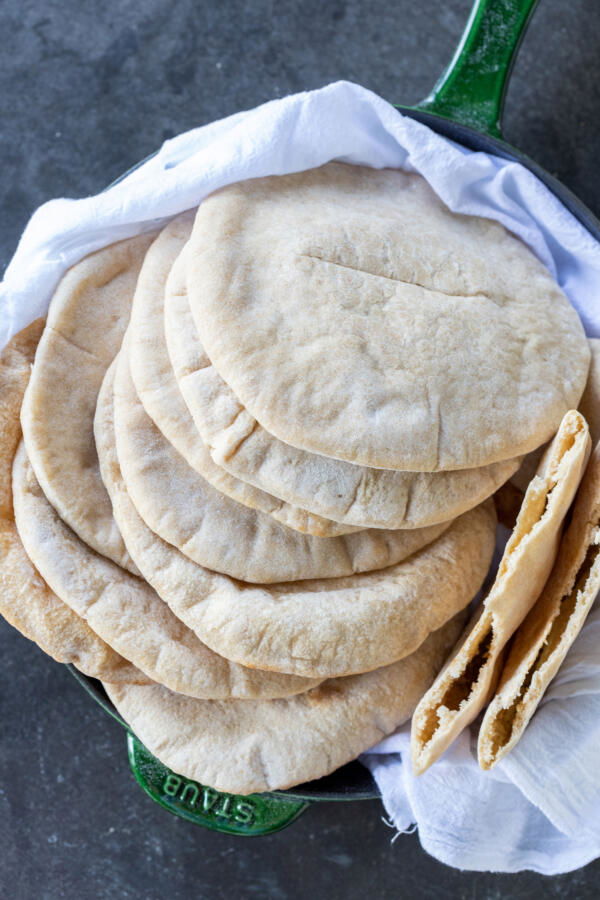
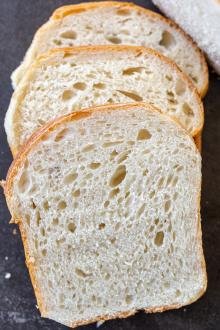
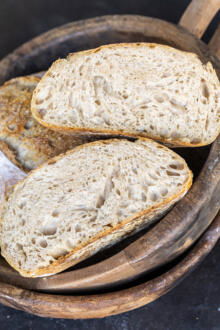
I’m obsessed with all things sourdough. As if regular bread wasn’t amazing enough, sourdough starter makes it easier to digest and adds a delicious tangy flavor. I already have so many sourdough recipes on the site, but today I’m adding one more: pita bread! This Middle Eastern flatbread is known for its hollow pocket, created by the sudden puff during baking. I don’t know about you, but I think there’s something so satisfying about ripping open a fresh pita and having a perfect pocket for all my sandwich needs.
Now comes the real question: what to do with the finished product? Pita bread is so versatile and an amazing addition to any of your sandwiches, soups, or other meals. Our family loves the combo of pita, lamb kabobs or chicken shawarma, veggies, and tzatziki sauce. If we have leftover pitas, we also enjoy dipping them into garlic hummus, avocado hummus or adding them to a veggie charcuterie board for a nutrient-packed snack. You really can’t go wrong with whatever you choose to do with homemade pita bread!
Love flatbreads? Try out a batch of flavorful naan bread!
Sourdough Pita Bread Video
How To Make Sourdough Pita Bread
If you have any doubts or worries about the sourdough process, trust me — the hardest part of this recipe is waiting for the dough to rise!
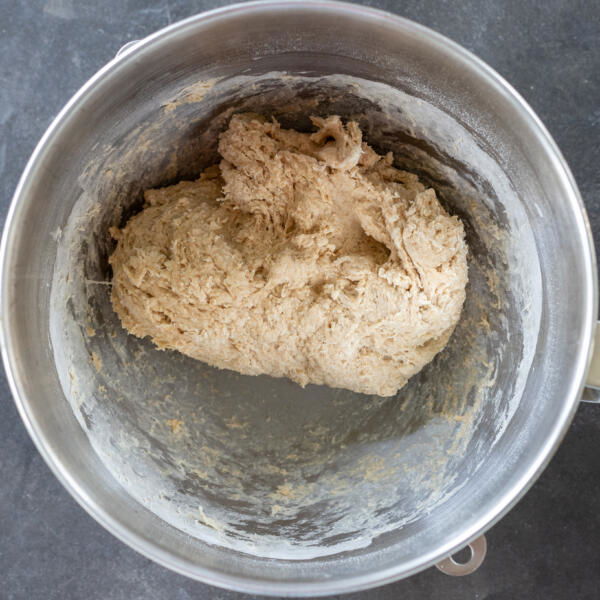
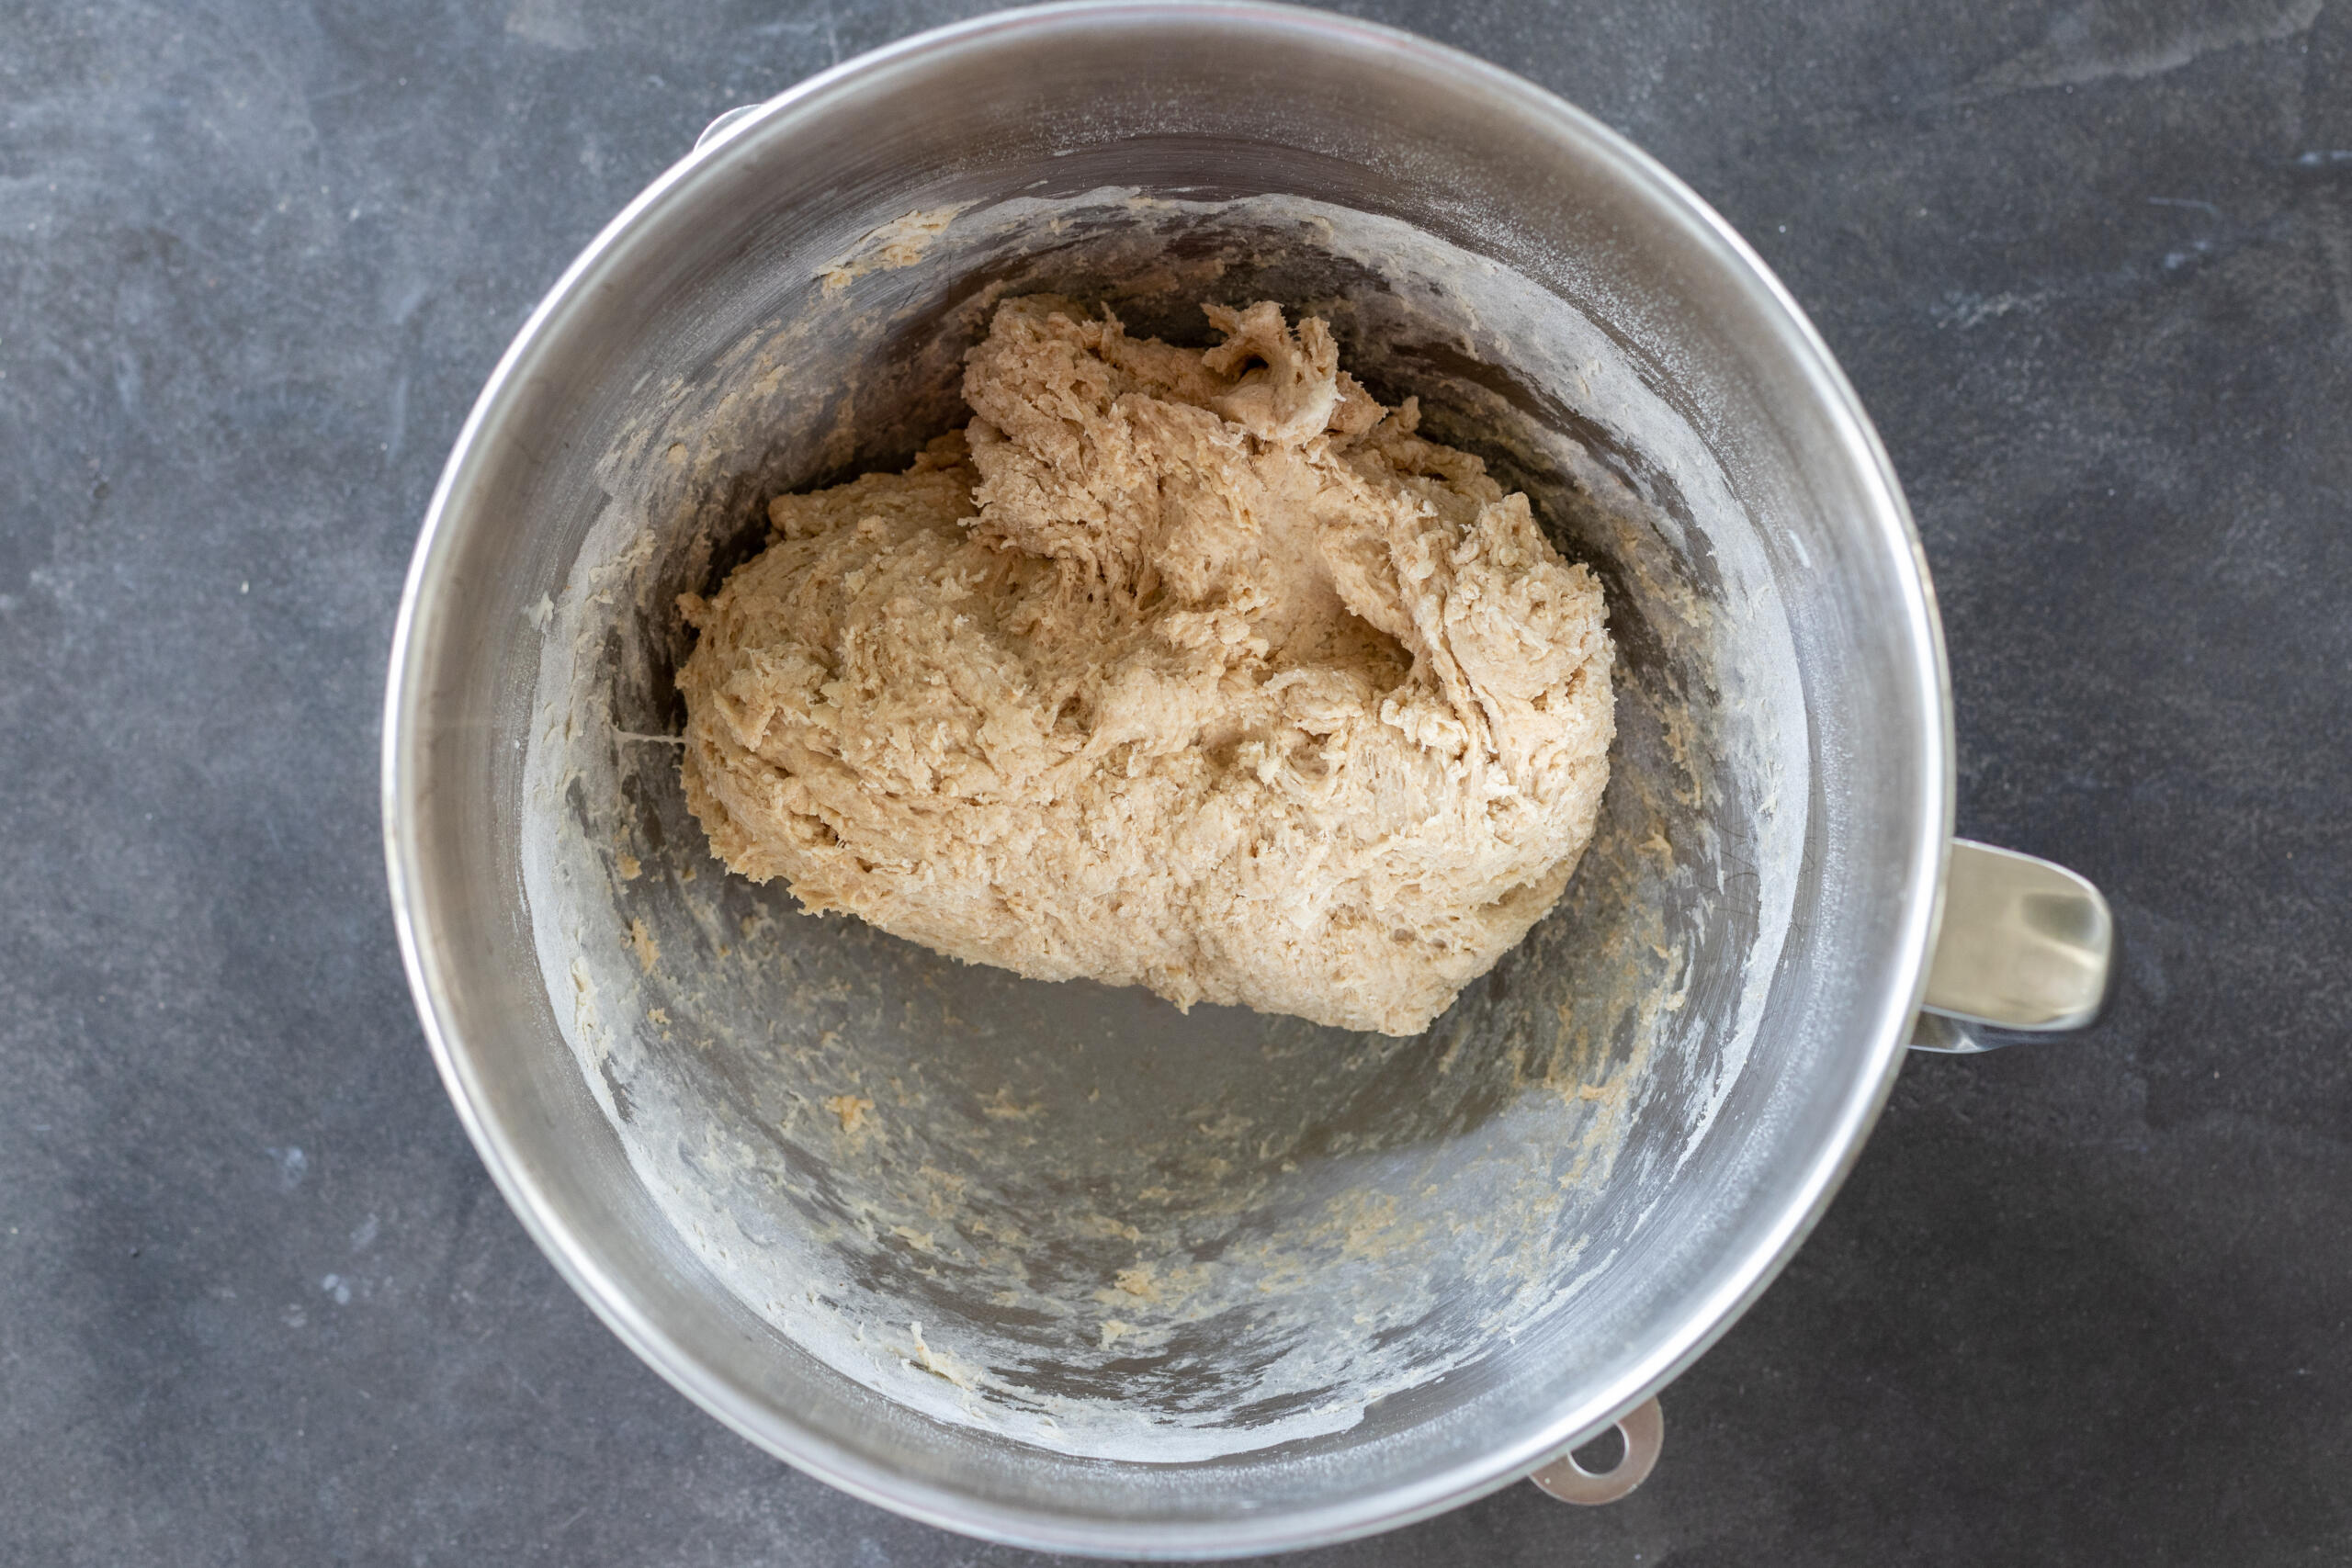
- Mix together the dough: In a large bowl, whisk together the starter, water, honey, and oil. Mix in the flour and salt, then knead into a rough dough. Cover the bowl and allow the dough to rest for 30–45 minutes.
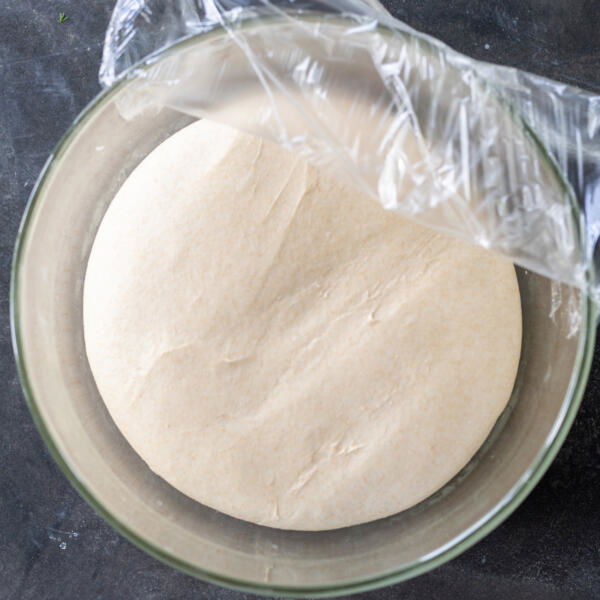
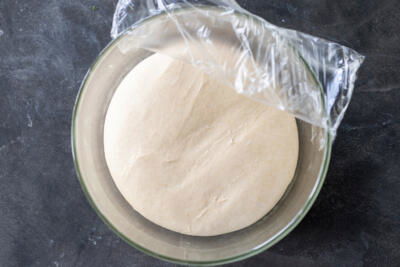
- Bulk ferment the dough: Give the dough another quick knead, then allow it to rise until it doubles in volume (6–8 hrs at 70°F/21°C).
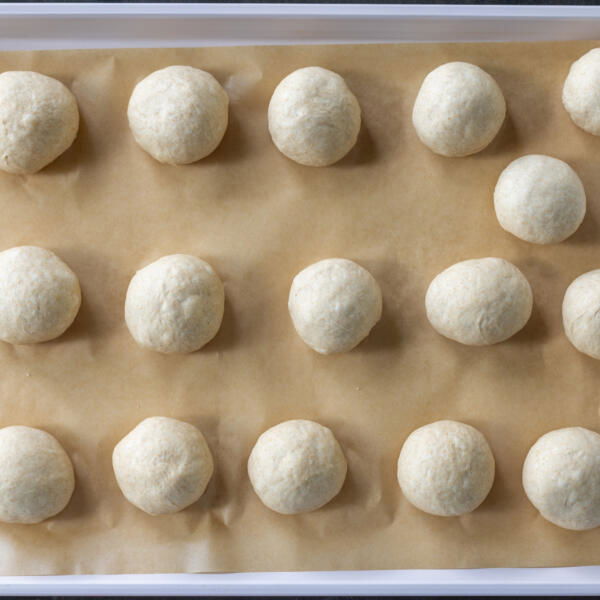
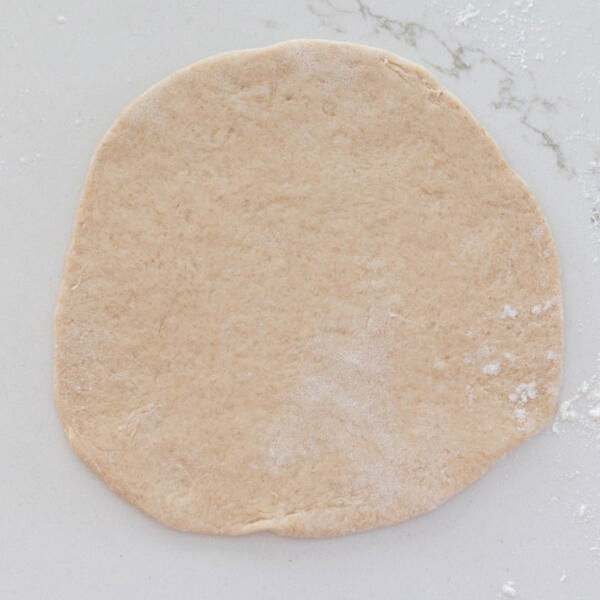
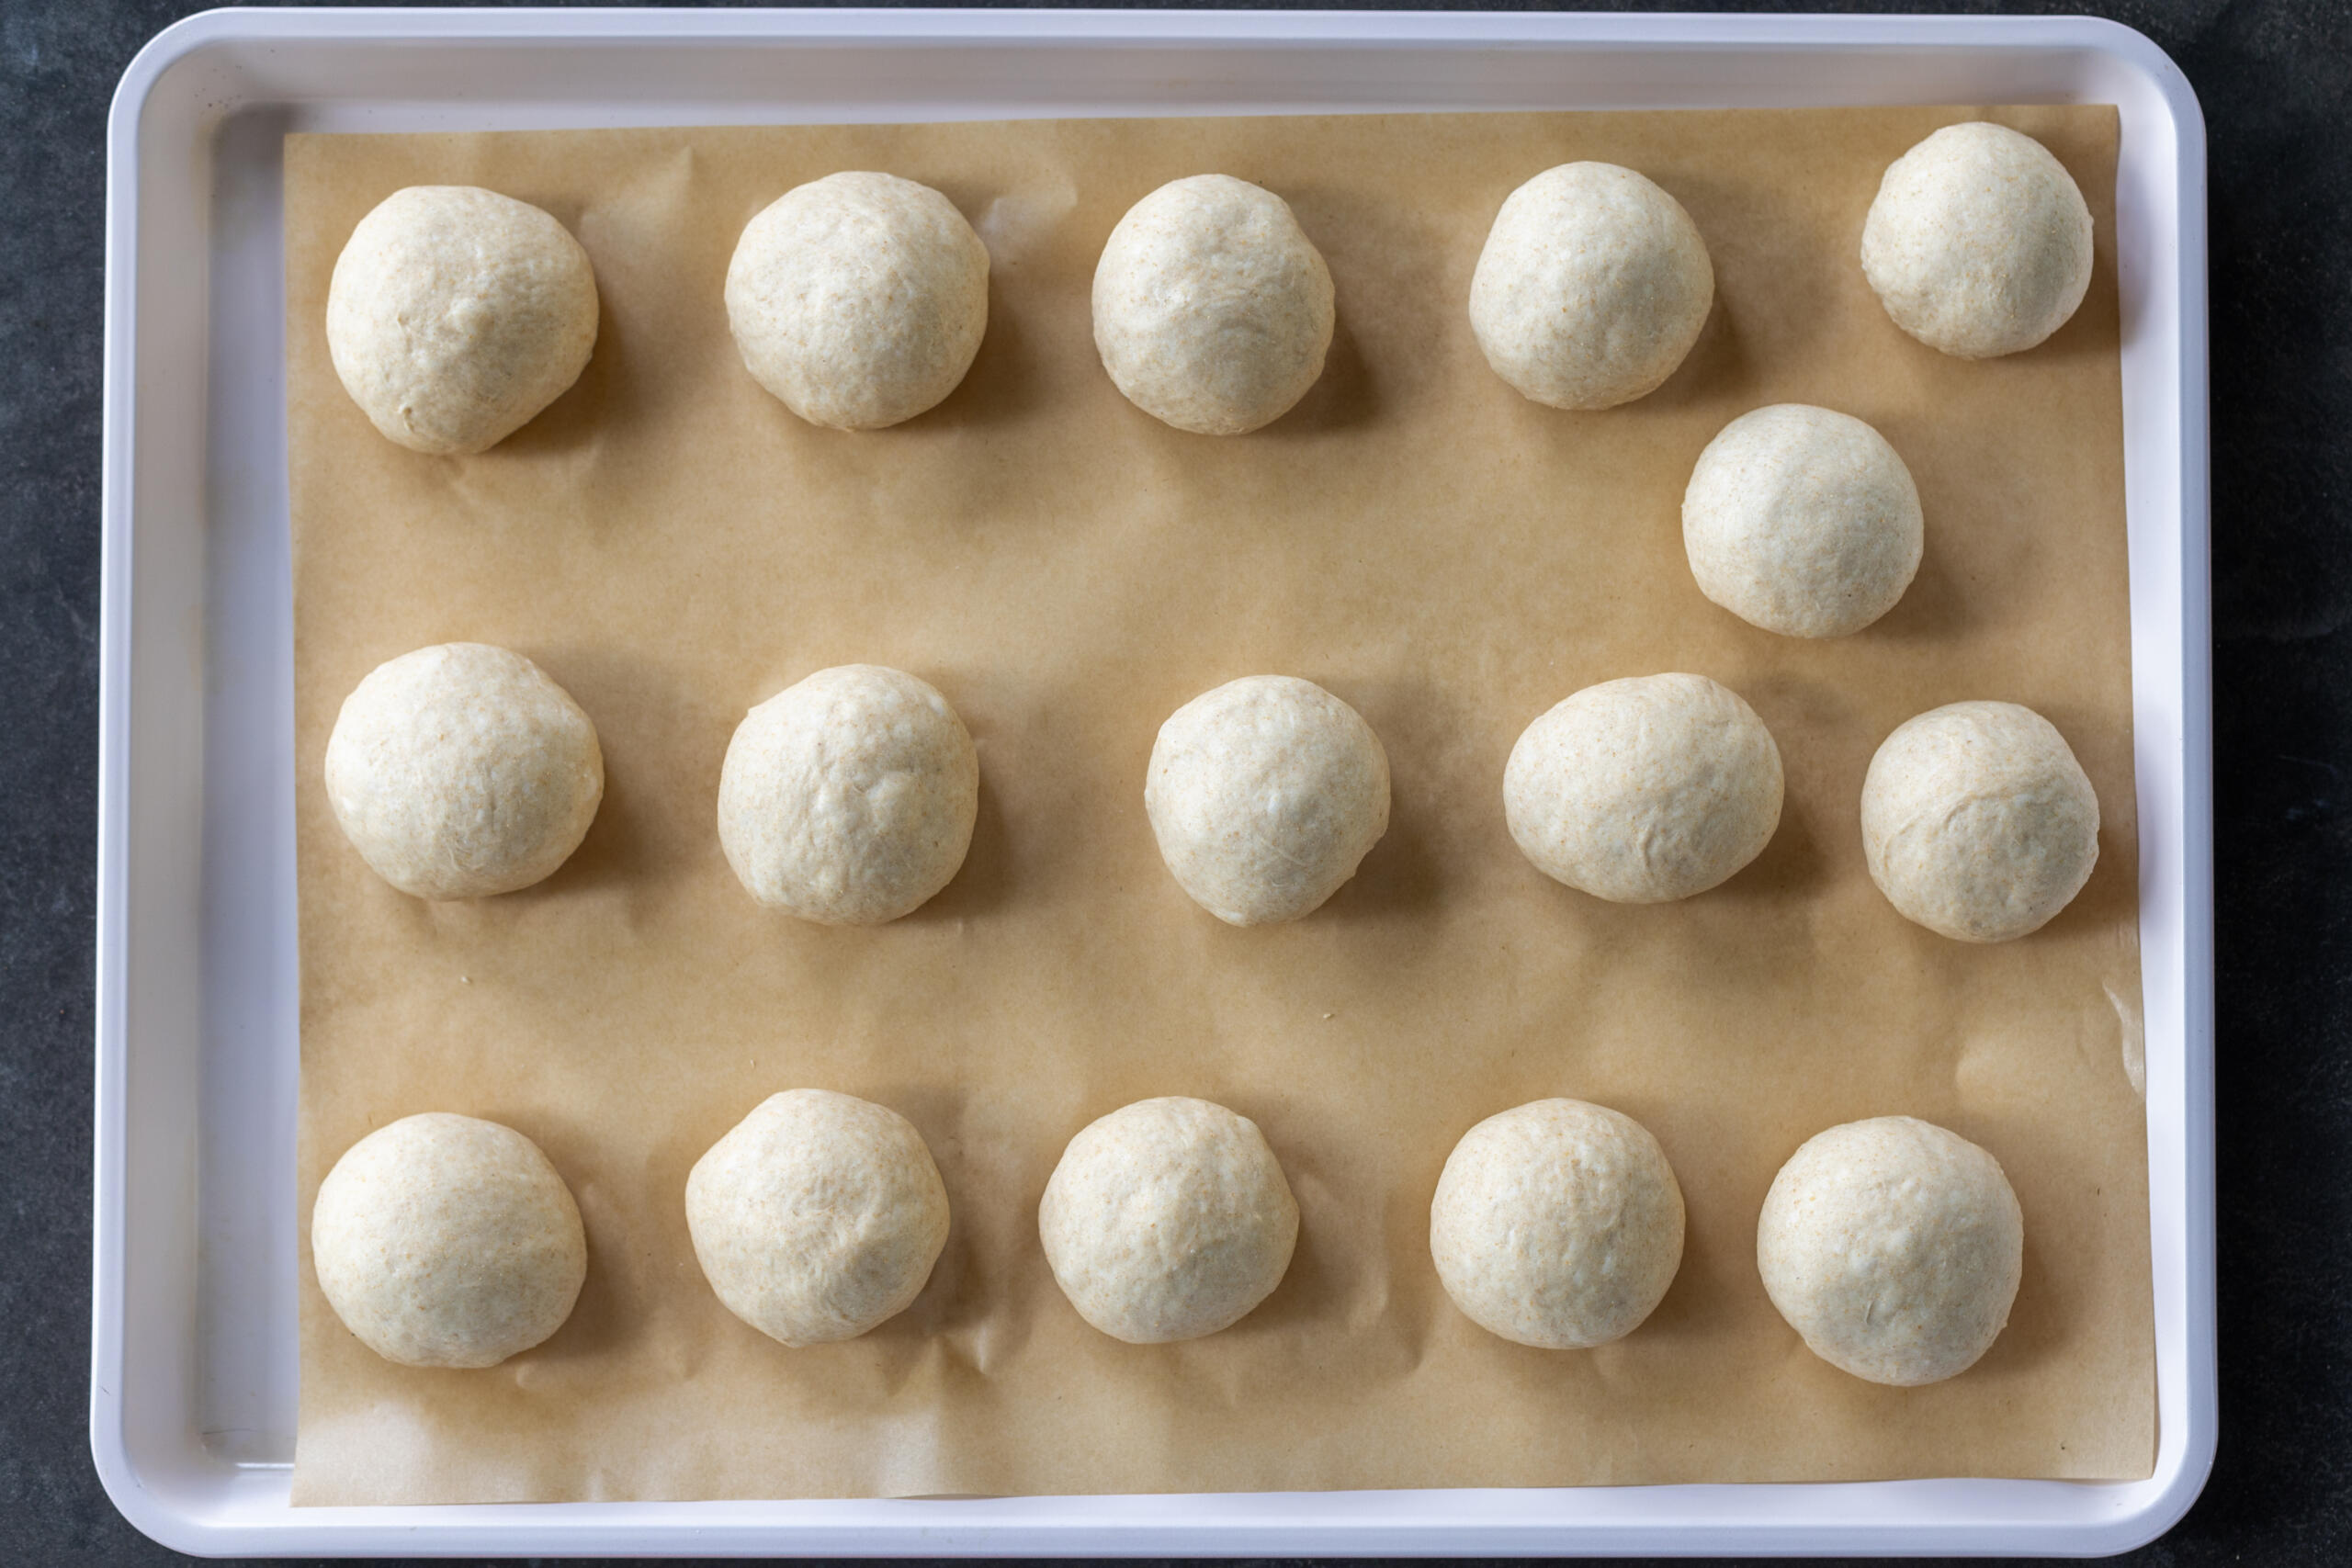
- Shape the pitas: Line a baking sheet with parchment paper. Divide the dough into 16 equal pieces, then roll the pieces into balls and place them on the baking sheet.
- Allow the pitas to rise again: Cover the pitas with a damp kitchen towel, and allow them to rise until they are puffy (30 min–1 hr). Preheat the oven to 450°F (230°C) with a cast iron skillet or pizza stone inside.
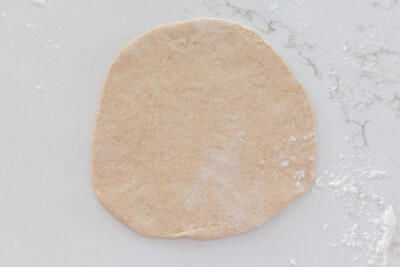
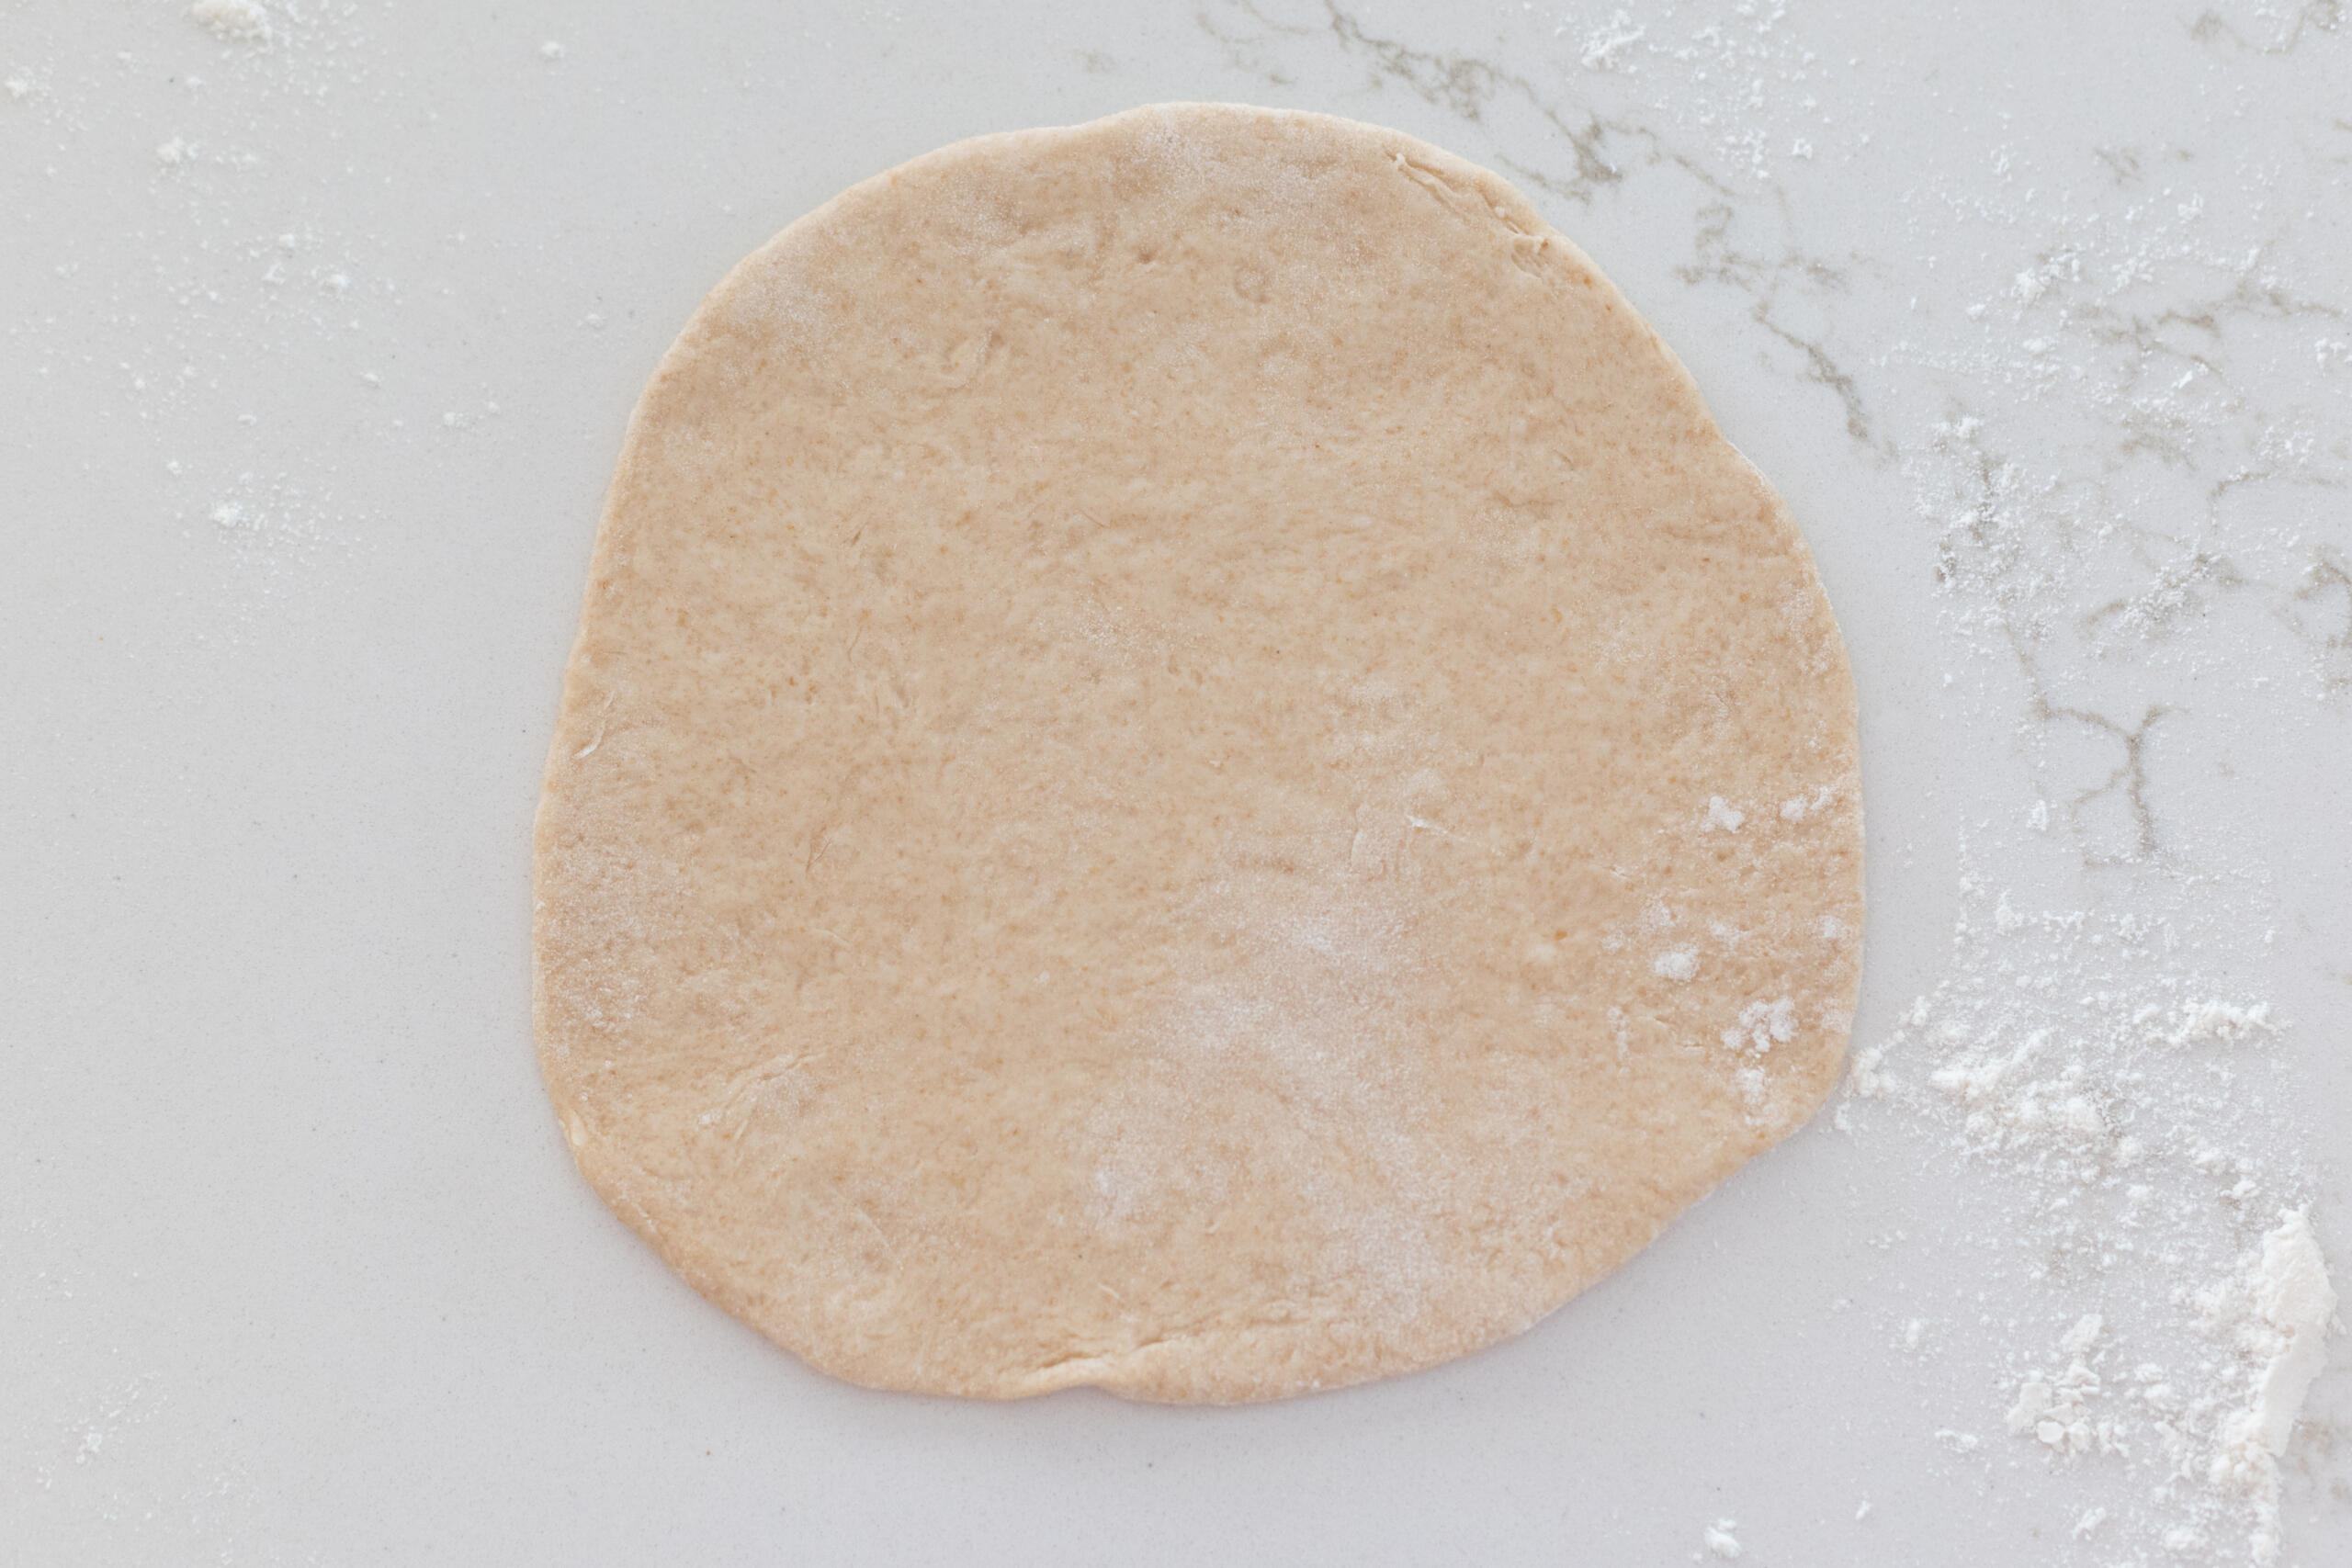
- Roll and bake the pitas: Use a rolling pin to flatten each ball into a ¼-inch thick circle, about 4 inches in diameter. Bake the pitas one at a time in the preheated skillet for 3–4 min until they are puffed. Cool the pitas on a wire rack before enjoying.
Hot tip: Mix up the dough in the morning so the pitas are ready by dinnertime!
Tips For the Best Sourdough Pita Bread
I’ve tested this recipe too many times to count, and I’ve learned a ton of tips along the way. To guarantee pita perfection, follow along with this comprehensive guide!
- Use bubbly, active starter. The wild yeast in active sourdough starter is the secret to well-risen and flavorful pitas.
- Allow the dough to rise until it doubles. The longer period during which the dough rises is called “bulk fermentation,” and it is the most important step in the sourdough process. Although it may seem tempting to rush this step, give the dough enough time at a warm temperature (I prefer 70°F) to slowly double in volume.
- Experiment with the size. I love these mini four-inch pitas, but if you’d like them to be larger, weigh out bigger portions of the dough (about 75-90 grams).
- Rest the dough balls before rolling. This is essential! To relax the gluten and make shaping easier, allow the pita dough balls to rest for at least 10-15 minutes before rolling.
- Roll the pitas evenly. Through my experimentation, I”ve found that ¼-inch thickness results in the perfect puff. Add a little flour if needed to prevent sticking, and roll the pitas thinly and evenly to produce the best results in the oven.
- Bake one pita at a time. For even heat distribution, bake the pitas one at a time. Remember to set timers, and whatever you do, don’t step away from the oven — these pitas bake quickly!
Hot tip: To achieve the trademark “pita puff,” make sure that the dough is well-hydrated, roll the pitas thinly, and use high heat when baking. If the pita still isn’t puffing after 30 seconds in the oven, give it a flip.

Storage
Store the fully cooled pitas in a plastic bag at room temperature for up to four days, or freeze the extras for up to three months.
More Sourdough Recipes
- Sourdough Bread — A beginner-friendly recipe for bakery-worthy loaves
- Oat Sourdough Bread — Got oats? This loaf of sourdough is filled and decorated with rolled oats
- Sourdough Ciabatta — Crispy, airy, and perfect for sandwiches
- Overnight Sourdough Bagels — They taste like they’re straight out of NYC!
- Sourdough Chocolate Chip Cookies — The most mouthwatering way to use up sourdough discard
Recipe
Ingredients
- 1 cup sourdough starter bubbly, active
- 1 1/2 cups lukewarm water 110F
- 2 tsp honey
- 2 tbsp olive oil
- 2 1/2 cups all purpose flour
- 2 cups whole wheat flour
- 1 tsp salt
Instructions
- Mix Dough: In a large bowl, whisk together the starter, water, honey, and oil. Mix in the flour and salt, then knead into a rough dough. Cover the bowl and allow the dough to rest for 30–45 minutes.

- First Rise: Knead the dough briefly, then cover the bowl and allow the dough to rise until it is doubled in volume (6–8 hrs at 70°F/21°C).
- Shape: Divide the dough into 16 pieces (65g each). Roll each piece into a smooth ball and place them on a parchment-lined sheet pan.

- Second Rise: Cover the balls and allow them to rise until they are puffy (30 min–1 hr). In the meantime, preheat the oven to 450°F (230°C) with a skillet or pizza stone inside.
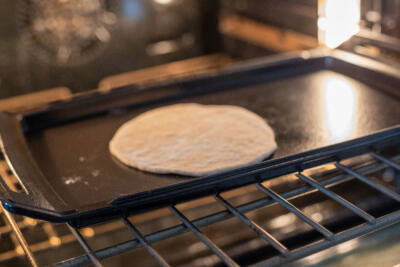
- Roll & Bake: On a lightly floured surface, roll out each ball into a ¼-inch thick circle, about 4-6 inches in diameter. Working in batches, place one rolled out pita at a time in the preheated skillet, transfer the skillet back into the oven, and bake for 3–4 min until the pita is puffed. Cool the pitas on a wire rack, then enjoy!


I made this recipe several times and it was a success.
Thank you for such a great and easy to follow recipe. If I want to proof the dough overnight in the fridge, how long should I let it proof beforehand? Thanks again
Hi Zainab, I would not wait for a full rise before refrigerating — around 30–50% rise is usually ideal so it doesn’t overproof overnight. In the morning, I would leave it out for an hour or so before baking them. Hope this helps!
Will these be good on day 2? And can u freeze them?
Hello Lisa, yes they will be! Store fully cooled pitas in a plastic bag at room temperature for up to four days, or freeze the extras for up to three months.
Is there measurements for grams in this recipe?
Hi Gaby- yes, there is. In the recipe card (where the ingredients are listed) there is a "Metric" button that will convert the measurements for you!
You say to use a skillet or pizza stone but your pic has the on a baking sheet?
Hi Tara, you’ll get the best results with a pizza stone. What you see me using is a Staub cast iron pan—it heats up really well and works great too. Hope this helps!
Have you ever made this recipe with GF flour?
If so how?
Thanks 🙏🏾
Hey Bertha, I have not. I assume the starter would be GF as well. I am clueless about GF world...