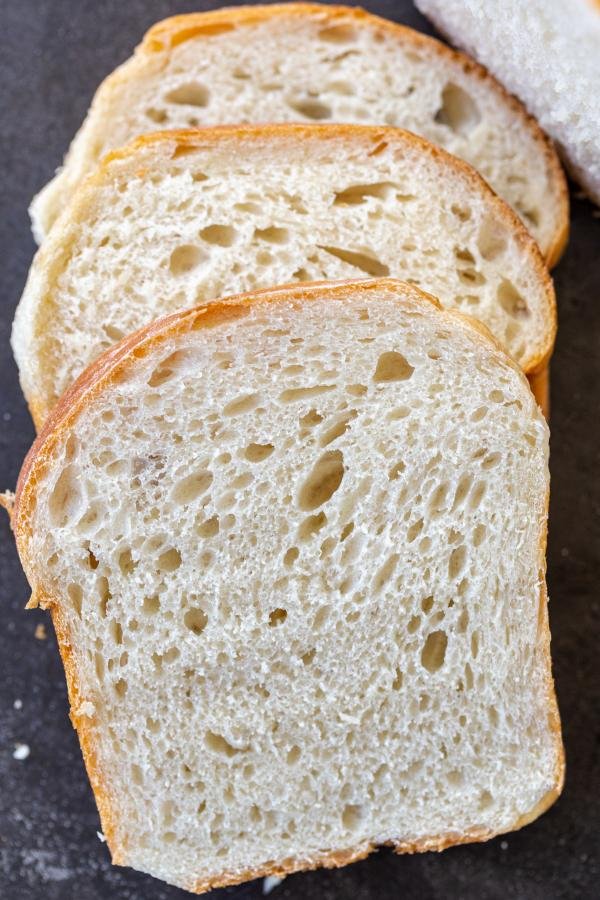
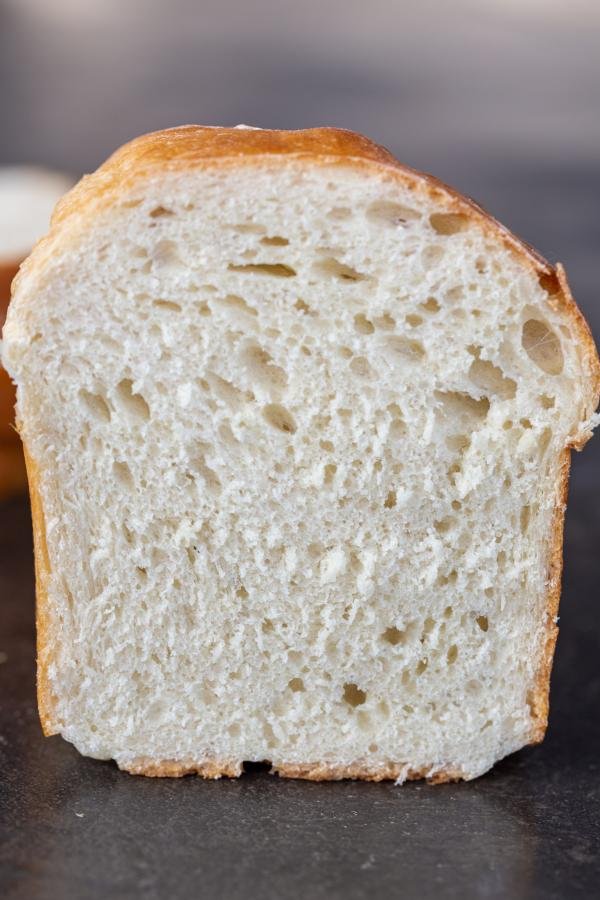
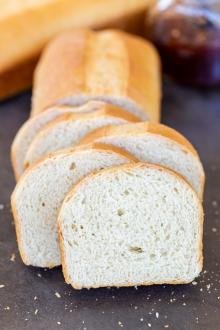
This sourdough sandwich bread recipe always comes out light and fluffy. Use it for everything — sandwiches, french toast, and even croutons!
Sandwich bread and kids go together like nothing else. Growing up, my mom made homemade bread all the time at home (it rotated between versions of no-knead easy bread, Ukrainian garlic bread/pampushky, and white country bread). We had bread with almost every meal, and the sandwich loaves made for superb sandwiches for snack or school.
When my own boys went to school, I carried on this same tradition and made them sandwiches for lunch all the time. To this day, they still love a good loaded sandwich (especially when it’s made with sourdough!). The golden-brown crust of the loaf and the soft, slightly sour inside is perfection.
No sourdough starter? That’s perfectly fine! Order a live starter on Amazon or ask a friend to share their wealth. Then, learn more about feeding and maintaining your starter to keep the starter alive for many years to come.
Making the Best Sourdough Sandwich Bread
I want to give you a heads up — whipping up this soft sourdough sandwich bread does require a little bit of planning ahead. It’s an easy recipe, but the bulk fermentation stage takes upwards of 12 hours, so plan accordingly!
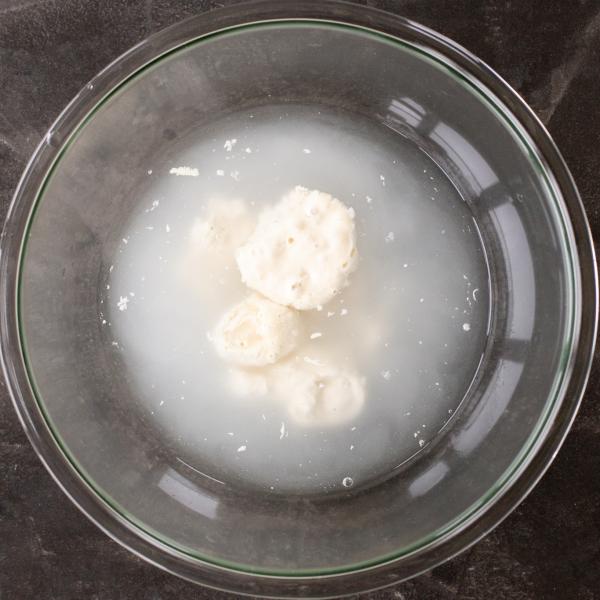
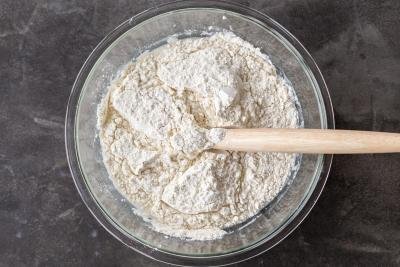
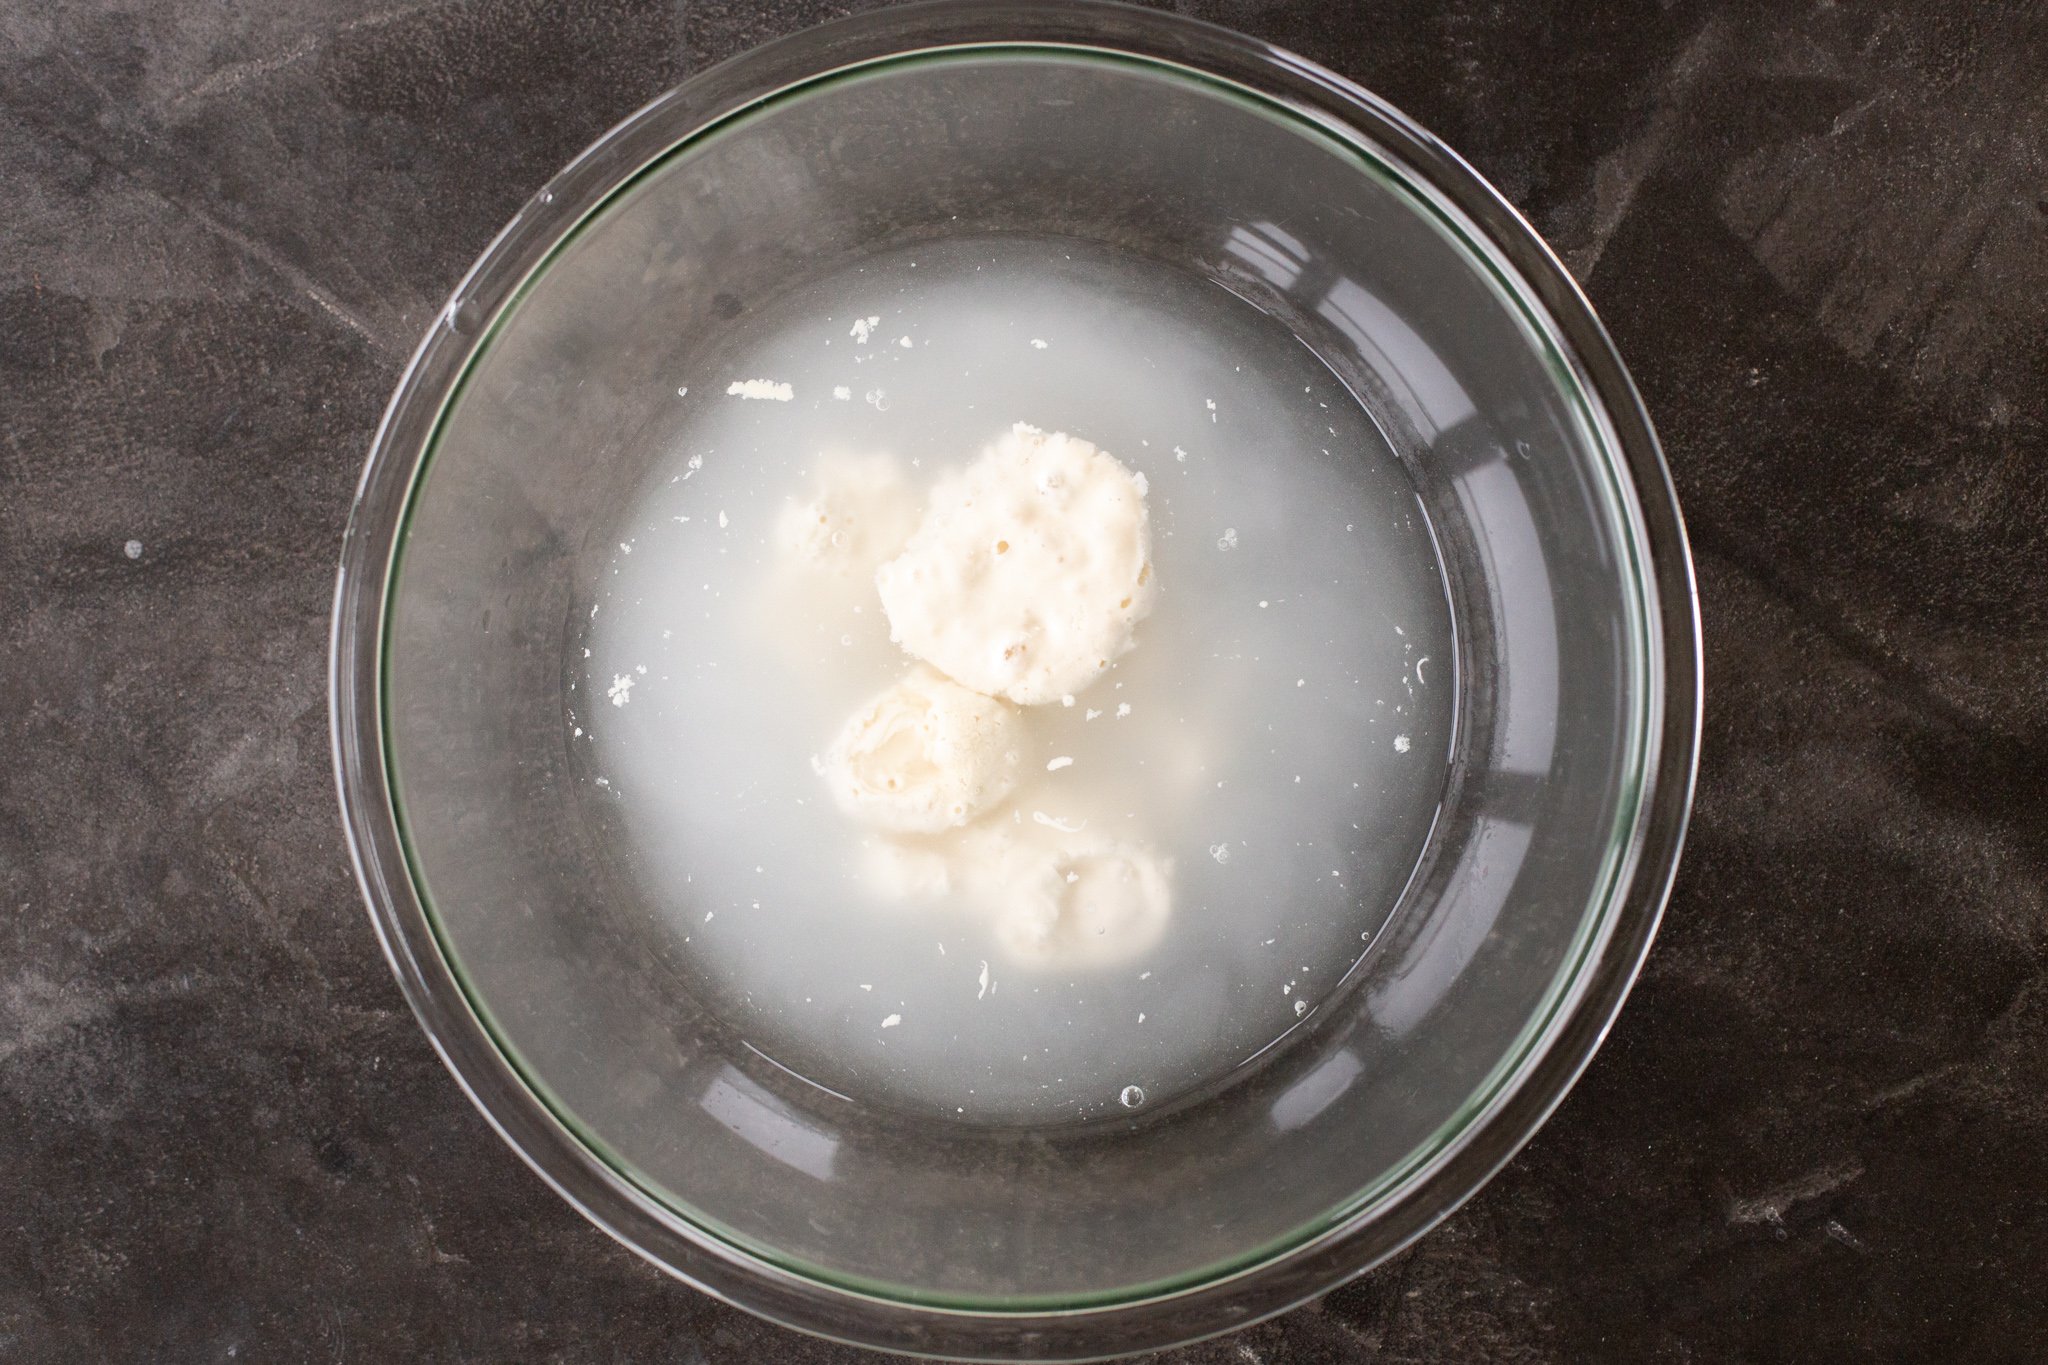
- Make the dough: In a large mixing bowl, whisk the water, active sourdough starter, and sugar together until dissolved. Add in the flour and salt, cover the dough with plastic wrap, and let it rest for 30 minutes.
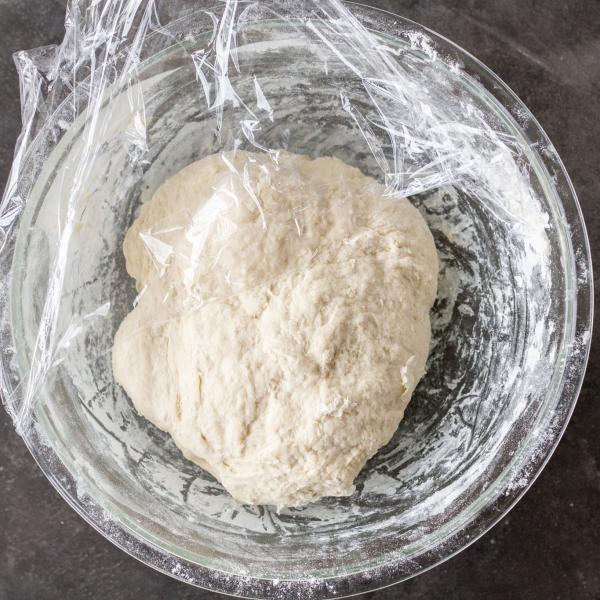
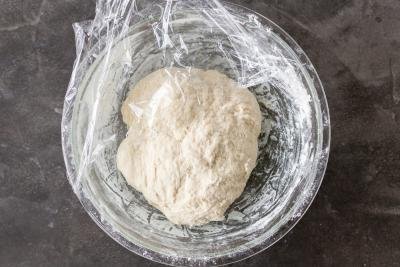
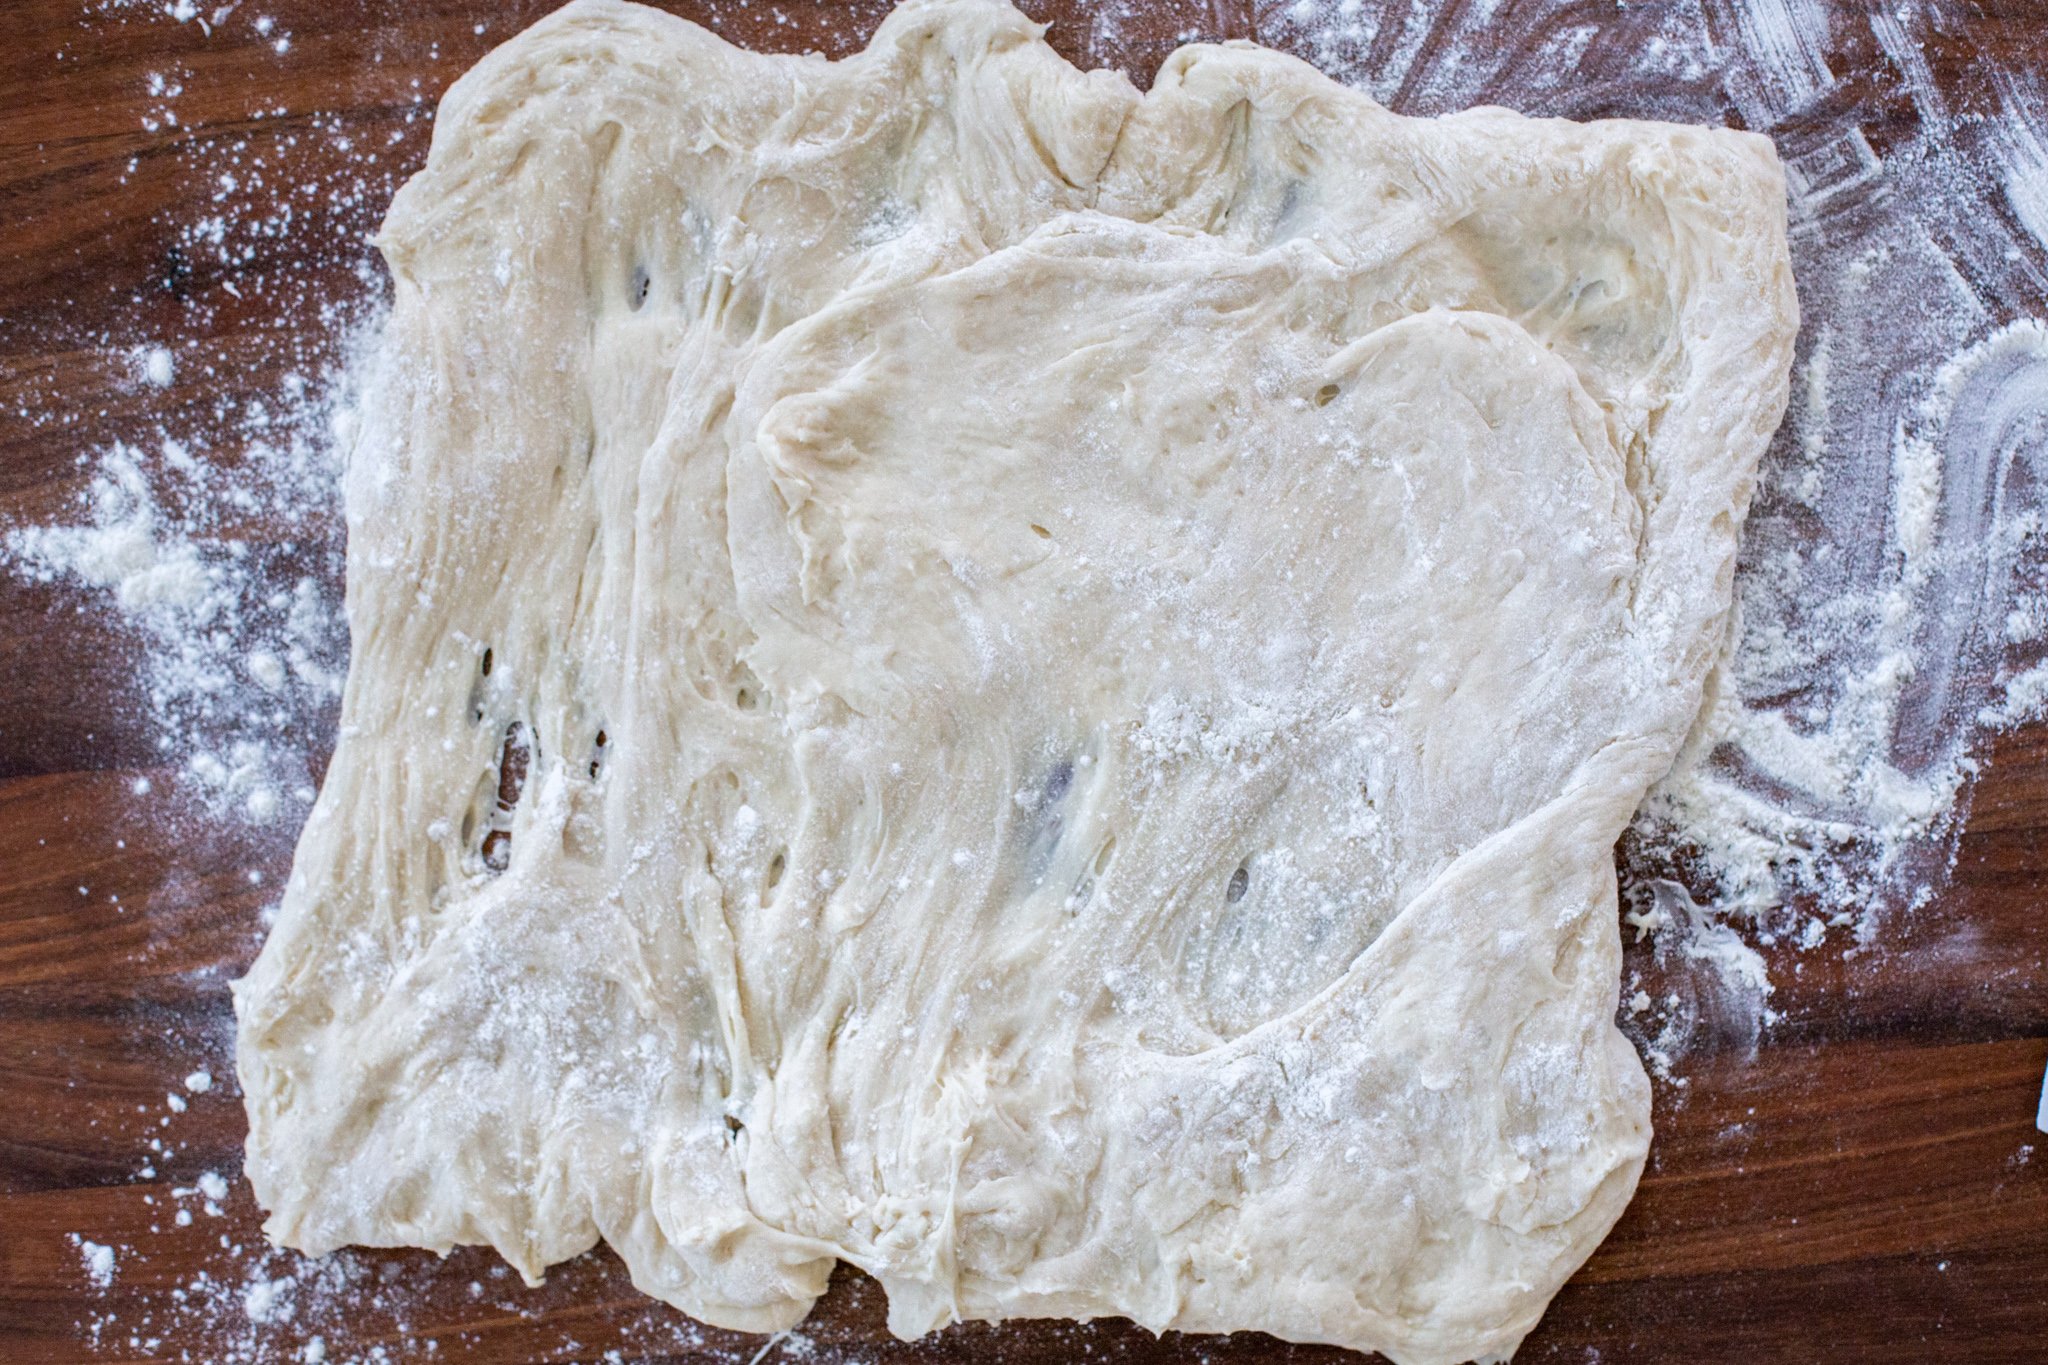
- Let the dough rest: Stretch and fold the dough once, cover with plastic wrap, and let it rest at room temperature for 12 hours.
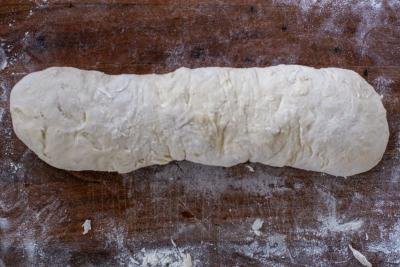
- Divide the dough: Separate the dough into two equal parts and shape them into rectangles. Press down on the dough with your fingers to get rid of air bubbles.
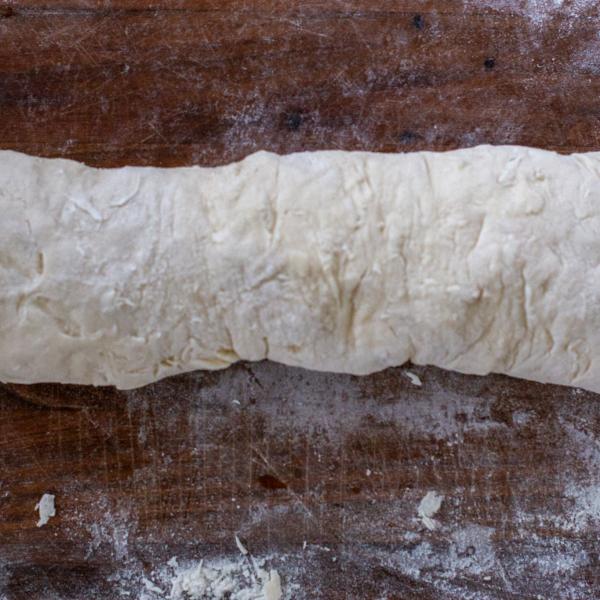
- Shape the dough: Roll the dough into a log and place it into a greased loaf pan. Repeat with the second half of dough. Allow the loaves to rise for an hour.
- Bake the bread: Bake the bread at 375°F for 45 minutes. Remove the loaves from the oven and brush the tops with butter.
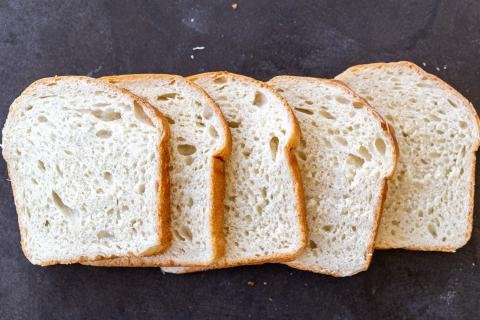
- Allow the bread to rest: Let the loaves rest for 5 minutes in the loaf pans, then remove them to a wire rack and allow them to rest for 30 minutes. Slice and enjoy!
Hot tip: This bread makes delicious sourdough sandwiches anywhere from sweet PB&J’s, classic club sandwiches, to mushroom and cheese sandwiches. The possibilities are endless.

Tips for the Perfect Sourdough Sandwich Loaf
To really nail the texture and taste of your sandwich slices, follow these simple tips from my kitchen to yours.
- Use an active starter. For this sourdough sandwich bread recipe, make sure that your starter is active. This means you need to feed the starter at least a few hours before using it. Otherwise, the bread may turn out too dense. If you need a refresher on how to take care of starter, check out this post.
- Know that the dough will be sticky: The dough should be sticky — so don’t panic! Handle it on a well-floured surface and you’ll be golden.
- Grease the bread pans well: Spray the bread pans with cooking spray or coat them generously with softened butter. If you don’t, the loaves will stick to the pans and fall apart. Here is a guide on our favorite oils to use.
- The flour makes all the difference: The brand of flour changes the taste and the baking time of the bread. I opt for a high protein flour like Bob’s Red Mill Bread Flour for the best taste and texture. I would advise against using only all purpose flour or whole wheat flour as this will change the texture of the bread.
- Allow the bread to rest before slicing: Give the bread at least 30 minutes to rest on the cooling rack before slicing into it. This gives it time to firm up so you don’t smash it while it’s still hot. Remember to use a serrated knife to get those perfect slices you’re looking for!
Storing Sourdough Sandwich Bread
Here’s all you need to know about storing your bread to keep it tasting as fresh as possible in the days to come.
- Room temperature: To store the bread for up to a week, keep it in a bread box or airtight container on the counter. Whatever you do, cover it so it doesn’t become stale.
- Refrigerator: Extend the life of the bread to a couple of weeks by storing it in an airtight container or bag in the refrigerator. Make sure to seal the bag tightly!
- Freezer: Store the bread in the freezer for up to three months. Once it is fully cooled, wrap it in plastic wrap, and stuff it into a freezer-safe plastic bag. Thaw the bread by placing it in the fridge overnight or leave it on the counter for a couple of hours.
Hot tip: Keep in mind that during the summer months, bread can get moldy much quicker due to a higher moisture content in the air.
More Tasty Sourdough Recipes
- Overnight Sourdough Bagels — Fluffy, boiled sourdough starter bagels
- (Almost) Whole Wheat Sourdough Bread — White & whole wheat flour bread
- Crazy Easy Sourdough Pancakes – Fluffy sourdough starter pancakes
- Sourdough Ciabatta – Rustic ciabatta loaves perfect for sandwiches
- High Hydration Sourdough Bread – Partially whole wheat bread with amazing flavor and crumb
- Sourdough Bread Recipe – Our ultimate recipe and guide to traditional sourdough bread
Recipe
Ingredients
- 2 2/3 cups lukewarm water at 110°F degrees
- 2/3 cup sourdough starter bubbly & active
- 1/3 cup cane sugar
- 8 cups bread flour
- 1 tbsp salt
- 3 tbsp olive oil to grease the pans
- 3 tbsp butter to brush the tops
Instructions
- In a large bowl, combine the water, sourdough starter, and sugar. Whisk until the sugar is completely dissolved.

- Add in the bread flour and salt and mix until well combined. Cover the dough with plastic wrap. Let it rest for 30 minutes.
- Stretch and fold the dough one time. Cover it with plastic wrap and let it rest at room temperature for 12 hours or until the dough is light and fluffy.
- Divide the dough into two equal parts. Stretch each one into a rectangular shape. Press down the dough with your fingers to get rid of any extra bubbles.

- Roll up the dough into a log. Place it into an oiled bread pan. Repeat with the second half of dough. Let them rise for about an hour.
- Bake the bread at 375°F for about 45 minutes or until the tops are golden brown. Remove the pans from the oven. Brush the tops with butter. Let the loaves rest for 5 minutes. Then, move the loaves to a cooling rack and let them rest for 30 minutes before cutting in.


The Best Sandwich Bread Ever! Thanks Natasha. It remindes me a loaf from my childhood "Батон". I do it on repeat every week. It is tasty with butter or panini version. Great to freeze for later use.
That's so good to hear, Olya! Sandwich bread is so versatile, so I'm glad this one works so well for you!
Can I divide the recipe in half and make only one loaf?
Hey, yes, you totally can. Let me know how you like it. 🙂
Can honey be substituted for cane sugar in this recipe?
Hey, I haven't tested this recipe with honey, but I think it may work. Finding the right amount of honey may take some experimenting though as it can affect the flavor and texture.
How many times do you stretch and fold ? Just once ?
Yup, just once. It's that easy! Enjoy! 🙂
I just have one loaf pan can I shape the other one just into a ball on a baking stone and bake together?
Hello Leanne, I haven't tried that for this specific recipe but I don't see why it couldn't work! If you give it a go, let us know how it came out. 😀
I did that. It turned out good. 😊
Hello Natalya, what size are the pans that you used for these loaves?
Hey Alicia, They are about 9x5 inches. I hope this helps. 🙂
Can I use all purpose flour instead?
Hi Lara, All-purpose flour works. I personally get better results using bread flour - which is why I recommend it, but others use all-purpose.
Hi! Do you bake without a lid on? Is a glass or metal pan better?
Hello Lillian- no lid is needed for baking. As for the type of pan to use, I think most loaf pans are usually metal. I hope you love this recipe!
I may never use another sour dough recipe again! This bread was PERFECT! I even over proofed the dough because I left out for 24 hours. Still yummy.
Ella, this is so great. I love this feedback. I am kind of obsessed with all the sour dough baking, took me months to perfect it. So glad we got it figured out. Have you tried other sour dough recipes?
Wanted to say my family loves this bread. But I’m not sure why does my bread crack open on the top when baked? It doesn’t stay smooth. What might I be doing wrong?
Hi Anastasia, it could need a bit more rising time. You can also cut it down the center so you get a pretty cut on top rather than cracks. Hope this is helpful, have a great day!
This is my go-to bread recipe. I wanted a bread I could make without commercial yeast and this recipe worked great. I am currently converting the recipe to grams to make the measuring easier. The last time I made it I made a poolish and let that sit overnight to try and capture a little more sourdough flavor. That didn't create a lot more flavor but it sure helped the strength of the starter for proofing. With the poolish in the mix, the loaves popped up like a puppy for a treat!
What's a poolish?
Hi there Steve, I am thrilled that this recipe was a success. Thank you so much for sharing your process with me. I appreciate your feedback, enjoy!!
thank you thank you thank you! I am so excited about his loaf, that I will be making it weekly!
Hi Jess, I am thrilled to hear that you love this recipe! Thank you for the feedback. Enjoy!
Thank you for sharing this sourdough recipe, I ended up making grilled cheese sandwiches with this bread and it was probably the best grilled cheese I have ever had. Definitely saving this recipe!
I am so thrilled to hear that you love this recipe, Olivia, Thank you so much for the feedback. Enjoy!
I love sourdough and didnt realize it's so easy to make! Thank you!
Hey there Allyson, I am delighted to hear the recipe was a success! Enjoy!