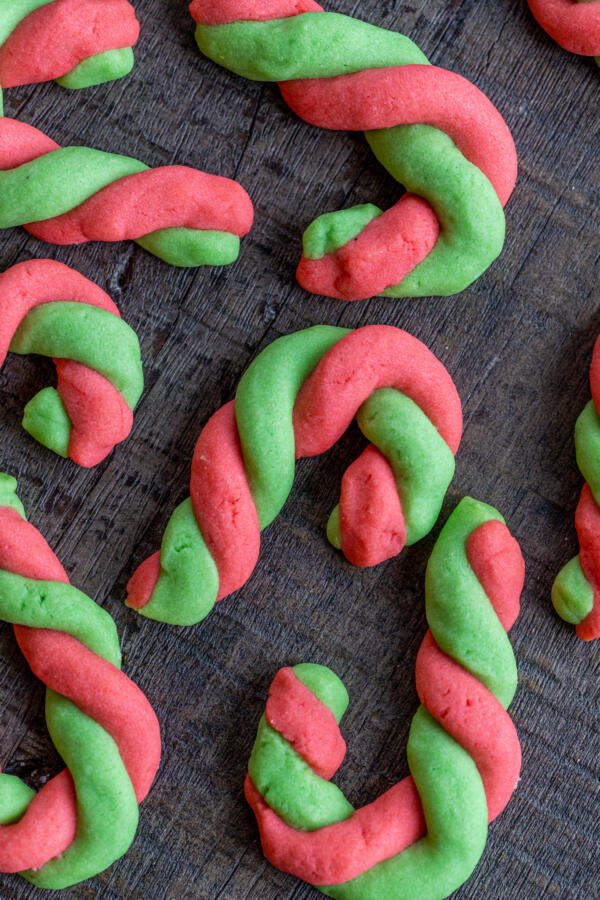
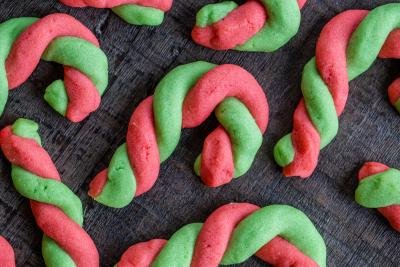
These candy cane cookies are perfectly buttery and simple, yet immensely festive. Hook them on the side of a mug of cocoa or gobble them up with a big glass of milk.
Candy cane cookies are sure to be one of the highlights of your Christmas this year and it’s not only because they taste amazing. They are also super fun to make with kids! The dough resembles the consistency of Play-Doh, which makes it easy for young ones to shape it into candy canes. Children always have a blast making these cookies with family and friends, and in my book, that is what the season is all about! Grab a cup of hot chocolate and let’s get baking!
What Are Candy Cane Cookies?
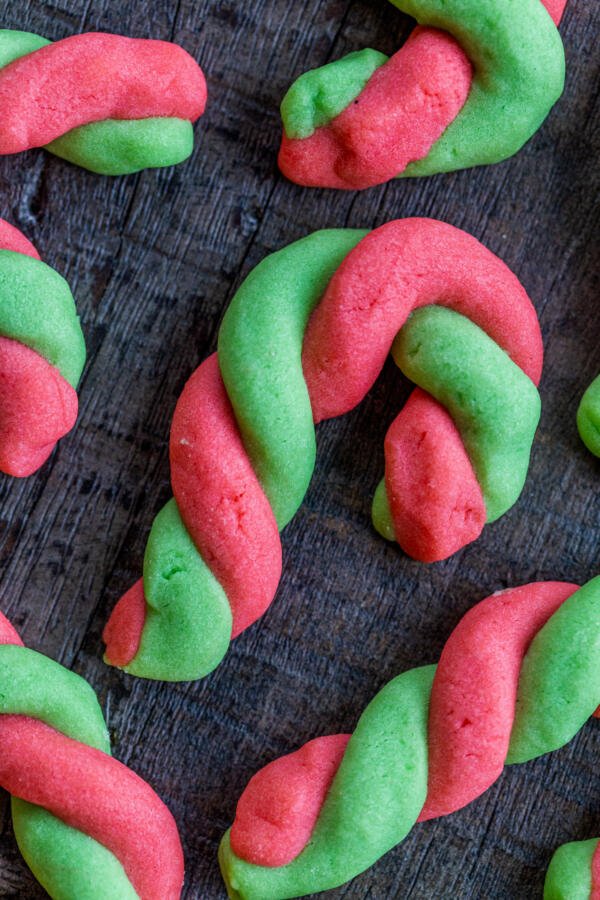
These candy cane cookies are made of twisted shortbread cookie dough formed into the classic candy cane shape. The separate twists of dough are colored with food coloring, making the signature “swirly” look of candy canes. Each bite of the cookies melts in your mouth, so make sure to add this Christmas cookie recipe to your list of your favorite Christmas cookies!
Hot tip: These cookies are definitely social media worthy! Make a batch and share your Christmas spirit with your friends on facebook, twitter, or instagram — and don’t forget to tag @momsdish!
How to Make Candy Cane Cookies
You might be looking at the signature shape of this cookie and wondering how to do it. Don’t worry! It’s so easy and kid-friendly. Plus, the cookie dough in this recipe is the same dough as in these shortbread cookies. So — get your ingredients together and follow these steps for “North Pole-worthy” cookies.
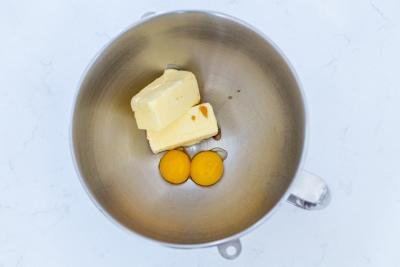
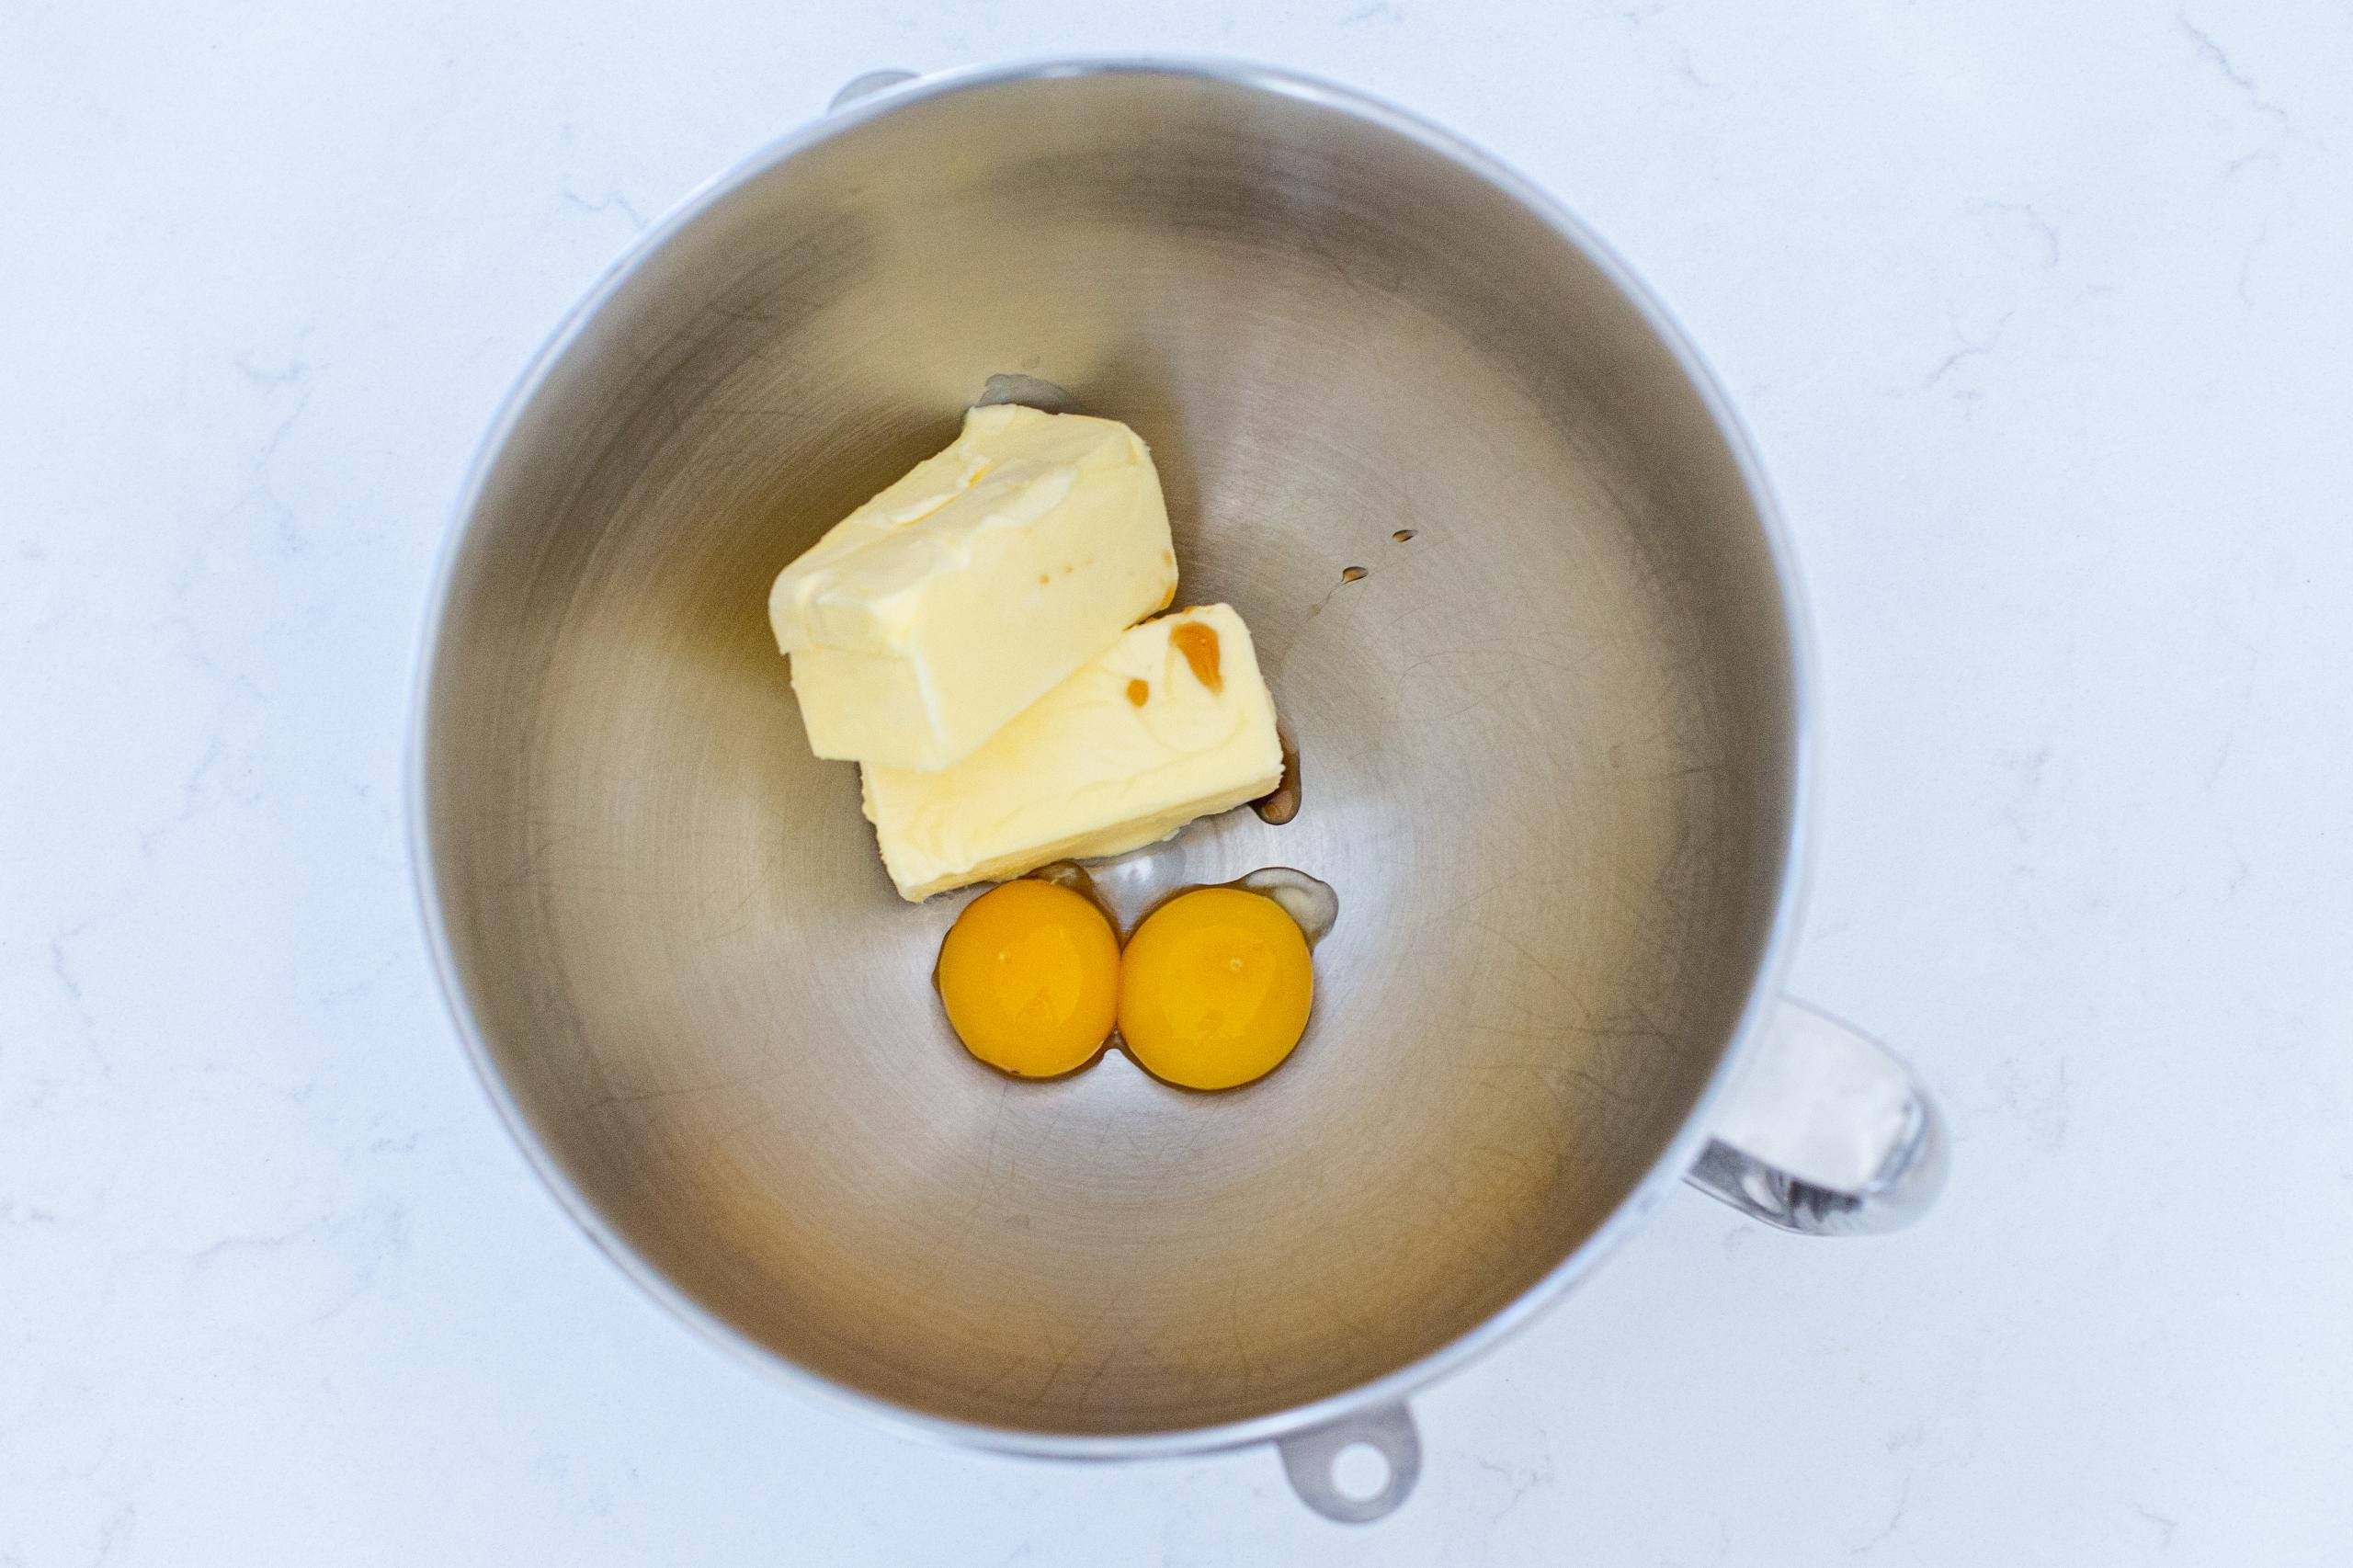
- Make the dough base: In a medium bowl or in the bowl of a stand mixer fitted with paddle attachment, beat the softened butter, egg yolks, and a vanilla extract until creamy.
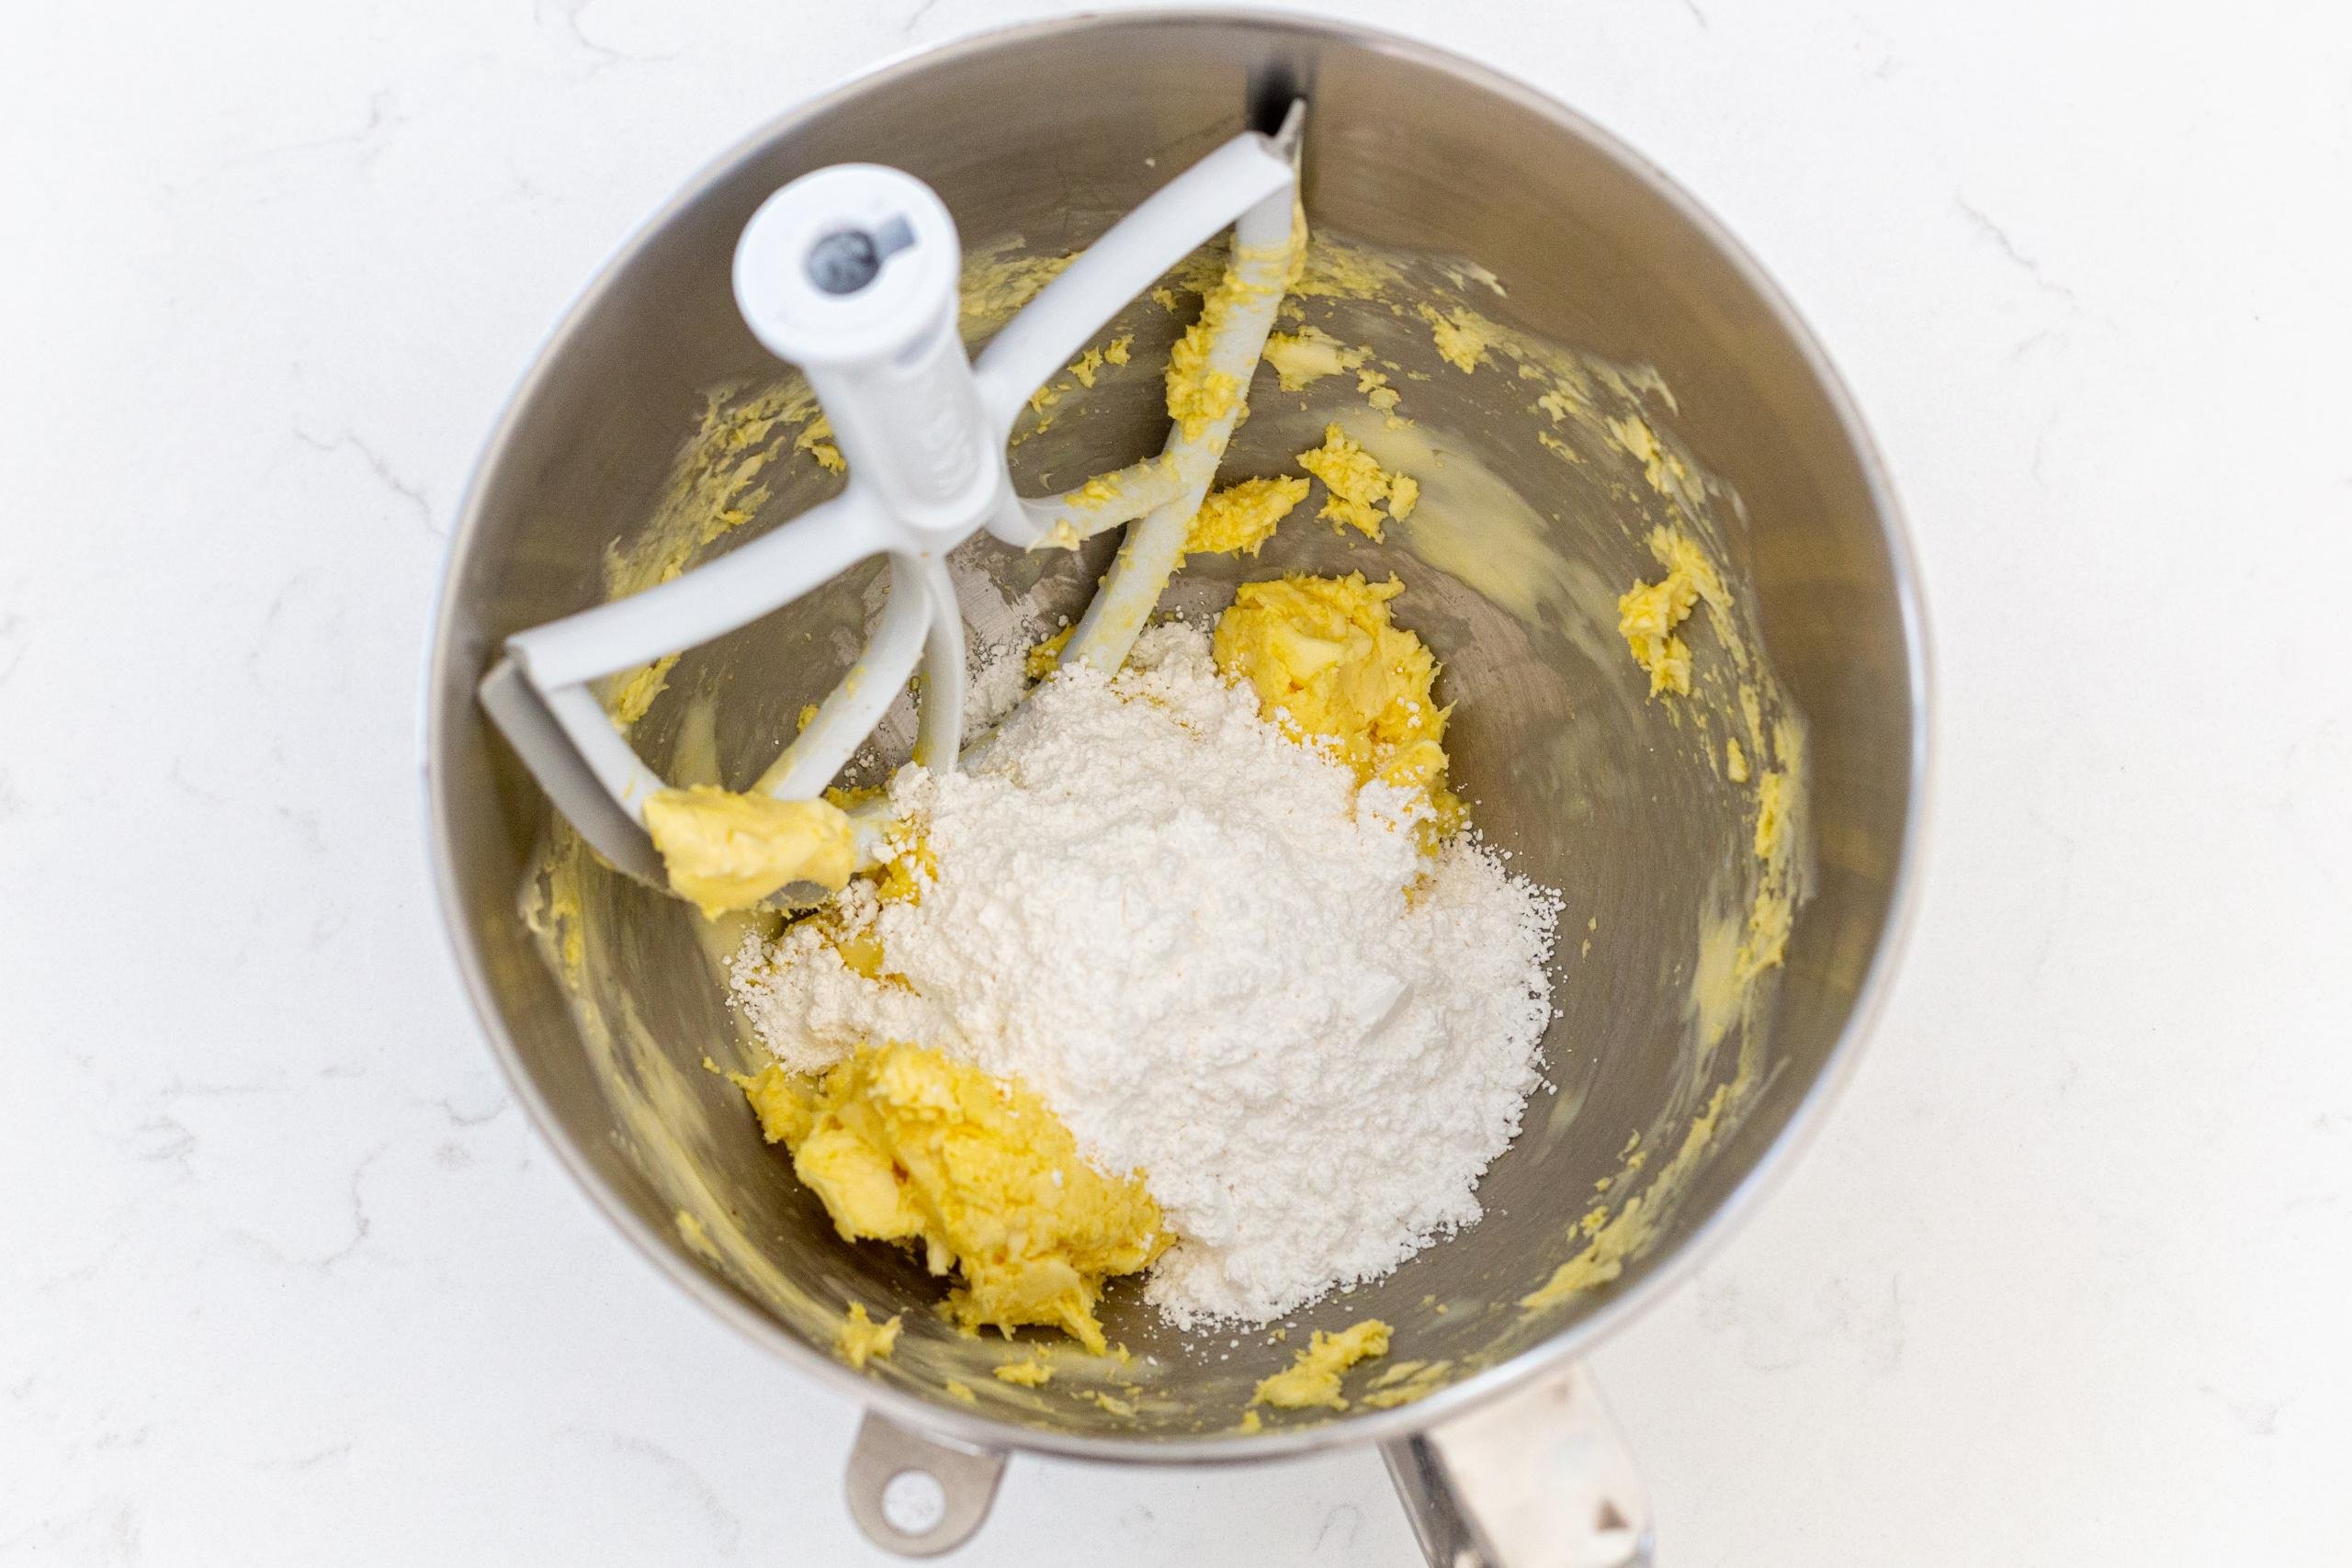
- Add in the dry sugar: Slowly add in powdered sugar until the mixture is smooth.
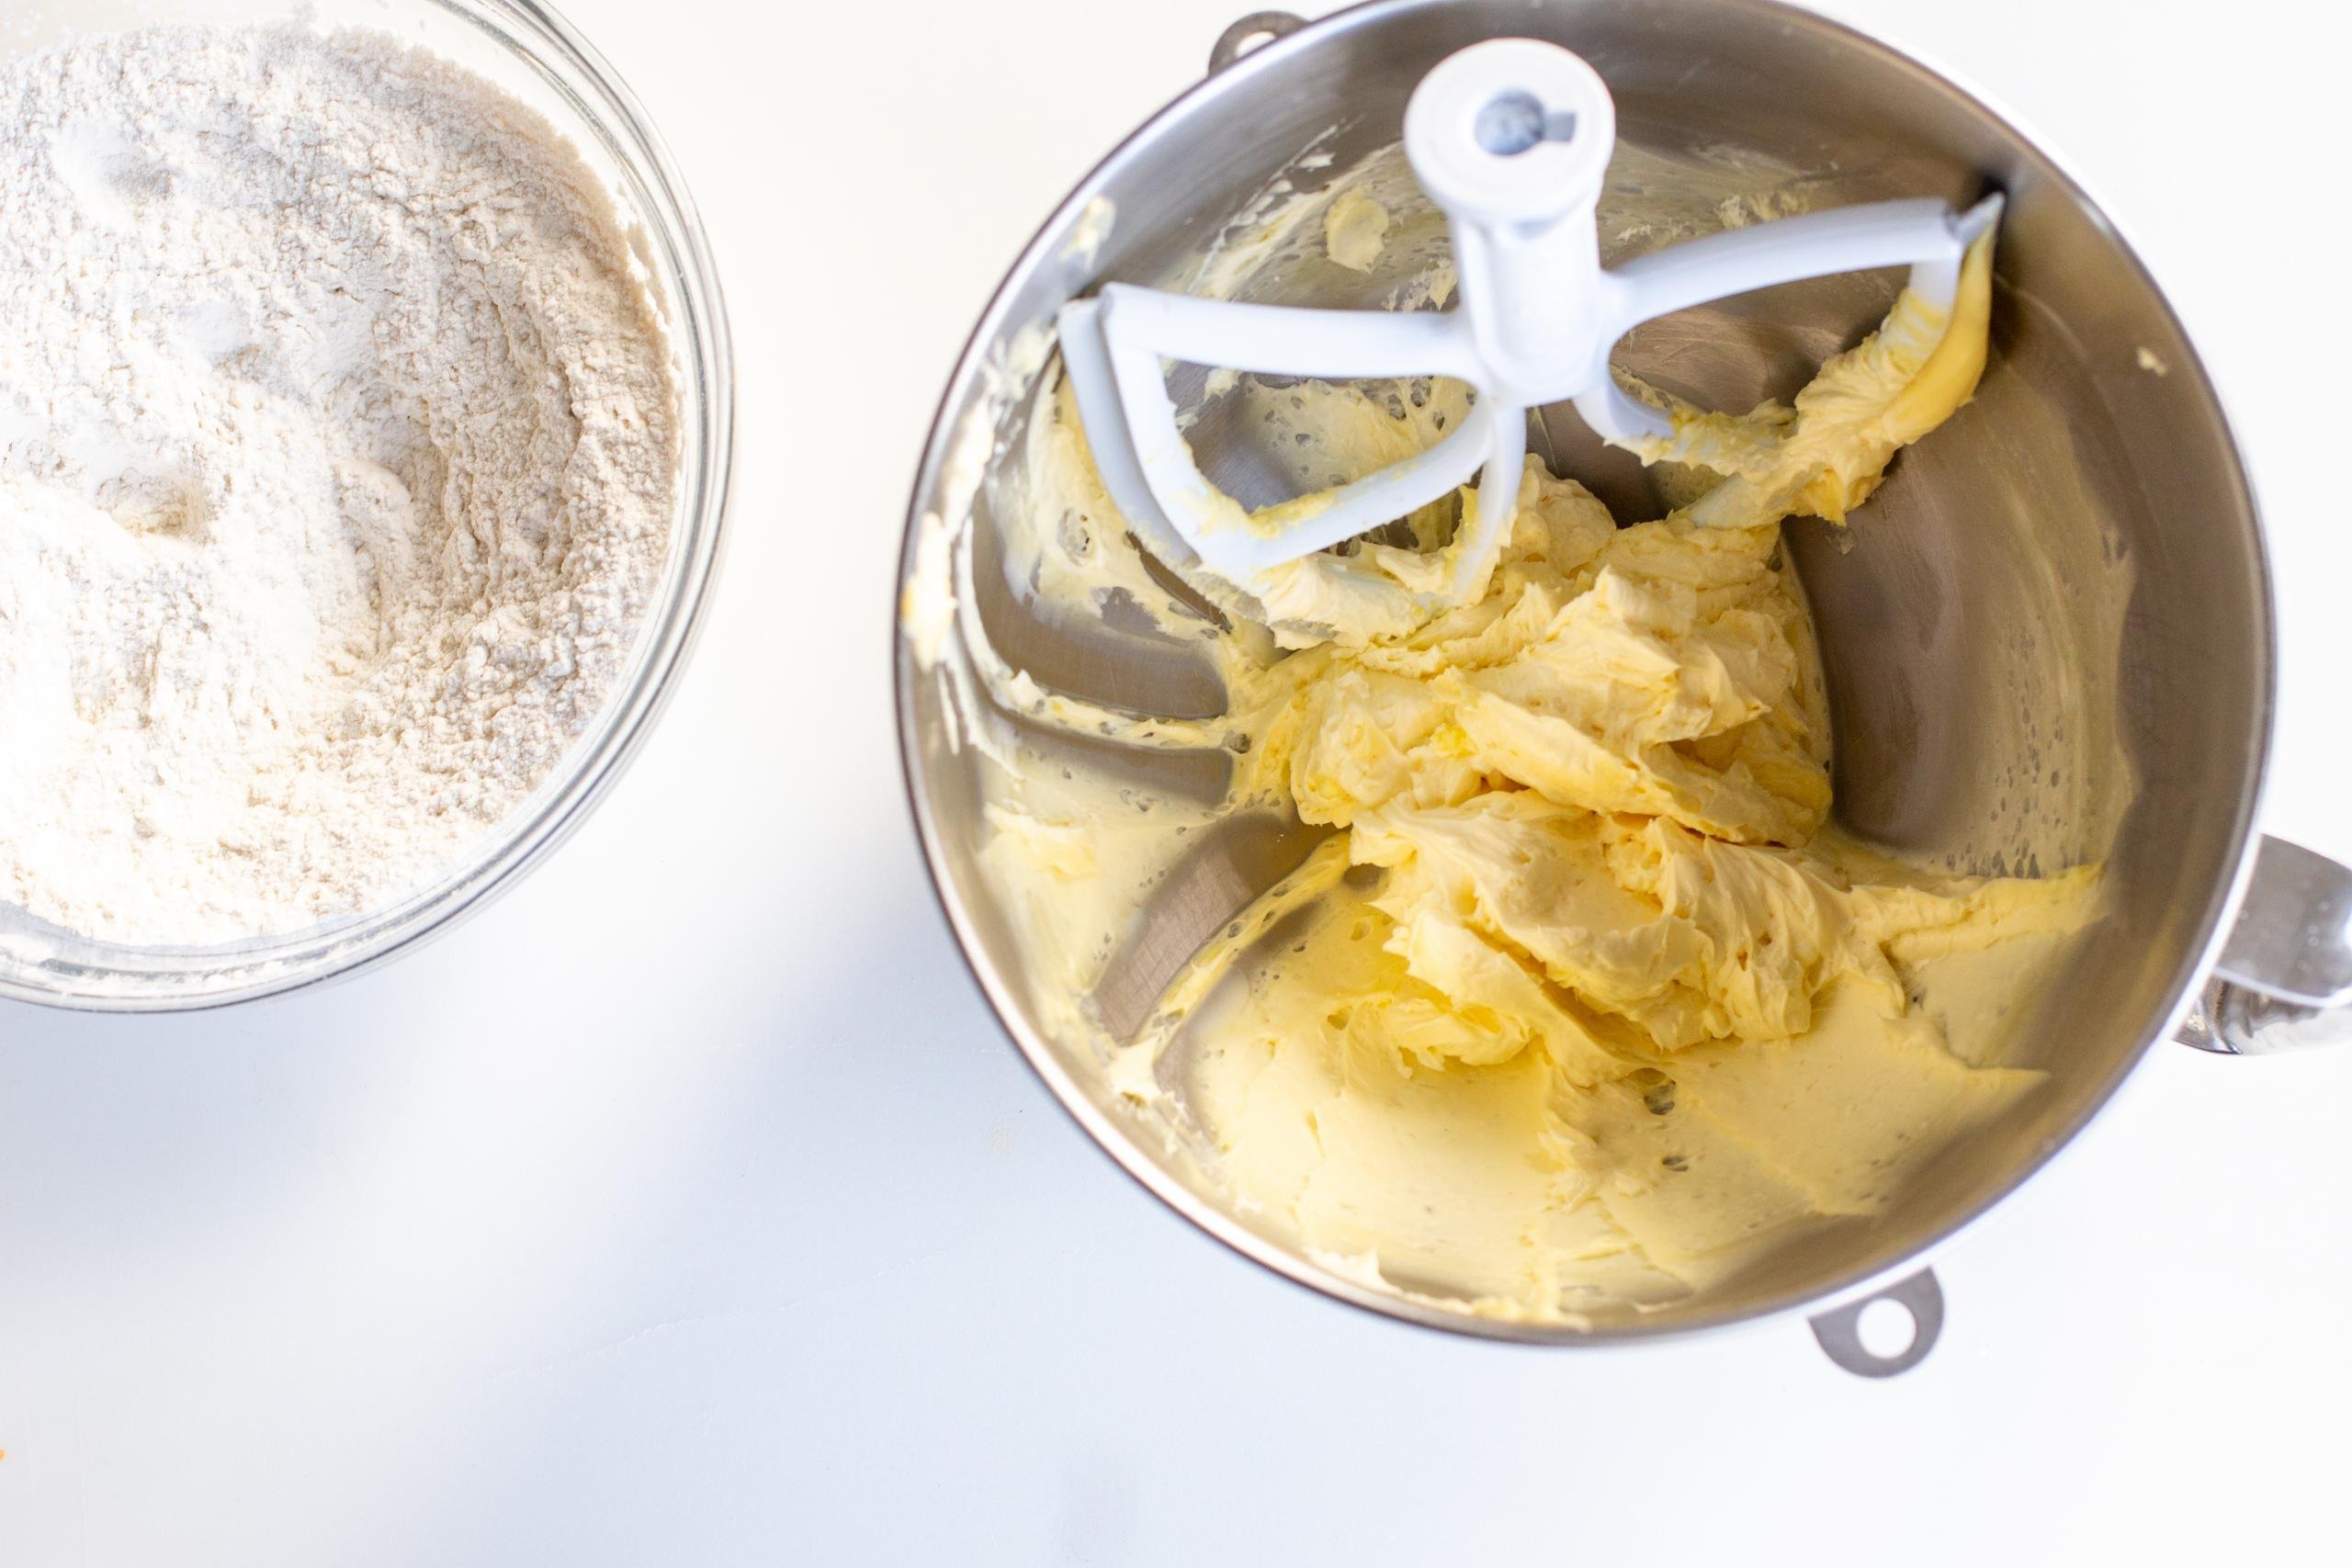
- Whisk in the flour: In small portions, add in the all purpose flour and salt. Whisk slowly until well combined.
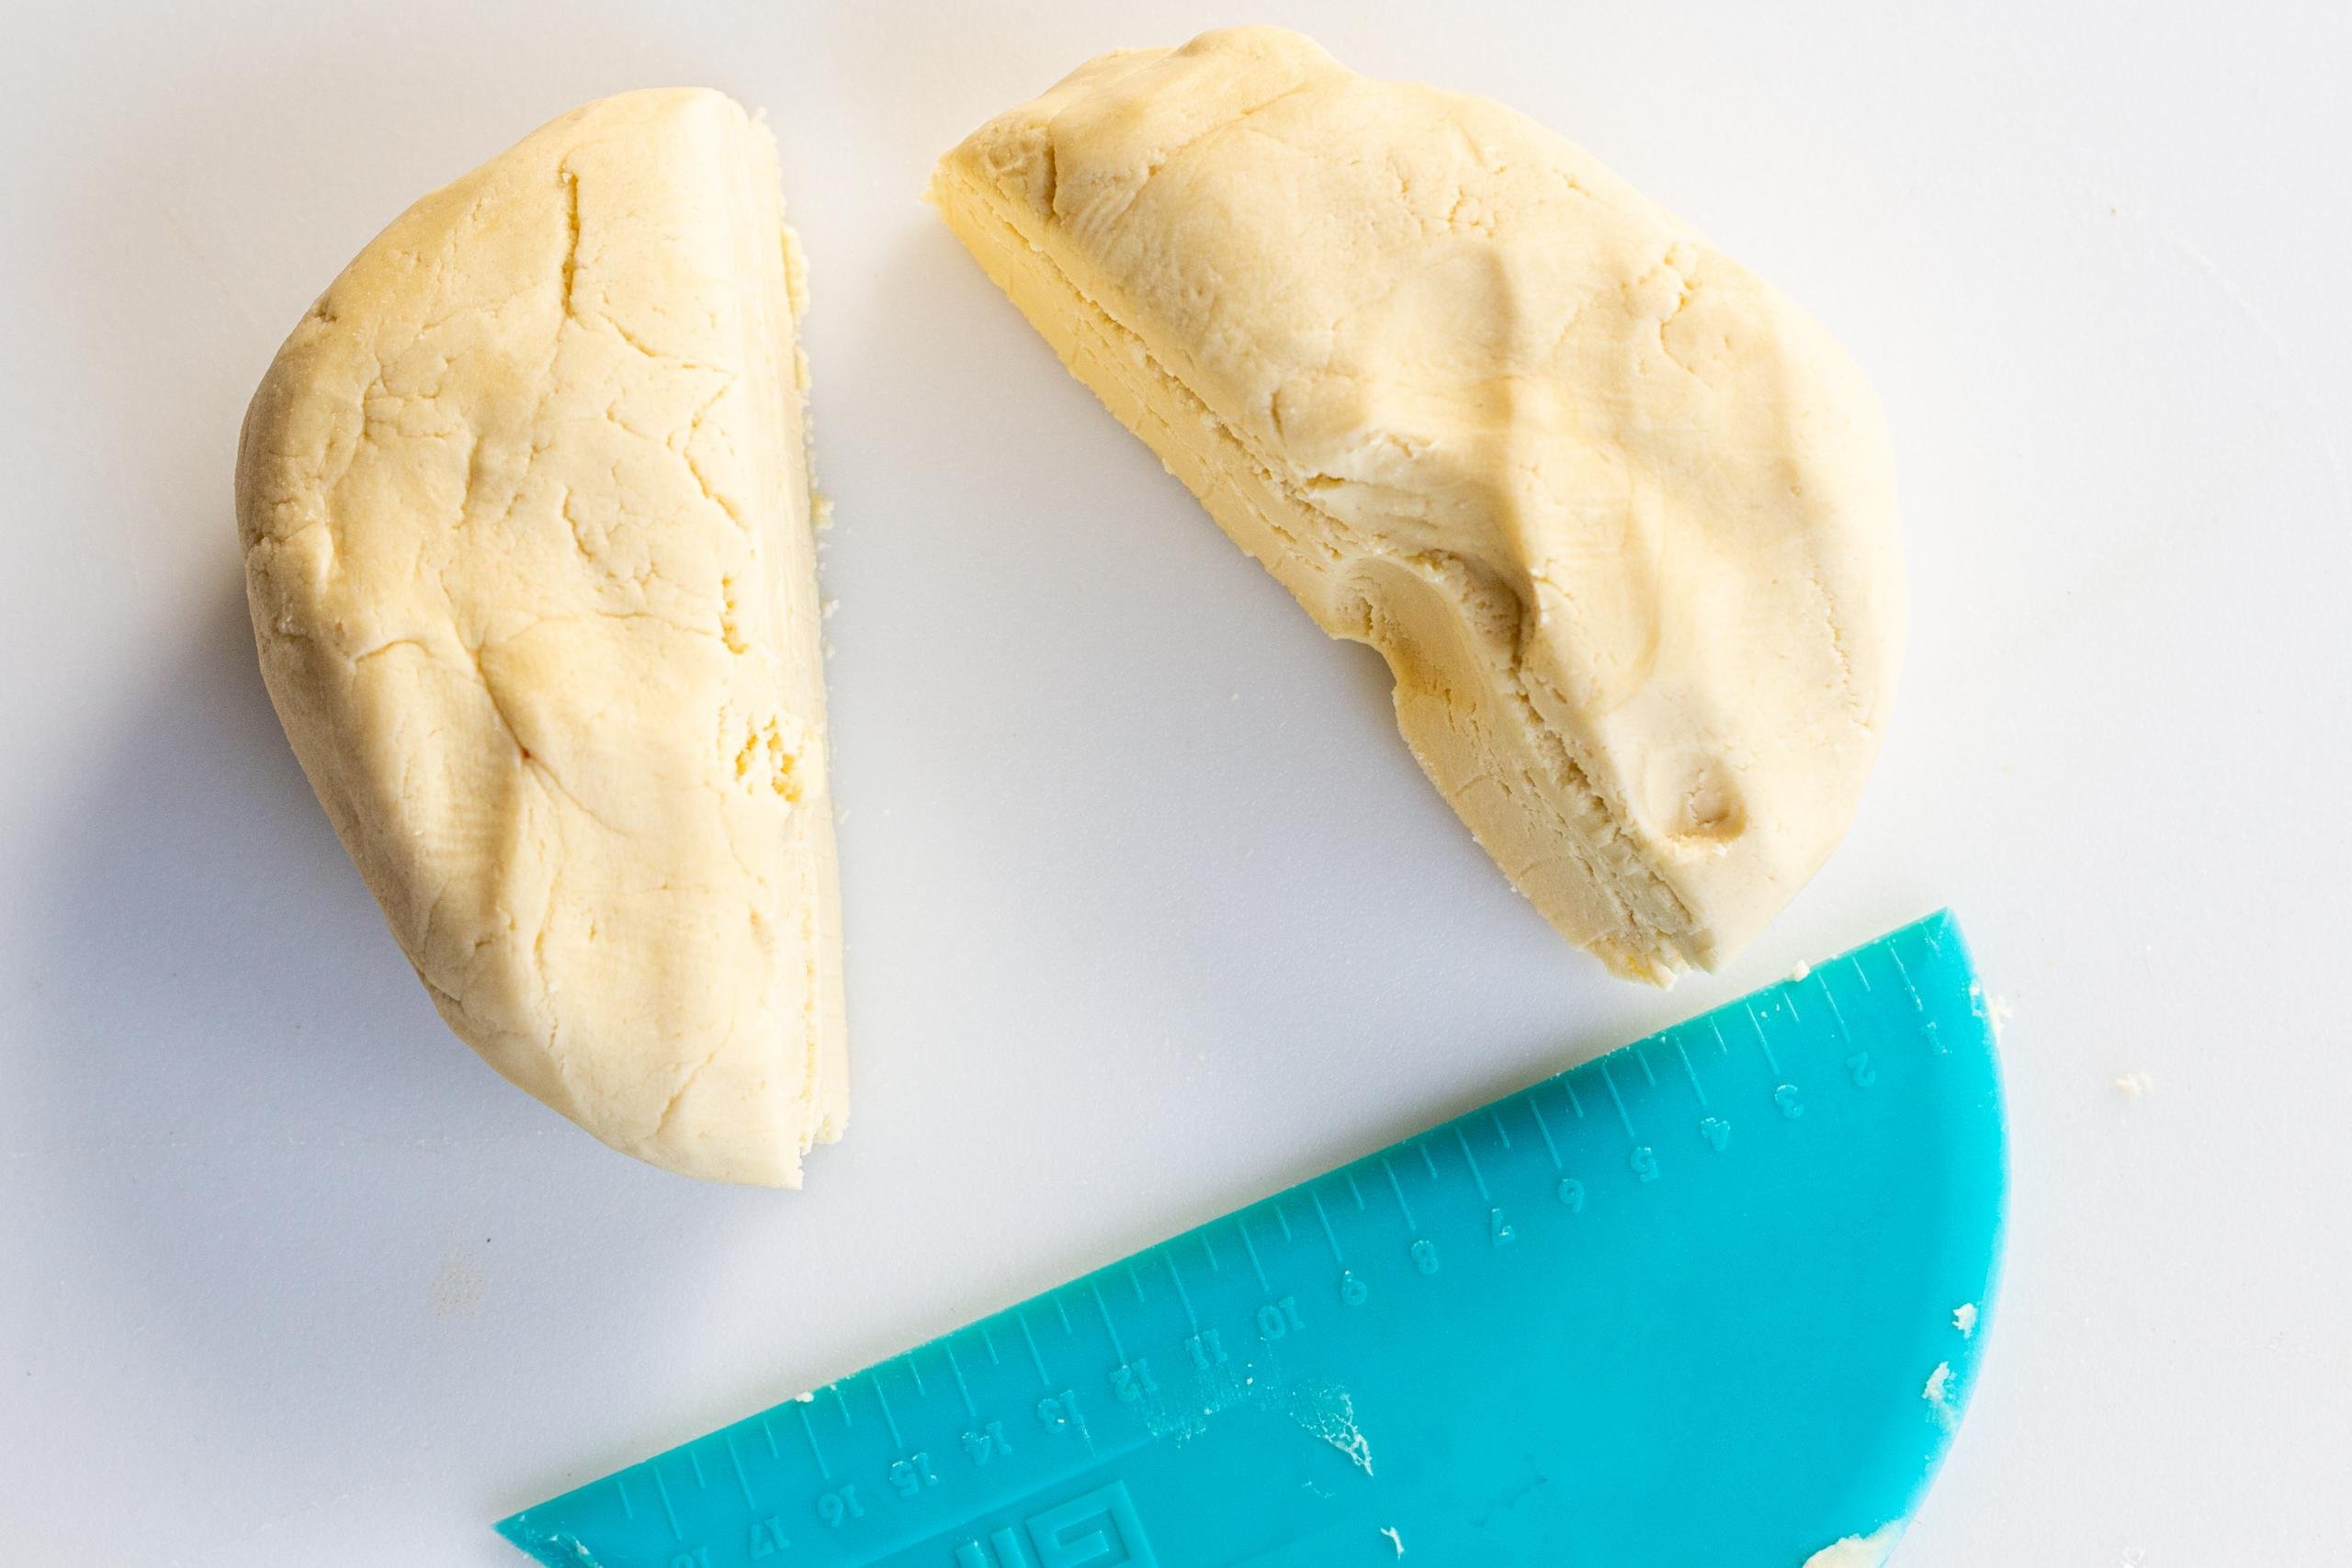
- Divide the dough: Scrape the dough from the sides of the bowl, then divide it into two parts. Add food coloring to each part and mix it in well.
- Rest the dough: Wrap the dough and let it chill for at least an hour. After an hour, scoop out tablespoon-sized pieces of each colored dough.
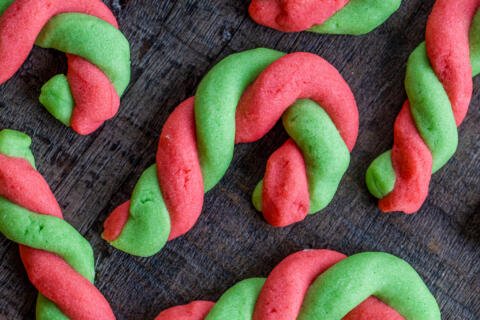
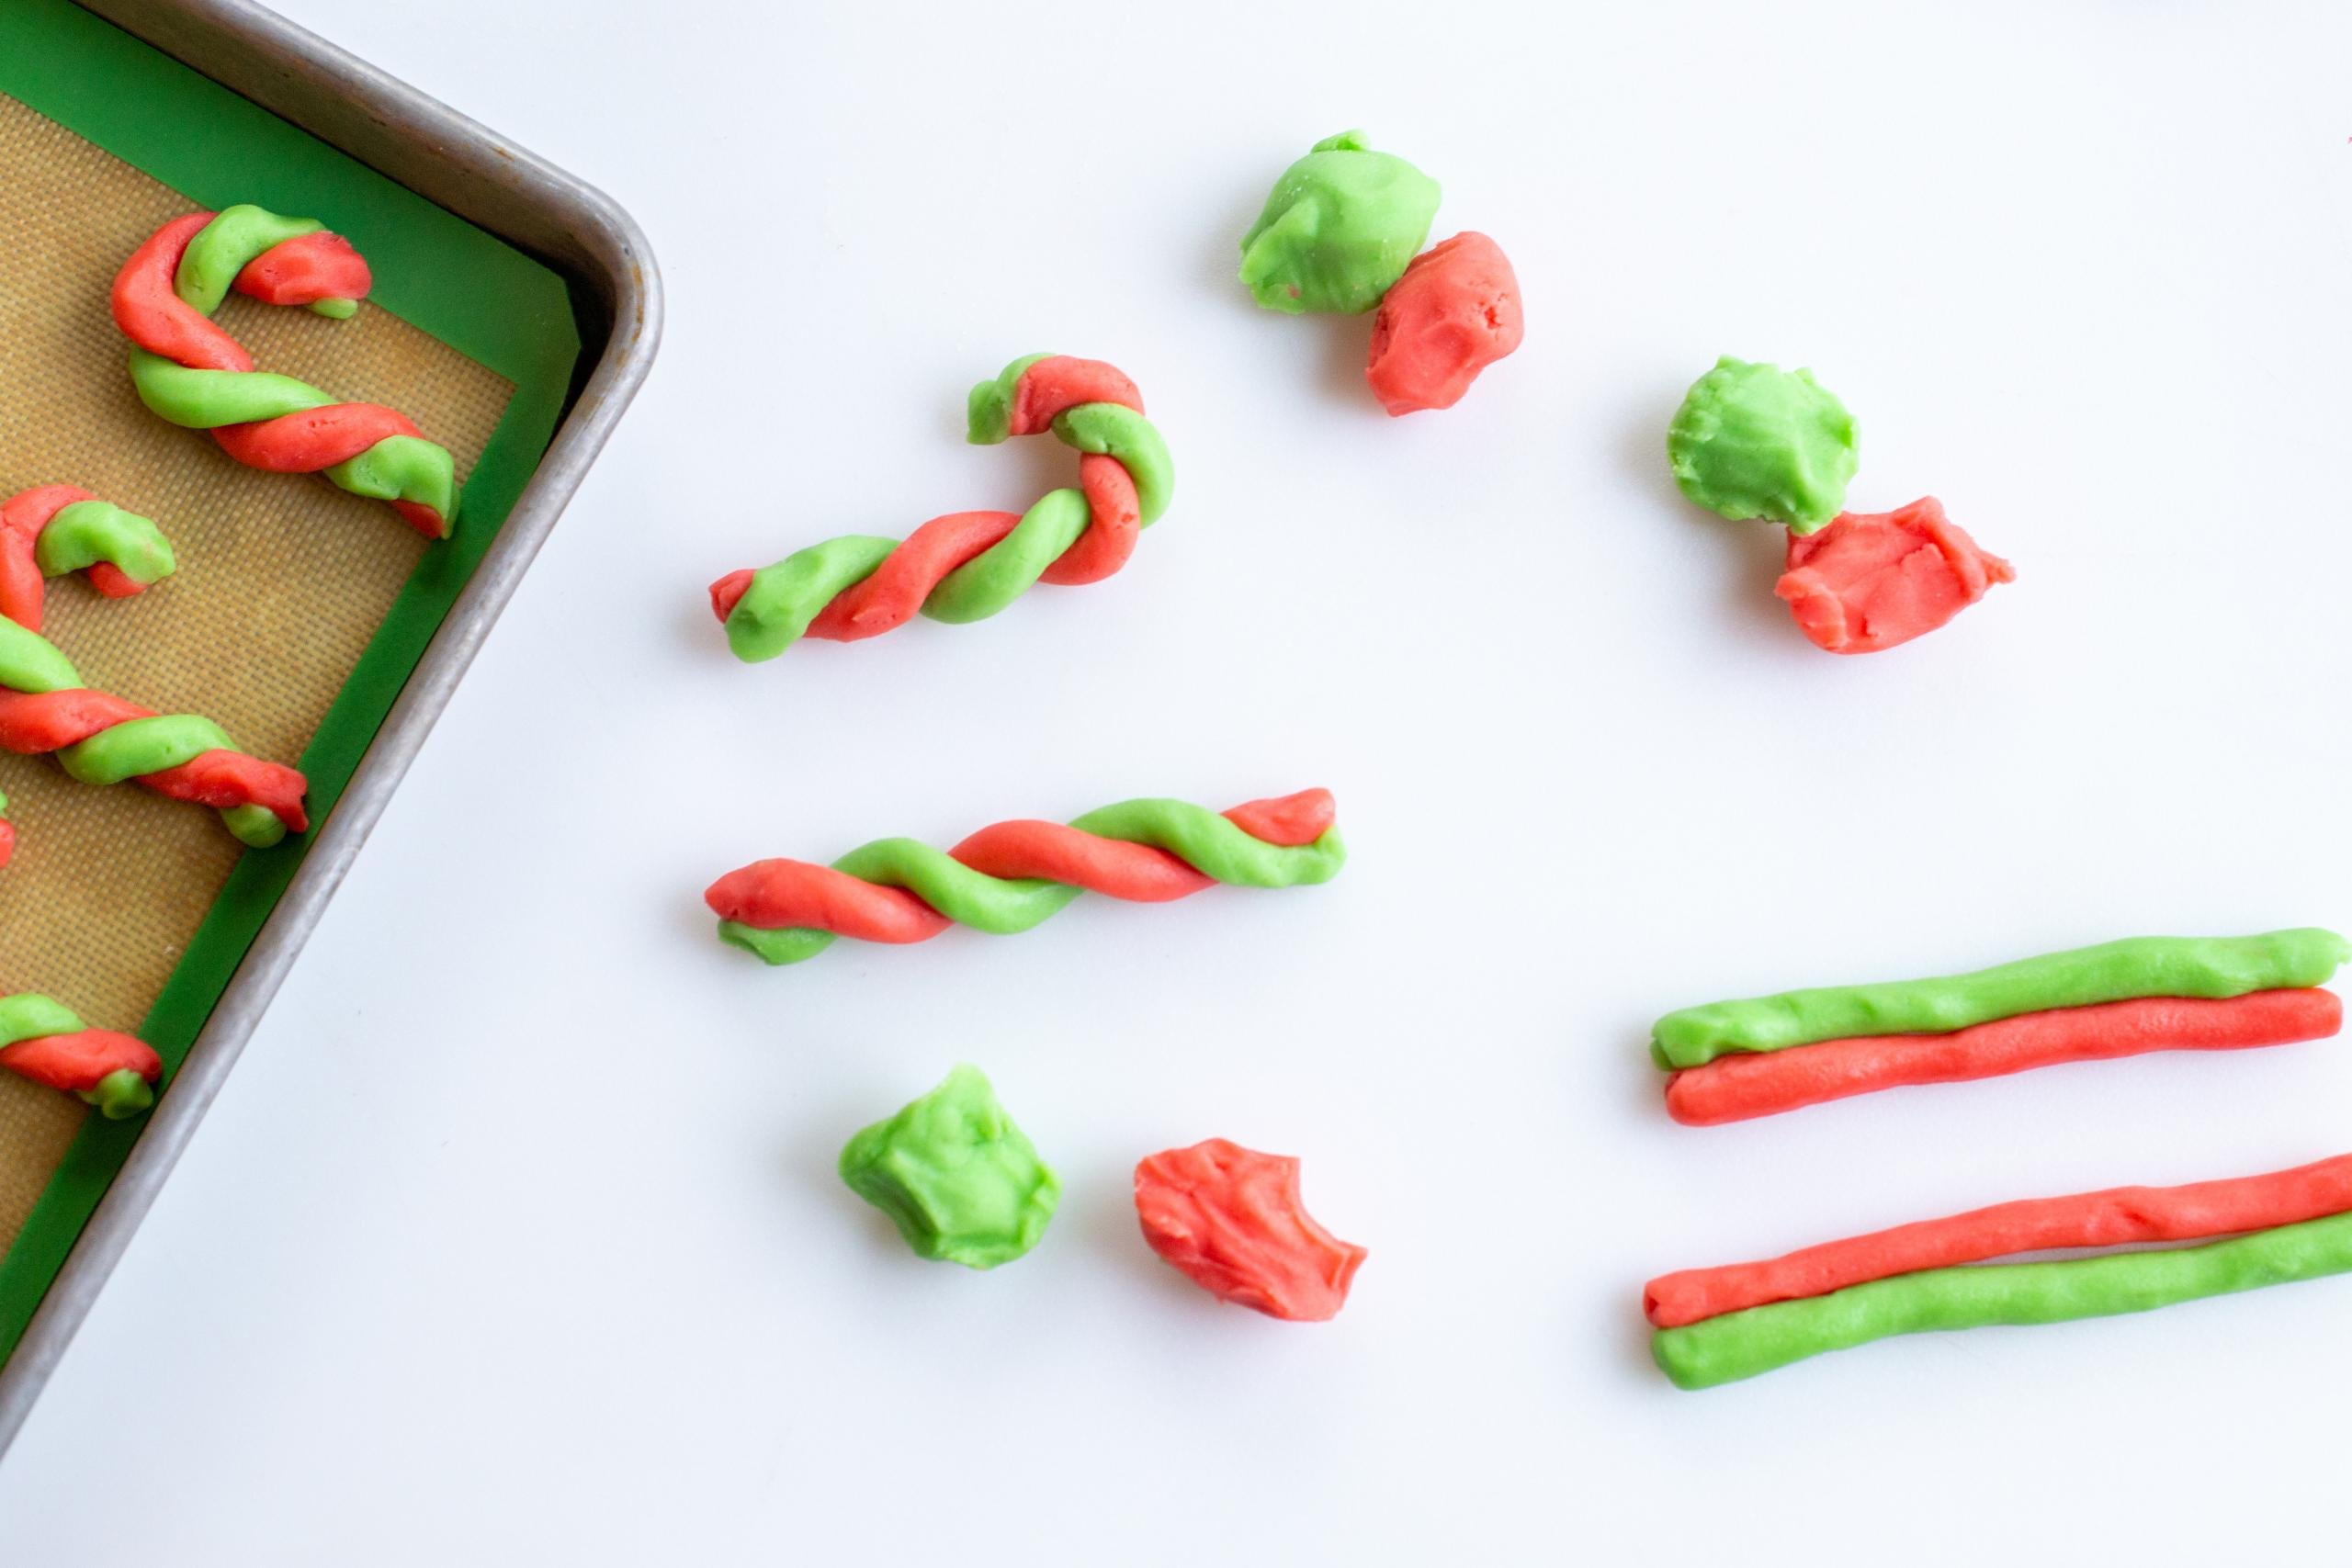
- Roll out each piece: Roll out each piece of dough into a four inch rope. Twist two colored ropes together to form a swirl. Bend them at the end to make the signature “candy cane” hook.
- Bake the cookies: Bake the canes in the oven at 350°F for about 10 minutes. Allow them to cool about 10 minutes on the baking sheet, then remove and cool them more on a wire rack.
Hot tip: The classic candy cane may be red and white, but why limit yourself to only those colors? Feel free to use green and red food coloring, or any combination of colors you like! After all, it’s the holiday season and life can use a fun pop of color.


More Ways To Decorate Candy Cane Cookies
Want to take your cookies to the next level? Here are some fun decorating variations to take it up a notch.
- Sprinkle with crushed candy canes: Crush a few candy canes into small pieces with a rolling pin or meat mallet, then sprinkle the crushed peppermint onto fresh-out-of-the-oven warm cookies. This gives the cookie a minty flavor and a slight crunch.
- Dipped in chocolate: In a small bowl, microwave a bit of baking chocolate. Dip half of a fully-cooled cookie into the melted chocolate and allow it to set at room temperature on a baking sheet.
- Dusted with sugar: Dust the warm cookies with a nice crunch of decorative sugar. Use white, gold, red, green, or any other festive colors. It’s the holidays, so the sweeter the better, right?
Tips From The Oven
The hardest part (if one can even call it that) of this candy cane cookie recipe is making the consistency of the dough perfect. Follow these tips to set you up for the best success in making the dough and cookies.
- Make the dough smooth: Mix the dough well enough that it becomes very smooth. The dough shouldn’t be crumbly. To make it easier on yourself, mix the dough in the bowl of a stand mixer. It’ll stick to the side of the bowl when it becomes creamy and smooth.
- Chill the dough: This dough is easiest to work with when chilled! Throw it into the refrigerator for at least an hour before attempting to shape it. This makes it easier to work with and keeps the cookies from spreading out too much in the oven.
- Re-chill if the dough cracks: If your dough cracks while working with it, throw it back in the refrigerator for 15 minutes to allow it to set again.
- Twist the dough “ropes” tightly: When shaping the cookies, twist the two different colored dough ropes tightly. This ensures the ropes stay tightly together and the colors stay distinct.
- Add peppermint extract (optional): For a minty flavor, add one teaspoon of peppermint extract into your dough.
- Bake until lightly browned: The cookies are done when the edges begin to turn a golden brown color. Avoid overbaking as this makes the cookies dry and hard.
- Line a baking sheet: For an easy cleanup and easy cookie removal, place the cookies on a baking sheet lined with parchment paper or use a silicone mat.
Prepping Candy Cane Cookies Ahead Of Time
If you’re looking for a way to prep these cookies ahead of time, we’ve got you covered. Make the dough ahead of time and save yourself about a half an hour of prep time when you decide to bake the cookies. Choose between refrigerating or freezing, depending on how long you plan to store the dough.
- Refrigerator: Refrigerate the cookie dough up to three days before you plan to bake with it. It is best to work with this dough when it is chilled, so making it ahead of time means it will be ready to work with right when you pull it out of the refrigerator. Go you!
- Freezer: Store the shortbread cookie dough up to three months in the freezer. Wrap it tightly in plastic wrap and place it in a freezer-safe bag or airtight container. When you are ready to use it, thaw it in the refrigerator overnight.
Storing Candy Cane Cookies
These cookies are great stress minimizers. Why? Because they can be baked 2-3 days in advance and still taste freshly awesome! Some say they even taste better the next day! Store the cookies on your counter for up to two weeks in an airtight container. There’s no need to clear up space in the fridge for this one!
FAQ
What is the best, most popular Christmas cookie?
The most popular Christmas cookie is thought to be the peanut butter blossom, but chocolate chip cookies and sugar cookies are among the top favorites, too!
How do I crush candy canes or hard candy?
The easiest way to crush candy canes or hard candy is to put them into a sealable plastic bag and pound on the candy with a meat mallet. Alternatively, use a rolling pin to pound and/or roll over the candies.
More Holiday Cookies
- Sugar Cookies — The classic, perfect simple cookie
- Snowball Cookies — Buttery, sugar, and nutty
- Gingerbread Cookies — This recipe yields cookies that have crisp exteriors but are still chewy inside
- Butter Toffee Cookies — Buttery and chewy with bits of sweet toffee
- Nutella Stuffed Snowball Cookies — Who can say no to more Nutella in their lives?
- Nutella Cookies — For all of the Nutella lovers out there
- M&M Cookies — Think chocolate chip cookies, except with M&Ms
- Chocolate Crinkle Cookies — Gooey chocolate topped with powdered sugar
Recipe
Ingredients
- 1 cup unsalted butter softened
- 2 egg yolks
- 1 tsp vanilla extract
- 3/4 cup powdered sugar
- 2 3/4 cups all-purpose flour
- 1/8 tsp salt
- 1 tsp red food coloring
- 1 tsp green food coloring
Instructions
- Beat softened butter with egg yolks and vanilla extract until they reach a creamy texture.
- Slowly add in powdered sugar and beat until you get a smooth texture.

- Combine flour and salt. In small parts, add flour mixture to the dough. Beat on low speed just until the flour is fully mixed in.

- The dough should be smooth and not crumbly. Divide the dough into two parts. Add food coloring to each part and work the dough to evenly distribute the color.

- Wrap the dough and let it rest for at least an hour. Use a tablespoon to scoop out dollops of dough.

- Roll out each piece into a thin 4-inch piece. Twist them together while bending one end to form a candy cane.

- Bake at 350 °F for about 10 minutes. Remove from the oven and let them cool for about 10 minutes before removing them from the baking sheet.


I made this recipe exactly as described and the dough was incredibly sticky, even after several hours of resting in the fridge. It made forming the candy cane shapes almost impossible and they did not look as pictured. Nearly every cookie except 3 fell apart almost instantly after cooling. I was very disappointed. I would not recommend this recipe.
I'm sorry these did not turn out the way you expected them to. If the dough is extra sticky, I would recommend adding a bit more flour and that can sometimes help. Can you share what flour you used?
Is there supposed to be peppermint extract in the ingredients list?
If so how much? Thanks!
Hi Val - Happy Holidays! There's actually not any peppermint extract. The candy cane shape and food coloring is purely festive! However, I bet you could add a little if you wanted that pop of flavor. My guess would be no more than a tsp, but I've never tried it. Let me know how it turns out if you do!
Ok, thanks! Happy holidays to you too! I’ll try your recipe as is first!
Amazing! Can't wait to here how it turns out, friend. 🙂
How much butter?
Thanks for catching that. It will be 1 cup.