
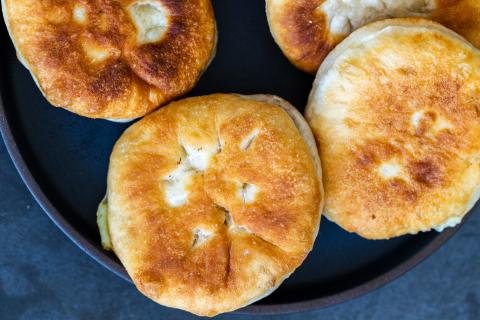
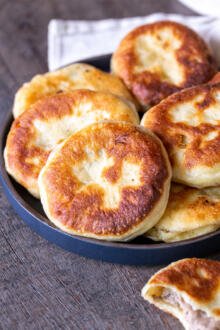
This piroshki recipe makes crispy, creamy potato-filled piroshki in only 30 minutes of prep time. They’re tasty and quick, and disappear in the blink of an eye.
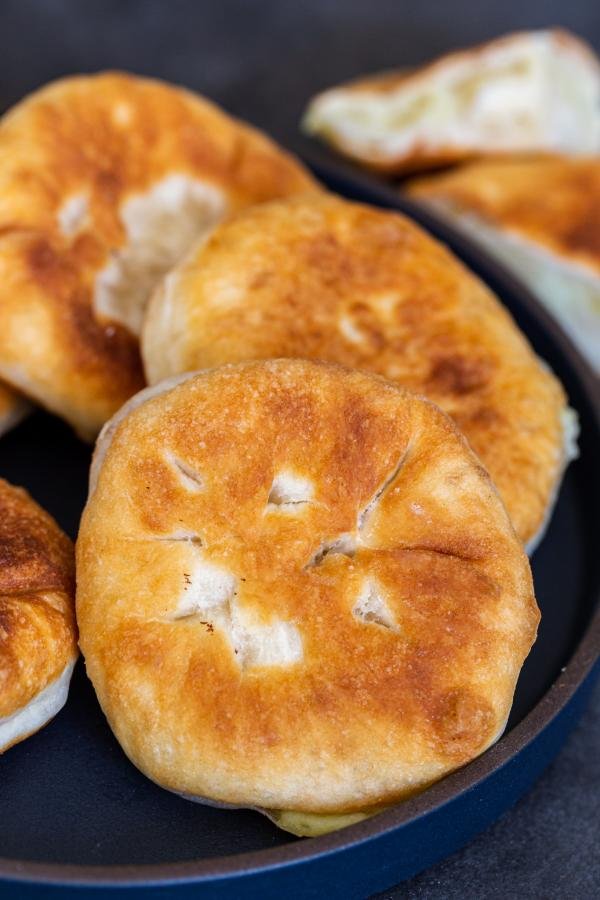
Growing up in a Ukrainian household, piroshki (peer-oh-SHKEE), crepes, and borscht were a regular part of life. This piroshki recipe brings me right back to those cozy childhood memories living at home.
If you have ever been to a Ukrainian market, you know piroshki are basically our version of fast food. You would see them lined up behind the counter, warm and ready to grab, with all kinds of fillings like ground beef, potato, cabbage, cheese, or sweet fruit (see all the options here). The possibilities were endless! I love how simple and comforting piroshki are and they’re a food that I have always loved (and will always love). I know you’ll enjoy them as much as I do!
What Are Piroshki?
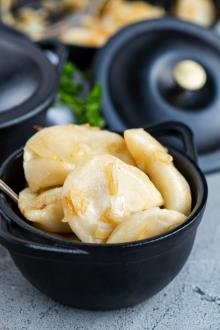
Prioshki are small hand pies that are baked or fried and stuffed with either sweet (fruit) or savory (meat, cabbage, mushroom, etc.) fillings. The outside is made from a yeasted dough that makes a fluffy, bread-like texture. There are Russian piroshki, Ukrainian piroshki, and many more… just don’t confuse them with pierogi, which are actually Eastern European dumplings!
Looking for more piroshky filings? Check out the list at the end for more options, including these savory piroshky!
Potato Piroshki Video
How to Make Piroshki
Making piroshki is straightforward. Prepare the dough, fill it with the potatoes, then fry and enjoy!
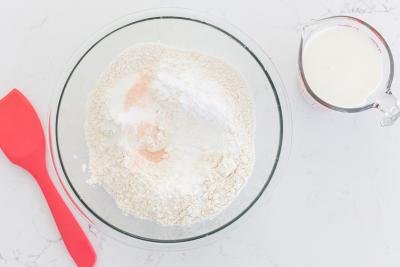
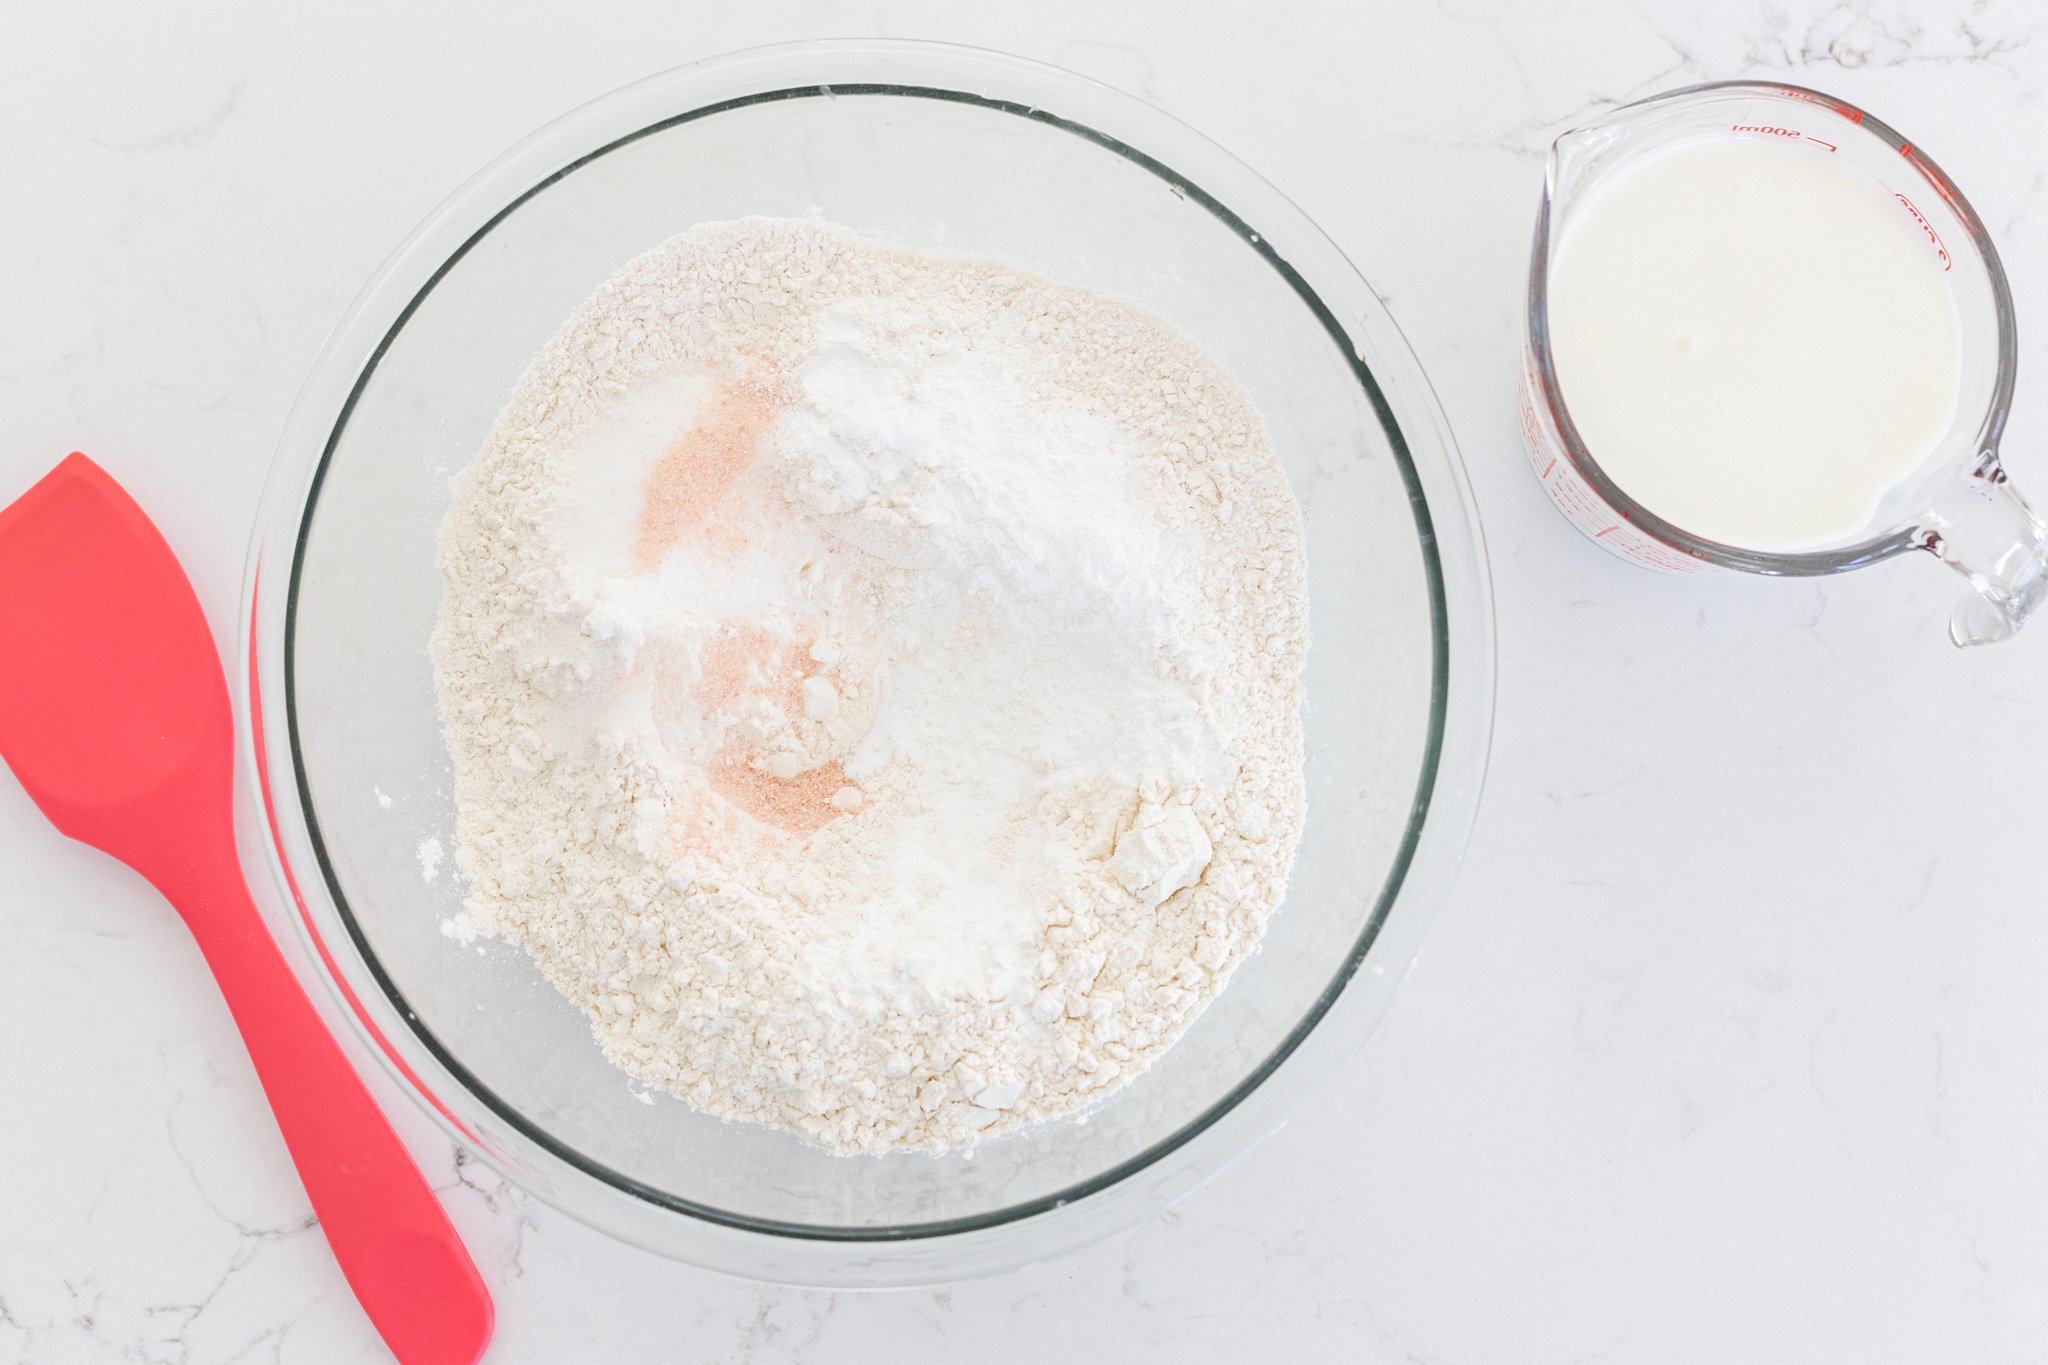
- Combine the dry ingredients: Mix the flour, sugar, baking powder, and salt together in a bowl.
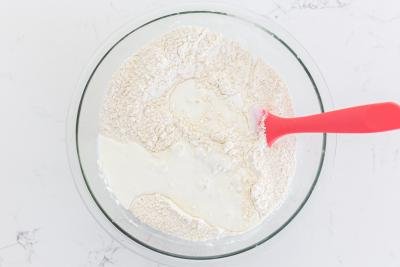
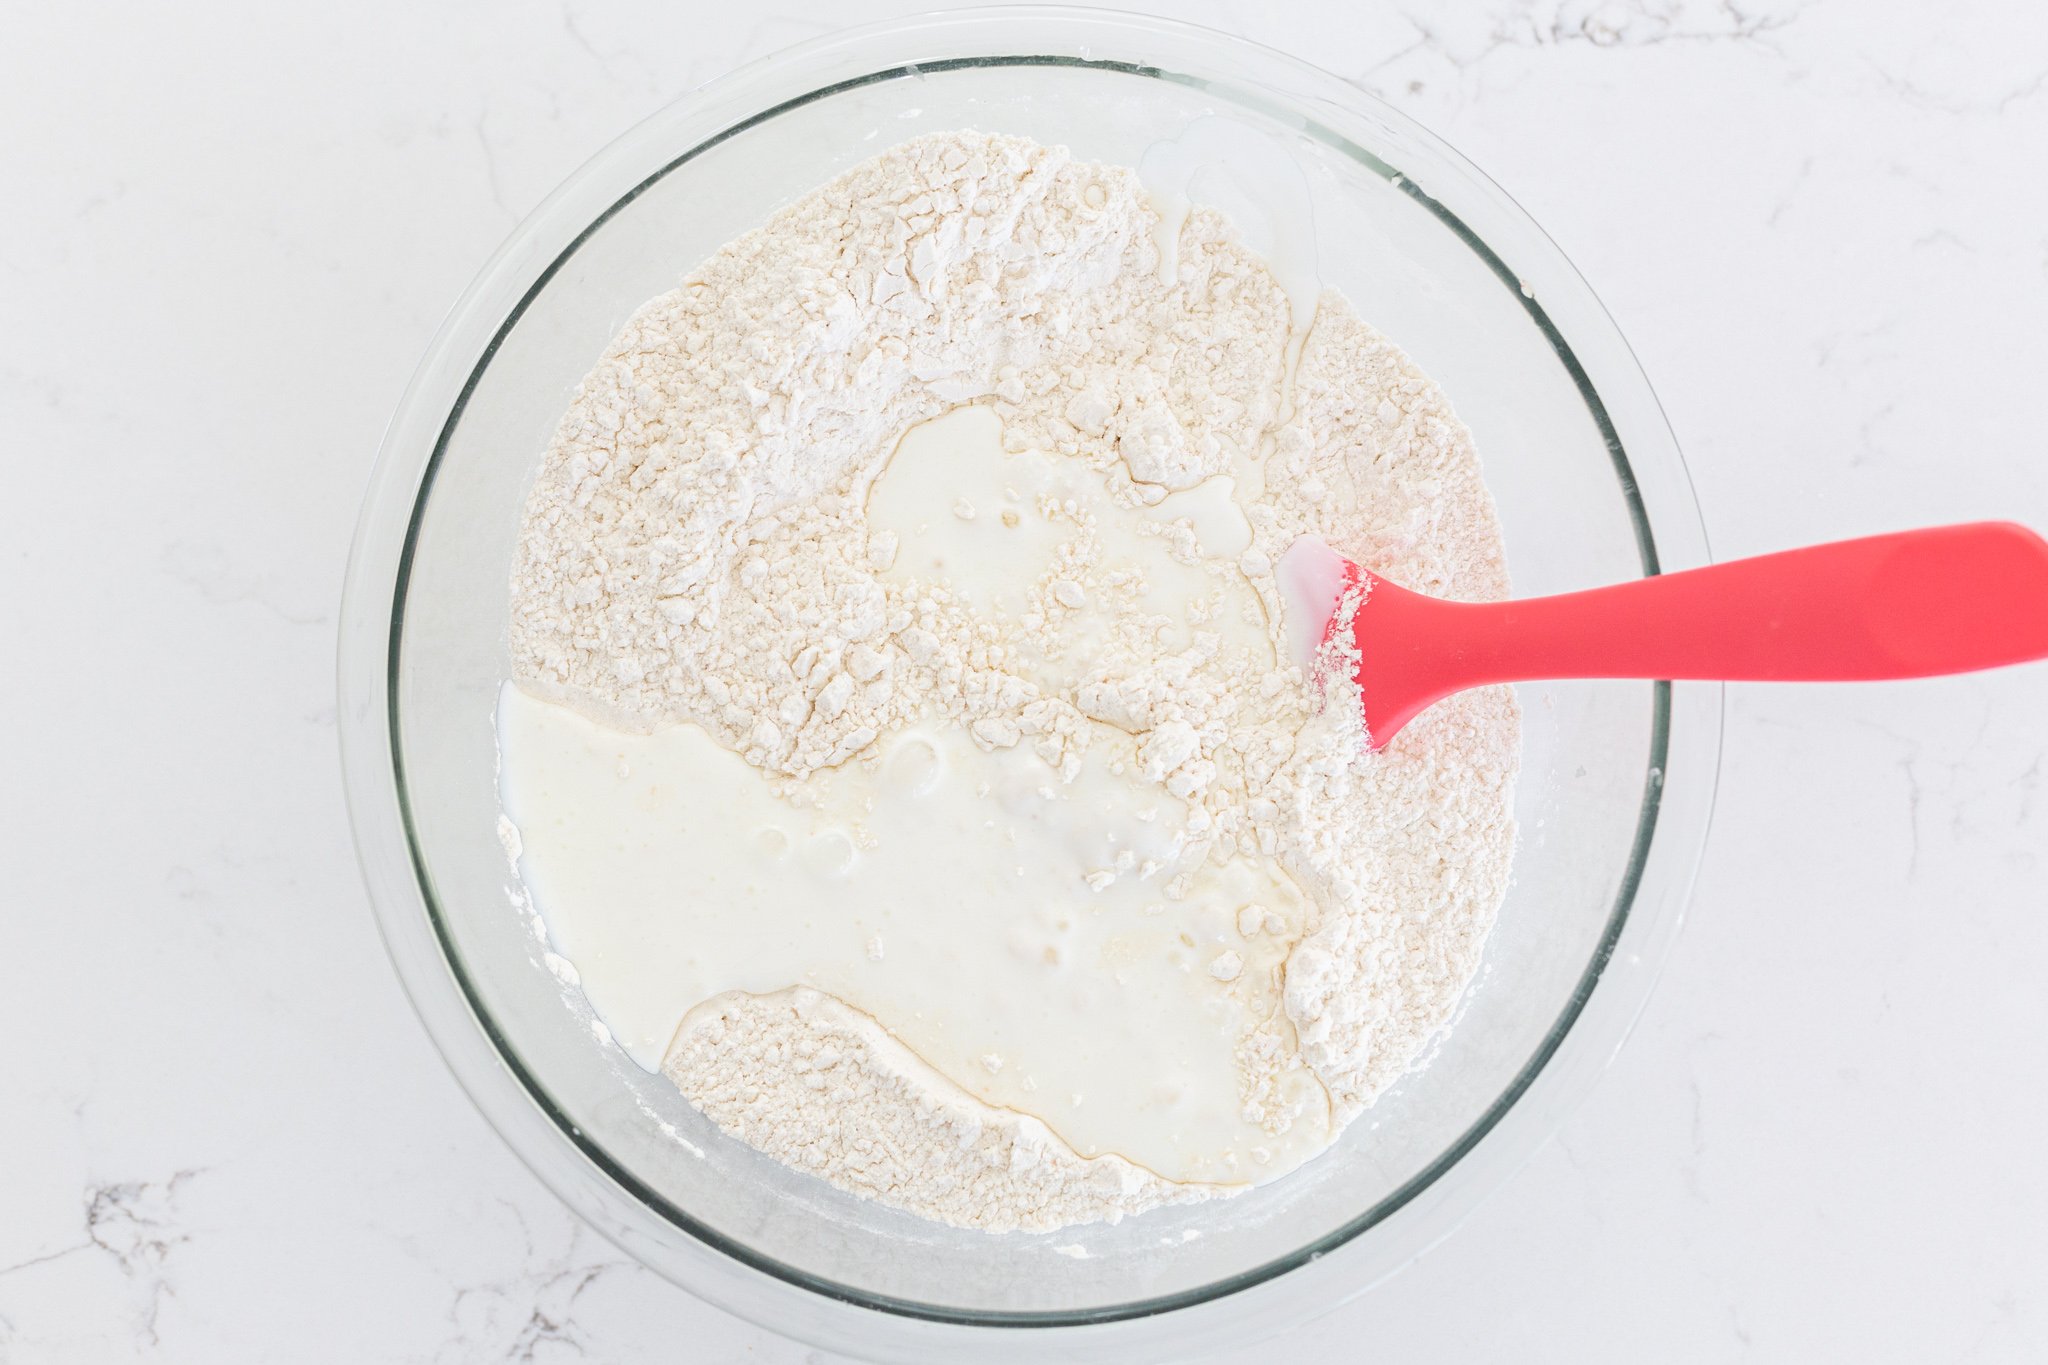
- Add the liquid: Pour in the buttermilk and stir just until combined. The dough will be slightly sticky — just be careful not to overwork it.
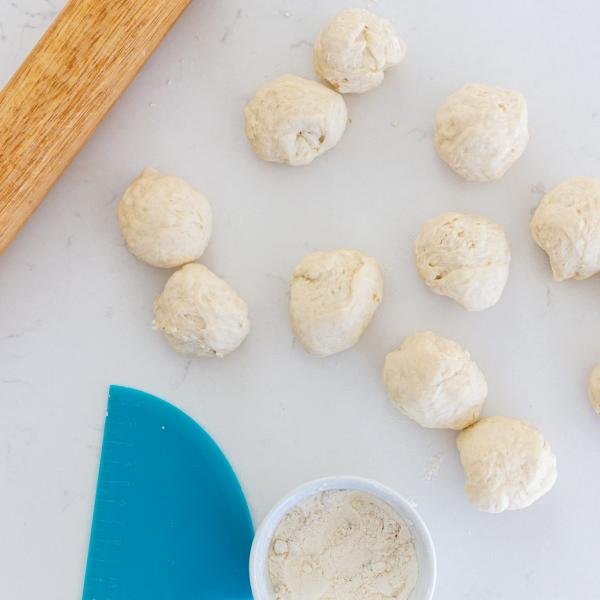
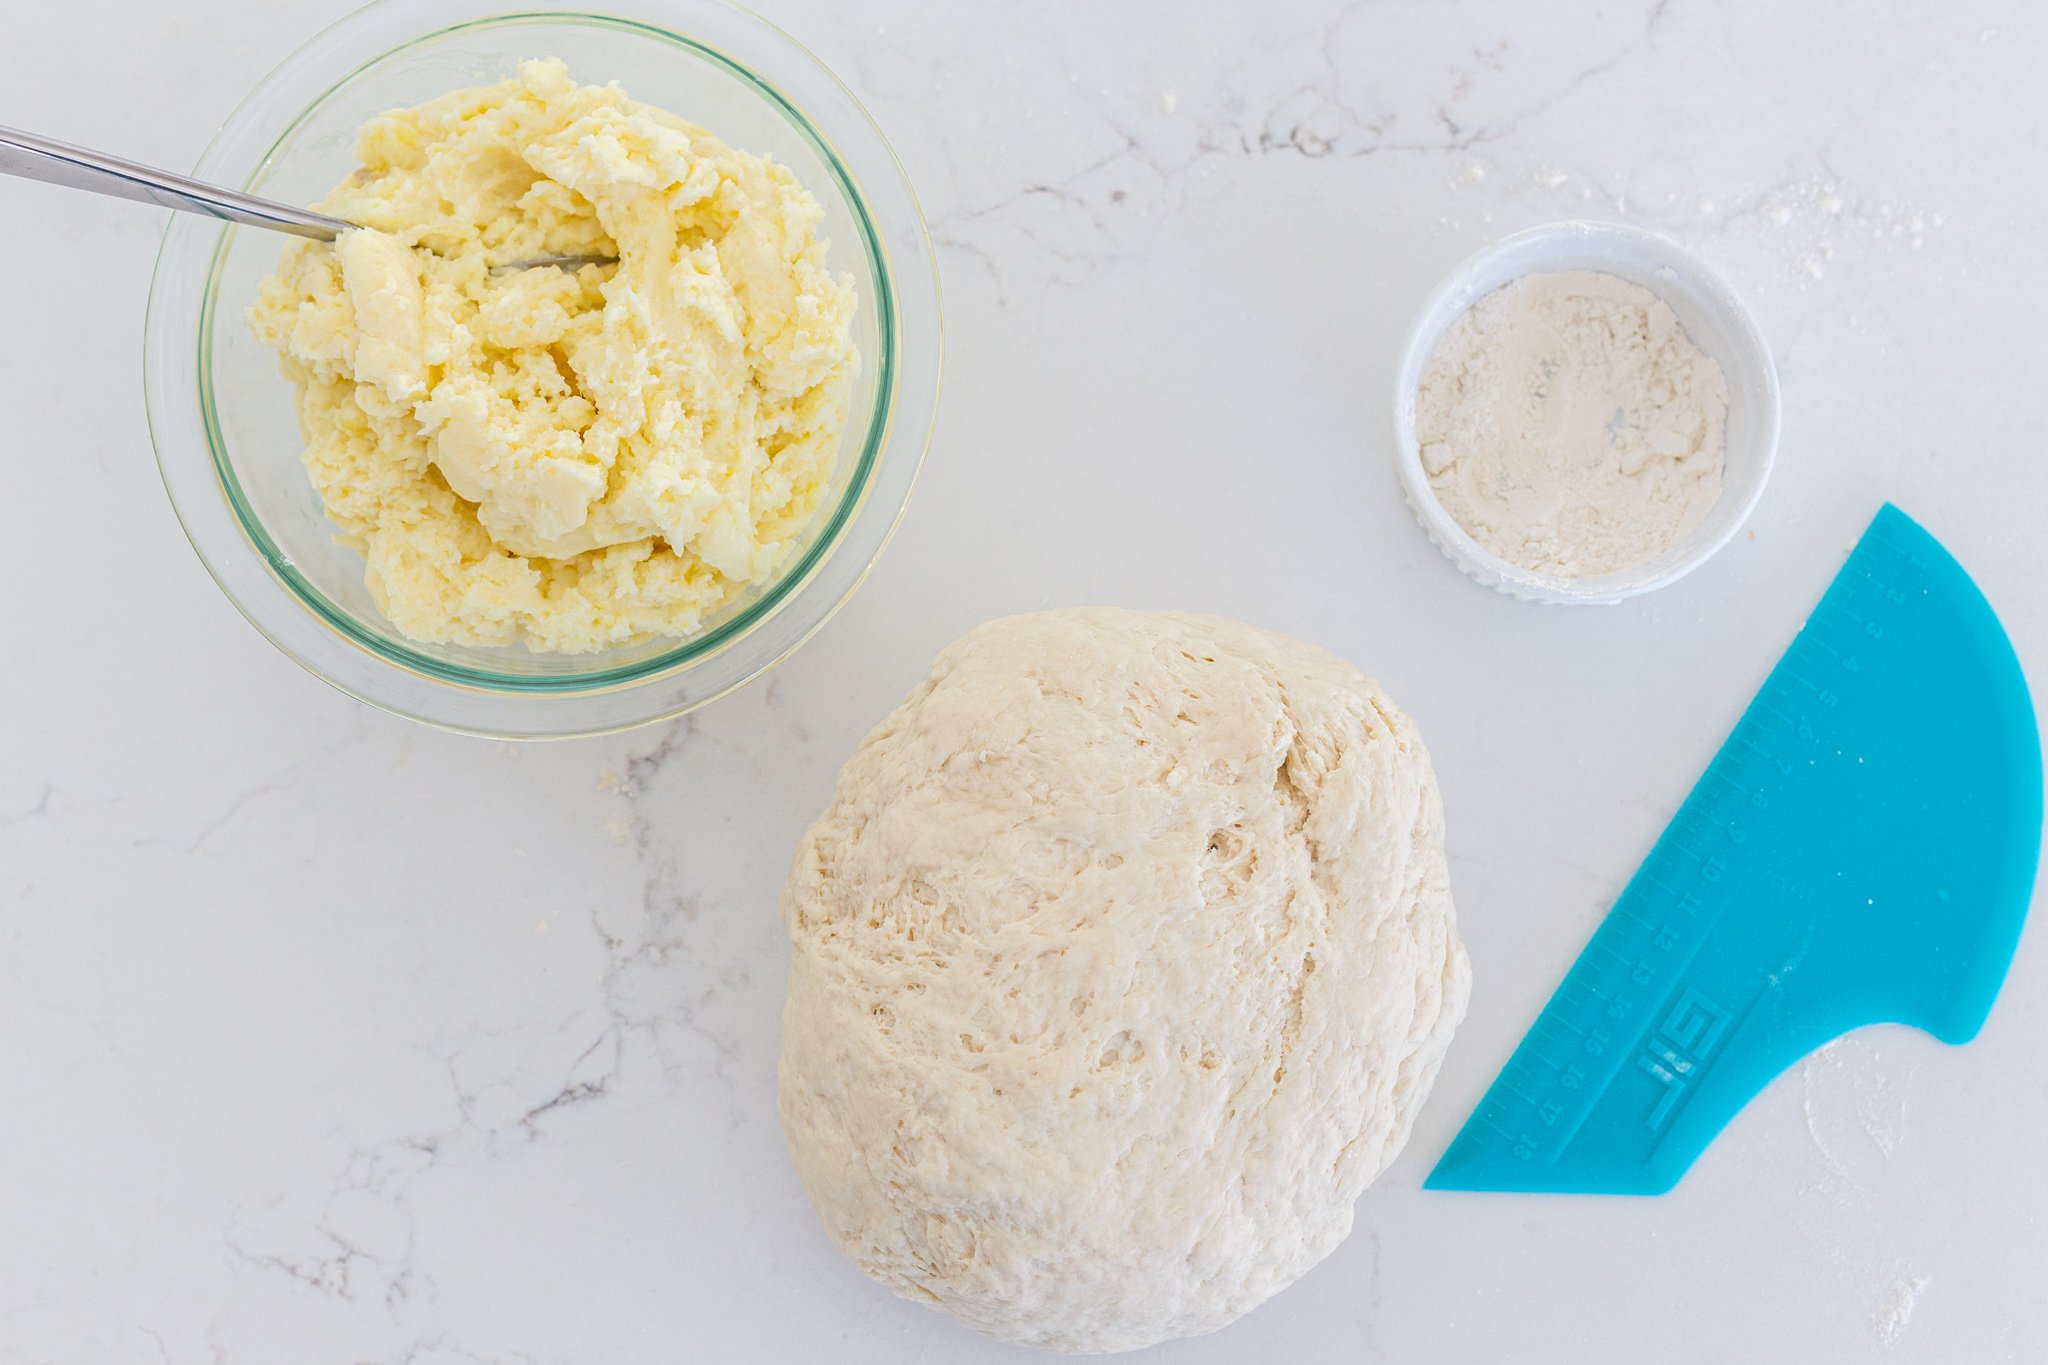
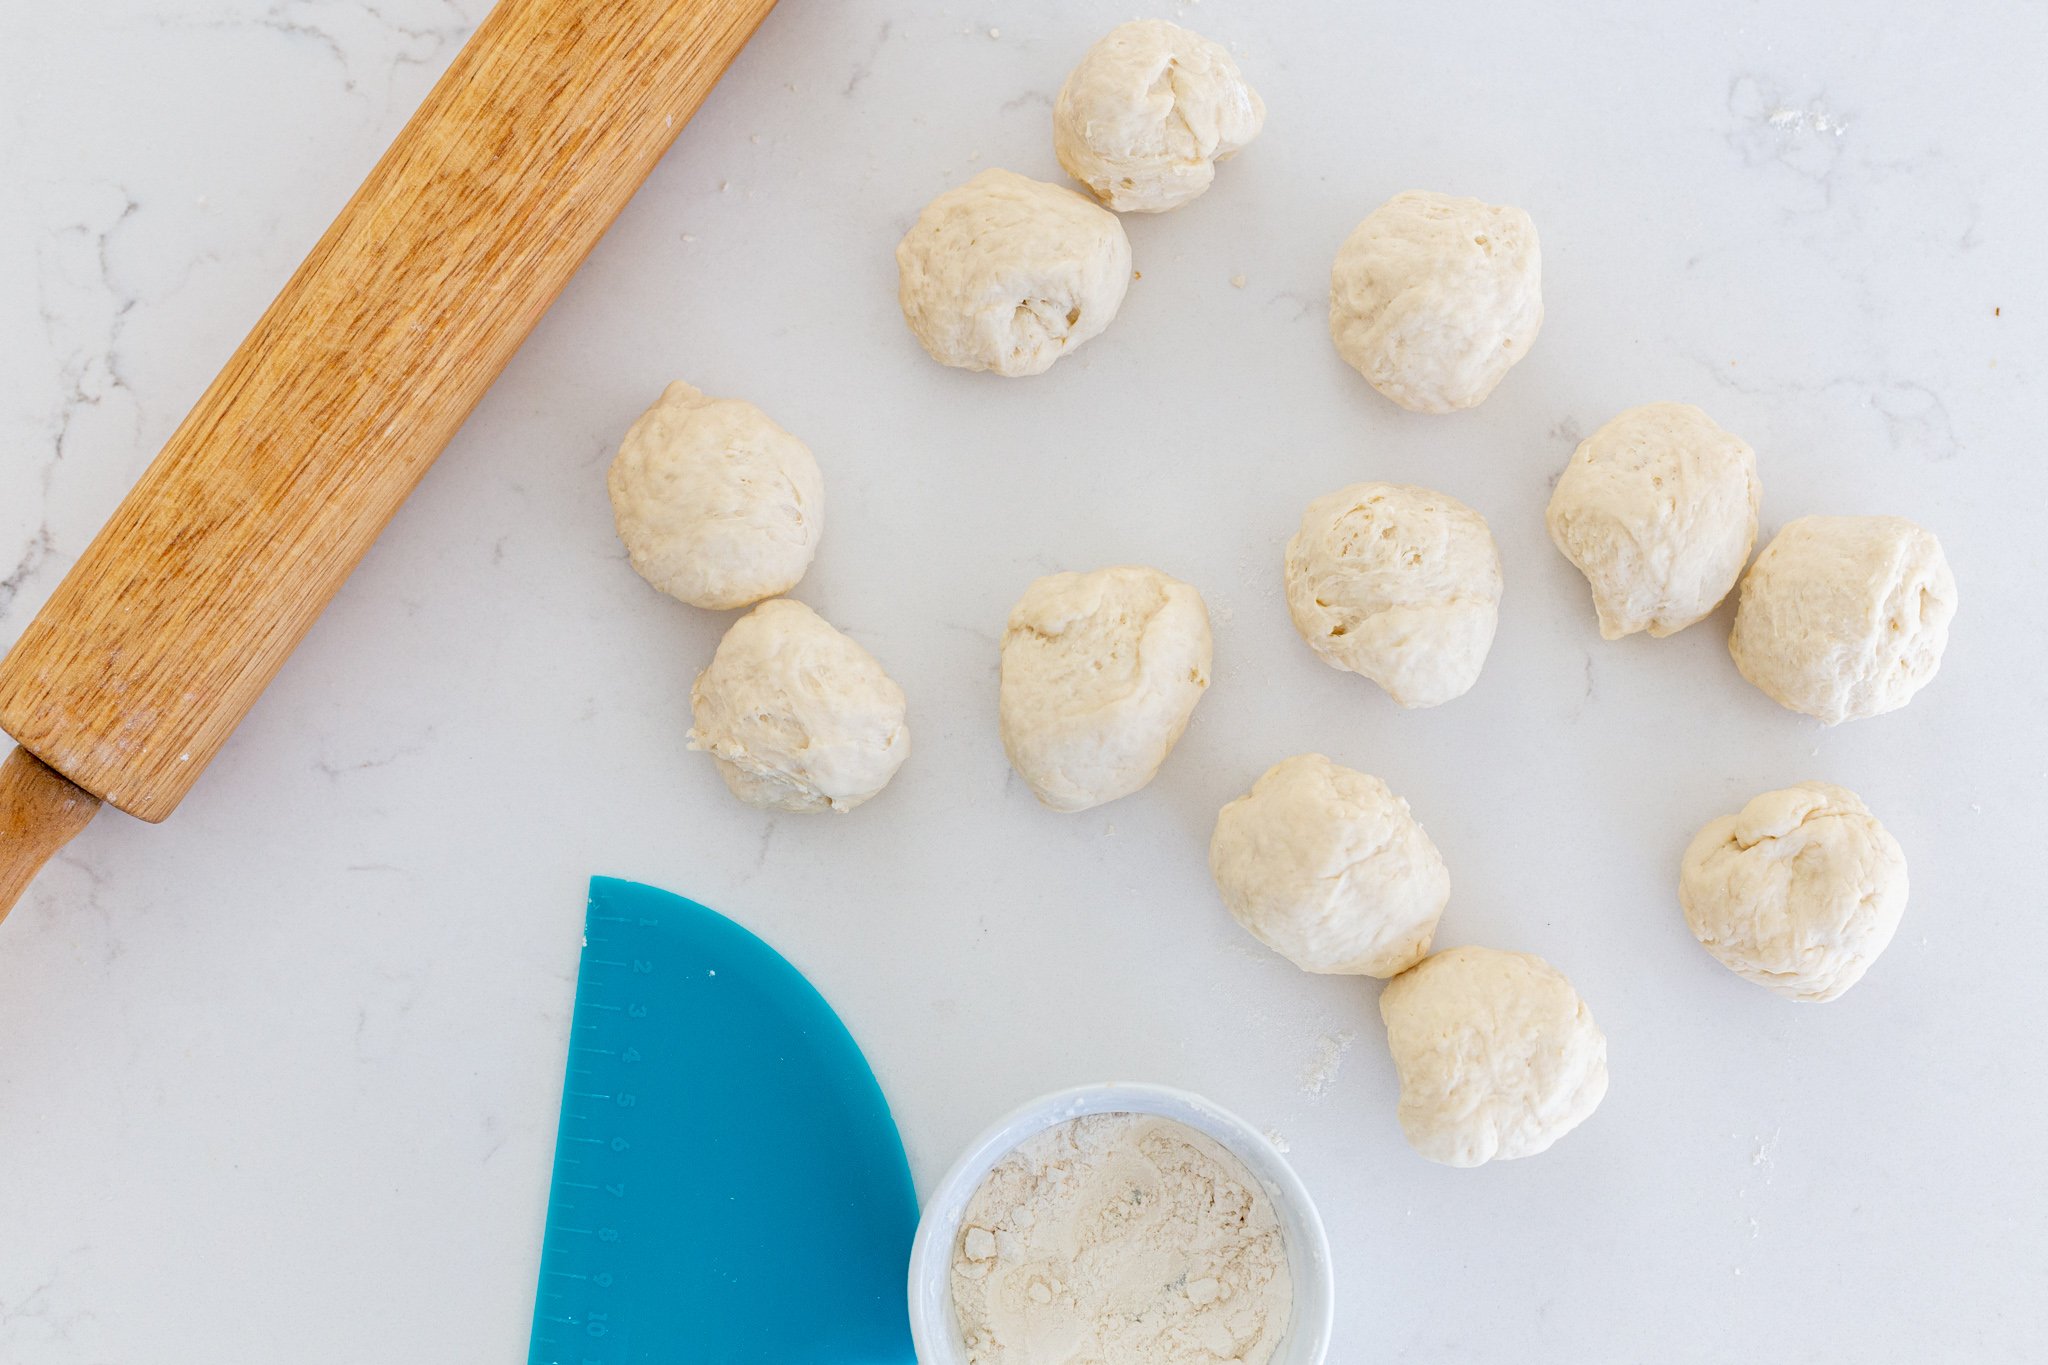
- Shape the dough: Divide the dough into 12 equal pieces, roll each into a ball, then flatten into a circle on a floured surface.
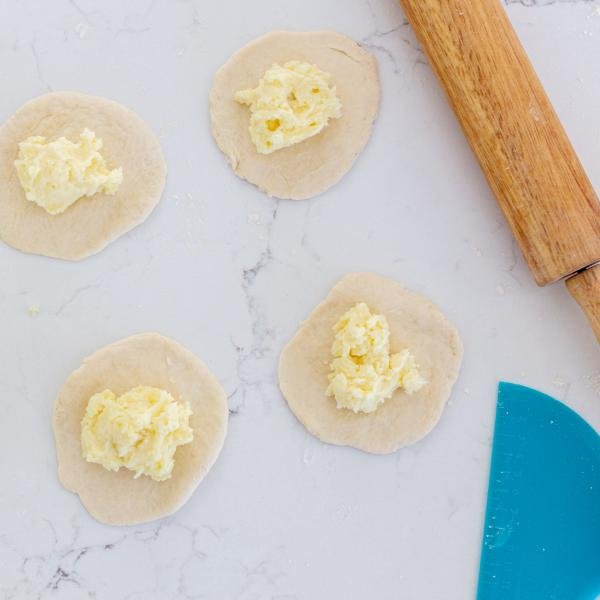
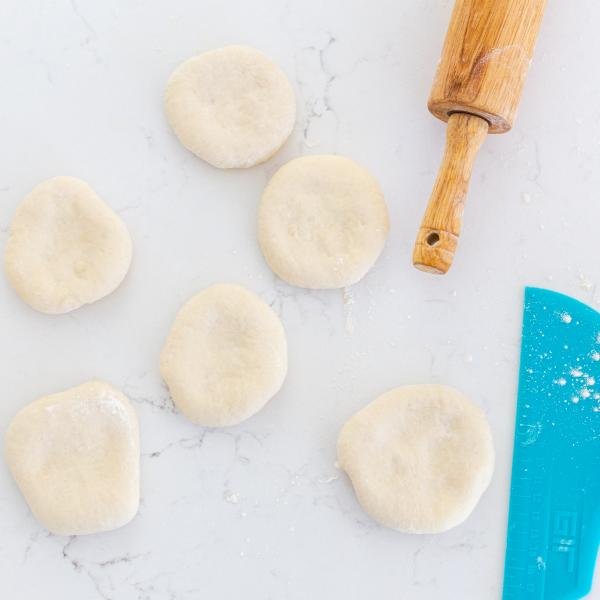
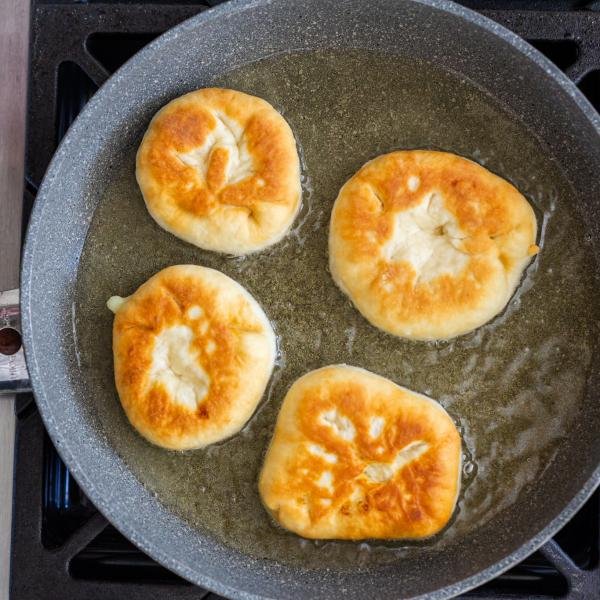
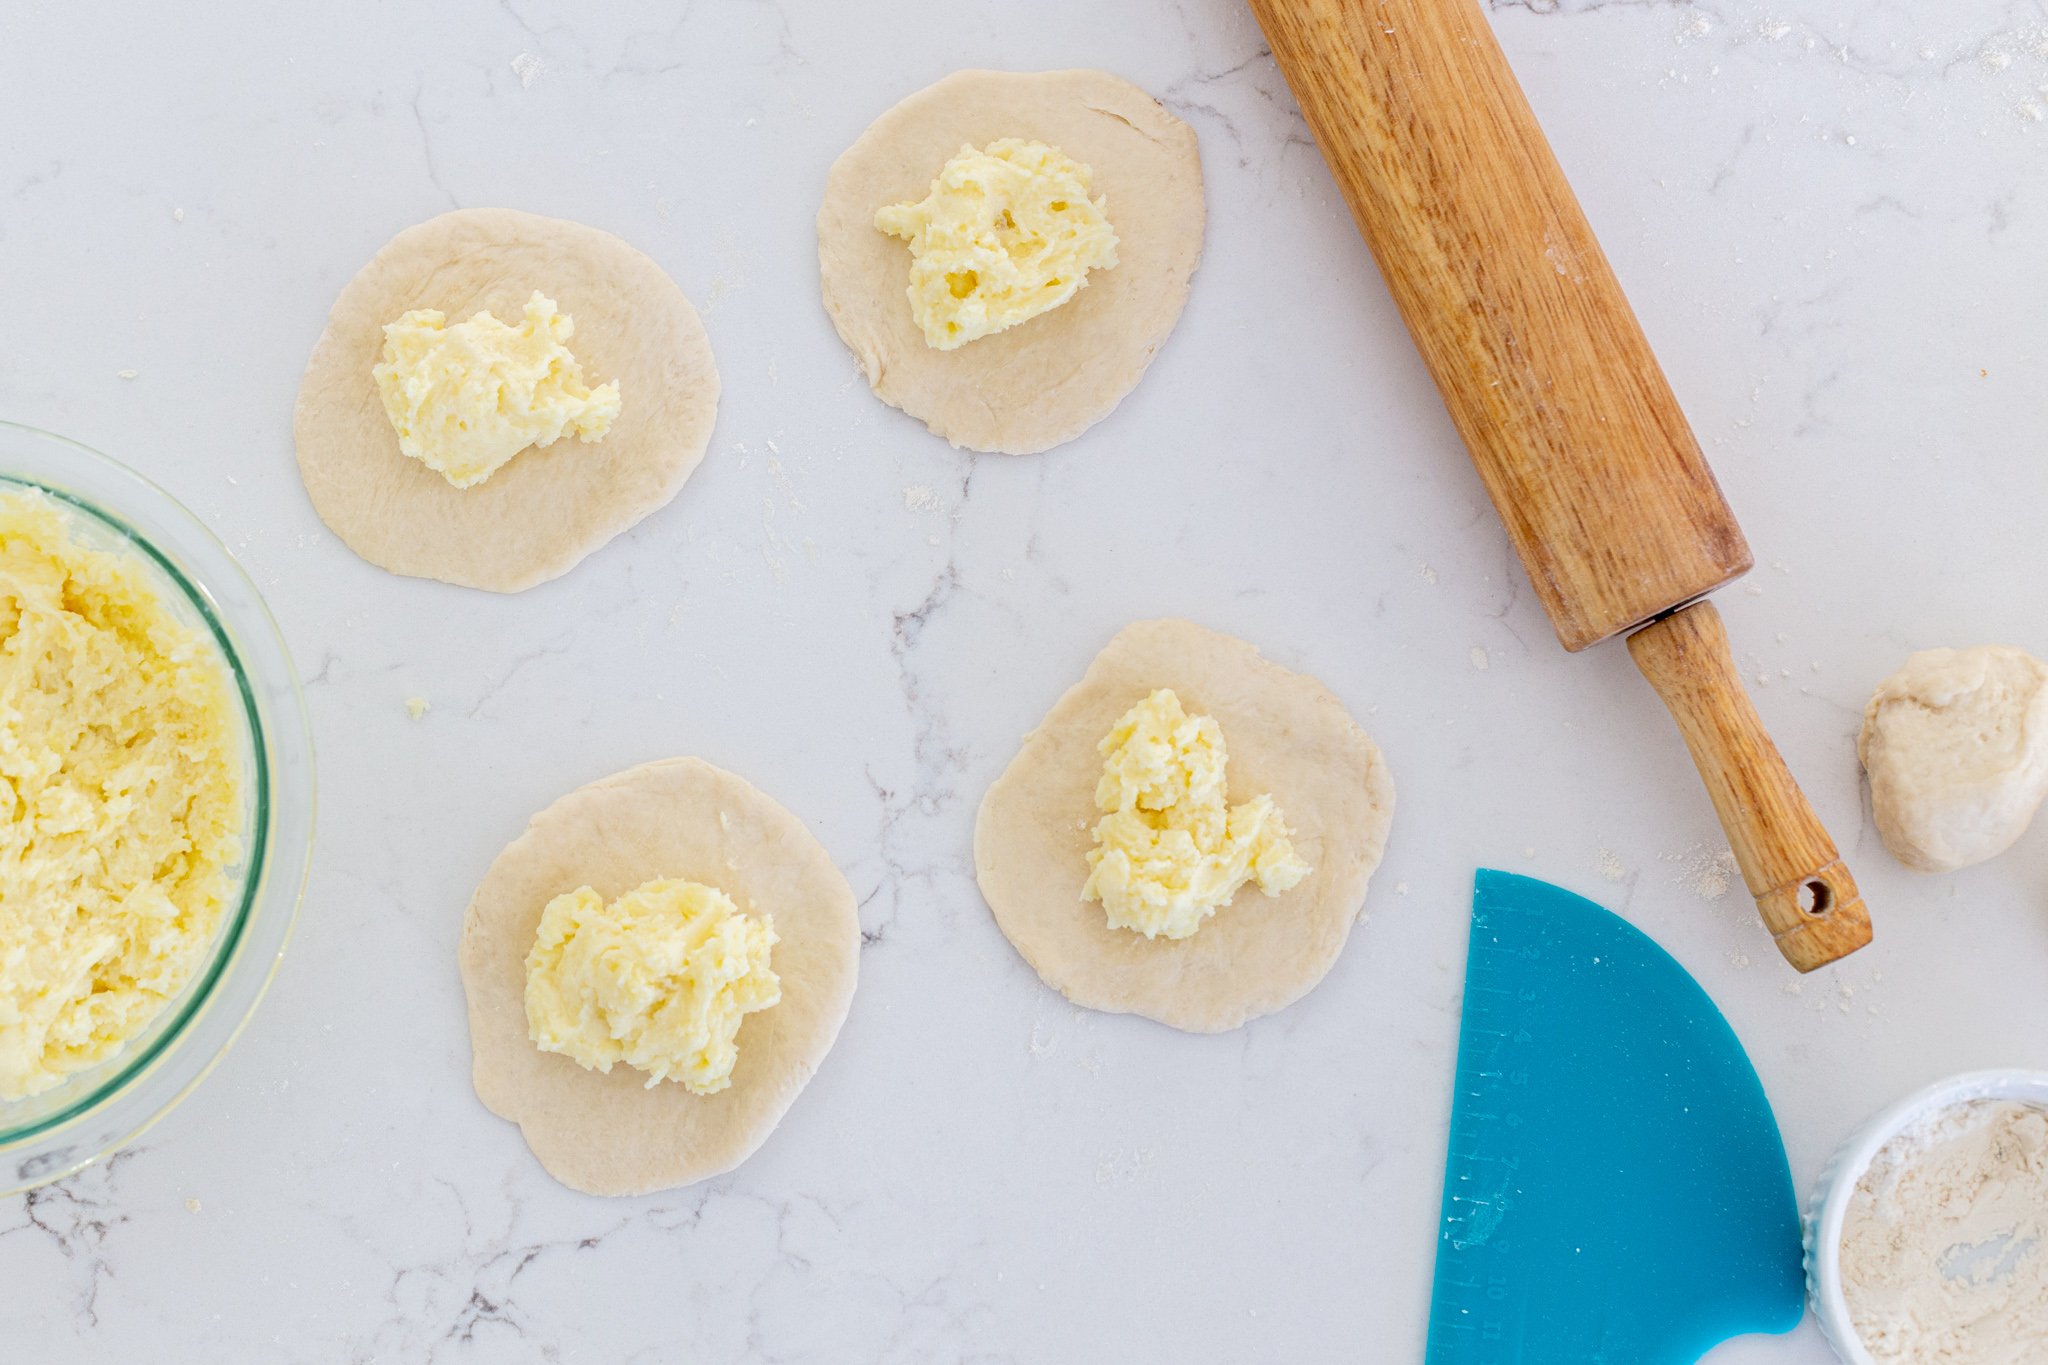
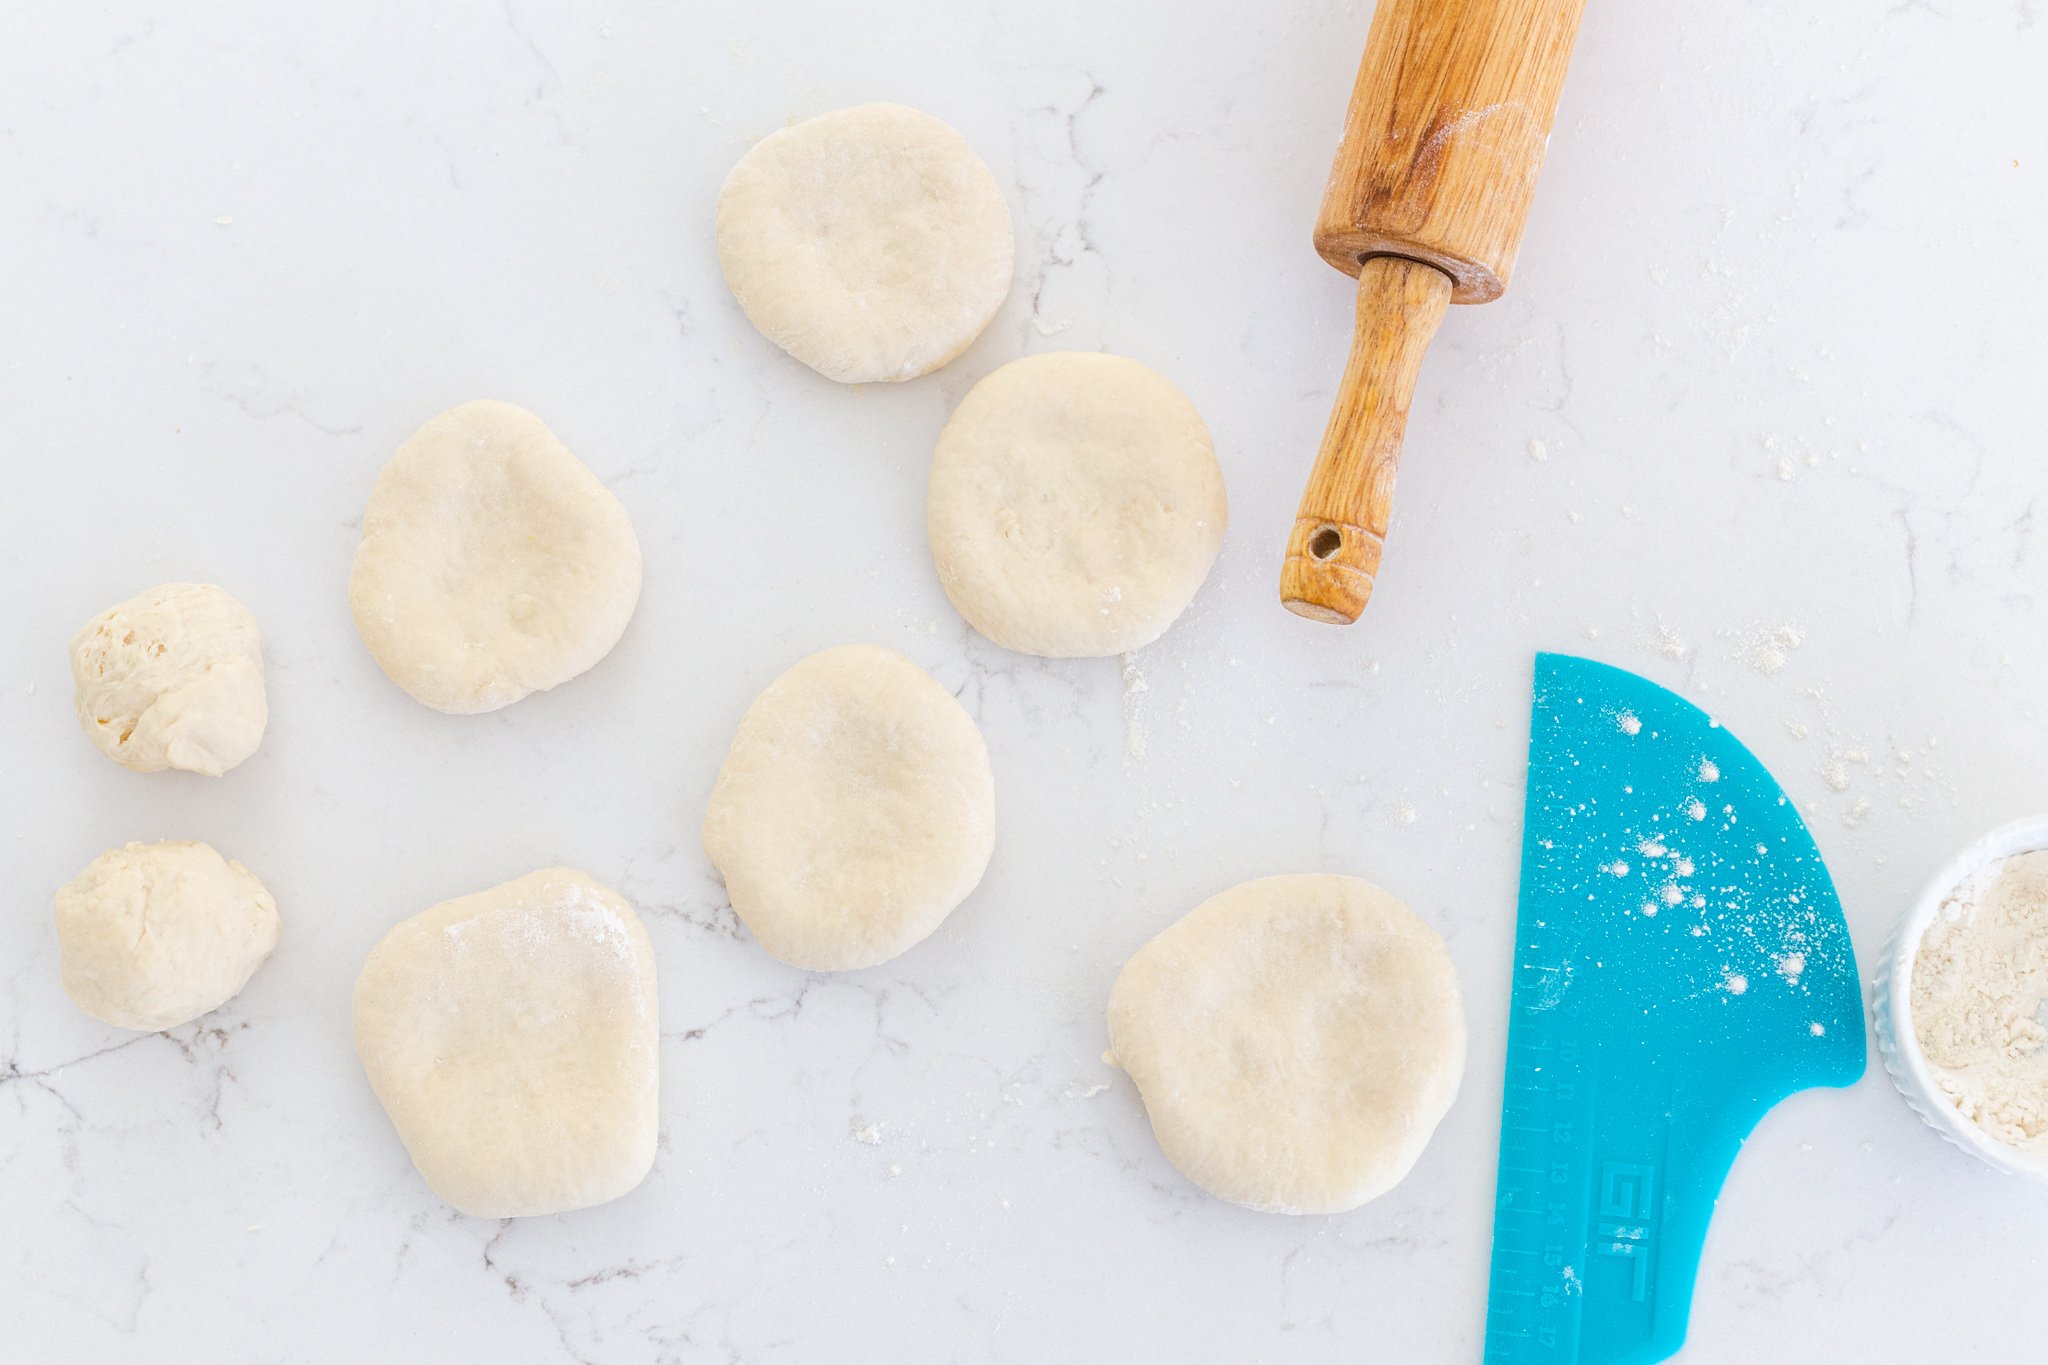
- Fill and seal: Place about two tablespoons of cooled mashed potatoes in the center, fold over, and pinch the edges firmly. Crimp with a fork for extra security. Gently roll out the filled piroshki to flatten slightly, taking care the filling doesn’t break through. If possible, put the piroshky seam side down into the pan when frying.
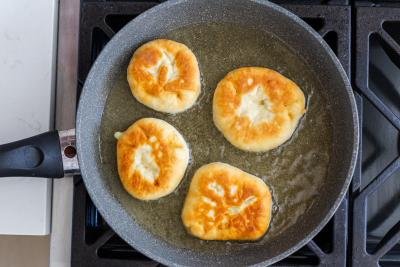
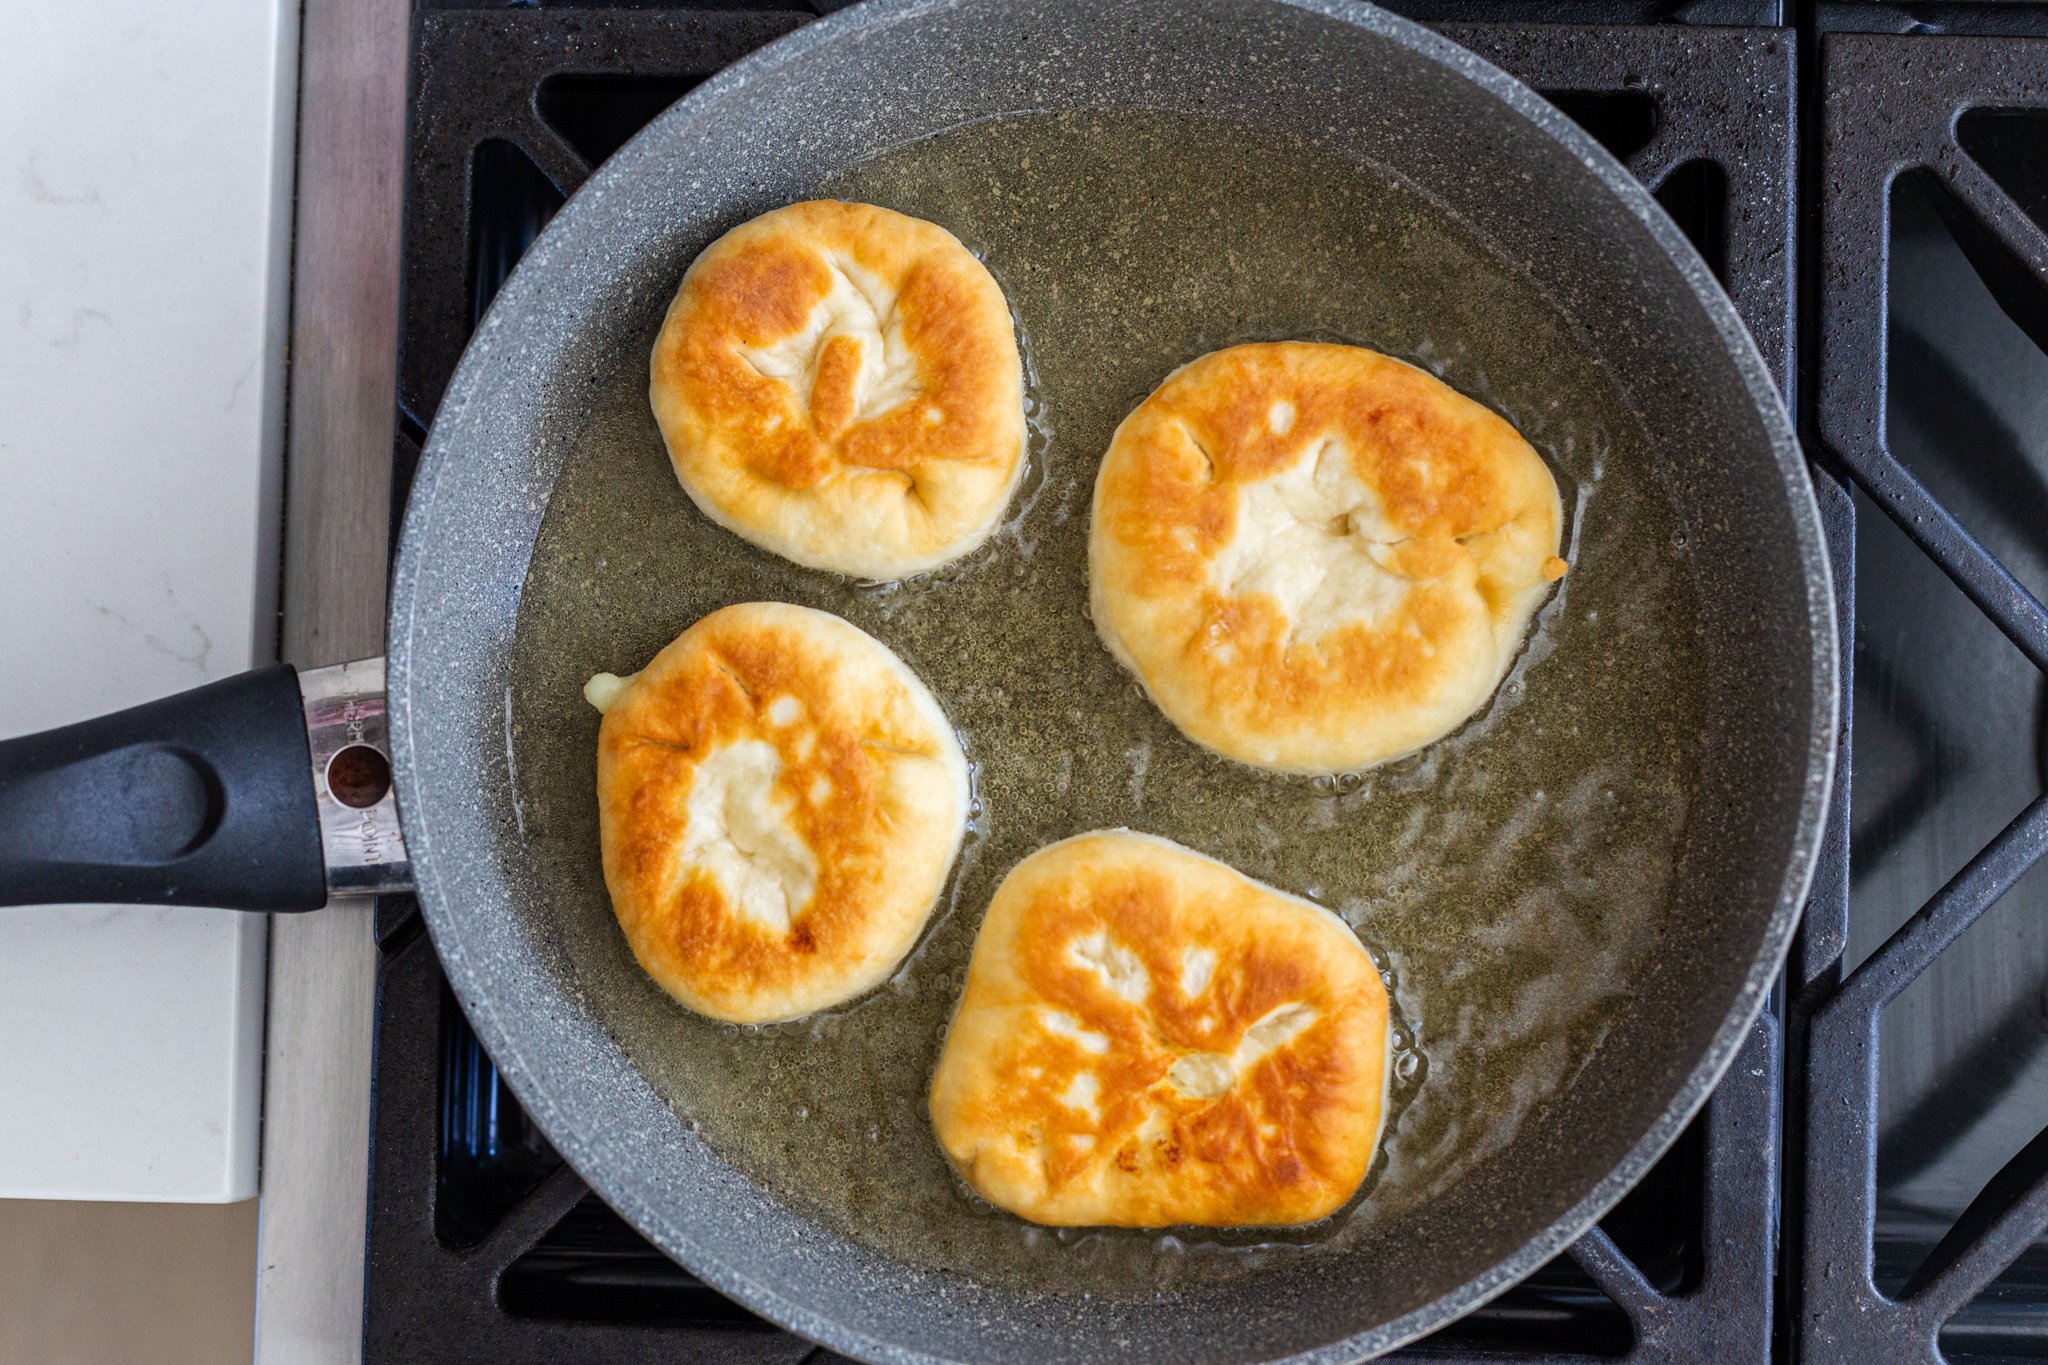
- Fry: Immediately fry in hot oil at 350°F until the piroshki are golden brown on both sides. Go with small batches at a time. Drain the excess oil on a paper towel, then enjoy the piroshki!
Want to bake instead? Prepare the recipe the same way. Place the filled piroshki seam‑side down on a parchment‑lined baking sheet, brush with an egg wash (1 egg beaten with 1 tablespoon milk or water), then bake at 350°F for 25–30 minutes until the outside is golden brown.
Tips for Making Piroshki
Potato piroshki are a great way to use up leftover mashed potatoes hanging out in the fridge. Here’s a few tips I’ve learned in my many years to make the process super smooth.
- Use cold mashed potatoes: Warm filling softens the dough and causes tearing, so use cold mashed potatoes as the filling.
- Flour the work surface generously: Sprinkle your counter, hands, and rolling pin with flour to prevent sticking since the dough can be super soft and sticky.
- Feel free to use any flour: In most cases, I’m always using either bread flour or all purpose flour. Either one of these would work in this recipe, too. Just remember to adjust liquid as needed (in less humid environments, you may need a smidge more water).
- If needed, knead with a mixer: Many people have had success with using a stand mixer to mix the dough. I usually do it by hand, but if you decide to use the stand mixer, mix it just until the dough is combined (and no longer).
- Use a cutter if needed (optional): Per the recipe, I divide all my dough into 12 equal pieces. If you decide to do it a little differently and make smaller piroshky, you can cut out large circles from the dough with a large round cutter or cookie cutter, then fill them with the mashed potatoes.
- Avoid overfilling: Try not to overfill the piroshky. About two tablespoons of filling per piroshki is ideal. Overstuffing makes sealing difficult and causes leaks.
- Seal the edges tightly with a fork: The best way to seal the piroshky is by pressing firmly on the edges with a fork.
- Maintain the oil temperature at 350 °F: The oil should remain at 350°F the entire frying time. This is usually around medium heat. Use a thermometer or test it with a small dough scrap — it should sizzle immediately.
Serving suggestions: Garnish the piroshki with a dollop of sour cream and serve it with a garden salad or creamy cucumber salad. You can also pair it with a hearty soup like borscht, or even serve it as a party finger food. If you made a sweet version, dust it with powdered sugar for dessert.
Making-Ahead, Storing & Freezing Piroshki
Piroshki are perfect for meal prep. You can store, freeze, and reheat them with little fuss.
- Make-ahead instructions: Prepare the dough up to 24 hours ahead and refrigerate. Let it sit at room temperature for 10 minutes before rolling. You can also make the filling 1-2 days in advance and store it in the fridge. Assemble uncooked piroshki, freeze on a baking sheet, then transfer to a freezer safe bag.
- Refrigerator: Keep cooked piroshki in an airtight container in the fridge for up to three days.
- Freezer: Freeze raw piroshki on a baking sheet, then transfer to a freezer bag and store for up to three months. Cook directly from frozen — adding an extra 1-2 minutes to fully cook through. Freeze baked piroshki in the same way and also store them for up to three months.
- Reheating: Reheat cooked piroshki in the oven at 350°F for 5-10 minutes to restore crispness. An air fryer at 350°F for 3-5 minutes works great, too. The microwave for 45 seconds is quick but may make them slightly soggy.
More Piroshki Recipes
Piroshki come in all different shapes, flavors and sizes. If you love this recipe, try all these different fillings out!
- Fluffy Poppy Seed Buns (Piroshki) – Filled with a sweet, poppy seed paste
- Savory Piroshky – Filled with savory ground pork and onion
- Fruit Piroshki Recipe – Delicious with your favorite jam and hot drink
Recipe
Ingredients
- 2 cups all-purpose flour
- 1 tsp sugar
- 1 tsp salt
- 1/2 tbsp baking powder
- 1 cup buttermilk
- 3 cups mashed potatoes
- oil for frying
Instructions
- Combine the flour, sugar, salt and baking powder.
- Add buttermilk to the mixture and stir to combine.
- Work the dough until everything is well combined. The dough will be sticky, but that is ok. I usually knead by hand but a stand mixer with a dough hook can be used as well.
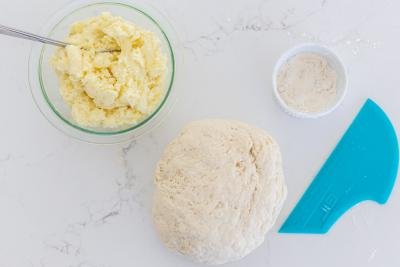
- Cut the dough into 12 equal pieces. Flour the surface that you are working on and roll each dough piece out.
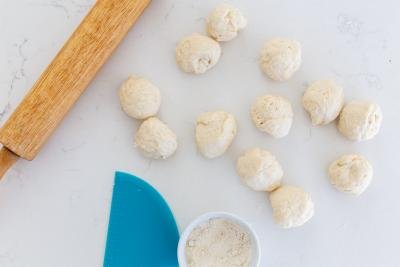
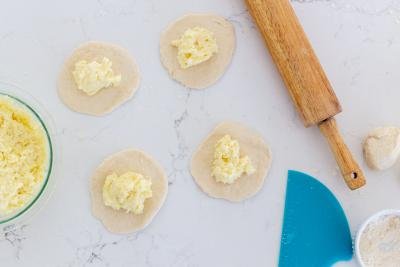
- Place equal amounts of mashed potatoes onto each dough piece. Seal the edges of each one, pinching tightly.
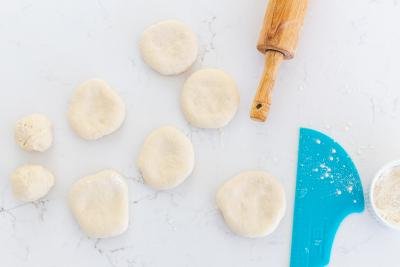
- Carefully roll out each one into a flat piece. You may need to continue flouring the surface you're working on if it's overly sticky.
- Preheat a skillet filled with oil to medium heat. Then, fry each pastry until it's golden brown. Serve immediately!




Thank you for sharing this dough recipe! I’ve made it multiple times but I do with braised cabbage as a filling & I love it.
Hi Olga, I love it with cabbage too! Such a delicious filling. So happy you’ve been enjoying the dough recipe and making it your own! ❤️
Hello. Do you think it will work with the kind of buttermilk if I mix milk and vinegar? Dyakuju:)
Hi Julia, I think it will work! As a reminder, to make 1 cup of buttermilk, measure out 1 tablespoon of white vinegar and put it into a cup-size measuring cup. Then, add milk until it reaches the 1 cup line. Stir it gently and let it sit on the counter for 5 to 10 minutes at which point it should start to curdle and thicken slightly. Good luck!
Thank you so much:)
Hi! How do you make such perfect circles? All the recipes I’ve seen, the pirozhok is usually a longer shape
Hello Natasha- I think it's a matter of preference. You're right that most piroshki are more oblong shaped. I did my best to explain the steps and blog text on how to make them round- after filling them, I then shape them back into round balls and then flatten them again a bit (see photo in step 6). I hope this helps you!
Can the dough be refrigerated and/or frozen and for how long? Thank you!
Hi Jane, Yes, the dough can be frozen for up to three months, and refrigerated a couple days. 🙂
Thanks for the recipe, it worked great! I made these to surprise my husband with, since it’s almost his birthday. I knew he’d appreciate them, but I was in a crunch time so I didn’t want to use yeast.
Hi Nelya, So glad to hear they worked out great! Thanks for sharing!
Can I use Self Rising Flour ?
Hi Dave, I have not tried this recipe with self rising flour. I have found that it works very well with all purpose flour. If you give Self rising flour a try, I would love to know the result!
Hey!! Udpate: ! I think they turned out ok. 🙂
Hi Dave, I am so glad to hear that! Thank you for getting back to me! Enjoy!!
Ok thank you!! I will give it a try and let you know.
Slava Urkaine
Dave
Hi Dave, I look forward to it! Thank you!
The self rising flour worked out ok!! Thanks again!!
Dave
NO egg when baking, just put in oven like that with nothing on top?
Have you even tested the baked version??
Hi Juliya, Yes I have tested the baked version plenty of times. My recipe calls for no egg wash. I always encourage people to adjust the recipe to their liking. Thank you for reaching out.
Hi,thanks for the recipe,
It turned out great!
I did add cumin,coriander and fried onions.
I was wondering whether this dough will work with minced meat?
Hi Kat - Oh yum! I love that spice profile and the addition of fried onions (who doesn't love fried onions?!). I've actually never tried it with minced meat, but I bet it would work. If you give it a shot, let us know how it turns out. Good luck!
Hi, if I have low fat buttermilk, will it still work for this recipe? Can’t find regular buttermilk anywhere:(
Hey Olesea, yes, it will work for this recipe. Enjoy
Can I use regular milk if I dont have buttermilk? Or heavy whipping cream? Or what are other substitutes for buttermilk?
Hey Julia, you would need a substitute for buttermilk, regular milk alone wouldn't work. You can google for substitute options, you can pick the best one for you.
A cup of milk mixed with a table spoon of white vinegar let it stand for a bit and you've for buttermilk
Thank you for that tip, Oksana!
Hi Natalya!
What can I use instead of buttermilk for non dairy version?
Thank you so much!
Hey Anna, I have never tried so I cant tell you for sure.
So do you use 2 pieces when you seal the potatoes or fold the dough in half to seal?
Hey Cheryl, you would use one piece and fold edges to seal. Enjoy
Hi!
Thank you for the recipe! I made it twice and they turned out delicious! I do have a question about the dough consistency. My dough always turned out too wet and its hard to with. Is it their something I'm doing wrong?
Hey Marine, depending on the brand of flour, you may need to add a little more of it. But the dough is soft, that's what makes it airy.
Thank you for another delicious recipe. Just made them and had 2 already 😃
Hey Ruslana, I am so happy to hear this. Thank you for sharing!
I love these, so simple and so good! Thanks for this great tutorial!
Hey Kimberly, thank you for sharing that! So glad you loved it!
I've never heard of potato piroshki! This is so homey and delicious. Who doesn't love bread and potatoes?!? Thank you!
Hey Trang, yes, we love the comfort food. 🙂
These are so delicious. My husband and I love these. I even got my kids to give it a try and they love them too. I will definitely be making these more. Thank you!!
Hey Beth, thank you for sharing your feedback. I am so glad you loved the recipe.
instructions wont come thru
I ve never fried piroshki! How much oil is needed ? Do they need to be totally submerged in oil? N wat kinda oil is best to fry these in?
I like organic canola oil or light olive oil. It should be few inches, just enough to cover one side.
gonna try these, and going to add a little caramelized onion with the potato.
Your idea is a really good one! It will add some great flavors. We love onions in everything. 😉
Can I bake them? Thank you
I don't think they would turn out as good and crispy on the outside.
Yummay!!!!! Will have to try!