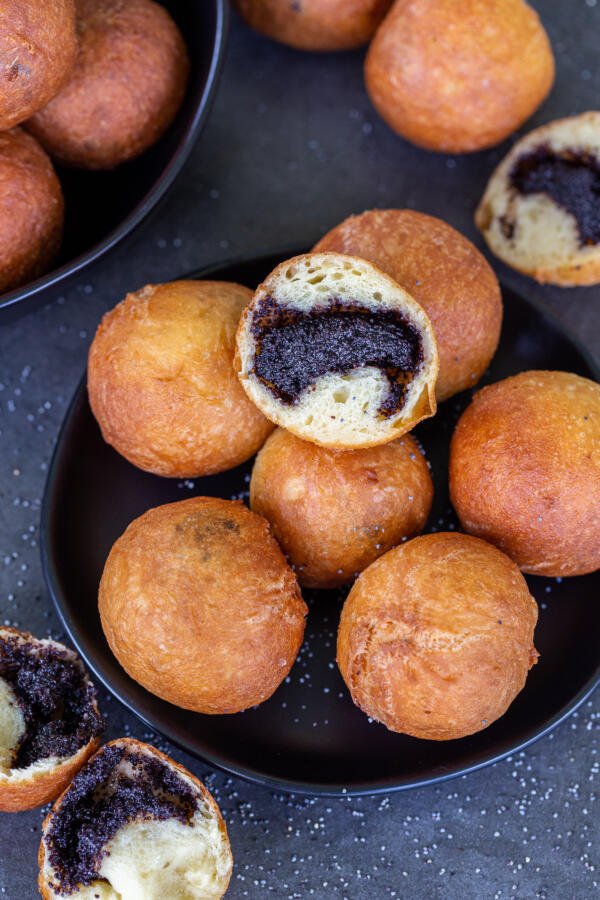
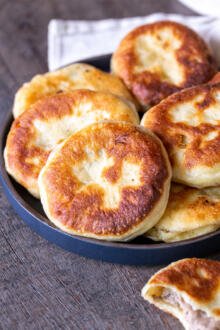
These sweet piroshky, or “piroshki”, are deep-fried and filled with a luscious poppy seed filling. A true Slavic classic!
These sweet piroshky (also known as piroshki or in some places, ponchiki) transport me right back to my childhood. My first memory of these sweet delights comes from primary school. A friend brought them to class for lunch and let me have a bite. I was immediately infatuated with the crunchy poppy seed filling! I begged my mom to get the recipe from my friend’s mom, and the rest is history.
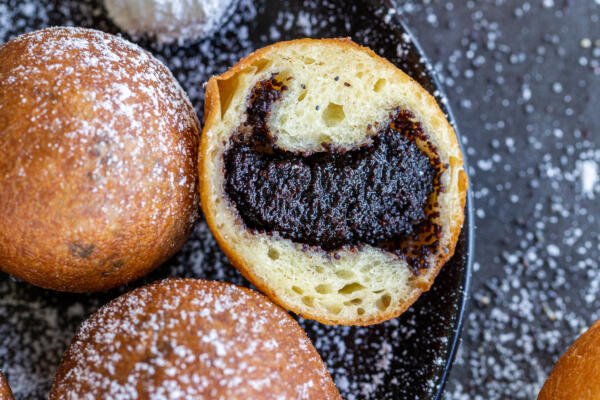
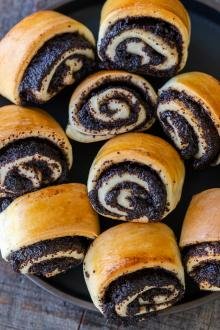
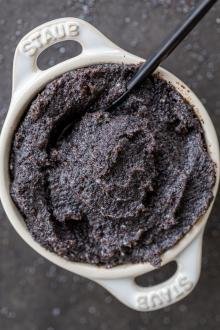
Hot tip: For this recipe, you’ll need poppy seed filling. If you’ve never tried it — it’s to-die-for. Commonly used in Slavic baking, it’s crunchy, creamy, and the perfect complement to this crispy, deep-fried dough. I also use it in my poppyseed babka.
Sweet Piroshky Video
Pierogi vs Piroshky
Pierogi and piroshky are both popular Slavic dishes, but they do differ in taste and texture. Pierogi tend to be boiled and have a gummier dough, whereas piroshky are either baked or fried. However, both types can be made with either sweet or savory fillings. If you’re interested in pierogies, check out our favorite savory and sweet options.
How To Make Fried Sweet Piroshky
Making these sweet piroshky from scratch requires only a handful of ingredients. Don’t be surprised if you find yourself having fun stuffing and frying them!
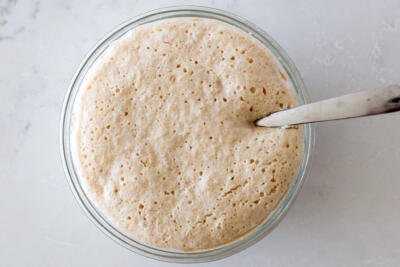
- Activate the yeast: Whisk together a portion of the warm milk, yeast, and sugar and set aside for 10 minutes.
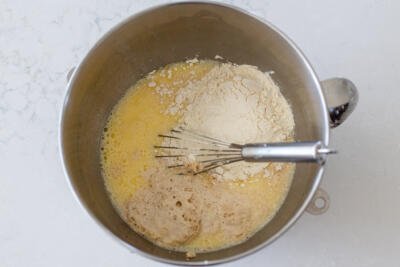
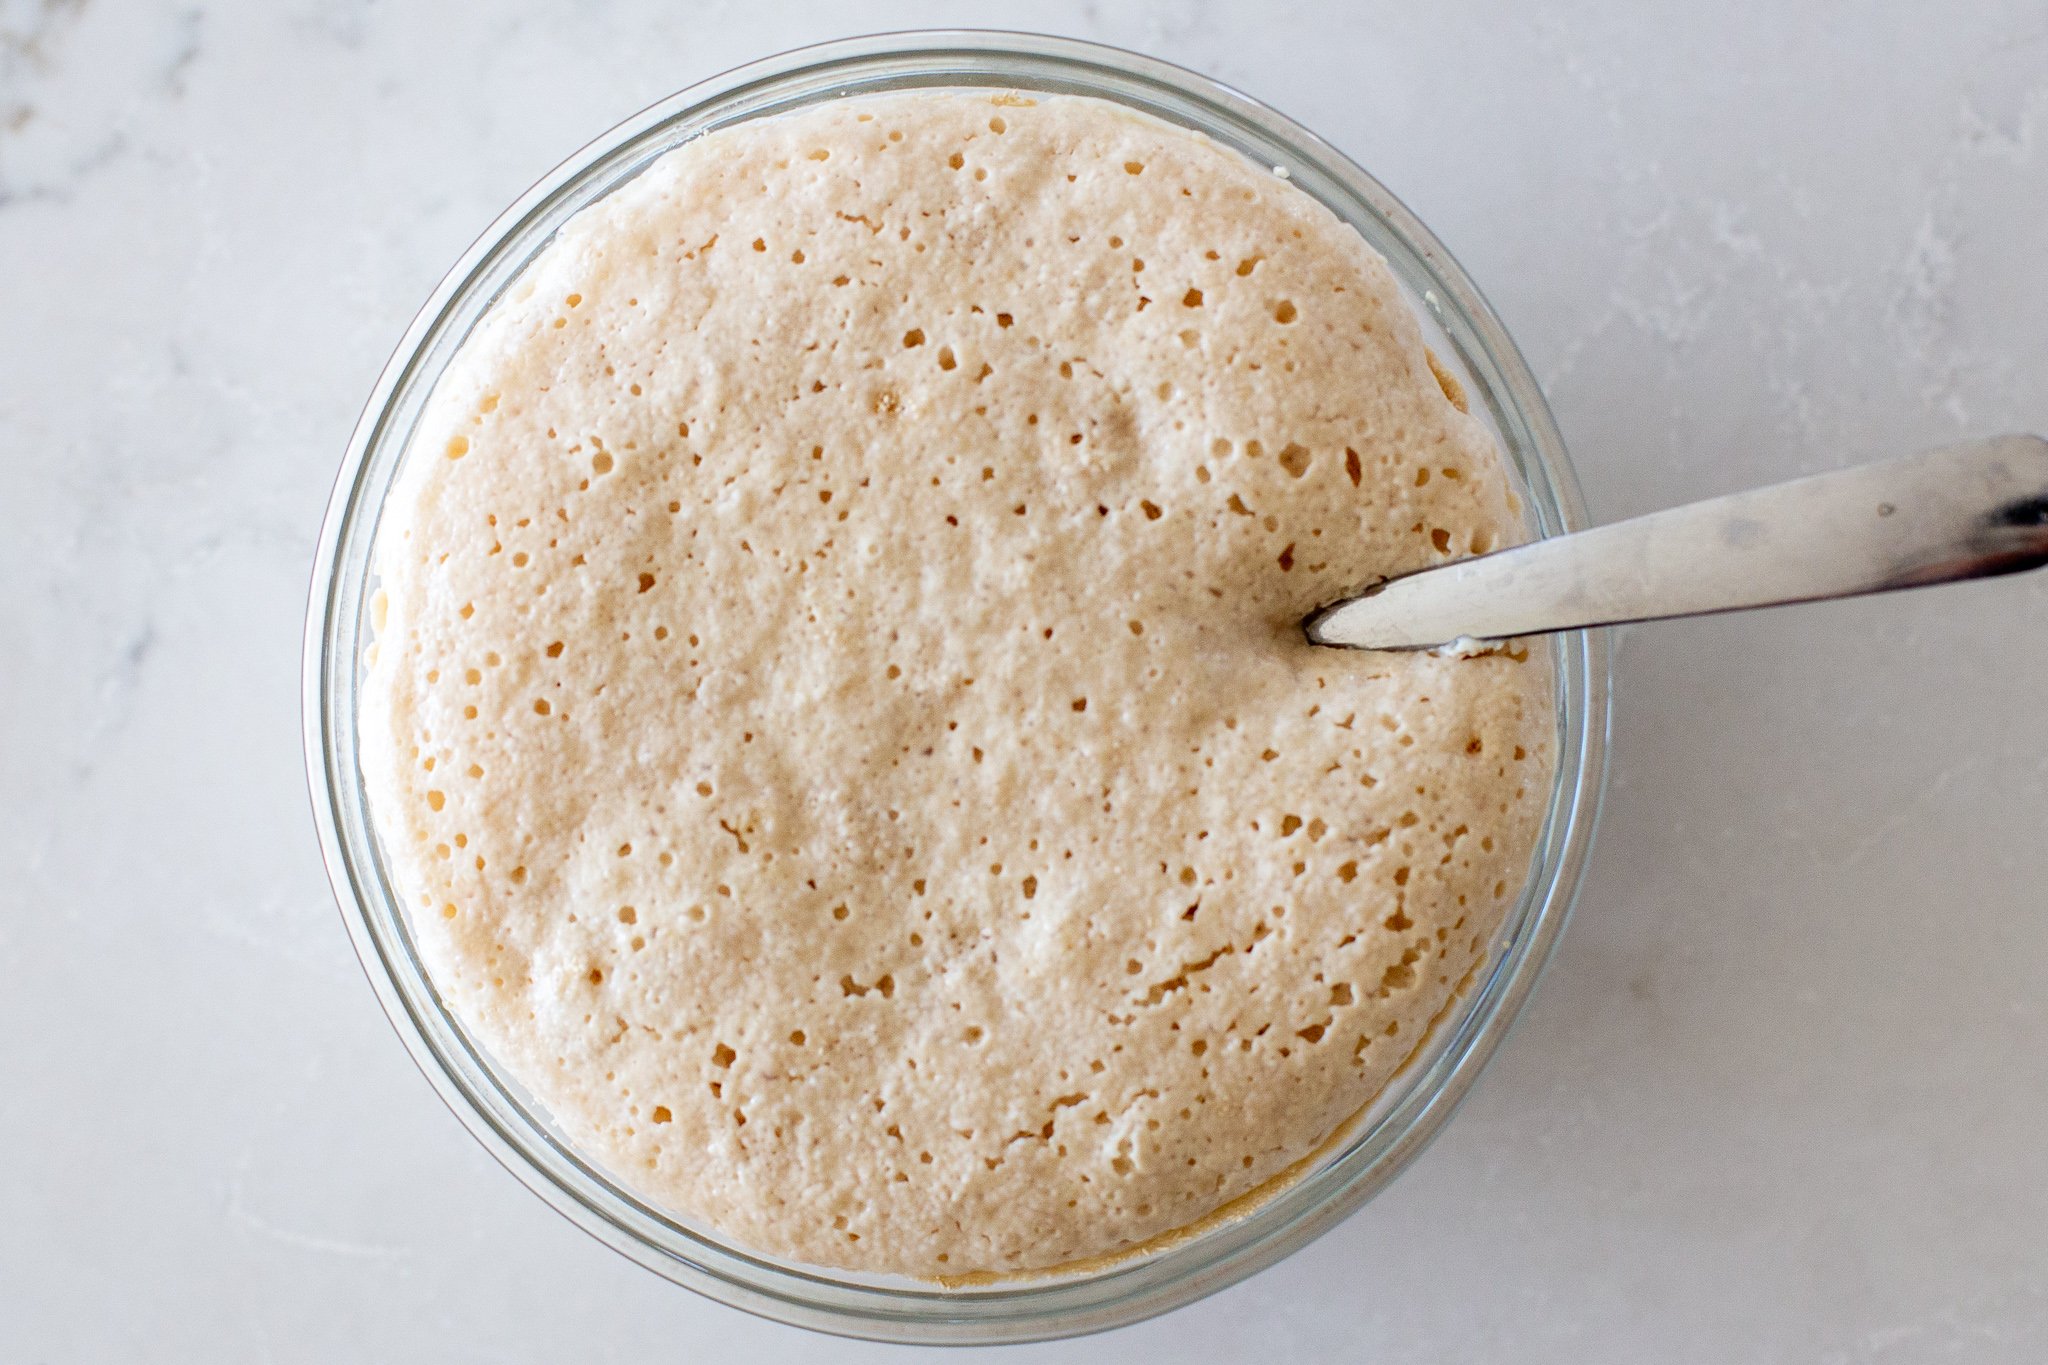
- Add in the wet ingredients: In a large bowl, mix the eggs with the rest of the milk, sugar, salt, oil, vanilla, and sour cream. Then, mix in the activated yeast mixture and one cup of flour. Cover with a towel and set aside in a warm place for about an hour.
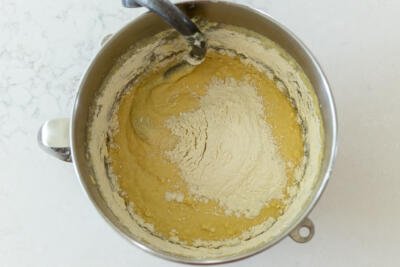
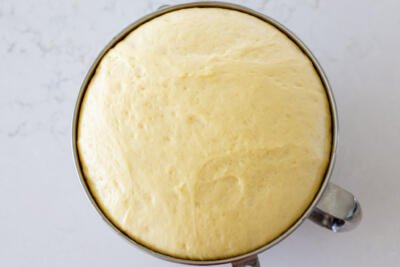
- Proof the dough: Gradually mix in the remaining flour. Knead the dough until it becomes sticky and elastic (I like to use my Kitchenaid mixer at this point). Set it aside for an hour to rise at room temperature.
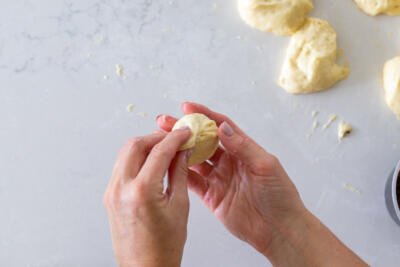
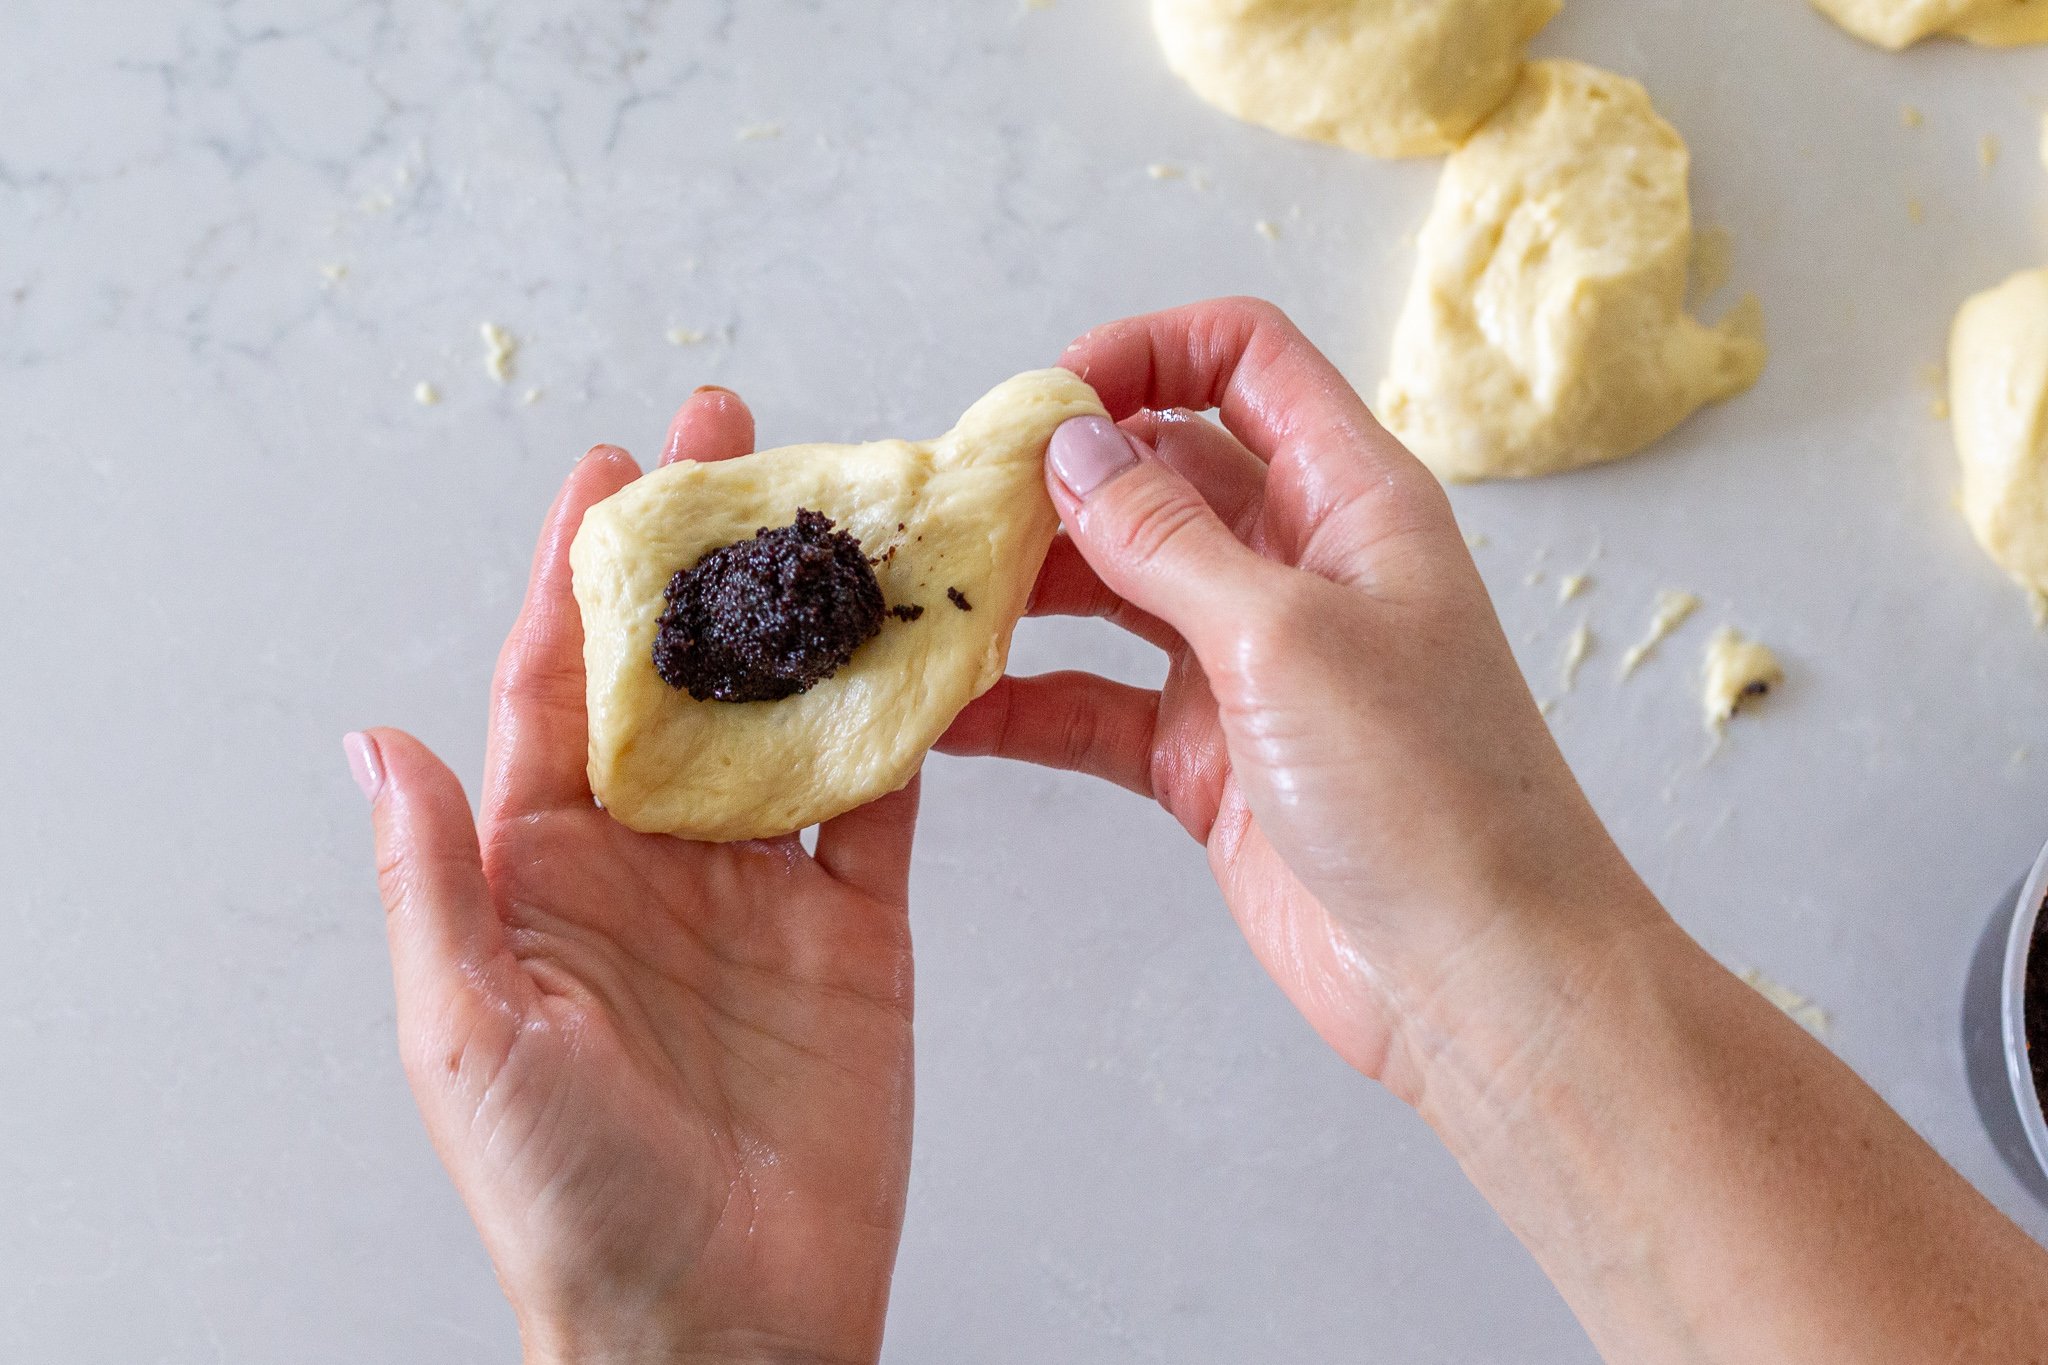
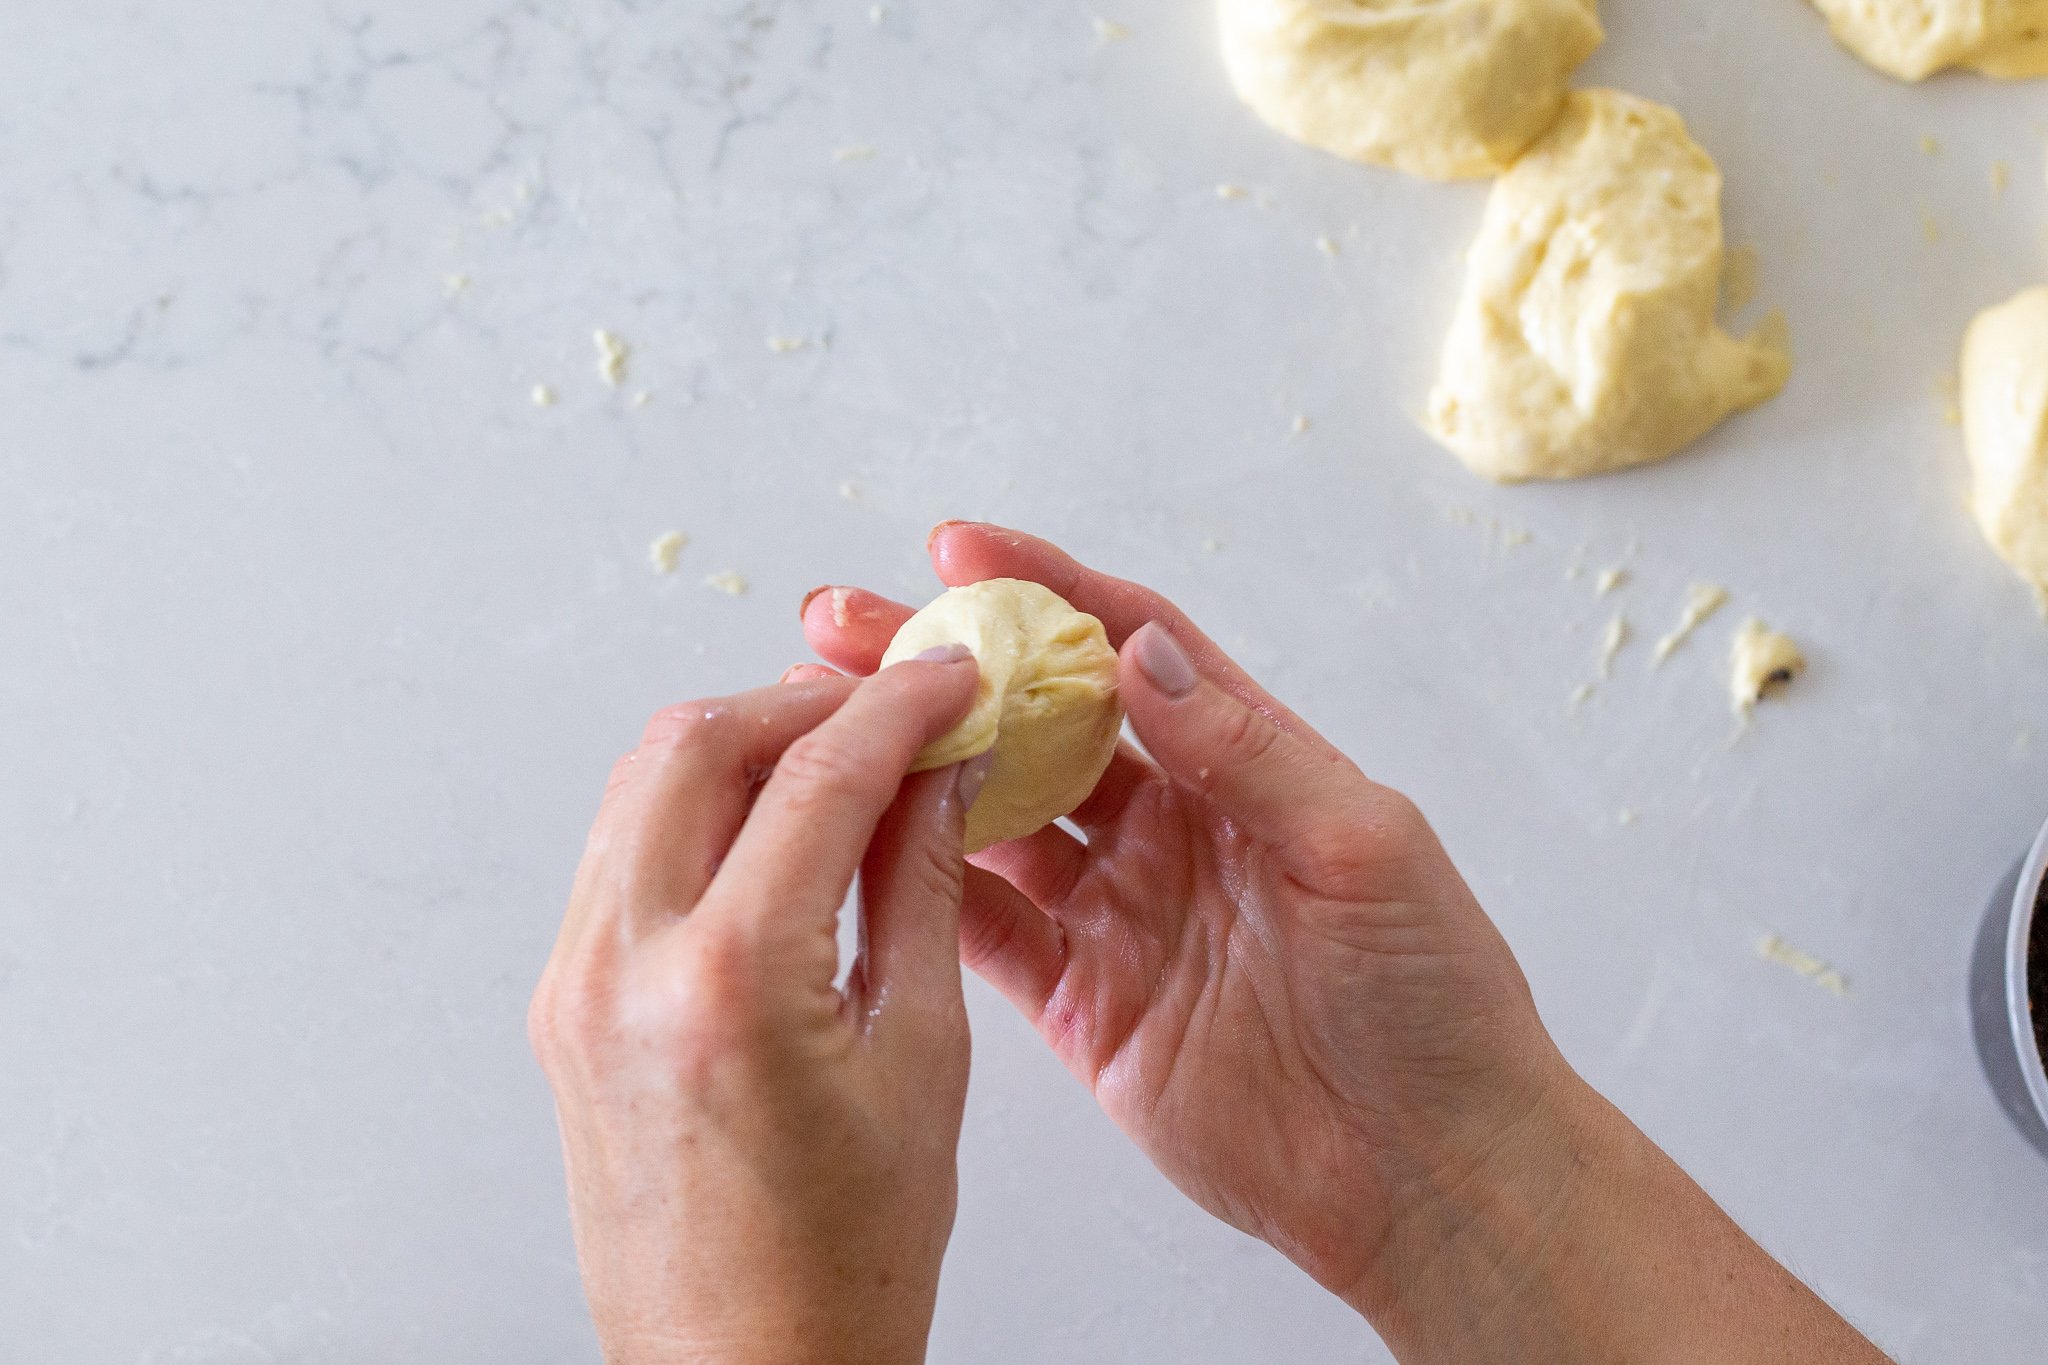
- Roll and fill the dough: With oiled hands, roll the dough into evenly-sized balls. Then, flatten each ball with your fingers and fill the center with poppy seed filling. Fold over the sides and pinch the edges to seal the filling inside, shaping back into a ball.
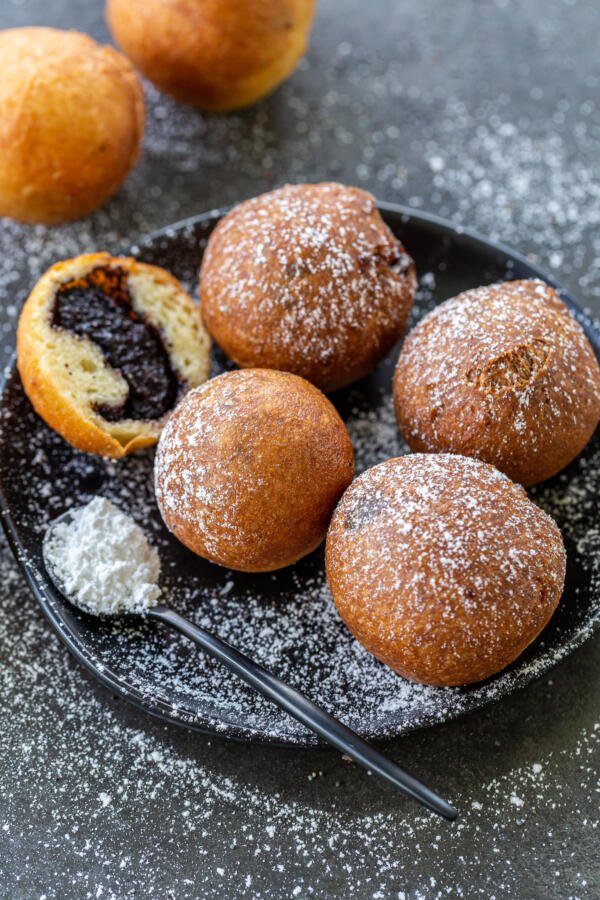
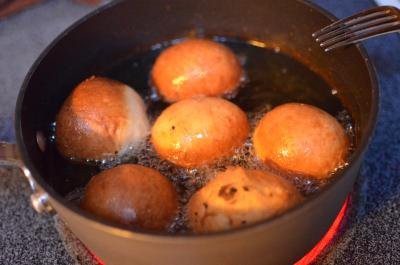
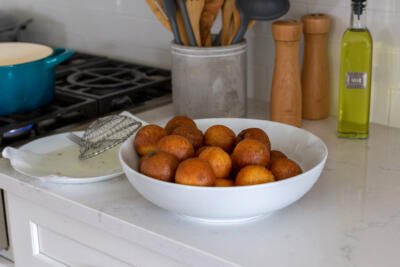
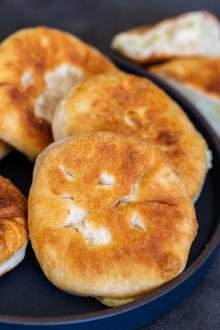
- Fry the piroshky: Set a deep skillet or pot over medium-low heat and fill it with canola oil. Heat to roughly 350°-375°. Drop the dough balls into the hot oil in batches. Fry until they are golden brown, flipping them often with a fork. Once fried, place the piroshky on a plate lined with paper towels to drain any excess oil. Dust with powdered sugar if desired. Serve and enjoy!
Hot tip: You can make the dough by hand, but a stand mixer makes the process so much faster.


Tips for Making the Best Sweet Piroshky
How do you make piroshky with the best lightly sweetened and pillowy-soft dough? Check out this short collection of tips for bakery-worthy “filled donut holes!”
- Check the oil temperature: Frying can be a little tricky due to the temperature of the oil. We typically fry on medium-low heat, but for a foolproof way, use a candy thermometer to check the oil is between 350°F-375°F. If the oil is too hot, the outside of the piroshky may get too crisp and burn while the inside is not yet cooked through.
- Oil your hands: The dough will be quite sticky, so work with lightly oiled hands. This helps the dough from sticking to you as you shape and fill the piroshky. However, avoid adding too much oil, as it might make the dough too slick to seal well.
- Shape the piroshky evenly: To ensure even cooking, roll the piroshky into similar sizes. A general rule of thumb for measurement is about the size of the palm of your hand when flattened. Or, to be really exact, use a kitchen scale to weigh each roll.
- Swap out the sweet filling: If you’re not a poppy seed fan, substitute the filling with jam, Nutella, or sweetened farmer’s cheese.
- Carefully add more dough: Depending on the type of flour or brand you use, you may need anywhere from 5-6 cups of flour. If you feel the dough is too sticky, add a small amount of flour and continue mixing. The dough should be tacky and elastic, but not extremely sticky.
Hot tip: Looking for more piroshky recipes? Check out our fruit piroshki, potato piroshki, quick (no yeast) fruit piroshki, and quick poppy seed rolls (baked).
Storing & Reheating Piroshky
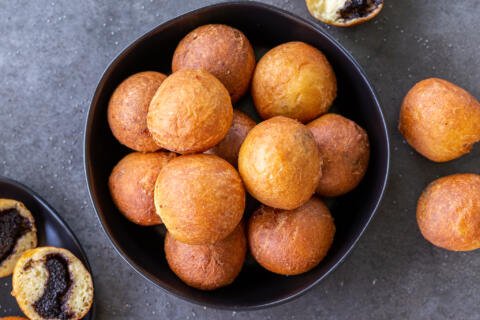
This recipe makes about 50 piroshky, so there’s a good chance you’ll have leftovers for a couple days. Follow these guidelines on how to store and reheat them later for the best taste.
- Refrigerator: Store leftover piroshky for up to a week in an airtight container in the fridge.
- Freezer: Store leftover piroshki for up to three months in the freezer. Place them on a baking sheet lined with parchment paper. Then, pop the entire baking sheet into the freezer. Once the piroshky are completely frozen, transfer them to a freezer-safe bag.
- Reheating: Reheat frozen piroshky in the oven or microwave until they’re warmed through, or pop them in an air fryer for a couple of minutes until they become crispy.
More World-Famous Pastries
- Beignets – Pillowy soft and inspired by New Orleans
- Apple Fritters – An extra-easy classic dessert
- Sweet Cheese Bourekas — Yummy Middle Eastern hand-held pies
- Farmer’s Cheese Donut Holes (Ponchiki) — A classic Slavic version of donut holes
- “Bulochki” Knots — Sweet buns that can be made with a variety of fillings
Recipe
Instructions
- In a small bowl, combine the yeast with half a cup of warm milk and one tablespoon of sugar. Let the ingredients rest on the counter for 10 minutes.
- Either by hand or with a stand mixer, combine the eggs in a large bowl with the remaining milk, remaining sugar, salt, oil, vanilla, and sour cream.

- Add the yeast mixture and one cup of flour into the egg mixture. Whisk to combine and cover with a towel. Set aside to rest in a warm place for an hour.
- With your hands or a stand mixer, mix in the remaining flour in thirds.
- Knead the dough until it becomes elastic (at least 10 minutes).
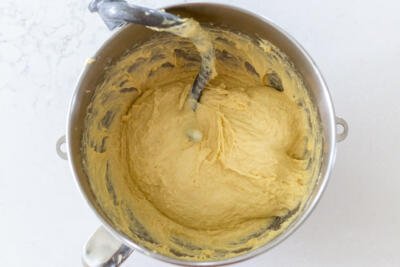
- Let the dough rise for an hour.
- With lightly oiled hands, make small balls out of the dough, then flatten them out with your fingers and place a dollop of poppy seed filling inside.

- Fold over the sides and pinch the edges together to seal, form into balls.
- Fill a deep skillet with 2-3 cups of canola or vegetable oil and set to medium-low heat, heat oil to 350°-375°F. Fry the piroshky, flipping periodically with a fork until they turn golden brown all over, roughly 5-8 minutes total. Keep a close eye on the piroshky to make sure they don't burn, lower the temperature if needed so the oil doesn't get too hot.
- Lay piroshky on a plate lined with paper towels to soak up excess oil. Dust with powdered sugar if desired. Serve warm and enjoy!


I let the dough rise 2 times (I was away from home 😃) and I think it helped the dough to be very airy and puffy when fries. Very delicious !!! I'll be definitely making it again 😉
Hi Oksana- I'm so glad you enjoyed them, thanks for commenting!
How sticky should the dough be after adding all the flour?
Hi Lidiya - It will be pretty sticky and elastic and will require you to shape it with oiled hands. Hope this helps. 🙂
Can you use traditional yeast
Hey, Linda! Thanks for reaching out. We always use dry yeast for this recipe and activate it ourselves. Hope this helps!
Well this was a fun treat! I'd never had these before and I really enjoyed these! Fun to make, fun to eat! Like donut with a filling I'd not had before! Love this!
I'm so glad you got to try something new, Betsy, and that you loved them!
These are as good as they sound and not to difficult to make. You will not be disappointed.
Thank you very much, Beth 🙂
Thank you so much for this amazing recipe! Will surely have this again, fam really loves it! Highly recommended!
Hi Allyssa, I'm glad you loved the recipe, thank you for taking the time to comment!
I absolutely love them !!! So delusions with incredible aroma !!! But have a question for the recipe .. my dough was too sticky that’s why I couldn’t not use the filling .. they didn’t turn out as perfect as yours ... maybe 5 cups was not enough flower??? Mine were plain but So delicious 🥰thank you !!!
Hey Liliya, it would depend on the brand of flour. If the dough is extremely sticky, you can add more flour.
So in step 2 it’s 1.5 cups of milk, right?
Yes, the remainder of the milk.
Is the milk added to the eggs also supposed to be warm? Because this isn't mentioned, and mine isn't rising for the first rise. I used cold milk for that portion. It is also still very liquidy, idk if that is affecting it? Don't want to waste all those eggs and milk!
Are you keeping it in a warm place? Even if you used cold milk it's ok, it would warm up in a warm place. It is better to use warm milk, I will add a note. Also, is your yeast fresh?
What is the poppy seed filling? Do you buy it in jars like jam or do you do it yourself?
I usually use this recipe for poppy seeds https://momsdish.com/recipe/3…. There are rare situations when I do buy it from European market.
cpasibo , zdelala takie je i uleteli za 2 chasa ves tazik , vcem ponraviloc ,
Thank you Ksusha! It's the best feeling when food is gone so quick, means you done something right! 😉
These sound and look just like my moms...now I need to make these to impress my mom ?
Nadia, I am sure you can impress her. Our Slavic moms can be hard on us because they are so skilled in the kitchen 🙂
Thank you so much for giving me feedback. I would have to agree, I love them 🙂
Great reciepe. This is something my mom always did. And the receipe sound the same to me, but i do them in the oven too and they turn out great too. Thanks Nataliya for awesome receipes!
I did not add salt to this recipe. I haven't tried baking them in the oven. I think the taste would be completely different.
Hi Natalya, I would like to try this recipe and was wondering if you have to add any salt to the dough. Also, can I bake these in the oven?
HELLO can i put different filling in theses
For sure, any jam would work wonderful in them.
how much do i put in the them or can i put pork in them ? would you have a recipe for the pork one please thanks
I have two recipes with meat fillings. See savory piroshky or overnight piroshky. They both have an option for using pork.
You never did say you could bake these, how hot an oven and for how long. And of course the taste would be different, and better if thery are hot, NO.
Alan
Hi, Alan, if you are looking for a baked piroshki recipe you can use this recipe. Enjoy 🙂 https://momsdish.com/recipe/1…