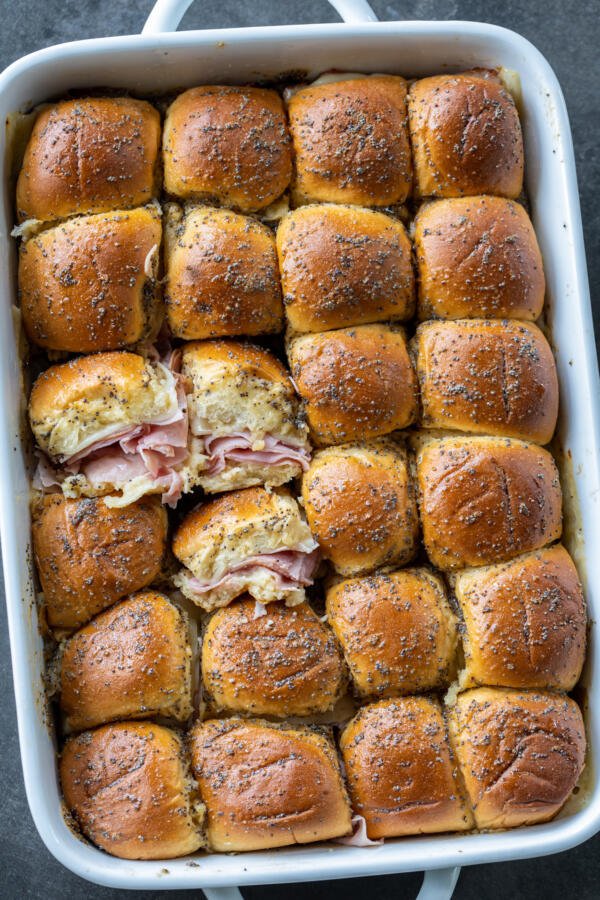
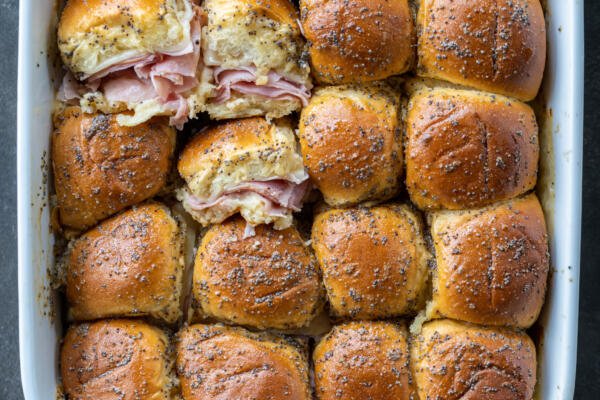
These ham and cheese sliders consist of Hawaiian rolls filled with ham, Swiss cheese, and a Dijon mustard sauce. They’ll be sliding off the table in no time!
Ham & Cheese Sliders Video
How To Make Ham & Cheese Sliders
This recipe for crowd-pleasing mini sandwiches is so easy and quick! Whether it’s served as an appetizer for game day or a quick dinner — everyone loves these sliders.
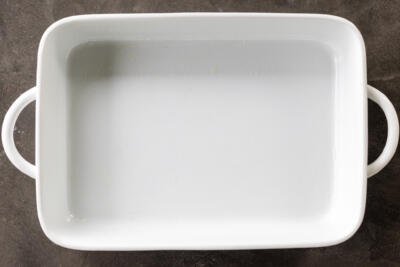
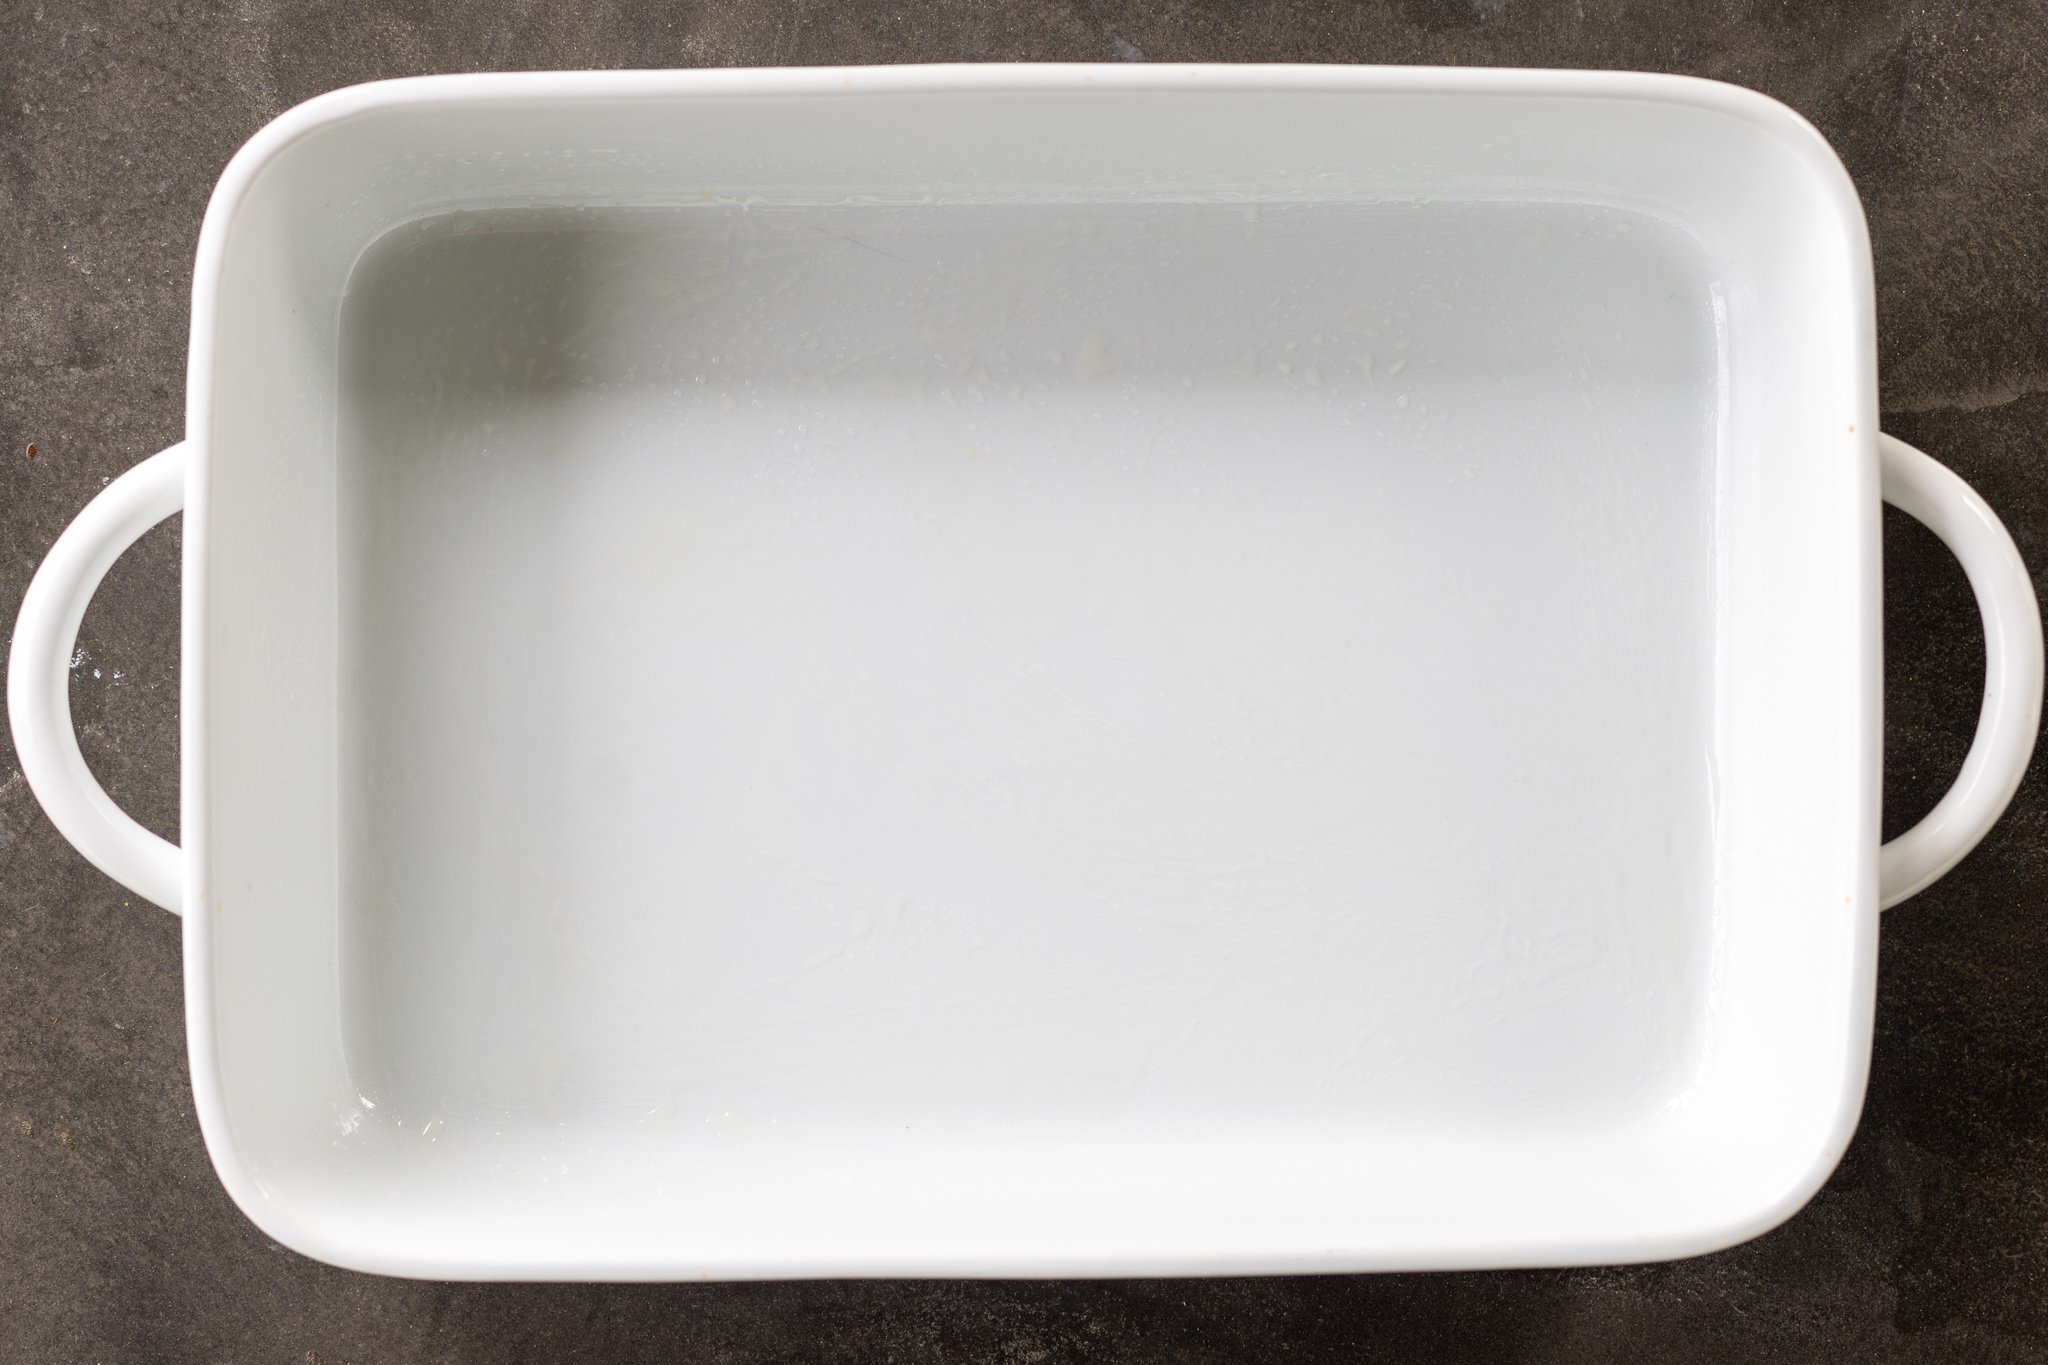
- Prep the oven & baking dish: Preheat the oven and oil the baking dish.
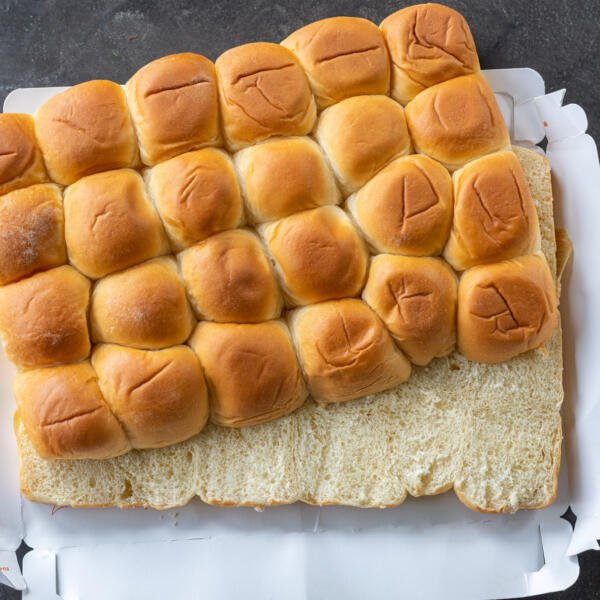
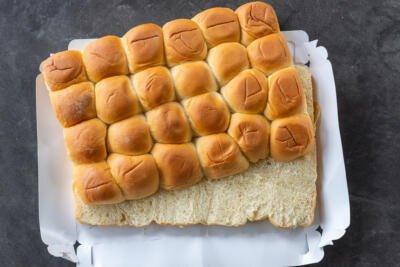
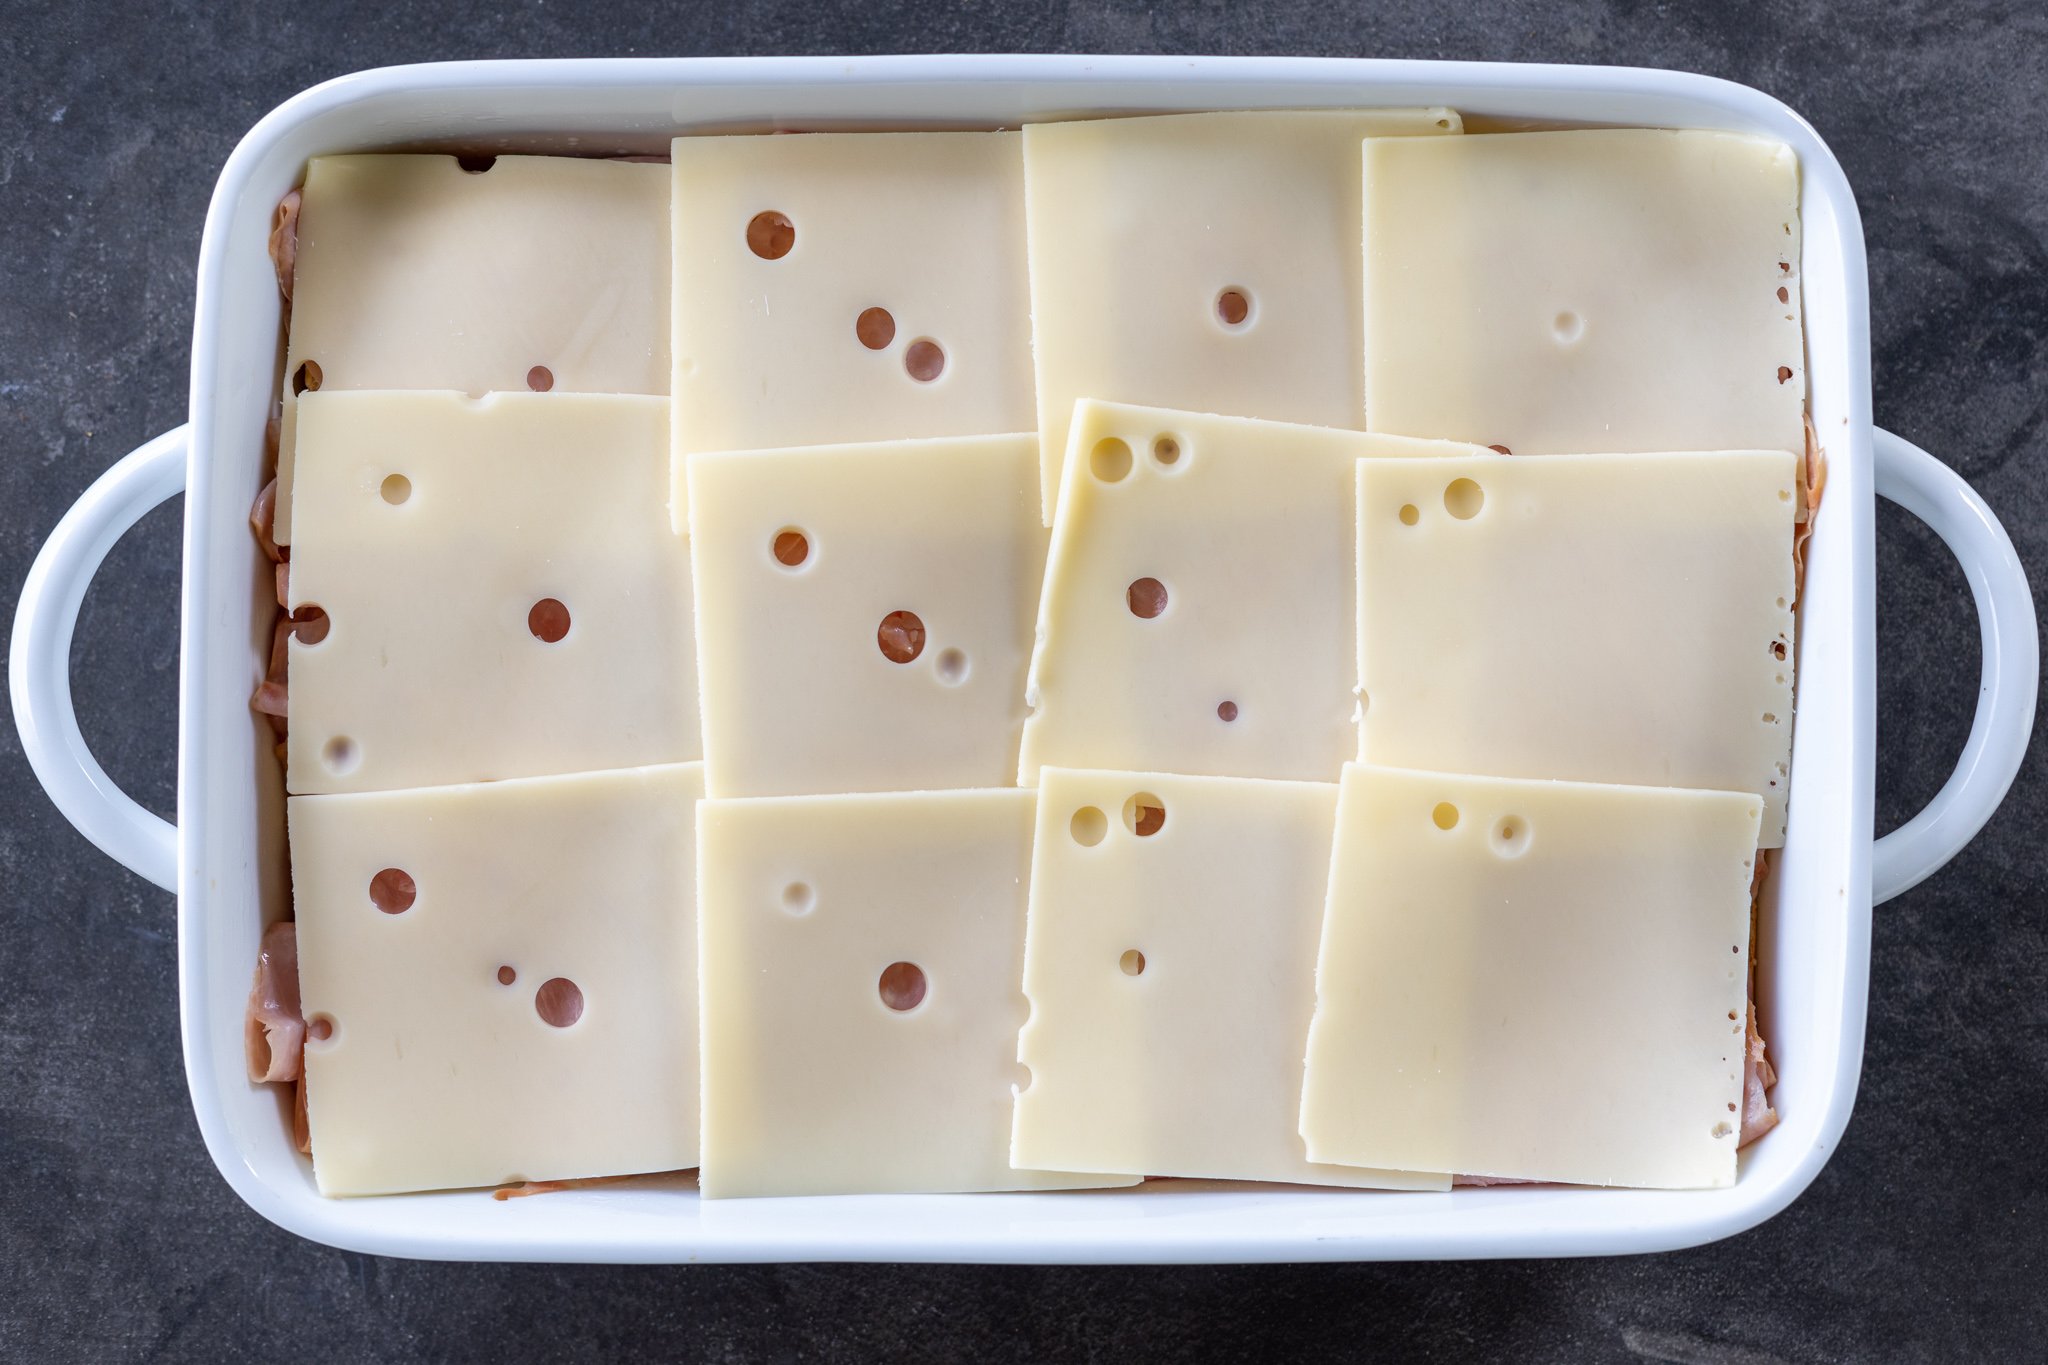
- Slice the rolls: Slice the buns horizontally, then place the bottom half of the rolls into the baking dish.
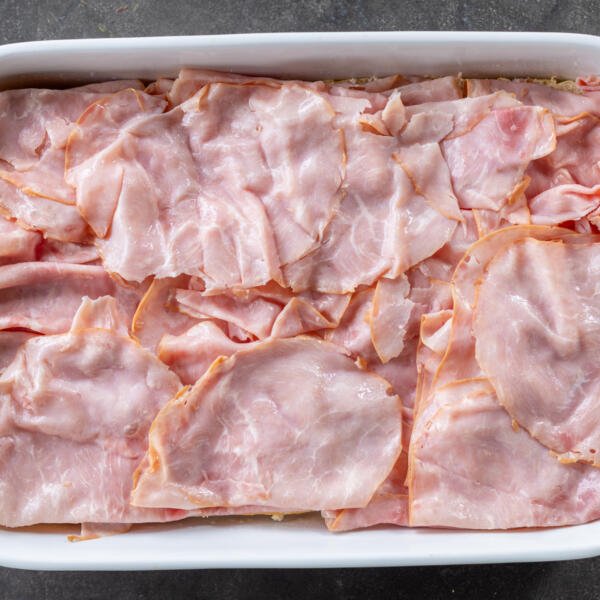
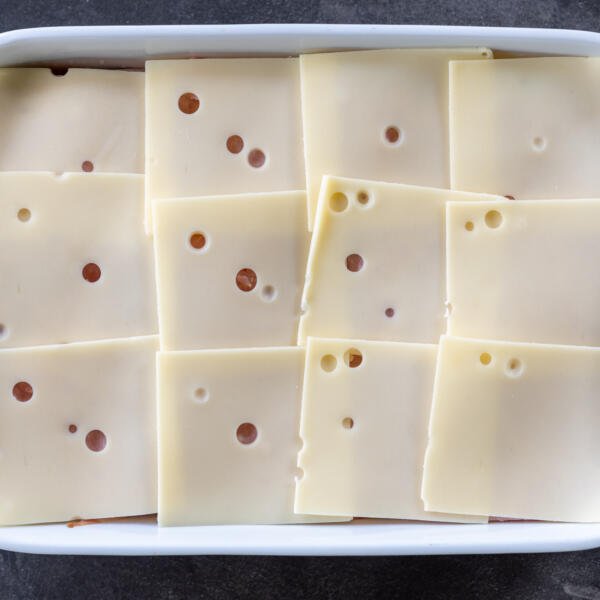
- Begin layering: Layer on the honey ham and cheese, then place the top half of the rolls on top. Cut the rolls into individual servings.
- Mix the butter sauce: In a small bowl, combine the melted butter, brown sugar, Dijon mustard, Worcestershire sauce, onion powder, and poppy seeds.
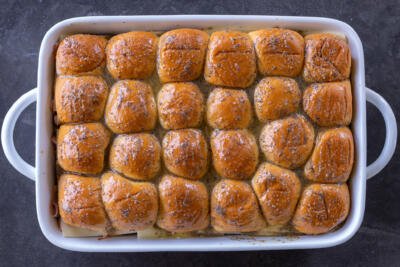
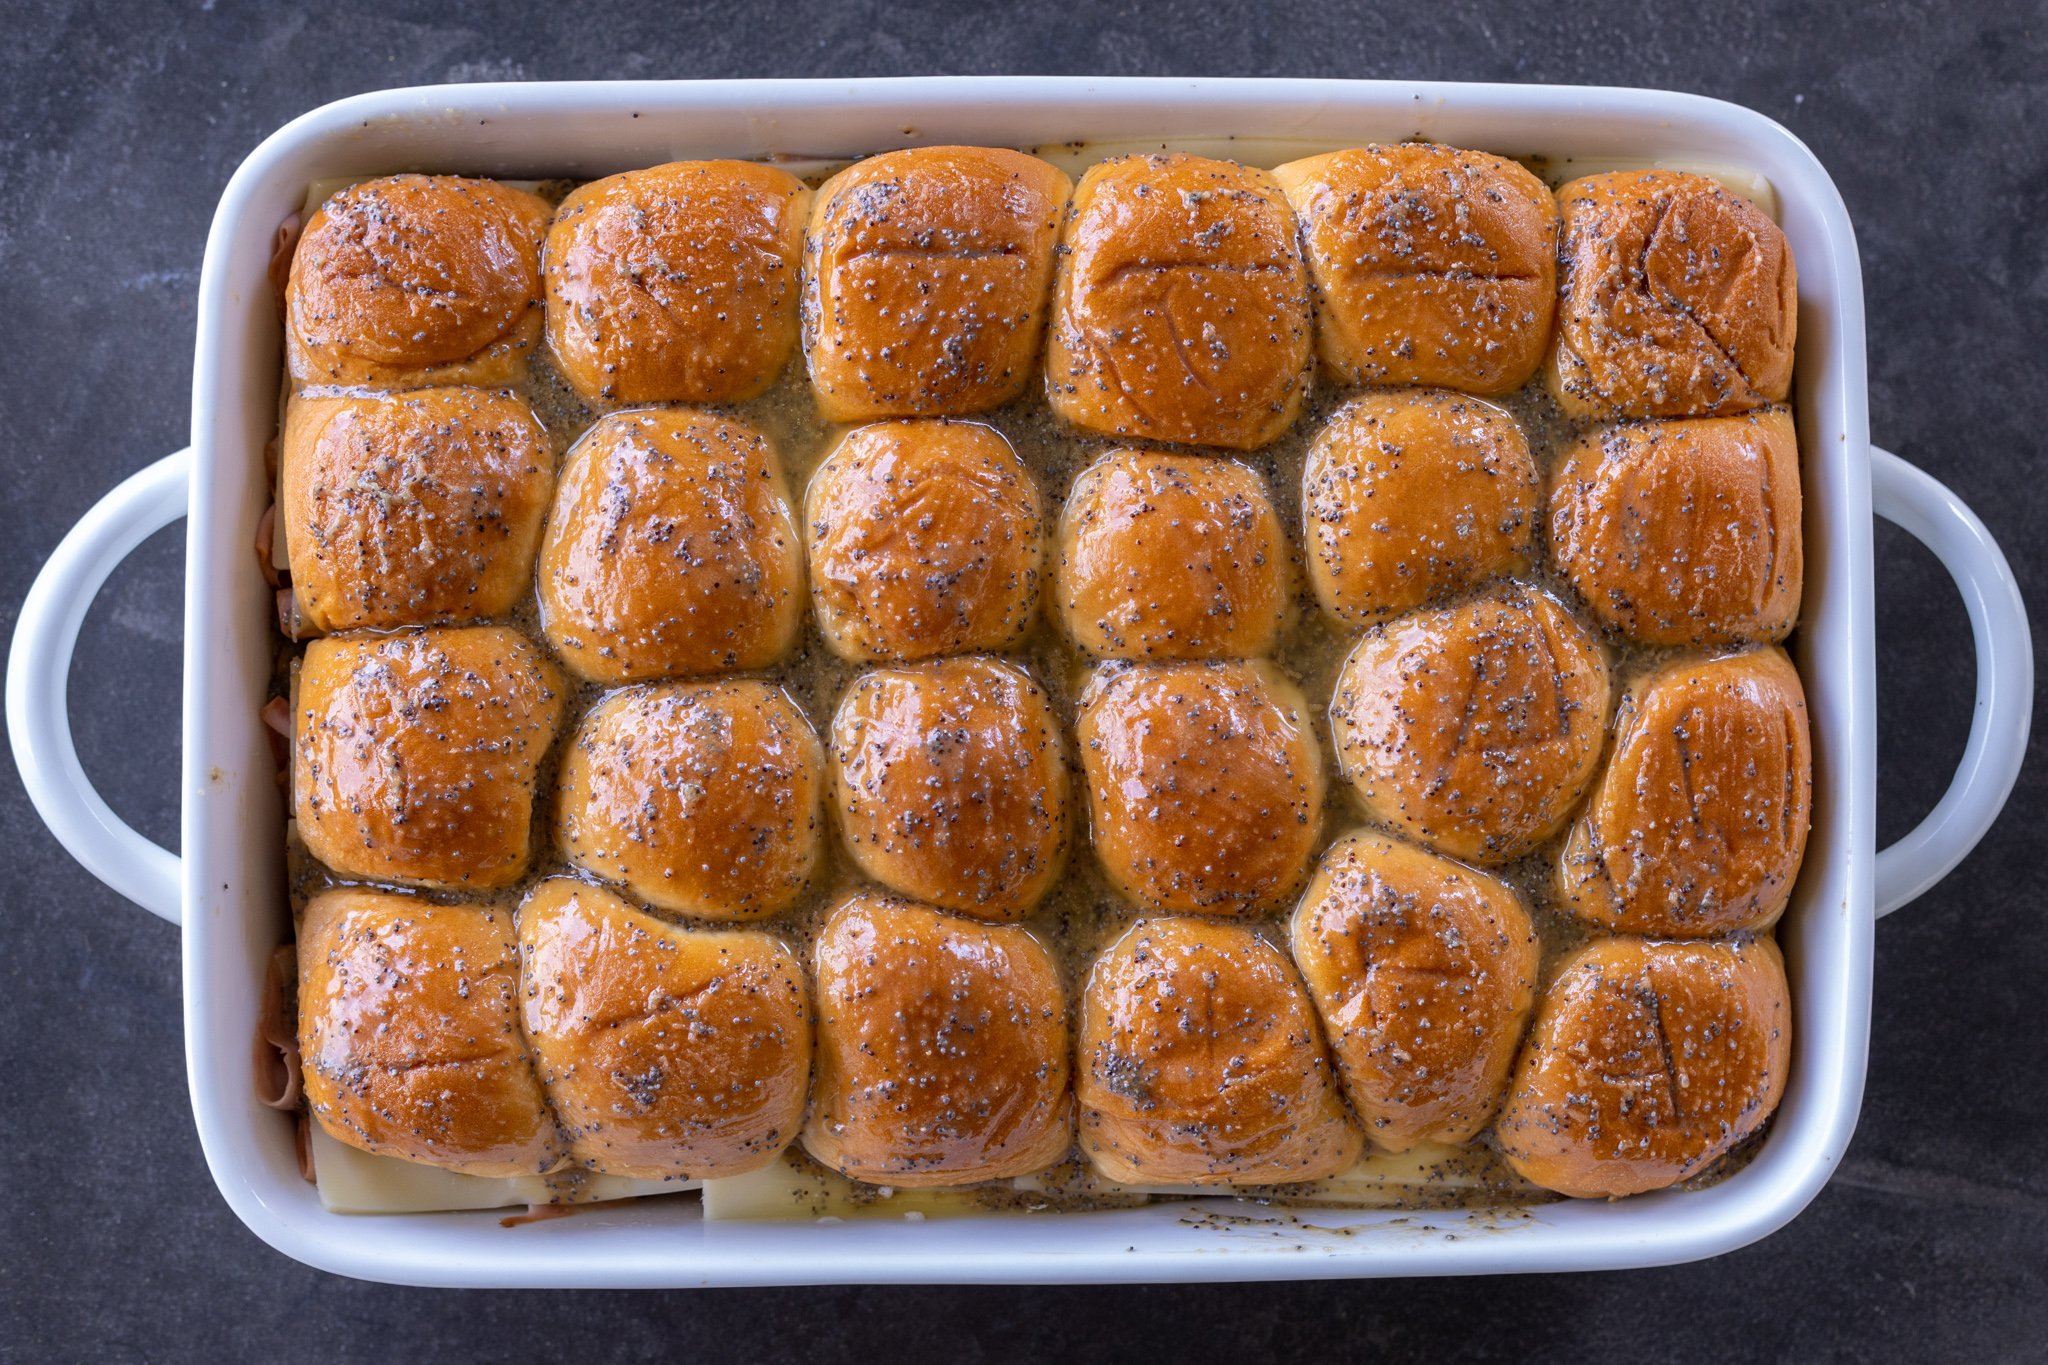
- Brush the sandwiches: Pour the butter mixture over the tops of the rolls, then use a brush to disperse it evenly across the sandwich tops.
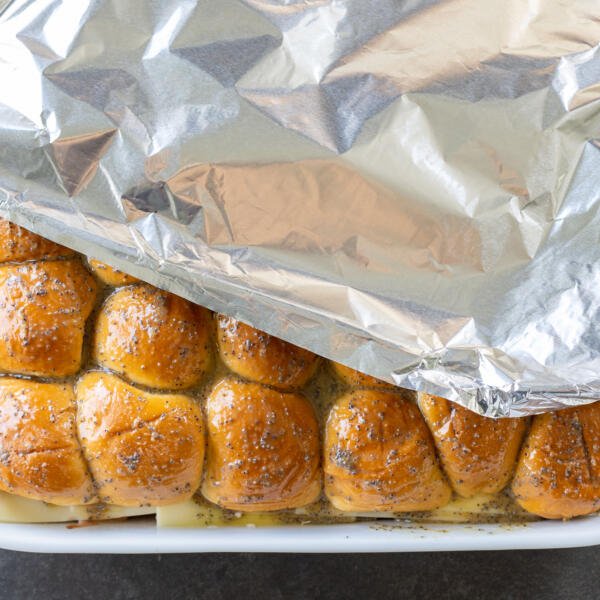
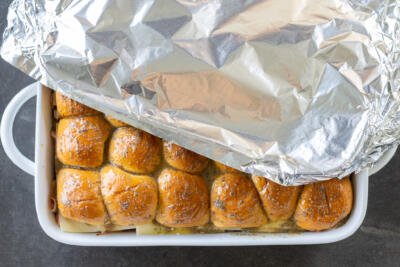
- Cover & bake: Cover the dish with foil and bake covered for 10 minutes, then uncover and bake for another 10 minutes. Enjoy!
Hot tip: Prep the sandwiches a day ahead and store them in the refrigerator. Wait to pour the butter mixture until right before baking.
Slider Variations
Ham, cheese, and a Dijon sauce are the foundation of these sliders, but why not add even more flavor with these ingredient variations? Experiment and find your favorite! If you have more ideas of delicious additions, let us know below!
- Mixed cheese: The flavor of cheese is ultimately up to you. We prefer Swiss cheese, but cheddar, Colby, and provolone are perfect as well.
- Full of heat: Add freshly sliced or pickled jalapeños into the sliders for a kick of heat.
- Meat-lovers: Are you a meat lover? Add more protein with sliced turkey or crispy bacon.
- Tangy: For a more tangy addition, add in thin slices of pickles or pickled onions.
- Saucy: If you feel you need more sauce, try a smidge of honey mustard. It’s absolutely delicious!
Hot tip: Feel free to omit the poppy seeds if you don’t have them. They really elevate the look, but the flavor will not suffer without them!
Tips & Tricks For Easy Sliders
A large perk of sliders is how easy they are to make. Follow these tips and you’ll be astonished at the simplicity but deliciousness.
- Cut with a serrated knife: For the easiest and cleanest cut, use a large serrated knife.
- Assemble first, then cut: It is much easier to slice the sandwiches when cold versus hot after baking. Slice the rolls into individual sandwiches after assembling them (but before baking).
- Make it cheesy: If you prefer extra cheesy sliders, feel free to use up to a pound of cheese.
- Consider pre-toasting the bottom bun: Sometimes sliders can get soggy, especially the bottom portions. To avoid this, toast the bottom halves of the rolls before adding on the ingredients. This helps decrease the sogginess!
- Cover while baking: For the first half of baking, cover the sandwiches with aluminum foil. For the second half, remove the foil. This allows the sandwiches to both heat through and get the right amount of crisp.
- Switch up the slider size (optional): If you have the regular-sized Hawaiian sweet rolls, make 12 ham and cheese sliders instead of 24.
Serving Suggestions
Ham and cheese sliders are frequently served as an appetizer when hosting, or simply as an easy weeknight dinner entree. Have a full appetizer-fest by pairing the sliders with jalapeño poppers, crispy air fried chicken tenders, air fryer zucchini fries, and air fryer potato chips. If the sliders are the main entree, make sure to include a veggie side like this lemony farro salad or corn tomato avocado salad.
Storing & Reheating the Sliders
If a portion of the sliders somehow didn’t slide off the serving table and you now have a few left over, take a look at these tips on how best to store and reheat them.
- Storage: Refrigerate leftovers for up to two days in an airtight container.
- Reheating: For a tastier reheat (best for larger quantities), place the sliders in a baking pan, cover with foil, and reheat at 350°F until heated through. For a faster reheat (best for small quantities), use the microwave.
Hot tip: If you’d like to store sliders for longer, assemble the sandwiches fully (excluding the butter sauce). Then, wrap them very tightly in plastic wrap and store in an airtight container or airtight freezer bag for up to three months.
More Sliders & Sandwiches
- Easy Philly Cheesesteak Sliders — Juicy beef, veggies, and provolone cheese
- Cheeseburger Sliders — Crazy easy and delicious
- Turkey Focaccia Sandwich — Turkey and spinach sandwich with a smear of pesto
- Pastrami Sandwich — Dijon, tangy sauerkraut, and pastrami deli meat
- Ham and Cheese Puff Pastry — Dijon, ham and cheddar cheese layered and baked into puff pastry squares
Recipe

Ingredients
- 24 Hawaiian rolls
- 1 lb honey baked ham thinly sliced
- 1/2 lb Swiss cheese sliced
- 1/2 cup unsalted butter melted
- 1 tsp brown sugar
- 1 tbsp Dijon mustard
- 2 tsp Worcestershire sauce
- 1 tsp onion powder
- 1 tbsp poppy seeds
Instructions
- Preheat the oven to 350°F. Grease a 9×13 baking dish with butter or oil.
- Slice the Hawaiian rolls in half. Place the bottom portion into the prepared baking dish.
- Layer on the ham and cheese, and top with the other half of bread. Cut the rolls into individual sandwiches.

- In a small bowl, add the melted butter, brown sugar, Dijon mustard, Worcestershire sauce, onion powder, and poppy seeds. Mix together until well combined.
- Gently pour the butter mixture over the sandwiches, and brush it on evenly.
- Cover the dish with foil. Bake in the preheated oven for 10 minutes.
- Remove the foil and bake another 10 minutes, or until rolls are warmed through. Serve warm and enjoy!


No Comments