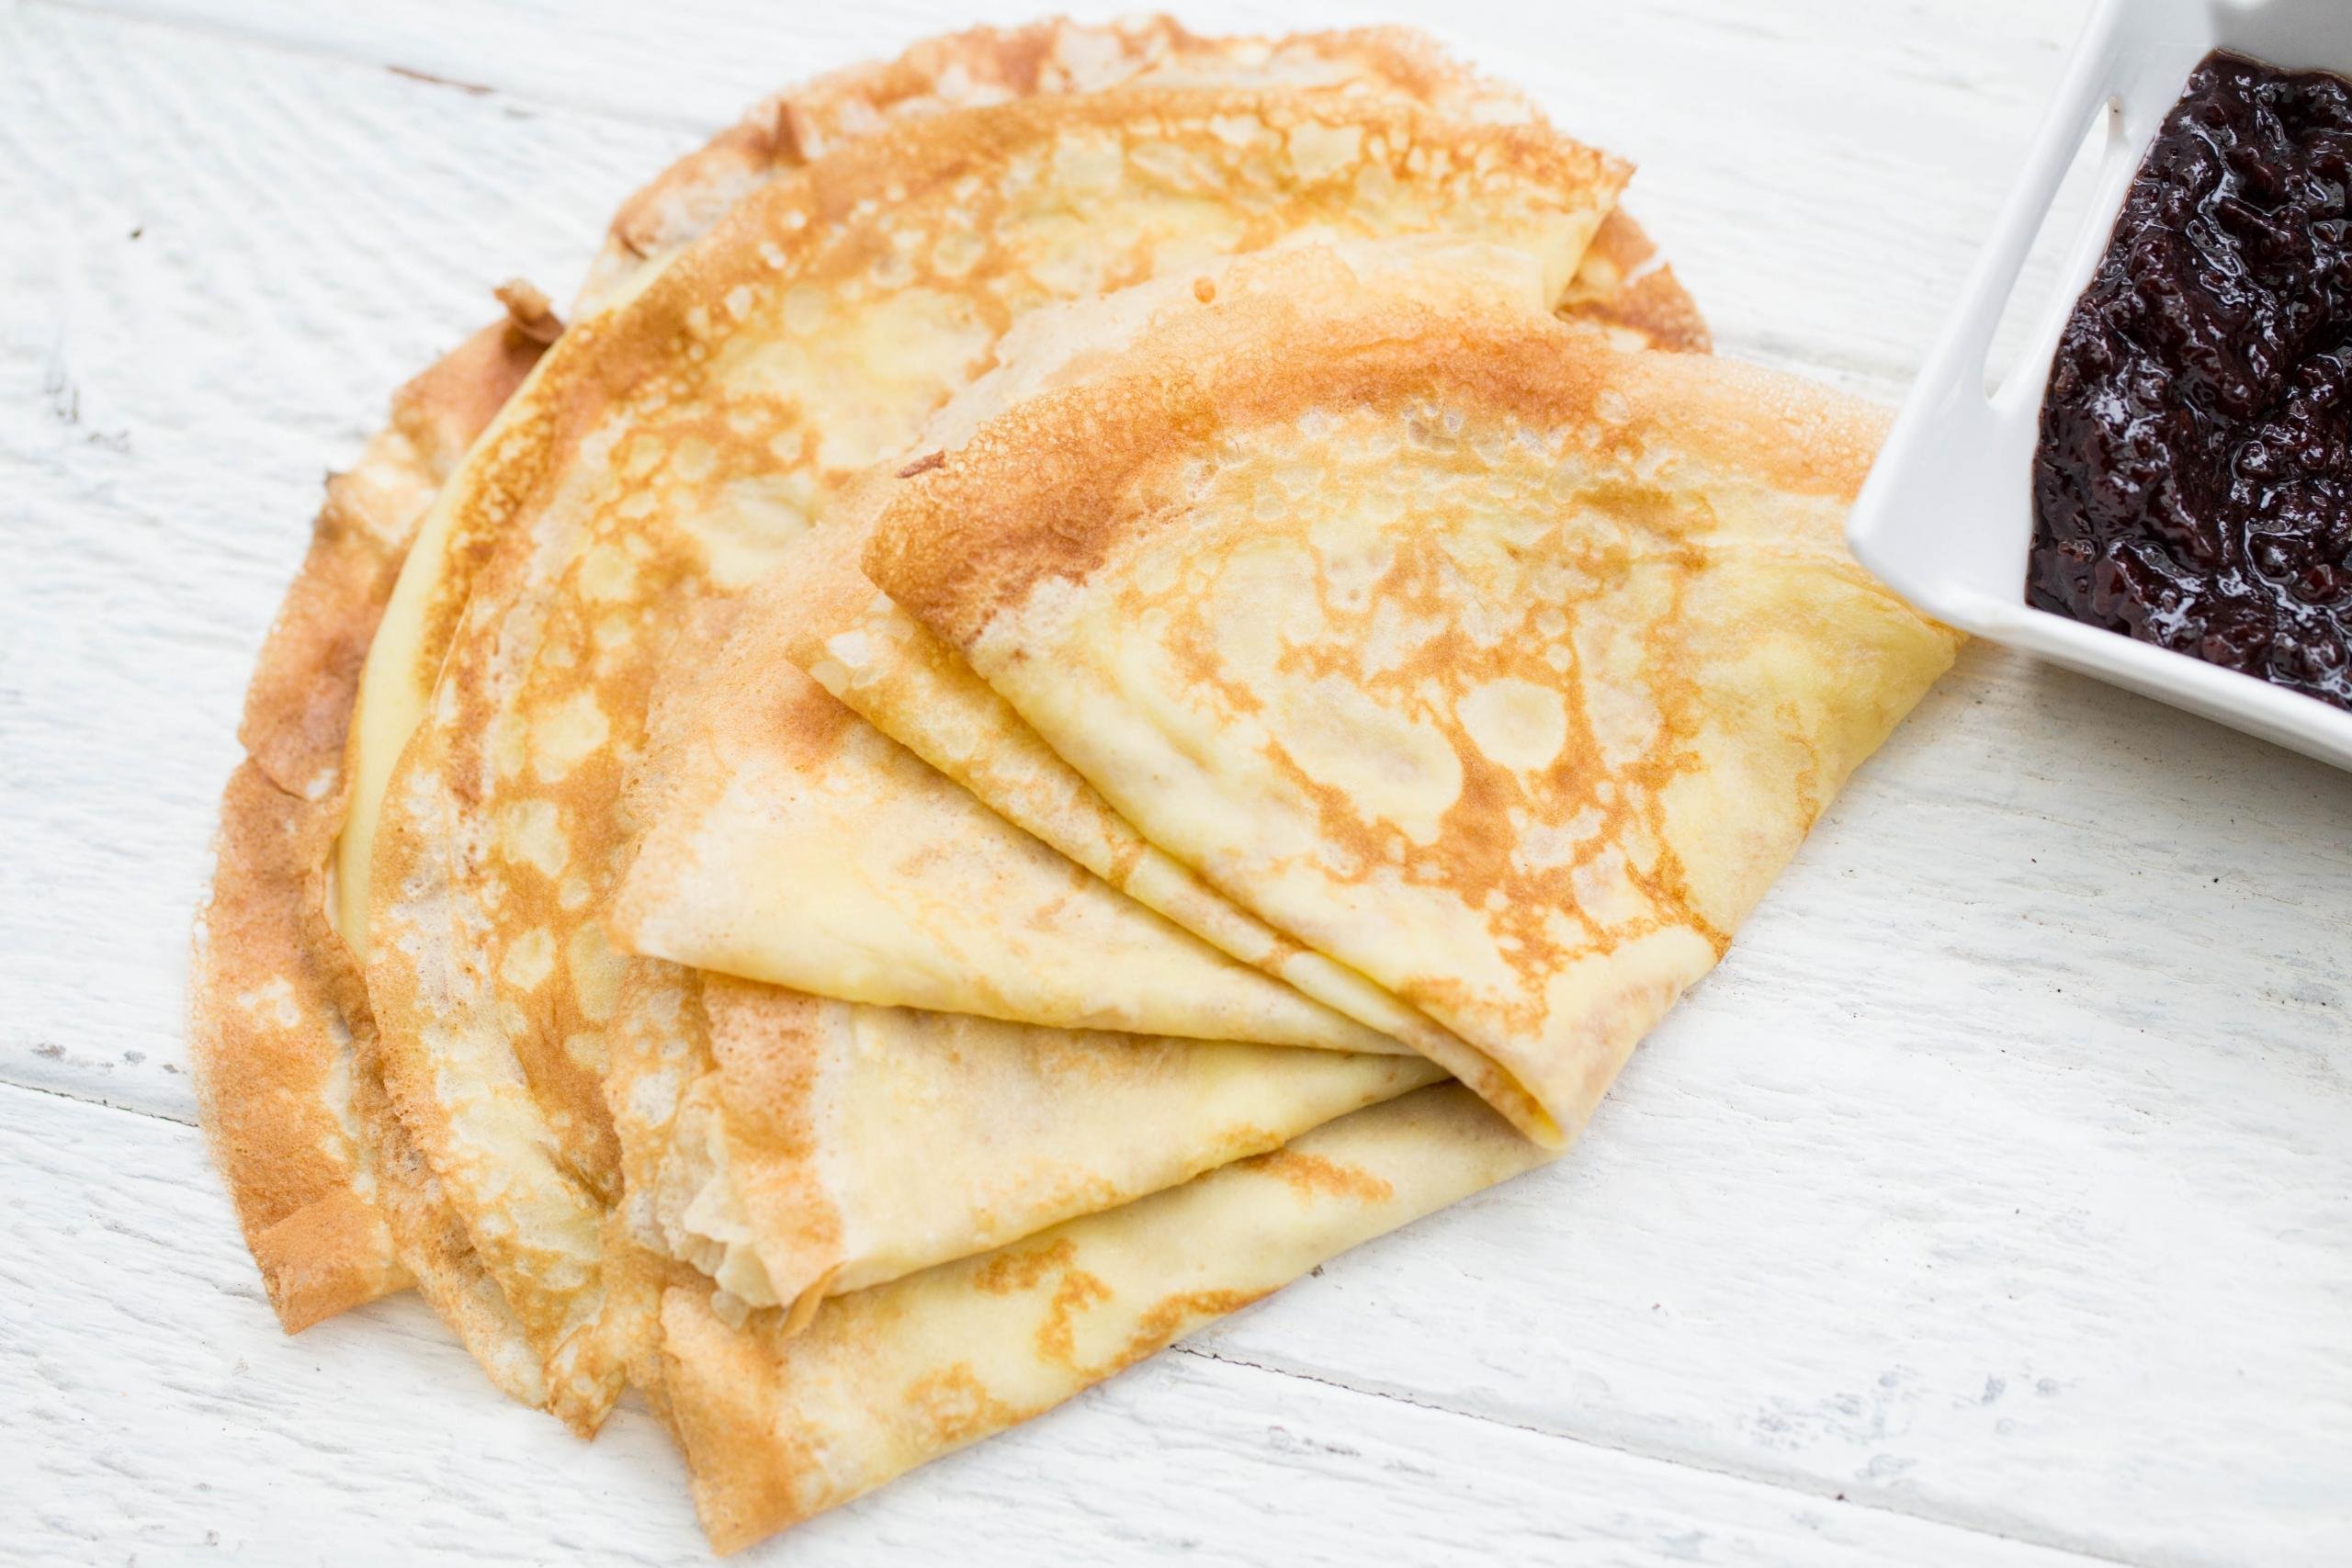
These crepes/blinchiki are made with simple ingredients that are guaranteed to be in your pantry. Style and fill them your own way — savory or sweet!
Most people know crepes as the very thin French-style pancakes served with savory or sweet fillings. I know them from my childhood, but in Slavic languages (including Russian and Ukrainian), they’re called “blinchiki.” Growing up, my mom made these frequently, and I remember my siblings and I stealing them almost literally straight off the pan. Fast forward many years later — I have my own family, and my kids (and husband) request blinchiki all the time. Oh, how the tables have turned!
We’ve had this crepe recipe on our site for over 10 years now and over this decade, I have received the most raving reviews after others have tried making them. I honestly think this is the BEST blinchiki recipe on the internet. If you don’t believe me, I dare you to try them yourself. I know you’ll agree with me!
Love blinchiki? Make a crepe cake or try my sourdough crepe recipe variation! Stack a bunch of them layered with Nutella cream and be amazed at your exquisite creation!
Crepe Recipe Video
How To Make These Foolproof Blinchiki
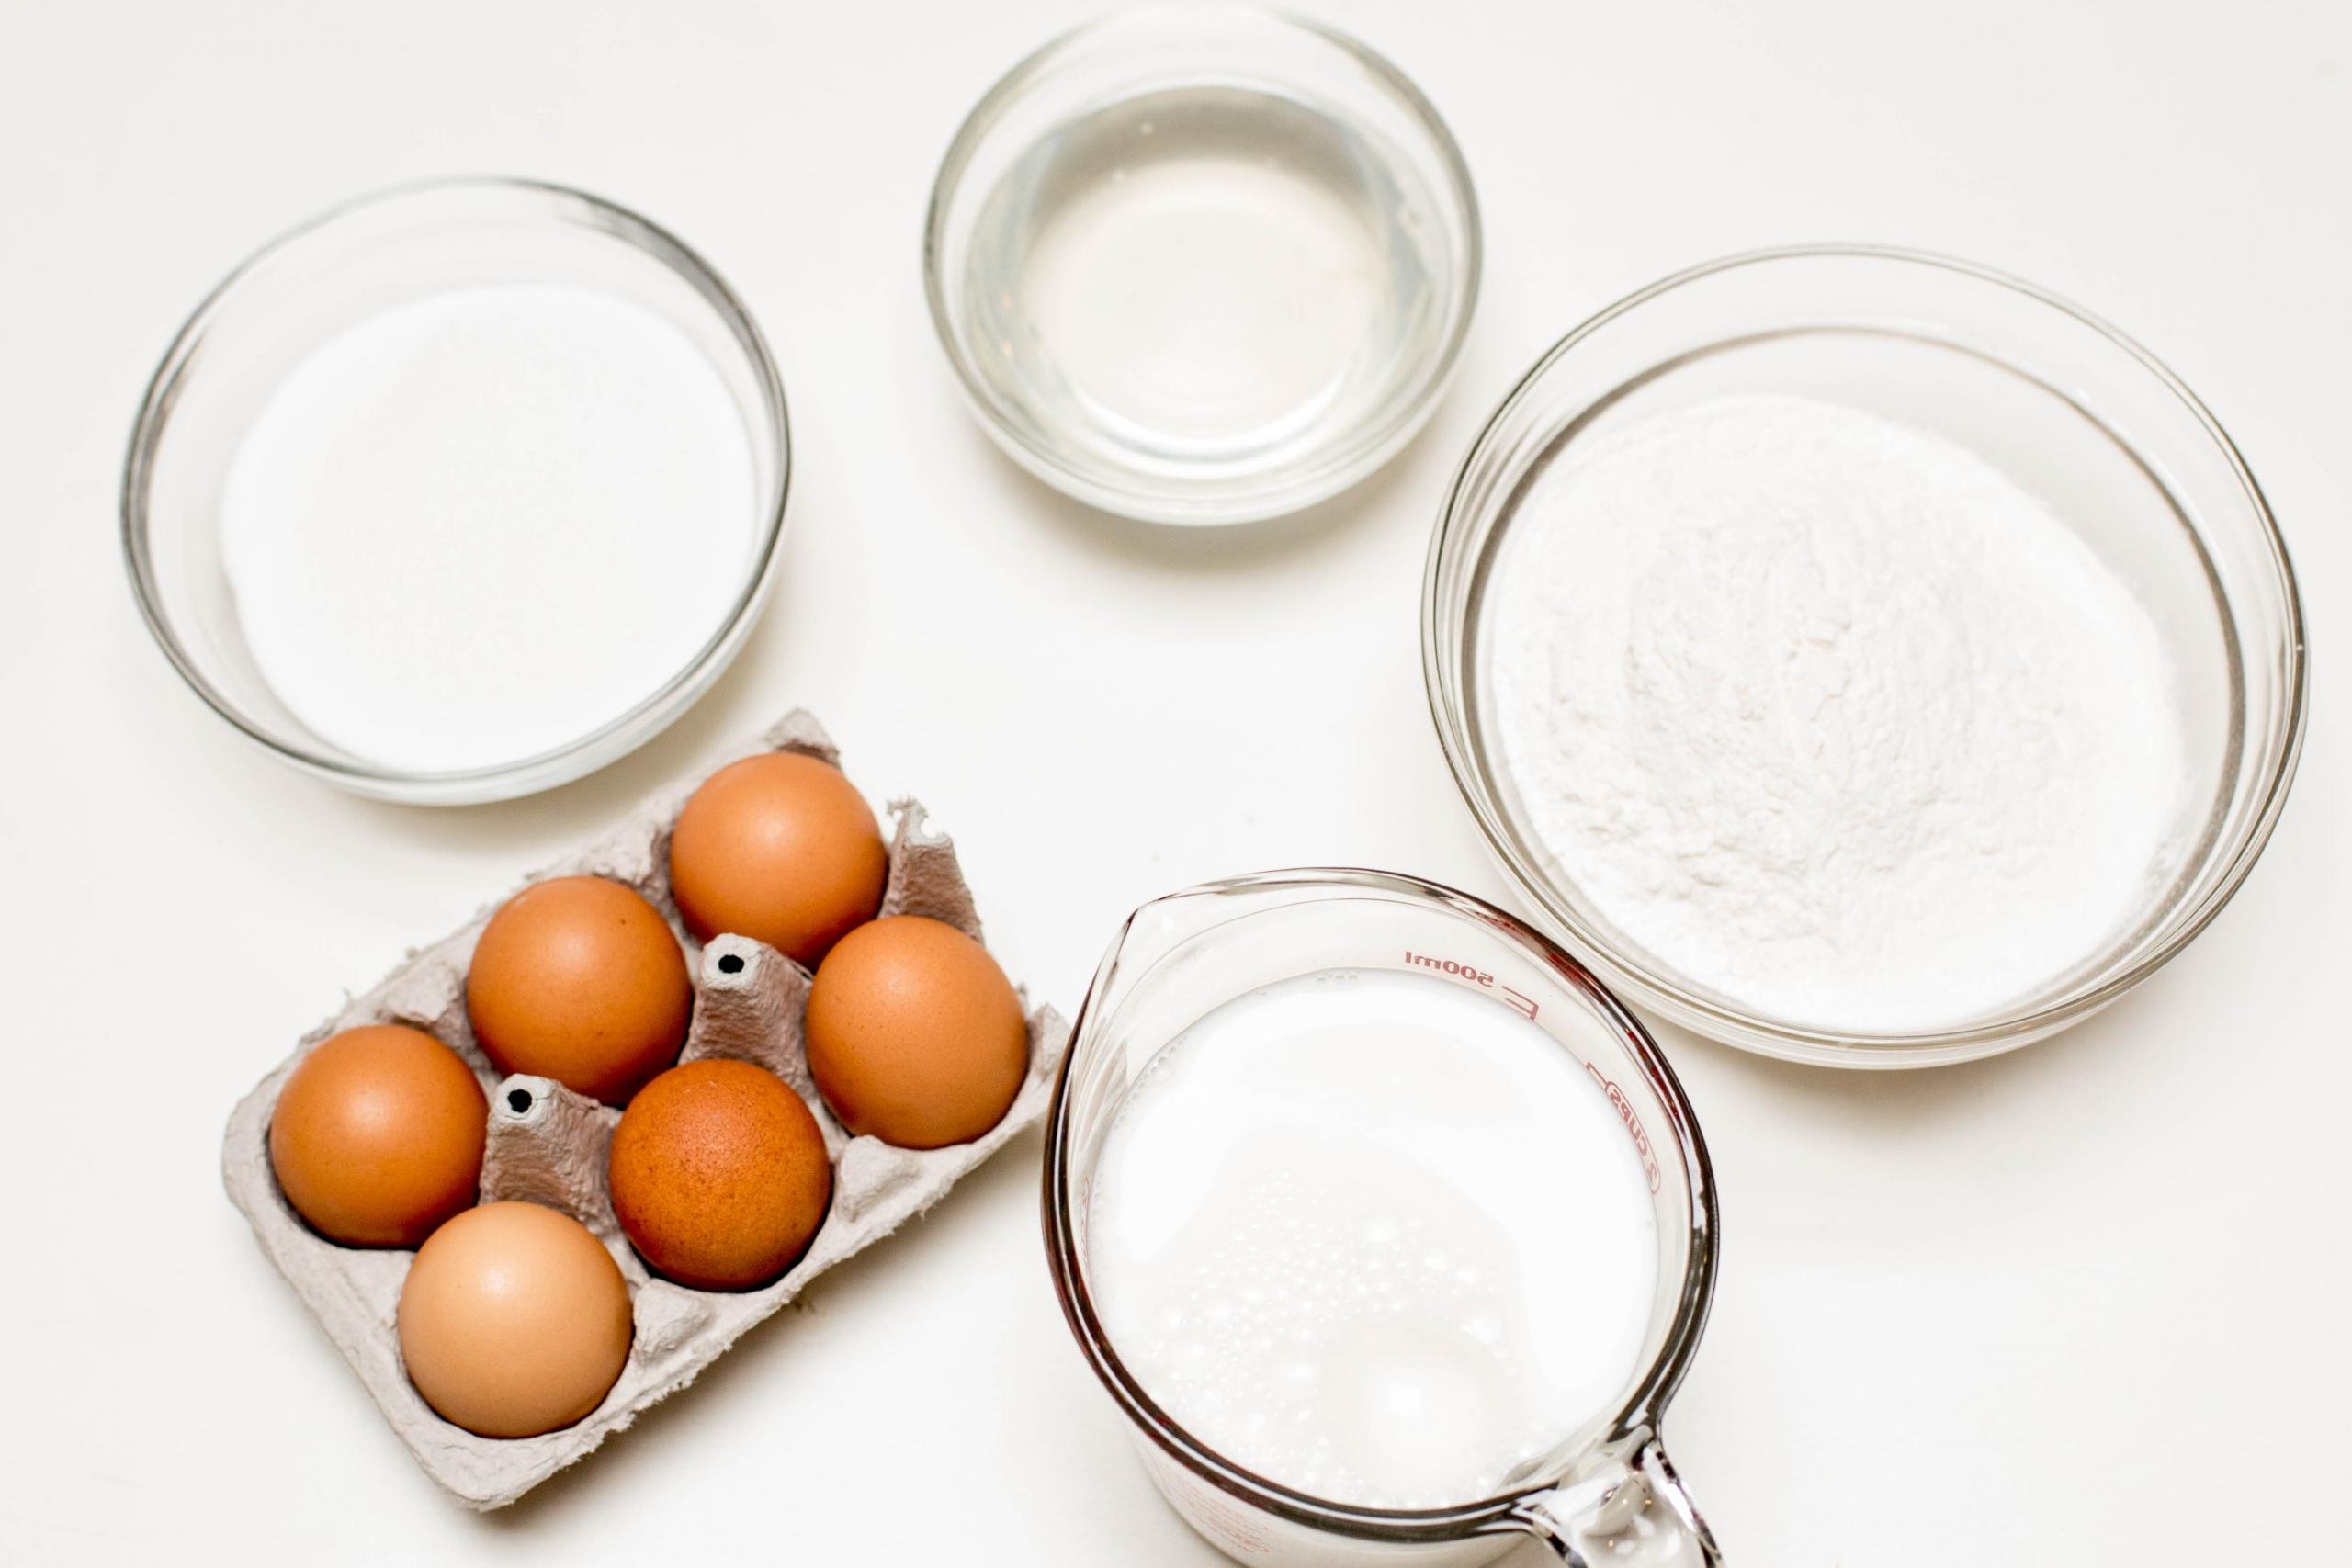
Making my Ukrainian blini recipe requires only five ingredients and a quick fry on the stovetop. You’ll be enjoying sweet (or savory) filled crepes in no time at all!
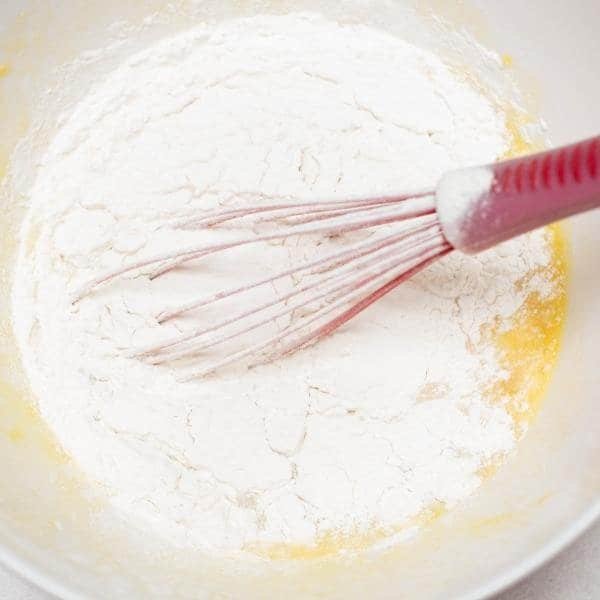
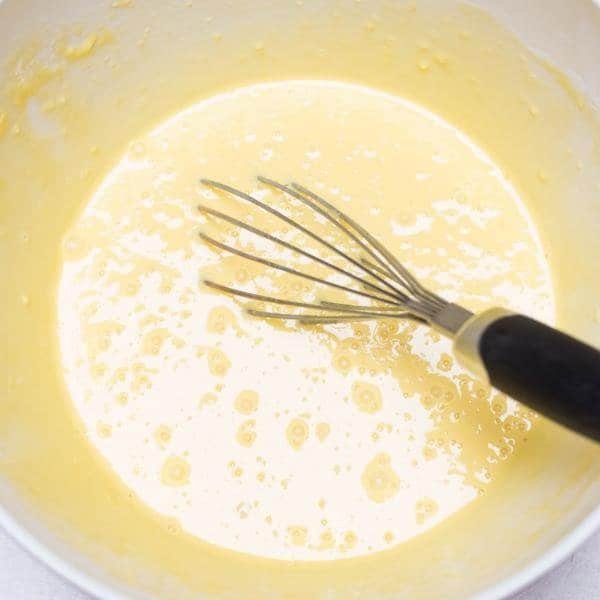
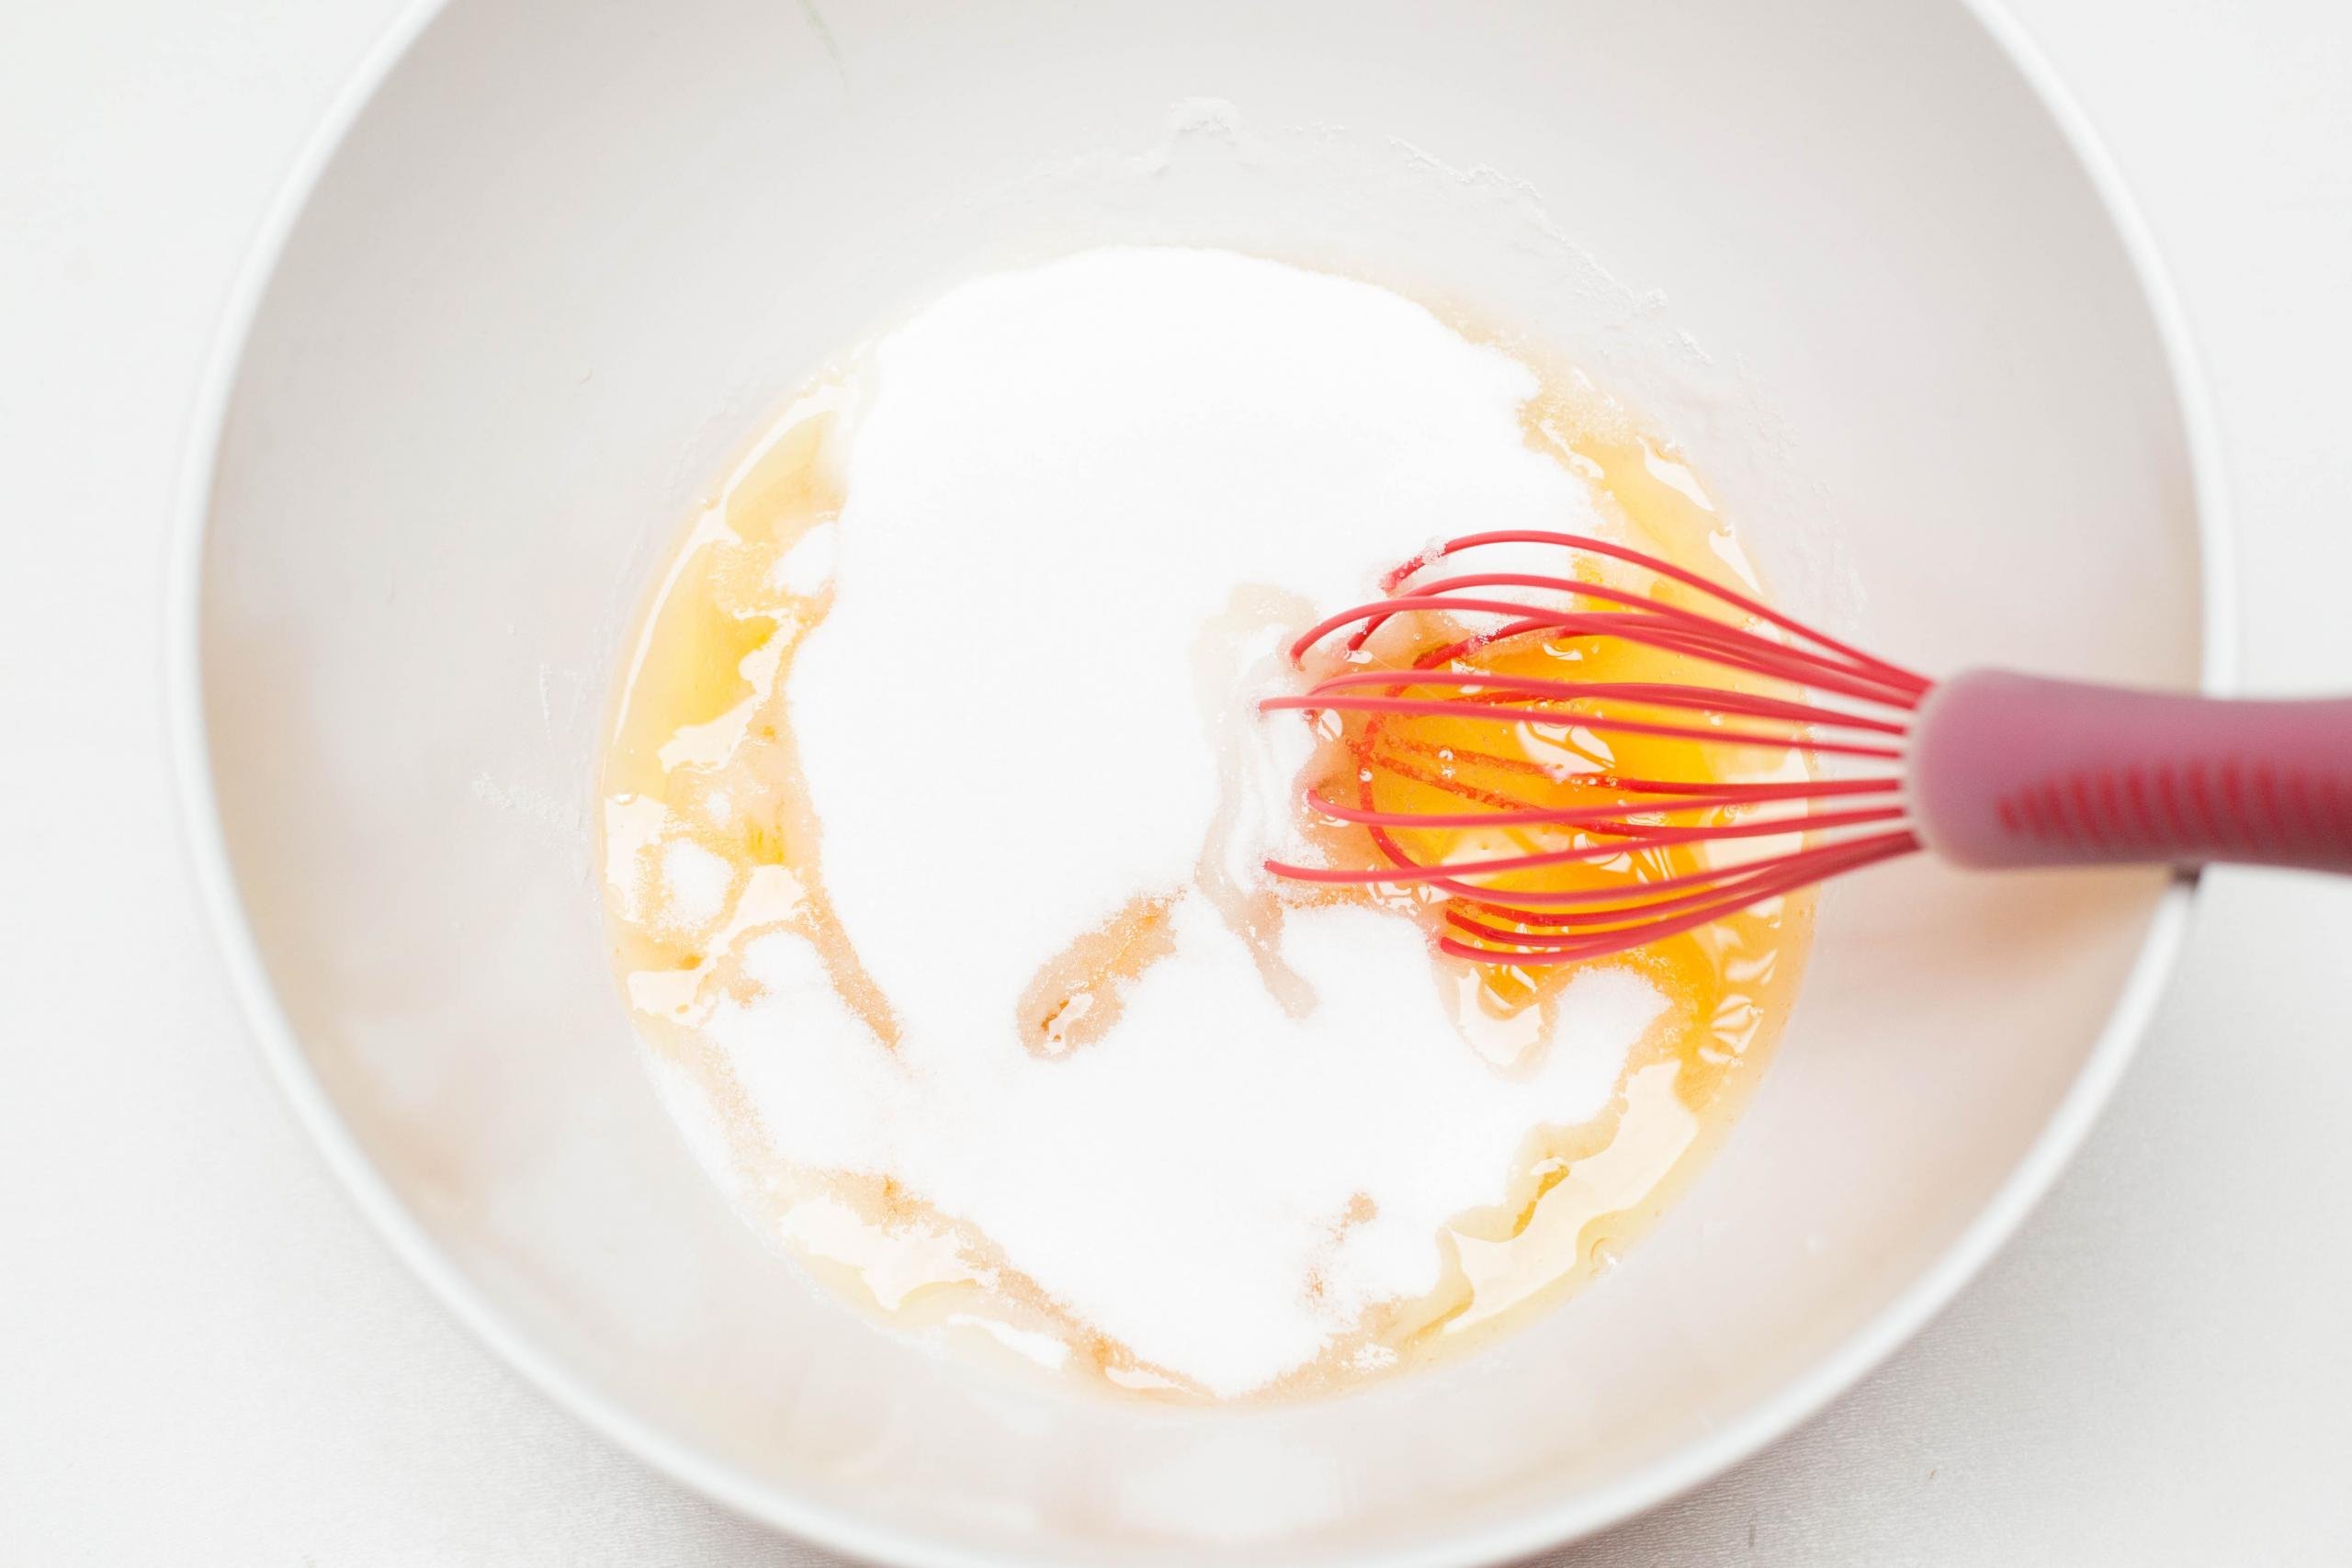
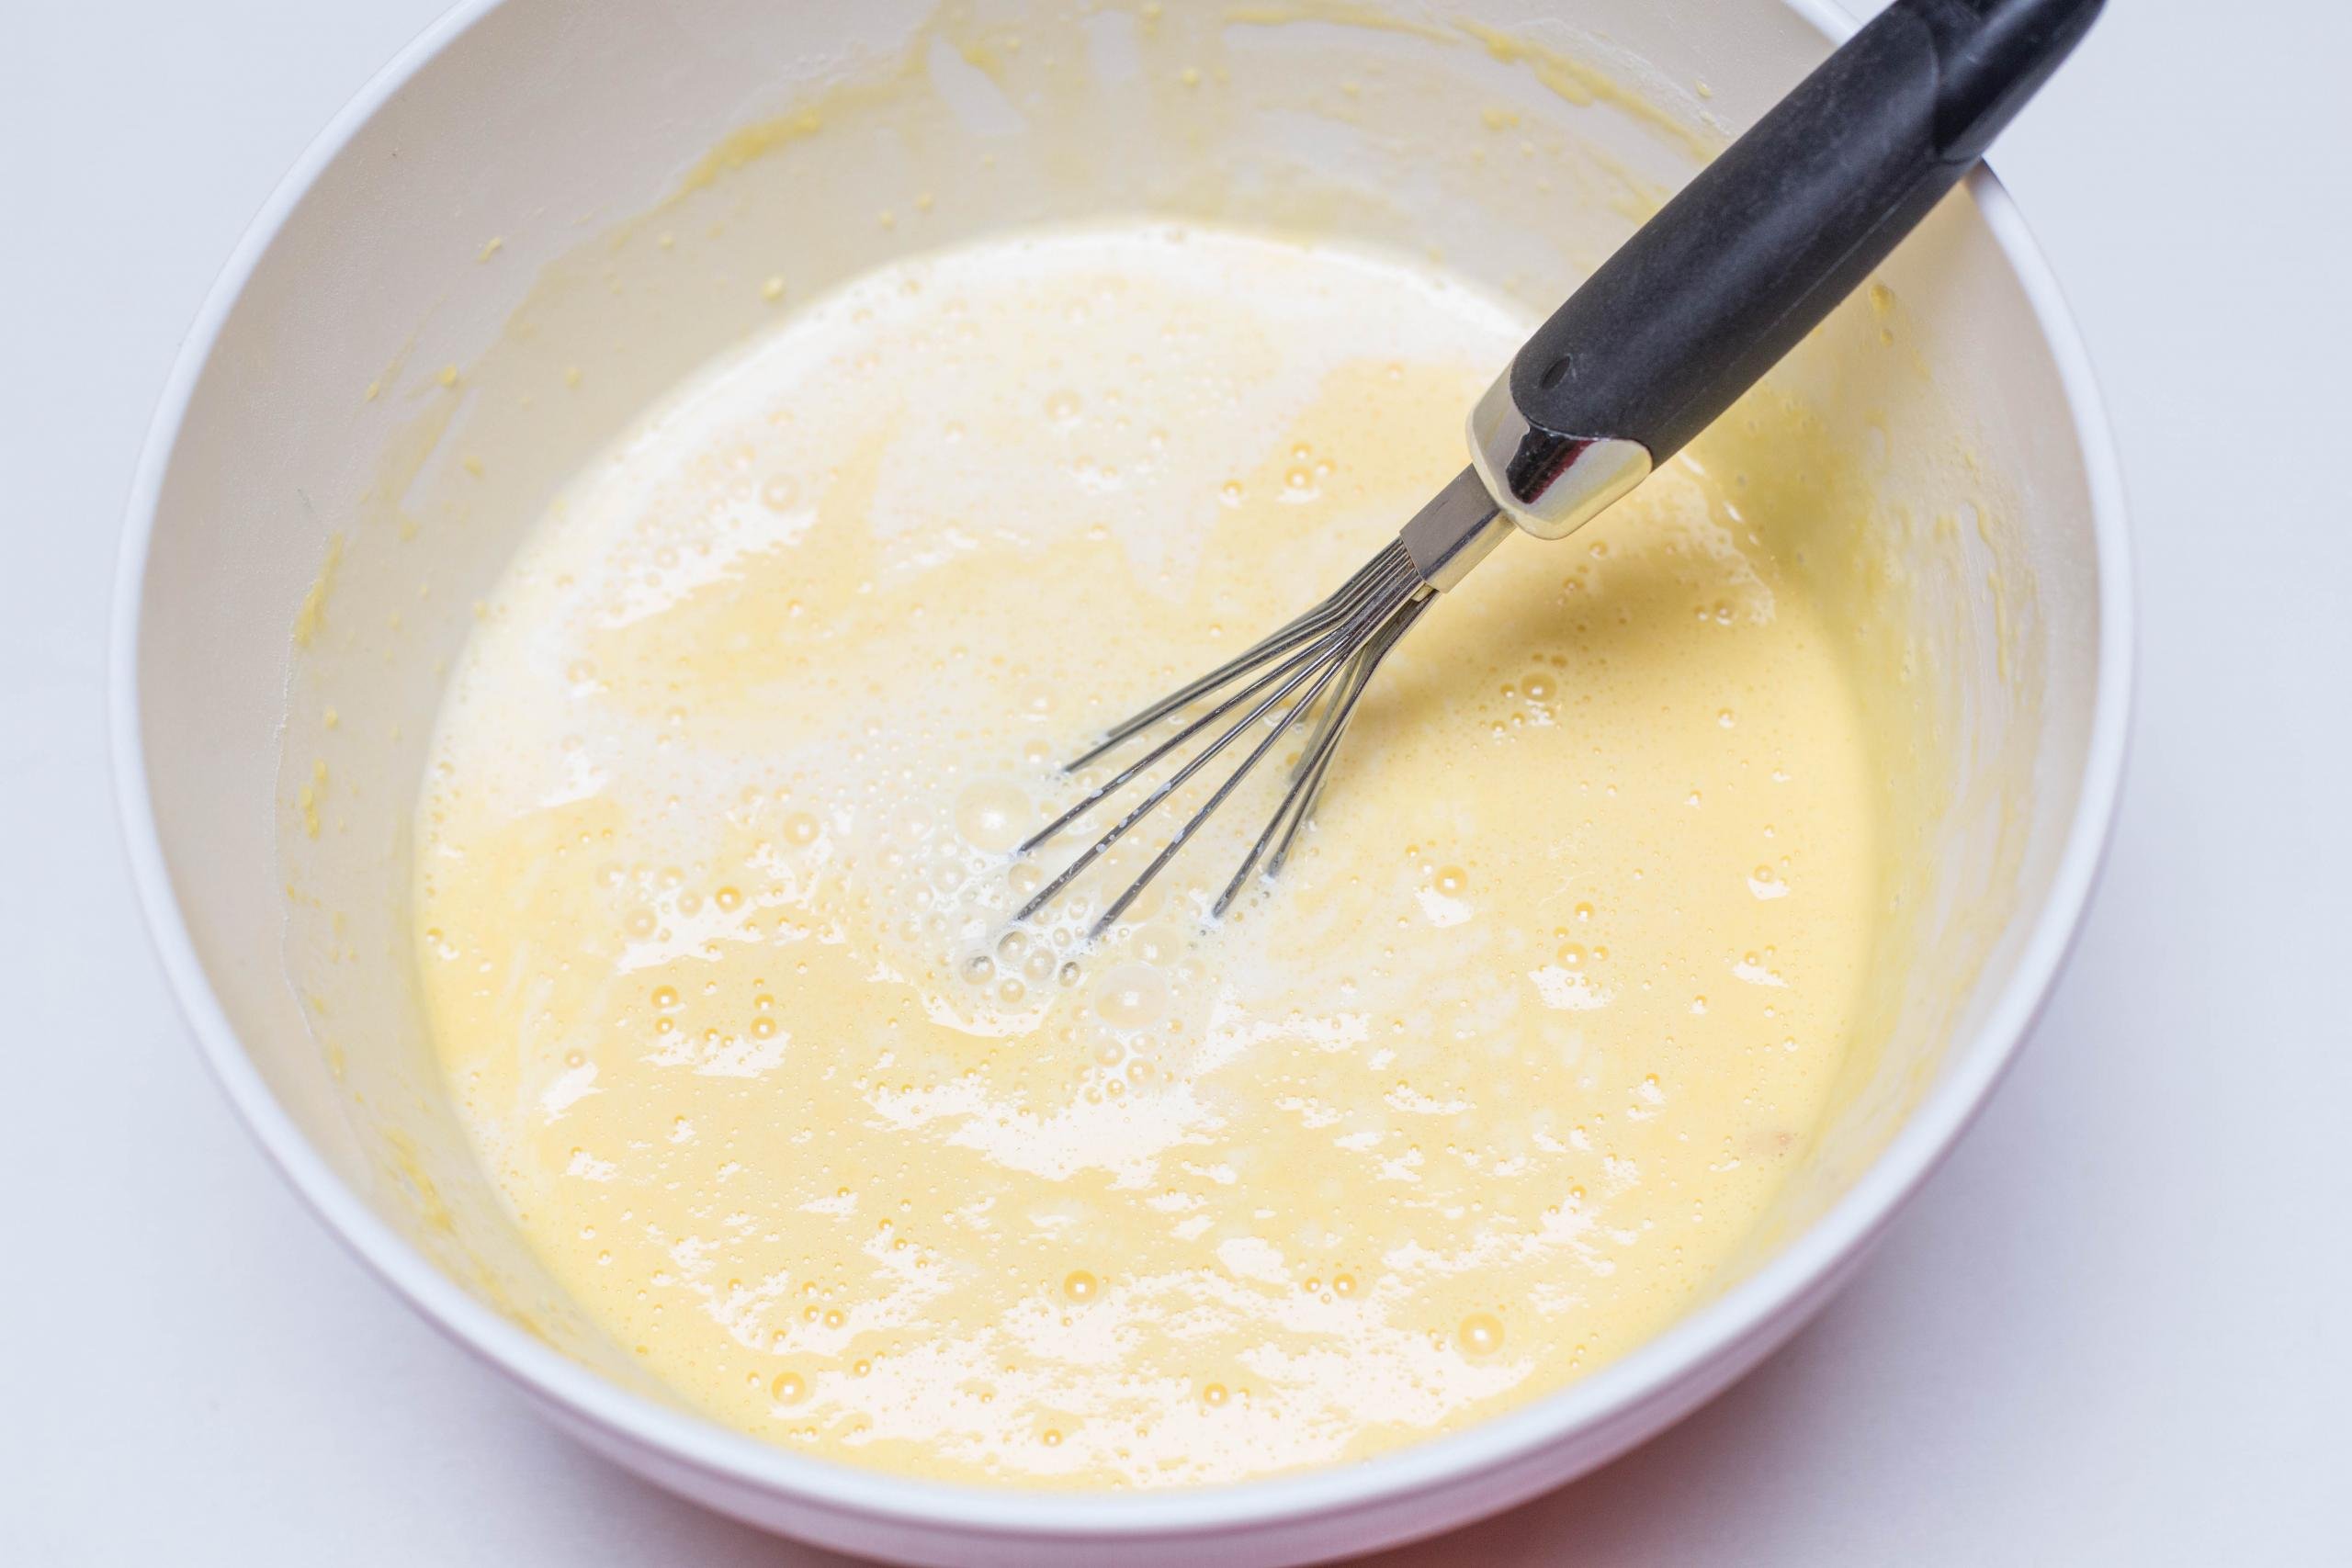
- Make the batter: Whisk the eggs, sugar, and all-purpose flour together in a large bowl. While stirring, add in the milk and oil.
- Preheat the frying pan: Preheat the frying pan over medium-high heat and coat the skillet with cooking spray or butter (do so only once, as the batter has enough oil in it to prevent sticking).
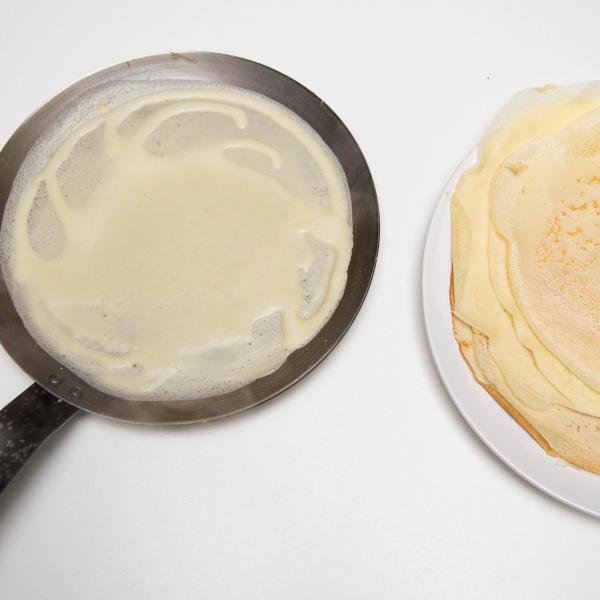
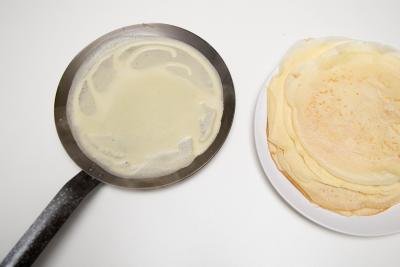
- Pour in the batter: While lifting the frying pan with one hand at an angle, pour the crepe batter into the pan (or use a ladle). Shifting the pan from side to side, completely coat the bottom of the pan with the batter and cook until the bottom of the crepe is golden brown.
- Flip the crepe: Using an offset spatula or a silicone spatula, gently flip the crepe over to cook the other side until it’s golden brown. Repeat until you run out of batter. Enjoy with your favorite toppings and fillings right away.
A Few Tips To Nail This Crepe Recipe
My family has been making crepes for as long as I remember, and I’ve personally made this recipe hundreds if not thousands of times. After years of trial and error, these are my top pointers to make the most perfect crepes possible.
- Follow the measurements exactly: Make sure to follow the proportions listed in the ingredients list closely. The batter should be watery and free of any lumps. If the proportions are off by too much, the blinchiki may break easily and/or have a lumpy texture.
- Use a blender: To mix up the batter, a whisk or blender both work. However, to make the smoothest batter (and to save time and energy), use your blender!
- Keep the heat on medium-high: Cook your crepes on medium heat to medium-high heat and make sure to allow your oil or butter to pre-heat in the pan for a minute before adding the batter. This ensures even cooking and less chance of burning the crepes.
- Butter the pan frequently: Slightly butter the pan (or use cooking spray) between each crepe. This will prevent the crepes from sticking to the pan.
- Nail the technique: The crepe-cooking technique takes a few attempts to get used to — but it’s so easy once you get the hang of it. I highly recommend using this pan (or a special crepe pan) to make flipping even easier. Flick your wrist to coat the entire bottom of the pan with the batter, then quickly pan-fry the crepe. Once the bottom is golden brown, flip the crepe to finish cooking the other side. Remember — these crepes cook FAST!
Hot tip: If you’re making crepes for a big group, use two pans simultaneously to cook crepes at double speed.
Troubleshooting Crepes
I’ve compiled a list of the most frequent problems cooks experience when making crepes. Read on to find out what helped me avoid these issues.
- Soggy: Crepes are soggy if too much batter was added to the pan. Next time, coat the pan with a very thin layer of batter and spread it evenly across the bottom of the pan.
- Not browning: Crepes won’t brown if the heat is set too low. For best results, keep the skillet over medium-high heat to achieve the signature golden brown crepe.
- Easily ripping: Crepes rip if too little batter is added to the pan. Make sure there are no transparent spots in the crepe when you pour the batter and spread it out across the whole pan.
Crepe Filling Ideas
The best part about crepes is how versatile they are! My husband Tim and son Jacob love them super simple with butter and sugar. But you can go above and beyond and fill your blinchiki with an endless amount of possibilities.
Sinfully Sweet Crepes
- Butter and sugar: These are simple, but delicious — and they’re my family’s favorite! Rub the hot crepe with unsalted butter and sprinkle on some sugar!
- Lemon curd and ricotta: For a tangy crepe, top it with lemon curd and ricotta cheese sweetened with a sprinkle of sugar and a few drops of vanilla extract.
- Peanut butter and bananas: Slather natural peanut butter on top of your crepe, followed by slices of banana.
- Nutella and bananas: Nutella is one of the most popular crepe pairings out there — nearly everyone loves its chocolate-y, hazelnut flavor. Spread Nutella on a hot crepe and add banana slices on top. YUM!
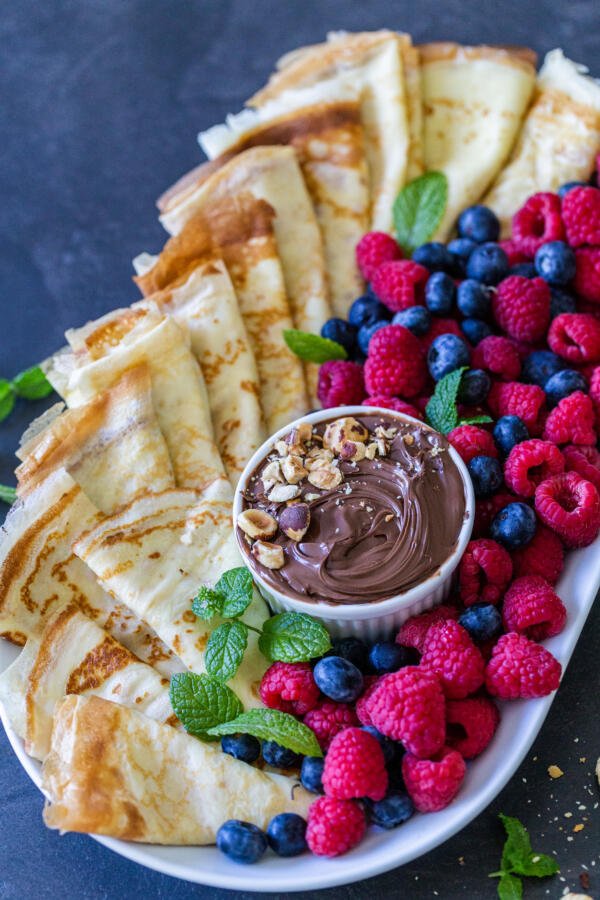
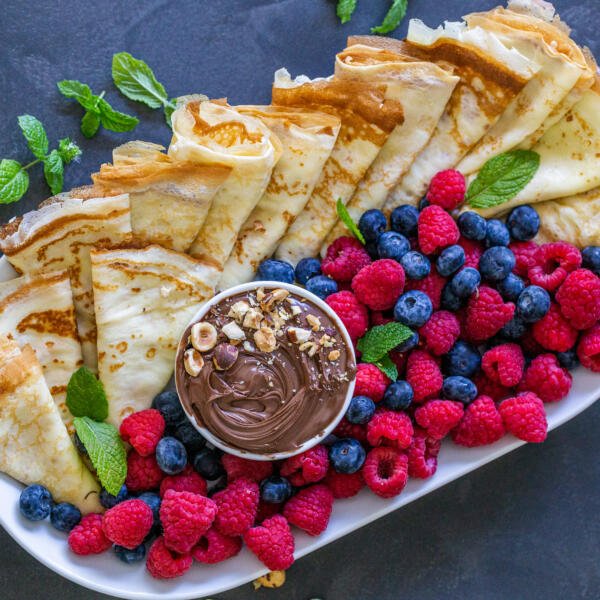
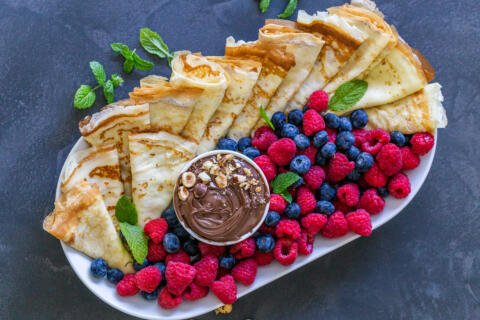
- Nutella and berries: Here’s another classic — spread Nutella on the crepe and follow with slices of strawberries or blueberries. If you prefer, swap Nutella with fresh whipped cream. Also, feel free to mix the fresh fruit with its jam pair, like our strawberry jam or raspberry jam.
- Tvorog/Farmer’s Cheese: Another Slavic classic includes filling the crepes with a sweetened farmers cheese called “tvorog”. Follow this recipe or this recipe for a sweet cheese filling.
- Dessert crepes: If you’re serving up these crepes for dessert, drizzle them with a chocolate sauce, maple syrup, honey, blueberry compote, and/or a scoop of vanilla ice cream.
- Crepe cake: Layer up those crepes for this strawberries & cream flavored crepe cake!
Super Savory Crepes
- Savory meat crepes: Follow this recipe for the most amazing savory crepes with a savory ground beef filling that are pan fried in a little bit of butter for a crispier exterior- you will love these.
- Ham and gruyère: Ham and gruyère cheese perfectly complement the light sweet taste of the crepe. Opt for thick-cut ham slices and sliced cheese. Place the ham down first on the crepe, add the cheese, and put the open-faced crepe under a low broiler for a minute until the cheese melts. Then, wrap the crepe and enjoy warm, melty goodness.
- Smoked salmon and cream cheese: Smear on softened cream cheese, followed by thin slices of cold smoked salmon, pickled onion, tomato, and fresh dill for a delicious savory crepe.
- Spinach, mushrooms, and feta: This Greek-style crepe is sweet, salty, and full of veggies. Add grilled chicken or steak to pack in more protein.
- Bacon, egg, and cheese: Make it into a full breakfast by filling the crepe with sliced bacon, scrambled eggs, and shredded cheese.
- Chicken Crepe Pockets: Savory and adorable, these standing crepes feature a chicken and cream cheese filling.

How To Fold Your Crepes
Whatever filling you choose (or if you opt for no filling), there are four main ways to fold your crepes. Choose the style most suitable for how you want to serve your crepes.
- Rolled into a log: Spread your filling into the center of the crepes, then roll the crepe up. Cut in half if desired.
- Pannequets: This style folds the crepe into a square/rectangle shape. Add the filling into the crepe, then fold two edges toward the center. Next, fold the other two edges towards the center to form a square.
- Burrito: This folding technique is similar to the log, except the ends of the log are tucked in. Add the filling into the crepe, then fold in two edges slightly. Next, roll the remainder of the crepe like a burrito.
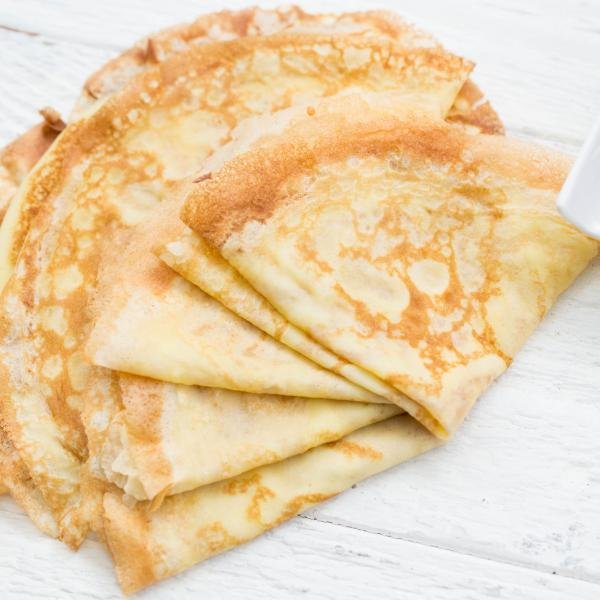
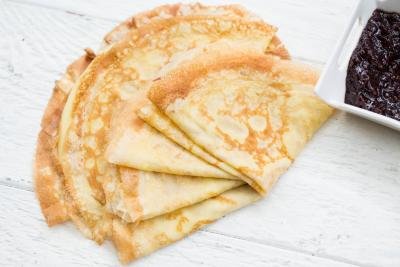
- Fans: This technique is best for non-filled crepes, or if serving crepes on a breakfast charcuterie board or platter for guests to fill themselves. Fold the crepe in half, then in half again to form a fan shape.
Storing & Reheating Crepes
Crepes are absolutely delicious when made fresh, but if you happen to make more than you can eat in one time, there’s no problem with storing them for later!
- Refrigerator: To store for up to five days, place cooked and fully cooled crepes in an airtight container with layers of parchment paper separating each crepe (or else they stick!).
- Freezer: To store for up to two months, separate each crepe with a layer of parchment paper and place into an airtight container or large ziplock bag to freeze. Thaw in the fridge or on the counter (if eating right away).
- Reheating: To reheat thawed or refrigerated crepes, use the skillet or the microwave. For a crispier texture, heat the crepes in a skillet over medium-high heat. For softer crepes, place them into the microwave for about 15-30 seconds.
Hot tip: Make the batter up to a day ahead of time to get straight to frying in the morning. Store the batter in an airtight container in the refrigerator.
More Sweet Treats
- Oladi Pancakes – Slavic-style buttermilk pancakes
- Crazy Easy Sourdough Pancakes – Classic pancakes with a sourdough kick
- Cottage Cheese Pancakes (Quick & Easy) – Sweet and salty pancakes
- The Best Crepe Recipe – Crepes stuffed with cottage and cream cheese
- Tiramisu Crepe Cake – Layers of crepes alternating with a rich espresso cream filling.
Recipe
Ingredients
Instructions
- Gather all the ingredients for the recipe.

- In a large bowl, whisk the eggs, sugar, and flour together until smooth. Note: If making savory crepes, omit the sugar.
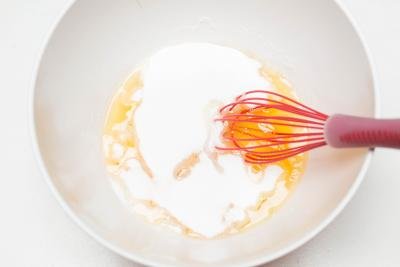
- Continually stirring, add in the milk, followed by the oil.

- Preheat the frying pan until it's sizzling hot over medium-high heat. With the first crepe, use an oil spray to coat the pan. After the first one, you won't need to oil the pan, as the crepes have enough oil in them to not stick.
- While holding the frying pan in one hand, pour the crepe batter in using the other; make sure to rotate the pan from side to side to spread the batter evenly over the pan. Flip crepes by lifting the corners with a fork. Cook until golden brown on both sides. Enjoy!


Is it supposed to be 1 3/4 cups flour ? I have been adding that much it’s been perfect
Hi Anna, it's supposed to be 3/4 cup of flour. I think adding an extra cup of flour will give you much thicker crepes, but if that's what you prefer and it's working for you- that's great!
I read this all the way through including the trouble shooting section. These crepes are delicious but kept breaking/tearing when I would try to flip them. I tried more batter and a smaller pan with no luck. I will go back to my recipe.
Hi Tam! I'm sorry you're having this issue. Thanks for looking through the troubleshooting section to see if anything there could help. I have one more tip listed in the "tips" section that mentions making sure to follow the ingredient amounts closely because if the proportions are off by too much, the crepes can break easily. It's also really important that the batter was mixed super well and had a watery, lump-free consistency. I hope this can help you in the future. In the meantime, enjoy your current crepe recipe!
The batter is way too thin and it kept sticking to the pan. Very frustrating to work with
Hi Katie! Crepe batter is a fairly thin consistency... definitely more than pancake batter for example. I do have a video for crepes on this blogpost too so you can compare it to your batter! As for it sticking to the pan, did you butter the pan before pouring the crepe? Also, is your pan nonstick?
Can we use avocado oil instead?
Yes! Avocado oil is great! Enjoy 🙂
This recipe is my family favorite ❤️
My son can eat everything on his own with no topping!
Thank you for sharing this delicious crepe
With us ❤️
I love hearing that our family favorites are yours as well! Enjoy! 🙂
Followed recipe exactly. And batter way too thin. All crepes stuck to pan despite using oil, and I was using 2 different pans. I’m pretty proficient at making crepes for over 3 decades and always have 2 pans going at same time. That being said, I’m not new at making crepes by any means. But this batter is too runny. Had to add a lot more flour. And way too sweet for both mine and my mom’s taste (she also makes crepes almost weekly). The sweetness doesn’t allow to add filling inside that is sweet like Nutella, or other things with sugar. No vanilla, or salt in recipe which in my opinion is a must. Overall was a bit disappointed.
If you’re proficient at making crepes then why are you using her recipe?
Hi Lilly, I'm sorry these crepes didn't meet your expectations. I hope you find a crepe recipe you love!
Hi Natasha. I made this recipe before but ate them all in one day. Can i make them for my guests but a day prior? Thank you
Hi Ella, you sure can! Some people make the crepes and the filling and then assemble them the day of, or you can heat them up in the oven the next day and they will be very tasty! I hope this helps. Enjoy!!
You don’t say how much batter you should pour into the crepe pan.
Hi Zellie, that is correct because everyone uses different sized pans and some people prefer theirs to be thinner while others like their crepes thicker. It really depends on the thickness you want. I hope this makes sense.
Try spreading some sour cream, some brown sugar, and cutup strawberries and then rolling the whole thing up.
Hi George, That sounds delicious! Thank you for that awesome tip!
Mine turned into a big mess. Tasted great, but a mess.
Hi Joyce, what part was a mess? The pouring into a pan? It takes some practice to learn the technique but you got this. Let me know if there is anything I can do to help.
What size crepe pan do you use in illustration?
Hi Sue! A 10 or 10.5 inch skillet would work great. Enjoy!
I'm pretty disappointed that there were no instructions on properly incorporating coconut oil into the batter. I ended up with hardened chunks of coconut oil in my batter due to the cold eggs and milk.
Hi Anna- Ah, I'm so sorry your crepe batter had chunks in it. You will want to incorporate the coconut oil slowly as you stir, or even blend the batter it in a blender. We'll review the recipe to add a tip on how to incorporate the coconut oil. If you find coconut oil is too finicky to use, you can use light olive oil instead since that won't harden. Hope this helps!
Hi Natalya. Can I use melted butter instead of oil?
I did it with melted butter just do 1 stick with 2 tablespoons of butter tasted super yummy !
Hi Nikki- I haven't tried so I'm not entirely sure, but I think it could work. If you decide to give it a go, let us know how they turned out!
Hello natala. To make the batther a little thicker can u use 1 cup of flour or no? To make larger crepes. Use a bigger fry pan non stic use butter for the 1st crepe and to make 10 to 15. Crepes. Biger recipe ? The look small crepes but looks good 6 eggs some say 2 eggs. Why 6 eggs sorry
Hey Barb, this is the recipe we always used and it's incredible. You can use any size frying pan for them. Canola oil will work. I wouldn't change the amount of flour or eggs. We love this recipe and we stick to it.
1984 ahh response. Barb over here tryna break from the crepe matrix. live your truth barb!!! add as many eggs and flours as you want!!!!!!! DONT LET THE ELITES TELL YOU TO STICK TO A RECIPE!!!!!!!!!!!!!!!
If I reduce the sugar to 1/4 cup do I need to add additional flour to compensate for the dry ingredient ratio?
No, you don’t need to adjust anything else. Hope you love them!
Love your recipes
👍❤❤
OH, such a nice comment! thank you!
Very easy, especially if you use a blender. Love the texture. I would use a bit less sugar next time.
Hey Lana, thank you for sharing. 🙂 Happy you liked it
Tried this recipe, egg taste was too strong for our liking.
Hi,so,just 96 gr flour for 6 eggs?
Hey Cristina, that is correct. You will see in the video that the dough is very runny. Hope you love them!
Thank u gonna try them
Hope you love them!
Natasha, Thank you! these taste like childhood! the best recipe I've ever tried! Could you please tell me if the macros based on 1 crepe or multiple ( I hope the latter :)). Thanks again and have a great day!
Hey Jahan, this would be hard to say on macros because everyone has a different size pan. The entire recipe makes 6 servings, so it would be several crepes. And thanks for sharing your feedback. I am glad you love the recipe.
Thank you for your answer. So the Nutrition facts that you posted based on 1 blinchik or 6?
Best Crepe recipe I have ever made! I go a little less on the sugar but they are literally the best!
Hey Diane, thank you so much for sharing your feedback. Means so much to us that you love the recipe!
I used vegetable oil instead of olive oil because I wanted to use it up, and the blinchki turned out very greasy. 🙁 And that amount of sugar seemed too much too. It was too sweet, and I love sweets. Non the less, I still smeared some nutella on the inside and ate up a good amount anyways.
Olga, thank you for sharing those tips. I think they will definitely help others!
Natalya, Great recipe, just like all the others ones. Where did u get your serving tray from? Thank you. 👌❤
Love your recipes! Very fast and easy! I don’t need a lot of ingredients to make a delicious meal!
Elena, thank you so much! We had them yesterday for after school snack. Oh, it was the best!
Natasha, this recipe the best!! My kids so pick with food but this fluffy crapes so delicious ? thank you for the recipe!!
Tatyana, thank you for sharing such an awesome feedback!
Can you use a different healthy version of oil? My husband doesn't like coconut oil...
Yes, I also like using canola oil.
Can you add vanilla extract. 1 teaspoon. Or a half? And can you add cinnamon to it too a pinch or 1/4 teaspoon? Could you use. Canola oil. Instead off cocunut or olive oil? I do not use them. And can you add 1 cup. Of flour. To male more batter like 10 to 15 crepes. Please let me know. Thanks this looks eazy. Better then melted butter
Hey Barb, I have answered the other questions in a prior comment. Yes, you can add vanilla and cinnamon. Enjoy
This idea I actually gave you! ? I had tweaked the recipe from the very first time I tried it bc we never buy vegetable oil ?? It was my healthy hubs that wanted a healthier version of crepes... would be nice if you actually gave proper credit to the person that you got the idea from in your blog like many do! High respect to them!!! We have been using Nutiva coconut oil (best brand) for the last 7 years w no regrets!! ???? The trick I had to figure out w coconut oil is everything has to be room temperature as well as warming up the coconut oil otherwise it hardens and becomes no fun ??
Oh well I am glad you commented on here. I have so many people that give me suggestions and sames are often same, hard to credit people. I did have a few people suggest different oils. Thank you dear for the comment and more helpful tips!!!
I LOVE your crepe reciepe! Since i got married no joke i probably tried at least 50/60 reciepes! Stumbled along your original post of the most perfect crepes with the condensed milk filling and they won my heart over and most of all and whats more important to me my husbands stomach haha! Ill give this one a try this weekend with coconut oil!
I am so happy to hear that you love so recipe! Thank you for sharing!
Natasha! These are my go to crapes recipe. Made it last weekend,always such a hit.I never made it with coconut oil thou.does it taste any different than any other oil?
It has a very nice coconut oil flavor. It's great for sweet crepes but not for savory recipes. Much healthier too!