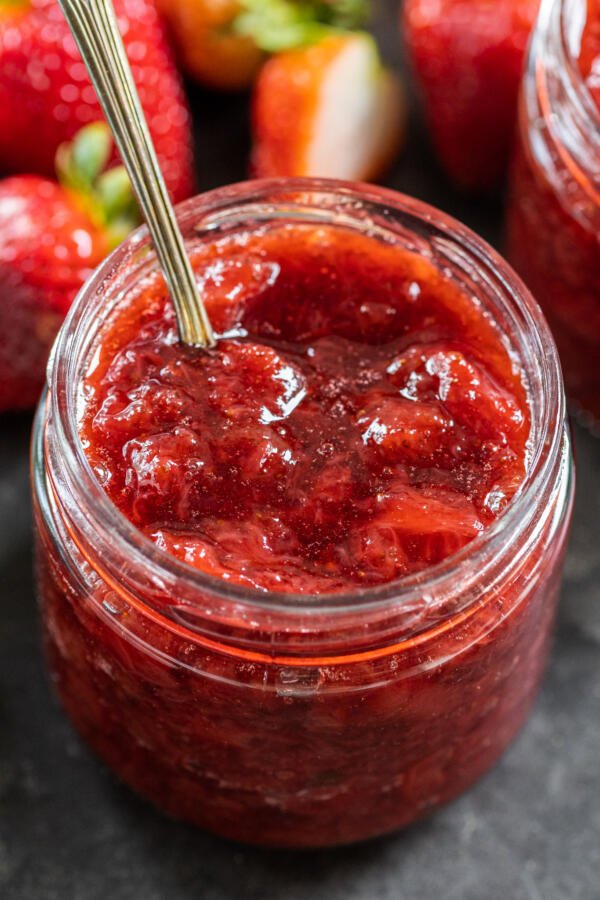
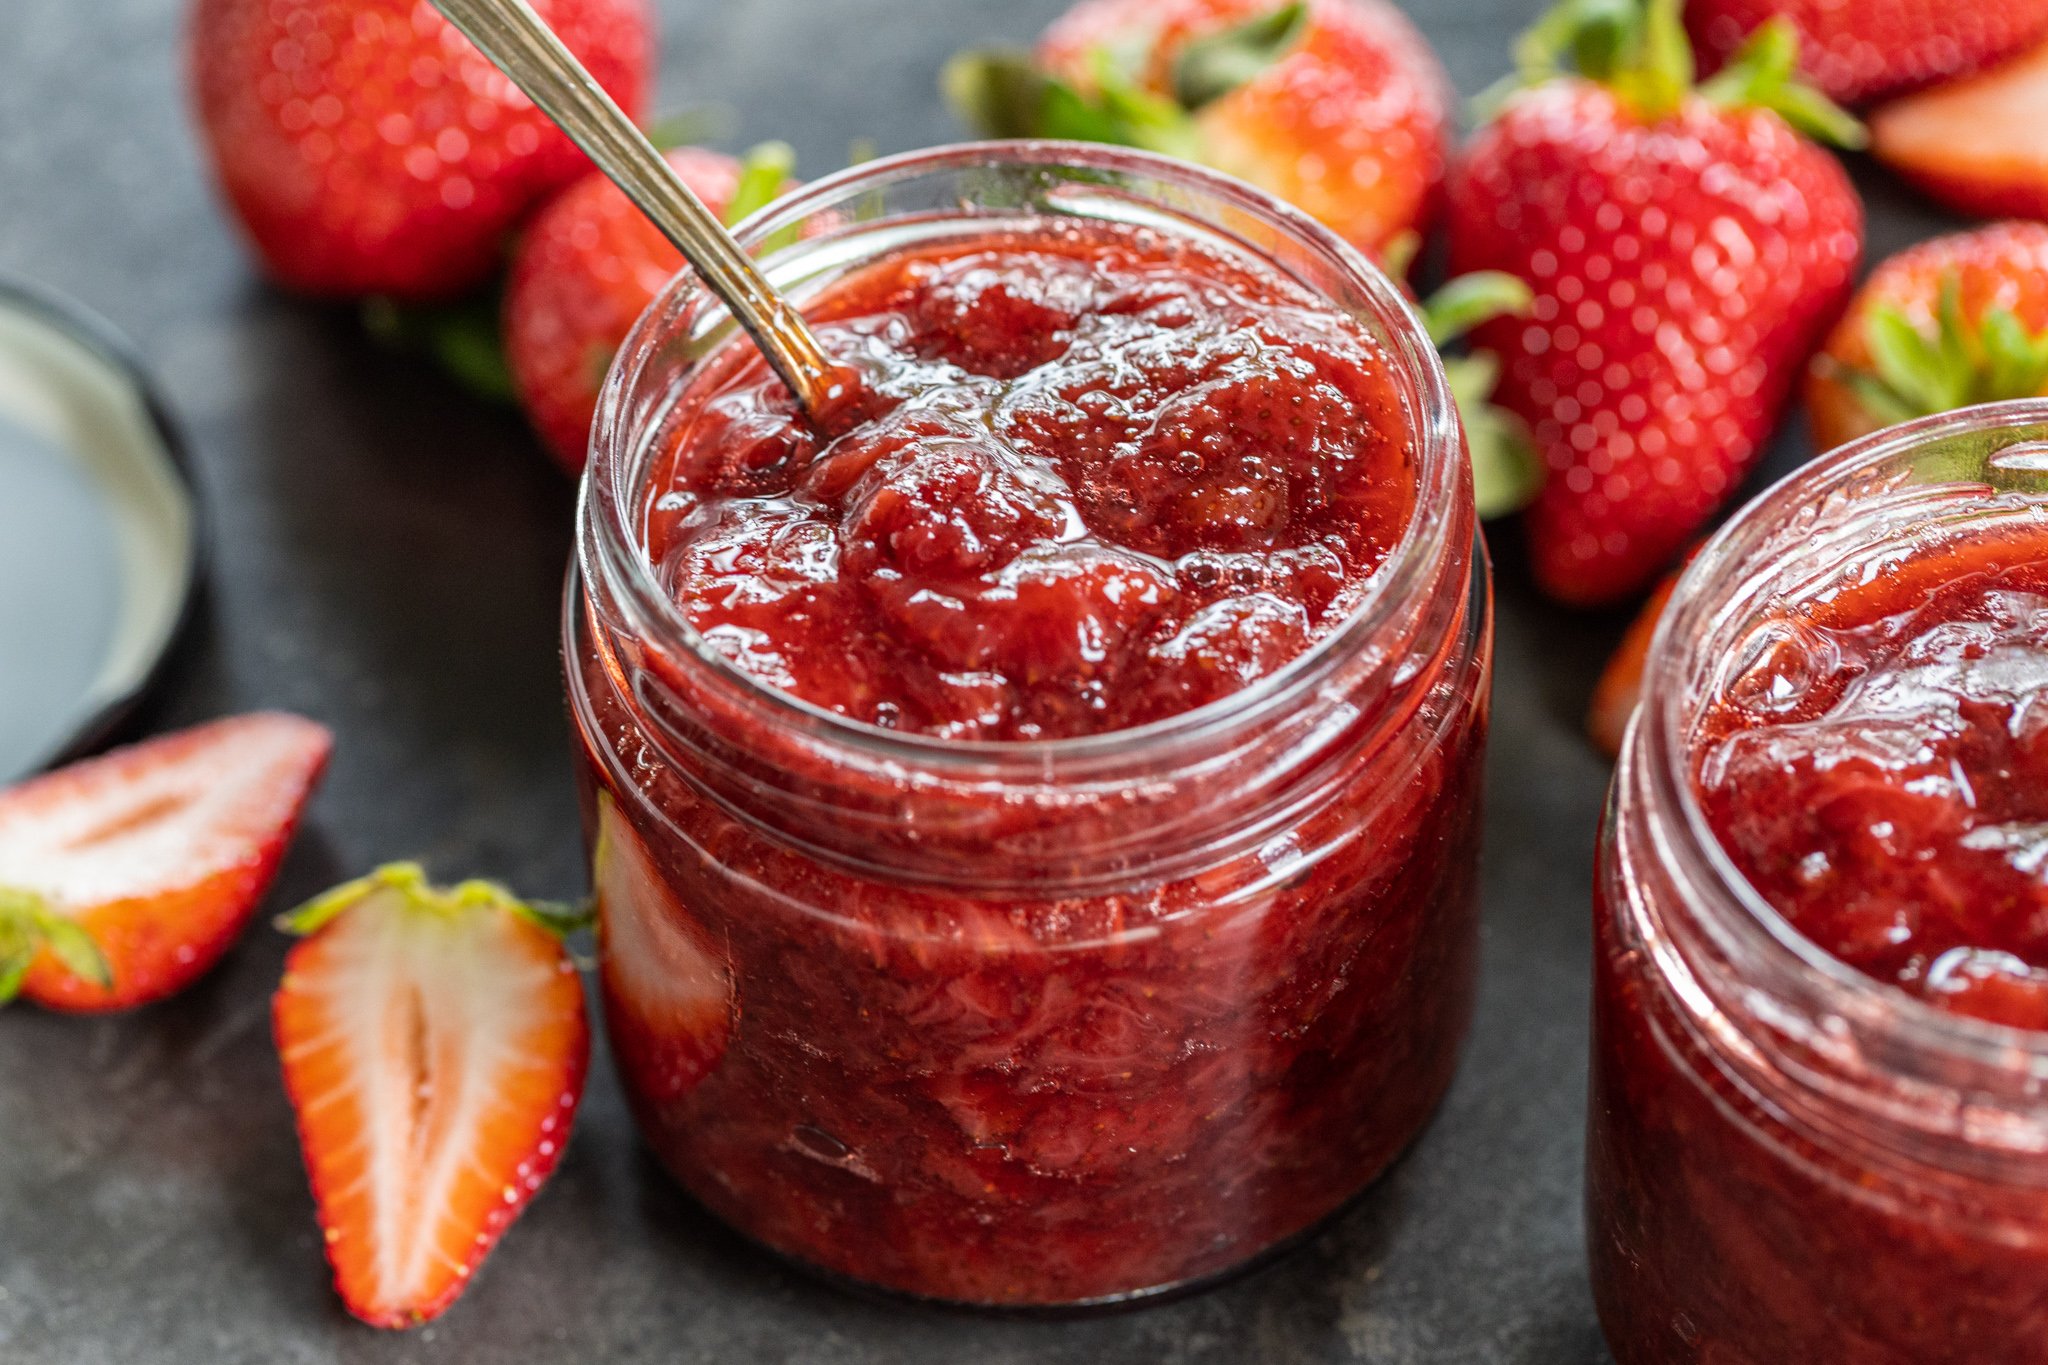
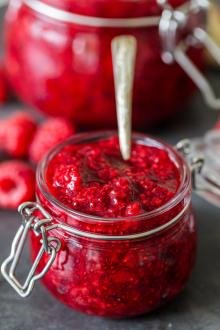
This homemade strawberry jam is made of fresh strawberries and sugar — no pectin needed. You’ll ditch the store-bought jam and wish you had made this sooner!
Every time I make this strawberry jam, I’m filled with nostalgic memories. I grew up in Ukraine watching my mom make jam. Fresh strawberries were preserved to enjoy as a treat year-round. Even now, with an array of jams in grocery stores, I prefer this flavorful, homemade treasure. It’s a strawberry jam recipe that has been passed down from my grandma. Tried and true — it works perfectly every time.
How to Make Strawberry Jam
Strawberry jam is crazy easy to make and requires minimal effort. Get ready to enjoy a sweet, fruity aroma filling the kitchen as the strawberries simmer.
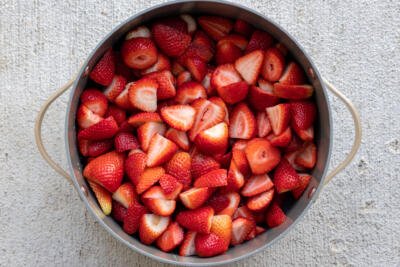
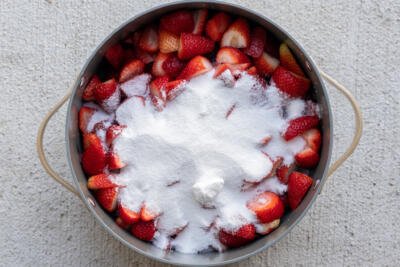
- Prepare the strawberries: Wash the strawberries and pat them dry. Hull or cut off the green tops. Then cut the strawberries into halves.
- Cook the strawberries: Bring a large pot with the strawberries and sugar to a simmer. Stir it occasionally as the strawberries liquify, then thicken. Cook for about 20 minutes, or until the temperature reaches 220°F. Finally, remove the mixture from the stove and allow it to cool to 110°F.
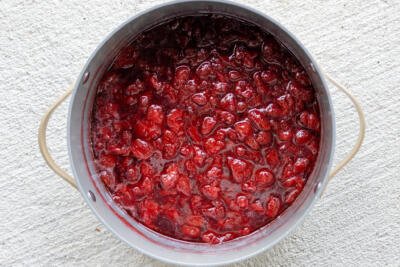
- Repeat the cooking process: Place the cooled pot back on the stovetop to cook again. Repeat the simmering and cooling process 5-7 times, or until the desired consistency is reached. The jam thickens as it cools.
- Can the jam: Immediately can the cooked jam into sterilized hot jars or into an airtight container if not canning. See canning instructions below.
Hot Tip: Homemade jam — made with love, makes a great gift!
How to Can Strawberry Jam
To can the jam, the cans or jars must be sterilized to safely preserve the jam long term. Sterilize the jars simultaneously while the jam cooks. This way, the hot jam will be poured into the hot, sterilized jars immediately to preserve and seal.
- Prep the jars: Preheat the oven to 215°F. Thoroughly wash the jars and lids with soapy water. Place the jars upside down directly on the oven rack and the lids on a baking sheet in the oven.
- Sterilize the jars: Allow the jars and lids to bake for at least 20 minutes, or until they are completely dry and free of water droplets. Keep the jars hot until the jam is ready to be poured in.
- Can the jam: When the jam is done, carefully spoon it into the heated, sterilized jars (use oven mitts!). Seal each jar tightly, turn it upside down, and allow it to stand at room temperature for at least an hour.
- Store the jam: Store the canned jam in a cool place such as a pantry for up to a year. Once a can is opened, store it in the fridge and use within a month for optimal freshness.
Canning Supplies: We love using these mason jars for jams and other canned goods.


How to Store Jam Without Canning
If you don’t wish to sterilize jars to store the jam, this non-canning option is for you. Before storing it, allow the jam to cool, then place it into an airtight jar or container.
- Refrigerator: To store jam for up to a month, place the jam in the fridge.
- Freezer: To store jam for up to three months, freeze it in a freezer-safe container. Thaw in the fridge when ready to enjoy.
Storage Tip: Label the jars or containers with a “use-by” date to keep track of how long the jam is good for.
Must Have Tips
You won’t need a chef’s hat for this easy recipe, but follow these tips to ensure a chef’s kiss.
- Use ripe, sweet berries for the best flavor. Avoid bruised or overripe berries which can spoil the jam.
- Add a few slightly unripe strawberries. These are higher in pectin and help naturally thicken the jam.
- Mash or puree the jam for a smoother consistency. Do this during the final cooking round on the stovetop. Be cautious of the heat!
- Set a timer! This will help remind you when the 20 minutes of simmering is up.
- Use a candy thermometer to ensure the jam is fully set. The fruit and sugar need to heat over boiling point for the texture of the mixture to alter and change. Reaching an ideal temperature of at least 220°F allows the jam to set properly.
- Skim off and discard the foam. It is normal for foam to develop as the jam cooks. Remove it with a spoon. This helps prevent a cloudy-looking jam.
Hot Tip: Add a 1/4 cup of lemon juice to the mixture for a citrusy tang.
Serving the Strawberry Jam
Use the strawberry jam in a variety of different ways. In the morning, add fruity flavor to your yogurt, toast, Belgian waffles, biscuits, or these delicious buttermilk pancakes. Or, make your easy overnight oats even better with a dollop of strawberry jam. Last but not least, top or fill your croffles with strawberry jam or serve alongside a fluffy dutch baby.
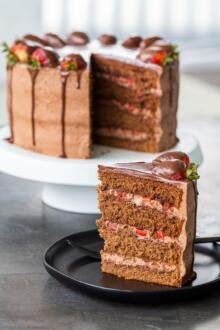
Use strawberry jam to layer in fruity goodness in this strawberry chocolate cake. Or, swap out the fillings with strawberry jam in thumbprint cookies, cream jam tarts, or easy panna cotta.
FAQ
Can frozen strawberries be used to make strawberry jam?
Yes, frozen strawberries can be used in making jam. However, frozen berries naturally have more water, which may result in a longer cooking time in order to achieve the desired viscosity.
Can I use a dishwasher to sterilize the jars?
It is not recommended to use a dishwasher to sterilize jars for canning. The dishwasher may not reach the recommended temperature to effectively clean and sterilize the jars.
Do sterilized jars need a water bath?
A water bath or boiling method is an alternative method for sterilizing jars. This recipe uses the oven method, therefore an additional water bath is not needed.
Can I use less sugar in this jam?
Decreasing the amount of sugar is not recommended because the sugar plays an important role in the preservation, flavor, and texture of the jam.
Is homemade jam better than commercial jams?
We think homemade jam is an amazing alternative to commercial jams. Homemade jam is made without preservatives, artificial dyes and flavors, or other additives often found in commercially sold jams.
More “Jam-min” Recipes
- Fruit Piroshki — A delicious European pastry with a jam filling
- Easy Raspberry Jam — Raspberry jam made with healthy chia seeds
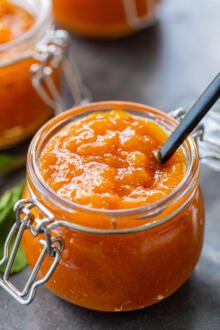
- Apricot Jam — This sweet, tangy jam is like summer in a jar
- Kolaczki (Polish Cookies) — A flakey cookie with a jam filled inside
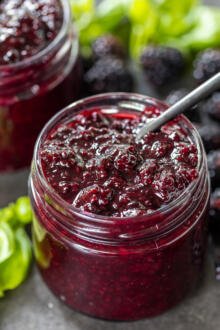
- Blackberry Jam – An easy, 2 ingredient jam to love
Recipe
Instructions
- Wash and cut the strawberries into halves, remove the hulls and green tops.
- Place strawberries into a pot and cover them with sugar. Bring to a simmer and cook for about 20 minutes. As it simmers, stir the jam occasionally to prevent burning. Turn off and set aside, let it cool down.
- Repeat the process 5-7 more times, or until the desired consistency has been reached. Keep in mind, jam does thicken as it cools down.


Canning Strawberry Jam
- Sterilize your jars to prepare them for canning. Preheat the oven to 215°F. Wash the jars and lids with soap and water. Place jars directly on the oven rack. Allow them to bake for 20 minutes, or until they are completely dry and free of water droplets.
- Once you bring your jam to its last boil, add piping hot jam directly into the hot, sterilized jars. Cover each jar with a lid. Turn the jars upside down and let them sit at room temperature for an hour. Store jars in a cool place.

Lovely jam recipes so simple thank you
Thank you, Marie! Simple, yet tasty is always my goal 🙂
Cool down to what temperature? Room temperature or just slightly cool down so I can remove bubbles? Thank you
Hi Irina, bring it to room temperature. Every time it cools down, it thickens, which really helps with the jam-thickening process. Enjoy!
No further canning is needed? What is shelf life?
Hello Nelda! I'm not sure what you mean by further canning. The canning instructions are up above in the section titled "How to Can Strawberry Jam". If you follow that process, the jam can be stored for a year in the pantry. Once opened, I recommend using it within a month.
Recipe says "16 servings". I cannot find anywhere that says what size canning jars to use.
Hi JR, You can use any size jars—I’ve used everything from 1/4 quart to a full quart before. The recipe makes a total of 16 servings.
Can you use frozen strawberries or do you have a recipe for frozen strawberry jam please?
Hey Margaret, yes, you can use frozen strawberries. It might be a bit more watery but it will cook down as you cook it. Enjoy 🙂
Could you use fresh peaches instead of strawberries?
Absolutely, Bob! Peach jam sounds delicious! We also have an apricot jam recipe on the blog that you might find helpful.
Okay, I have to ask a probably dumb question. When you put the strawberries in the pot with the sugar, there is no other liquid added? I assume the strawberries will create their own liquid but how do you keep them from burning before that point?
I am a very novice cook.
Hi Steve, as the strawberries break down they create their own juice. No other liquid is needed. 🙂 Keep the heat on the lower end as it simmers, to prevent scorching or burning. Enjoy!
do you have a strawberry rhubarb jam recipe? Or can I just add equal weight of rhubarb?
Hi Kuba- I don't have a strawberry rhubarb jam recipe, sorry! I'm not sure how adding rhubarb would affect the recipe, as I haven't tested it before. But I know strawberry rhubarb is a popular flavor combination..if you add it to the jam, please keep us posted how it turns out!