This sourdough pizza dough recipe yields a chewy, bubbly, and perfectly-sized crust that is ideal for DIY pizza parties. Don’t miss the seven flavor combinations I’ve included!

Growing up in Ukraine, my family did all that we could to limit food waste. It was essentially a way of life. Food scraps were used to make broths or feed livestock, and pickling and canning was a must to save the extra bounty of veggies and fruits.
In the same way, I love using up all my sourdough starter and/or discard. So, if you’re also a fan of reducing food waste, this sourdough discard pizza crust is your new best friend. It has the perfect texture and the signature light tangy flavor we all love in sourdough. Let the pizza parties begin!
Hot tip: The hands-on “work” for this recipe takes only 15 minutes, but be aware that due to rest/proofing time, you will need at least two days to complete the process of making the dough into a pizza.
Preparing this Sourdough Pizza Crust Recipe
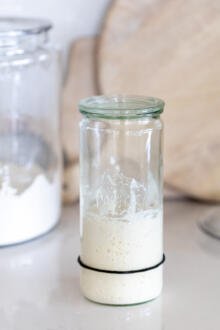
Get ready to make the most amazing sourdough pizza with only your hands, a mixing bowl, sourdough starter, and a bit of patience. If you need additional tips on feeding and caring for your starter, review this guide.
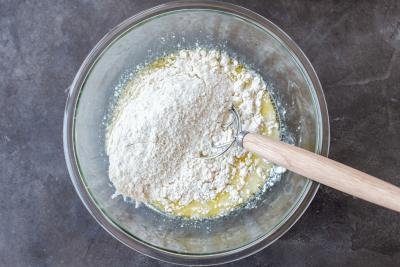
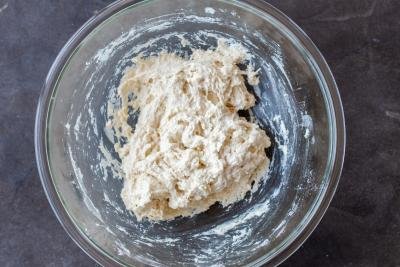
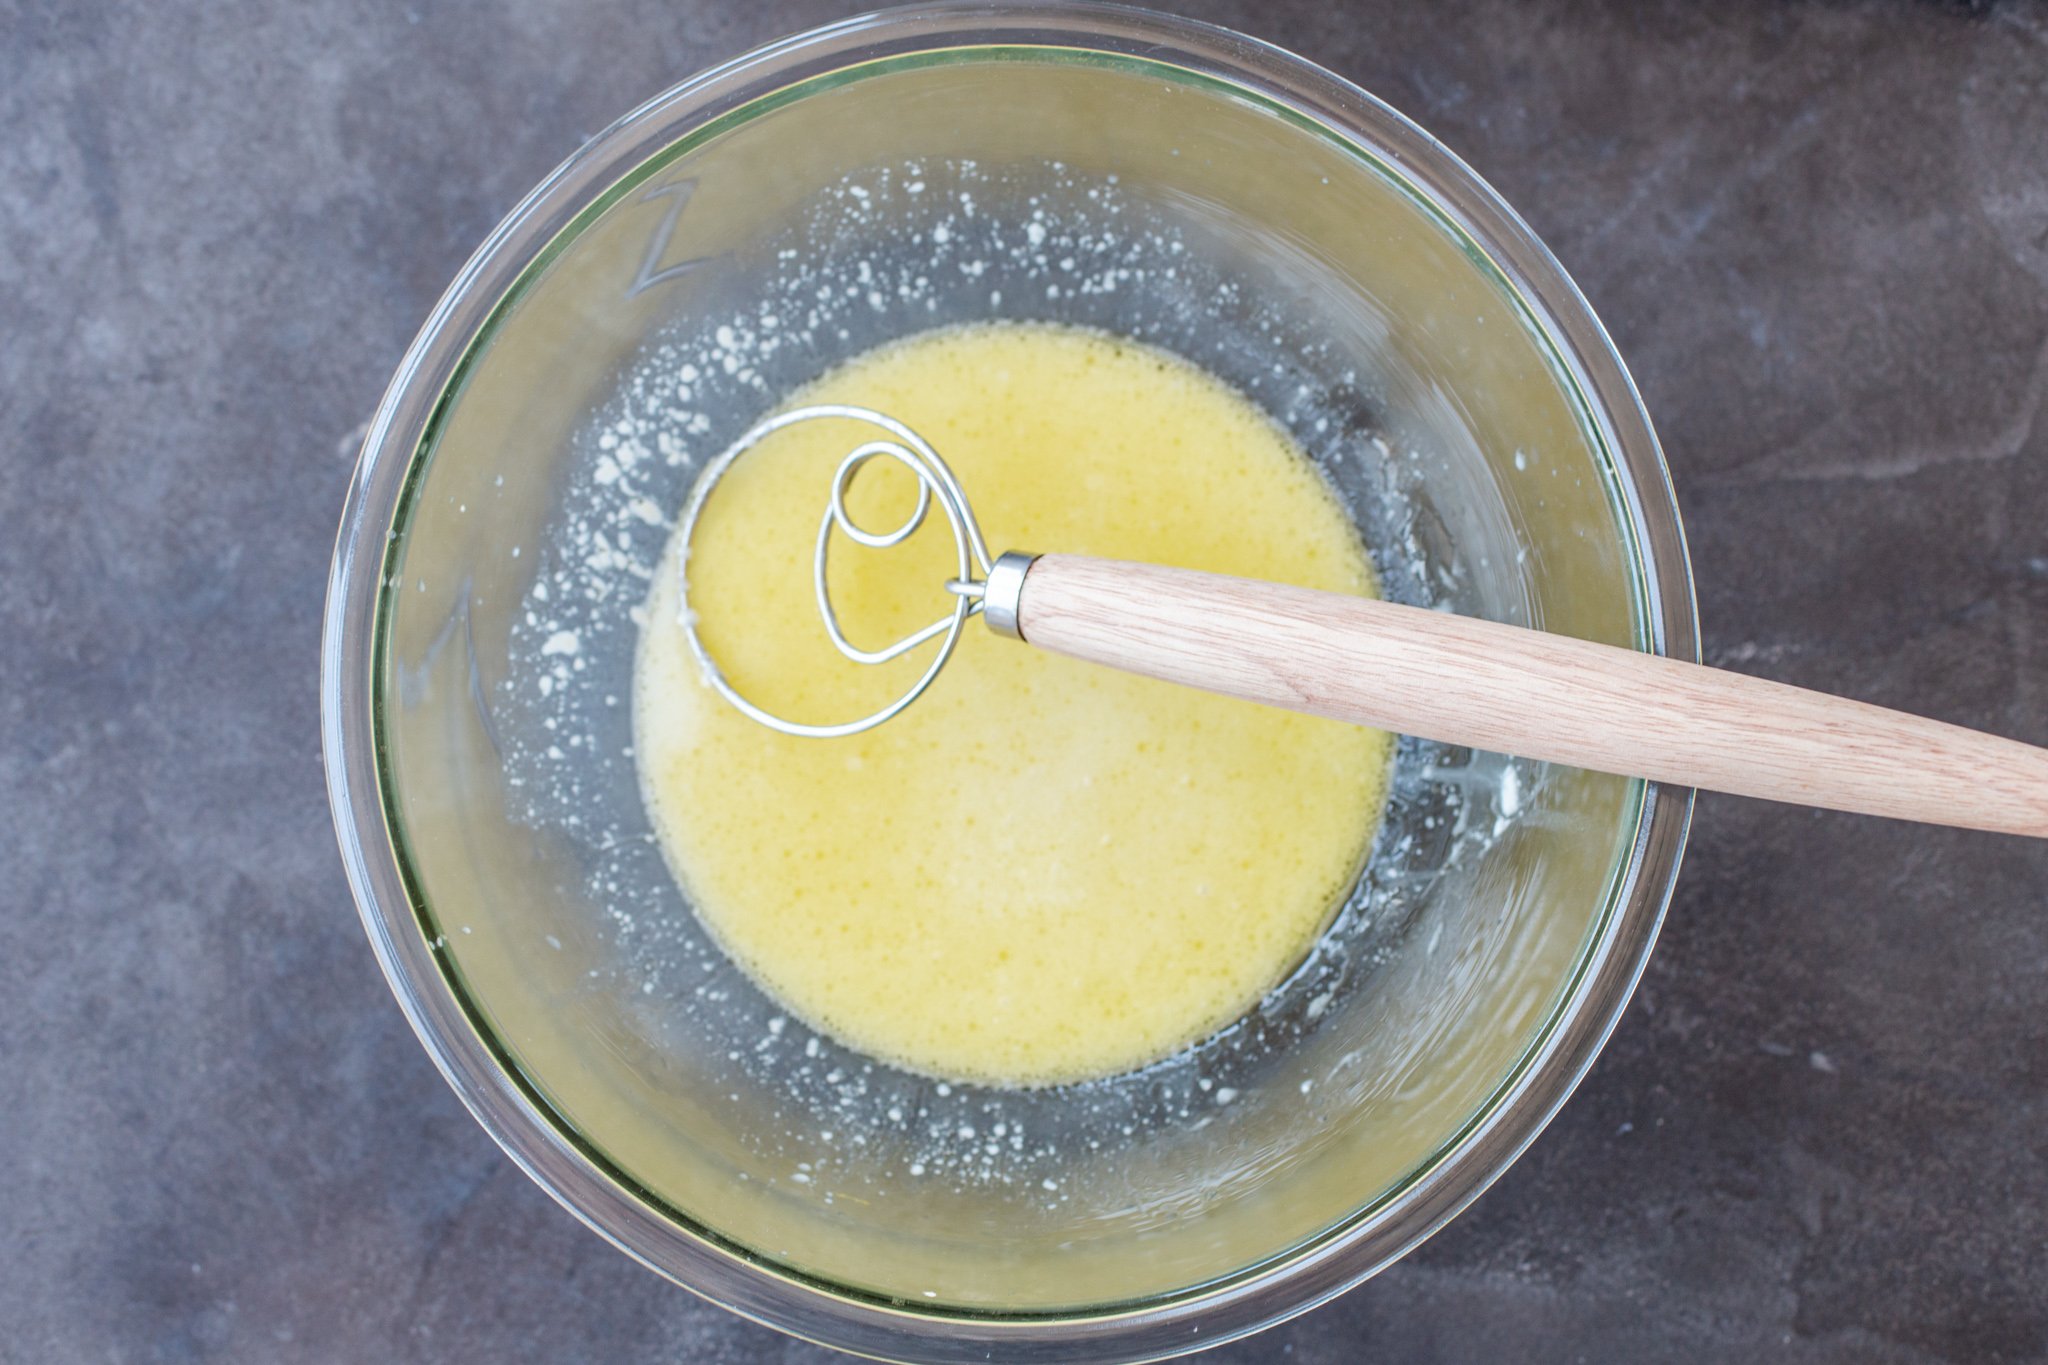
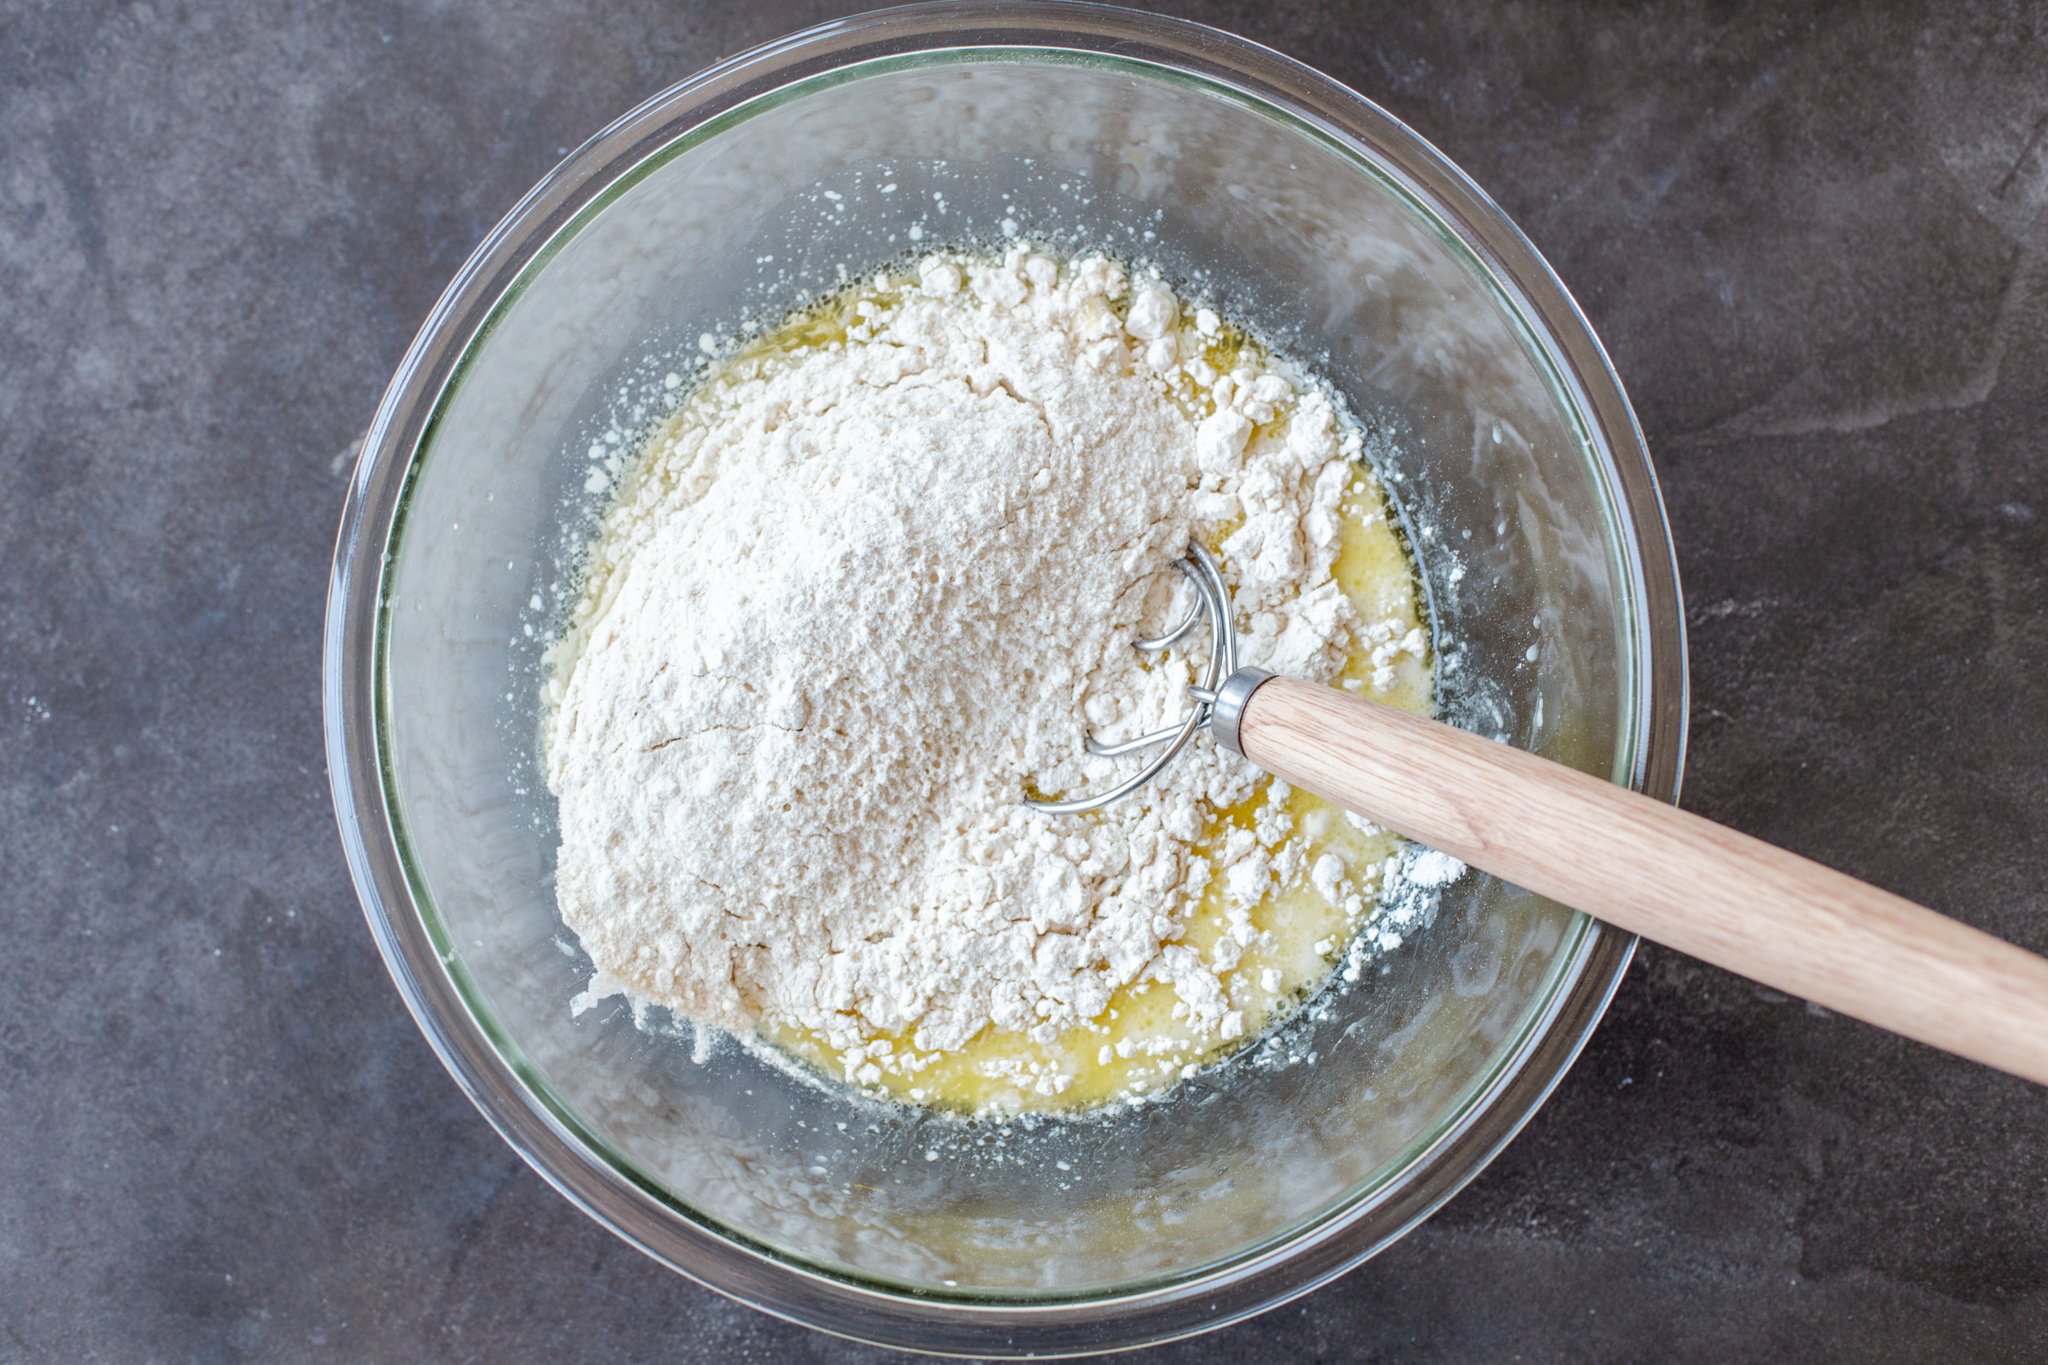
- Combine the wet ingredients: In a large mixing bowl, combine the water, sourdough starter (or discard), and olive oil.
- Add in the dry ingredients: Add in the flour and salt, then stir until fully combined. Cover the dough and let it rest for 30 minutes at room temperature to kick off the bulk fermentation process.
- Knead the dough: Stretch the dough by pulling the edges into the center. Cover the bowl again and repeat the process two more times in 30 minute intervals for a total of three folds.
- Rest the dough overnight: Cover the dough with plastic wrap and let it rest overnight at room temperature.
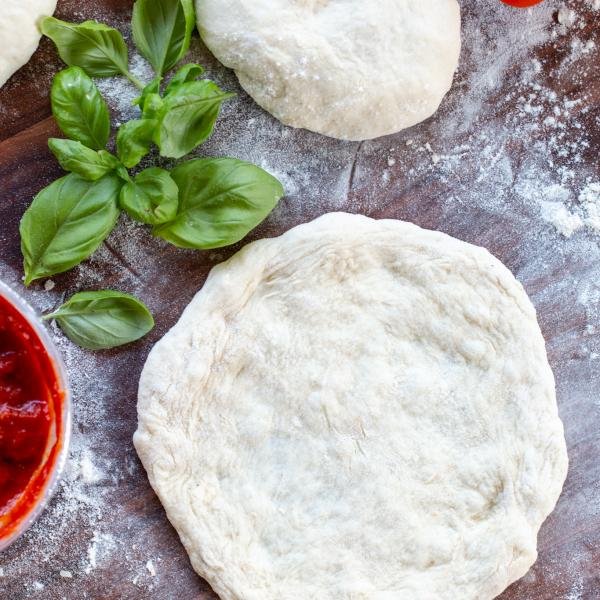
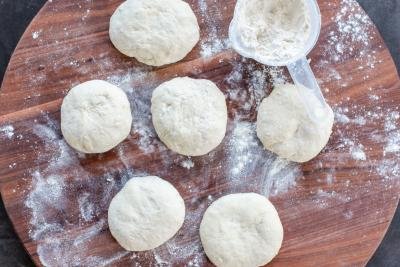
- Create the dough balls: On a well-floured surface, divide the dough into 3-6 equal parts. Shape each one into a tight round ball.
- Refrigerate the dough: Refrigerate the dough rounds for at least 24 hours in an airtight container.
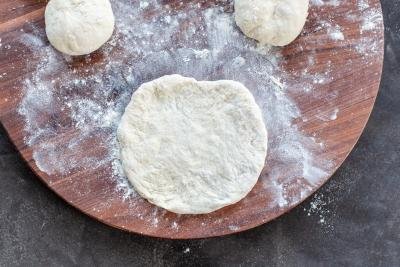
- Make pizza: When you’re ready to use the dough, allow it to rest at room temperature for an hour. Then stretch it out, top with your favorite ingredients, and bake!
Hot tip: This sourdough pizza dough recipe makes about three 10-inch pizzas or six mini pizzas. If you’re not using the dough right away, freeze it or pop it in the fridge to use later. See the storing guidelines below for more information.


4 Tips for Making the Best Sourdough Pizza Dough
I’ll be honest — I spent more time than I can count on perfecting this sourdough pizza recipe. I always say I’m more of a cook than a baker. So, in order to keep you from saying “D’oh!” and making the same mistakes I did, I have these four pointers for you to follow.
- Use active sourdough starter for the best results: Most of the time, I use active starter for pizza dough because the dough rises faster. Discard can also be used, but it may take longer for the dough to rise. If you’re using discard, let the dough rise in a warmer area of your home to speed the process up a bit.
- Flour the work surface generously: Sourdough pizza dough is wet and sticky. To handle the dough without it tearing, flour your work surface generously. This also prevents it from sticking and becoming hard to transfer.
- Use high-quality bread flour: Opt for a high-protein bread flour over all-purpose flour for the best possible texture and taste. Our favorite variety is Bob’s Red Mill Bread Flour.
- Give the dough at least 24 hours to rest in the fridge: After making the dough balls, allow them to rest for enough time in the fridge (between 24-72 hours). This is vital to achieve the complex sourdough flavor.
Pizza Baking Tips
Now that you’ve mastered making the pizza dough, here are a couple of foolproof pointers to guide the pizza baking process.
- Stretch the dough thinly: Stretch the dough as thinly as possible because it will get bubbly as it bakes. As a general rule of thumb, stretch it to the point just before it turns translucent.
- Avoid rolling the pizza dough out: Even though we want the dough to be stretched thinly, avoid using a rolling pin to do this. A rolling pin removes all the air bubbles that make sourdough bubbly.
- Transfer the pizza with parchment paper: Use parchment paper to transfer the pizza dough to a baking sheet, pizza pan, or pizza stone.
- Bake the pizza at a high temperature: If you don’t have a pizza oven, crank your conventional oven to 450°F. It needs to be hot, hot, hot for the perfect crust!
Troubleshooting Sourdough Pizza Dough Problems
Remember how I said it took me countless tries to perfect this dough? I had my fair share of tough and dense crusts, so in case you do too, know you’re not alone. Read on to see how I fixed my two most common sourdough pizza dough problems.
- Tough dough: There are three main reasons that the sourdough pizza crust may be tough. It is possible that the starter wasn’t active enough and didn’t aid in the rising process properly. Or, the crust was baked too long or the wrong flour was used. To fix these problems next time, ensure your starter is at peak activity, bake the crust just until it is slightly golden, and use our favorite Bob’s Red Mill Flour.
- Dense/flat dough: For a lighter, more airy crust, ensure that the dough is wet, sticky, and bubbly before you shape it. It’s also important to shape the dough by stretching and pulling it versus rolling it out or pressing it down. You don’t want to remove the air pockets, or else your pizza will come out flat.
7 Pizza Combination Ideas
Now for the really fun part — making your favorite pizza flavor combinations! If you have another favorite, leave a comment below. When you’re ready to eat, bake each pizza at 450°F for about 10-15 minutes or until the edges are golden brown.
- Margherita: Slather on red tomato sauce or homemade pizza sauce/marinara, then top with mozzarella cheese and fresh basil.
- Pepperoni: Follow our pepperoni pizza recipe for a classic pepperoni pizza!
- Hawaiian: Are you one of those people who love pineapple on their pizza? Layer on thinly sliced ham, diced pineapple, red pizza sauce, and mozzarella cheese for this version.
- Spicy meat lover: For a spicy protein-rich pizza, mix up your meats and veggies. Add Italian sausage, pepperoni, ham, salami, bell peppers, olives, red pizza sauce, mozzarella cheese, and red pepper flakes to the pizza.
- Chicken bacon ranch: If you prefer white sauce on your pizza, use our Alfredo pizza sauce, then layer on sliced or cubed grilled chicken, bacon bits, and half mozzarella/half cheddar cheese.
- White veggie: For a vegetarian version, use the same Alfredo sauce, then top it with red onions, mushrooms, roasted garlic, and Parmesan cheese.
- Philly cheesesteak: Use ranch as the base for this pizza, then top it with cooked strips of steak, sliced green bell peppers, onion, and provolone cheese.

Storing the Dough
There are two ways to store your dough if you don’t want to use it all straight away. Here’s the lowdown on both.
- Refrigerating: To keep the dough on hand for up to a week, wrap it tightly in plastic wrap and pop it in the refrigerator. Be aware that the longer the dough sits in the fridge, the more sour the flavor will be.
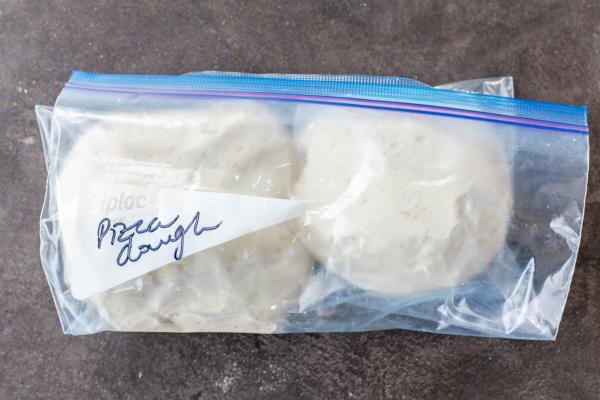
- Freezing: To keep the dough on hand for up to three months, wrap each round tightly in plastic wrap and place it in a freezer-safe bag. To thaw, place the dough in the refrigerator overnight. Then, before baking, let the dough rest at room temperature for an hour.
More Sourdough Recipes to Try
- Overnight Sourdough Bagels – Fluffy, boiled sourdough starter bagels
- Sourdough Ciabatta – Rustic ciabatta loaves perfect for sandwiches
- High Hydration Sourdough Bread – Partially whole wheat bread with amazing flavor and crumb
- (Almost) Whole Wheat Sourdough Bread – White & whole wheat flour sourdough bread
- Crazy Easy Sourdough Pancakes – Fluffy starter pancakes
- Sourdough Bread Recipe – Our ultimate guide to successful sourdough bread
- Sourdough Chocolate Chip Cookies – A delicious classic made with sourdough discard and browned butter
Recipe

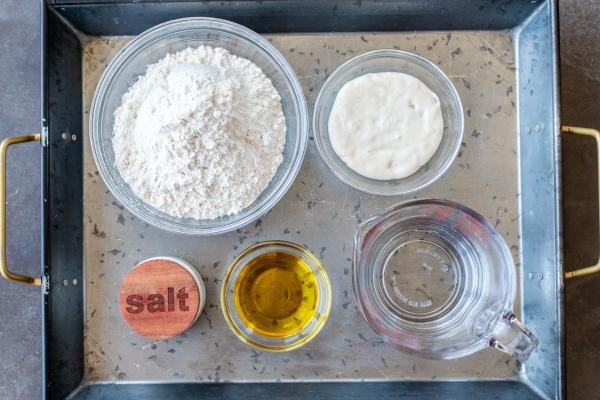
Ingredients
- 1/2 cup active sourdough starter or discard
- 1 cup lukewarm water
- 3 tbsp olive oil
- 2 1/3 cups bread flour
- 1/2 tbsp salt
Instructions
- In a large bowl, combine the water, sourdough starter, and oil.

- Add in the flour and salt, stirring until fully combined. Cover the dough and let it rest for 30 minutes at room temperature.
- After 30 minutes, stretch the dough by folding the edges into the center. Cover the bowl and repeat the process two more times in 30 minute intervals for a total of three folds.
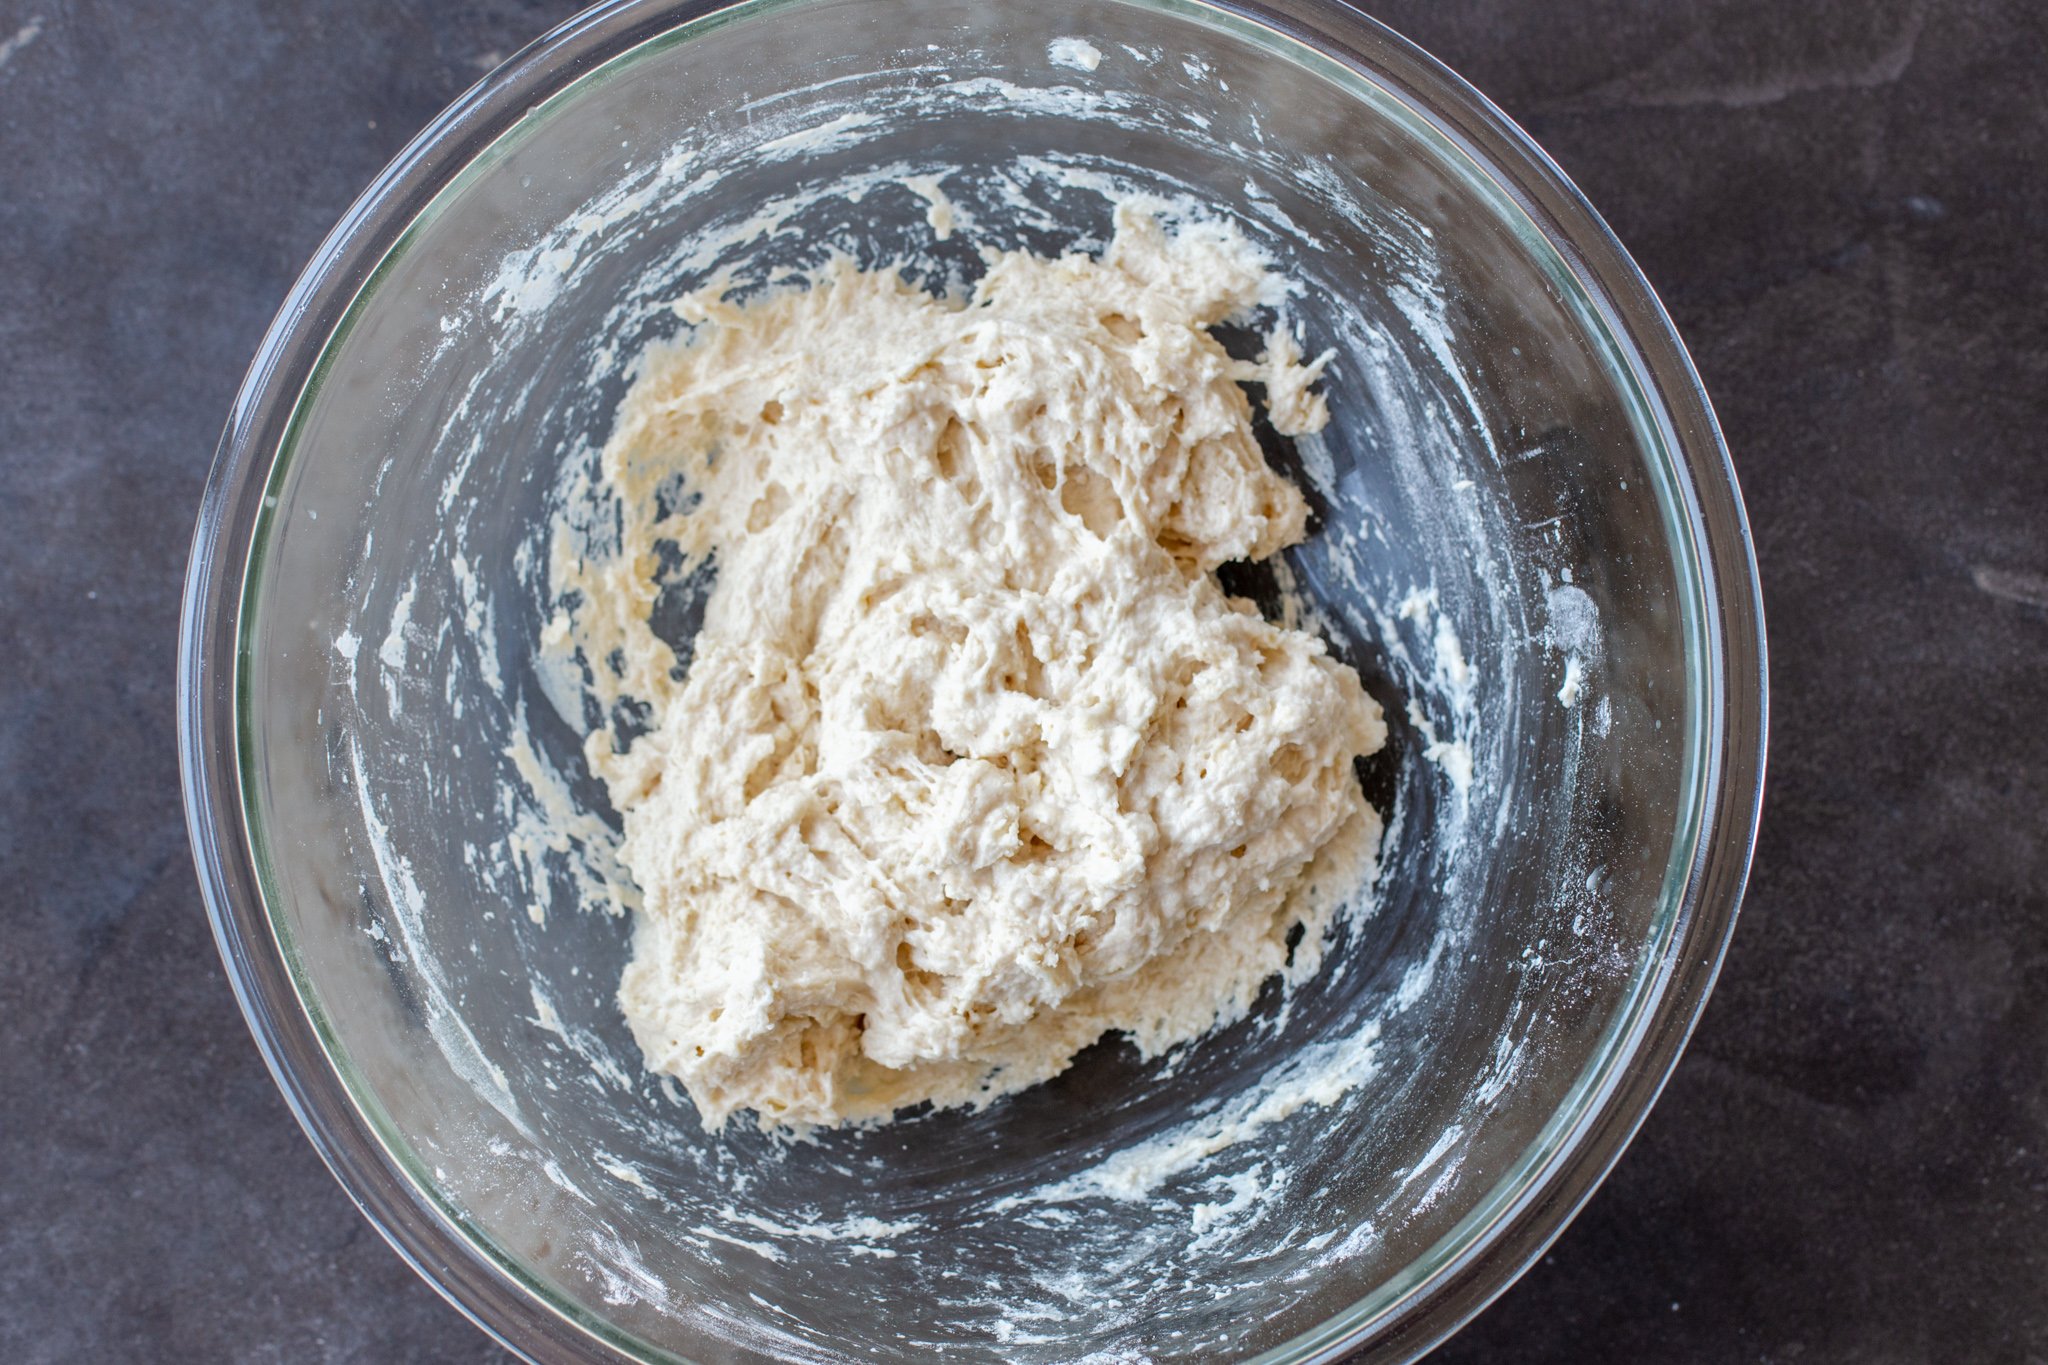
- Let the dough rest overnight at room temperature covered with plastic wrap. The next day, the dough will be wet and bubbly.

- Flour your working surface and divide the dough into 3-6 equal parts. Shape each one into a tight round ball.
- Place the dough rounds in the fridge for at least 24 hours in a sealed container. Before using the dough, let it rest at room temperature for an hour.


Sourdough baking is an art to achieve with practice and the gram measures with a scale is perfection to accomplish!
Yes, it is! Some recipes are more forgiving than others, but for the most part you really do need a scale.
I have Bobs Red Mill 00 Pizza Flour recipe on the bag but want to use my starter and make a sourdough pizza, can I mix organic all purpose flour with the 00?
Hi Karen, I haven’t tried that myself, but if you do give it a go, please keep me in the loop — I’d love to hear how it turns out!
Hi can I just use regular flour?
Hi Karina, when you say regular flour, what do you mean? We use AP Bobs Redmill flour, it works great in this recipe.
Question: Do you Mix, stretch and fold in the morning and let it sit day/night? Or, make it in the evening and let it rest overnight? The time frame is not clear to me.
Hey Eva, You can do either or, but allow it to rest anywhere between 8-12 hours. I hope this helps clarify!
Lol advertising this as a 15 minute recipe is just dishonest. Either that or you do not understand what a recipe time is! Literally nobody looks at a recipe time wanting to see only the amount of time it takes to cook after all the preparation.
Hi Lindsey, Thank you for sharing your feedback. Unfortunately, we don't have a way to add waiting time to the recipe card. But hands on is the prep time thats included in the recipe. The recipe details do share the steps and I always recommend reading entire recipes before you start cooking.
What temp do u bake the pizza at and for how long ?
Hi Tetyana, In a preheated oven set to 450°F bake about 10-15 minutes or until edges are golden brown.
Please add in the Rest Time where you have the Total Time. It's very misleading. Thx
Hi Annette, I am sorry that you find it misleading. I use the "hands on" time as the cook time, since the rest of the time you are free to do other things.
Can you tell what hydration for the starter/discard please? Mine is 100%
Thanks!
Hi Barb, typically I use 100%. Hope you love this recipe as much as we did. Enjoy
It could have been my own error, but this dough was a sloppy wet mess the next morning. I was not able to make round balls out of it and it stuck to everything. I followed the directions, but maybe my starter was more hydrated than others. Not sure but we’ll see how they bake tomorrow…
Hello- this is a wet and sticky dough. You will need a well floured surface when shaping the dough rounds. I do have pictures in the post that may be helpful as well. I hope you get a great end result!
What an excellent recipe! My family loved it and we are going to make it again this weekend!
Thank you for the feedback, I'm thrilled your family loved it!
This made my whole pizza better, so much flavor and texture. Just perfect.
Thank you so much, Cathy!
Yesssss.....was looking for something new to try with my sourdough starter - this was perfect! Thank you!
So glad you found some inspo for your sourdough discards, yay! Enjoy!